

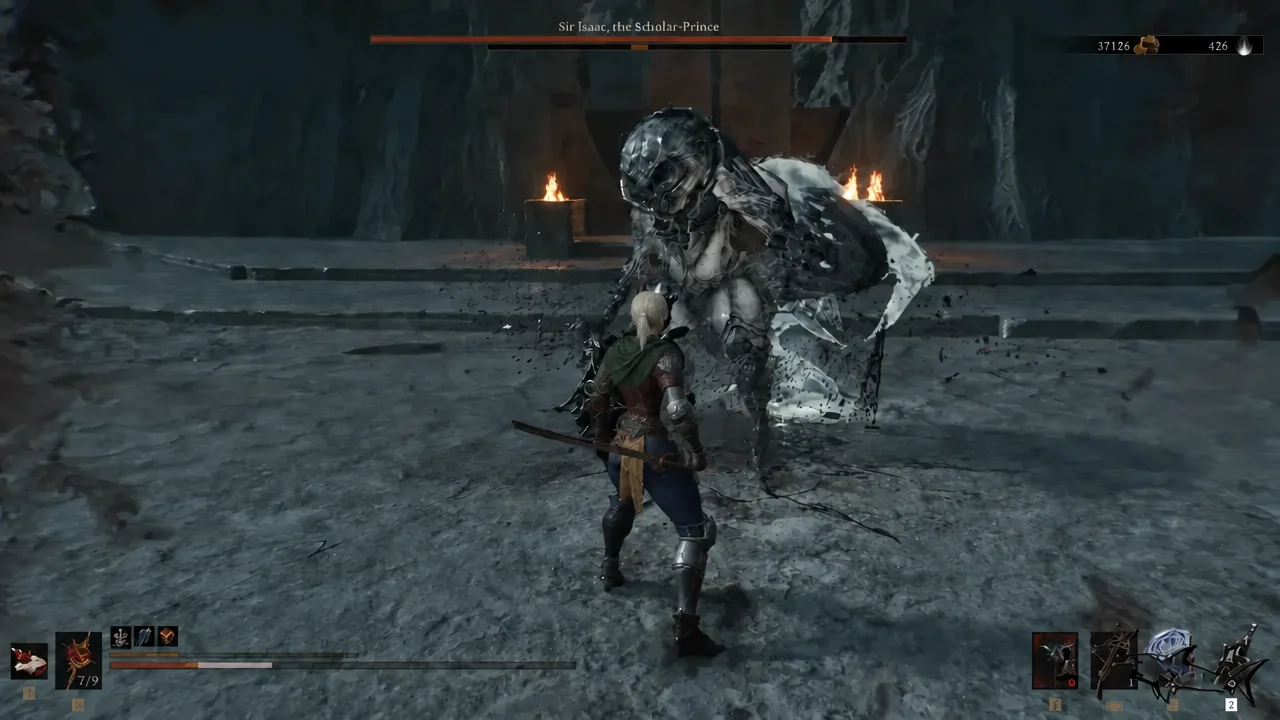
Sir Isaac, the Scholar-Prince guards the end of the Faded Citadel gate in Mortal Shell 2, and he is one of the last Corrupted Gate bosses most players reach. He starts the fight with a sword and shield, fights at a readable pace, and then discards the shield for a far more aggressive three-blade phase. The whole encounter is built around punishing greed, so the fix is almost always to attack less, not more.
Quick answer: Parry his combos and land a single hit after each one. At 50% health he loses the shield, so switch to sideways dodges and burst him down with ranged Sidearm damage from his flank.
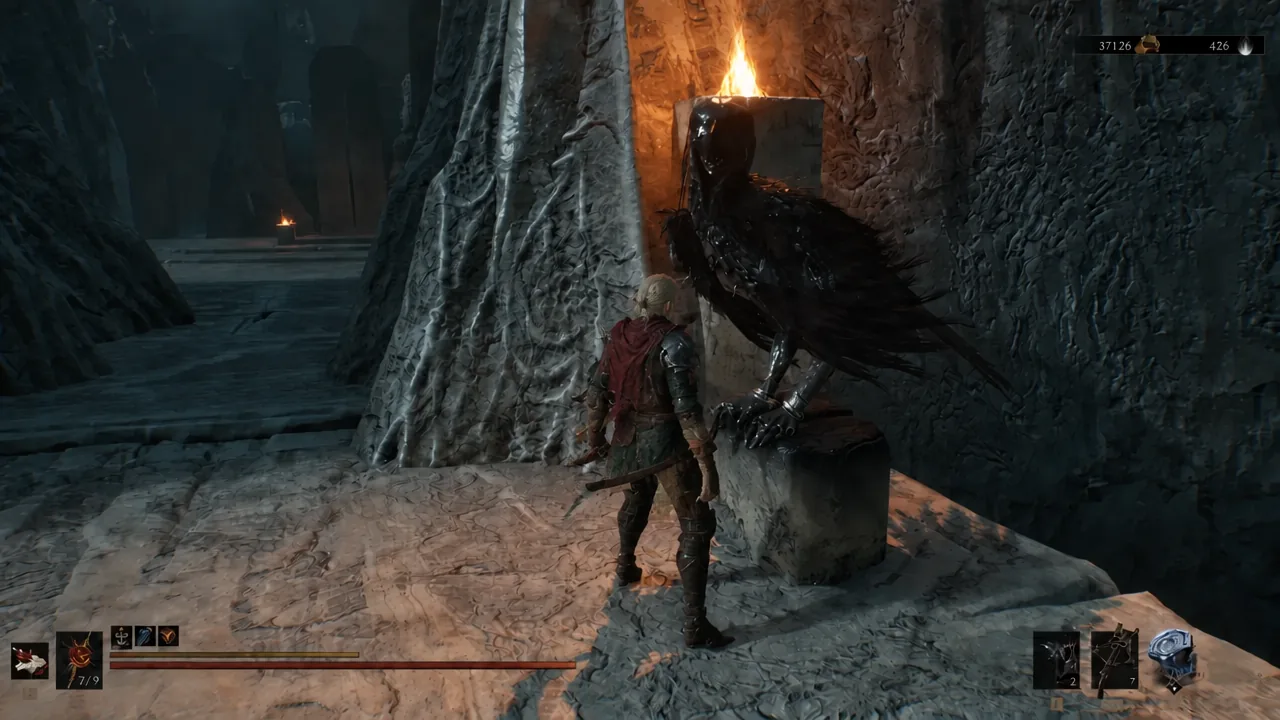
Sir Isaac location in Mortal Shell 2
Sir Isaac sits at the far end of the Faded Citadel, the Corrupted Gate reached through the Gate of Infinity Beacon. Work through the citadel and defeat the Servants of the Scholar-Prince first. Past that fight, keep going forward and take the stairs down, and the Citadel Atrium Beacon is on your left.
From that beacon, head back past the stairs you came down and cross the gates. You will pass a summon point for Lazlo and a short exchange with Roki before the arena opens and the cutscene plays.
The Lazlo summon costs 1x Glimpse to unlock and is unreliable in this arena. He can go down almost immediately or lose track of the boss entirely, so plan the fight as if you are solo and treat any aggro he pulls as a bonus.
Loadout that works against Sir Isaac
This is a fight decided by defensive timing and burst windows, so bring gear that rewards both. The Untarnished Seal is the standout pick because so much of the encounter runs on clean parries. A Sidearm matters just as much, since his second phase leaves him wide open to ranged damage.
- Untarnished Seal — the fight is scripted around parrying his combos and answering with single hits.
- A Sidearm with an ability — the Forgotten Crossbow, Naylshotte, or a burst ability such as Fusillade Stone or Confessor’s Keepsake.
- Shrike Stone — at Level 3 it costs 50 Resolve, deals 150 splash damage, and adds 20 Break Damage on landing.
- Grudge Stone — raises critical hit chance, which pays off during break windows.
- Tiel — Shadow Dodge gives generous invincibility, and Shadow Strike punishes his aerial slams.
- Healing items — Weltcap or equivalent, since a single missed multi-hit string can erase most of your health bar.
Coating your Sidearm with fire before the fight begins is worth the setup time. If you have the Shrike Stone maxed, its leaping plunge is the single most efficient opener, since it lands heavy splash damage and chips his Break gauge at the same time.
Phase 1: Sword and shield
Sir Isaac opens as a conventional swordsman. He is not fast, and he usually swings two or three times before pausing. That pause is your entire damage plan for the phase. Land one light or heavy attack after each combo ends, then reset your guard. Trying to squeeze in a second hit is what gets most runs killed here.
| Attack | Tell | Response |
|---|---|---|
| Standard swing combo | Two or three slow sword swings | Parry each, then hit once |
| 3-hit fake swing | He spins mid-combo | Parry hit one, tap parry on the feint, parry the last two |
| Shield Bash | Very short windup | Hold guard, do not counter early |
| Aerial swing-down | He flies up before striking | Dodge, then punish from behind |
The fake swing is the main run-ender. Parry the first hit as normal, tap parry on the second in case he throws a plain three-hit string instead, then wait for the spin before parrying the final two swings.
What to do when the Break gauge fills
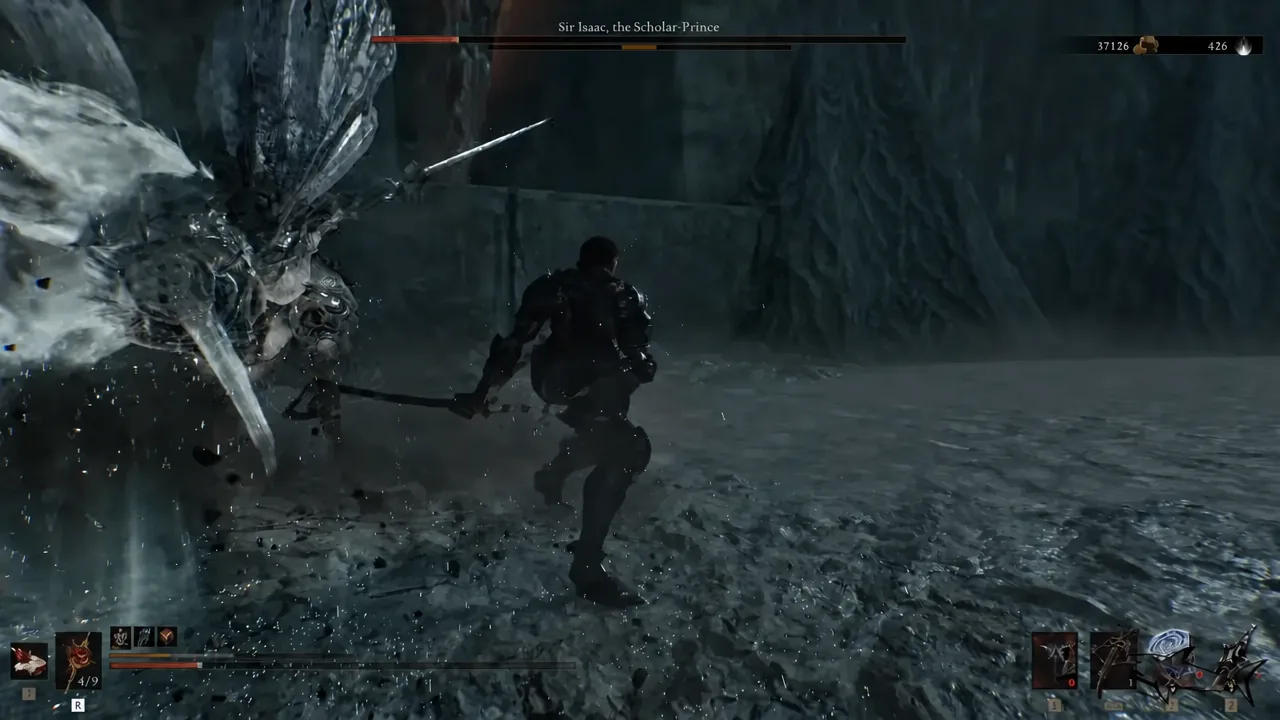
Parries build Break Damage, and filling the gauge leaves him vulnerable. Skip the Riposte. It deals noticeably less damage than simply attacking him. Instead, move around to his left side, the one without the shield, and unload with your weapon and Sidearm for the duration of the stagger.
Phase 2: Three swords and no shield
Once you stagger him at roughly half health, the shield is torn away and he picks up two extra blades. Parrying stops being reliable, because he chains the three swords in quick succession rather than swinging them together. Parrying the first hit still leaves you exposed to the rest of the string.
Distance is now your main defense. Dodge to the side, disengage after each exchange, and only step in once a combo has fully played out. Holding the parry button while you dodge is still worth doing, since it can catch the stray hits that clip you mid-roll.
- Sword Flurry — a three-part multi-hit combo. Back off and wait it out rather than trading.
- Cartwheel Slashes — wide spinning swings that cover ground. Keep your distance until they end.
- Ground Thrust Combo — he chases you and stabs at your feet on a steady rhythm. The sixth strike is delayed, so hold your dodge slightly longer.
- Blind Spot Strike — he circles behind you for a quick swing into a thrust. Parry the swing, dodge the thrust.
- Forceful stab — flagged with the red unblockable warning. Let him close in, then dodge to the side.
- Low-health spin — around five diagonal swings followed by a rapid twirl. Dodge left with every swing while staying close to him.
With the shield gone, ranged attacks land freely. Sidearm abilities deliver large chunks of damage in seconds, though they carry a high Resolve cost. Fire from his front or side, because his wings still block shots that come in at the wrong angle.
The high-damage alternative: Shrike Stone plunges
If you are running a heavier build and want to shorten the fight, the maxed Shrike Stone loop skips much of the parry game. It works because the plunge deals splash damage and Break Damage in one landing, so repeated uses stagger him while eating his health bar.
Rewards and how to confirm the fight is done
When Sir Isaac falls, a “New Tarstone Acquired” prompt appears on screen for the Scholar’s Wormstone, alongside a large Gloom payout of 54,254. The Nightmare Fuel achievement unlocks at the same moment, which is the clearest confirmation that the kill registered.
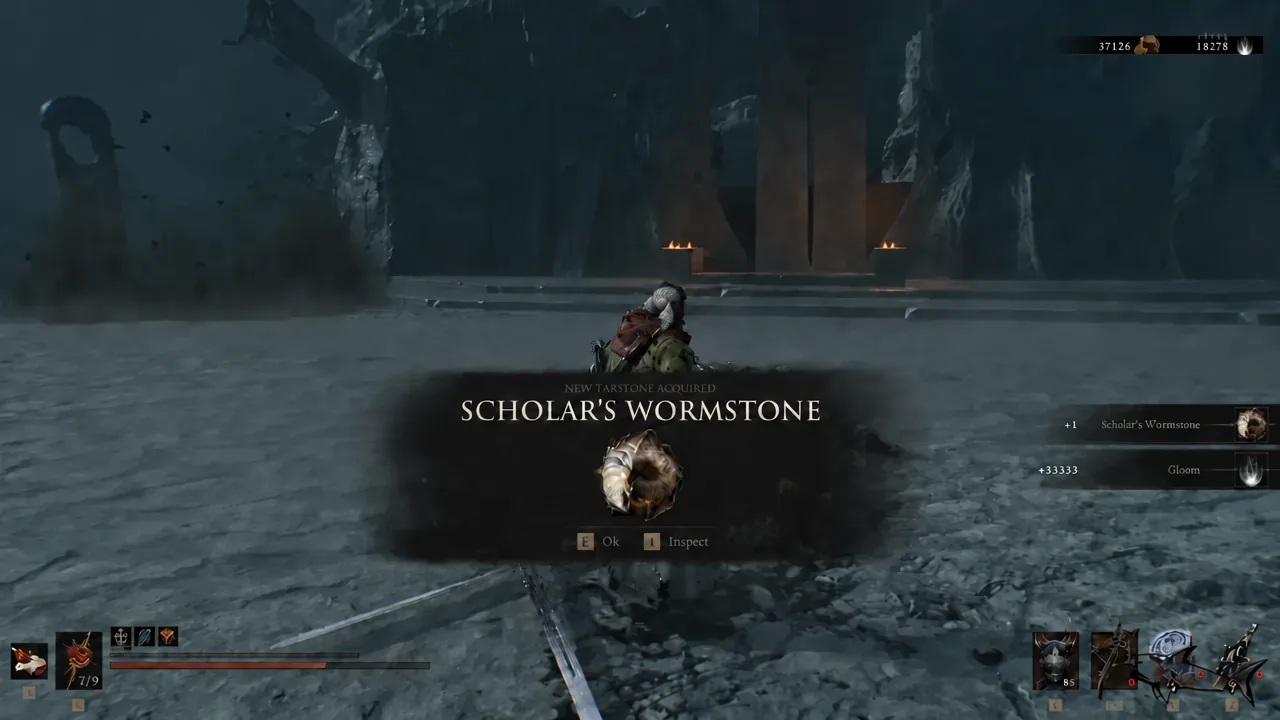
| Reward | Amount | Effect or use |
|---|---|---|
| Scholar’s Wormstone | x1 | Consumes Resolve over time to augment every attack |
| Gloom | 54,254 | Spent at a Beacon to strengthen the Harbinger |
| Nightmare Fuel | Achievement | Unlocks on defeating Sir Isaac |
Before you leave, walk to the back of the arena and interact with the large dark shell structure to revitalize the beacon. That unlocks the Scholar-Prince’s Chamber beacon as a fast travel point, which is the last thing the Faded Citadel gate asks of you before the run continues.





