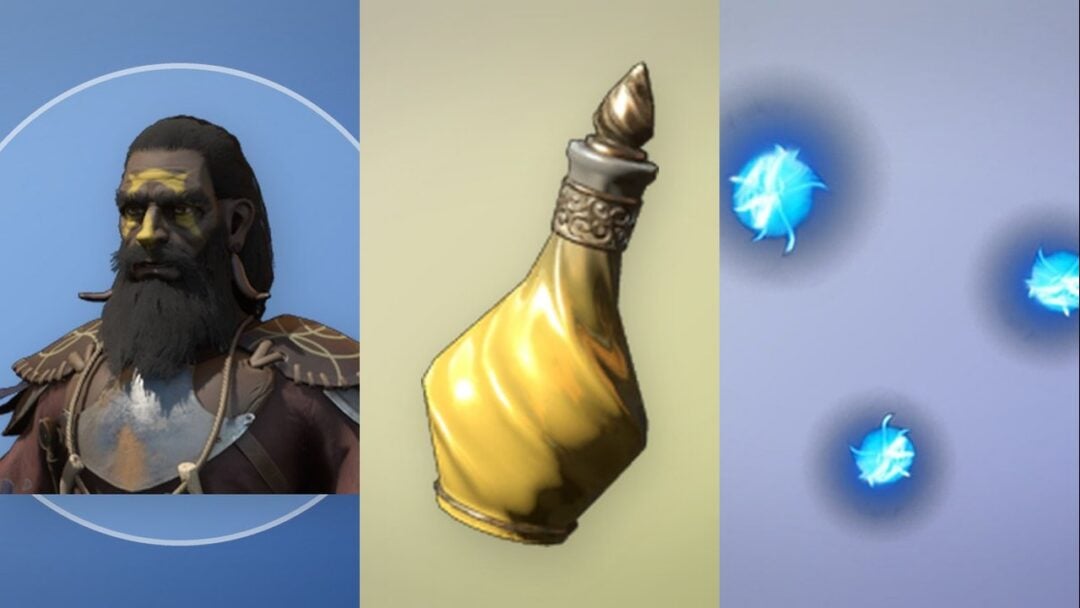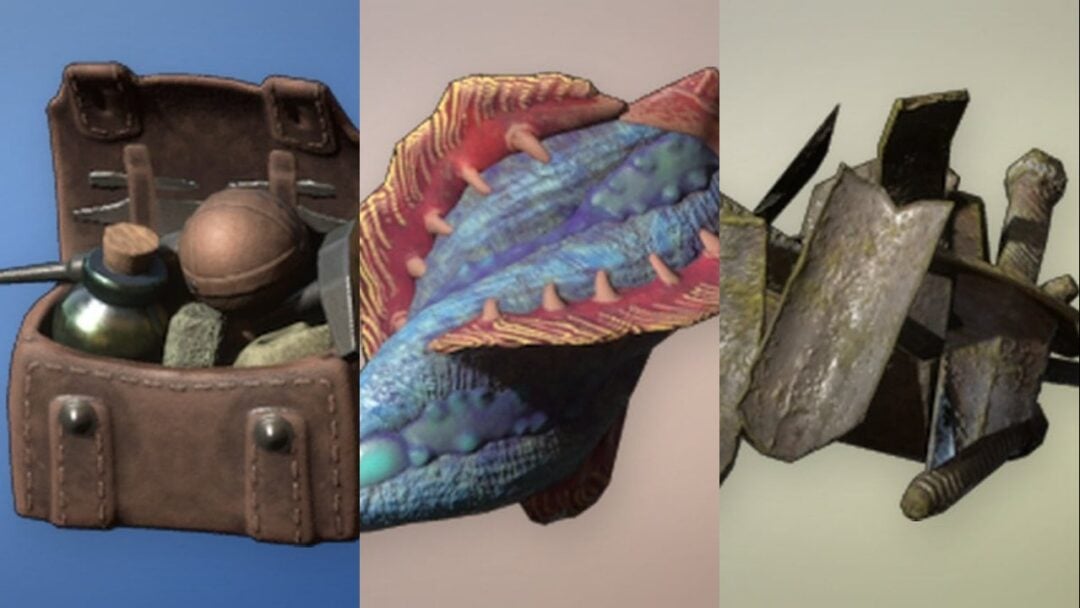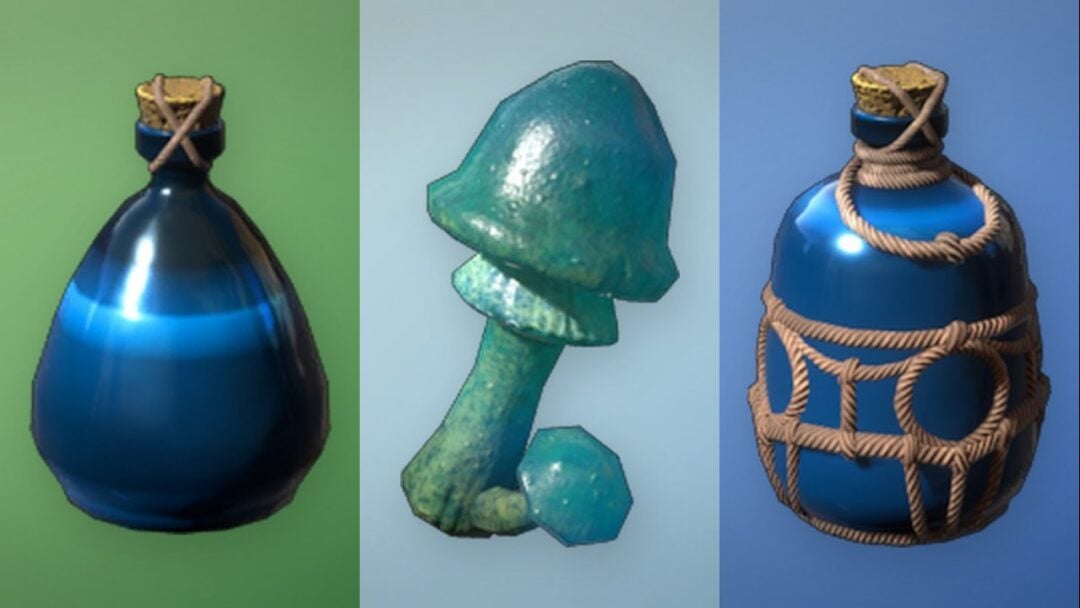
Martyr’s Tomb is one of the shortest dungeons in Mortal Shell 2, but it traps players who reach the burial chamber without knowing how to leave. Once you step inside for the reward, the gate seals behind you, and the only way out is a hidden pressure plate above the exit. Handle it correctly and you walk away with a weapon-upgrade unlock and a new Tarstone.
Quick answer: Enter through the ruined chapel near the Widow’s Overlook Beacon, press the hidden button behind the breakable crates to raise the portcullis, loot the chest for the Obsidian Lathe and Parasitic Stone, then shoot the small plate on the wooden wall above the gate to escape.
Where to find Martyr’s Tomb
The dungeon sits inside a ruined chapel near the Widow’s Overlook Beacon in the Fainweald region, close to the outskirts of the Mushroom Village. Follow the descending path near the Great Arbiter of Flesh miniboss to reach the chapel ruins.
You can clear the enemies loitering outside or slip past them. Either way, step through the fog-covered basement entrance to drop into the dungeon.
Reaching the burial chamber
How to escape Martyr’s Tomb
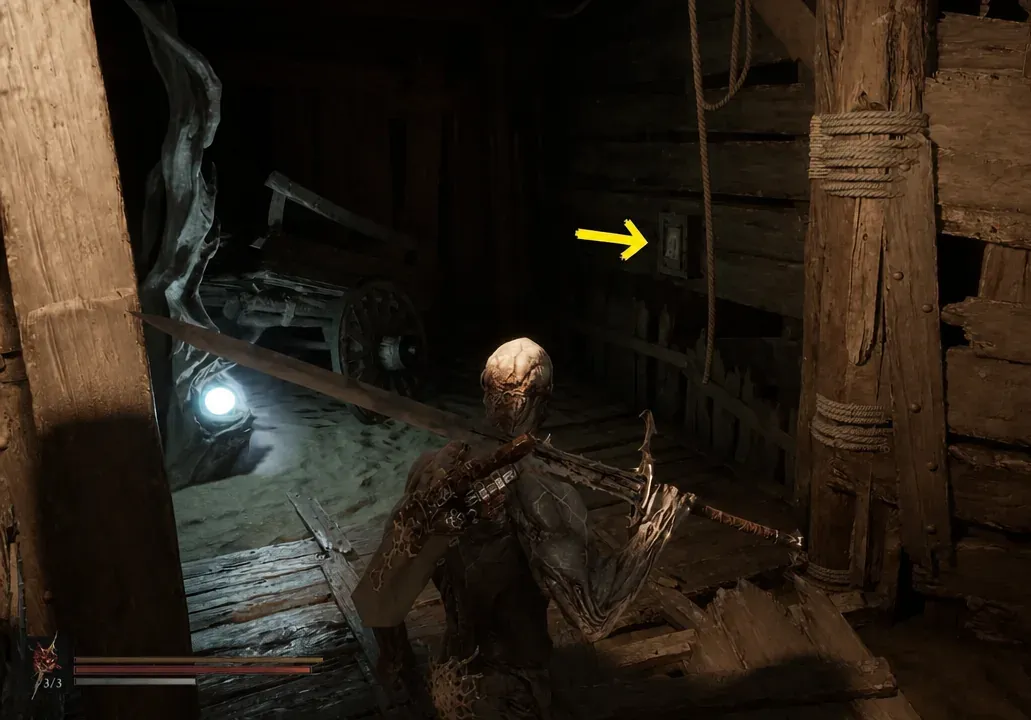
After looting, you will find no button inside the sealed chamber, and the portcullis will not reopen on its own. The exit is a small plate mounted on the wooden wall above the gate. Shoot it with your sidearm to lift the barrier.
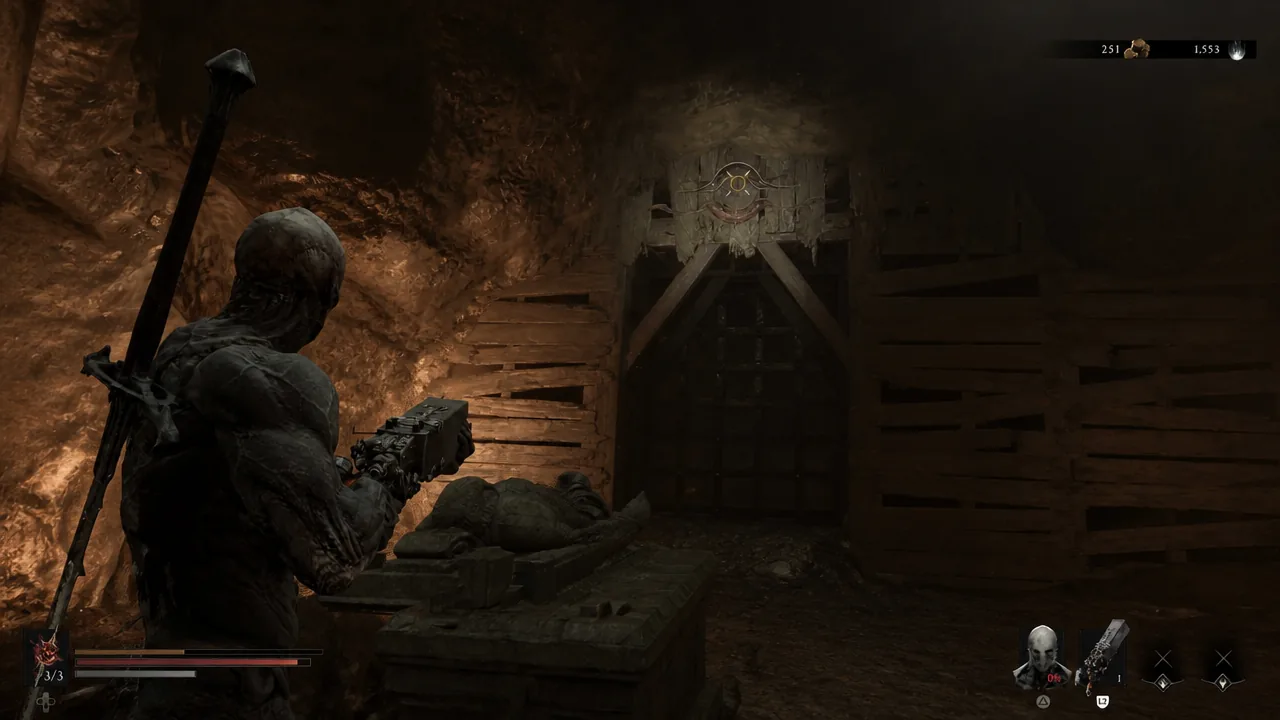
Out of ammo? Strike the Resolve root in the room until the orange bulb on it breaks to refill your shots, then take the plate down. Once the plate is hit, the gate rises and you can leave the way you came.
Martyr’s Tomb rewards
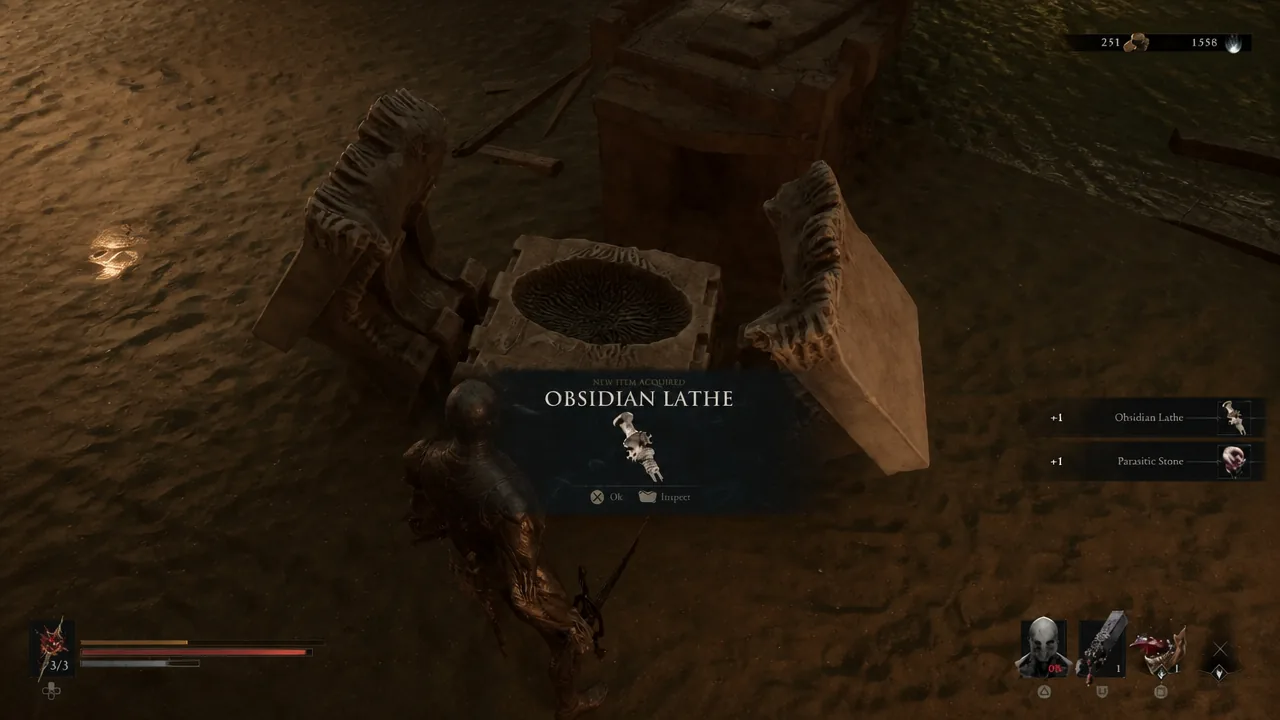
The chest in the main chamber holds two items: the Obsidian Lathe and the Parasitic Stone. Alongside them, you can pick up Laterite here for weapon and sidearm upgrades.
| Item | What it does |
|---|---|
| Obsidian Lathe | Unlocks sidearm upgrades once given to Franz at the Tarforge. |
| Parasitic Stone | A Combat Tarstone that grants Leech stacks on each kill for bonus Maximum Health. |
Using the Obsidian Lathe
Return to Marrow Keep and speak with Franz next to the Tarforge, then hand him the Obsidian Lathe. This unlocks the ability to upgrade your secondary weapons. As with primary weapons, upgrades cost Vitrium (and its variants) plus Coin.
Using the Parasitic Stone
The Parasitic Stone is a Combat Tarstone that builds Leech stacks whenever you kill an enemy. Once you gather enough stacks, you gain bonus Maximum Health. Those stacks reset when you die or rest at a Beacon.
The stone pays off most during long stretches of exploration, since you need a steady stream of kills before the Leech effect matters. Upgrading it raises the number of Leech stacks you gain per kill, which makes the health boost far more reliable.