Mortal Shell 2: How to Complete Every NPC Quest and Claim the Rewards
Locations, item hand-ins, and rewards for all seven questlines, including the Baghead chain tied to the secret ending.
Locations, item hand-ins, and rewards for all seven questlines, including the Baghead chain tied to the secret ending.
by AllThingsHow Staff · Edited by Pallav Pathak
The Harbinger can follow seven NPC questlines across Mortal Shell 2, and finishing them hands over Shells, seals, trophies, and the trigger for the game’s secret ending. Some resolve in a single visit, while others stretch across multiple rests as the world state changes around each character.
Quick answer: Progress every quest by giving the requested item, then resting at a beacon to advance the character’s state. Repeat the give-and-rest loop until the NPC shows their memory or leaves behind a final reward.
Image credit: Playstack
Rewards for each NPC quest
NPC
Location
Main reward
Grisha Pup
Mushroom Village hunter camp
Sheephead Totem, Glimpse, Ventrium
Gorf and Hilga
Widow’s Overlook and Backridge Hamlet
Multiple Marsh Pearls
Gragu
One Legged Wolf Tavern
Gragu Shell memory
Baghead
Desolate Peak
Secret ending trigger
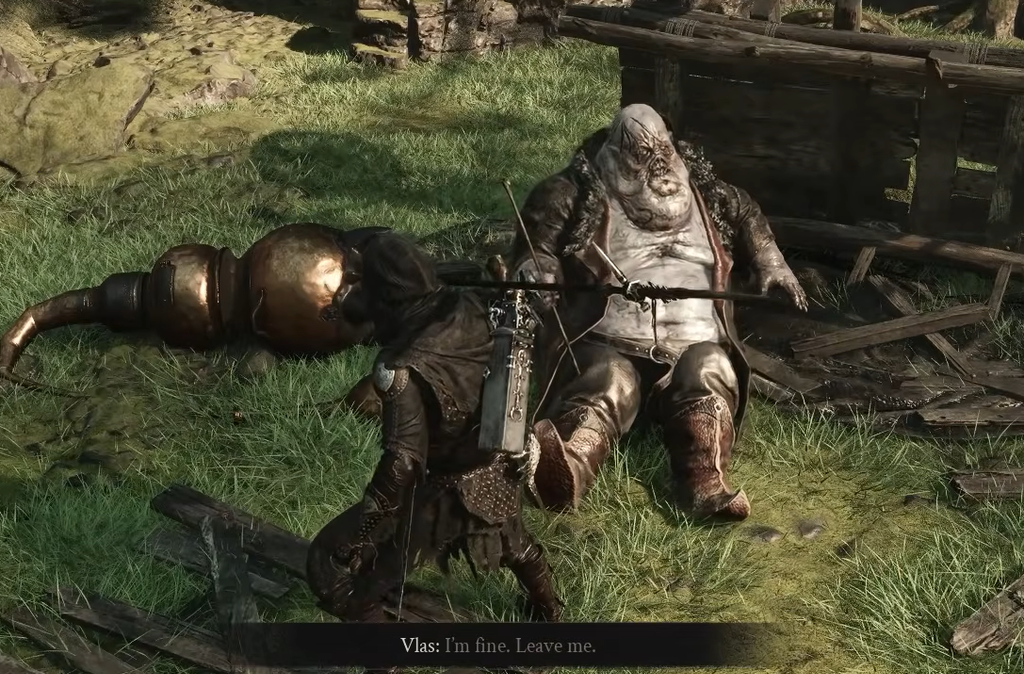
Vlas
Road to Absolution
Coins of Mammon, extra Glimpses
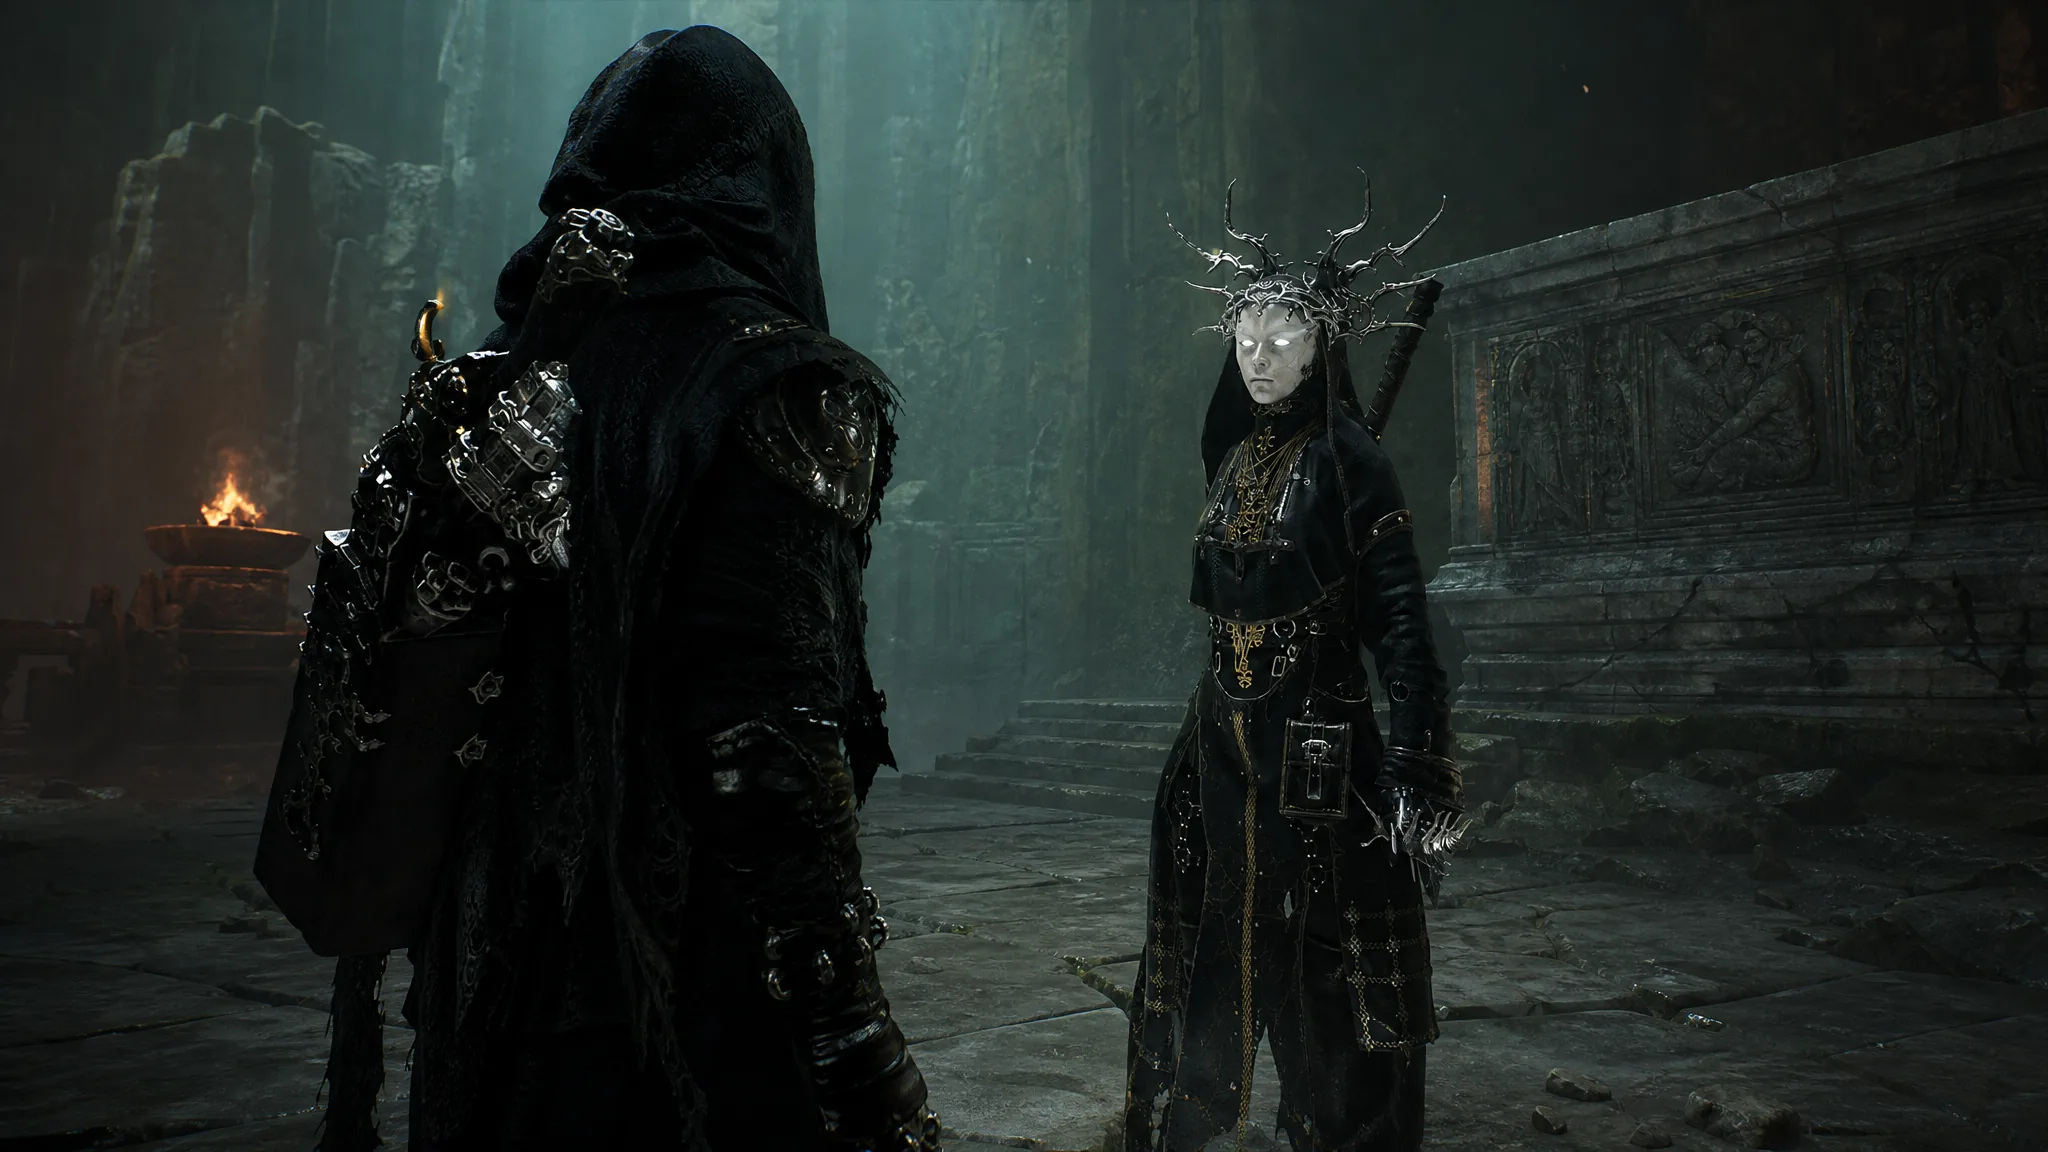
Sester Genessa
Marrow Keep
Infinite Seal, Genessa Shell
Egon
Castigator’s Keep
Over 36K Gloom, Feed Me trophy
Grisha Pup quest at Mushroom Village
Head west from the first Mushroom Village Beacon and keep going until you reach a hunter camp beside the Shrine of Trials. Speak to the lead hunter at the table to open his shop.
Rest at a beacon, then return to the camp. You will find the hunters slaughtered and the pup standing beside its parent. Neither creature turns hostile toward you.
Talk to the pup to receive one Glimpse and one Ventrium, which closes out the quest.
Image credit: Playstack / Game Guides Channel
Gorf and Hilga questline
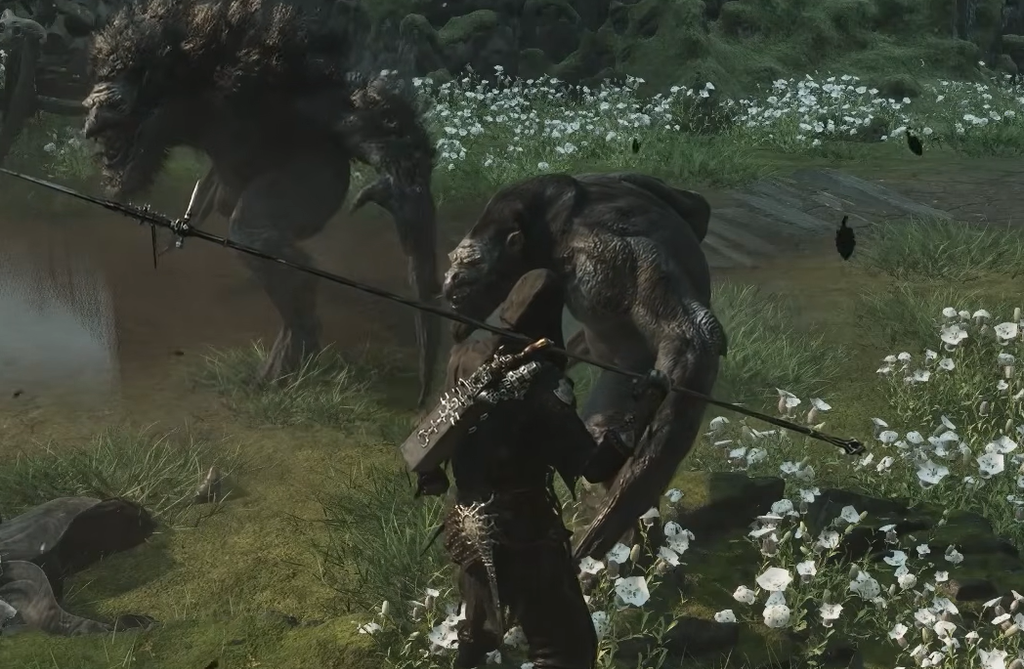
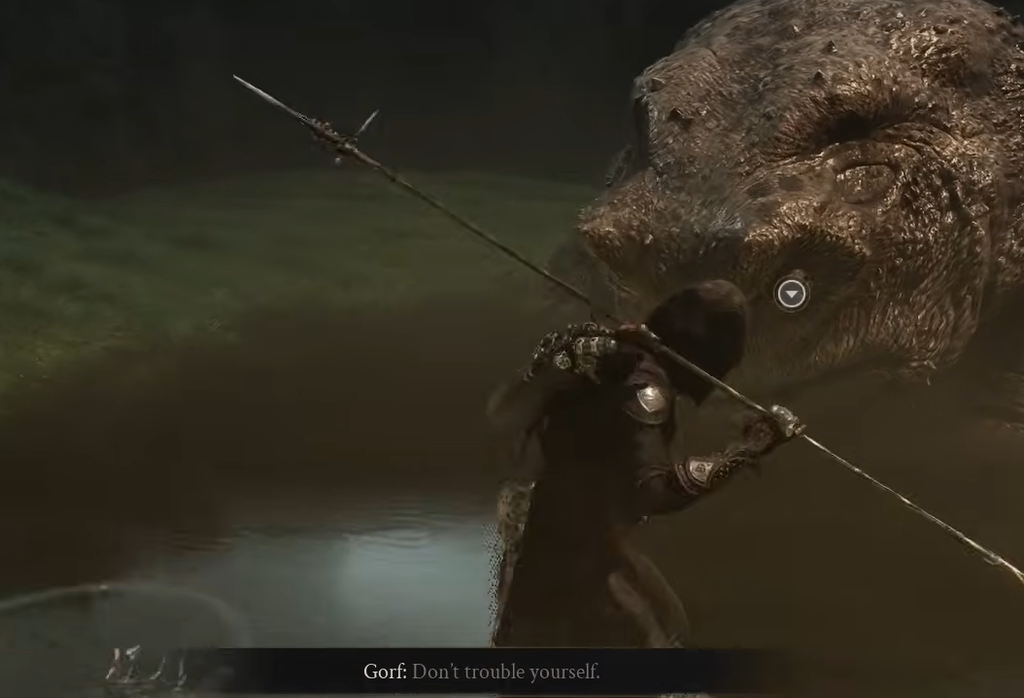
This starts short and turns into a long chain. Find Gorf, a giant frog, at Widow’s Overlook. He sits in a crevice near the area’s beacon, facing the Trial.
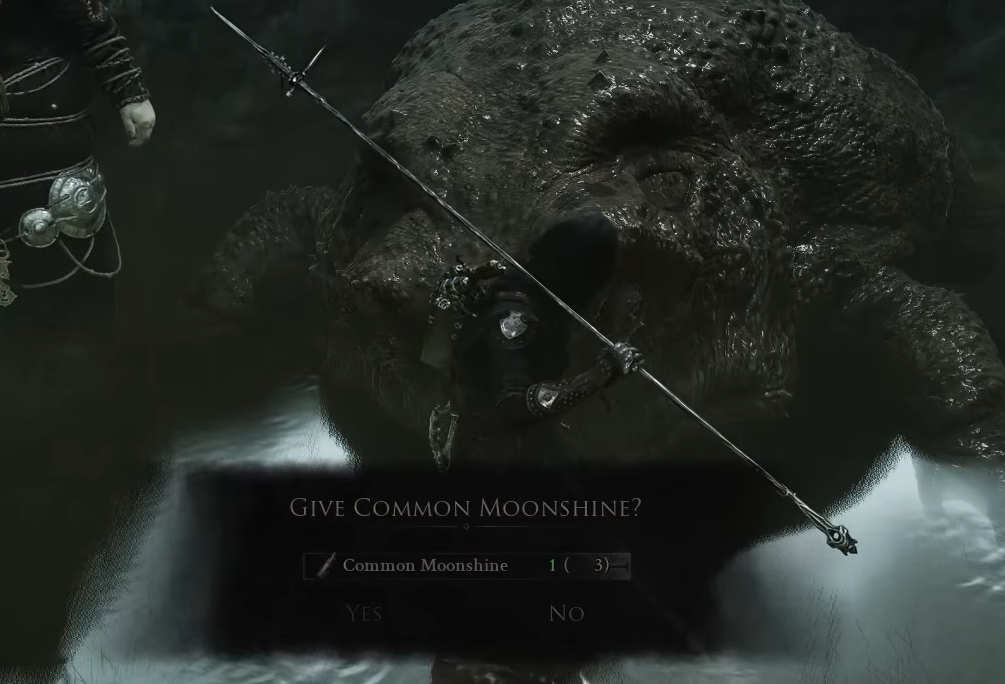
Give Gorf one Weltcap to receive a Marsh Pearl. Rest at the beacon and repeat this three more times, handing over another Weltcap and two bottles of Common Moonshine across those visits.
Travel to Backridge Hamlet to meet Hilga, Grom, and Harwald. Reach the hamlet using the gust of wind facing the Shrine of Trials, past the corruption. Talk to Hilga and drink her brew to restore your HP.
Go back to Gorf, who is now recovering alongside Hilga, and give him another bottle of Common Moonshine. Rest and return one final time to complete the quest.
Image credit: Playstack
Talk to Hilga afterward to learn what her brew was made from. Playing a song for the pair also makes the frogs dance.
Gragu quest and the Heart of Vatra
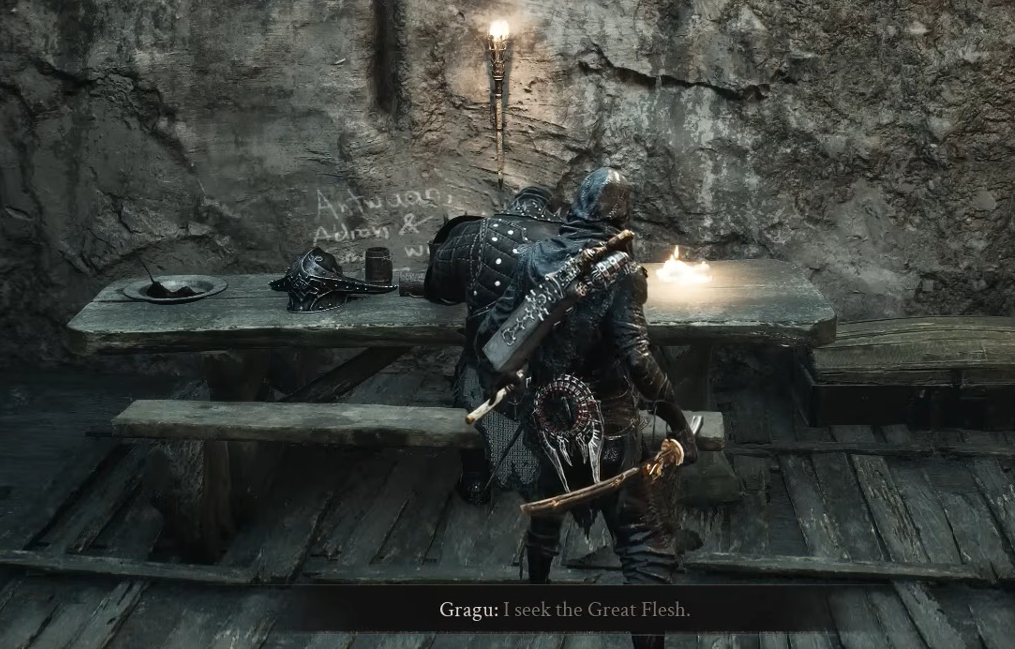
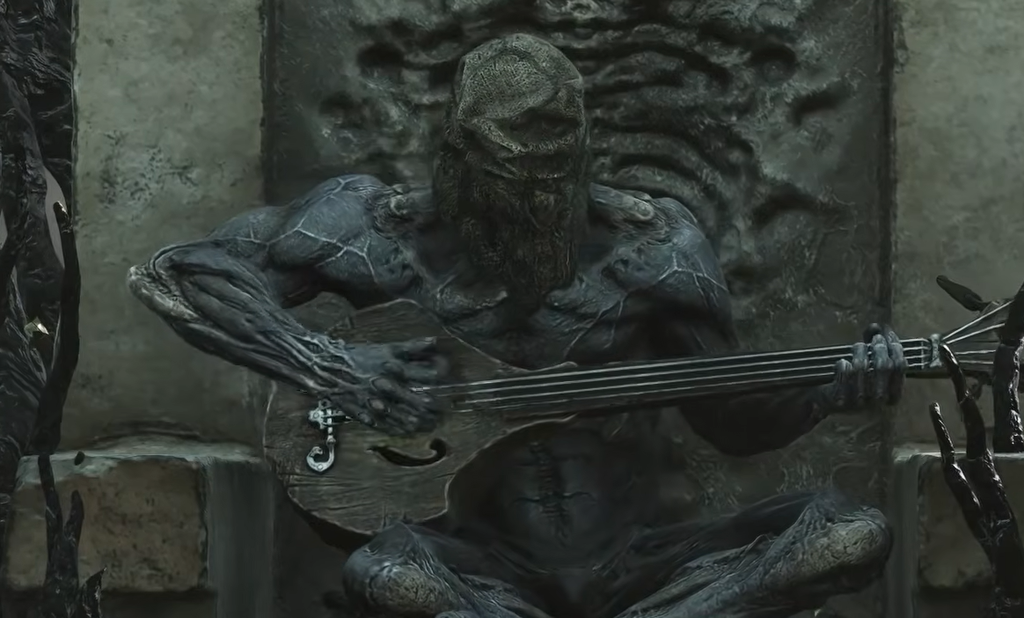
Gragu is a future Shell, and his quest begins at the One Legged Wolf Tavern, found by heading west of the Mushroom Village Beacon. You can also pick up the Troubadour’s Lute sidearm while you are there.
Head further west to the Temple of Vara and take the Heart from the altar at the very end. Grabbing it wakes several statues, so fight your way back down as they attack.
Return to the tavern and give Gragu the Heart. He relives his first memory, and the quest is complete.
Image credit: Playstack
Baghead quest for the secret ending
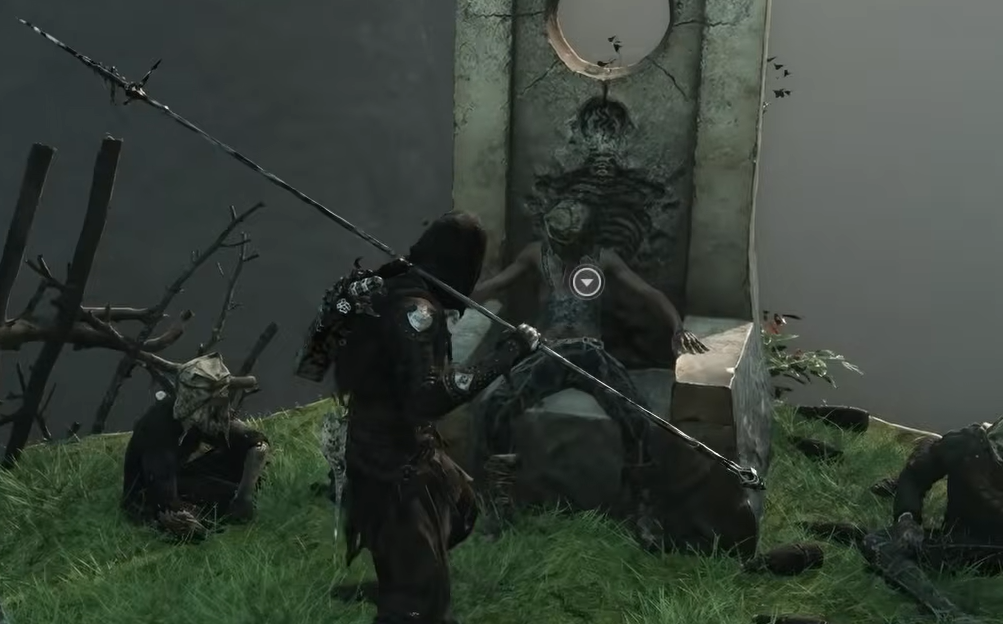
Finishing Baghead’s quest is what unlocks the secret ending. His cult sits on Desolate Peak, reachable through traversal portals in both the Citadel of Penance and the Prophet’s Rest areas. Your progress carries over after the credits roll.
Talk to Vlas, then examine the cage ahead of him to pick up a Coin of Mammon. Rest and speak to him again to learn that his companion Mutton has been kidnapped.
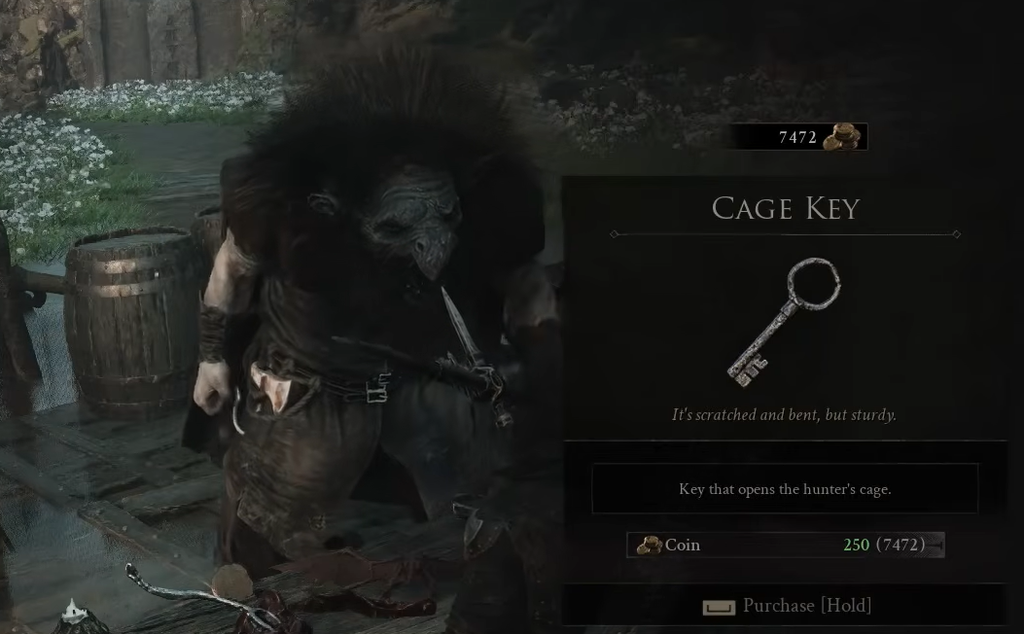
Travel to Lonesome Spire, reached by riding a lift west of the Gate of Mammon Beacon. You will find a bandit camp and Mutton locked in a cage. Since you cannot harm the bandits, buy an extra Glimpse from them.
Backtrack to the hut by the camp entrance, which you passed after leaving the lift, and grab the Unremarkable Key. Exhaust Vlas’s dialogue again to give him the key.
Head back to Vlas’s first location to find his letter, then return to Marrow Keep. Vlas and Mutton appear in the area leading to Merrick’s shop, and talking to the merchant there yields another Coin of Mammon.
Image credit: Playstack
Sester Genessa quest for the Infinite Seal and her Shell
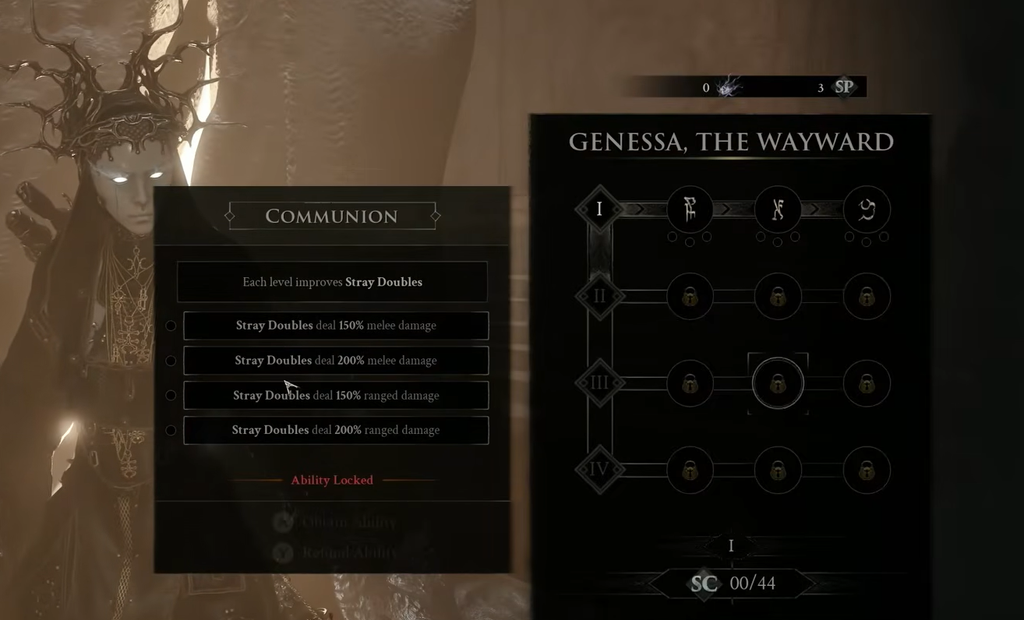
Genessa is one of the first NPCs you meet, and her quest pays out some of the best rewards in the game, including the Parry-focused Infinite Seal and her own Shell.
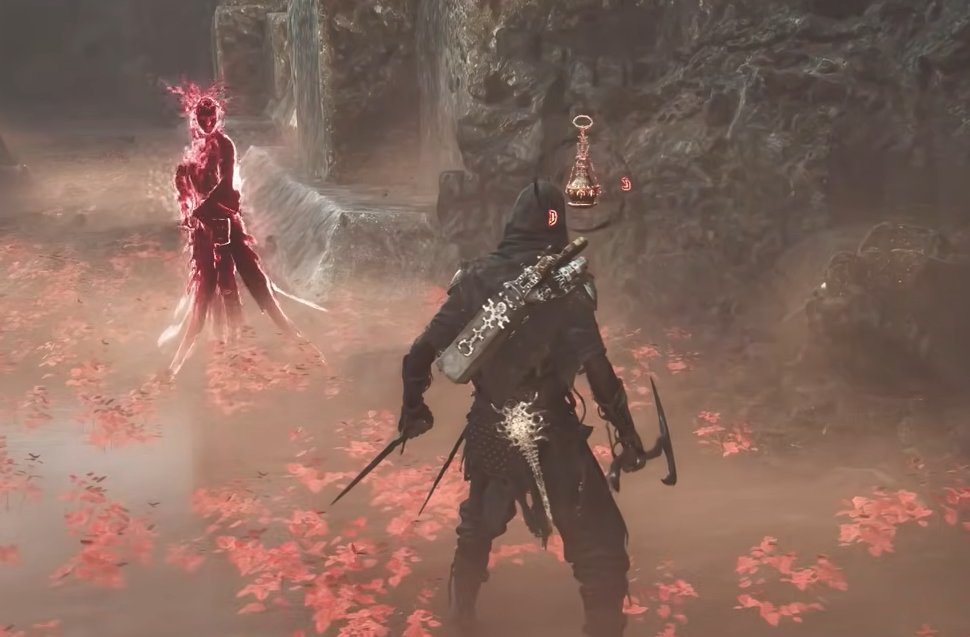
Talk to Genessa at Marrow Keep and clear her sparring trials to earn the Infinite Seal. Exhaust her opening dialogue and speak to her again after the first tower for extra context. Approaching her while wearing the Tiel Shell unlocks a touching moment.
Travel to Revenant Graves, located west of the Outskirts of Mammon and reached through the Traversal Gates. Find Genessa’s fragments surrounding her Sester’s Censer.
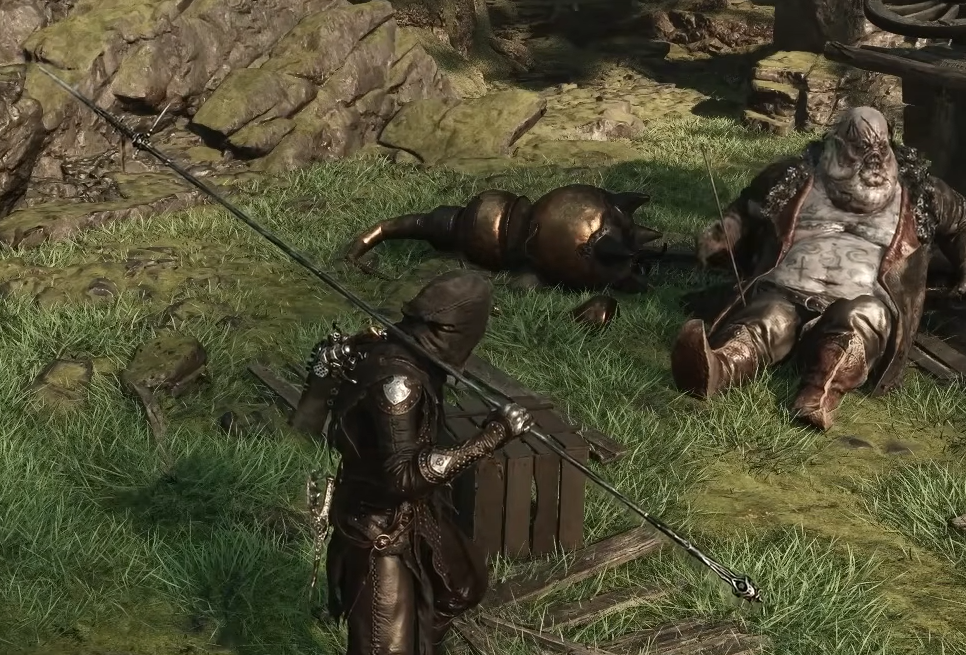
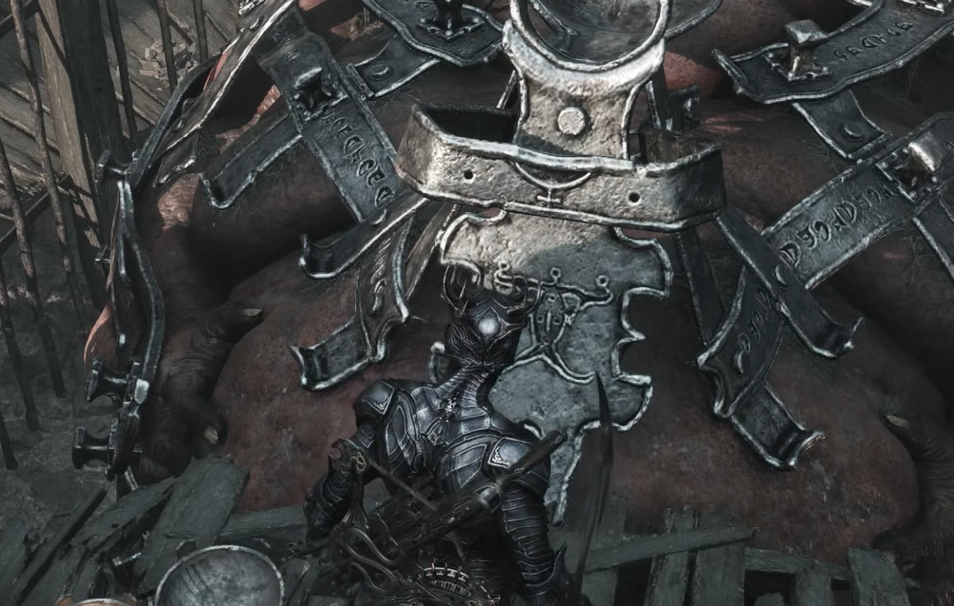
Offer him 10K Gloom as tribute. He thanks you and passes away, leaving behind over 36K Gloom. Completing his quest also awards the Feed Me trophy/achievement.
Image credit: Playstack
Note: You know each quest has landed when the NPC plays a memory, hands over the final reward, or leaves the world state changed, such as Egon’s passing or Gorf and Hilga recovering together. Because most of these quests advance only after a rest, skipping the beacon step is the most common reason a chain appears stuck.