

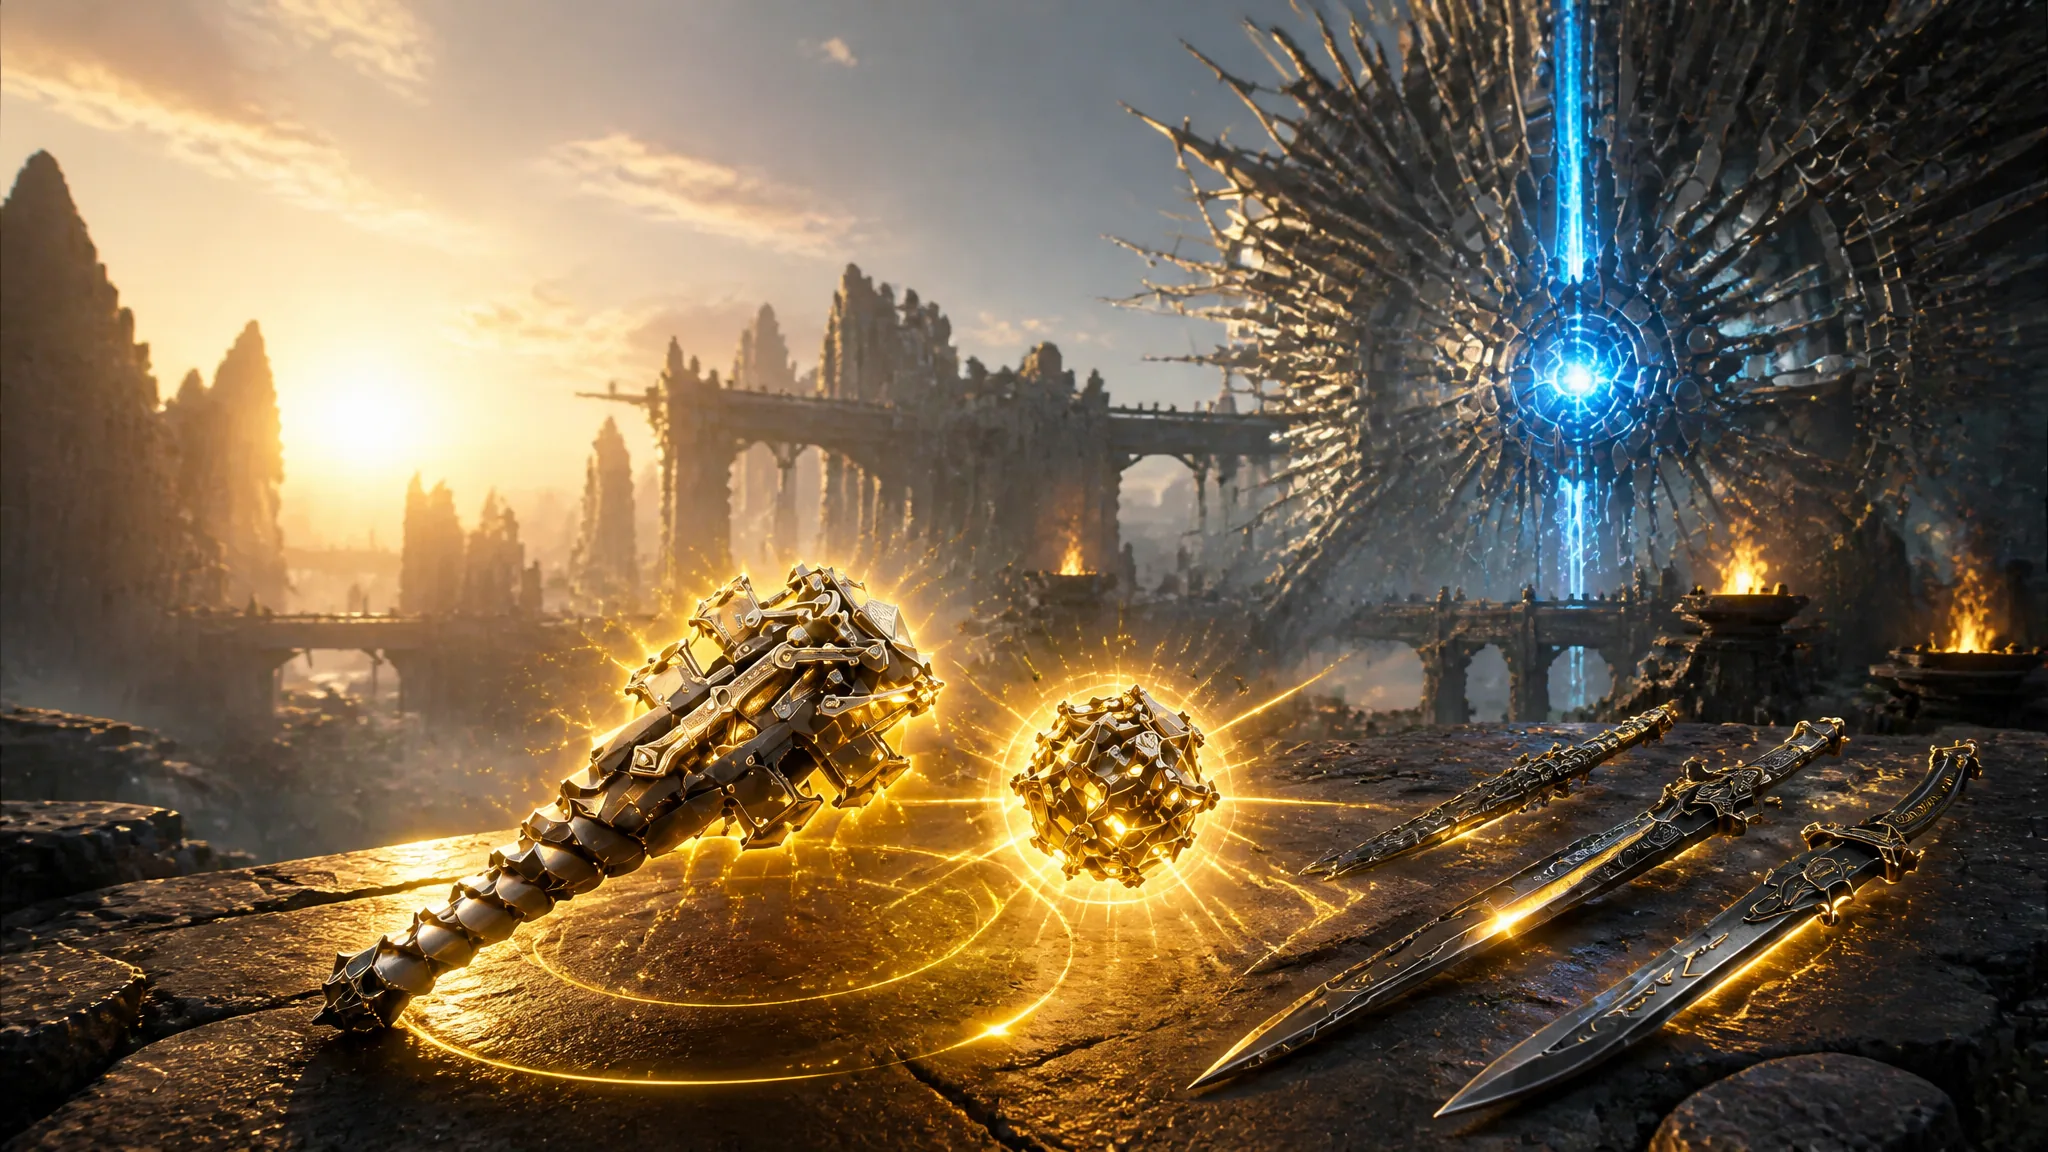
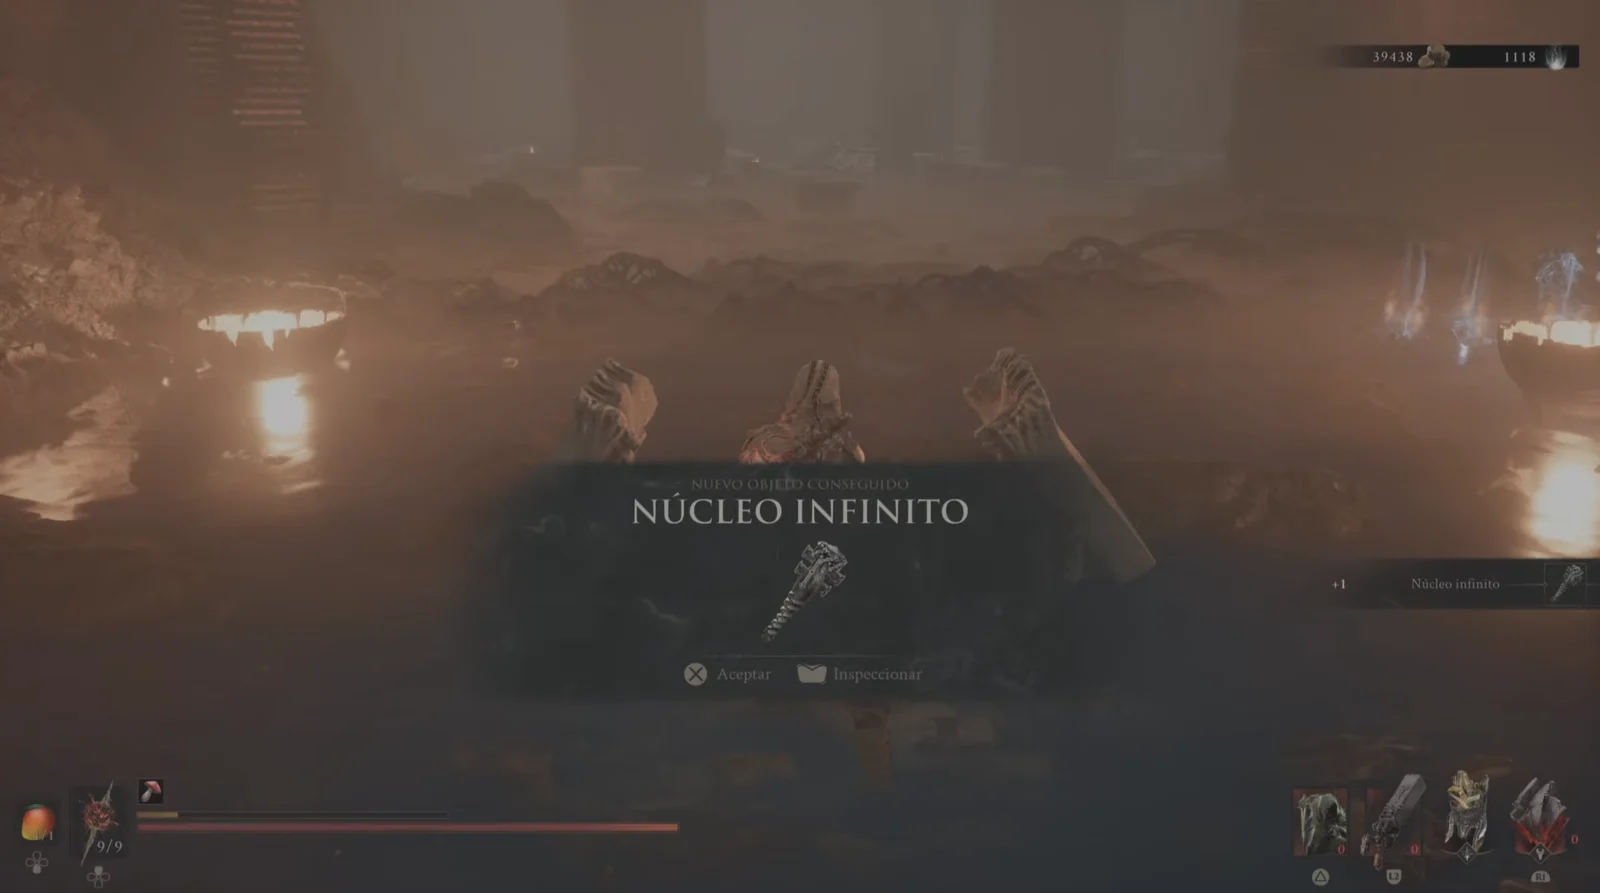
Weapon enhancement in Mortal Shell 2 hits a wall late in the game. Franz’s Tarforge will happily take your Thoracium until a weapon or sidearm tops out, and then the option to keep going simply is not there. The Endless Core is the component that removes that ceiling, and it sits at the far end of one of the game’s last major dungeons.
Quick answer: Deliver 168 Ova at Marrow Keep to open the Unfound Path, defeat Malborn Offspring, The Monolith, and Orrem, cleanse all three bone structures, then loot the chest inside The Hidden Nave.
What the Endless Core does at the Tarforge
The Endless Core is an upgrade material, but you never spend it on a weapon. You feed it to the Tarforge once, and it permanently removes the level cap on both weapons and sidearms. After that, enhancement continues into the final material tier instead of stopping.
The device gives off an eager hum. It enables endless labor, yet toward what goal? Finality can bring freedom; infinity continues onward.
Here is where the Core fits into the full enhancement ladder used by primary weapons and upgradeable sidearms:
| Levels | Material | Gate |
|---|---|---|
| +1 to +5 | Ventrium | Muredean Actuator |
| +6 to +10 | Laterite | — |
| +11 to +15 | Dorsalite | — |
| +16 to +20 | Thoracium | — |
| +21 and up | Ossinite | Endless Core |
Ossinite is the final tier material, and it only becomes usable once the Core is installed. Treat every piece as scarce — it turns up as placed loot on late routes such as the area around Ossinite Falls Beacon in Withered Shoals rather than from a repeatable farm.
The other Tarforge unlocks are not interchangeable. Muredean Actuator opens weapon enhancement, Obsidian Lathe opens sidearms, Etching Needles opens Temper Tarstones, and Foundry Stone opens Smelt Equipment. None of them lift the level cap.
Requirements before the Unfound Path opens
The Core sits in an underground area that is sealed until you have taken the main campaign most of the way to its end. Check these off before you go looking for it:
- Clear the main gates and their bosses, and cleanse the corrupted beacons along the way.
- Collect and deliver 168 Ova at Marrow Keep.
- Interact with the Gloom Siphon at Marrow Keep to open the descending passage.
- Have Thoracium and coin banked, since you will want to spend the cap increase immediately.
Once the Siphon accepts the delivery, a stairway opens beneath Marrow Keep. Drop down the shaft from the Marrow Keep beacon and you land in a flooded cavern — that is the entrance to the Unfound Path.
Clear the three curse bosses in the Unfound Path
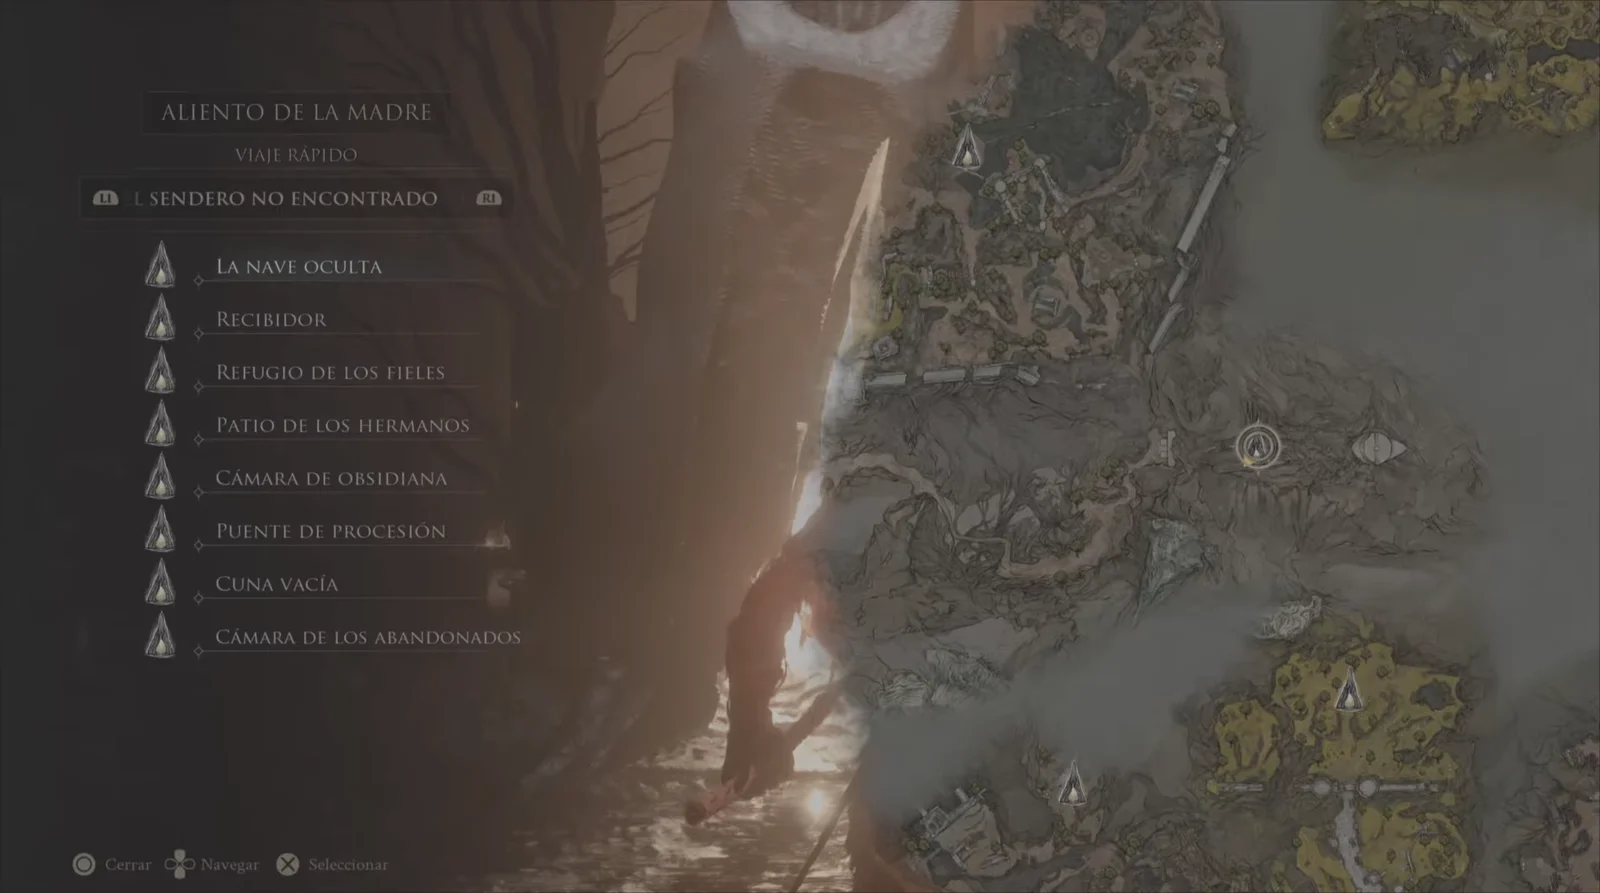
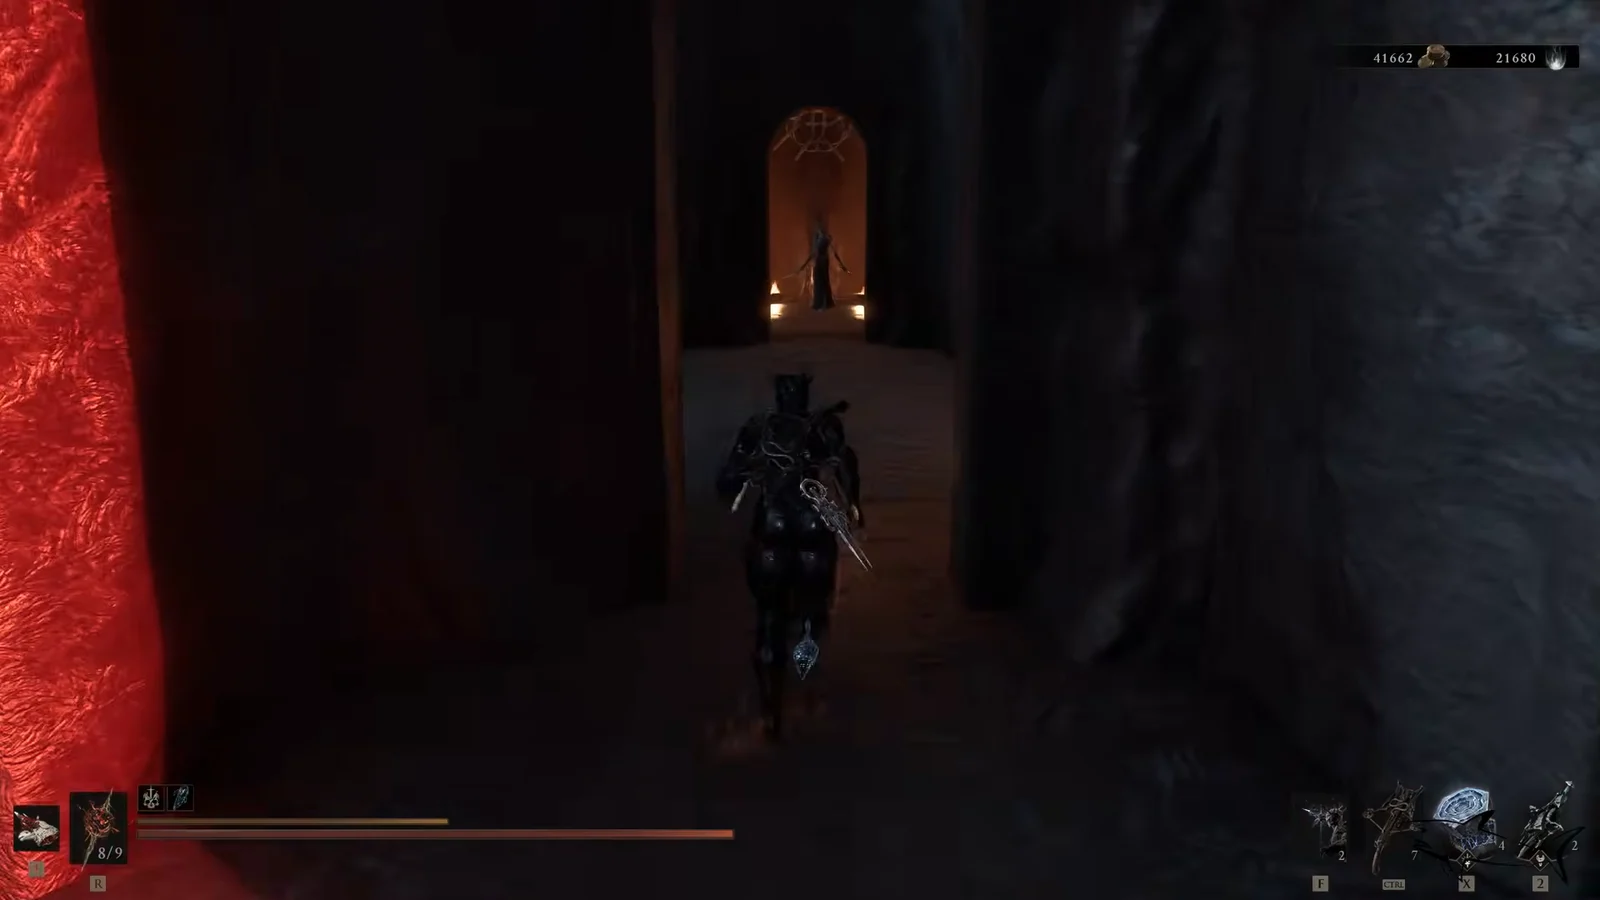
Three curses keep The Hidden Nave sealed. Each one is tied to a boss and a fleshy bone structure somewhere past that boss’s arena. Kill the boss, walk to the structure, interact with it, and a cutscene cleanses that curse and teleports you back to the Chamber of the Forsaken — which makes that beacon your hub for all three runs.
| Boss | Nearest beacon | Reward |
|---|---|---|
| Malborn Offspring | Faithful’s Shelter | Offspring Trophy |
| The Monolith | Obsidian Vault | Monolith Fragment |
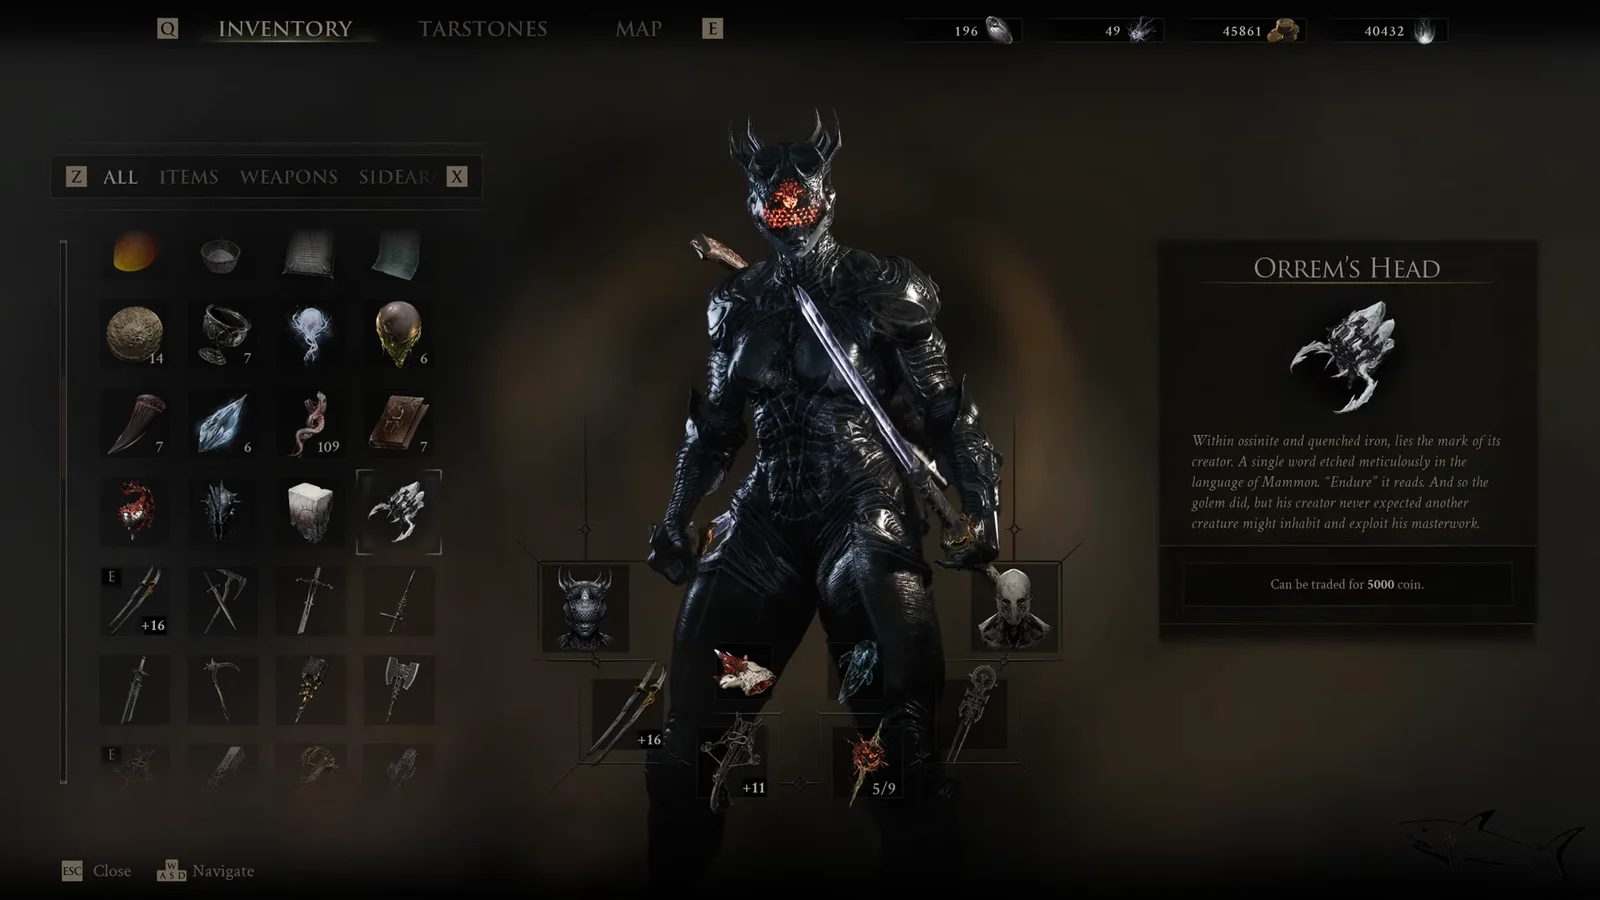
| Orrem | Bridge of Procession | Orrem’s Head |
Revitalize every beacon you pass. The fast travel list fills out quickly down here, and the teleport back to Chamber of the Forsaken after each cleanse is only useful if the next branch’s beacon is already lit.
First curse: Malborn Offspring
Second curse: The Monolith
Third curse: Orrem
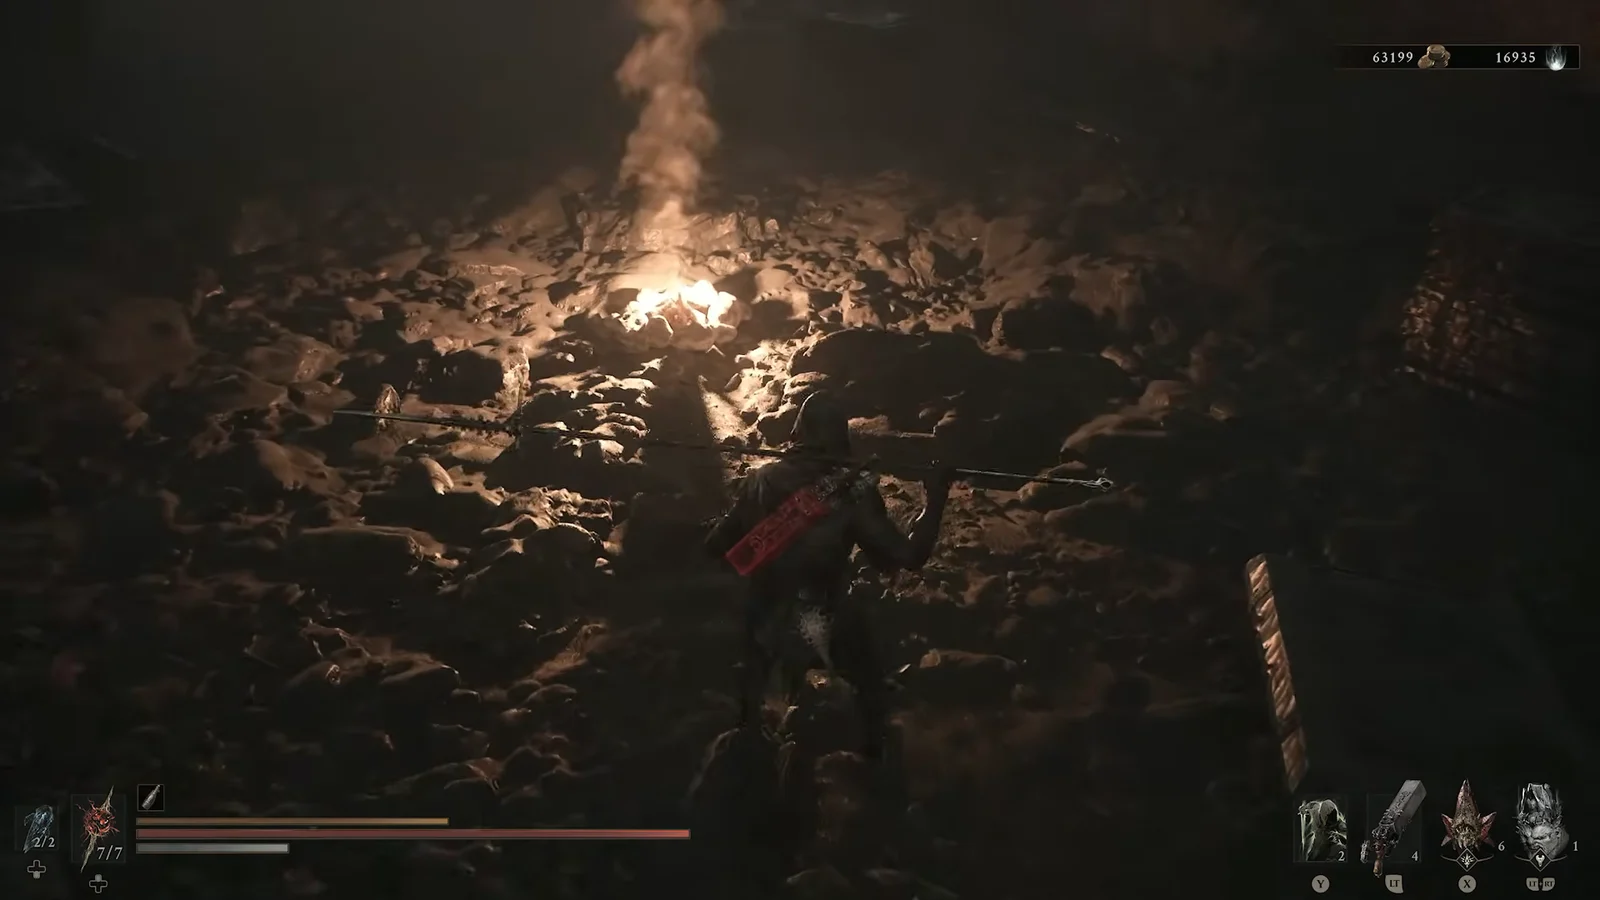
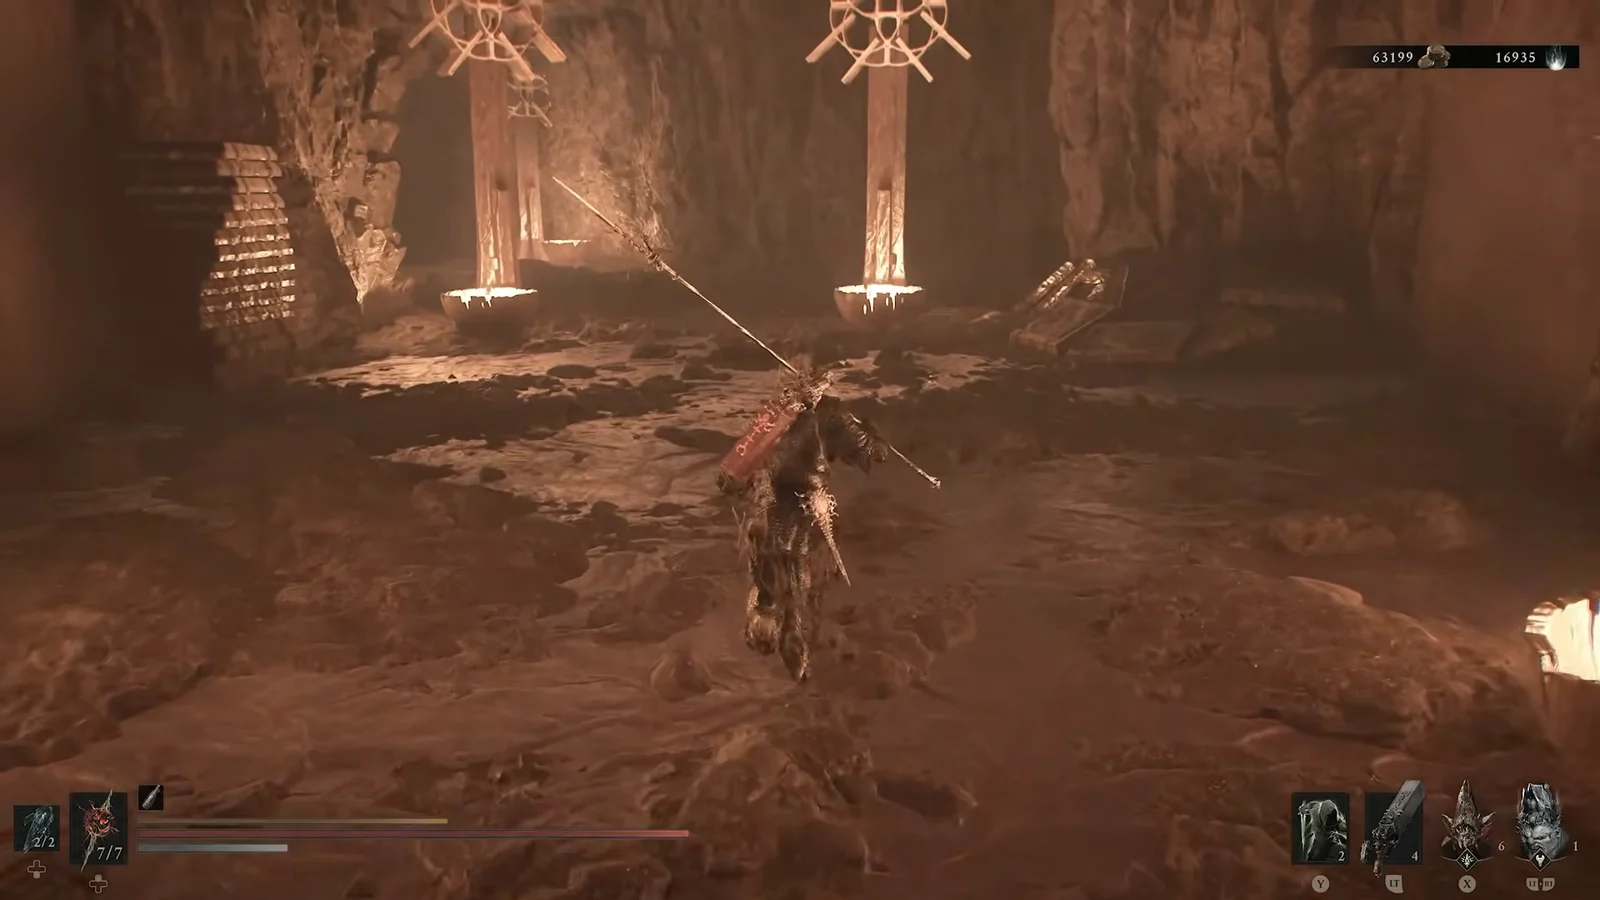
The Hidden Nave torch puzzle and the Endless Core chest
With all three curses gone, the central tree beacon, The Hidden Nave, is cleansed and appears in your fast travel list. Everything past it is pitch dark and thick with fog, and the one campfire you find at the entrance has no torch on it. The torch is on the other side of the fog.
Install the Endless Core at the Tarforge and confirm it worked
Fast travel back to Marrow Keep and walk up to the Tarforge machine. This one is not a Franz conversation — you install it through the forge menu yourself. A new option, Install Endless Core, sits alongside Enhance Weapons, Enhance Sidearms, Smelt Equipment, and Temper Tarstones. Select it.
You know it worked when the Install Endless Core entry disappears from the menu and Enhance Weapons lets you keep advancing a maxed weapon instead of greying the next level out. Open Enhance Weapons or Enhance Sidearms, pick the weapon you had parked at its old ceiling, and the next upgrade step should now display an Ossinite and coin cost rather than nothing at all.
If a weapon still refuses to advance after the install, check that you are in the right service — sidearms use Enhance Sidearms, not Enhance Weapons — and that you are actually carrying the next tier’s material and enough coin.
Because the Core lifts the cap on your whole arsenal rather than a single item, the real constraint afterwards is material supply. Pick the one weapon and one sidearm you intend to finish the game with before you start burning Ossinite, since the late tiers are placed loot and late-route rewards rather than something you can grind back.





