Glimpse used to be the one resource you could not get more of. At launch, a full run gave roughly 90 of them, spread across Beacons, Corrupted Gates, bosses and a handful of fixed pickups, and once they were spent on a Shell Bond they were gone. That changed with the Week 1 Update, which went live on PC on August 29 and added a Fragile Tarstone that pays out Glimpses on a loop. PlayStation 5 and Xbox Series versions are listed as coming soon, with no release date confirmed.
Quick answer: Buy a Glimpse Stone from Merrick in Marrow Keep for 2,500 coins, equip it in an active Tarstone slot, then defeat 20 enemies. The stone breaks and releases 3 Glimpses, and Merrick restocks it as you defeat main bosses and push the story forward.
How to farm Glimpses with the Glimpse Stone
The Glimpse Stone is a Fragile Tarstone. Its durability drops as you kill enemies, and the payout only arrives at the moment it shatters. Enemies themselves never drop Glimpse, so treat kills as the timer and the stone as the source.
Note: Merrick’s Fragile Tarstone stock is not infinite in one sitting. It refills as you defeat main bosses and advance clear states, so alternate between farming cycles and story progress rather than resting at a single Beacon and expecting a restock.
Reclaim spent Glimpses with Mother’s Severance
Glimpses sunk into the wrong Shell are no longer a permanent loss. Mother’s Severance severs a Shell’s Bond, resets that body, and returns every Glimpse invested in it.
The refund covers the Bond only. Shell Points are a separate layer with their own respec, so inspect both menus after the reset instead of assuming everything rolls back together.
Every Glimpse source and what it pays
| Source | Payout | Repeatable |
|---|---|---|
| Glimpse Stone (Merrick, 2,500 coins) | 3 Glimpses when it breaks after 20 kills | Yes, stock refills with boss progress |
| Gloom Siphon, Marrow Keep | Roughly 1 Glimpse per 10 Ova siphoned | Limited by Ova collected |
| Cleansing a Beacon | At least 1 Glimpse | No, resets in New Game+ |
| Corrupted Gates | Several across main and side routes, plus the unlock reward | No, resets in New Game+ |
| Main bosses | Glimpse on defeat, alongside other drops | No, resets in New Game+ |
| Merrick, Rare Findings | 1 Glimpse for 500 coins | Once per cycle |
| Night mode shell sites | 1 Glimpse per pickup | No |
| Mother’s Severance (5,000 coins) | Refunds every Glimpse spent on one Shell | Yes, restocks occasionally |
Mini-Beacons no longer hand out Glimpse, so any route built around looping them is dead weight now. Fixed chests, NPC rewards and the Gloom Siphon still matter, because renewable does not mean everything respawns.
Turn Ova into Glimpses at the Gloom Siphon
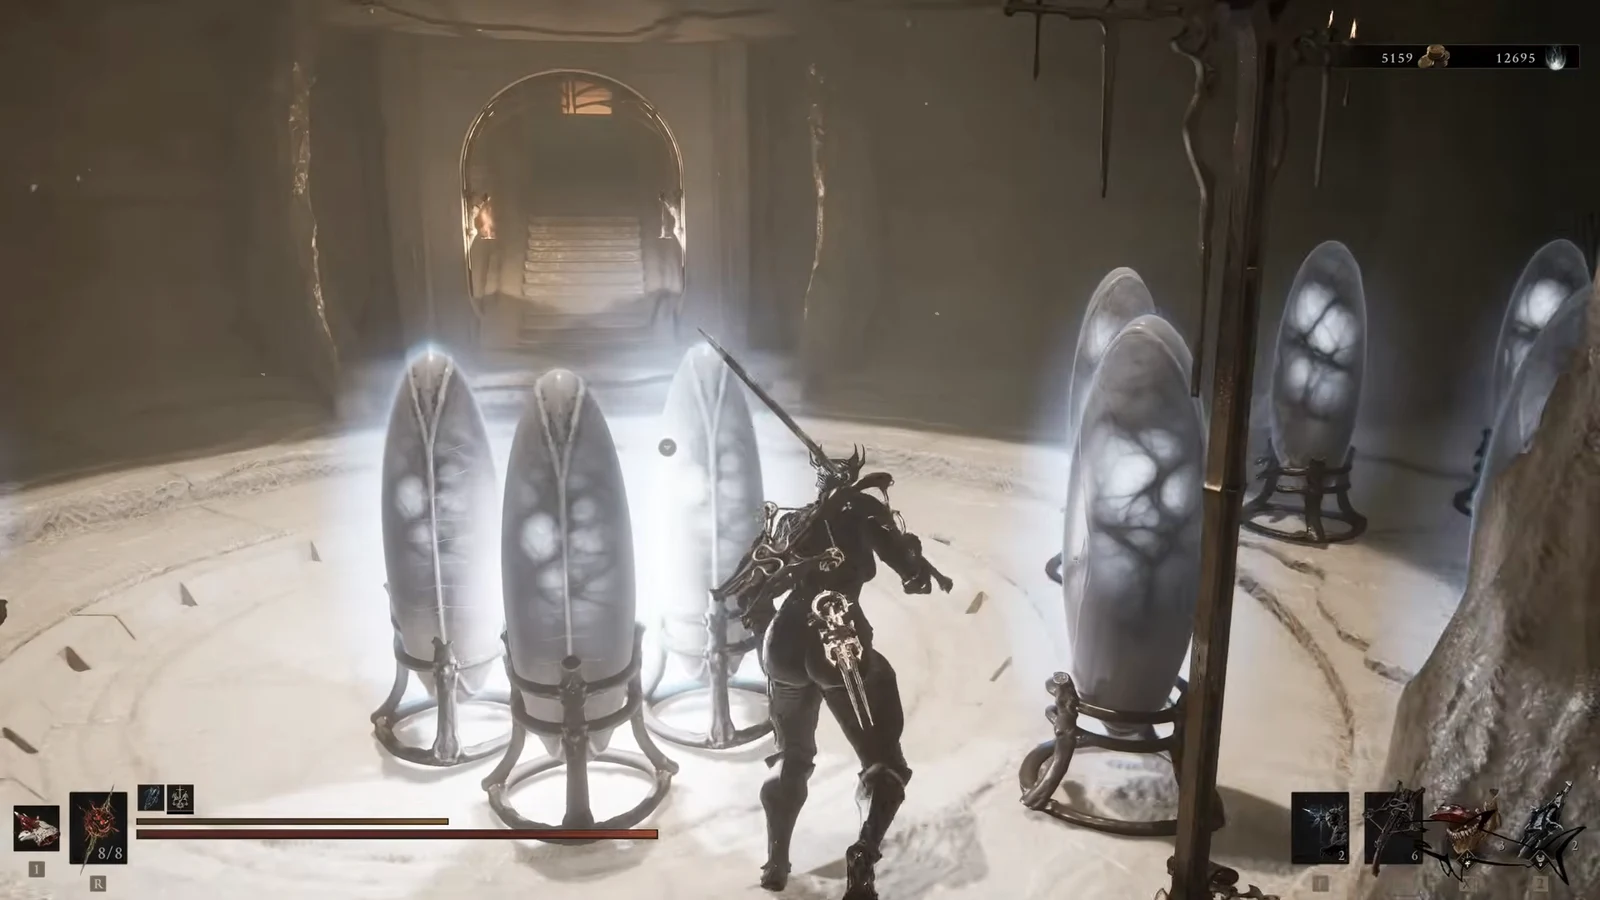
Ova are the oval eggs handed out at the end of Beacons, and they have a second use beyond clearing corruption. Bring them to the Gloom Siphon in Marrow Keep and deposit them in batches. Every ten or so Ova siphoned converts into a Glimpse, and the counter on screen tracks the running total as you feed it.
Depositing regularly also keeps Corrupted Gate access open, since gates are locked behind a minimum Ova threshold. Falling behind on siphoning costs you both the Glimpse conversion and the Gate pickups behind it.
Night mode Glimpses at old shell sites
Summoning the night raises enemy difficulty and also changes what spawns in the world. Glimpses appear at night in the overworld, and the reliable spots are the exact locations where each Shell was originally found.
Speak with Thestus at the top of Fallgrim Tower to get a Glimpse from the conversation and the Call Forth the Night prompt. Answer yes, then run the shell resting sites and swamp paths, watching for the white vertical wisps. Each pickup fires a NEW ITEM ACQUIRED! GLIMPSE banner. Switch back out of night mode when you are done collecting.
How many Glimpses each Shell needs
Glimpses are handed to Zhirelle to push a Shell’s Bond Tier from I to IV. Each tier raises Shell Points capacity and Shell Revive Efficiency, opens the next row of that Shell’s passive tree, and unlocks a Memory.
| Goal | Glimpse cost |
|---|---|
| One Shell to Bond Tier IV | 27 |
| All eight Shells maxed | 216 |
| Spirit Summon at a boss fog gate | 1 per attempt |
You know the spend landed when the Bond Tier number in Zhirelle’s menu ticks up, the next passive row unlocks, and a new Memory becomes selectable. With the stone in rotation, all eight Shells can be completed inside a single playthrough instead of stretching across New Game++.
Why your Glimpse count is not going up
- The Glimpse Stone is in your inventory but not slotted. Durability only drains while it is equipped in an active Tarstone slot.
- You swapped the stone out mid-run. Finish the 20-kill cycle before changing loadouts.
- You expected kills to drop Glimpse directly. They do not — only the break pays out.
- Merrick’s shop is still locked. It is closed on your first visit to Marrow Keep; fast travel anywhere and return to open it.
- You are farming Mini-Beacons. They no longer reward Glimpse.
- You died twice before recovering. Loose Glimpses shown in the HUD drop with your Tar, and a second death deletes the first pile. Glimpse items sitting in your inventory are safe either way.
The practical rhythm now is straightforward. Finish one Bond you are confident in, keep a small reserve for a Memory or a summon, then run Glimpse Stone cycles between boss kills to fund everything else. Hold Mother’s Severance in reserve for the one Shell you regret, and let the finite pickups — Beacons, Gates, chests, night spawns — top up whatever the stone has not already covered.