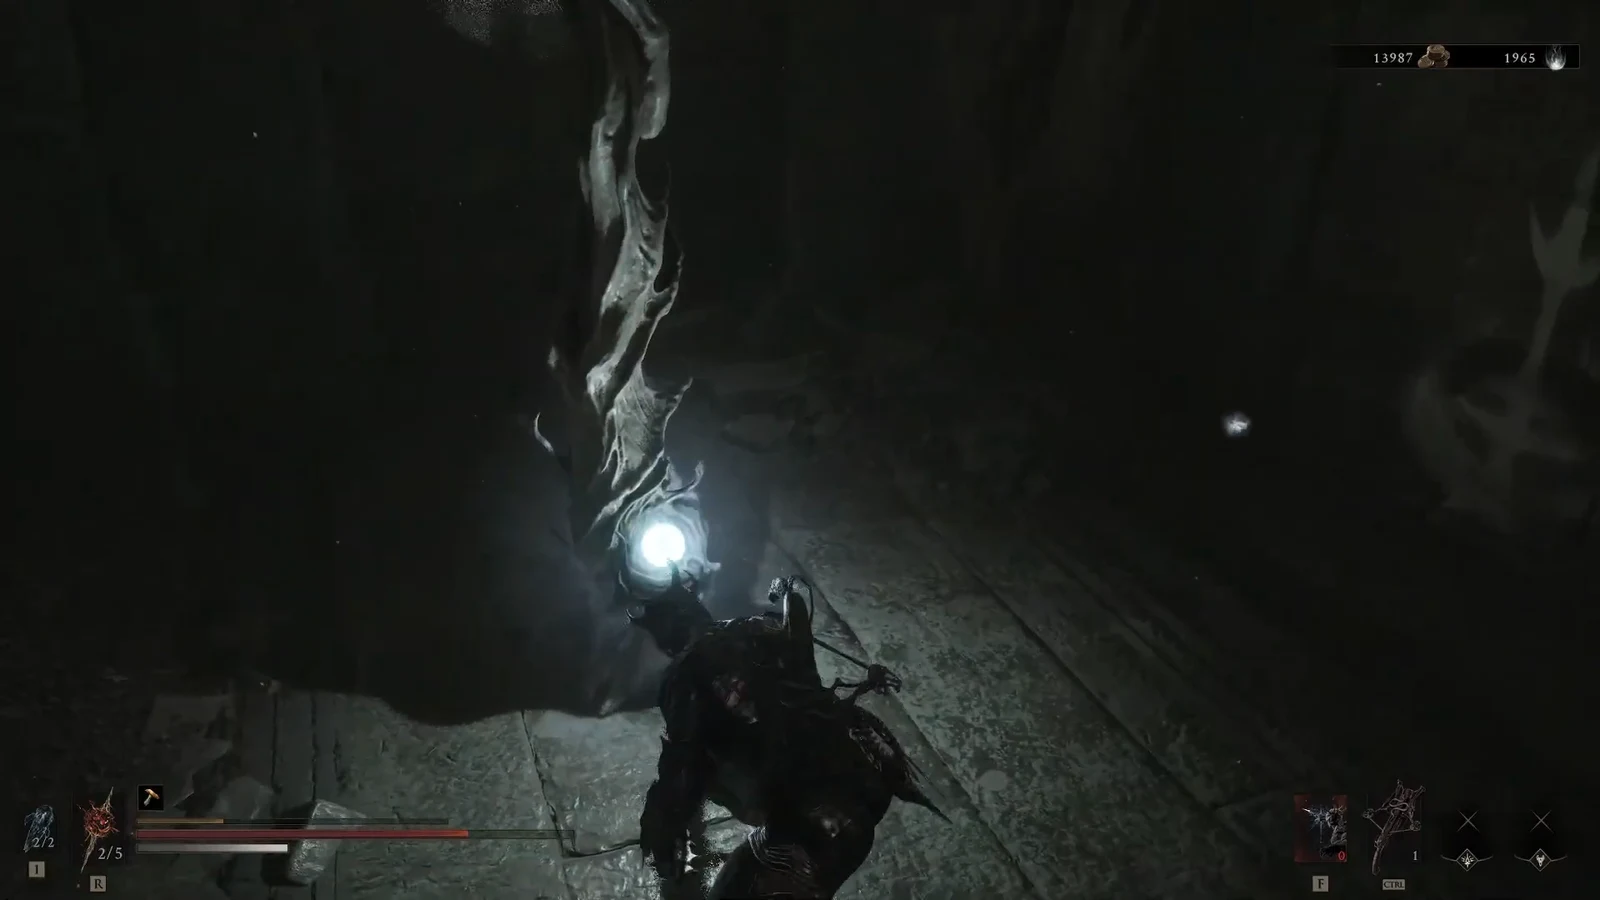
Illusionist’s Cache is a small stone dungeon that will not hold still. Peer through a carved arch and a sealed wall can vanish. Cross that same arch later and a pit can become a floor, or a doorway can brick itself shut. The loot room only stays usable if you lock the right version of the space in place.
Quick answer: Look through each stone arch to change the room, shoot the hanging bell with a sidearm, push the pillar onto the pressure plate, then walk through the upper arch one more time so the vault stays open.
Illusionist’s Cache location
The dungeon sits on Desolate Peak. Face Baghead on his throne and walk the opposite way. The entrance is a stone door off that stretch of the peak, with grass outside and a dim interior once you step in.
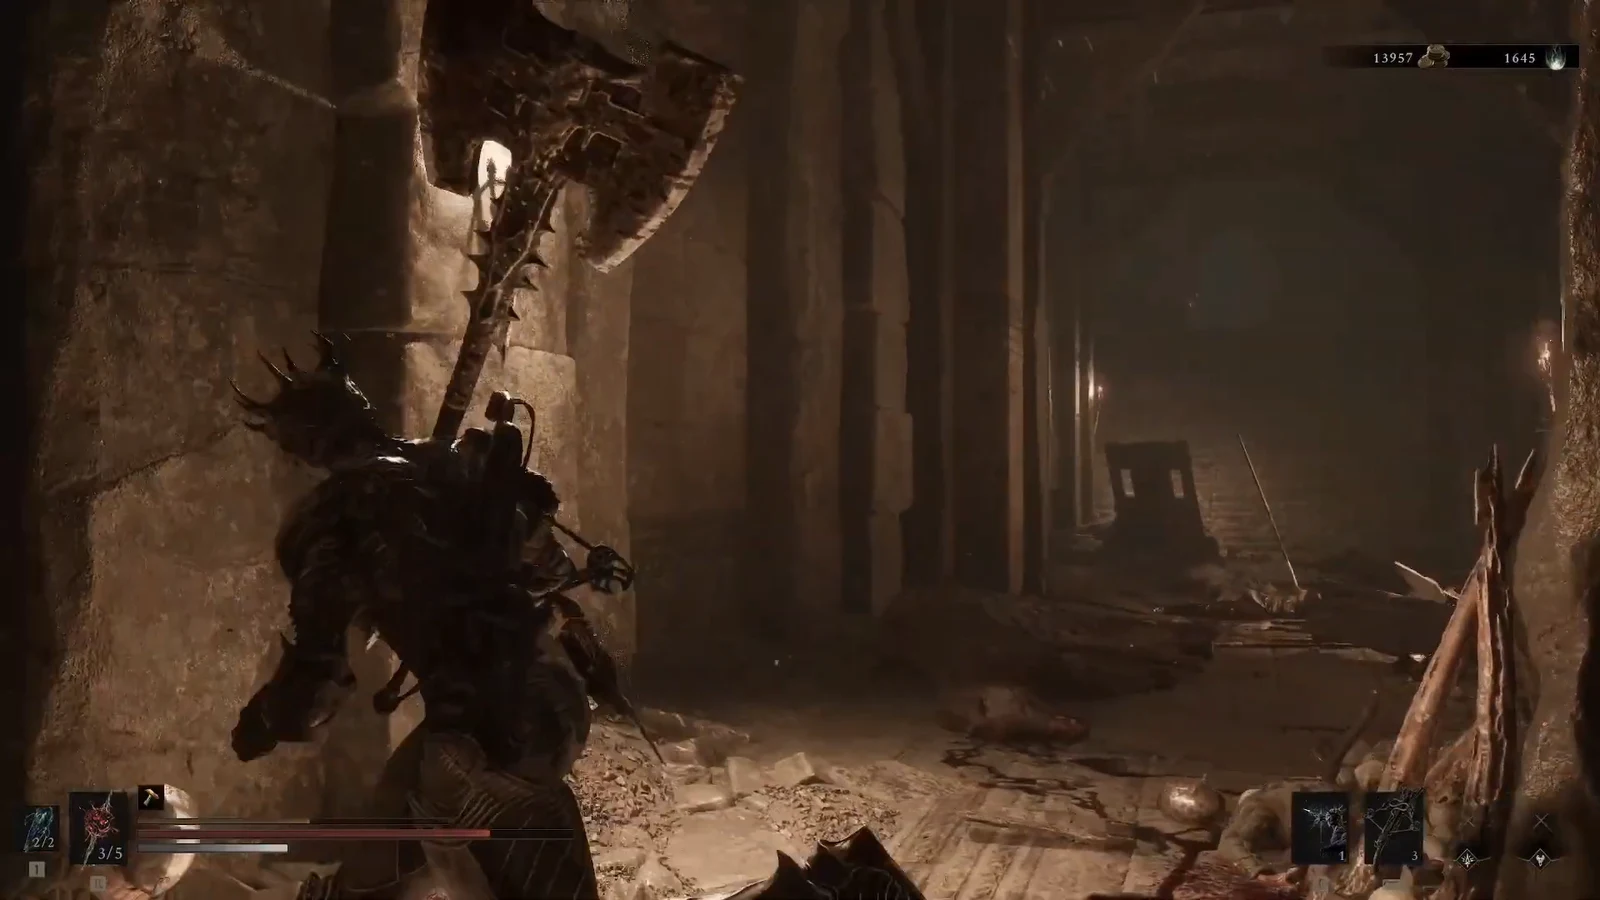
Take the elevator down. The puzzle floor is a narrow tunnel that looks like a dead end until the first arch rewrites it.
Illusion arches and room states
Every important change in Illusionist’s Cache comes from a stone arch. Looking through one shows you a different layout. Walking through it makes that layout real. The dungeon is not hiding a switch behind a painting. It is swapping which version of the room you are allowed to stand in.
The main chamber has two versions at once. One version has a hole in the floor and a clear path into the vault. The other version fills that hole with solid stone and can wall the vault off. You need both versions, in order. First you need the floor so you can shove the pillar. Then you need the open doorway so you can walk into the sarcophagus room without falling.
| Upper-arch pass | Pit | Vault doorway |
|---|---|---|
| After the bell shot | Becomes solid floor | Walls off once the pillar sits on the plate |
| One more walk-through | Opens again | Stays clear while the pillar holds the plate |
If the vault is sealed after you move the pillar, you have not taken that last walk through the upper arch. If you cannot reach the pillar at all, the pit is still open and the bell has not done its job.
Illusionist’s Cache puzzle walkthrough
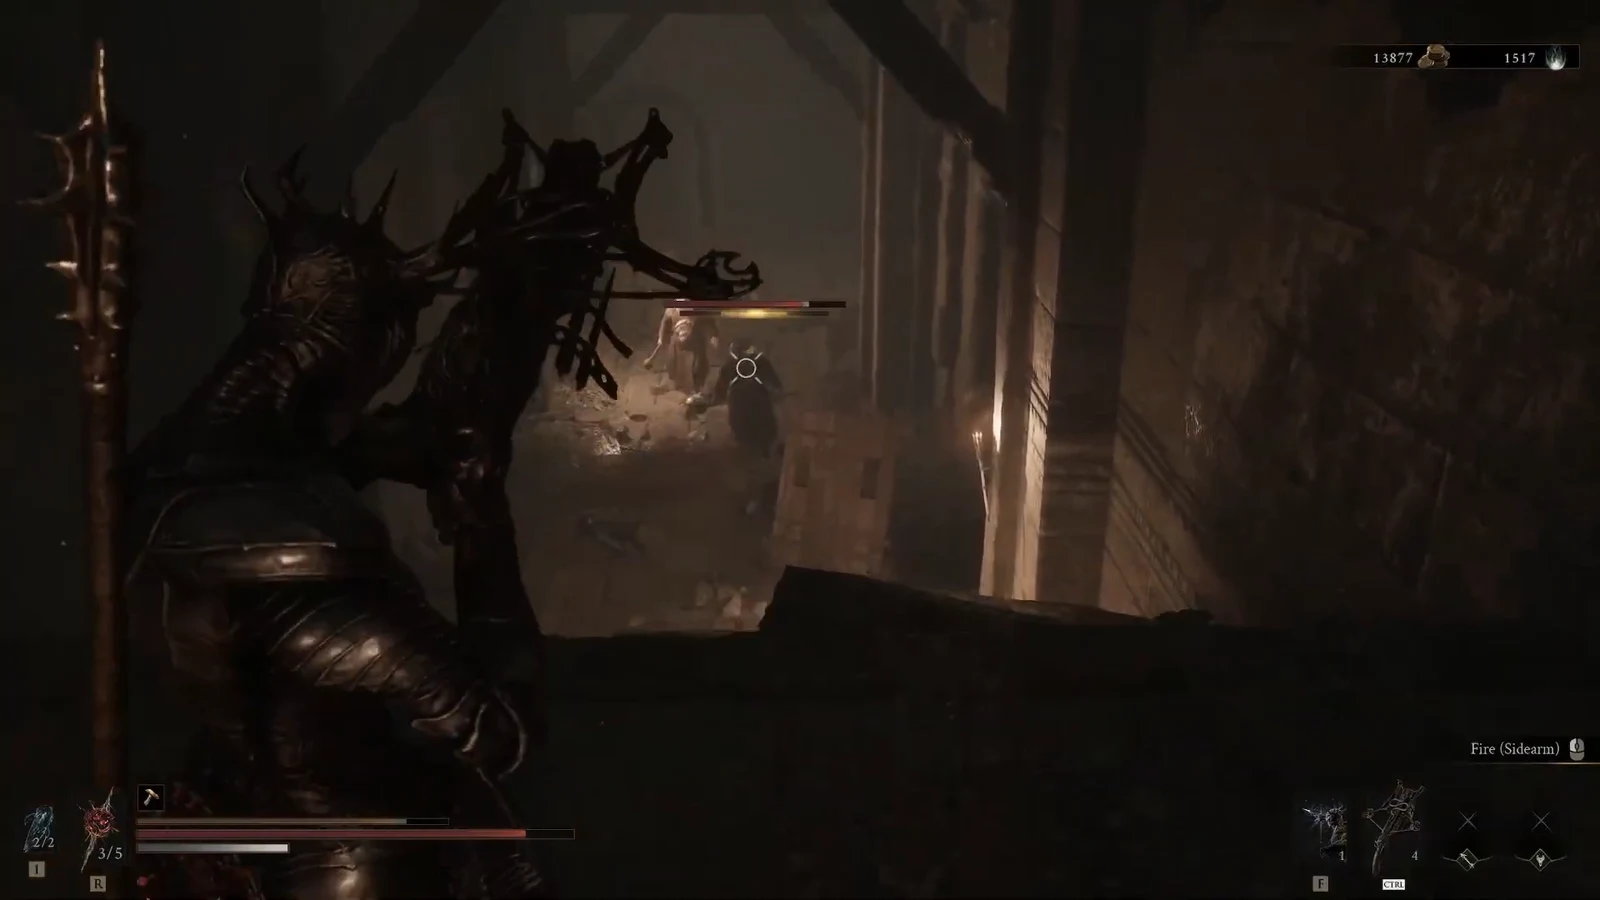
Bring a ranged sidearm. The bell cannot be melee’d from the ledge you first see it from. If Resolve is empty when you need the shot, hit the Resolve-giving stalk beside that perch and fire again.
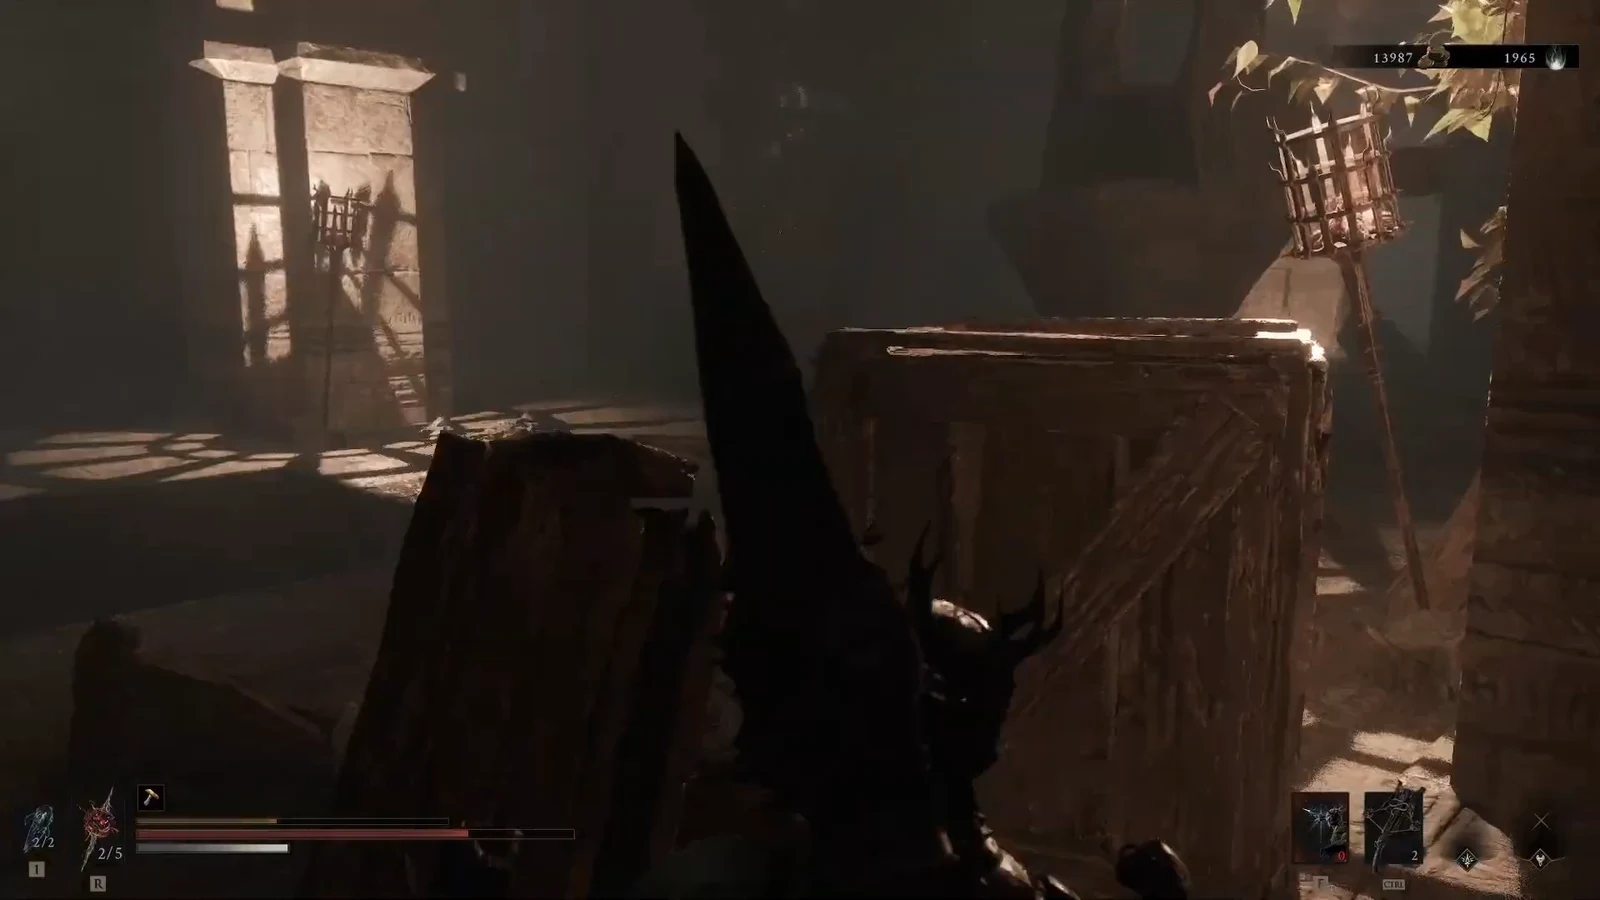
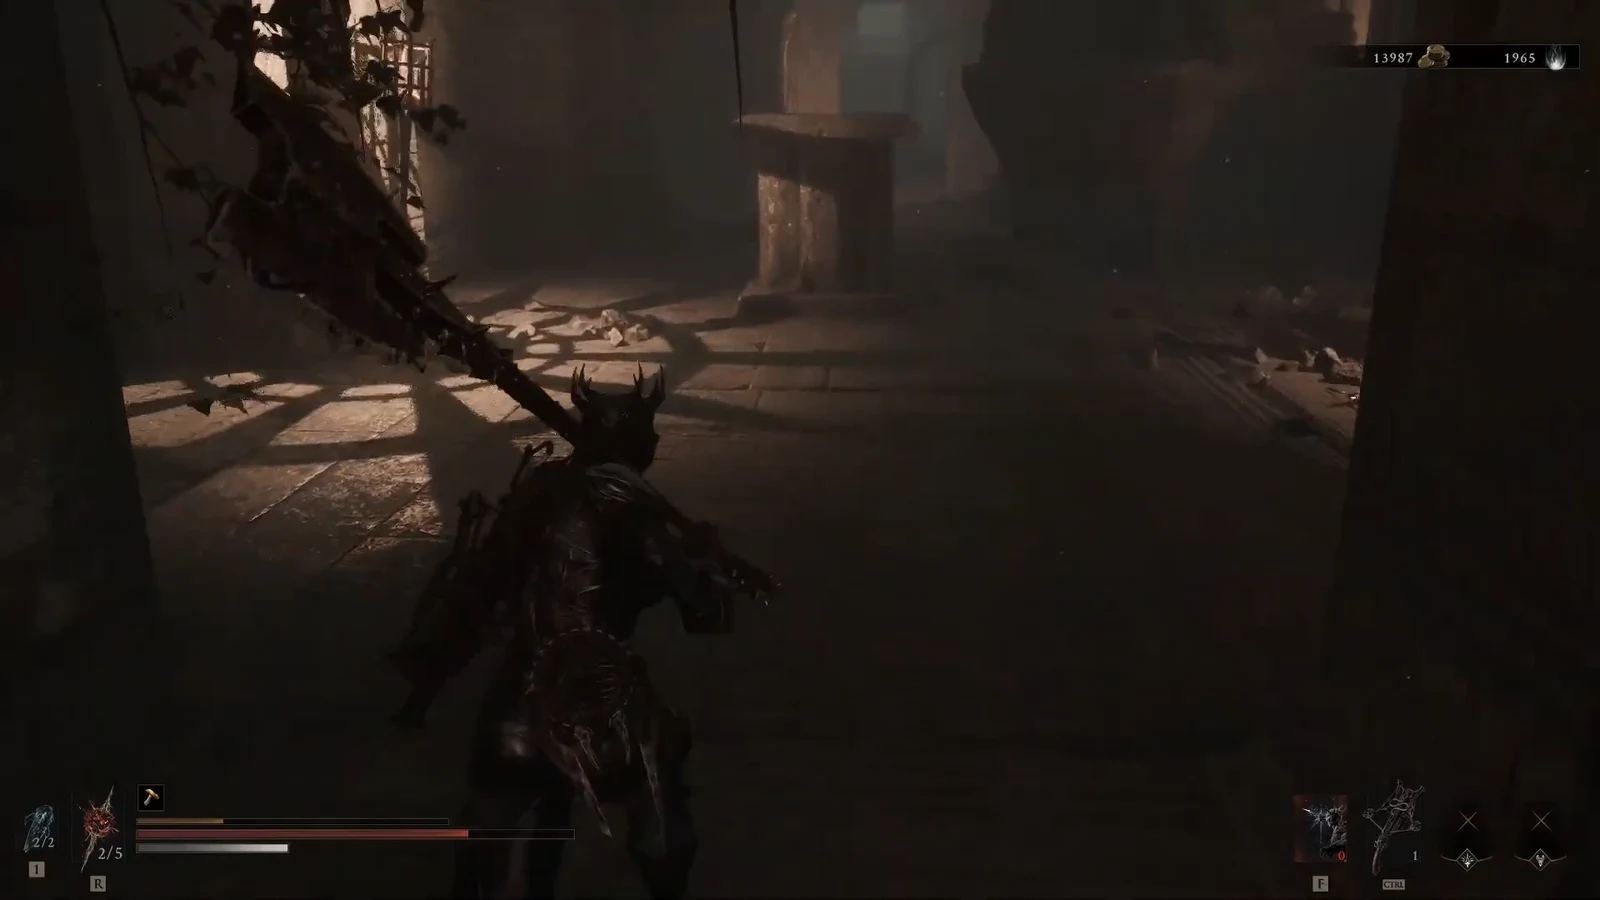
Shuddering Stone and leftover loot
The sarcophagus is the proof the puzzle worked. You should walk out with the Shuddering Stone Tarstone and Lavender’s Robe. The clothing unlock prints New Mortal Clothing Unlocked on screen. The Tarstone makes projectiles generate a Knockback shockwave on impact.
| Item | Where it sits | What it is |
|---|---|---|
| Shuddering Stone | Sarcophagus in the vault | Tarstone. Projectiles generate a Knockback shockwave on impact. |
| Lavender’s Robe | Same vault, with the stone | Mortal clothing. Unlocks with New Mortal Clothing Unlocked. |
| Dorsalite | Fake walls behind the sarcophagus | Weapon upgrade material, guarded by another priest. |
| Ventrium | Elevator landing by the stairs | Pickup after the snake nest. |
| Laterite | Same lower landing | Pickup after the snake nest. |
Hit the fake wall behind the sarcophagus, then the next fake wall after that. A priest and the Dorsalite sit in that pocket. Ride the elevator beside the stairs, kill the snake nesting below, and take the Ventrium and Laterite before you leave.
A leftover chamber can still hold a glowing enemy. Finish that fight, grab anything left on the floor, and take the exit. The dungeon is done when the vault has been looted, the extra walls are open, and the lower landing is clear.