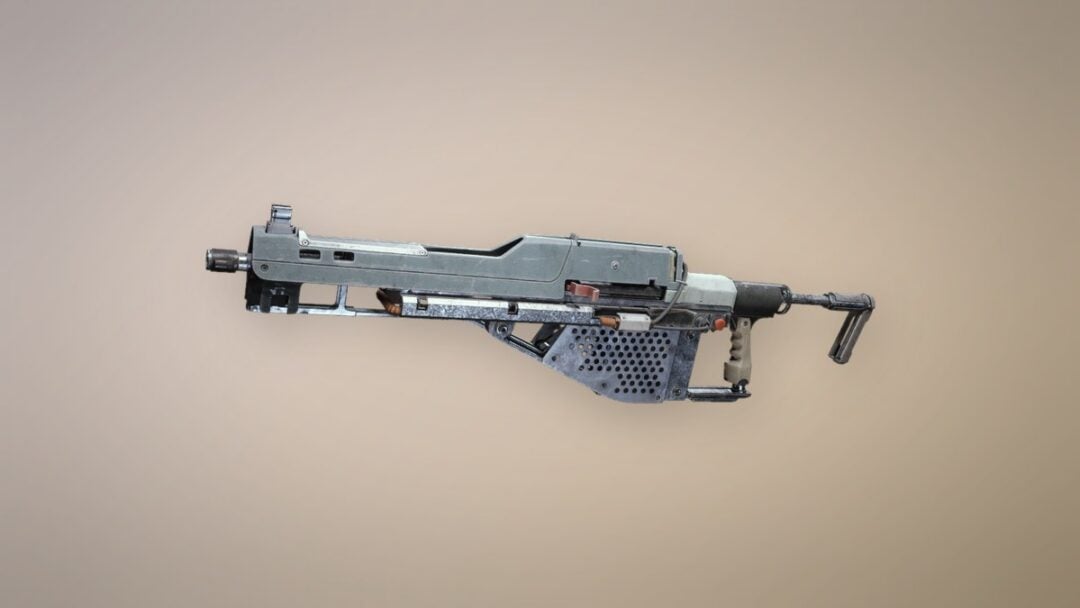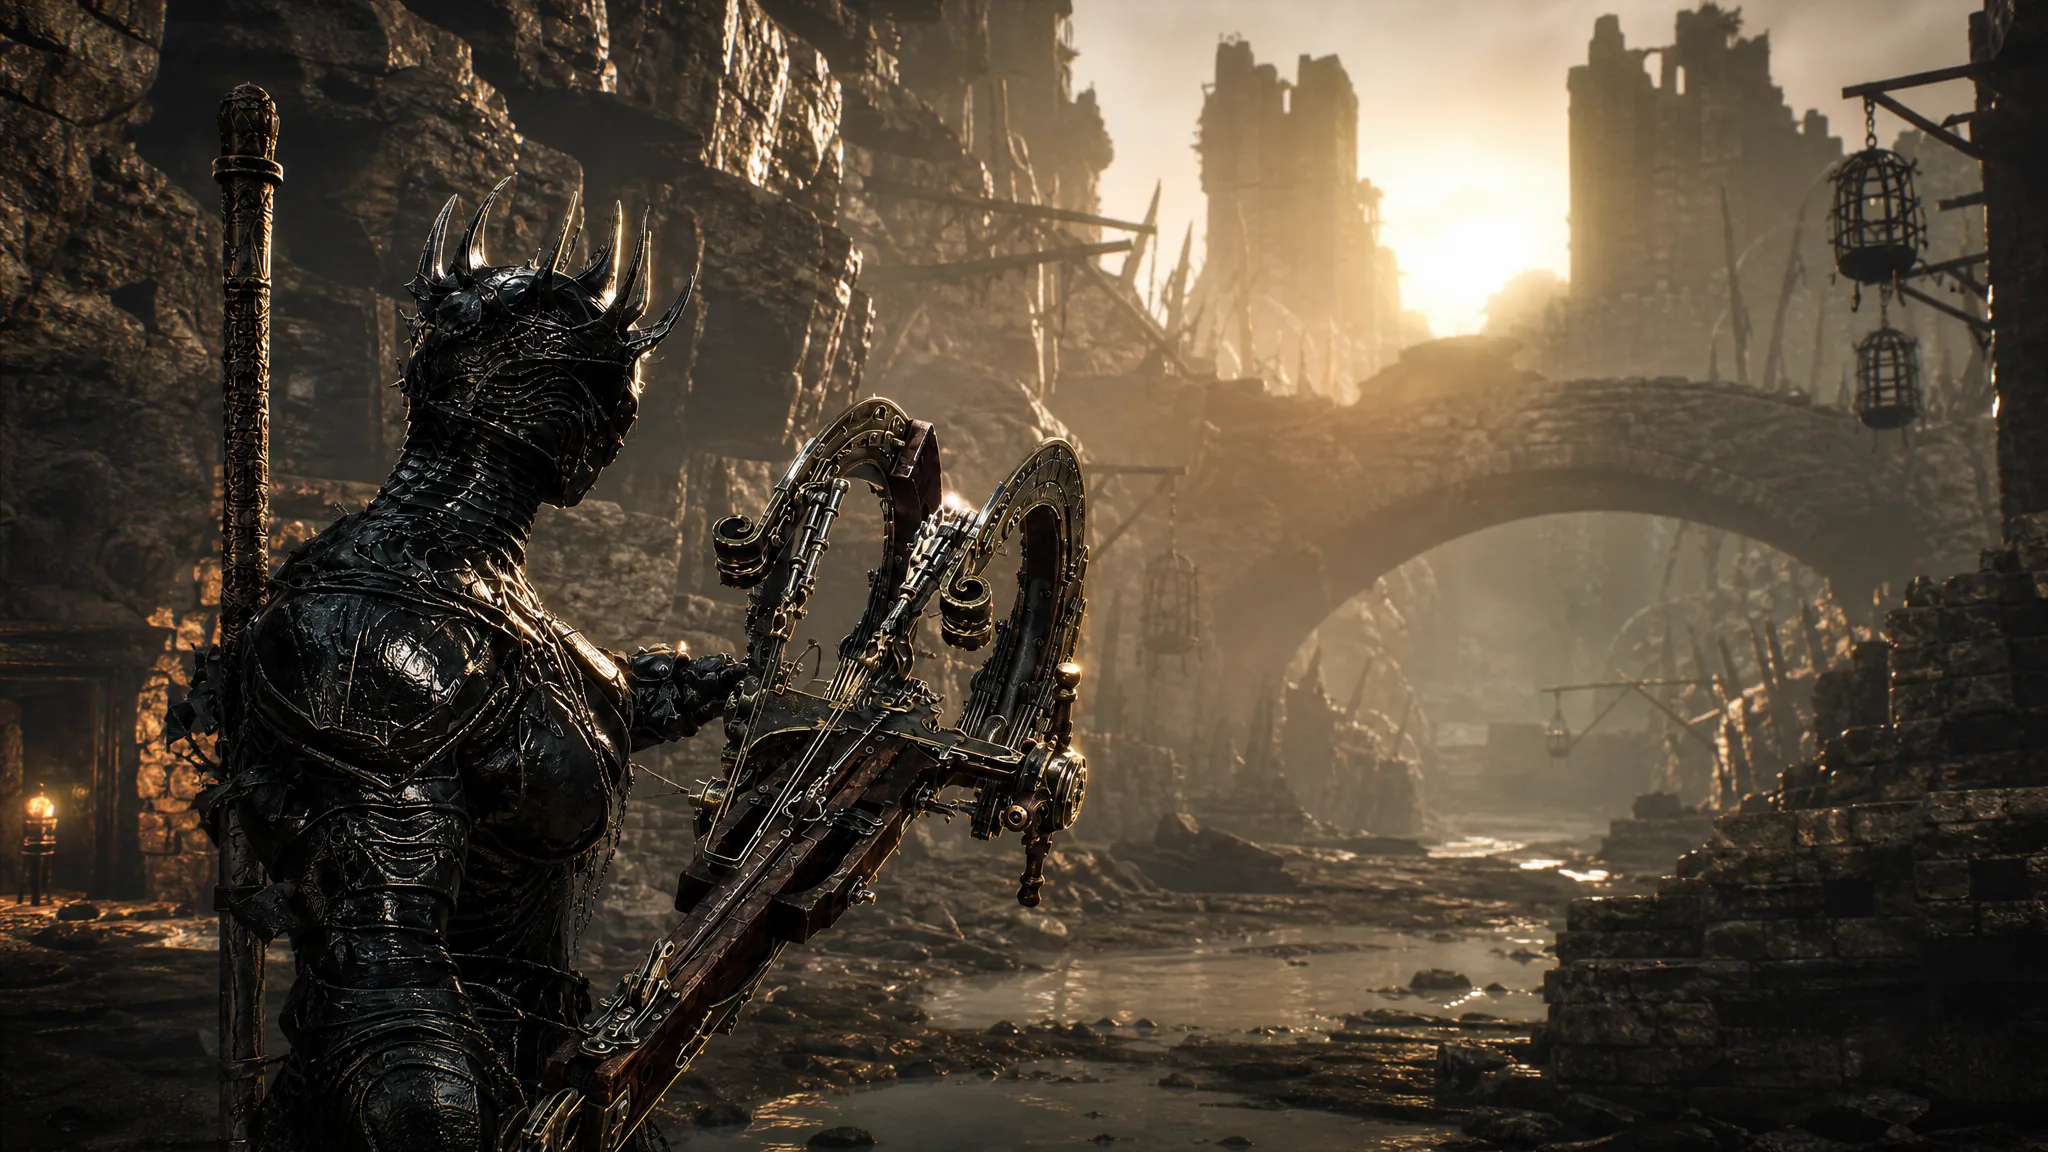
The Salvaged Trebuchaxe is a Sidearm in Mortal Shell 2 that fires hand axes as slow, heavy-hitting projectiles. It sits at the end of the Ravaged Hideout, a short dungeon in the southernmost stretch of the Gloomshade Grove in the Fainweald region. Reaching it means clearing one miniboss that guards the entrance, then fighting to the back of a compact cave.
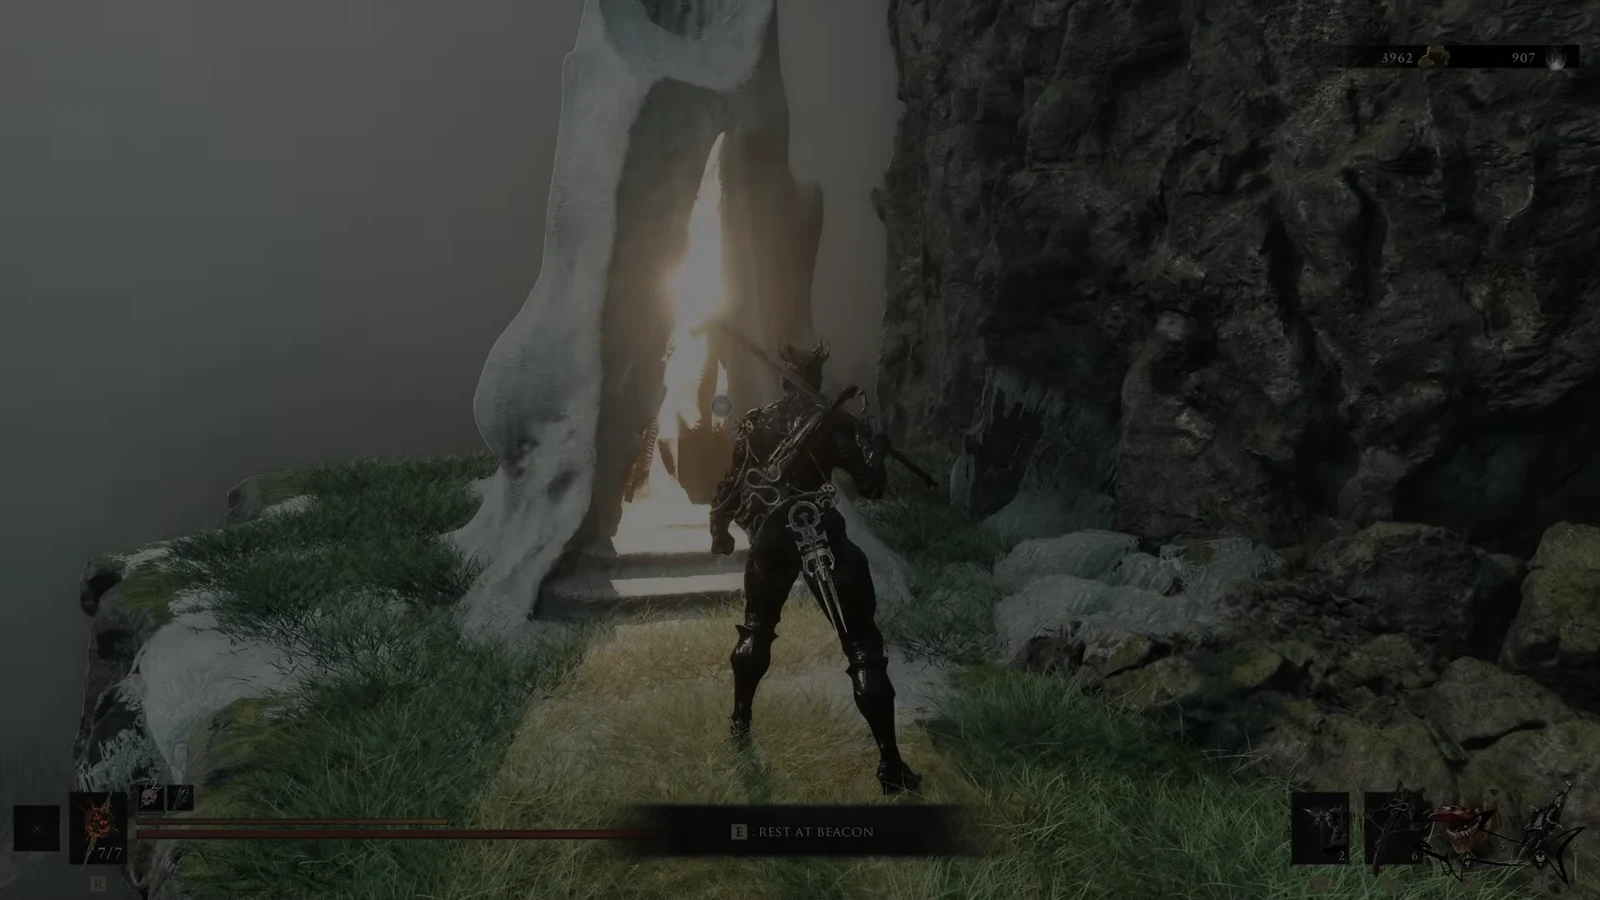
Quick answer: From the Gloomshade Grove Beacon, drop into the poison swamp below, defeat the Bloodcursed Lithopod miniboss guarding the entrance, enter the Ravaged Hideout, and loot the Salvaged Trebuchaxe from the propped-up corpse at the end of the dungeon.
Route to the Ravaged Hideout from the Gloomshade Grove Beacon
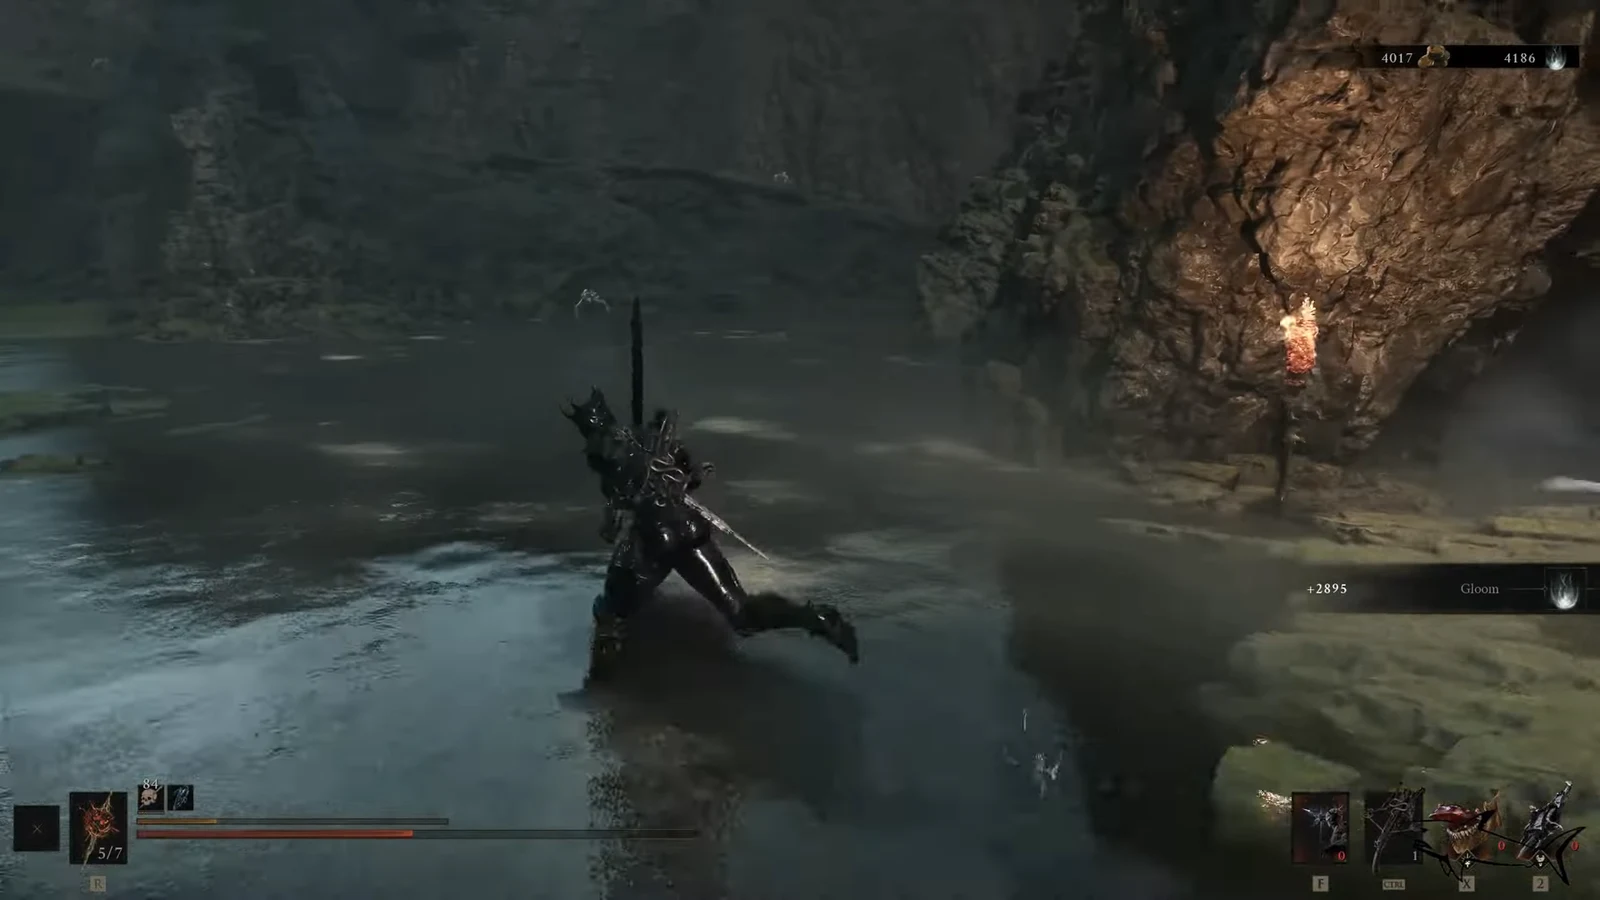
The dungeon sits at the base of the hilly area just outside the Citadel of Penance, south of the Gloomshade Grove Beacon and west of Widow’s Overlook. The fastest approach starts at the beacon itself.
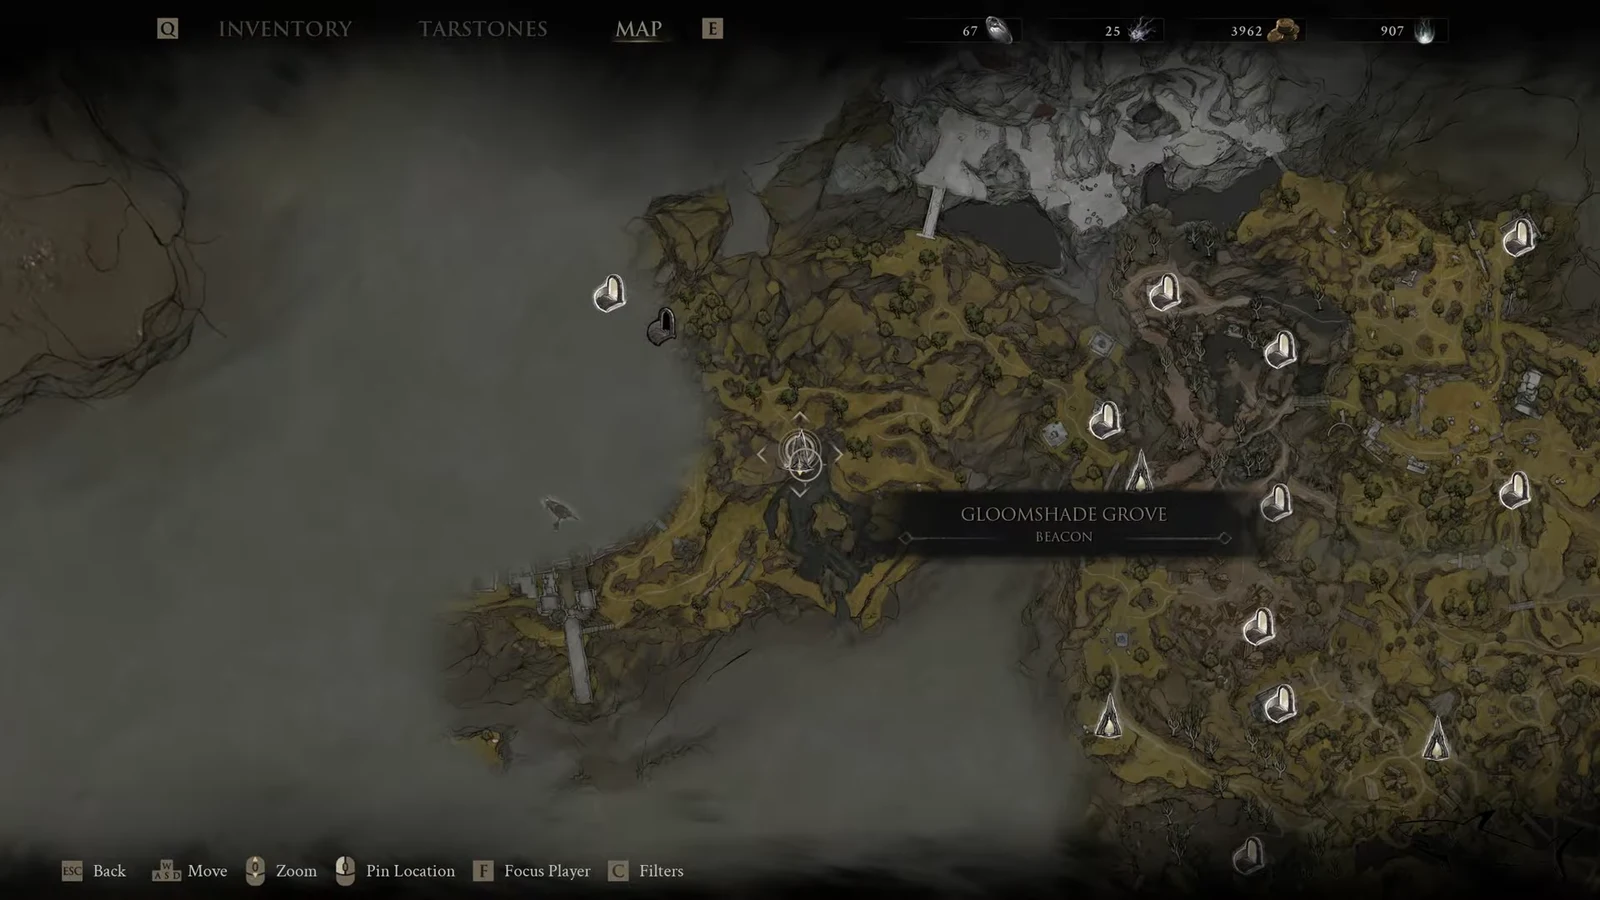
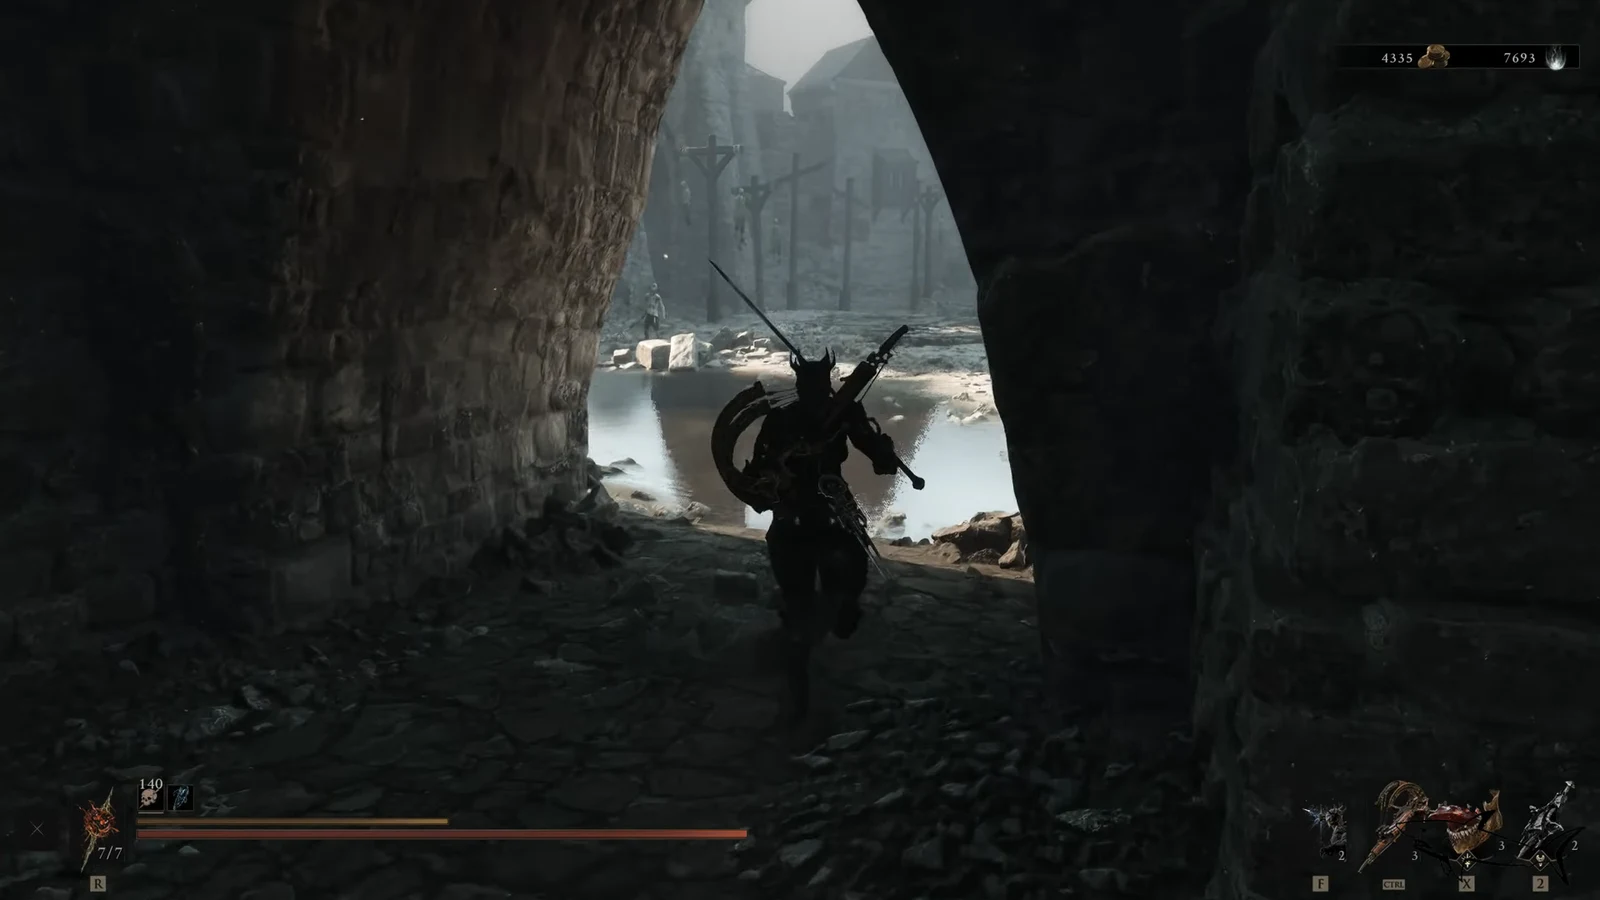
If you prefer the overland approach, you can also reach this swamp from the Sanguine Caverns bridge that connects to the Gloomshade Grove. Head west into the cave, pass the Grisha Hunters, then follow the path down and south until the swamp opens up.
Defeat the Bloodcursed Lithopod to open the entrance
A miniboss called the Bloodcursed Lithopod protects the way in. It emerges near the water, and you cannot access the dungeon while it is alive. Kill it to clear the path.
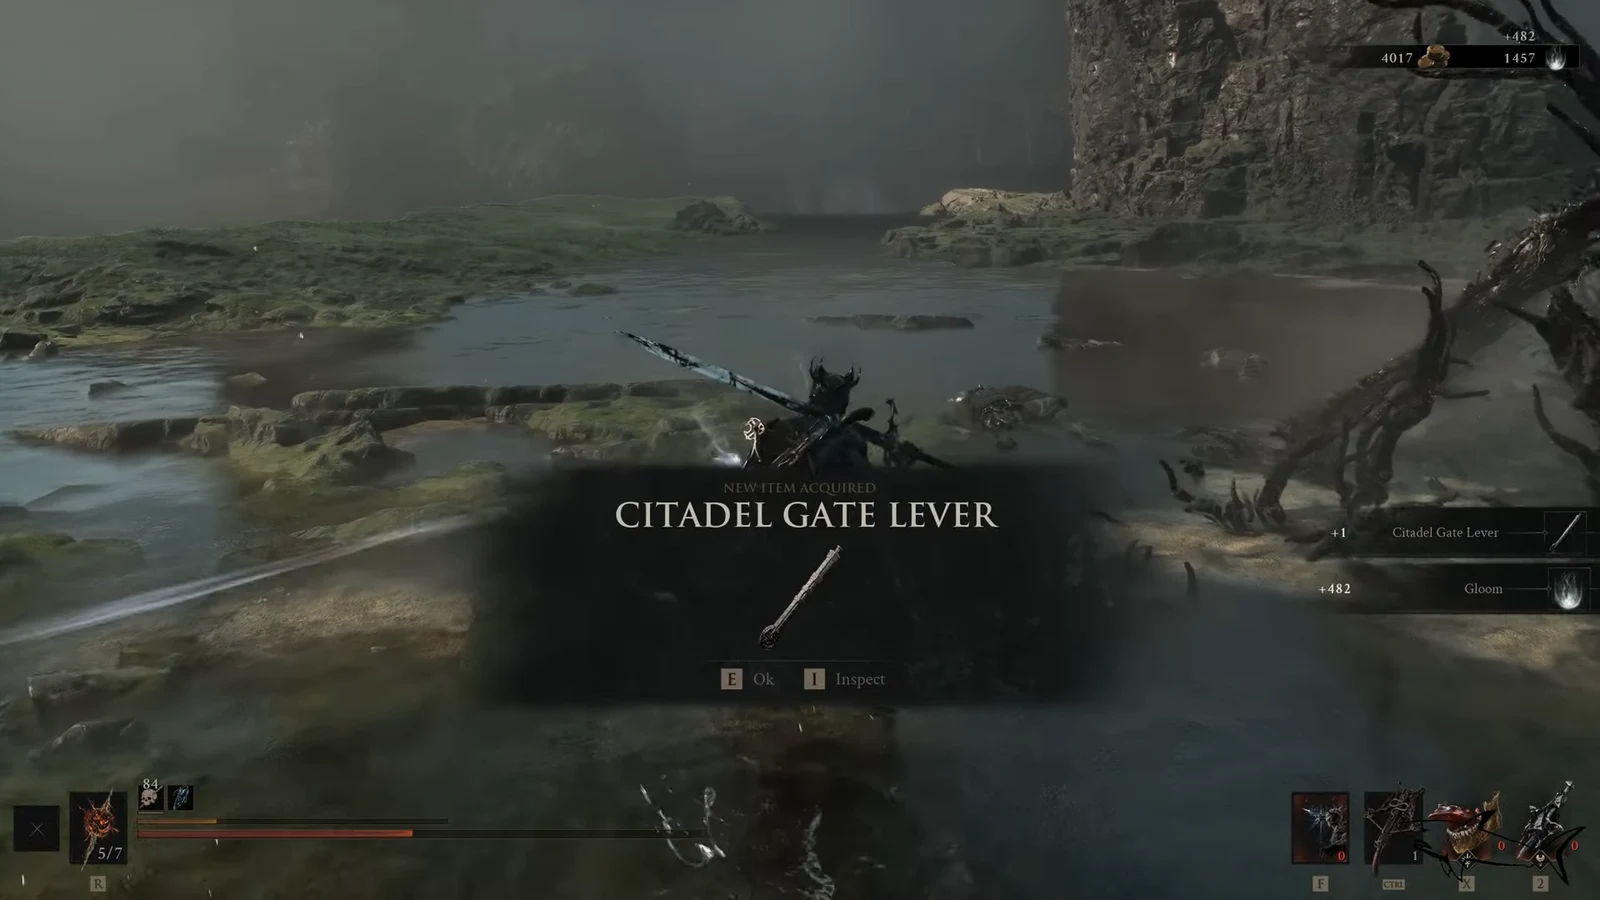
The Lithopod drops the Citadel Gate Lever. This item permanently unlocks the main gates to the Citadel of Penance, so it is worth grabbing regardless. Once the creature is down, the entrance behind its arena becomes reachable.
Clear the dungeon and pick up the weapon
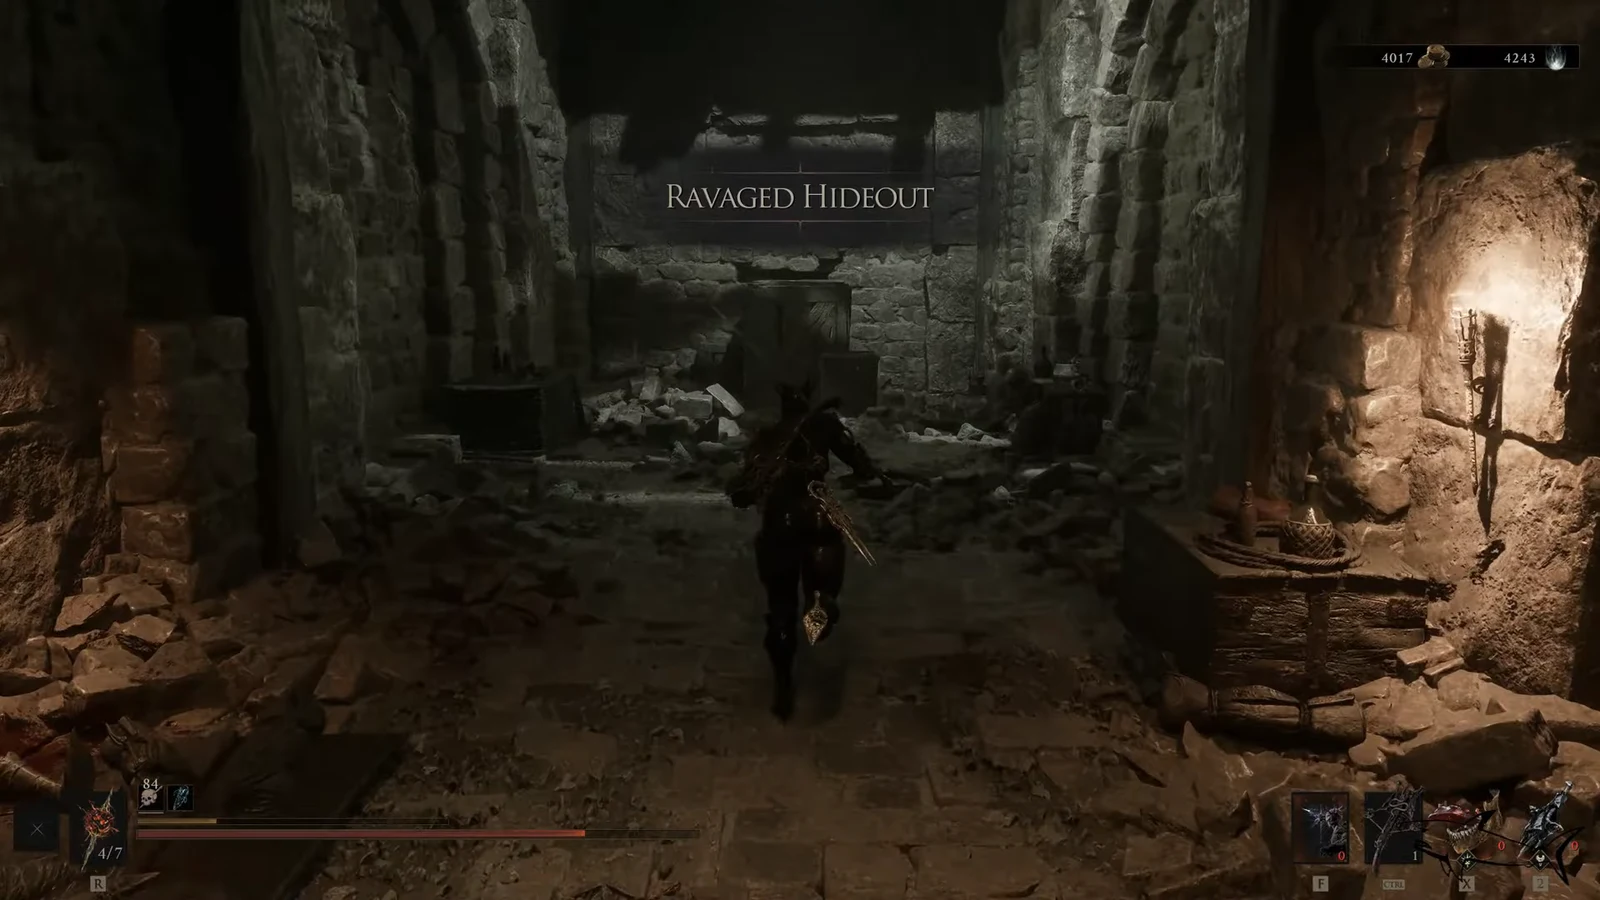
The Ravaged Hideout is short and linear. The main task is to fight through the enemies inside and watch for cracks in the walls that you can squeeze through to keep moving forward.
Wraiths spawn the moment you pick up the weapon. Be ready to fight immediately after looting it rather than assuming the room is clear.
You will know it worked when the pickup notification appears and the Salvaged Trebuchaxe shows up under your Sidearms. If you would rather see the exact spot on your map before setting out, the location can be purchased from Merrick in the Marrow Keep for 480 Coins.
How the Salvaged Trebuchaxe works
Unlike most Sidearms, the Trebuchaxe takes a long time to fire and can be charged to deal more damage. It launches actual hand axes rather than bolts or shot, which makes it slow but hard-hitting against small and medium enemies. Its exclusive Tarstones change the projectiles so they linger in an area and damage anything that strays close.
Fully upgraded and paired with the right Tarstone, it becomes one of the strongest options for melting large bosses. The main quirk to plan around is that some projectiles pass through certain enemies, so aiming at the floor near a target and letting the spinning axes work often lands more hits.
Exclusive Tarstones for the Trebuchaxe
Two Tarstones are unique to this Sidearm. The Tarred Fragment is the standout because its tethered projectiles spin in place, tick rapidly, and can critically strike, letting a charged shot chew through health bars fast. The Squall Stone is a lighter option that keeps enemies staggered.
| Tarstone | Effect | Where to get it |
|---|---|---|
| Tarred Fragment | Ability stone that launches powerful tethered projectiles spinning at high speed; scales with charge time and can crit each tick. | Defeat the Tarblighted Stoner in the Sanguine Caverns. |
| Squall Stone | Projectiles spin in place after impact, damaging nearby enemies for a portion of the original damage. | Cleanse the Executioner’s Pulpit Beacon in the Prisoner’s Domain. |
The Trebuchaxe also accepts a wide range of shared Sidearm Tarstones, including the Charged Stone for faster charging, the Marksman’s Stone and Deadeye Stone for critical stats, and the Ironpiercer’s Stone if you want projectiles that punch through multiple targets. With the Tarred Fragment equipped and the weapon fully leveled, it can bring down the game’s larger bosses in seconds.