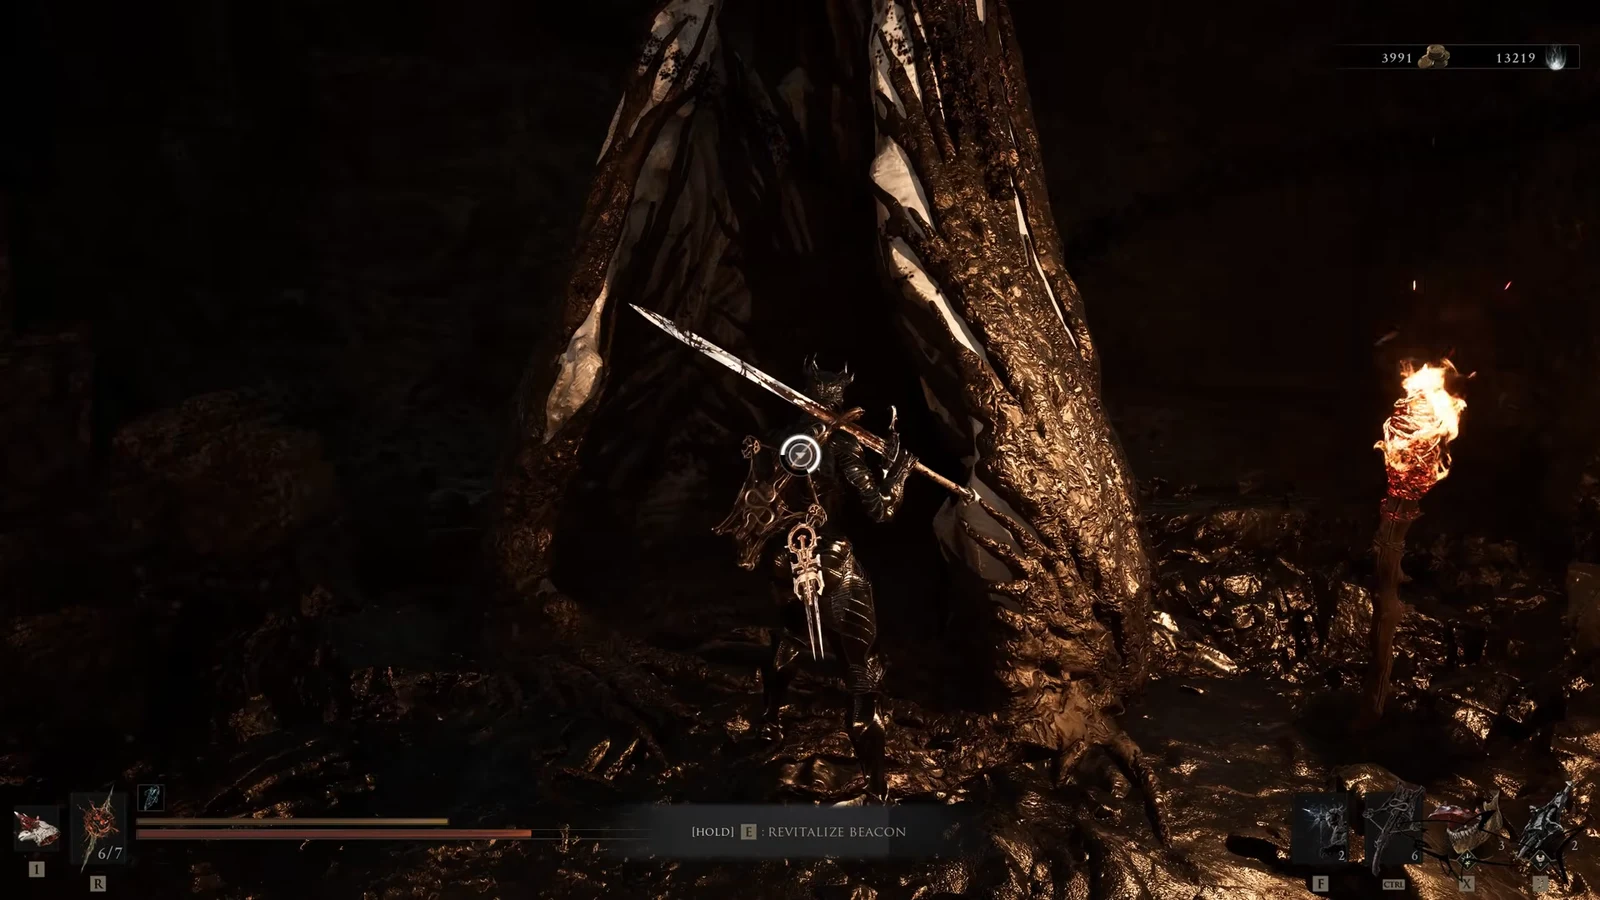
The Slumwater Drain beacon is one of four checkpoints in Prisoner’s Domain, and it is the only one you can walk straight past without noticing. It sits behind a fake wall and a teleporter rather than on the main path, and cleansing it means clearing the Central Sewers dungeon underneath — a vertical, trap-heavy stretch with two illusory walls, a collapsing floor, and a Tarstone tucked behind a Bone Gate.
Quick answer: Enter the Prisoner’s Domain gate in the southwest corner of Fainweald, take the wooden stairs on your right just past the entrance, break the crates to expose a false wall, interact with the wall item to teleport, then squeeze through the metal grate to reach the beacon. Cleanse it by clearing the Central Sewers and claiming the Ovum past the spear knight.
Slumwater Drain beacon location in Prisoner’s Domain
Prisoner’s Domain is reached through the Corrupted Gate in the western corner of Fainweald, past the Nochtean Gate beacon. That Nochtean Gate beacon has to be cleansed first, since cleansing it is what opens access to the Corrupted Gate in the first place. Three of the four beacons inside Prisoner’s Domain sit on the main route. Slumwater Drain does not.

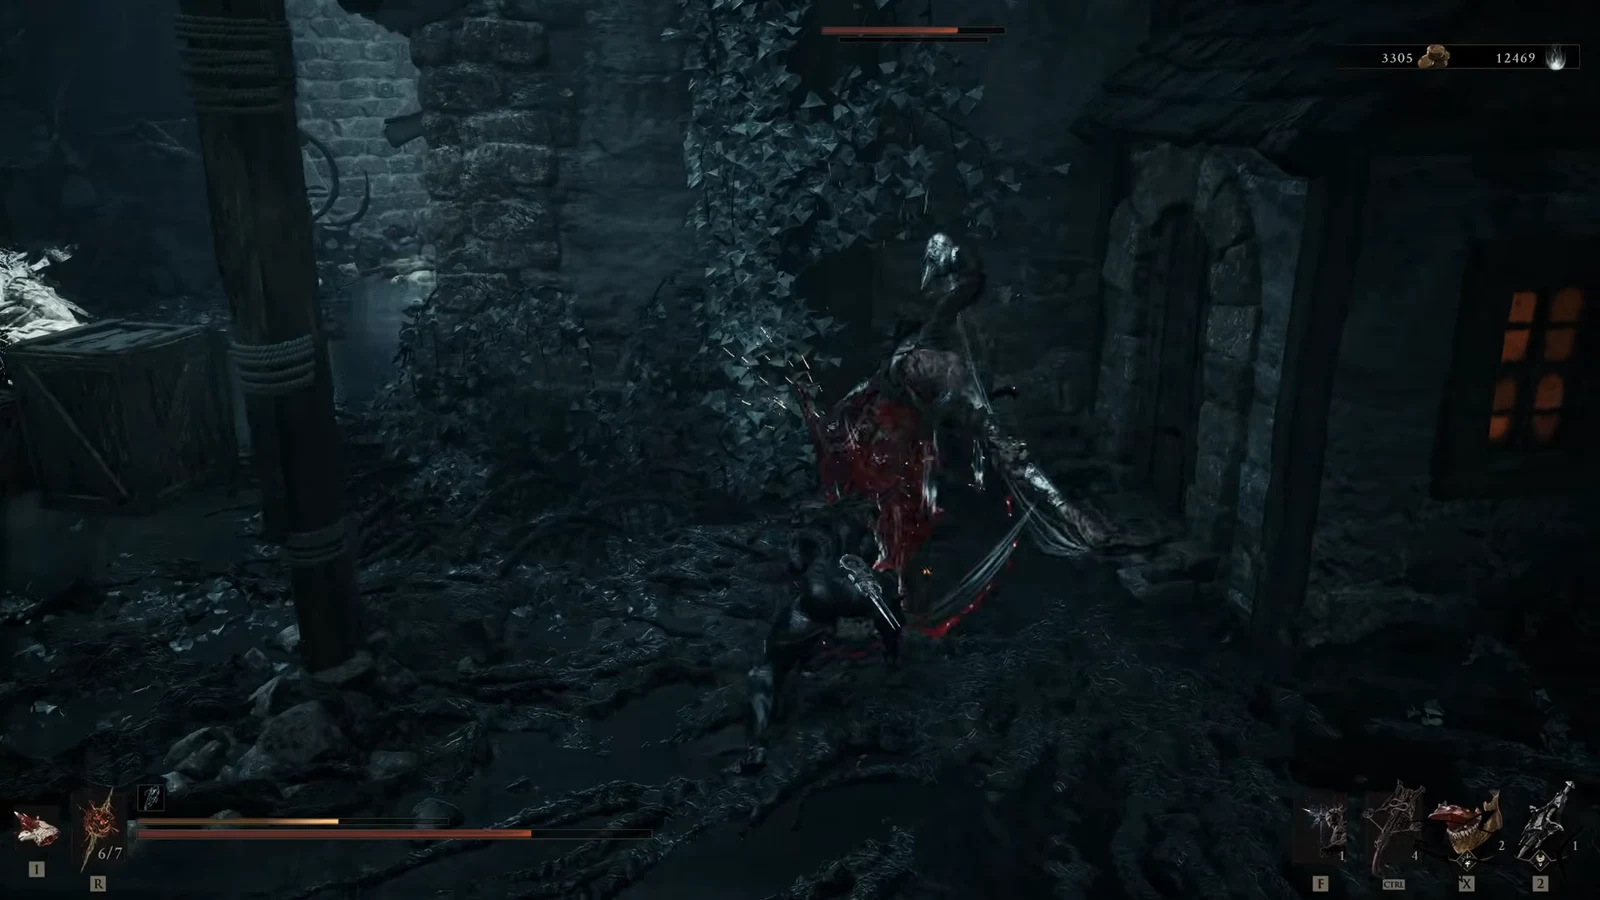
What cleansing the Slumwater Drain beacon gives you
Selecting “Cleanse Beacon” drops you into the Central Sewers, the dungeon attached to this checkpoint. Everything below is claimed inside that dungeon, and the beacon only counts as cleansed once you collect the Ovum at the end.
| Reward | Where it comes from |
|---|---|
| Laterite | Behind the first false wall, past the wooden crate |
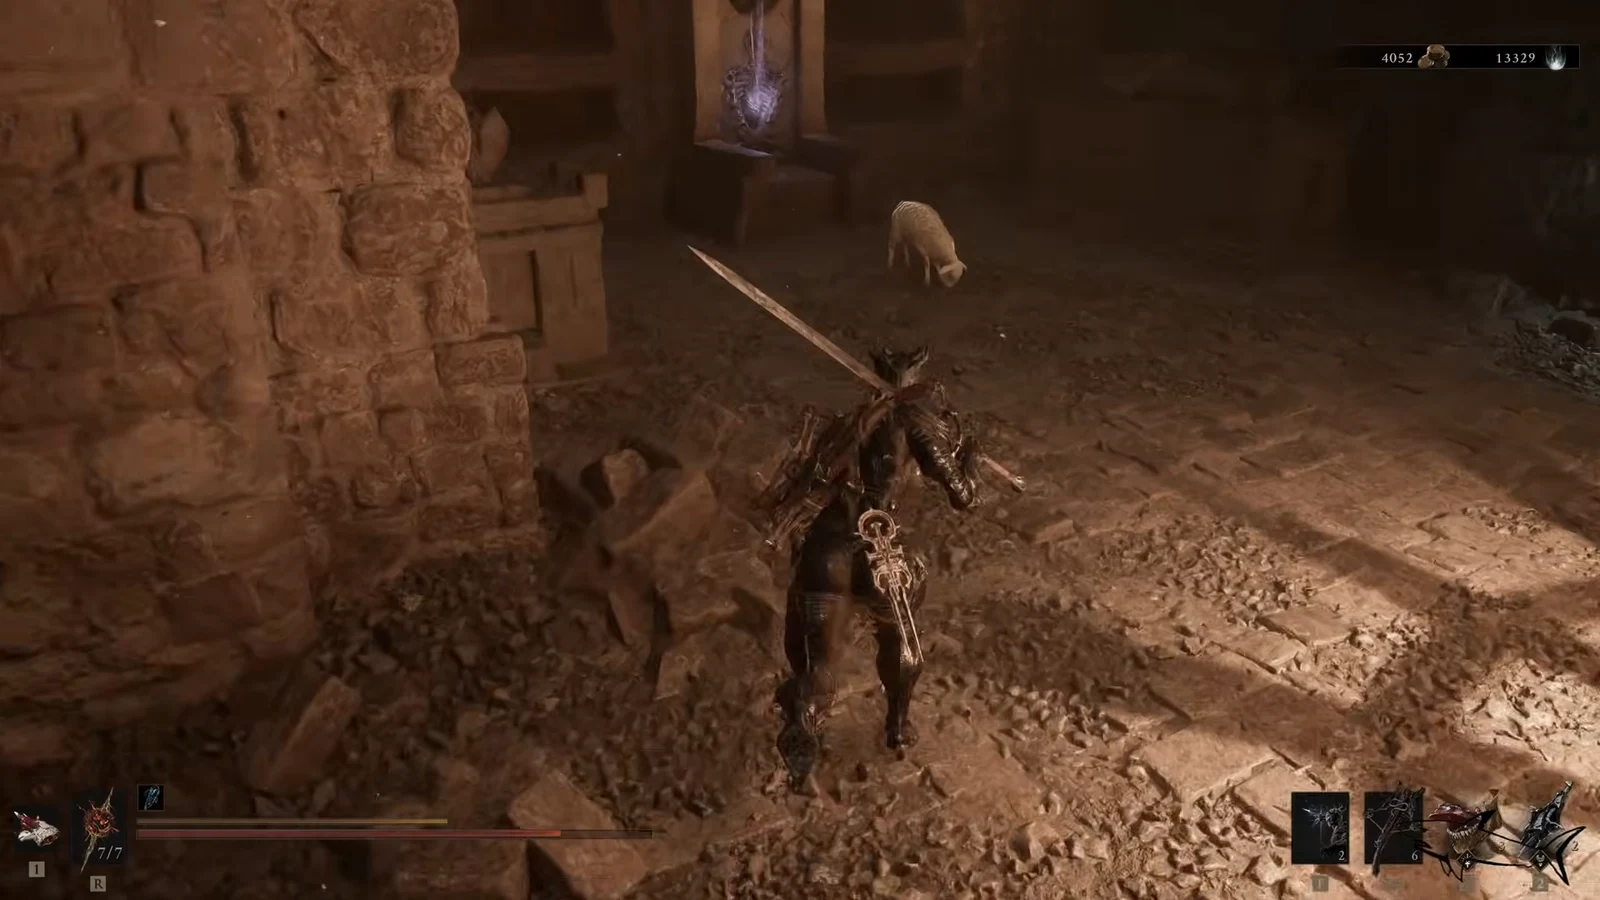
| Sheephead Totem | Kill the Sheep behind the second false wall |
| Dorsalite (x2) | Skeletal imprint in the Sheep room; effigy past the wooden bridge |
| Synaptic Vessel | Wooden platform above the burning area |
| Ventrium | Statue behind the wooden barrier at the tunnel fork |
| Ironpiercer’s Stone | Chest past the Bone Gate |
| Gloom and coins | Gloom stalks (120 and 2,500) plus 100 Gold in the tunnels |
| Ovum and +1 Glimpse | Cleansing the corruption at the end |
The Synaptic Vessel is worth flagging separately. It is not a crafting material — you spend it at any beacon under Mether’s Pulse to raise the capacity or efficiency of your healing, the same slot that takes a Revered Gland. Ironpiercer’s Stone is a Tarstone that makes your projectiles pierce through enemies.
Central Sewers: The two false walls in the entry chamber
Ride the elevator down and clear the Wretches waiting in the large room at the bottom. Do not head for the stairs yet. This chamber hides two illusory walls, and both are easy to walk past.
Dropping through the sewer tunnels
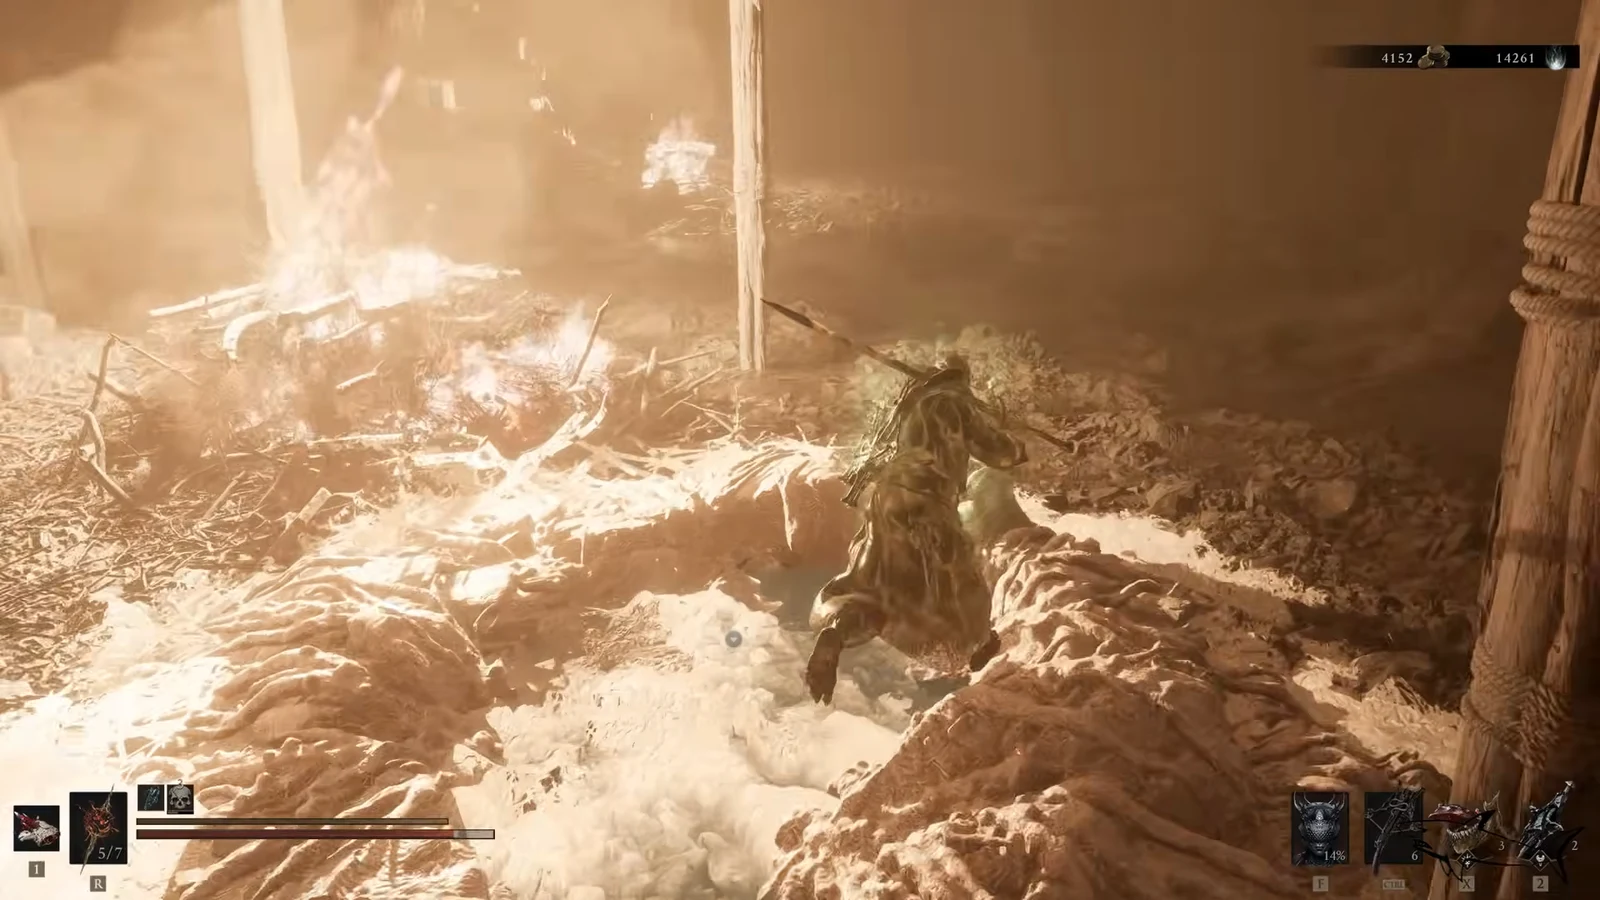
The tunnel section is a series of holes, each one leading a level deeper. It is mostly linear, with poison enemies packed into narrow corridors.
Reaching the Synaptic Vessel on the scaffolding
Once the burning room is clear, look for the updraft next to the large fire pit in the corner. That jump pad is the only route to the upper level, and the Synaptic Vessel is up there.
The tunnel fork: Ventrium and Ironpiercer’s Stone
Follow the tunnel to its end and you will hit a fork. Take the right branch first, because the left one carries you forward and there is no reason to backtrack later.
Beating the spear knight and claiming the Ovum
Turn left at the end of the corridor. A spear-wielding elite knight, the Armed Knave, holds the stone bridge in front of the corruption. He is the last obstacle, and the corruption cannot be touched while he is alive.
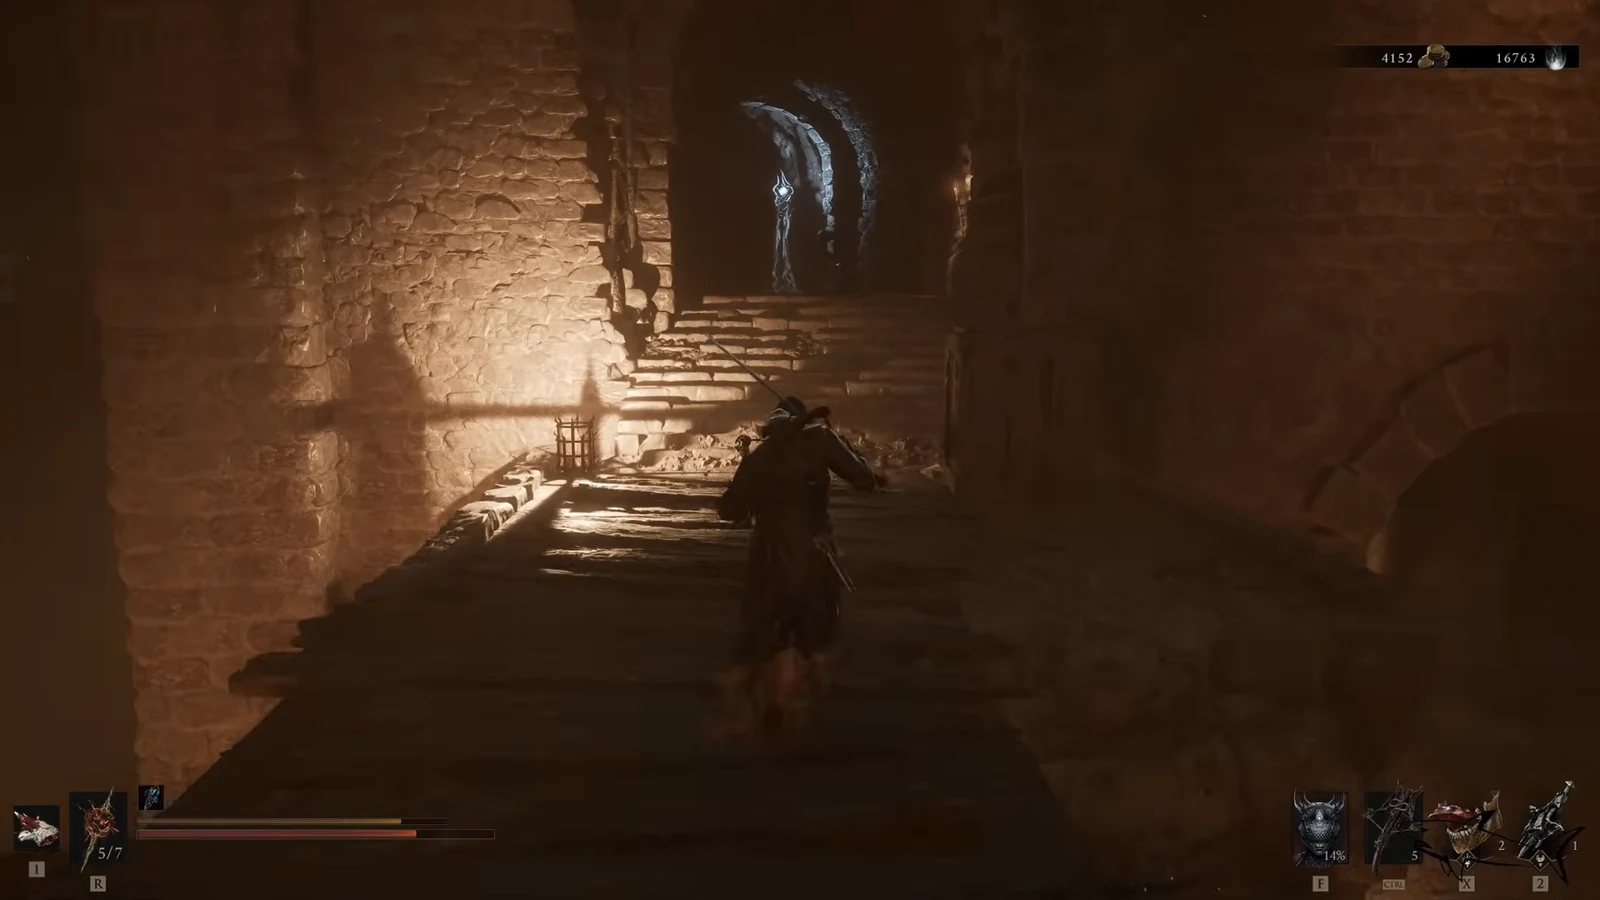
With the knight down, cleanse the corruption behind him and collect the Ovum. You will know it worked immediately — the game teleports you out of the dungeon and back to the beacon, awards +1 Glimpse, and the beacon menu now offers the full set of options including Level Up, Mether’s Pulse, and fast travel back to Marrow Keep.
Note: cleansing a beacon also clears the obstructions that block loot interactions in the area, so anything you could not pick up before should now be accessible.
None of the 49 beacons in Mortal Shell 2 are permanently missable, so if you already pushed past Prisoner’s Domain, you can come back for Slumwater Drain later — including after the final boss, in free roam, before you start New Game+. That matters for the “So Fresh, So Clean” trophy, which requires cleansing all 46 cleansable beacons, and for the Ova count, since every Ovum in the game comes from a cleansed beacon.