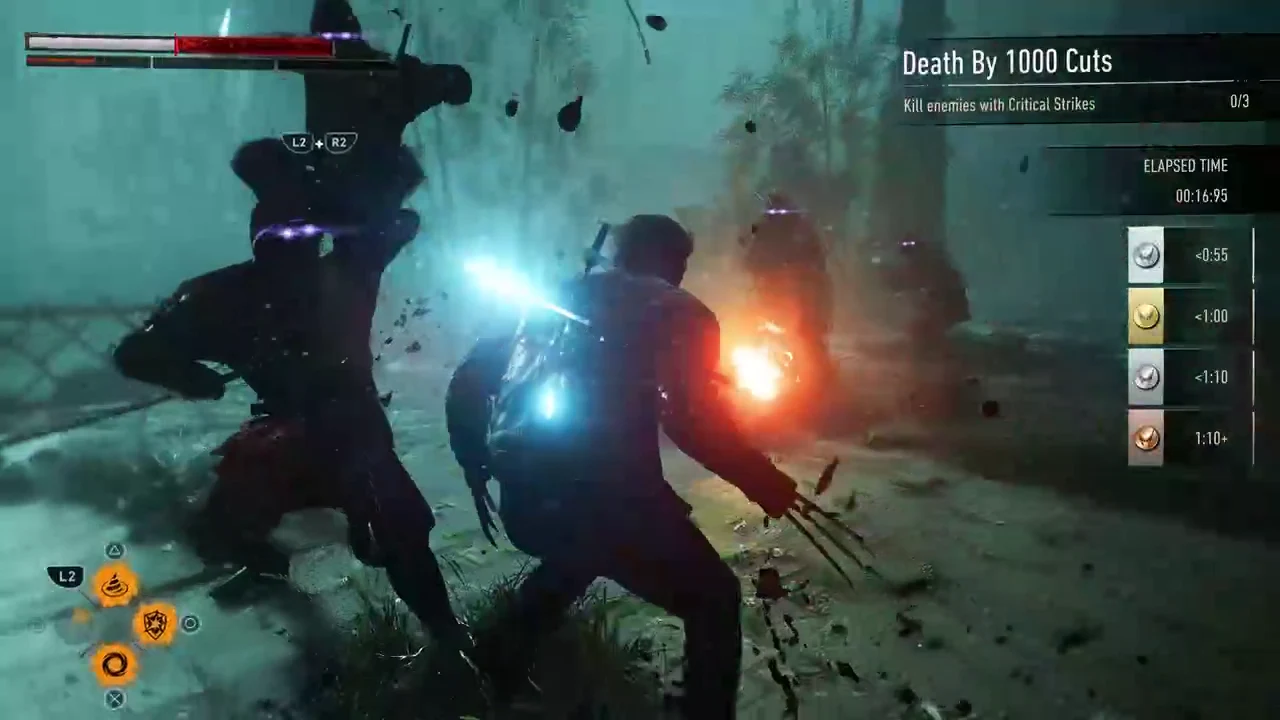
The seventh Nightmare Door in Marvel’s Wolverine hides a short combat challenge called Death By 1000 Cuts, and it is one of the cleanest chances in the game to bank an Adamantium rank. The trial drops Logan into a rainy bamboo forest with a torii gate and a campfire, hands him a small group of red-clad ninja, and asks for three kills of a very specific kind.
Quick answer: Enter Nightmare Door 7 during Get Angry, then kill three enemies with Critical Strikes (L2 + R2) in under 55 seconds. That clears the trial at Adamantium rank and pays out 3 Ability Points.
Nightmare Door 7 location in Get Angry
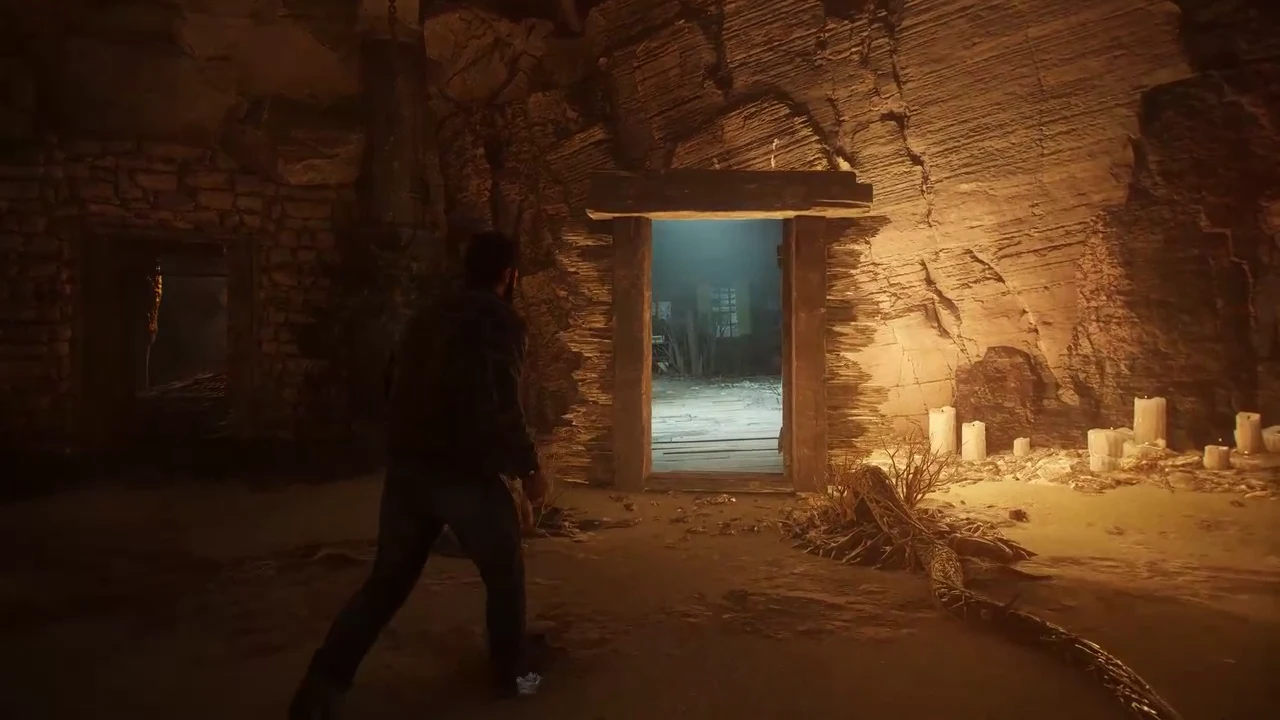
Door 7 appears in the Get Angry chapter, under the story objective “Look for signs of Walter.” Once the hallucination sequence ends, Logan comes out of a portal into a candlelit cave lined with stone statues. The door is directly ahead, marked by the same thick purple roots that flag every Nightmare Door, so there is no side path or hidden route to hunt for.
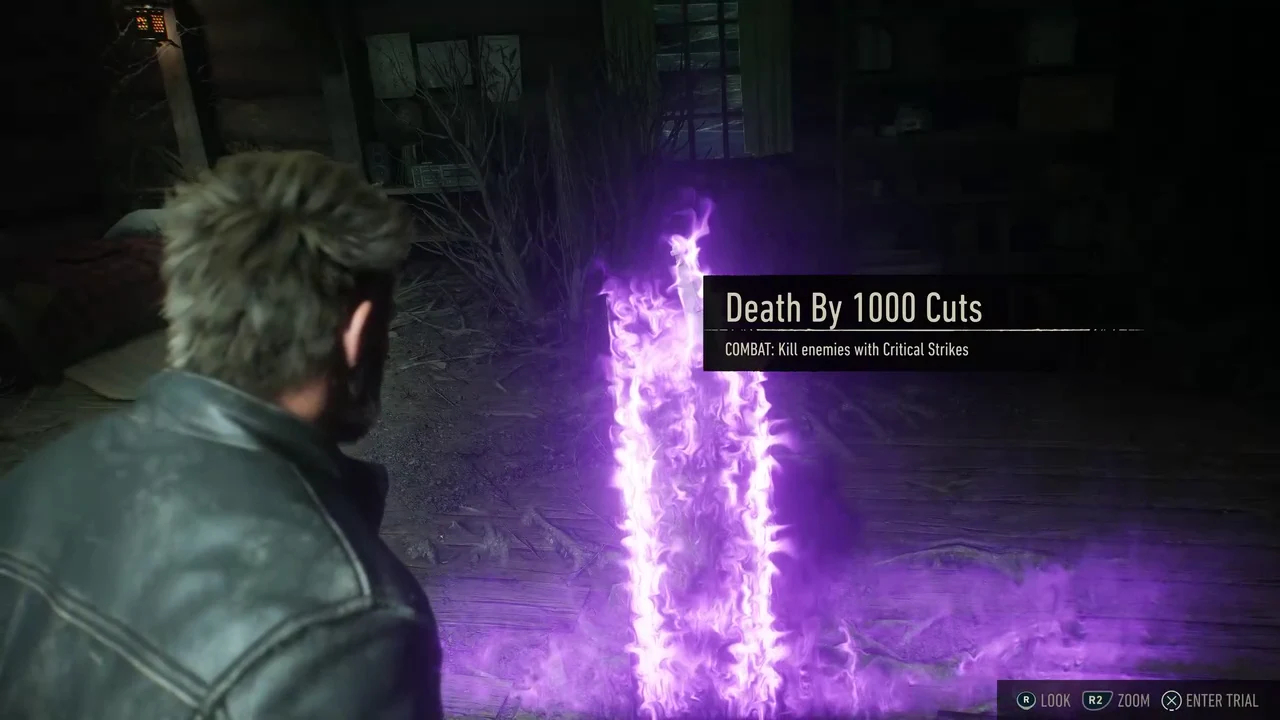
Walking through the doorway leads into a dark wooden cabin, where a purple flame materializes on the floor. That flame is the trial itself.
Nothing here is missable. If you push past it, you can come back through chapter select by interacting with the bed in the Nightmare Cabin after the story.
Death By 1000 Cuts objective and rank times
The objective line reads “COMBAT: Kill enemies with Critical Strikes,” and the counter tracks three kills. Ordinary claw finishers do not advance it. Only Critical Strikes move the tracker from 0/3 to 3/3, and the elapsed timer in the corner decides your rank the moment the third one lands.
| Rank | Time |
|---|---|
| Adamantium | Under 0:55 |
| Gold | Under 1:00 |
| Silver | Under 1:10 |
| Bronze | 1:10 or slower |
The gaps between ranks are tight, but 55 seconds is generous for three kills. A clean run lands closer to 40 seconds, which sits comfortably inside the Adamantium window with room for a missed dodge or two.
How to land Critical Strikes
Critical Strikes are performed with L2 + R2, and there are two reliable ways to make that input do something during this trial.
- Let a yellow attack land. The ninja impales Logan with a sword, and L2 + R2 then turns that sword back on one of them.
- Build to Rage Tier 3, which unlocks Critical Attacks on demand without waiting for an enemy to commit.
- Equip Adaptations that raise your Rage gain rate before entering, so Tier 3 arrives inside the first 20 seconds.
Glowing red indicators warn you when an enemy is winding up an attack, which is your cue to either dodge or, in the case of a yellow attack, stand your ground and take the impale.
Running the trial for Adamantium
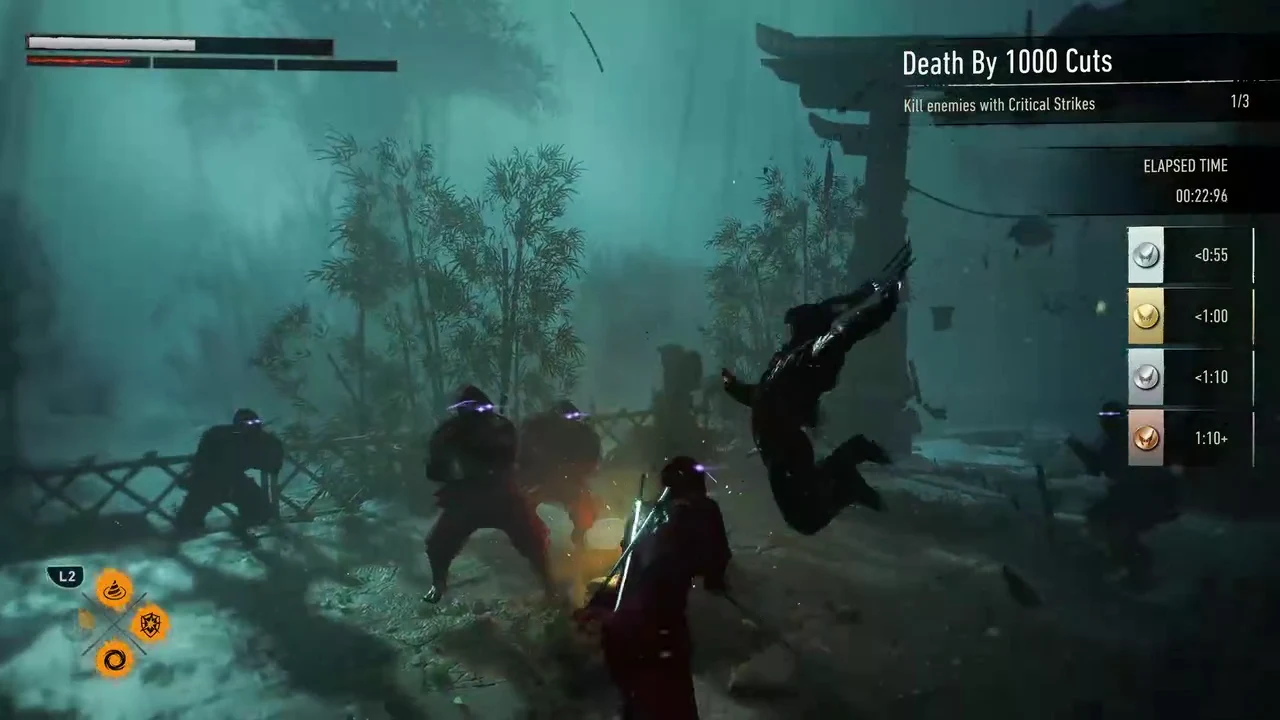
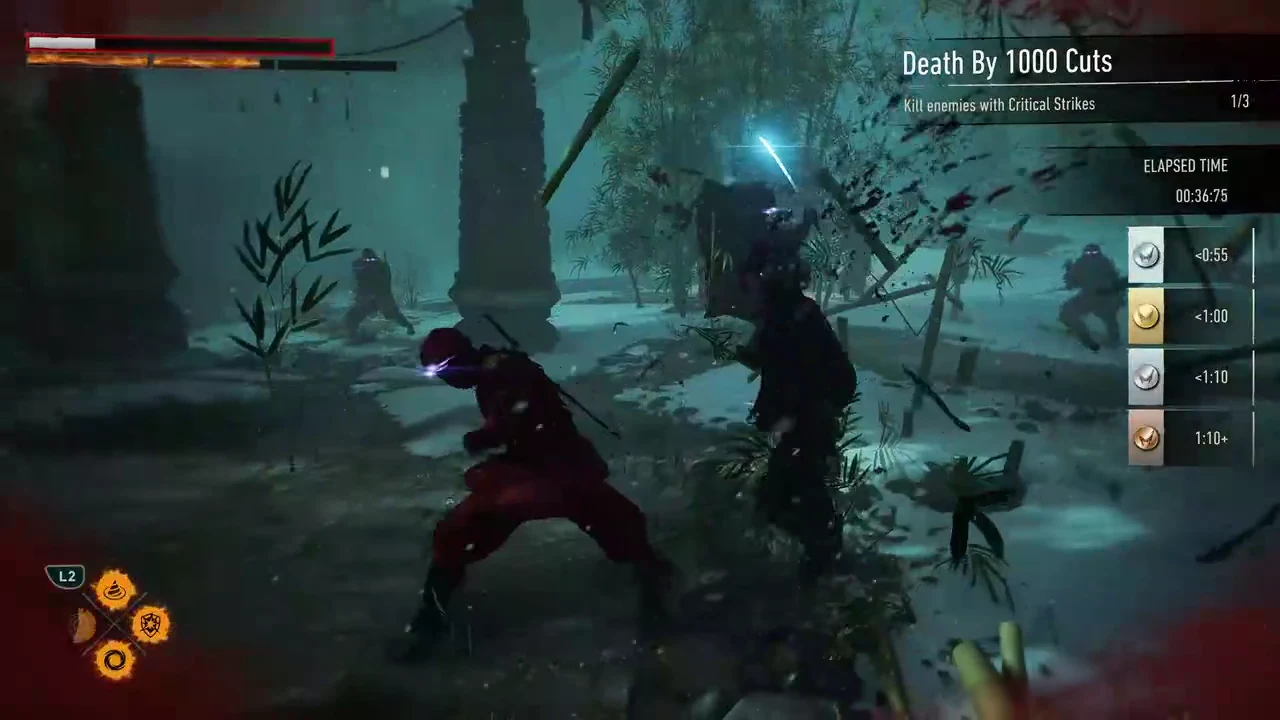
Confirming the Adamantium rank and reward
The screen drains to grayscale and shows a results card with your Time and Best Time. If the number is below 55 seconds, ADAMANTIUM is highlighted on the rank ladder. Ability Points then tick up on screen, adding three in total — a run finishing at 39.96 seconds moves Logan from 42/50 AP to 45/50 AP.
From there you get RETRY and CONTINUE. Retry only overwrites your Best Time if you go faster, so there is no penalty for taking another pass at the clock.
Why this trial is worth the Adamantium attempt
Marvel’s Wolverine has 14 Nightmare Doors and 15 trials in total, with the fifteenth appearing in the Nightmare Cabin after the story. Trophy-wise, you only need one Adamantium rank across the whole set, and bronze is enough everywhere else. Death By 1000 Cuts is a strong candidate for that single top rank because it asks for three kills rather than a survival gauntlet or a timed platforming route.
Higher ranks also award more Adaptation XP, so pushing for Adamantium here shortens the climb to Adaptation Level 10.
If the Critical Strike setup is not coming together on your first attempt during Get Angry, every trial can be replayed from the Nightmare Cabin once the credits roll, by which point Logan has a deeper skill list and better Adaptations to work with. Coming back later with a Rage-focused loadout usually turns a Gold or Silver finish into a comfortable sub-40-second clear.