Musashi starts out fragile, and the Genma punish that. But the game hands you a way out surprisingly early: once Kyoto opens up and you can wander off the main path, treasure chests start appearing at random, and enemies keep dropping souls every time you clear them. Neither resource is capped in the early hours, which means you can quietly out-level the difficulty curve before the game ever asks you to.
Quick answer: Before pushing the story forward, sweep the surrounding area for random treasure chests, farm the Genma there for Red souls, then spend both the chest materials and the souls on gear upgrades. There is no early limit on how far you can upgrade, so repeat the sweep-farm-upgrade cycle until upgrades stop feeling worth the time.
What you need before the loop works
Two things gate this. First, you need to reach the point where the game stops funnelling you down a corridor and gives you optional paths, vendors and side encounters to poke at — that is when random chests start showing up. Second, you need to be comfortable holding the Oni Gauntlet trigger (L2 on PlayStation) to vacuum up souls after a kill, because souls only hang around for a short time and certain enemies will steal them out from under you.
Absorbing leaves you exposed for a moment, so clear the last enemy in a group first, then hoover up everything at once rather than grabbing mid-fight.
Soul colors and what each one pays for
Only one of the three soul types feeds your power level directly. Knowing which is which stops you from wasting a farming run.
| Soul | What it does | Role in the loop |
|---|---|---|
| Red | Upgrade currency for the skill tree and base stats | The one you are farming for; also buys more upgrade supplies |
| Yellow | Restores Musashi’s health | Keeps a long farming run going without burning consumables |
| Blue | Fills the Oni power gauge for Oni Armament attacks | Speeds up clears when a group gets messy |
Run the upgrade loop
Clear farming groups faster with Issen, Deflect and Blaze
Farming is only worth it if each group dies quickly. Issen — attacking on the exact frame an enemy strikes — outright kills standard Genma, so a clean read ends a fight in one input instead of a full combo. Deflect (hold guard, then press attack right as the blow lands) strips large chunks of enemy stamina and sets up finishers on the tougher grunts.
Chaining parries builds the Blaze gauge and sets your blade alight in blue flame. In that state your hits do more health and stamina damage, and enemies drop noticeably more Blue souls — useful when you want Oni Armament charged for the next pack. Note: knocking a parried enemy into a wall or into another enemy breaks stamina faster than swinging again.
Sweep the area before you trigger the next objective
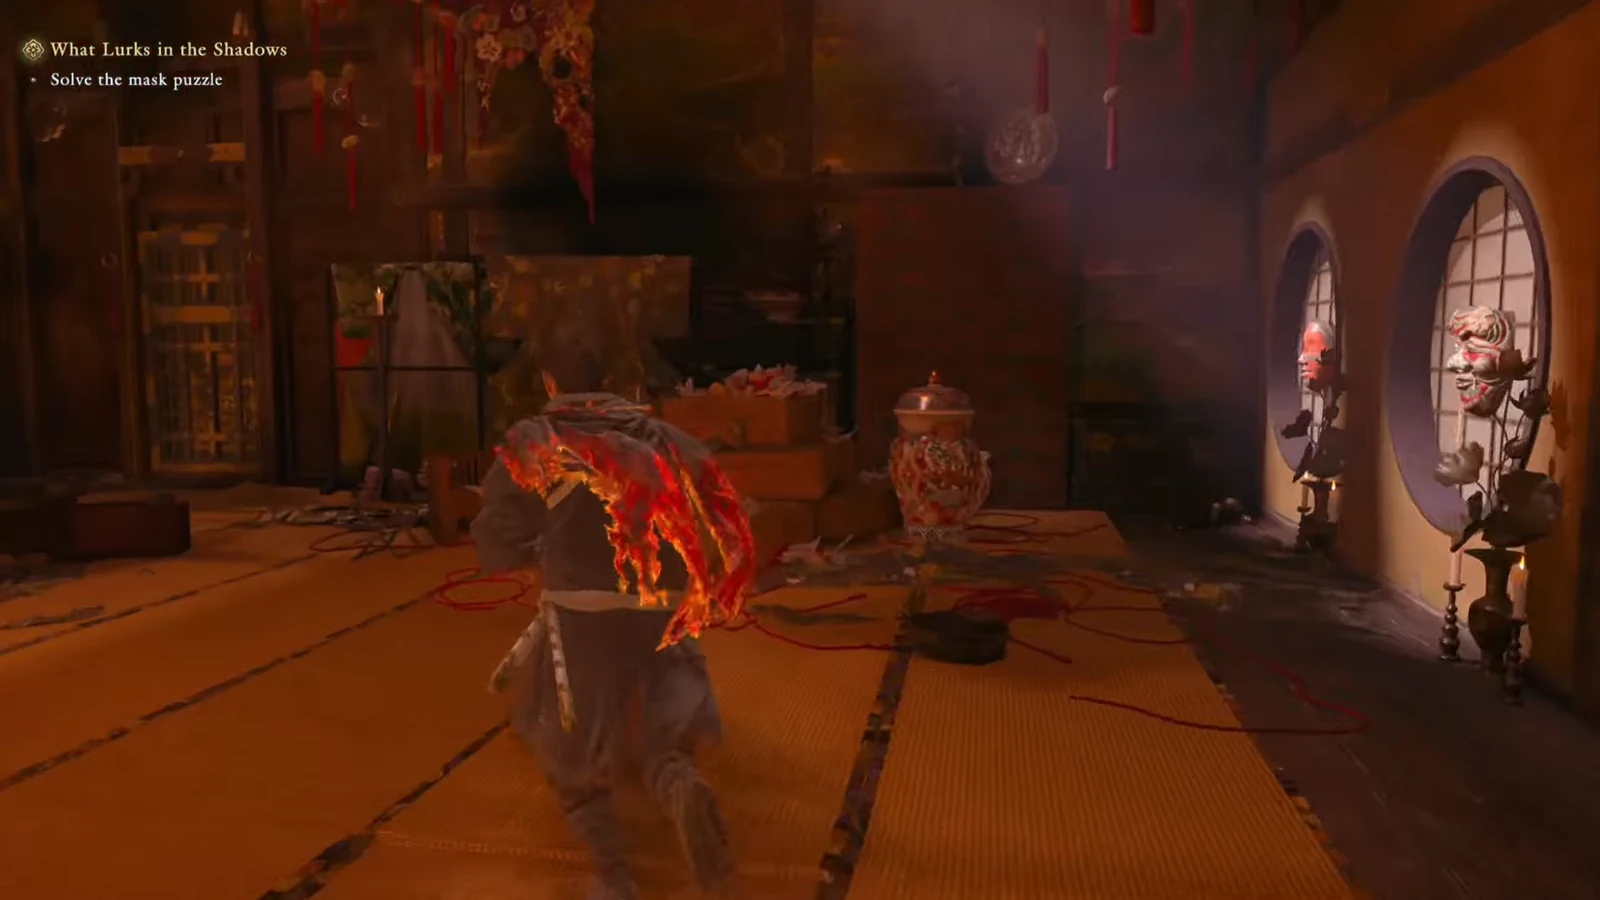
Objectives like “What Lurks in the Shadows” park you in a self-contained room and ask you to solve the mask puzzle to open the way forward. That prompt is your cue to stop and look around first — the surrounding stretch is exactly the kind of space where chests and respawning Genma sit, and once the door mechanism fires you are usually pushed onward.
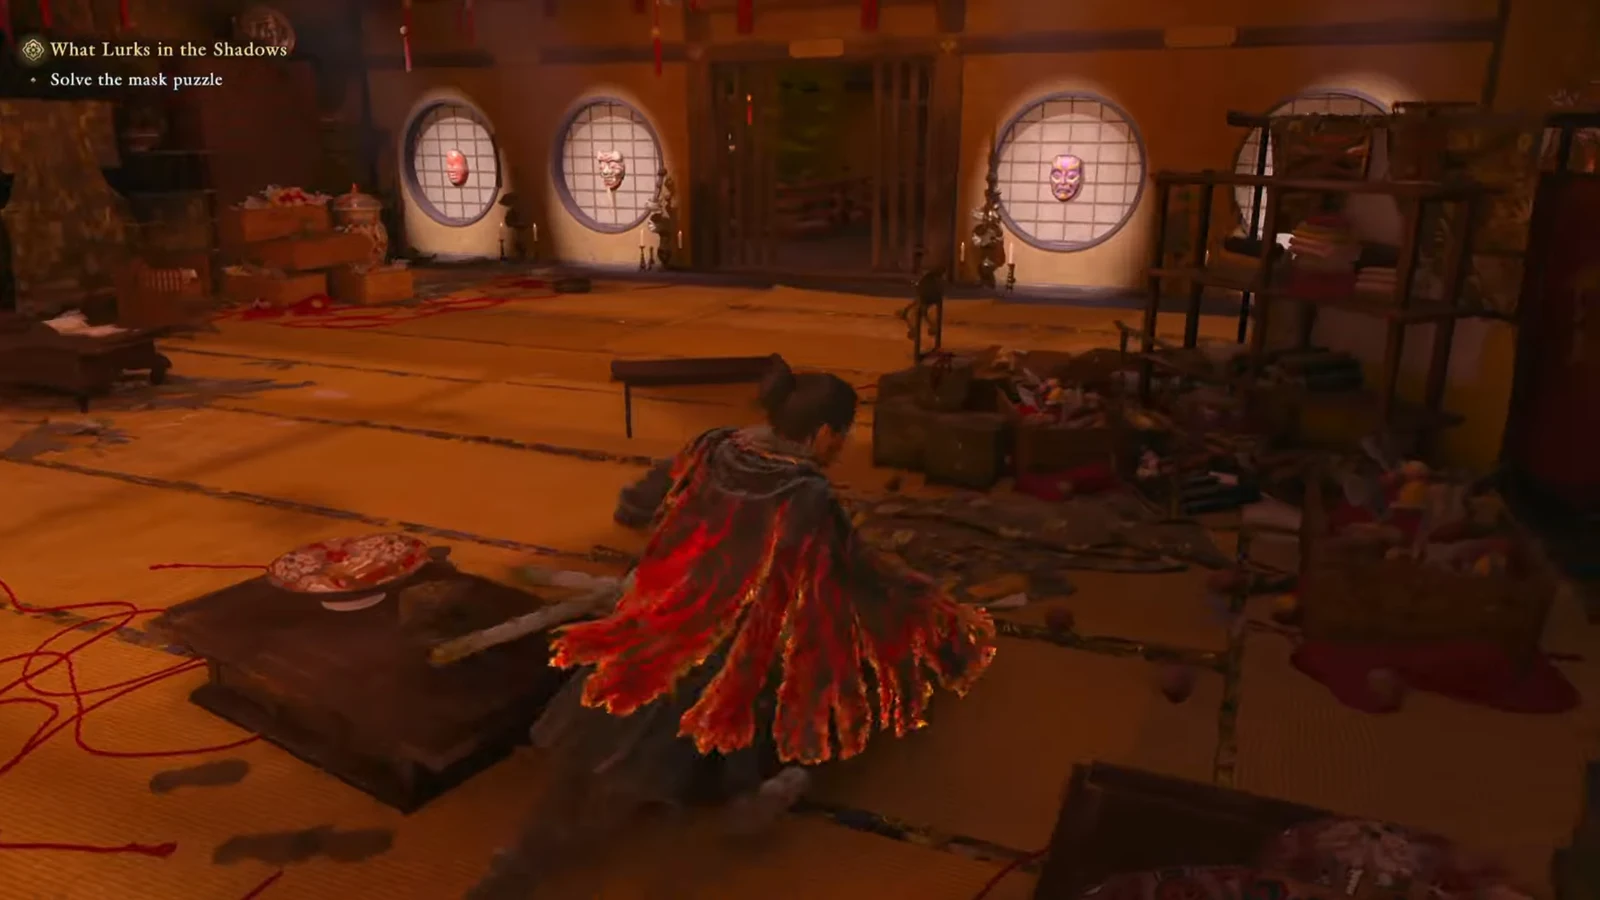
Read the room’s dialogue while you sweep, too. Your companion points out that the hanging masks look like archery targets, which is the kind of nudge the game uses instead of a hint marker.
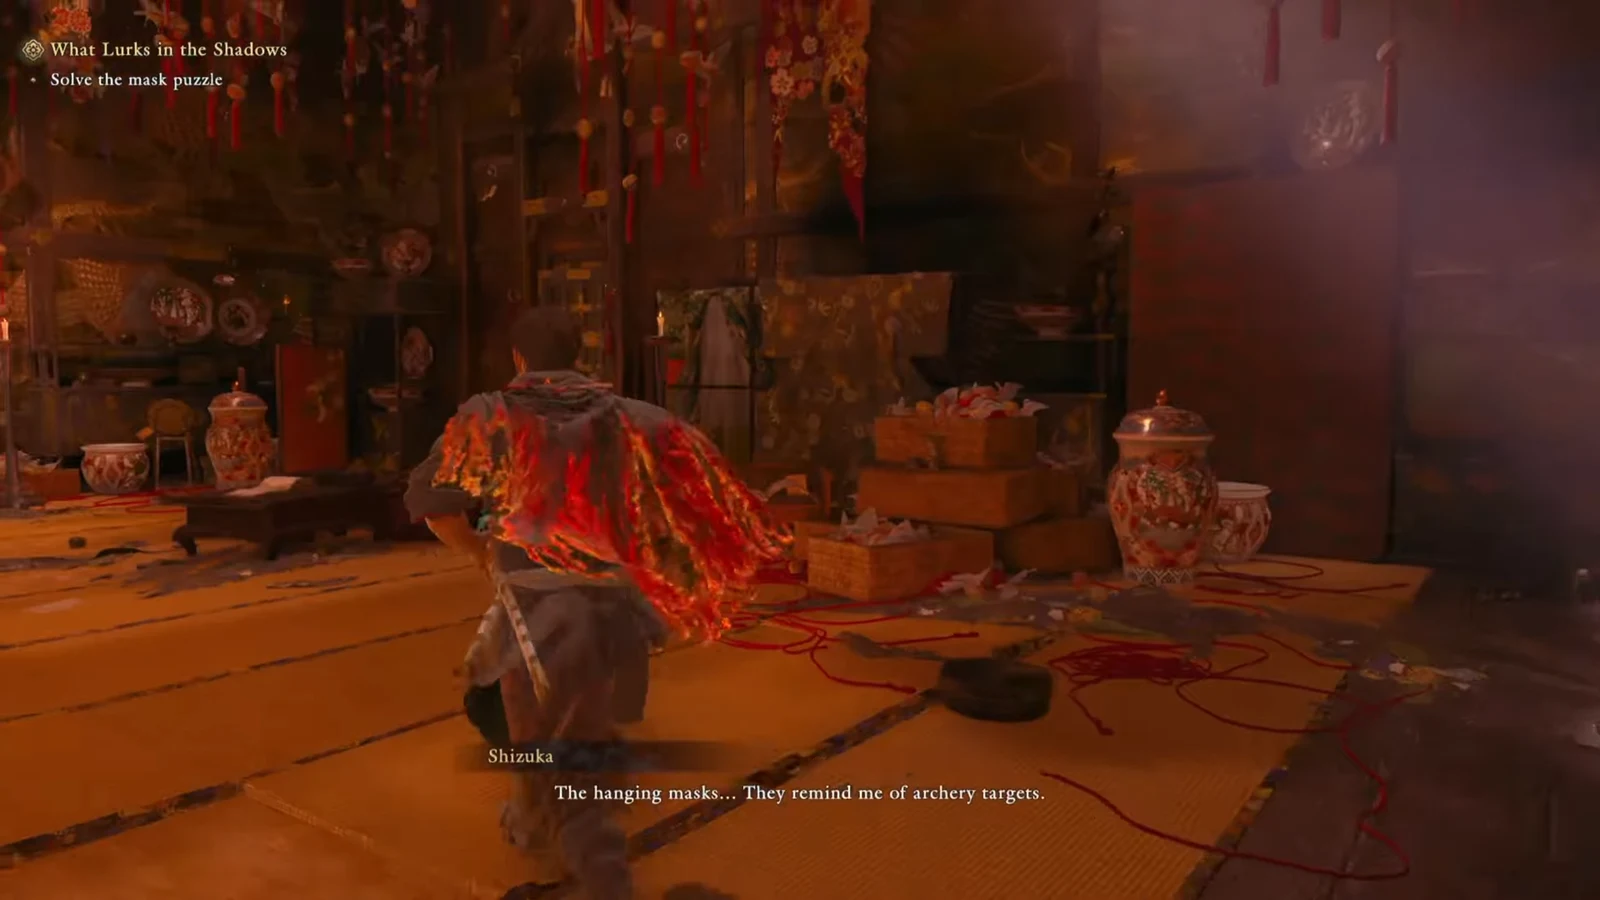
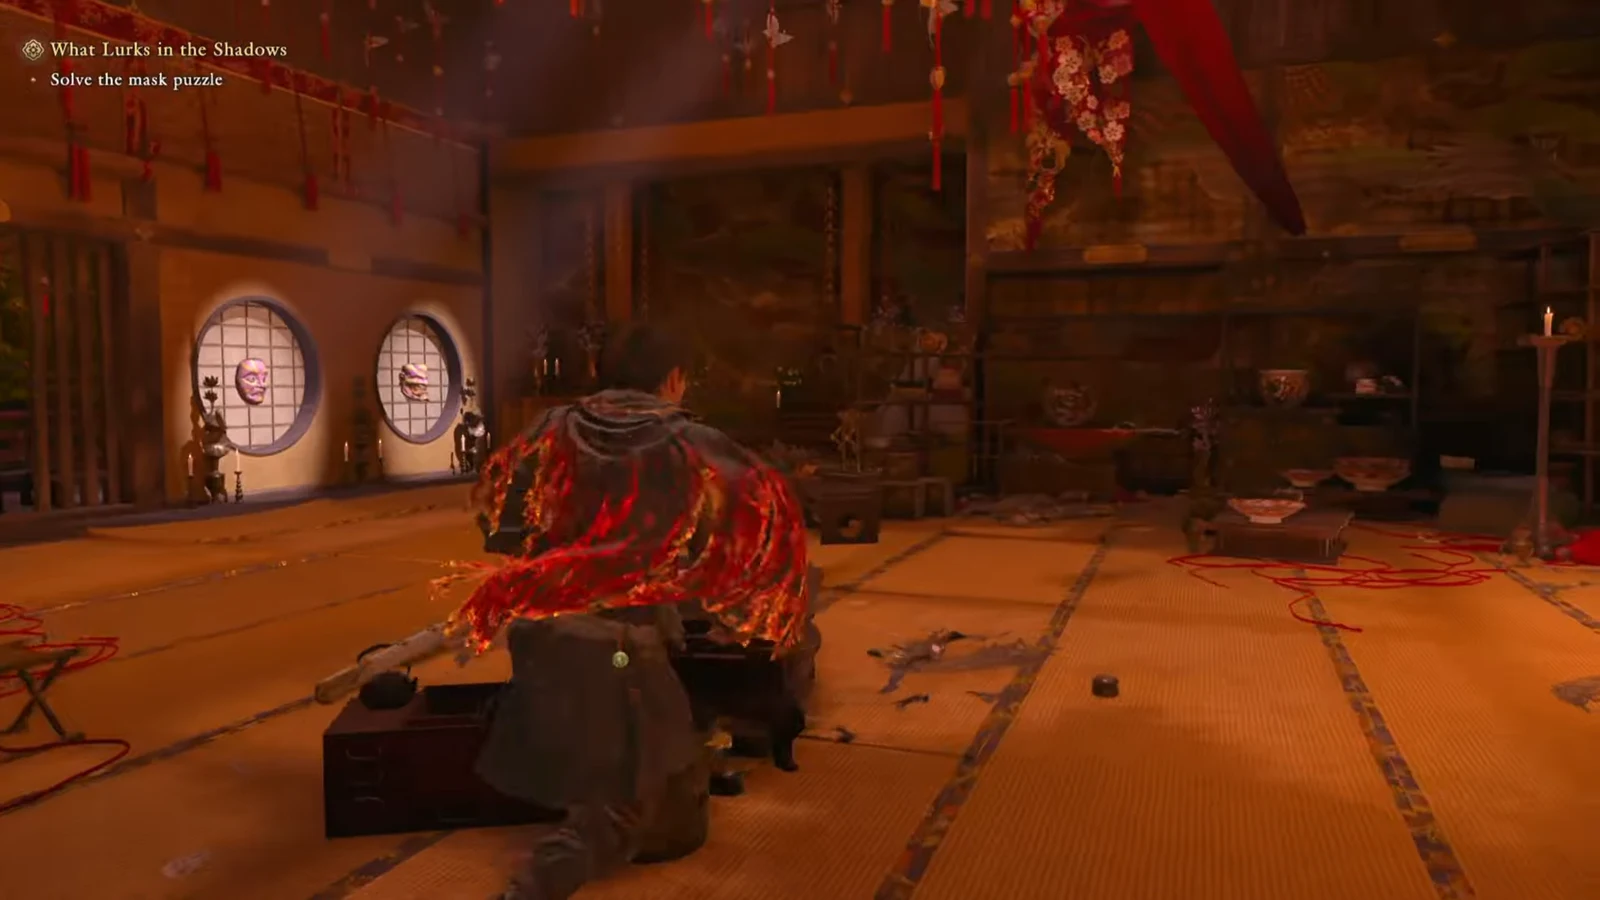
The puzzle itself is worth solving before you leave rather than after, since backtracking through a cleared area wastes the enemy respawns you would otherwise be farming.
Don’t sit on surplus Red souls
Banked Red souls do nothing for you. Once your current gear tier is maxed, roll the excess into upgrade supplies and consumables so the next farming run starts from a stronger baseline. Early skill tree investment matters here as well — evasion and Blaze-related nodes make the loop itself faster, which compounds.
Tip: the practice space reached by ringing the bell at the Rokudo-chinnoji Temple lets you drill Issen and Deflect timing without risking your souls. Cheap practice is the difference between farming safely and dying with a full pocket.
How to tell it worked, and why it sometimes doesn’t
You will know the loop is landing when standard Genma start dying in fewer swings and boss stamina bars break noticeably earlier — the upgrade screen reflecting a higher gear tier is the concrete confirmation. If nothing seems to be changing, the cause is almost always one of a few things.
- Souls left on the ground. They expire quickly and enemies can steal them, so absorb after every clear.
- Farming before the area opens up. Random chests only start appearing once you have room to explore off the main route.
- Spending Red souls on nothing but skill nodes. Buying upgrade supplies is what turns souls into raw gear power.
- Triggering the next objective too early. Once the story pushes you forward, that area’s chest and enemy sweep is behind you.
None of this replaces learning the defensive rhythm the game is built around — a fully upgraded Musashi still loses to a boss you refuse to read. What the loop buys you is margin: more health, more damage, and enough room for error that a mistimed parry stops being fatal.