A shotgun trainer in Palworld 1.0 hits hardest when the whole party feeds one damage lane. The Gunslinger comp does exactly that. It pushes trainer Attack, reload speed, and shotgun damage while a second Pal turns your bullets into a stacking buff, so your gunfire ramps the longer a boss stays alive. Against Grass and Ice bosses that already fold to Fire, that steady ramp is what closes out a ten-minute damage check.
Quick answer: Run Solenne, Frostplume, Nyafia, Orserk, and Xenolord in the same party, and make sure every Pal is a different species so Solenne’s trainer Attack buff stays on.
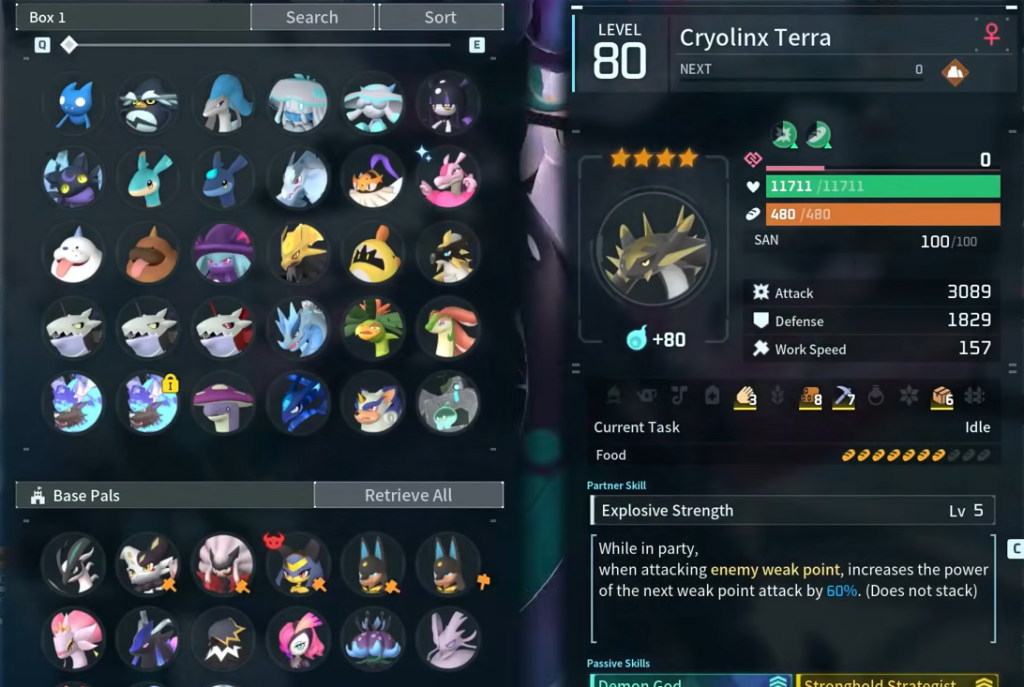
The five-Pal party that stacks gun damage
Each slot has one job. Three Pals buff you, the trainer, and two buff the active Pal or weapon-wielding Pals. Load all five and every effect surfaces at once.
| Pal | Role | What it does |
|---|---|---|
| Solenne | Trainer Attack | Raises trainer Attack while every Pal in the party is a different species |
| Frostplume | Reload speed | Raises trainer reload speed from a party slot |
| Nyafia | Shotgun specialist | Raises trainer shotgun damage; its Partner Skill also fires a shotgun |
| Orserk | Active-Pal bullet ramp | Each bullet hit gives the active Pal Attack and Defense for five seconds, up to 30 stacks |
| Xenolord | Armed-Pal skill amp | Raises Partner Skill damage of weapon-wielding Pals like Nyafia |
How each partner skill scales from rank 1 to rank 5
Every effect here is marked Unique, which means it still climbs with condensation rank but a second Pal carrying the same effect does not add a separate stack. Condense the Pals you rely on most to hit the top values below.
| Pal | Effect | Affects | Rank 1 | Rank 5 |
|---|---|---|---|---|
| Solenne | Trainer Attack (unique-species party) | You | 30% | 80% |
| Frostplume | Reload speed | You | 20% | 50% |
| Nyafia | Shotgun damage | You | 10% | 35% |
| Orserk | Active Pal Attack/Defense per bullet stack | Active Pal | 1% | 5% |
| Xenolord | Weapon-Pal Partner Skill damage | You and Pal | 20% | 50% |
At full condensation, Orserk’s buff reaches 5% Attack and Defense per bullet hit and stacks up to 30 times, so a sustained volley pushes the active Pal well past its base output before the five-second timer resets.

Keep trainer buffs and Pal buffs on separate lanes
The most common mistake is expecting Orserk or Xenolord to multiply your own gunfire. They do not. Solenne, Frostplume, and Nyafia are the only three that raise trainer firearm output. Orserk converts your bullet hits into temporary Attack and Defense on the active Pal, and Xenolord boosts Partner Skill damage from weapon-wielding Pals such as Nyafia. Treat those as two damage sources that share the party rather than one big trainer multiplier.
You’ll know the build is working when Solenne’s buff is live. That requires every Pal in the party to be a different species. Duplicate a species and the trainer Attack bonus switches off, which is the usual reason your damage suddenly feels flat. Two Pals with the same unique effect also won’t add a second stack, so there’s no value in doubling up carriers.
Where to catch each Pal
| Pal | How to get it |
|---|---|
| Solenne | Catch in the wild; only spawns in the World Tree region |
| Frostplume | Catch in the wild at levels 39 to 68 across the main island |
| Nyafia | Catch in the wild at levels 50 to 58 across the main island |
| Orserk | Catch in the wild; only spawns in the World Tree region |
| Xenolord | Win the level-60 Xenolord raid, or hatch a Huge Dark Egg |
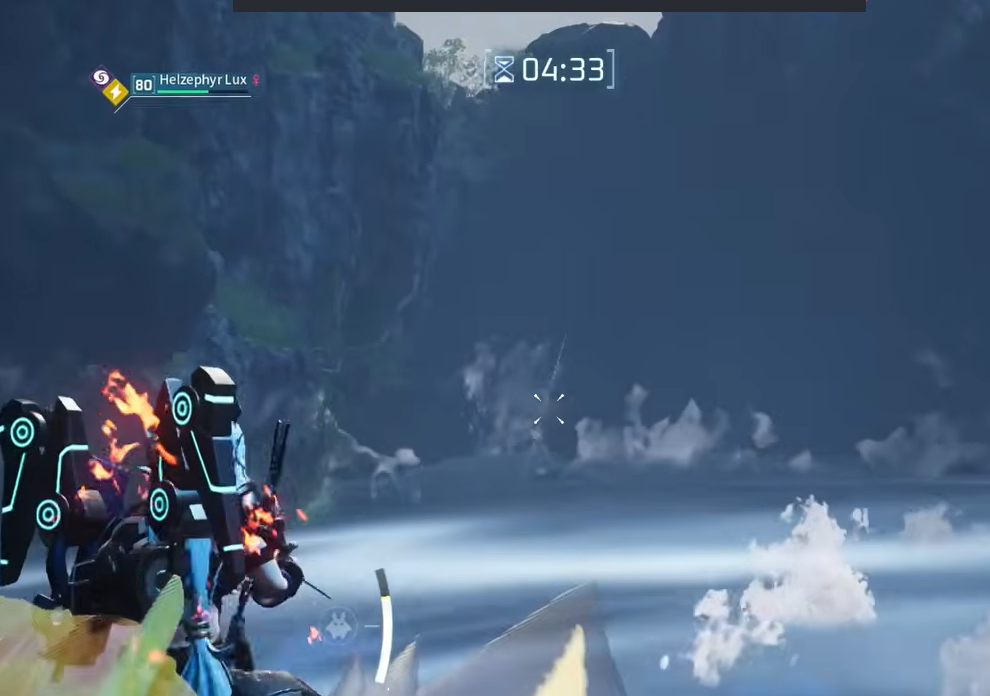
Turning the build on Grass and Ice bosses
Grass and Ice bosses both take extra damage from Fire, so pairing this gun party with Fire-type Pals on the active slot covers the type advantage while your firearm handles the raw damage numbers.
Lily & Lyleen at the Free Pal Alliance Tower need 69K damage in ten minutes. Lyleen is a Grass type, so a Fire-type active Pal like Vanwyrm exploits the weakness while you aim for the head for critical hits. Stay at range to avoid its poison cloud, homing bubbles, and seed grenades.
Bjorn & Bastigor at the Feybreak Tower are the harder wall, with a 509K damage requirement and a level-60 recommendation. Bastigor mixes Ice, Water, and Ground moves, and Fire-type Pals such as Jormuntide Ignis, Suzaku, and Ragnahawk are super effective. Bring Cold Resistant Hexolite Armor for the trip, and keep out of corners so Bastigor’s freeze can’t pin you.
Heavy weapons carry these damage checks. A rocket launcher or plasma cannon does the bulk of the work against Bastigor, while your shotgun buffs keep close-range output high once you’ve whittled the health bar down.
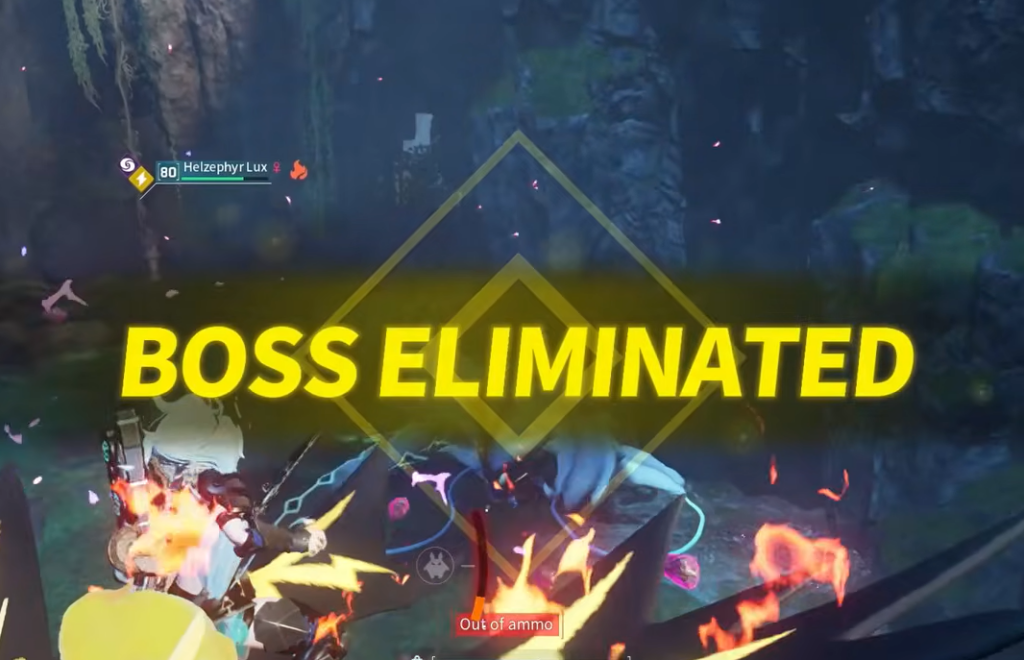
Swapping Nyafia for energy weapons
If you’d rather run energy weapons than a shotgun, replace Nyafia with Xenogard. That keeps the party’s identity intact while shifting the weapon-focused slot to match your loadout. The other four Pals stay in place, and Solenne’s unique-species requirement still applies, so make sure Xenogard doesn’t duplicate a species already in your lineup.
Once all five slots are filled and every Pal is a distinct species, the build is complete. Condense the carriers you lean on hardest toward rank 5, keep firing to hold Orserk’s stacks, and let the Fire-type active Pal handle the type matchup on Grass and Ice bosses.