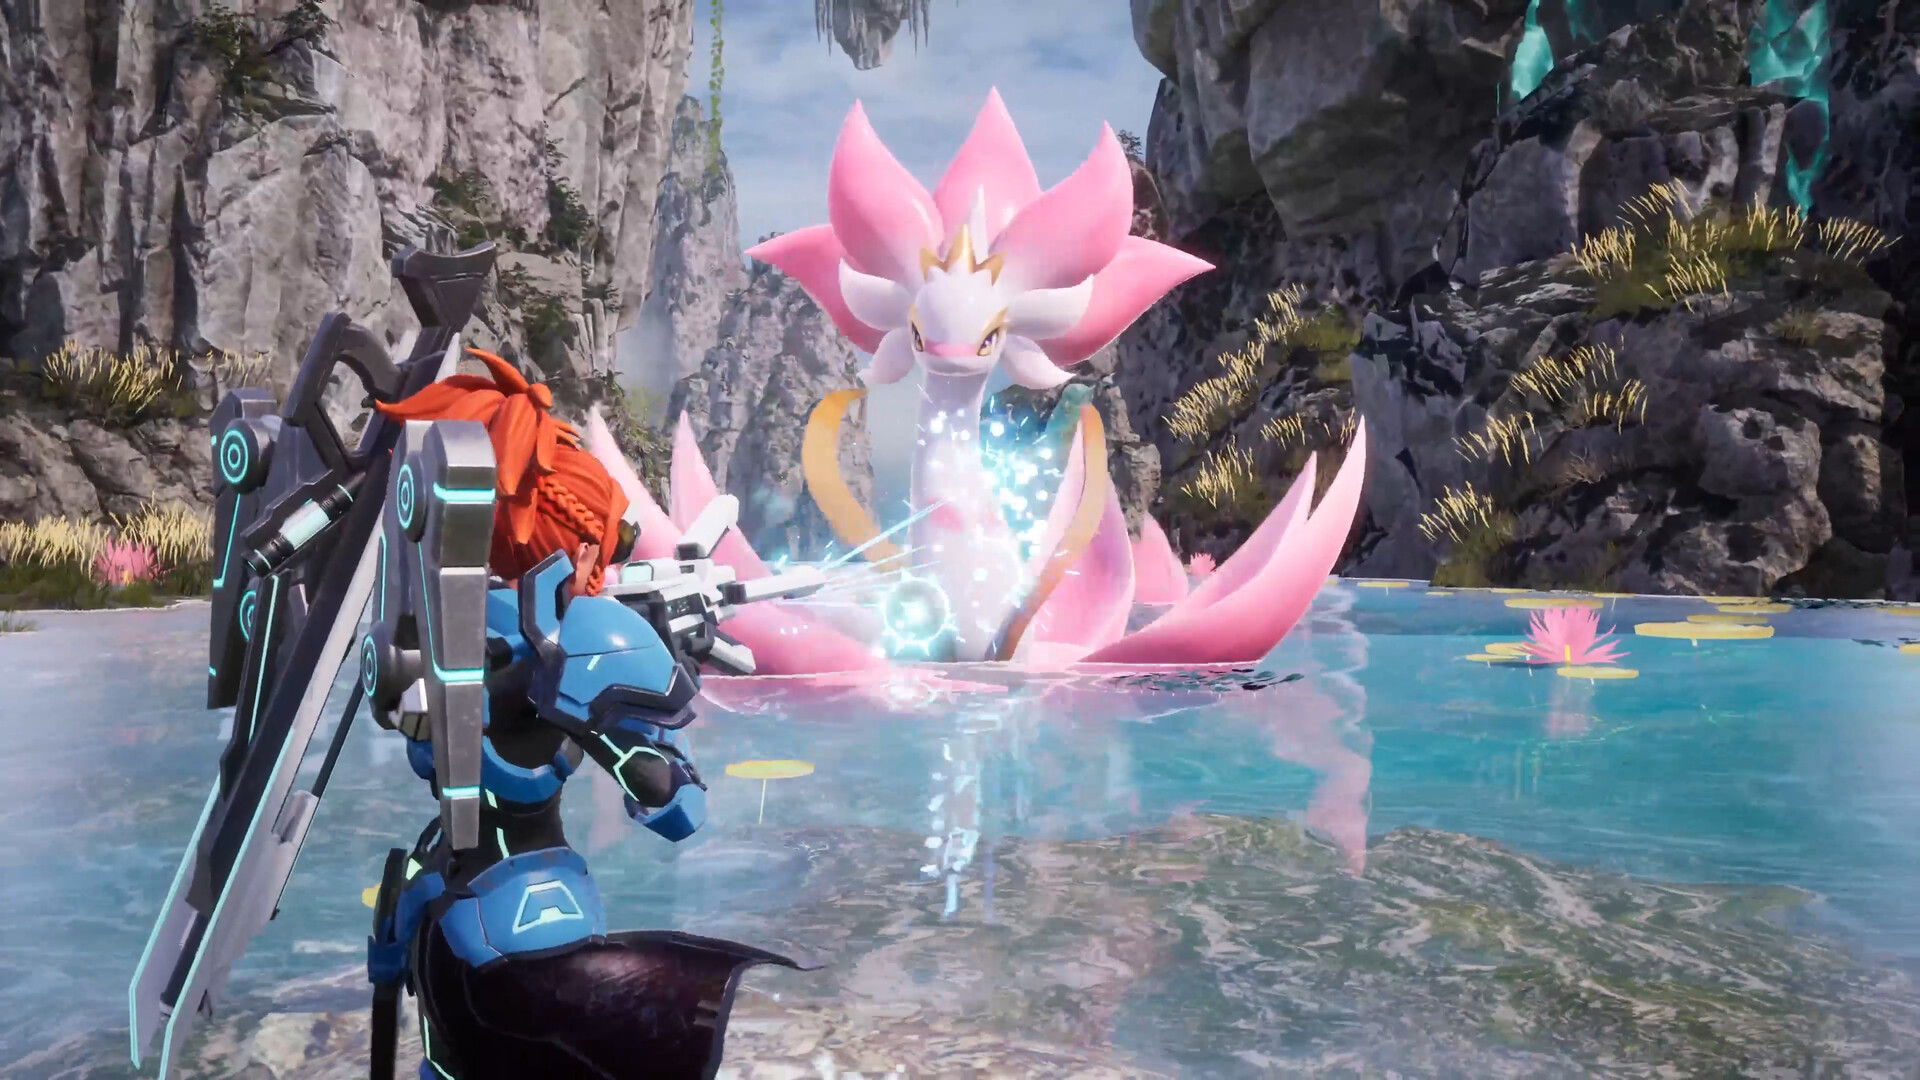
Palworld’s raid bosses reward you with a boss egg and IV fruits, but the way you beat them changed after the v0.7.1 aggro rework. Bosses now chase whoever deals the most damage, and the old rescue-and-pod tricks are gone. That shift makes one high-damage Dragon army the practical answer for nearly the entire roster, while Wistella earns a narrow but real spot against the Dark bosses.
Quick answer: Bring one high-level Dragon army built around Beam Slicer, Holy Burst, and Blast Cannon to clear every raid boss. Wistella is not an all-rounder. Its Dark typing resists Dark damage and it naturally learns Dragon-type meteor moves, so it only earns its slot against Bellanoir and Bellanoir Libero’s Dark phase.
How Palworld raid boss fights work in v0.7.1
You start a raid boss fight by placing that boss’s Slab in a Summoning Altar, which unlocks at Level 32 in the Technology tree. Each boss uses its own Slab, crafted from four Slab Fragments at the Assembly Line. The fight consumes both the Slab and the altar, and you choose to fight in your base or teleport to the dedicated Raid Area.
Every fight runs on a 10-minute timer. You only lose if the timer expires or your Pal Box is destroyed. Your own death does not end the run, so you can revive and keep going. Defeating a boss drops its egg (a 10 percent chance for an Alpha) plus IV fruits, and most bosses also drop an Ultra Slab for a harder version.
The big v0.7.1 change is aggro. Bosses now target the Pal or player dealing the most damage. Pal Pods and rescue Pals were removed in v0.7.0, so the reliable tactic now is to draw aggro onto yourself with strong player and party damage, then keep your raid army positioned far from the boss so those Pals avoid taking hits.
One raid army for every boss
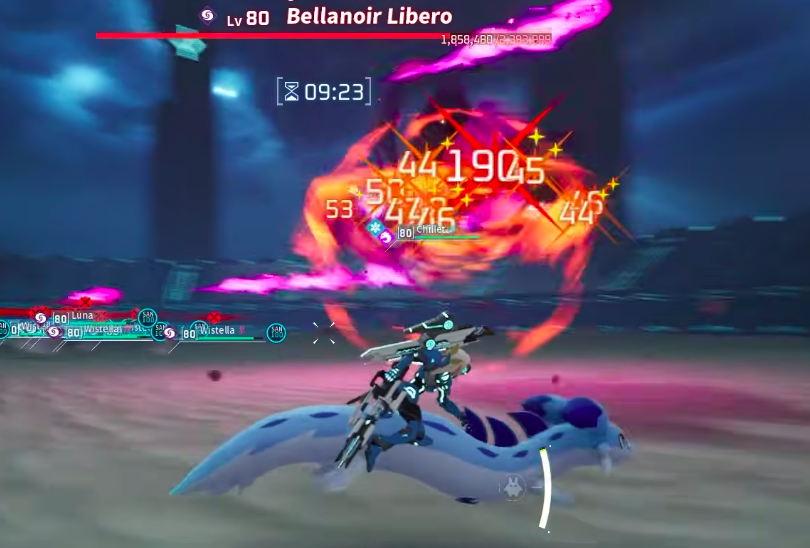
You do not need a separate team for each boss. Any army you breed for Xenolord will also handle Blazamut Ryu, Bellanoir Libero, and their Ultra variants. High-level Dragon Pals such as Xenogard and Orserk form the backbone because Beam Slicer and Blast Cannon hit many targets at once, and v0.7.1 gave Dragon Pals a slight power boost for exactly that reason.
You get one chance to land a stun on Xenolord or Hartalis, so keep Ice and Electric attacks off your raid army entirely, including filler moves on Pals whose main element is Ice or Electric. Save that stun for Cosmic Meteor.

Where a Wistella raid army actually works
Wistella is a Dark-element Pal that resists Dark damage and is weak to Dragon. On paper its combat value is low. Its base stats total 230 (HP 80, Attack 90, Defense 60), and its combat tier ranking is N/A. It shines as a base worker, not a front-line raider.
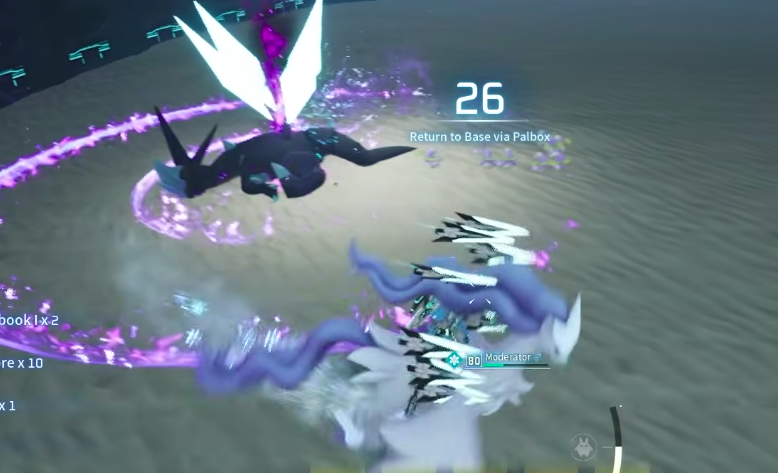
The reason it still has a place in raids is its move pool. Wistella naturally learns several Dragon-type meteor attacks, including Comet Strike, Comet Barrage, and Dragon Meteor. Dragon is super effective against Dark, and both Bellanoir and Bellanoir Libero’s first phase are Dark. So a Wistella team lands bonus damage on those bosses while its Dark typing shrugs off their Dark attacks.
Its Partner Skill, Hidden Dark Energy, raises the Defense of Dark Pals in your party by 15 to 30 percent depending on skill level. The buff does not stack. The catch is that this specialty stops there. Against Blazamut Ryu’s Dragon phase, Wistella takes extra damage, and it offers no type advantage against Bellanoir Libero’s Ice phase. Treat it as a Dark-boss specialist, not a replacement for a proper Dragon army.
Wistella’s raid attacks
| Level | Move | Type | Power |
|---|---|---|---|
| 1 | Dark Cannon | Dark | 70 |
| 7 | Dark Arrow | Dark | 120 |
| 15 | Comet Strike | Dragon | 180 |
| 22 | Nightmare Ball | Dark | 300 |
| 30 | Comet Barrage | Dragon | 450 |
| 40 | Star Mine | Neutral | 400 |
| 50 | Dragon Meteor | Dragon | 600 |
| 70 | Dark Whisp | Dark | 600 |
Raid boss elements, weaknesses, and health
Two-phase bosses swap elements at 10 percent HP. At that point they heal 30 percent of their health and change their weakness, which is why a mixed army or a strong player-damage swap Pal matters most late in the fight.
| Boss | Lv. | Element | Weakness | Health |
|---|---|---|---|---|
| Bellanoir | 30 | Dark | Dragon | 294,000 |
| Bellanoir Libero | 50 | P1 Dark / P2 Ice | P1 Dragon / P2 Fire | 450,000 |
| Bellanoir Libero (Ultra) | 50 | P1 Dark / P2 Ice | P1 Dragon / P2 Fire | 900,000 |
| Blazamut Ryu | 55 | P1 Dragon/Fire / P2 Electric | P1 Water / P2 Ground | 512,680 |
| Blazamut Ryu (Ultra) | 55 | P1 Dragon/Fire / P2 Electric | P1 Water / P2 Ground | 1,025,360 |
Xenolord, Moon Lord, and Hartalis round out the roster. Hartalis arrived in v0.7.1. Moon Lord still targets random Pals, which punishes big Pals, and Dark Pals tend to bunch up under the boss and miss its heart. Hartalis in Phase 2 uses Sacred Rain and Air Blade that shred armies clumped on the boss, so packed Jetragon teams die quickly there.
Best attacks against each raid boss
Bellanoir and Bellanoir Libero both have a floating hitbox that dodges a lot of attacks, so the moves that reliably connect matter more than raw power. Seed Mine and Flare Storm both perform well and can be bought from Merchants.
| Boss | Recommended attacks |
|---|---|
| Bellanoir | Beam Slicer first, then Air Blade, Seed Mine, Flare Storm, Lightning Streak, or Dragon Cannon |
| Bellanoir Libero | Beam Slicer and Flame Funnel first, then Air Blade, Seed Mine, Flare Storm, or Lightning Streak |
| Blazamut Ryu (P1) | Holy Burst, Hydro Slicer, Air Blade |
| Blazamut Ryu (P2) | Holy Burst, Rockburst, Air Blade |
For Bellanoir Libero, keep Beam Slicer even though Phase 2 turns Ice, and lean on Flame Funnel for heavy burst during that phase. If you run a single army against Blazamut Ryu and do not want to swap teams, just slot Rockburst so you stay effective when it flips to Electric.
Boss attacks to avoid
Bellanoir’s Nightmare Ray is its signature hit and tracks sideways, so run straight away from the boss to break its aim. Apocalypse can wipe out base Pals fast.
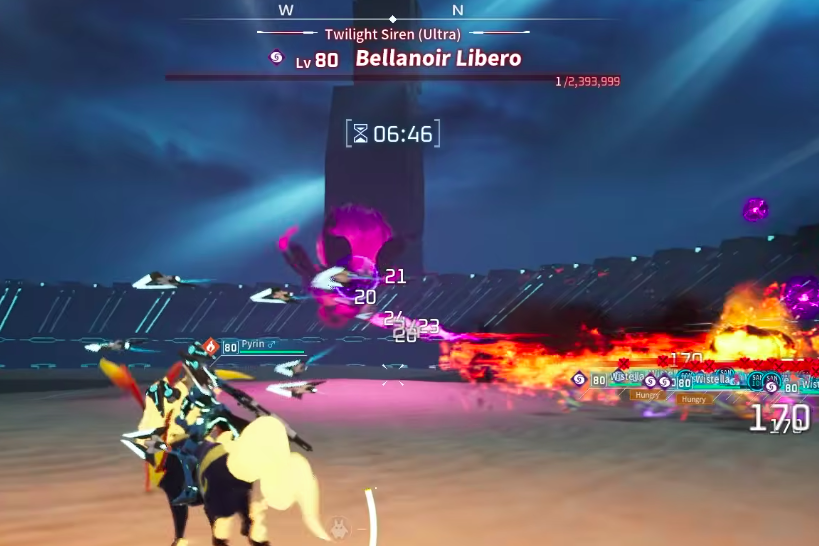
Bellanoir Libero’s Nightmare Bloom works the same way. Back straight away from the boss to dodge it. Apocalypse and Flame Waltz threaten base Pals, and once Phase 2 begins the boss nearly doubles its attack, adds Ice moves that freeze, and hits hard with Diamond Rain.
Blazamut Ryu can burn with almost any attack in Phase 1. In Phase 2 it loses a little attack but becomes much tankier, and its Electric skills deal wide area damage that tears through base Pals. Magna Crush is tough to dodge, so tank it with your shield.
Confirming the clear and raid rewards
You know the fight is won when the boss falls before the 10-minute timer runs out and your Pal Box is still standing. On defeat you collect the boss egg, IV fruits, and, for most bosses, the Ultra Slab that unlocks the harder rematch. Bellanoir has no Ultra fight, and Bellanoir Libero (Ultra) does not drop a further Slab.
| Boss | Notable rewards |
|---|---|
| Bellanoir | Huge Dark Egg, Multiclimate Undershirt +1, Training Manual (XL) 1-3, Ancient Civilization Core, Ruby 3, Training Crystal |
| Bellanoir Libero | Huge Dark Egg, Multiclimate Undershirt +2, Ancient Civilization Core 1-2, Bellanoir Libero (Ultra) Slab, 1 random fruit |
| Blazamut Ryu | Huge Dragon Egg, Blazamut Ryu (Ultra) Slab, Ancient Civilization Core 2, Ruby 5-10, Ancient Civilization Parts 10, Pendant +2, Power Lotus, 1 random fruit |
Build your core team around durable, high-damage Dragon Pals so a single army carries you through the whole roster, and slot Wistella in only when you queue up Bellanoir or Bellanoir Libero, where its Dark resistance and Dragon meteors pull their weight.