
A Voyage in Curse of the Allflame turns a stack of collected Charts into one large seafloor expedition, and where you place each Chart decides how rich that run becomes. The system rewards planning over random placement, because Chart bonuses and board effects stack based on which squares sit next to each other.
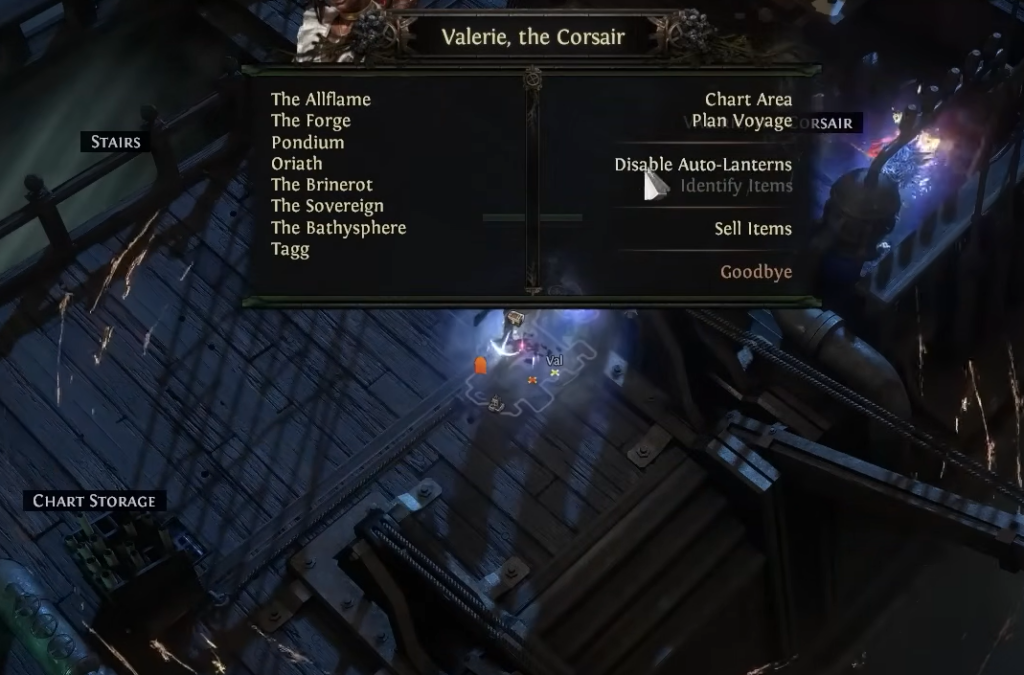
Quick answer: Scout at least nine different Charts, speak to Valerie aboard the Sovereign to open the Voyage Board, then place any Chart with an adjacency bonus in the center square so its effect applies to all four neighboring Charts.
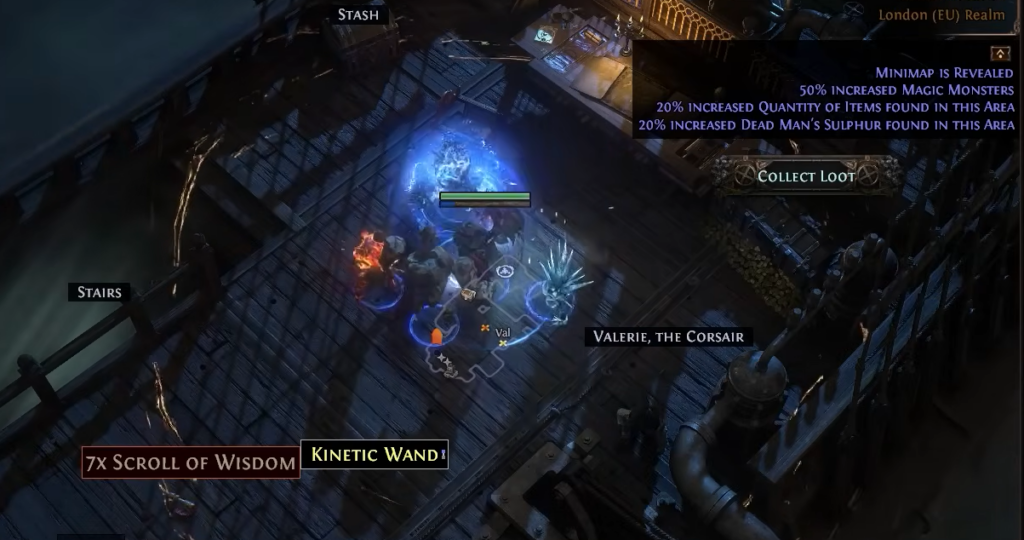
Unlock the Voyage Board: Scout Nine Charts First
You cannot start a Voyage until you have scouted at least nine different Charts. Charts appear throughout Wraeclast, with every area holding at least one and some areas holding two, so you can begin collecting from Act One.
You know the system is ready when Valerie lets you place Charts onto the board. A full board holds up to nine Chart positions, so nine scouted Charts fills a complete Voyage.

Read Chart Implicits Before You Place Anything
Every Chart reveals an implicit modifier once it has been charted. That modifier either affects the Charts directly next to it or applies to the entire Voyage. Because some bonuses only reach their full value when surrounded by the right neighbors, check each implicit before deciding on a layout.
Adjacency bonuses are the ones worth planning around. A single well-placed Chart can push its effect onto several surrounding areas at once, which multiplies the total reward from one run rather than adding to a single area.
Place Adjacency Charts in the Center
The center square touches four adjacent squares, so any adjacency bonus placed there reaches the maximum number of neighbors. Edge and corner squares touch fewer areas, which cuts an adjacency Chart’s value.
Consider a Chart that spawns three Diviner’s Strongboxes in each adjacent area. The placement changes the payout dramatically.
| Placement | Adjacent areas reached | Total Diviner’s Strongboxes |
|---|---|---|
| Center square | 4 | 12 |
| Edge or corner | Fewer | Reduced |
Reserve the center for your strongest adjacency Chart, and fill the edges with implicits that affect the whole Voyage or that you simply want on the board.
Check Border Modifiers Every Run
The edges of the Voyage Board carry their own modifiers that affect adjacent Charts, separate from the Charts you place. These border effects are randomized on every Voyage, so the best layout changes each time you sail. Identify the strongest border bonus before you commit any Charts to the board.
Border bonuses reward matching them with compatible Charts. One border modifier makes every rare monster in the adjacent area drop an additional Exalted Orb. That effect scales with how many rare monsters spawn, so pair it with Charts that add more of them.
- A Chart that increases the number of rare monsters in adjacent areas.
- A Chart that spawns powerful rare Starfish monsters in adjacent areas.
Placing either of those next to the extra Exalted Orb border stacks the effects, creating many more rare monsters that each drop the bonus currency. Before locking a Chart into a spot, ask whether it would earn more sitting beside a border modifier than anywhere else.
Complete the Voyage and Recover Rewards
After each Voyage you can rebuild with newly collected Charts. Because the border modifiers reshuffle every time, treat each board as a fresh puzzle rather than reusing an old layout, and the consistent planning is what keeps your seafloor runs paying out.