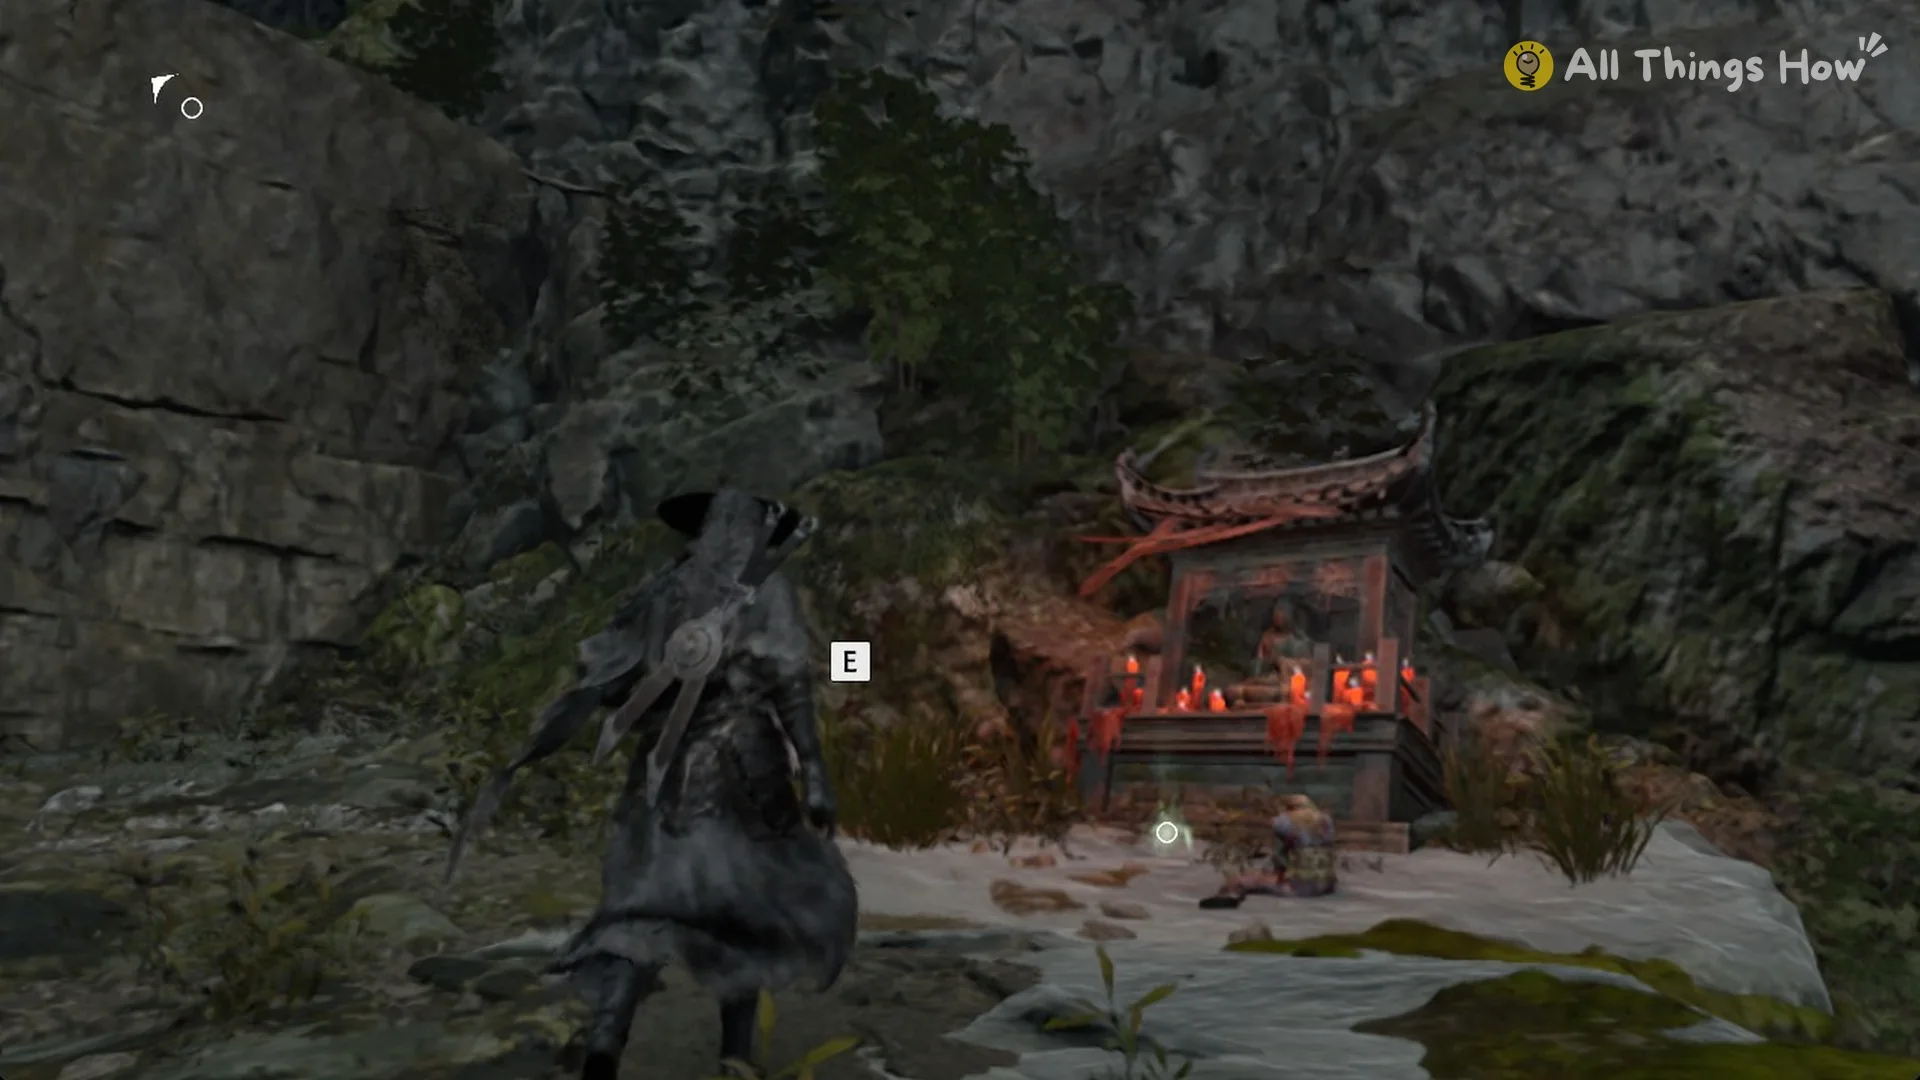
Quick answer: Both notes are along the cave path beyond the Great Waterfall in Weeping Creek Valley. Reply to a Request for Aid is at the stream’s end beneath a small cascade. The Discordance is on the stairs of the red-candle shrine above.
The route becomes available as soon as the second battle with The Hunt ends; that fight happens in the pool below the Great Waterfall. Afterward, you can collect both books on a brief outing without much backtracking.
How to get behind the Great Waterfall
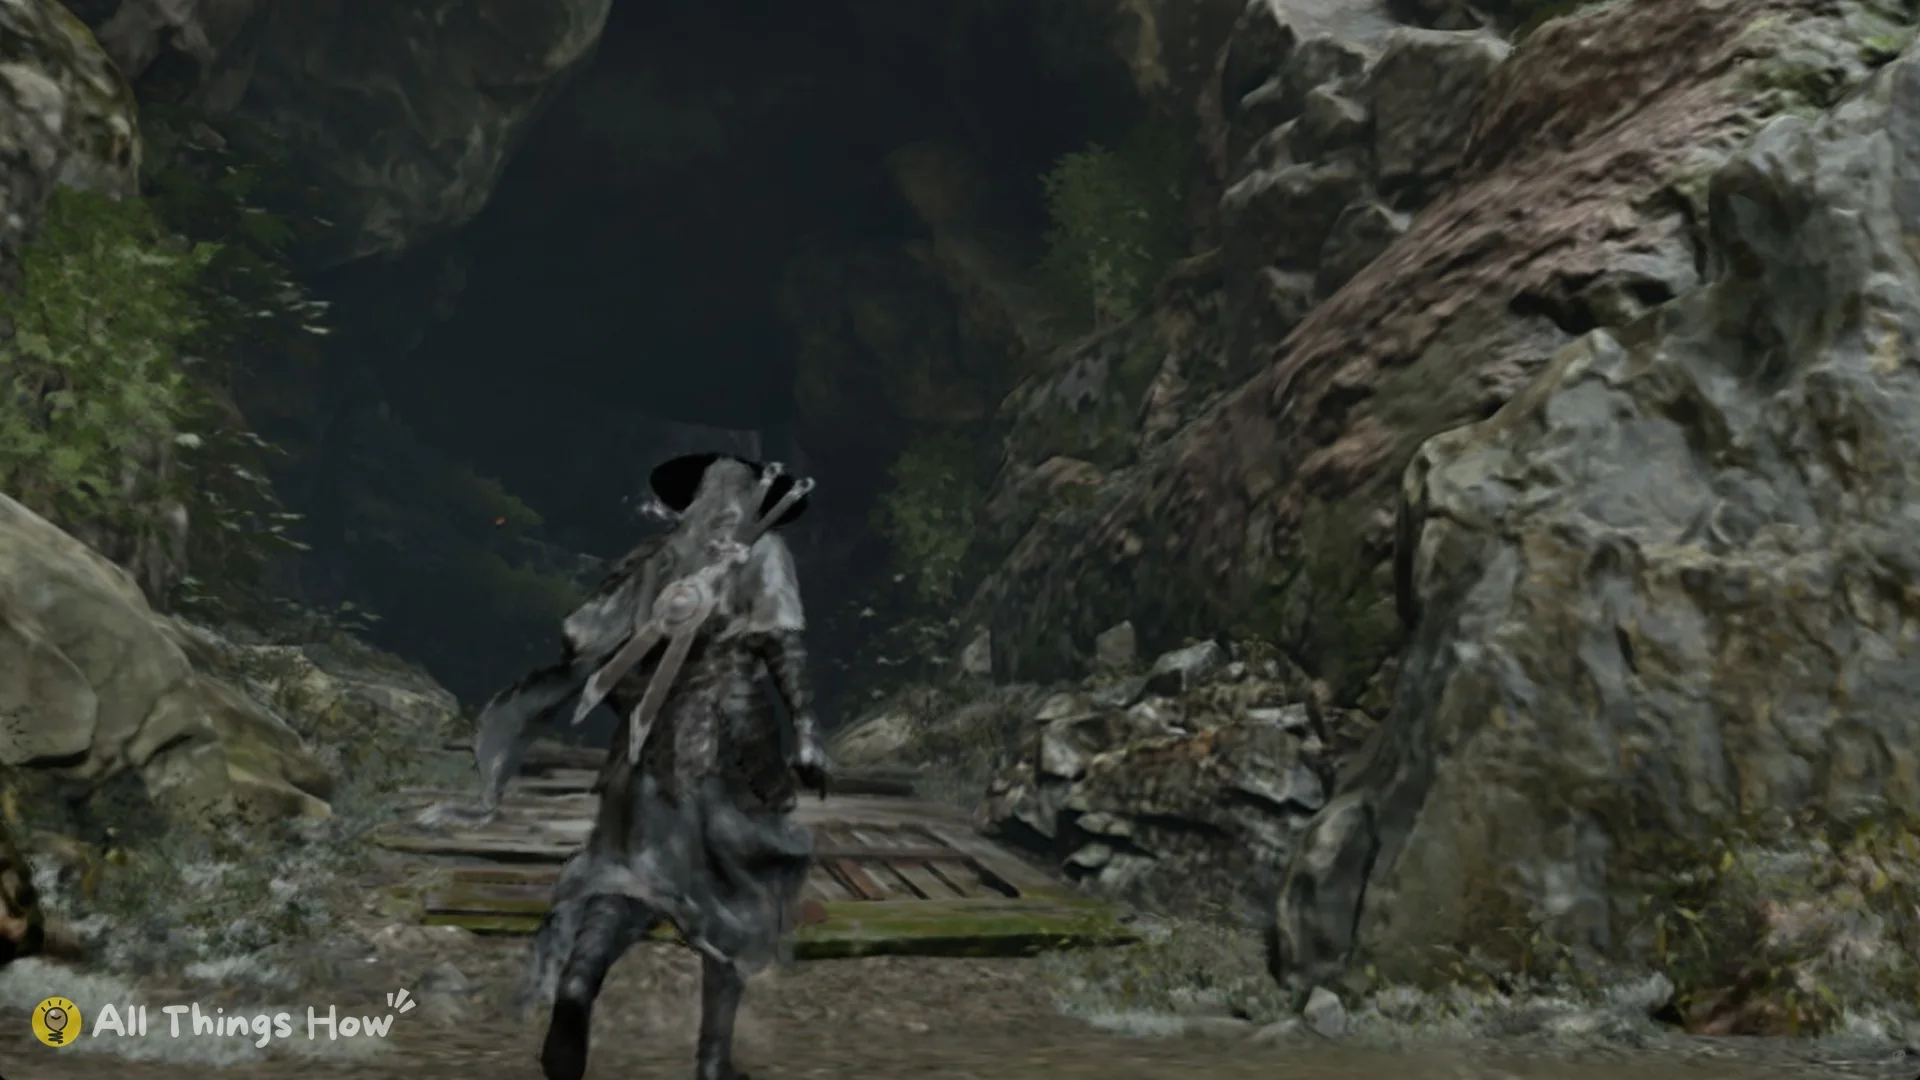
Reply to a Request for Aid location
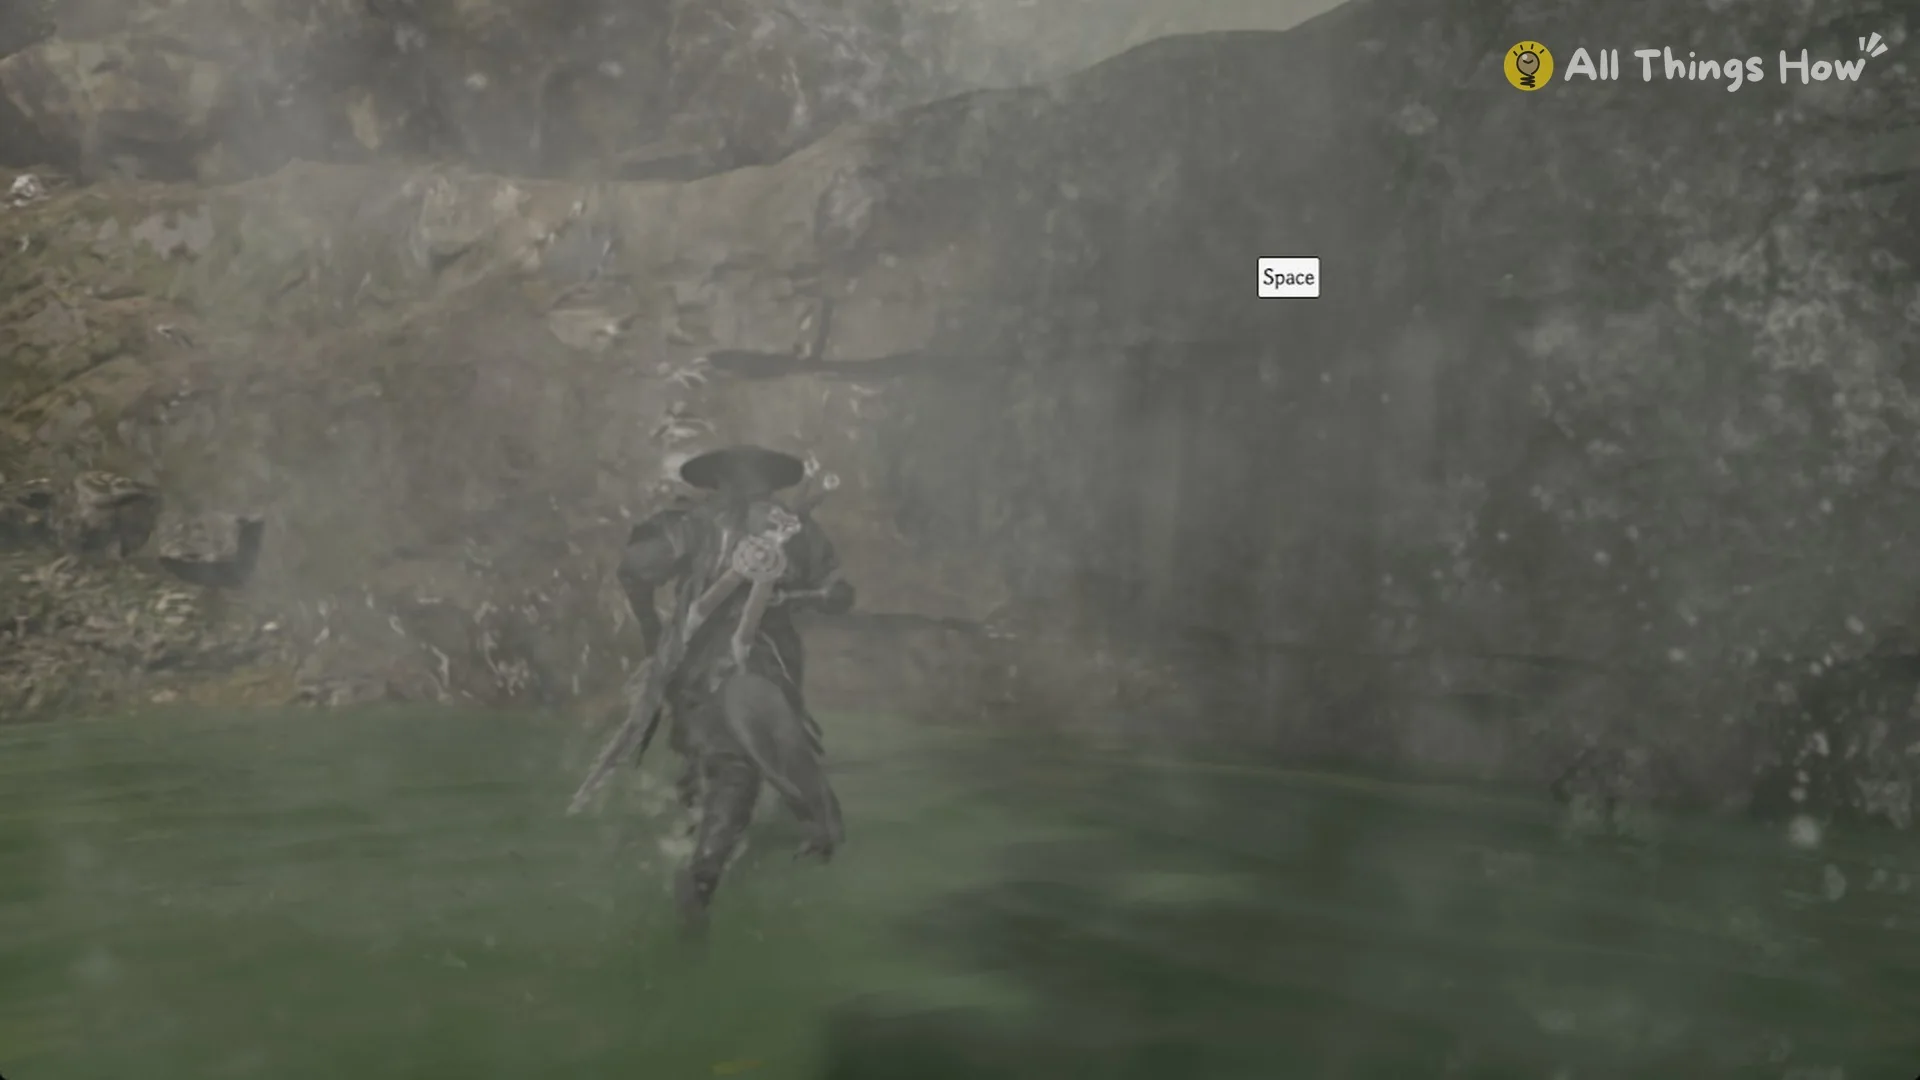
From the tunnel exit, head south-west. Just before you reach a brazier and an orange-lit wall, a stream branches off and runs south. Wade down it to the very end, where the water pools in shallow green under a small waterfall. An item glint there brings up an E prompt.
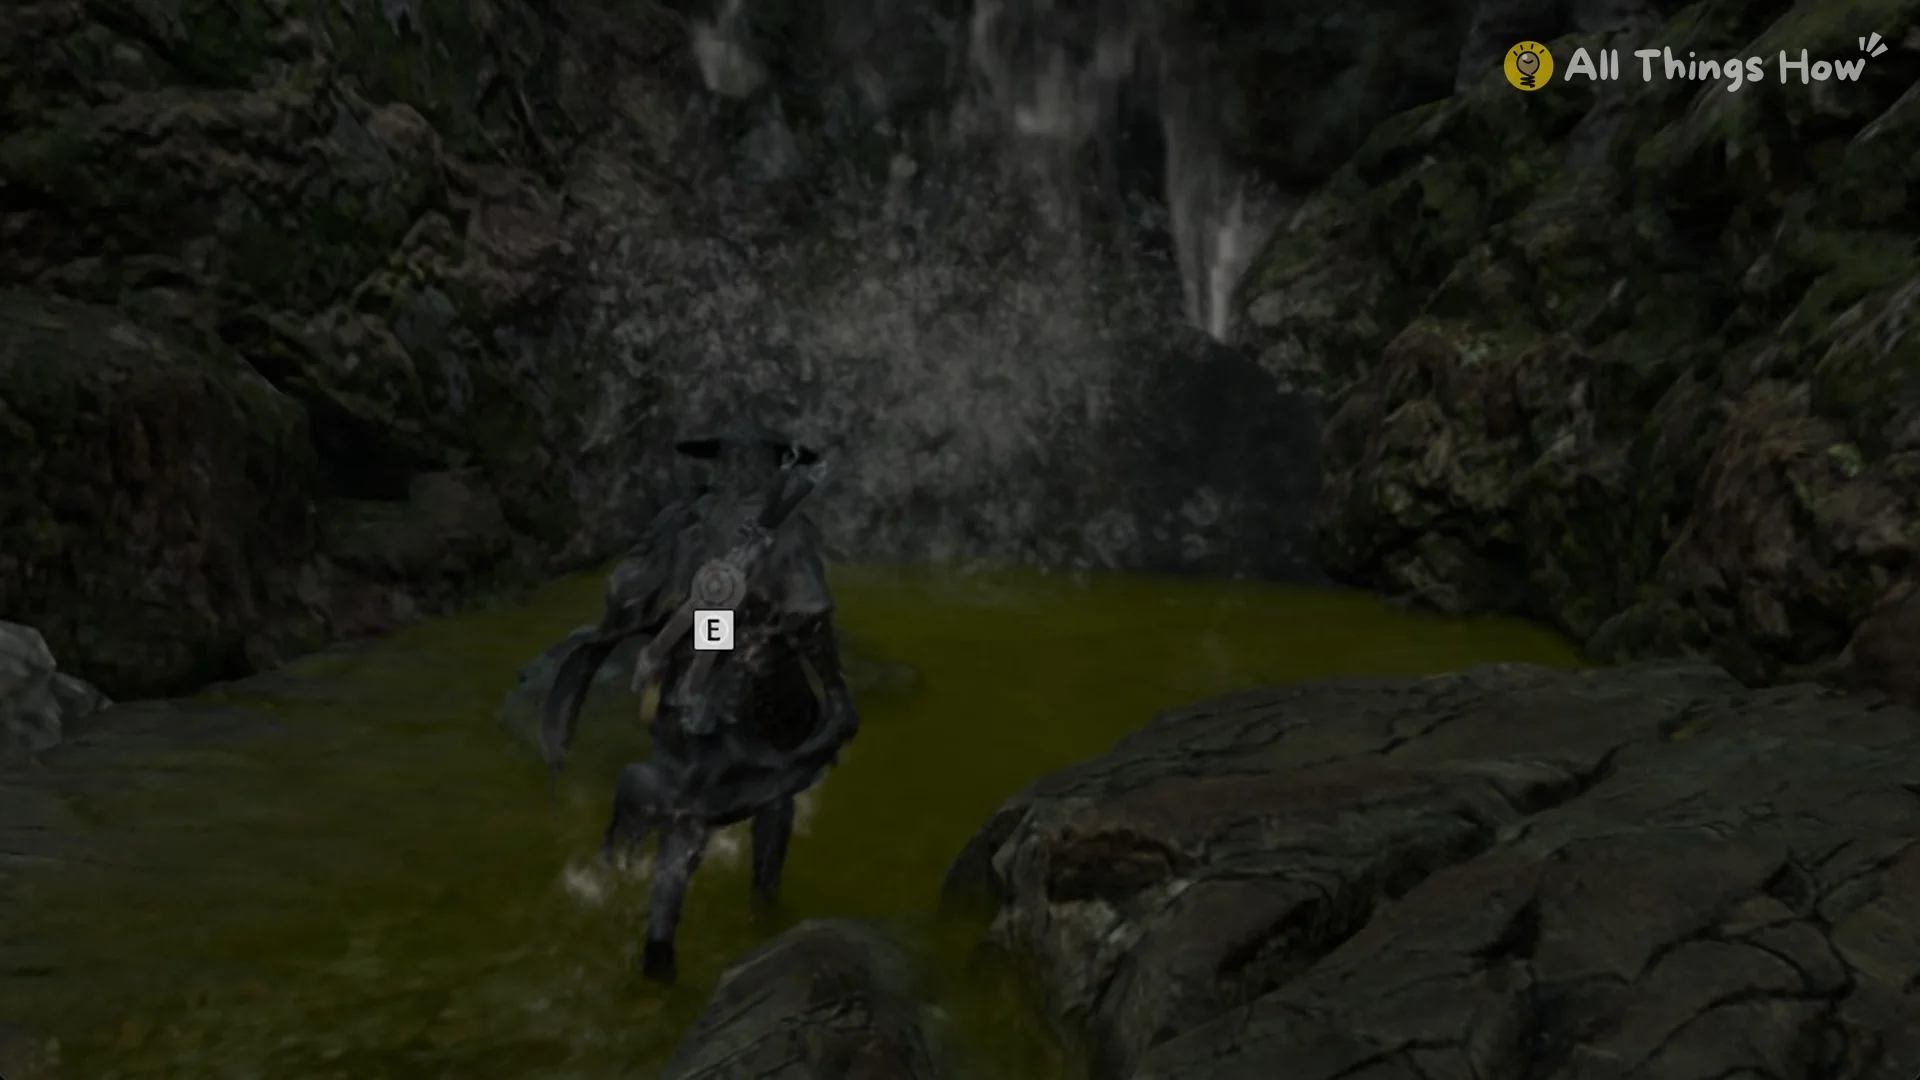
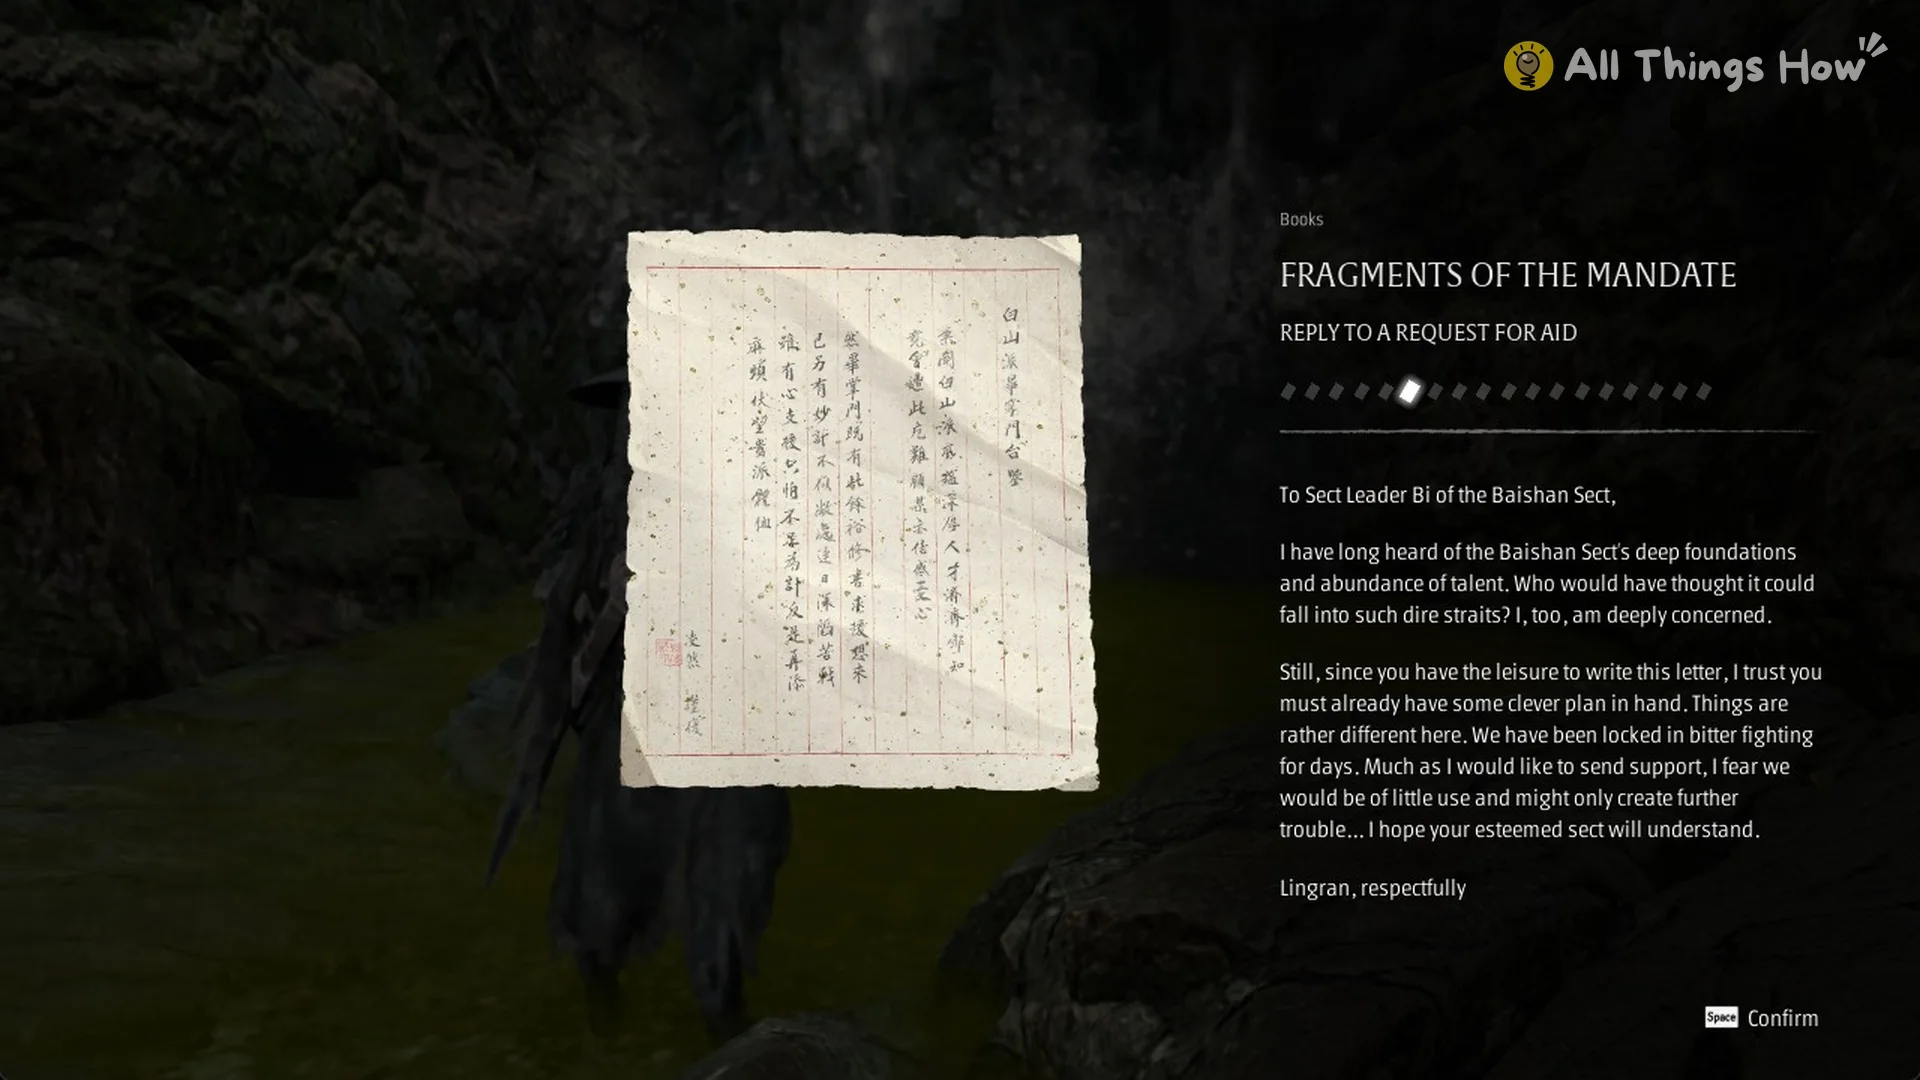
Press E to collect it. “Reply to a Request for Aid” is added to Books under “FRAGMENTS OF THE MANDATE”. It’s a letter addressed to Sect Leader Bi of the Baishan Sect, signed by Lingran.
The Discordance location
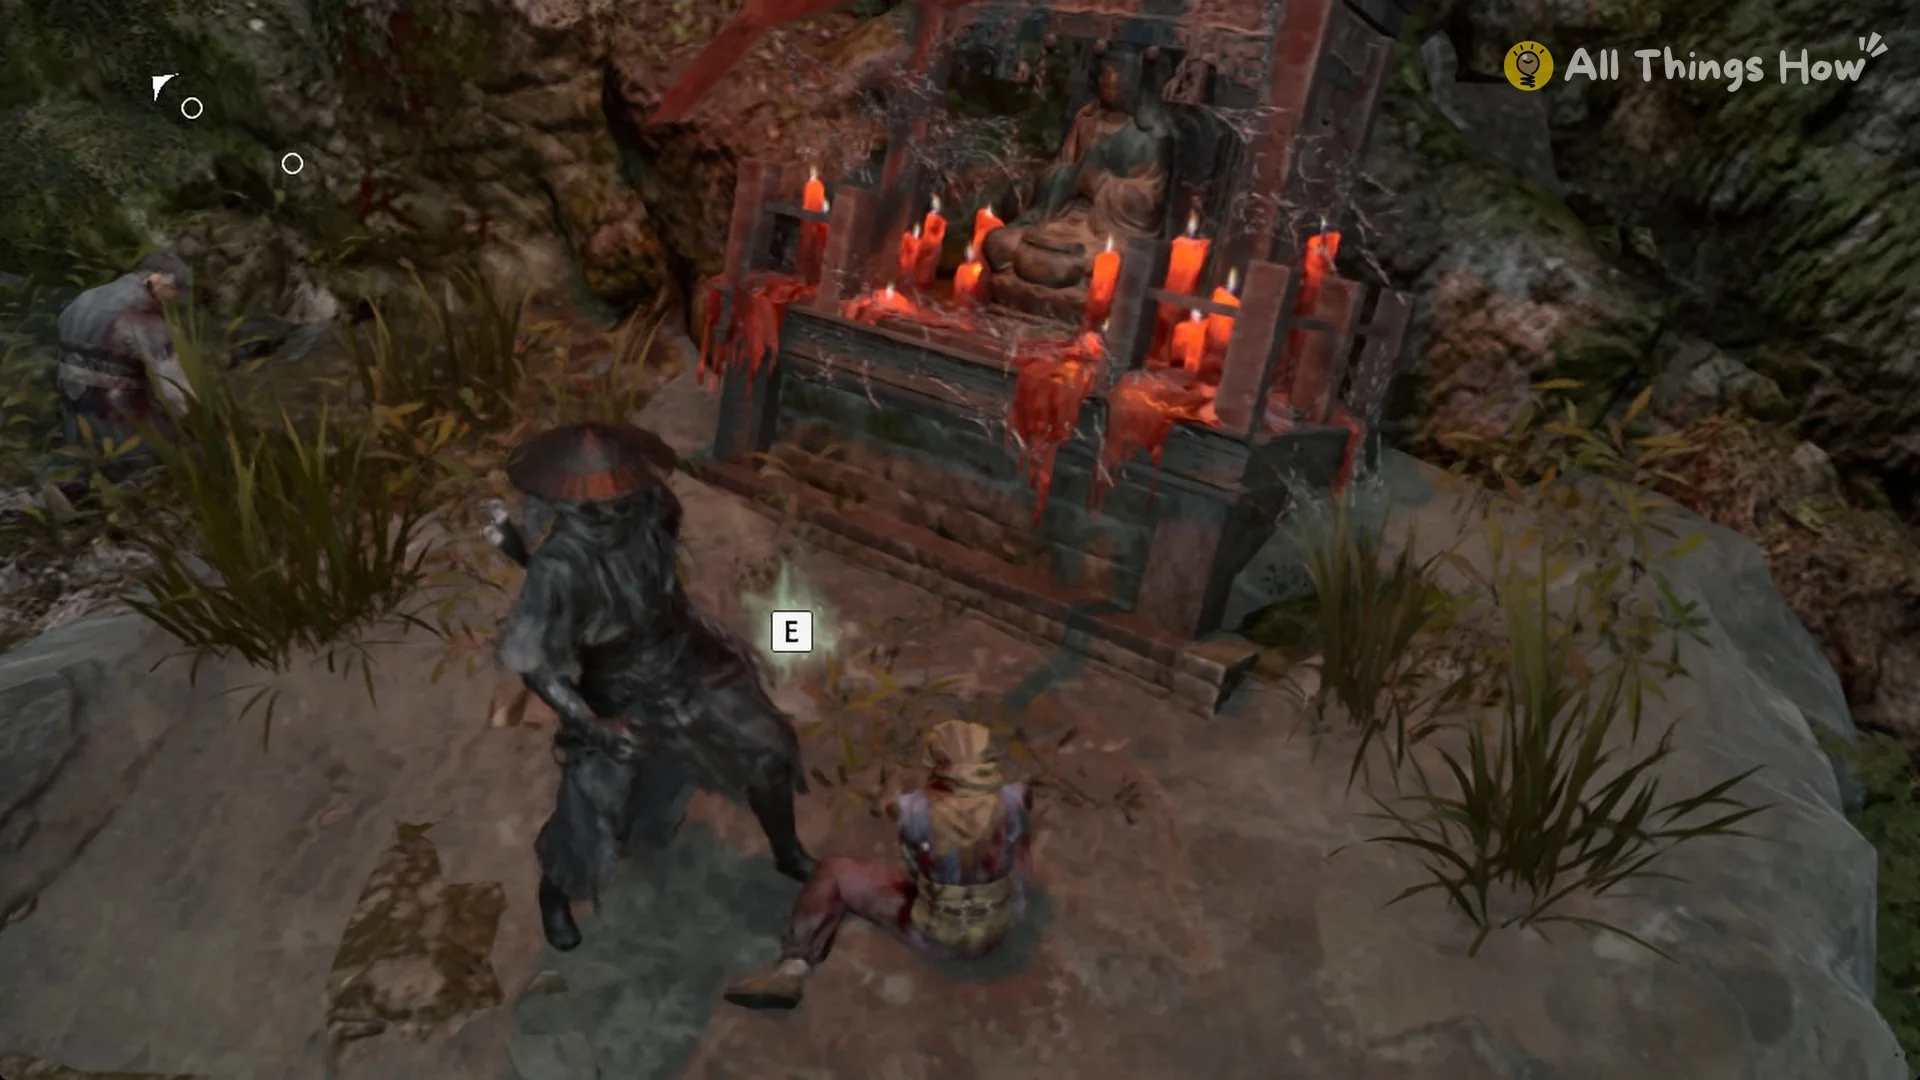
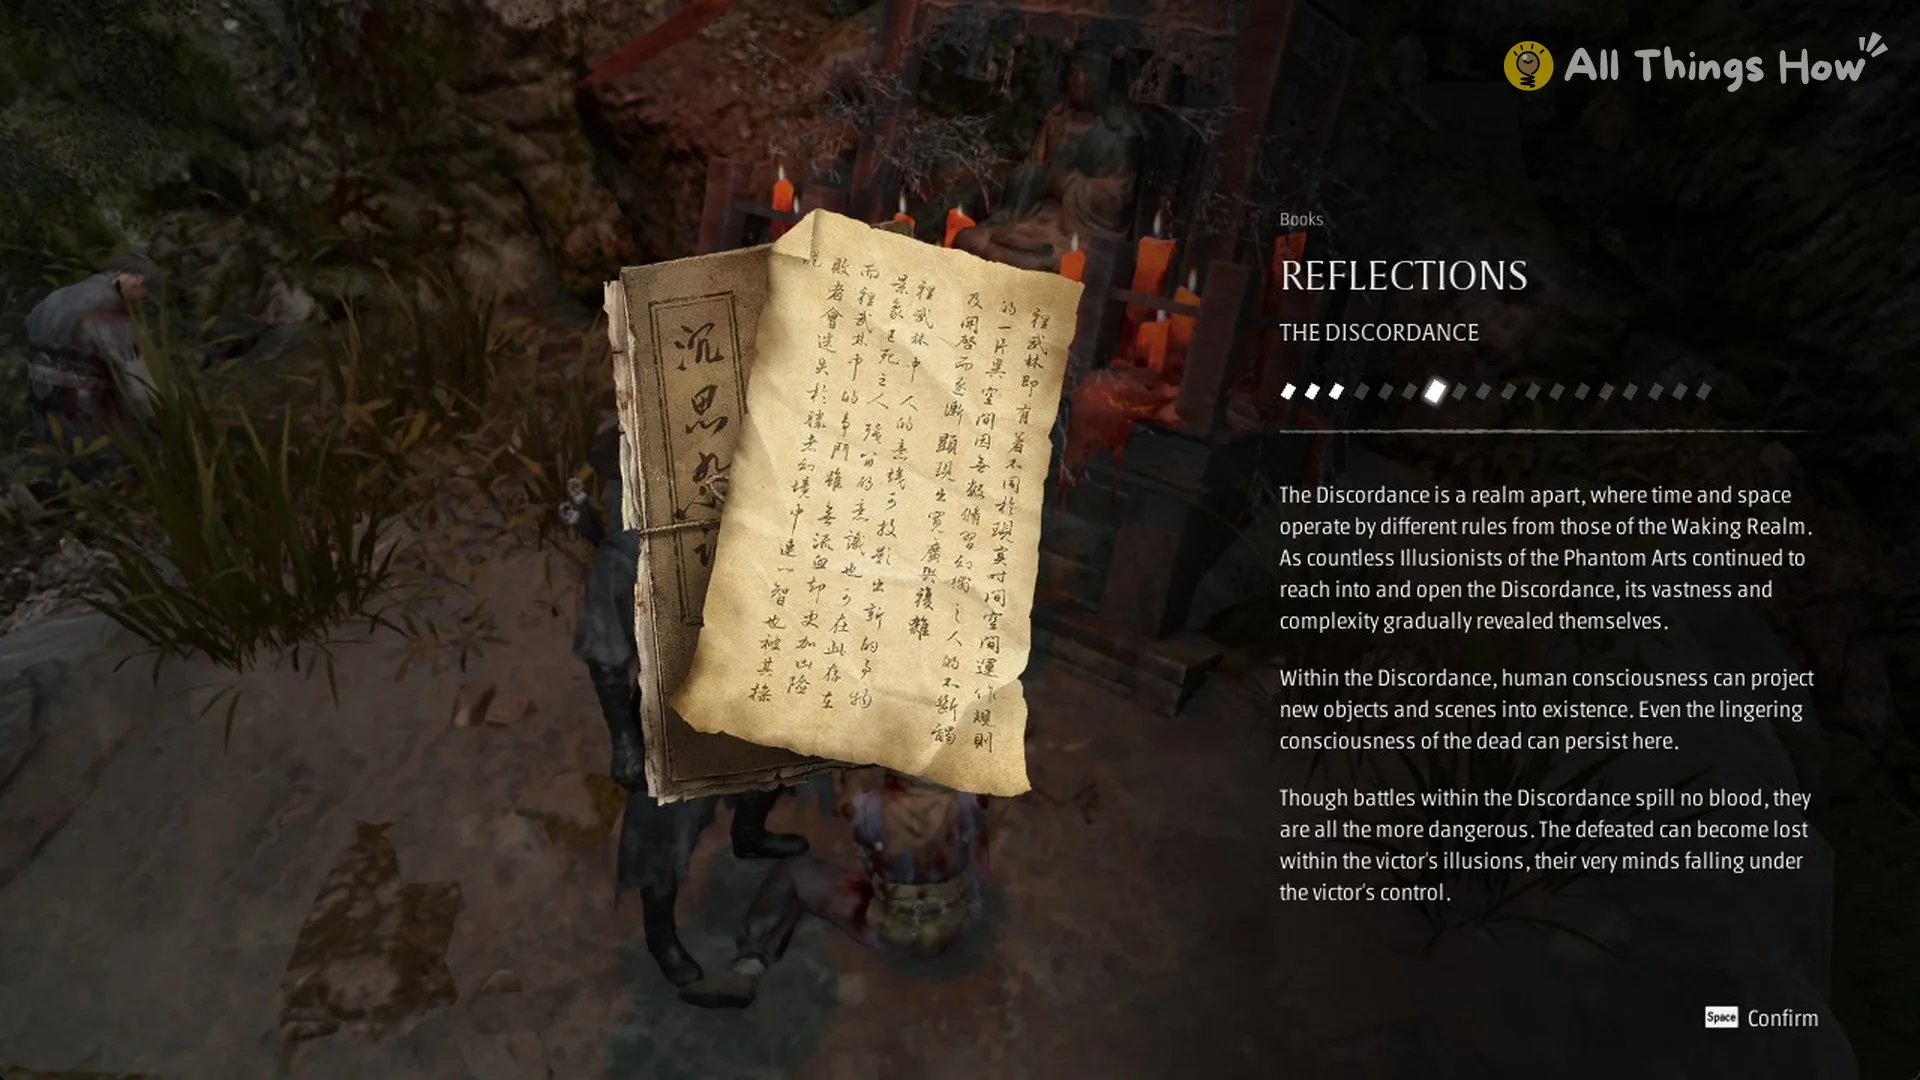
“The Discordance” is filed in Books under “REFLECTIONS”. The entry portrays the Discordance as a realm associated with the Phantom Arts.
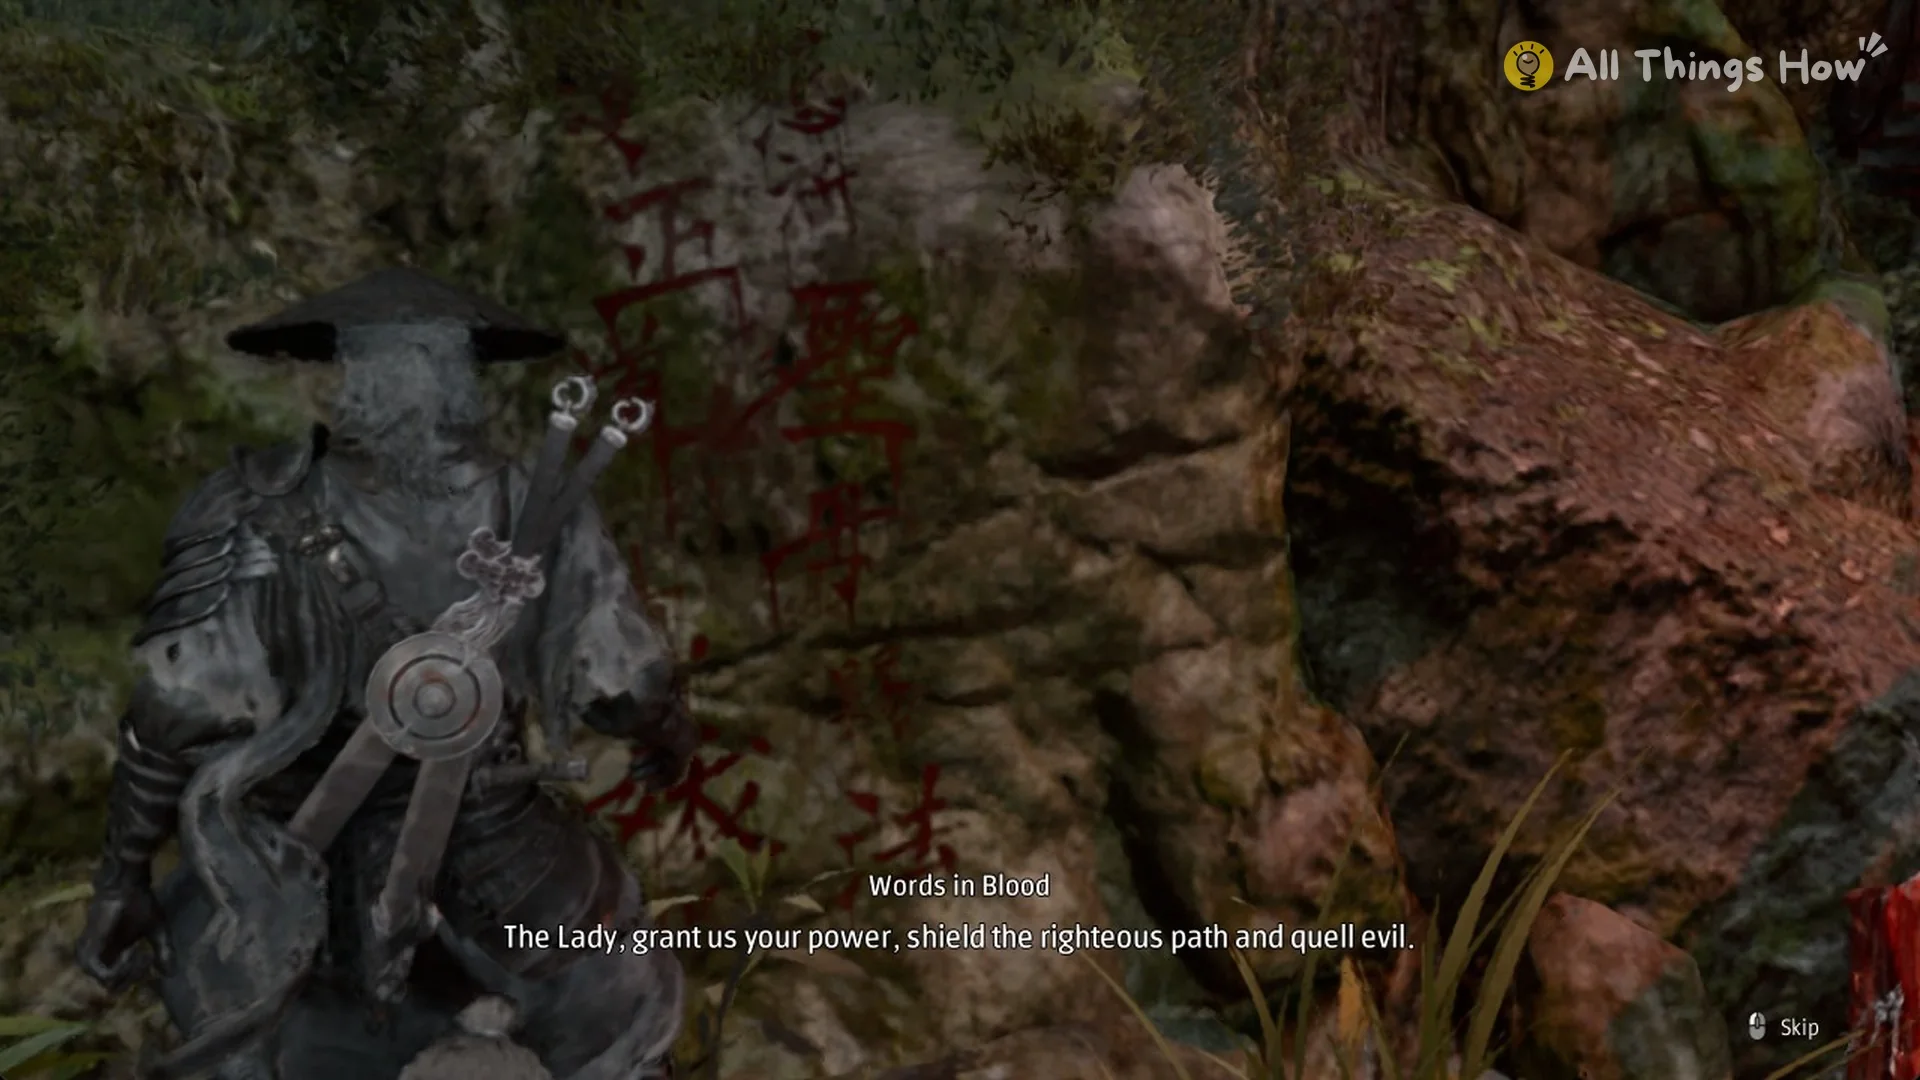
The red writing on the rock beside the shrine can also be read with E. It opens “Words in Blood”, which reads: “The Lady, grant us your power, shield the righteous path and quell evil.” It doesn’t give you an item.
What’s past the shrine
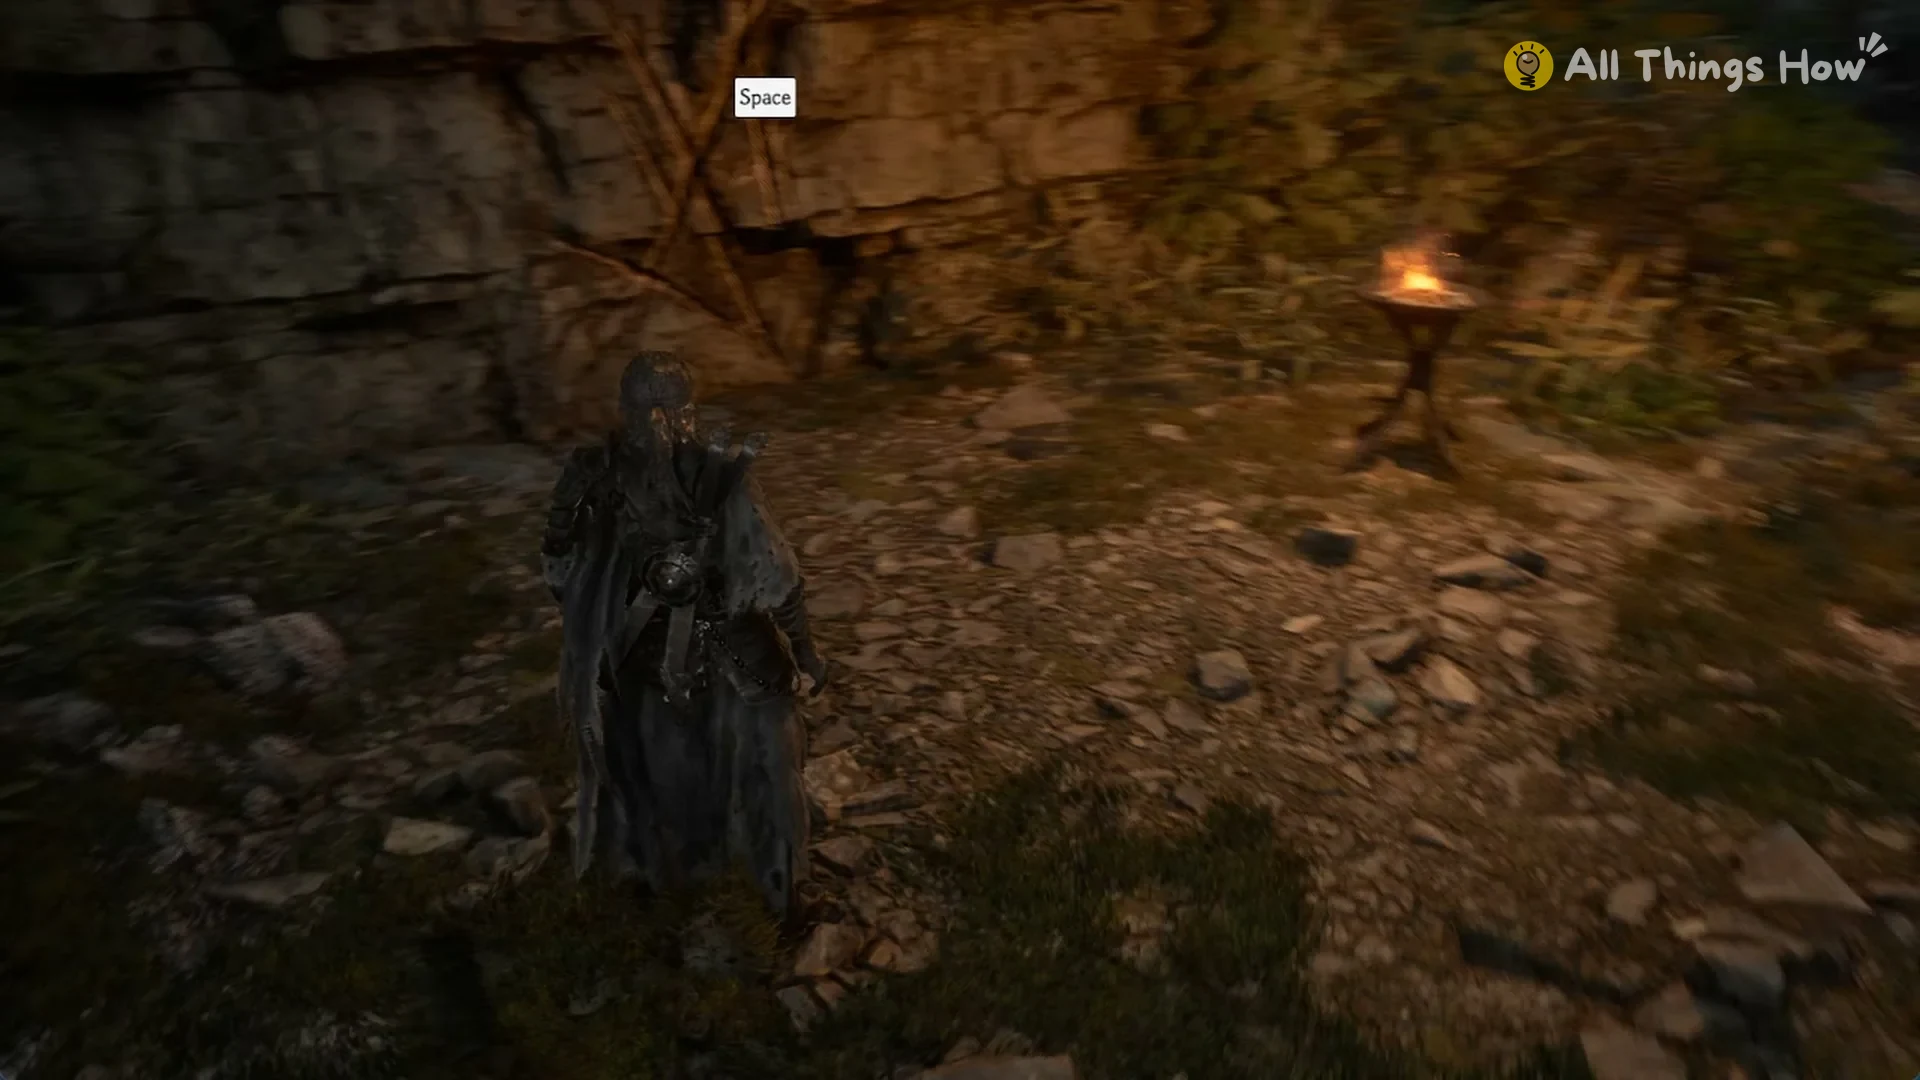
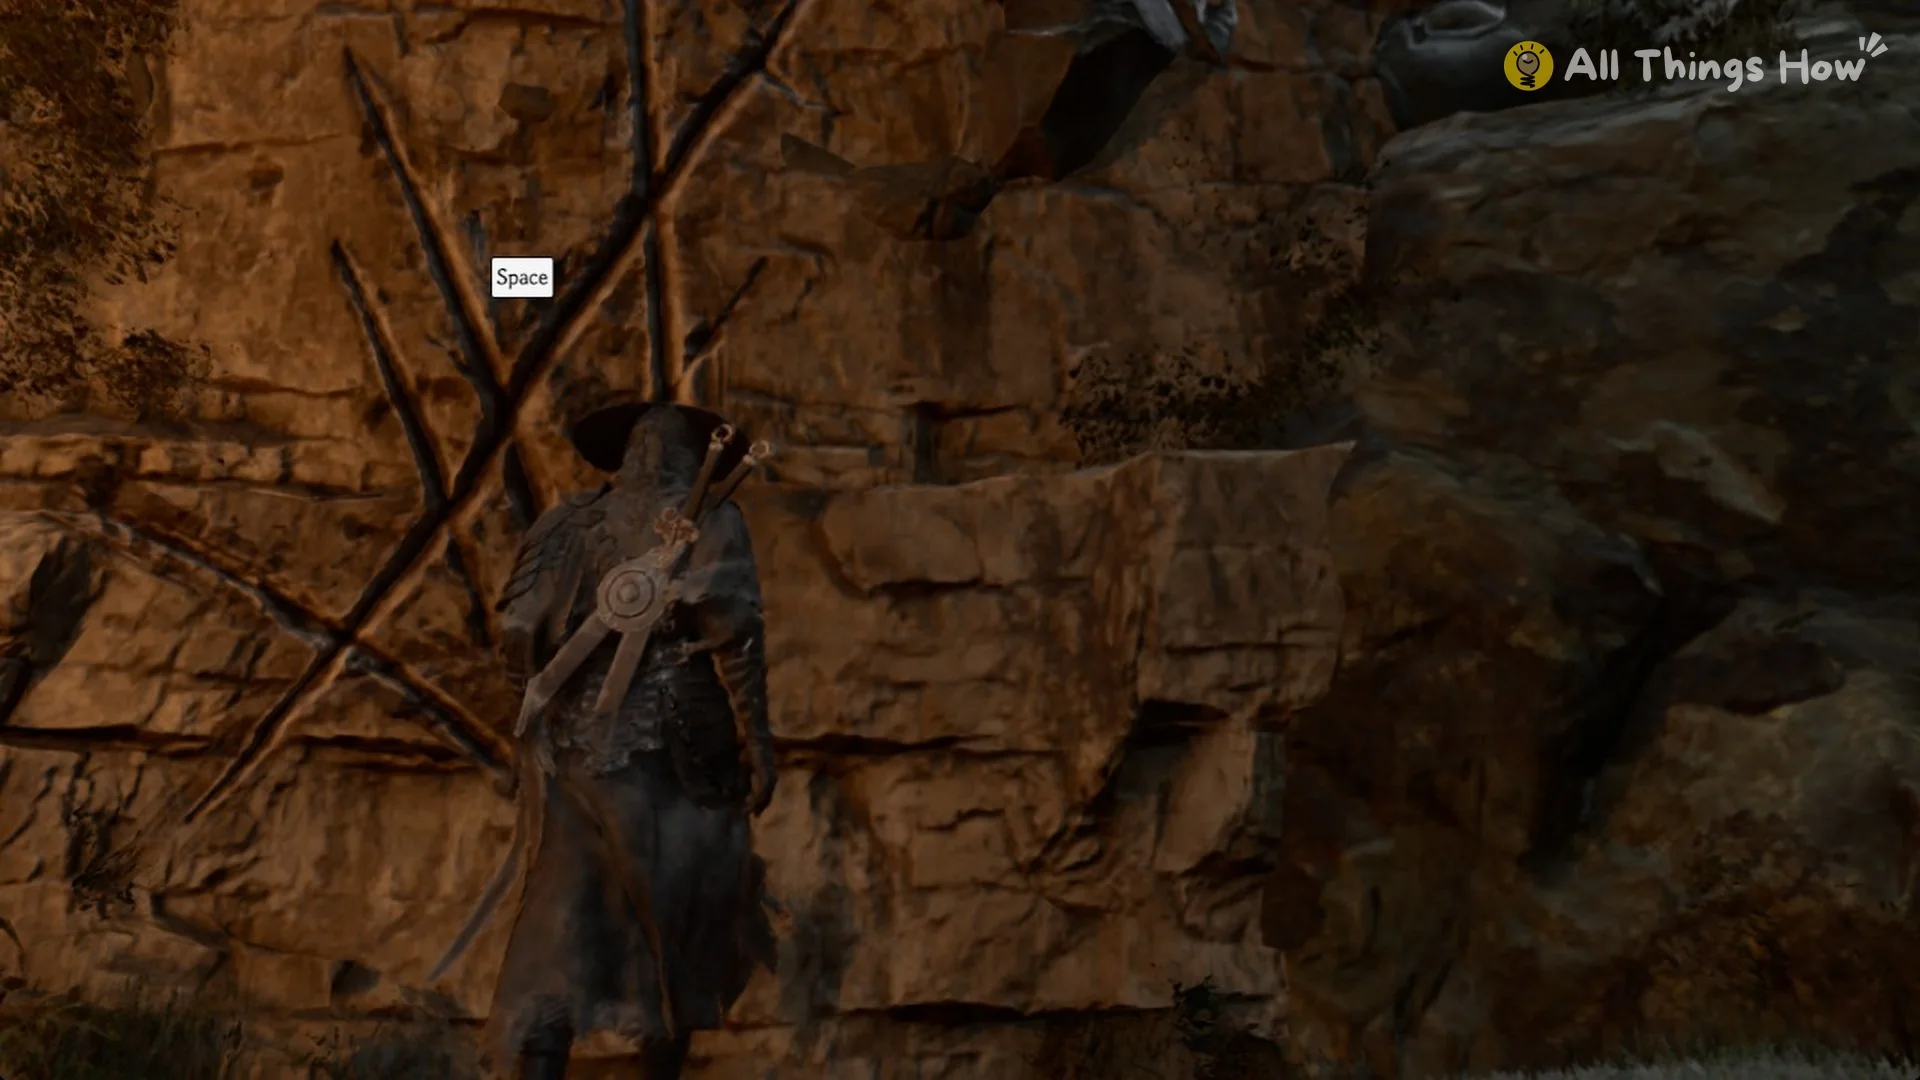
Continue along the route beyond the shrine. A grapple anchor for the Hunter’s Chain Sickle sits atop the block-shaped cliff beside it; follow the L Ctrl prompt to pull yourself up to the next ledge (see how to grapple). A second wall bearing crossed scratches stands above that ledge. The ground drops away fatally to the west from its top, so avoid stepping off that side.
From atop the second wall marked with crossed scratches, wall-run briefly across the damp stone beneath the narrow waterfall to reach the small lantern post at the foot of an orange-lit rock face. Just right of the lantern, a white glint on the ground marks Solvent, described as “Universal material required to upgrade weapons to Lv. 10.” Press E to pick it up. Further on, past the hanging chain at the end of the cave, a small shrine holds a Traversal Talisman.
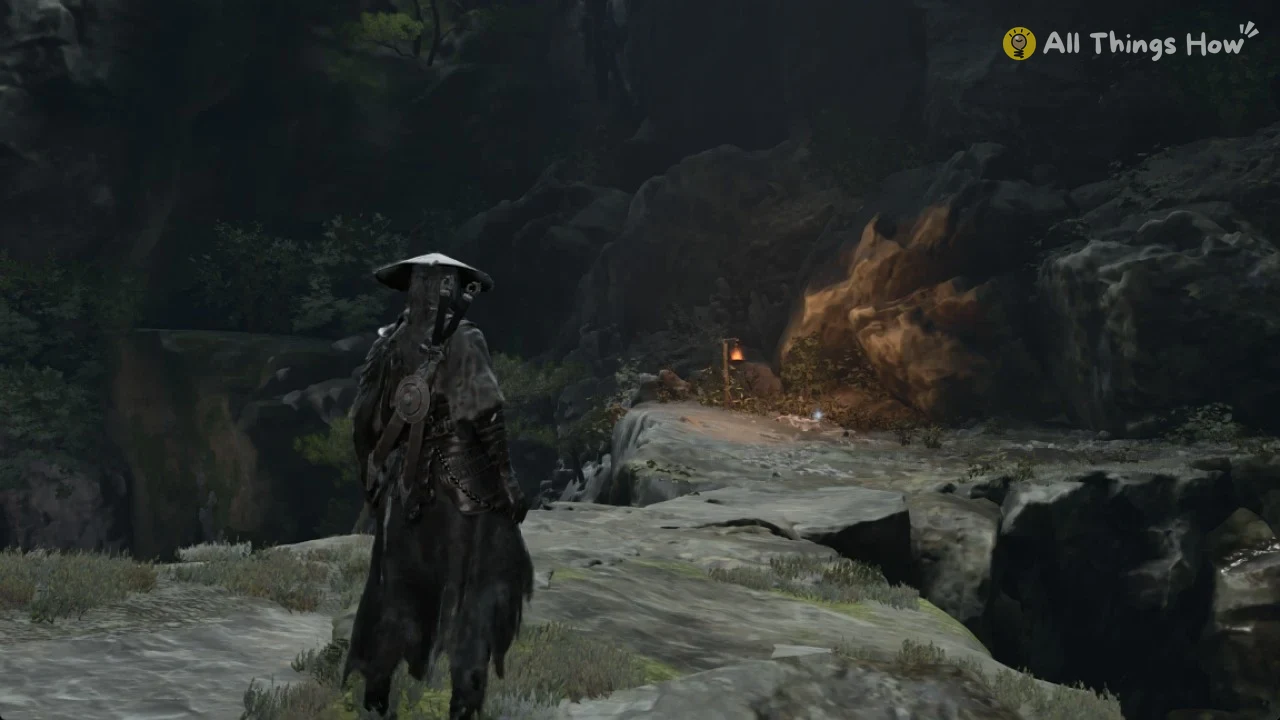
The wall-run past the thin waterfall
At the summit of the second wall marked with crossed scratches, the route ends at a dark, damp rock surface with a narrow waterfall streaming over it. No walkway follows the rock, so cross by wall-running briefly.
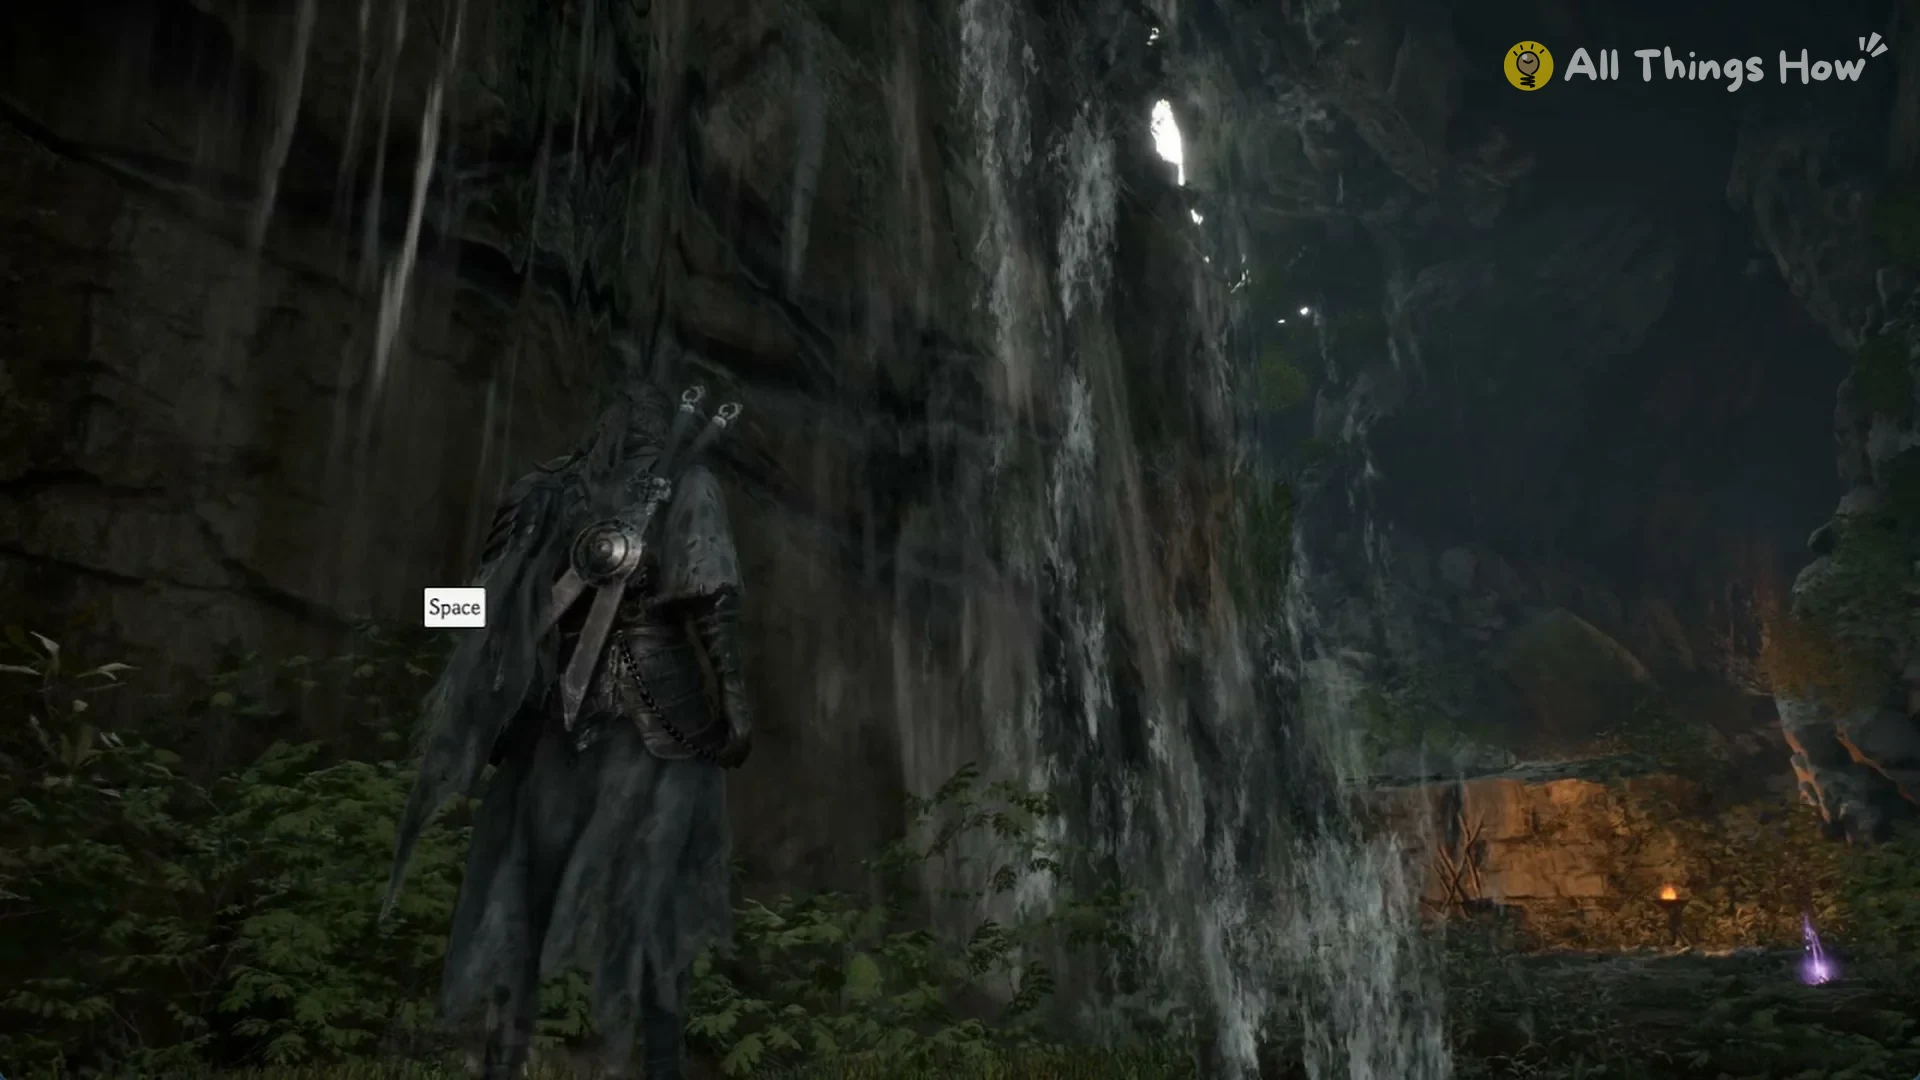
Position Soul beside the wall with it on the left, looking down its length toward the orange light at the opposite end. A Space prompt appears on the rock. Press Space while continuing ahead; Soul runs across the wall and drops onto the floor on the other side.
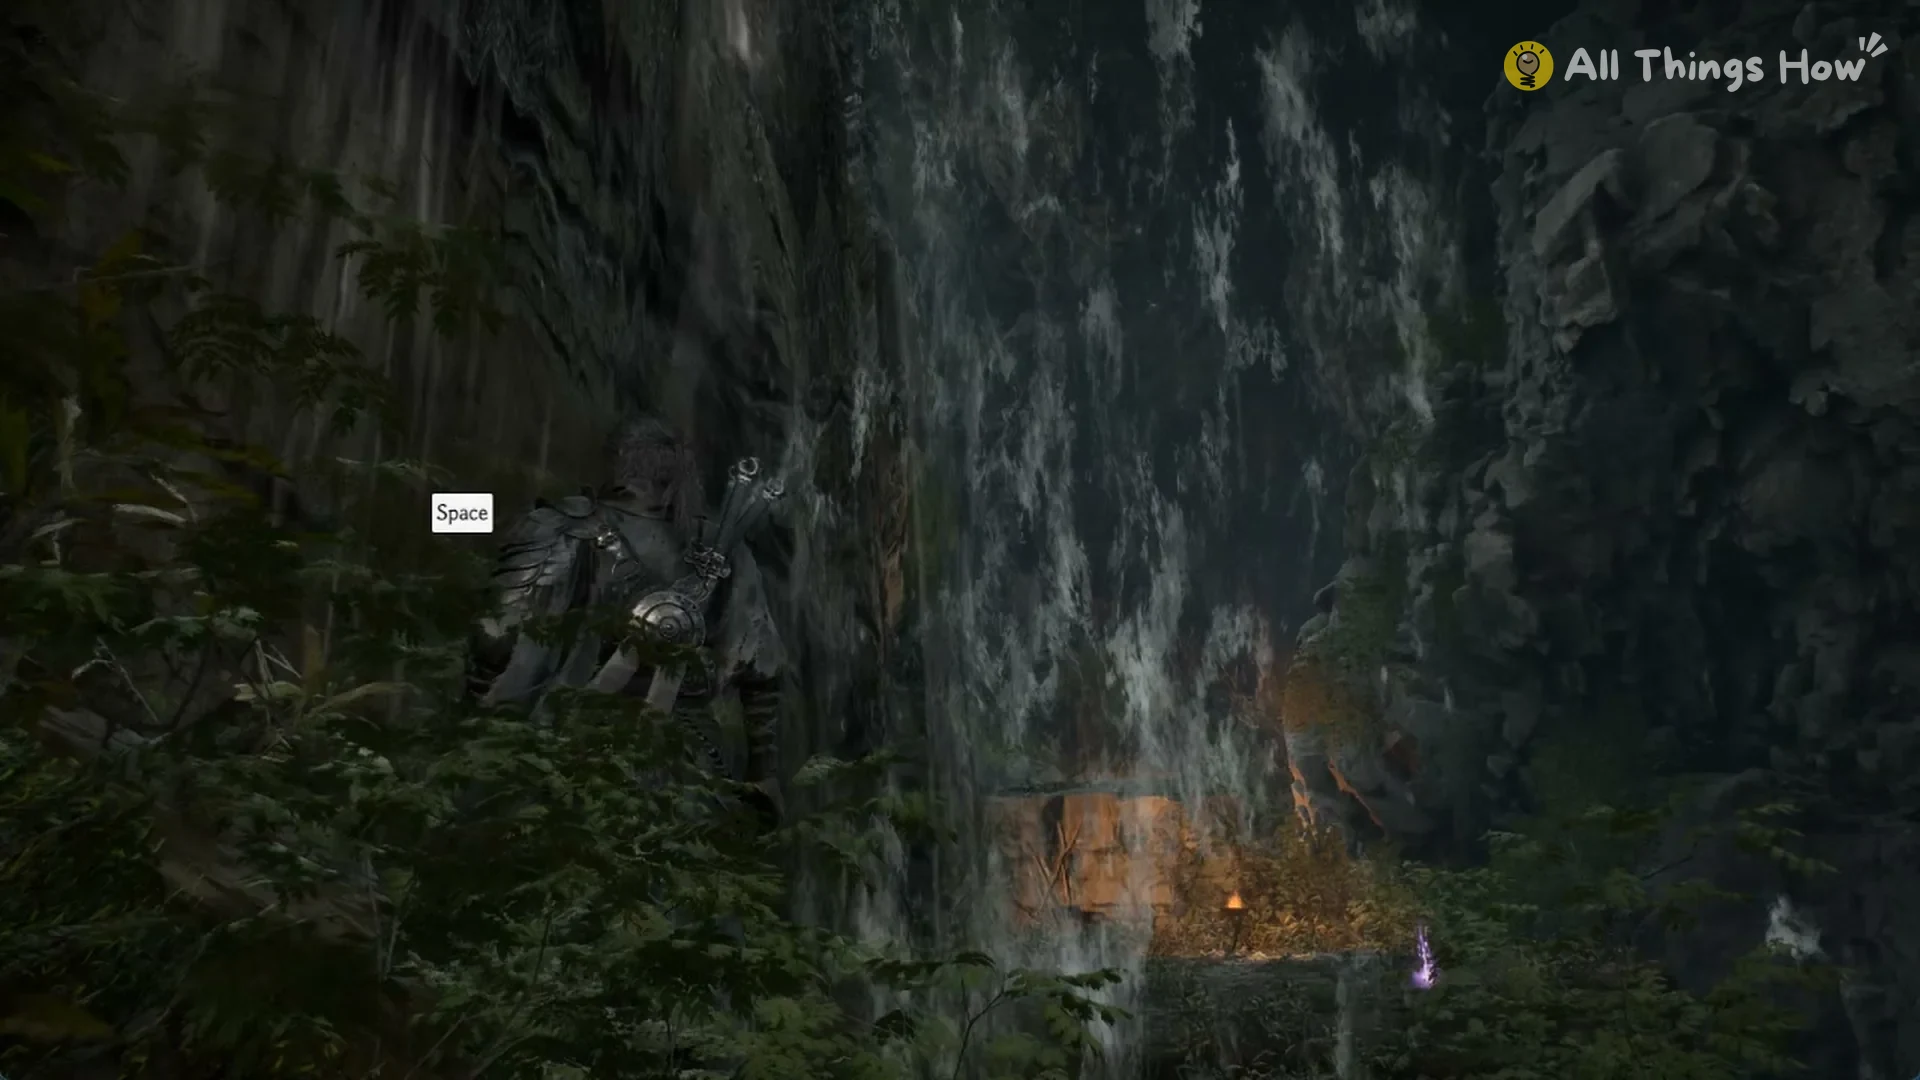
After landing, walk a little way to find an orange-lit rock face marked with crossed scratches, with a burning fire bowl beside it. Press Space at the marks to climb, then continue toward the hanging chain.