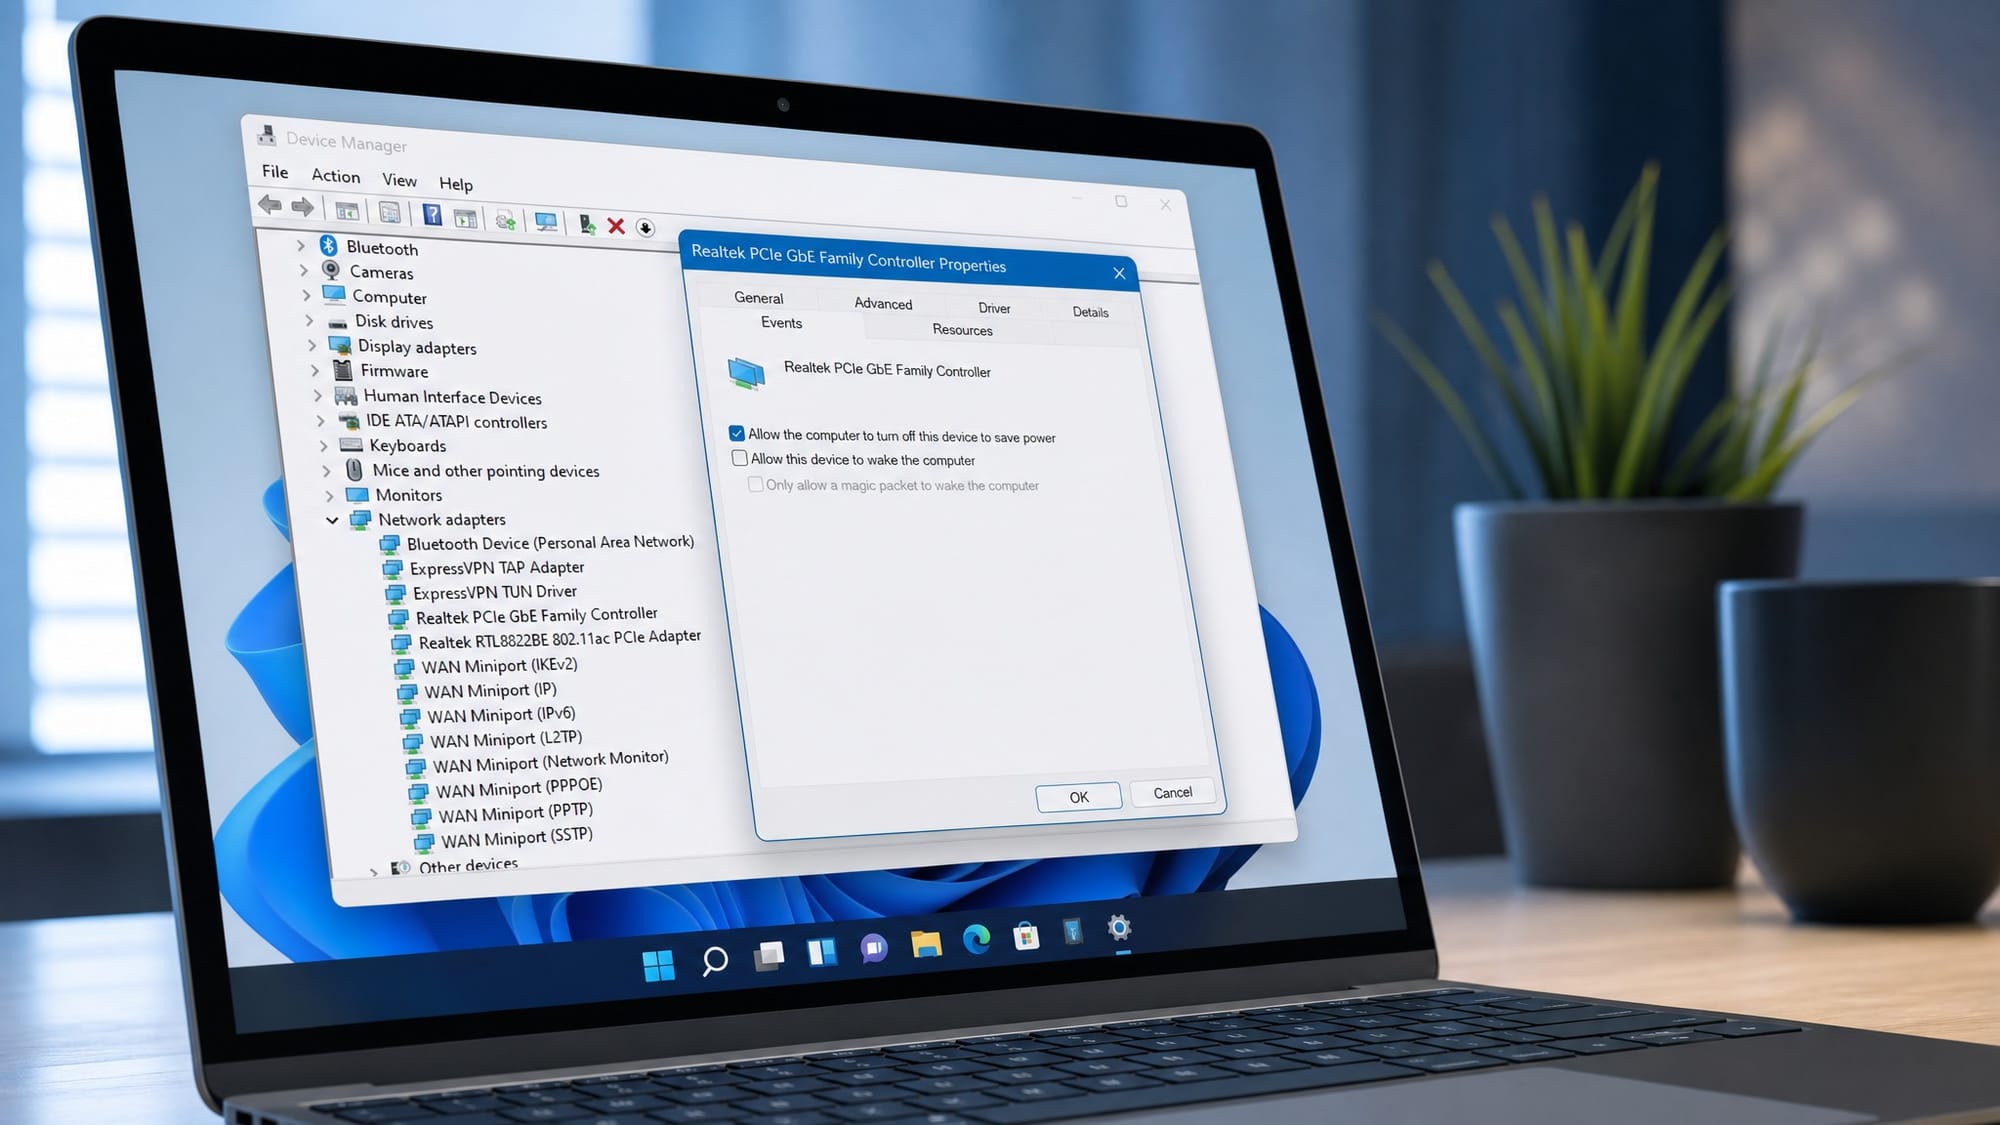
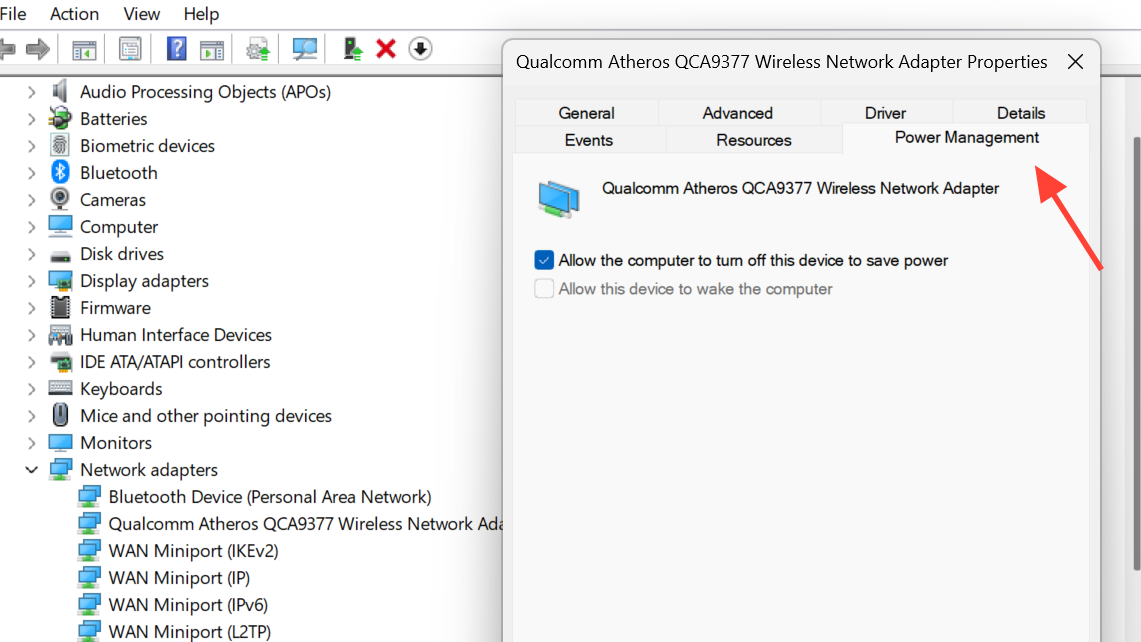
The Power Management tab inside a device’s Properties window lets you decide whether Windows can turn off hardware to save power, and whether that hardware is allowed to wake the computer. When it disappears in Device Manager on Windows 11, the usual culprits are Modern Standby being active, a driver that doesn’t expose power options, or registry settings tied to network adapters.
Why the Power Management tab disappears
Not every device in Windows 11 is supposed to show this tab. It only appears for hardware whose driver supports sleep, wake, or selective power control. That typically means network adapters, USB hubs and controllers, Bluetooth radios, and certain input devices. Generic storage drives and basic peripherals usually never had it.
On modern laptops and ultrabooks, Windows often runs in Modern Standby (S0 low-power idle) instead of the older S3 sleep state. In Modern Standby, Windows manages adapter power on its own, and the per-device Power Management tab is intentionally hidden for network adapters. Switching the system back to legacy S3 standby restores it.
The other common reasons are an outdated or generic driver that doesn’t expose the power options, a registry flag named CsEnabled that needs to be set to 0, or a network adapter whose PnPCapabilities value is masking the controls.
Which devices should show the tab
| Device type | Power Management tab |
|---|---|
| Network adapters (Wi-Fi, Ethernet) | Usually yes, hidden under Modern Standby |
| USB Root Hubs and controllers | Yes |
| Bluetooth radios | Yes |
| HID keyboards and mice | Sometimes, depends on driver |
| Storage drives, monitors, generic peripherals | No |
If the device you’re looking at falls into the last row, the tab was never meant to appear, and no fix will bring it back.
Force legacy standby to bring back the tab on laptops
This is the fix that works for most Windows 11 laptops where the Power Management tab is missing on a Wi-Fi adapter. It tells Windows to use the older S3 sleep state instead of Modern Standby, which makes the per-device power controls reappear.
cmd, and choose Run as administrator. Accept the User Account Control prompt.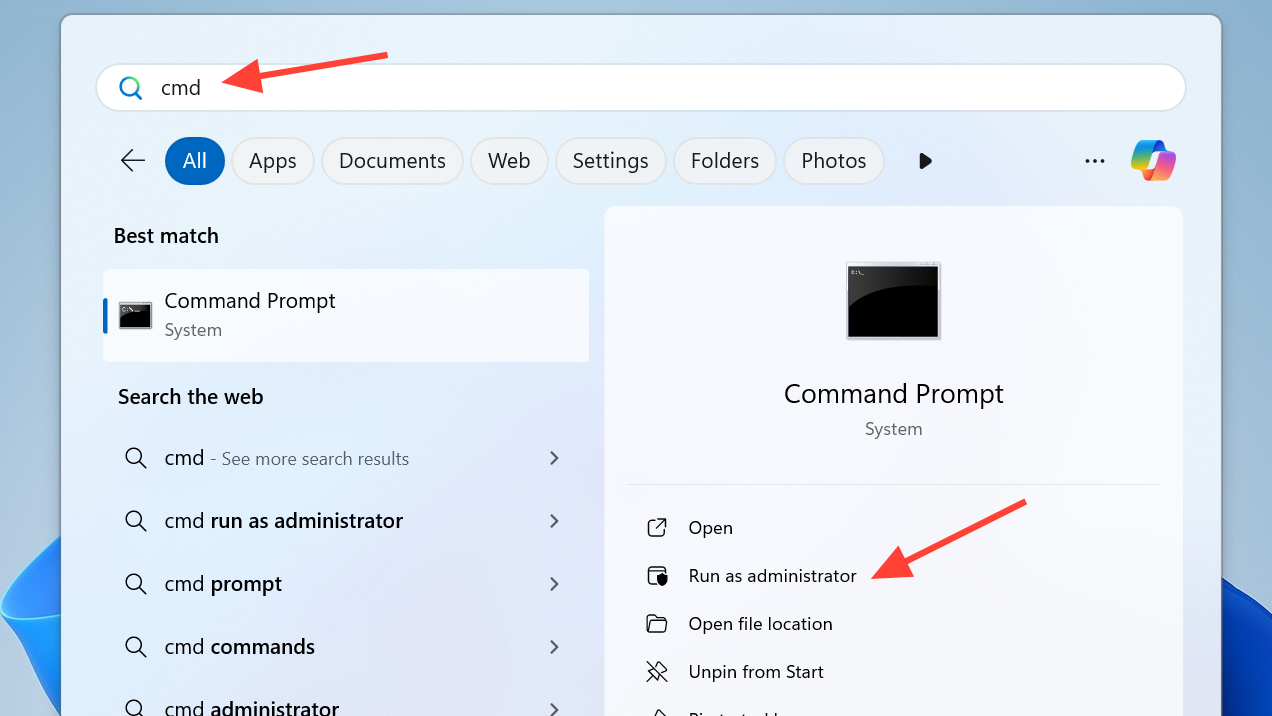
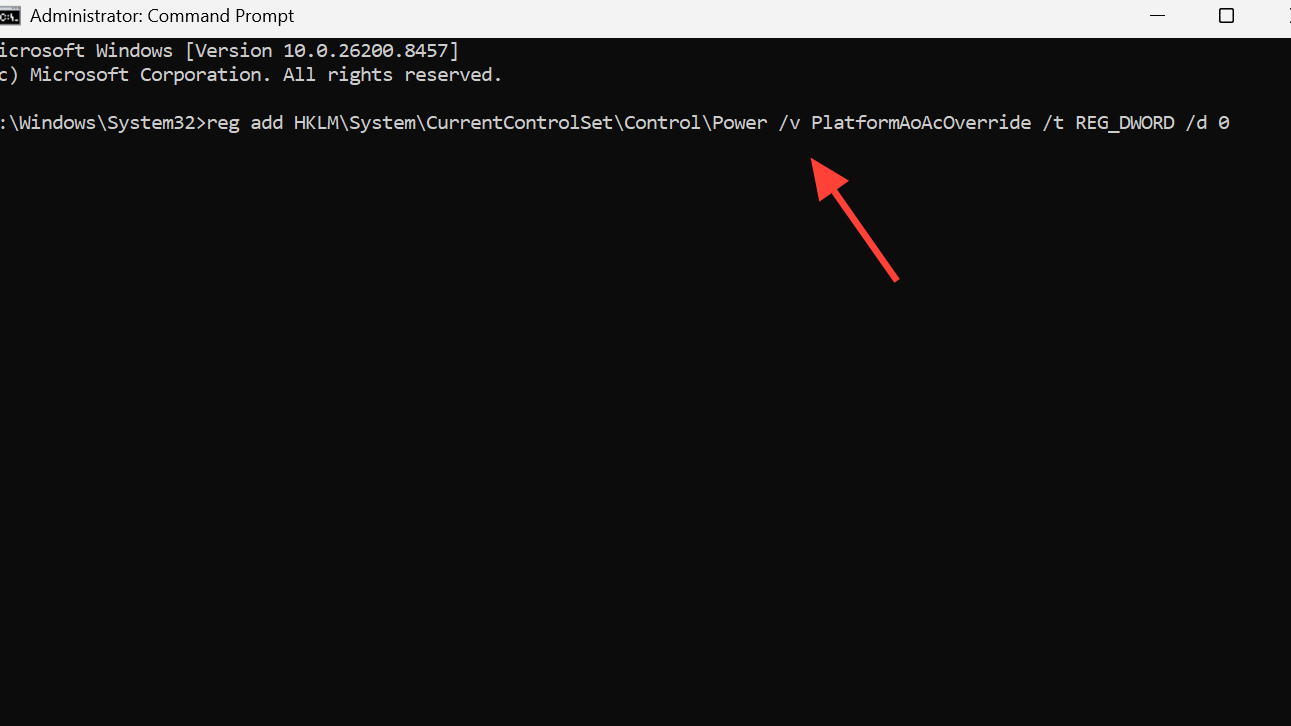
reg add HKLM\System\CurrentControlSet\Control\Power /v PlatformAoAcOverride /t REG_DWORD /d 0
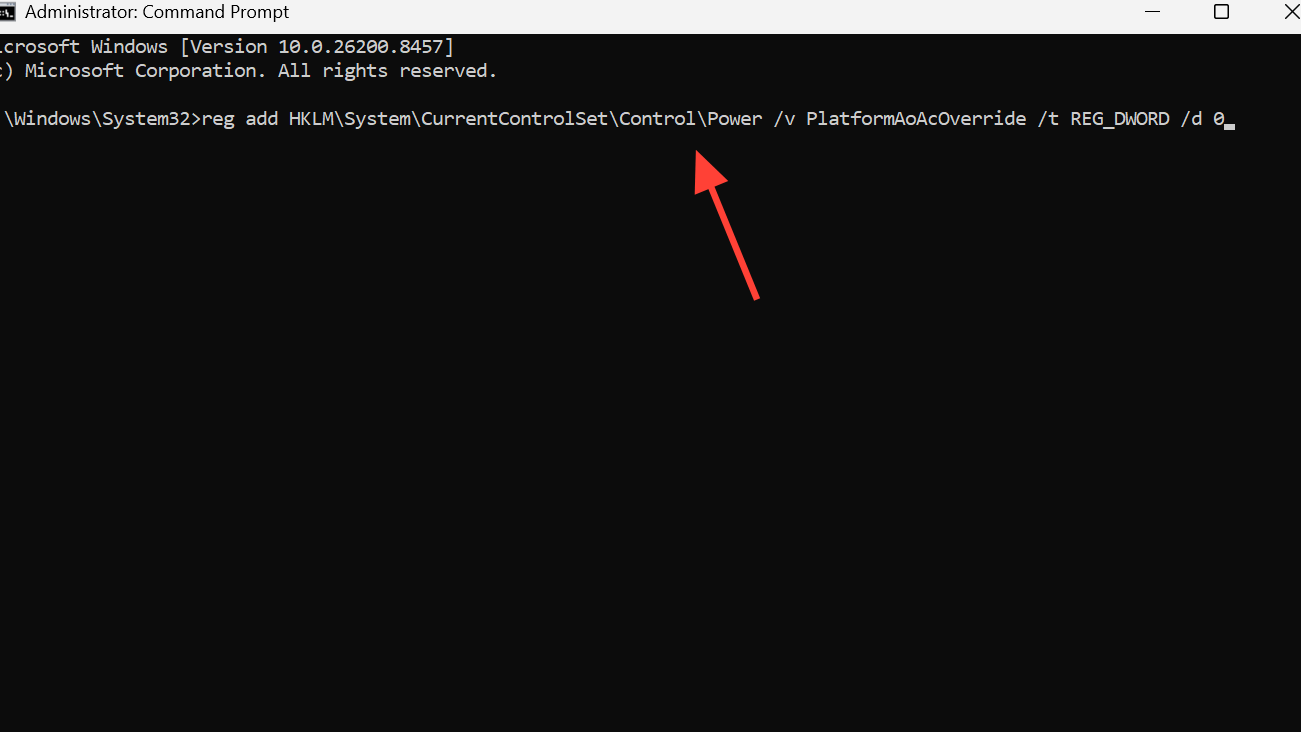
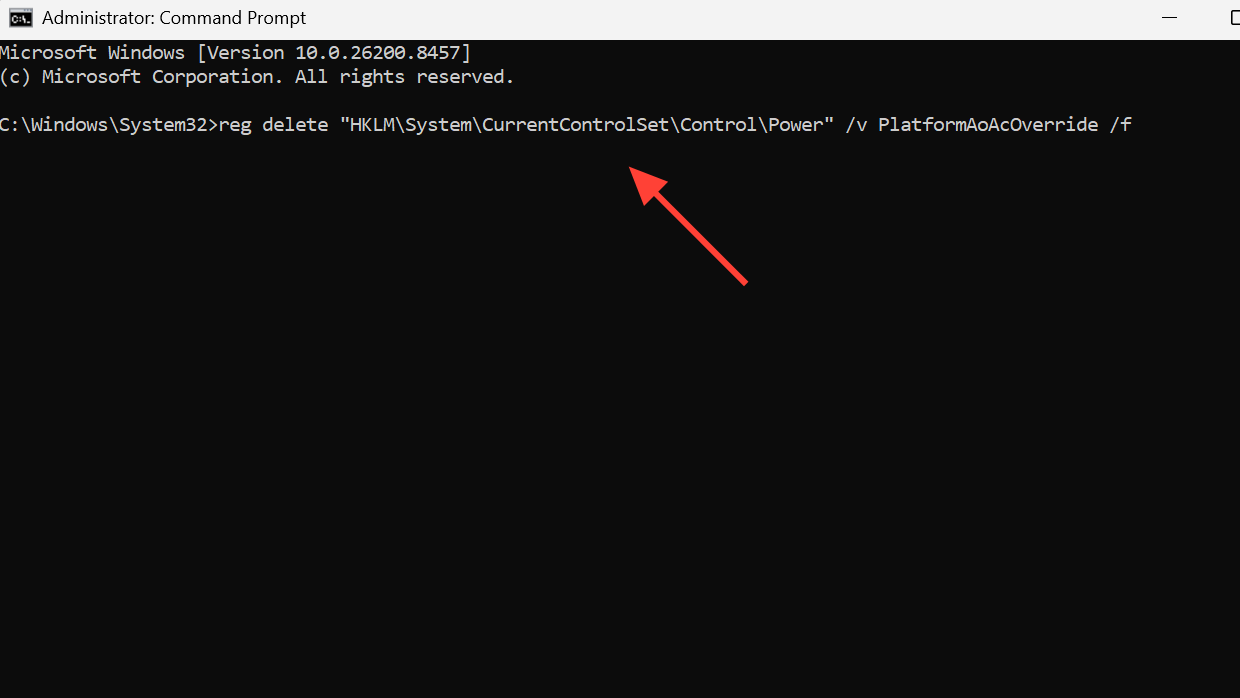
If you ever want to go back to Modern Standby, run this in an elevated prompt and reboot:
reg delete "HKLM\System\CurrentControlSet\Control\Power" /v PlatformAoAcOverride /f
Create the CsEnabled registry value
An alternative to the override above is to disable Connected Standby through the CsEnabled flag. On many systems, this is enough to expose the Power Management tab without changing the standby model further.
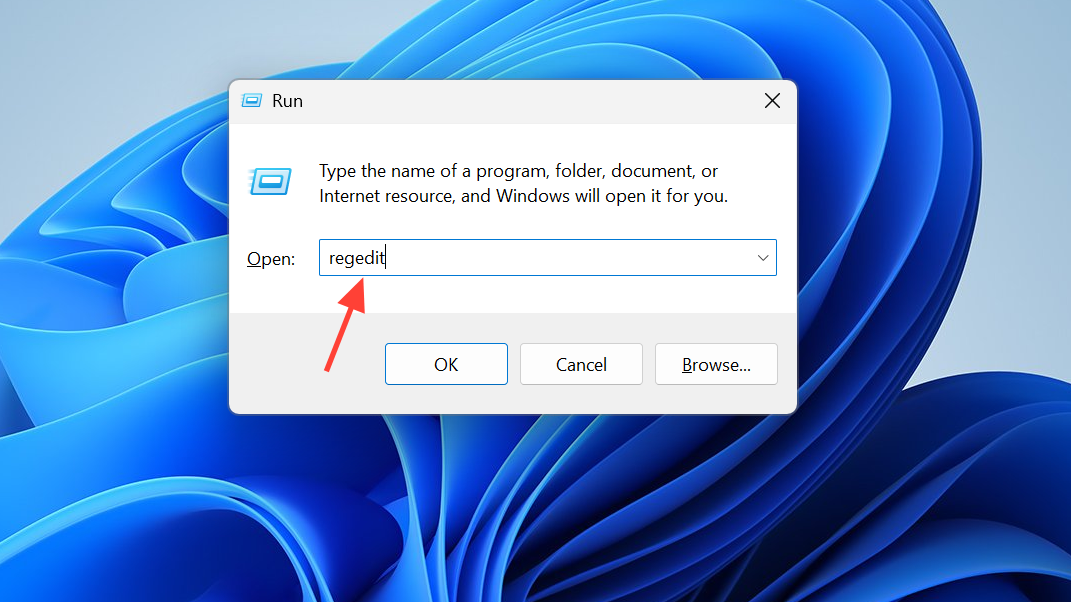
HKEY_LOCAL_MACHINE\SYSTEM\CurrentControlSet\Control\Power
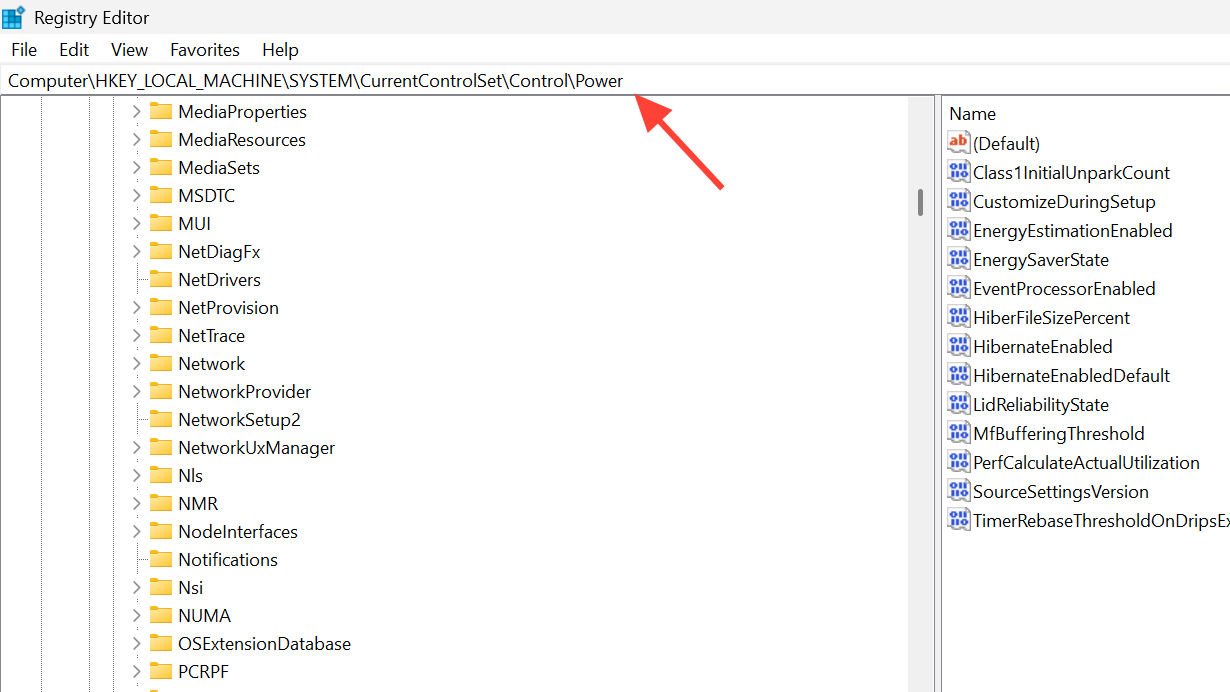
CsEnabled already exists, double-click it. Otherwise, right-click the empty area on the right, pick New, then DWORD (32-bit) Value, and name it CsEnabled.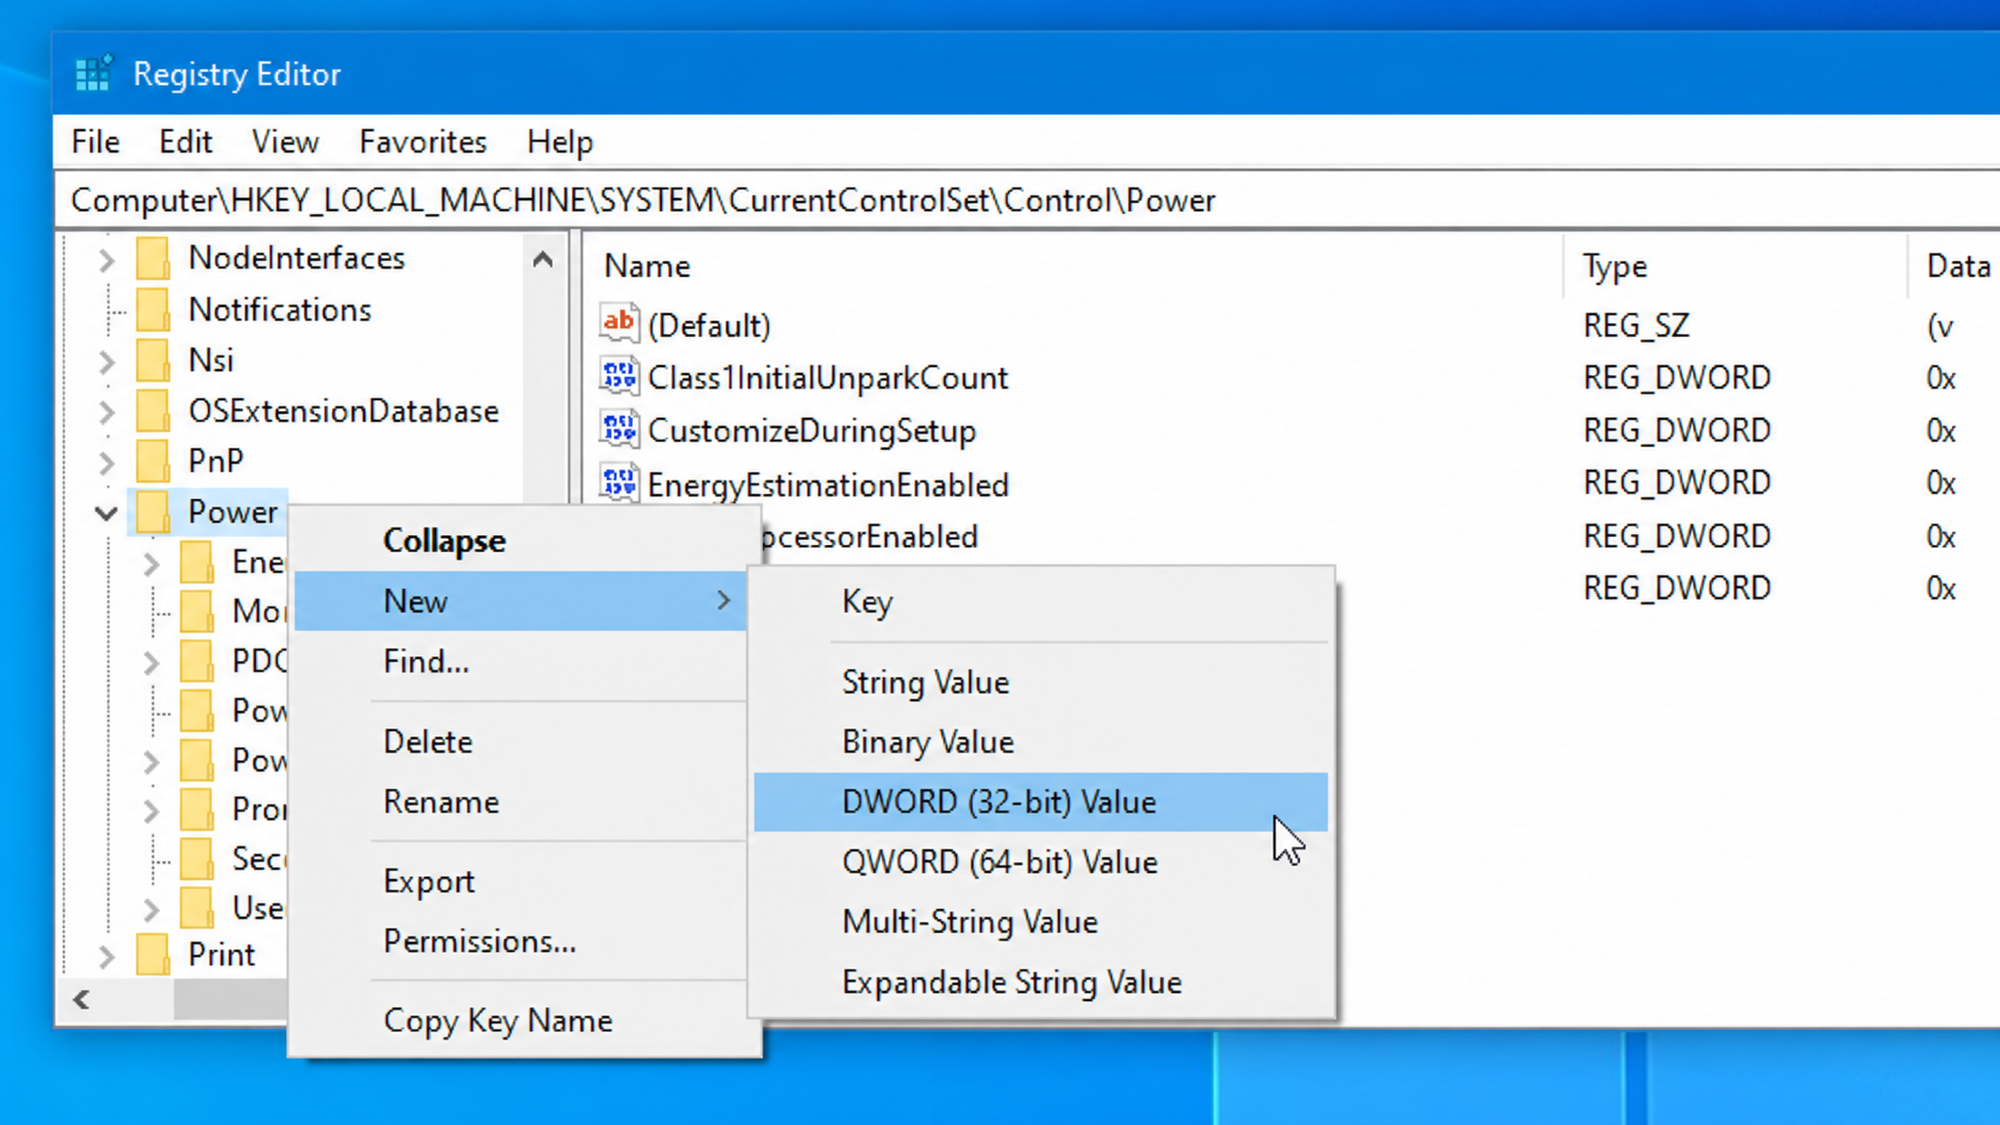
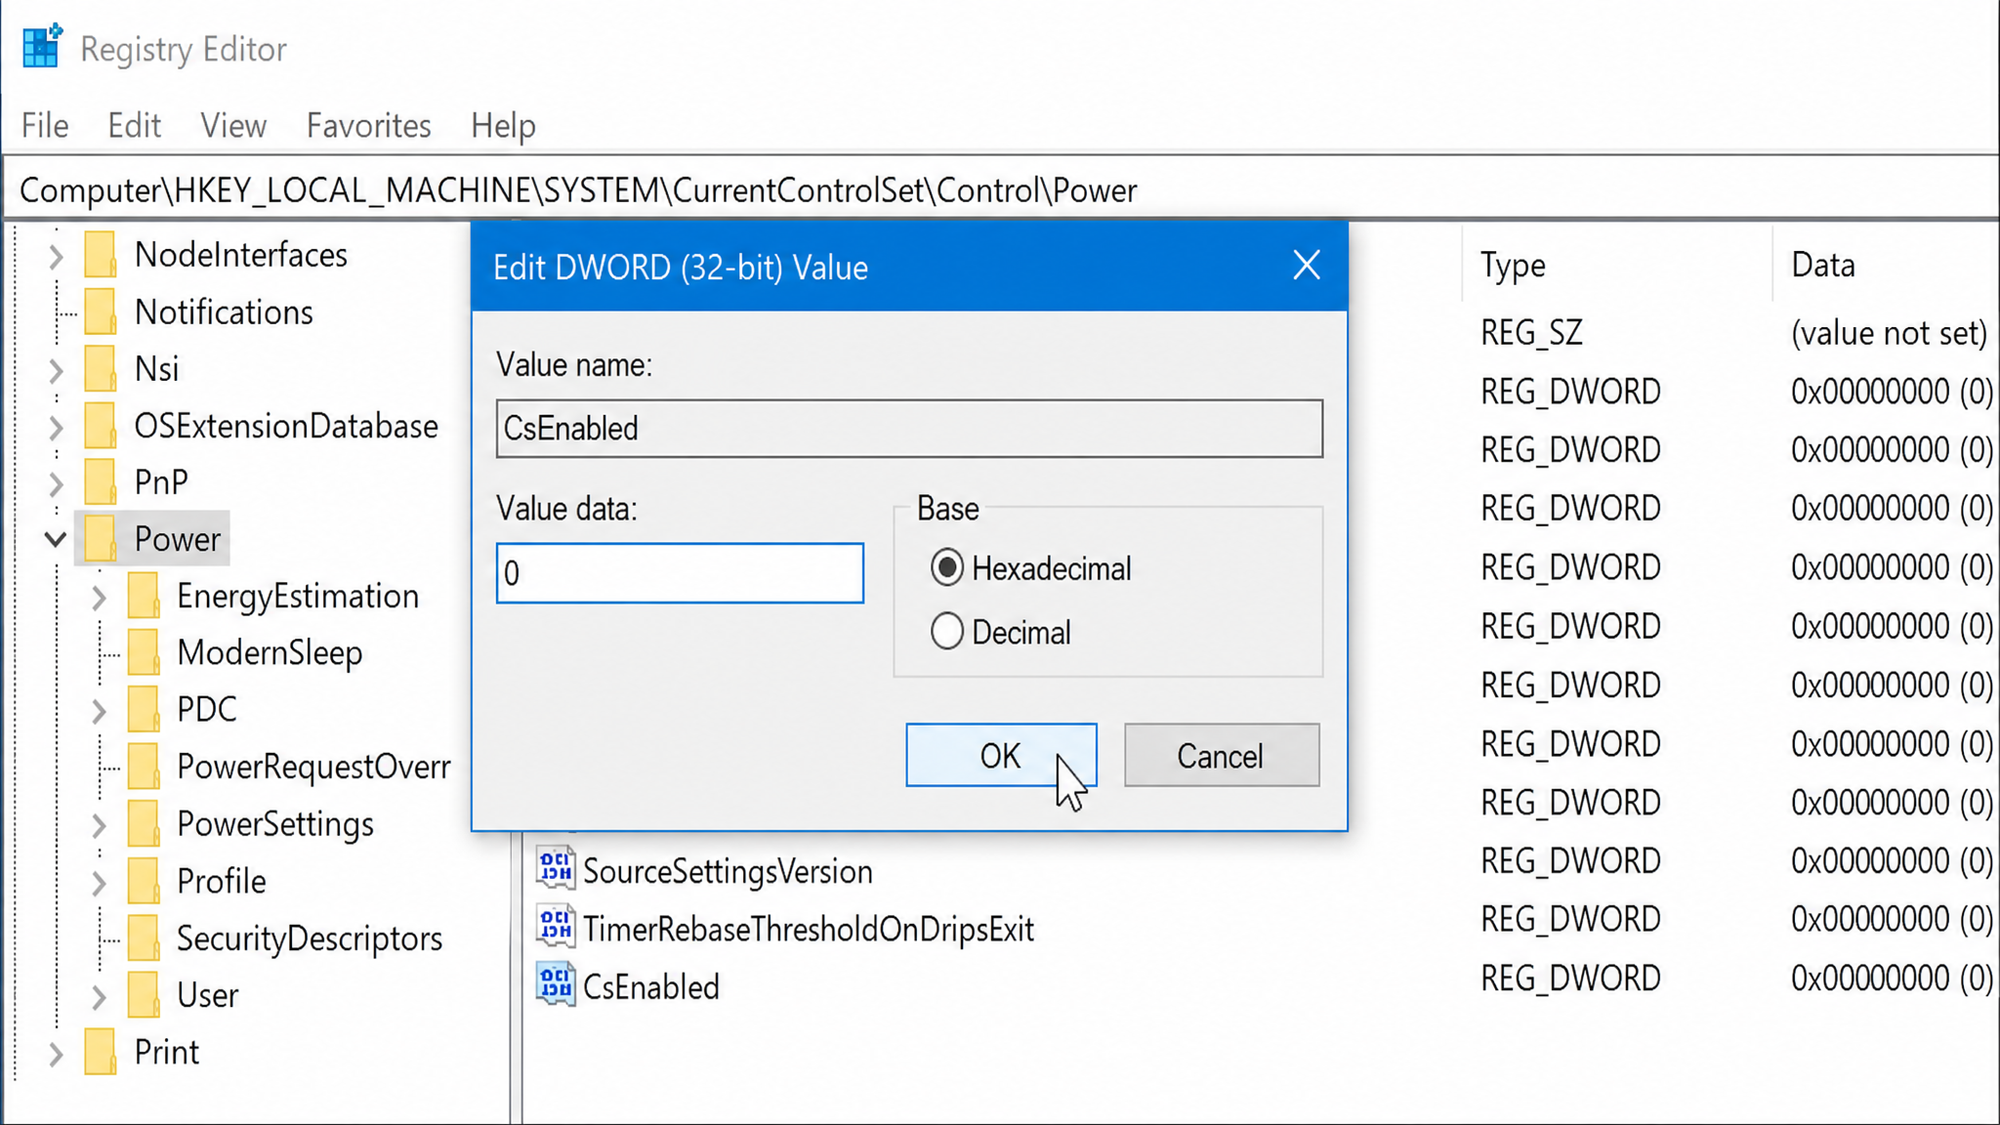
To hide the tab again later, set the same value back to 1 and restart.
Update or roll back the device driver
If only one device is missing the tab while others have it, the driver is the most likely cause. A generic Microsoft-provided driver often omits the power options that the vendor’s own driver exposes. The opposite is also true: a recent vendor update can strip the tab, in which case rolling back fixes it.
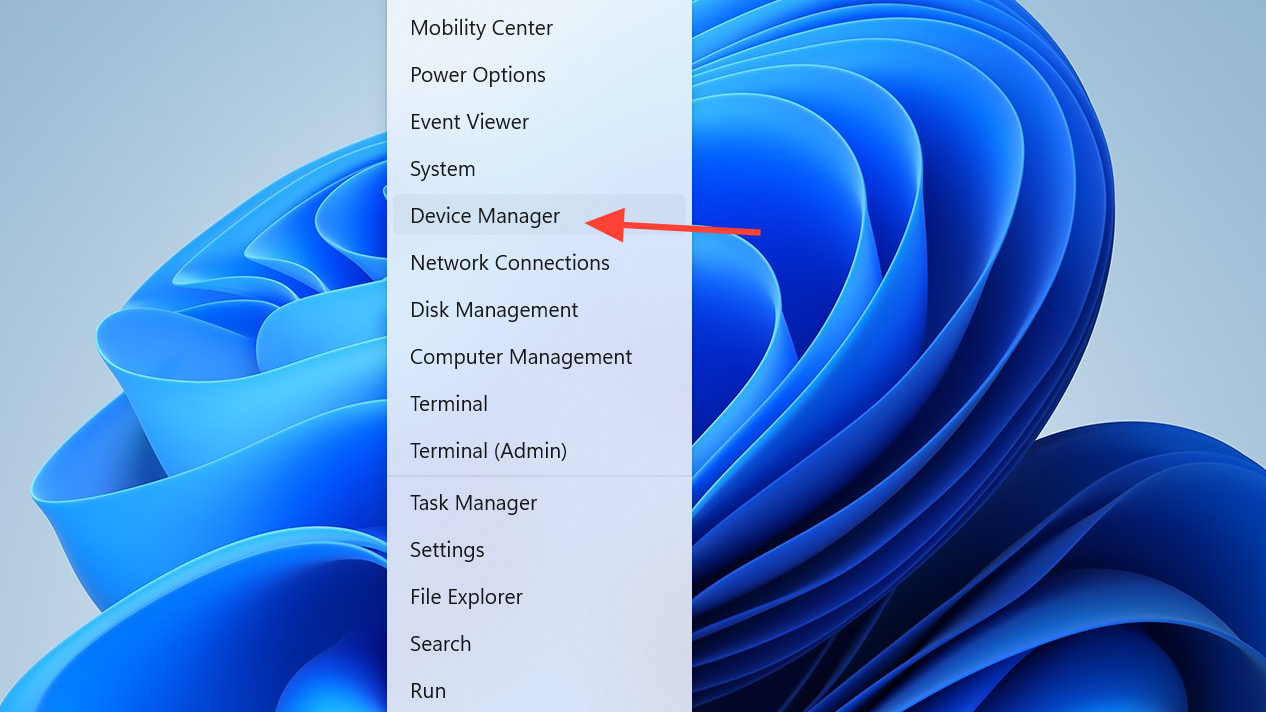
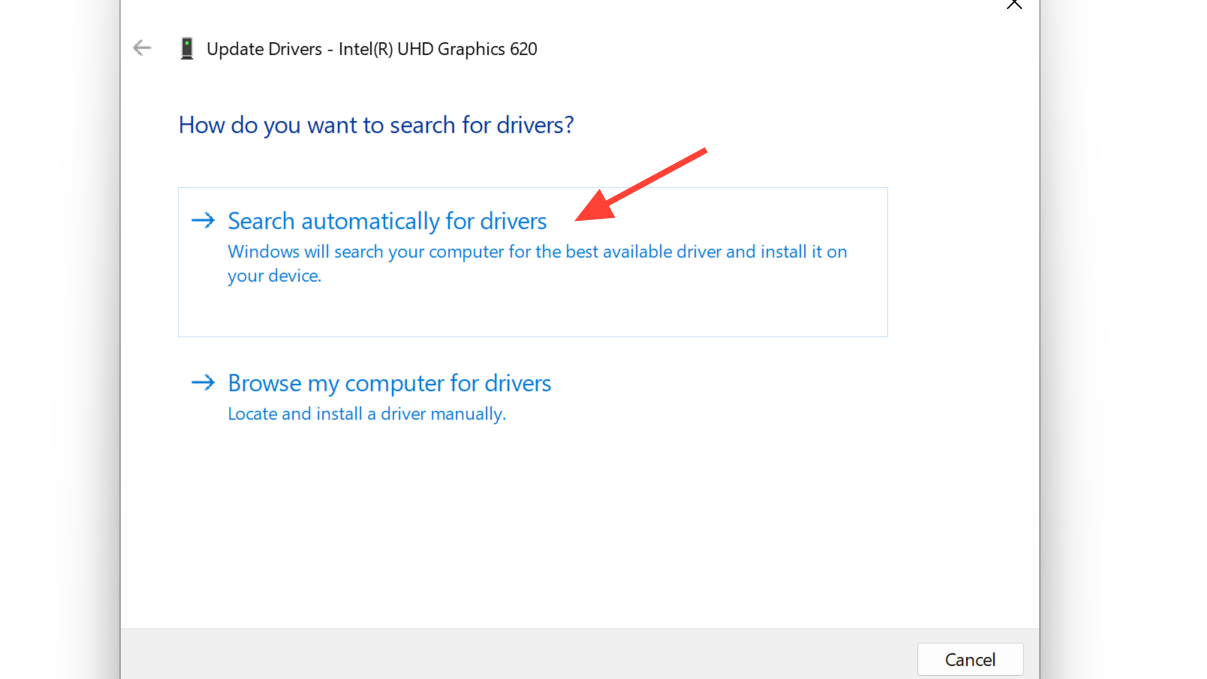
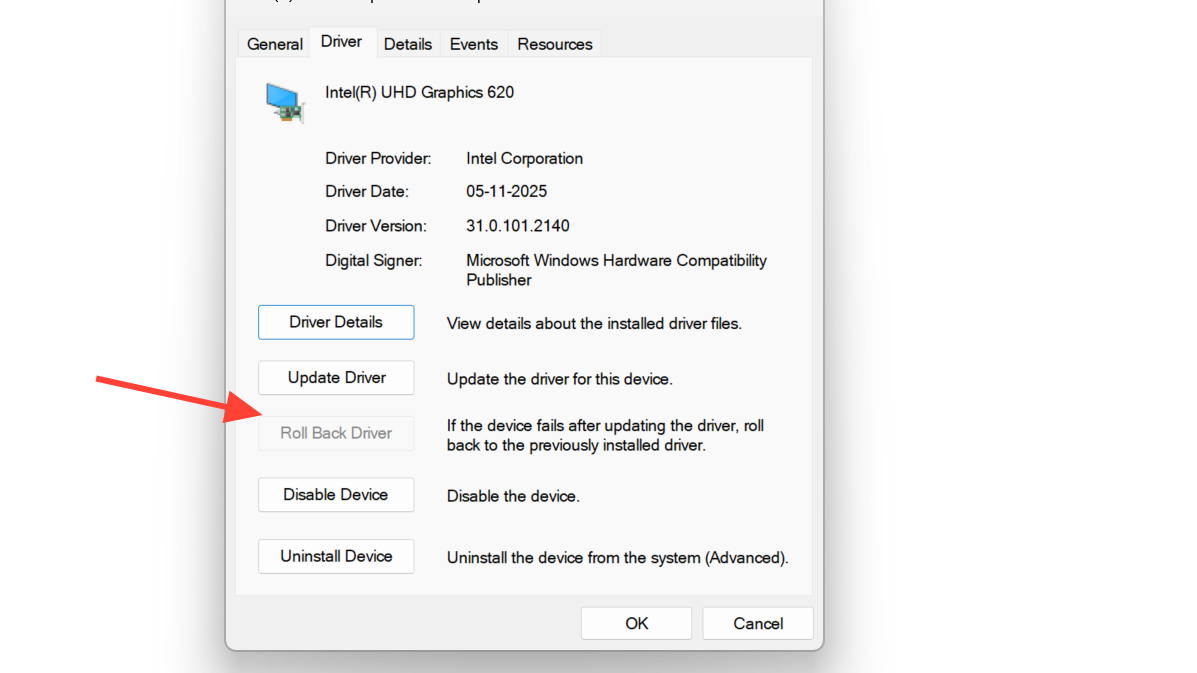
Fix it for a specific network adapter
When forcing legacy standby isn’t possible or doesn’t help, a per-adapter registry tweak can re-enable the controls. Each network adapter has its own subkey under the network class GUID and a PnPCapabilities value that controls which power features the OS exposes.
HKEY_LOCAL_MACHINE\SYSTEM\CurrentControlSet\Control\Class\{4d36e972-e325-11ce-bfc1-08002be10318}
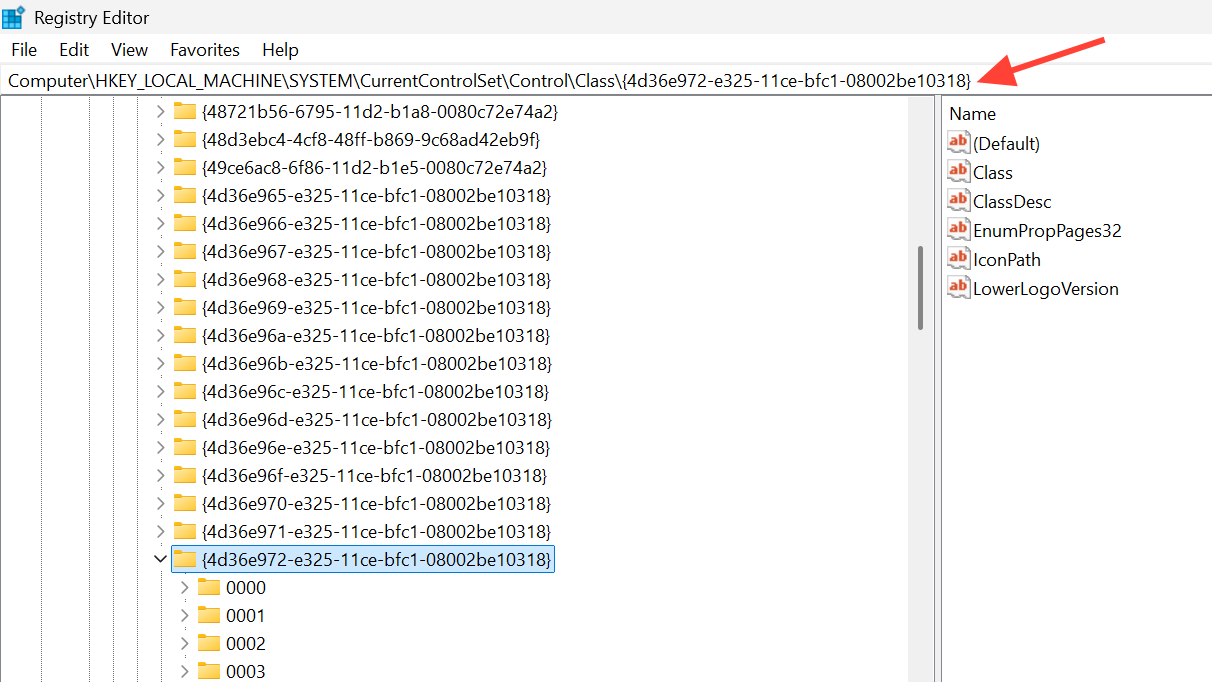
DriverDesc on the right until you find the entry that matches your adapter’s name in Device Manager.PnPCapabilities. If it exists and is set to a value like 24 or 280, the adapter is being told to suppress power management. Double-click it and set the Value data to 0. If it doesn’t exist, create a new DWORD (32-bit) Value named PnPCapabilities with data 0.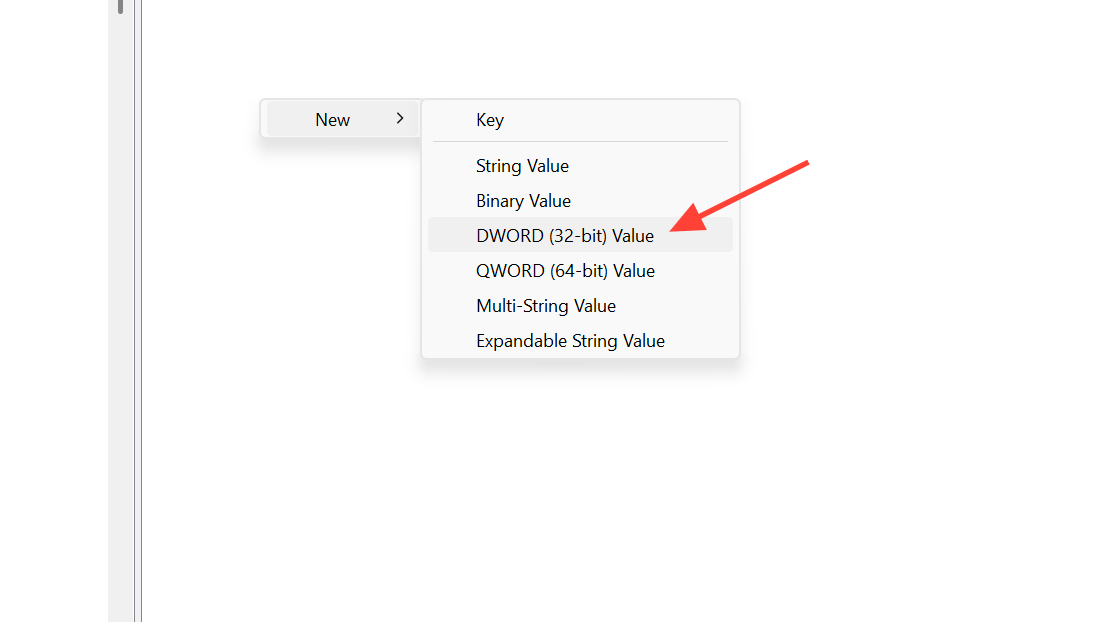
Access power options through Control Panel
If you only need to change one specific setting and don’t want to touch the registry, the same Power Management tab is sometimes reachable through the classic Devices and Printers view.
Control Panel, and open it. Choose Hardware and Sound, then Devices and Printers.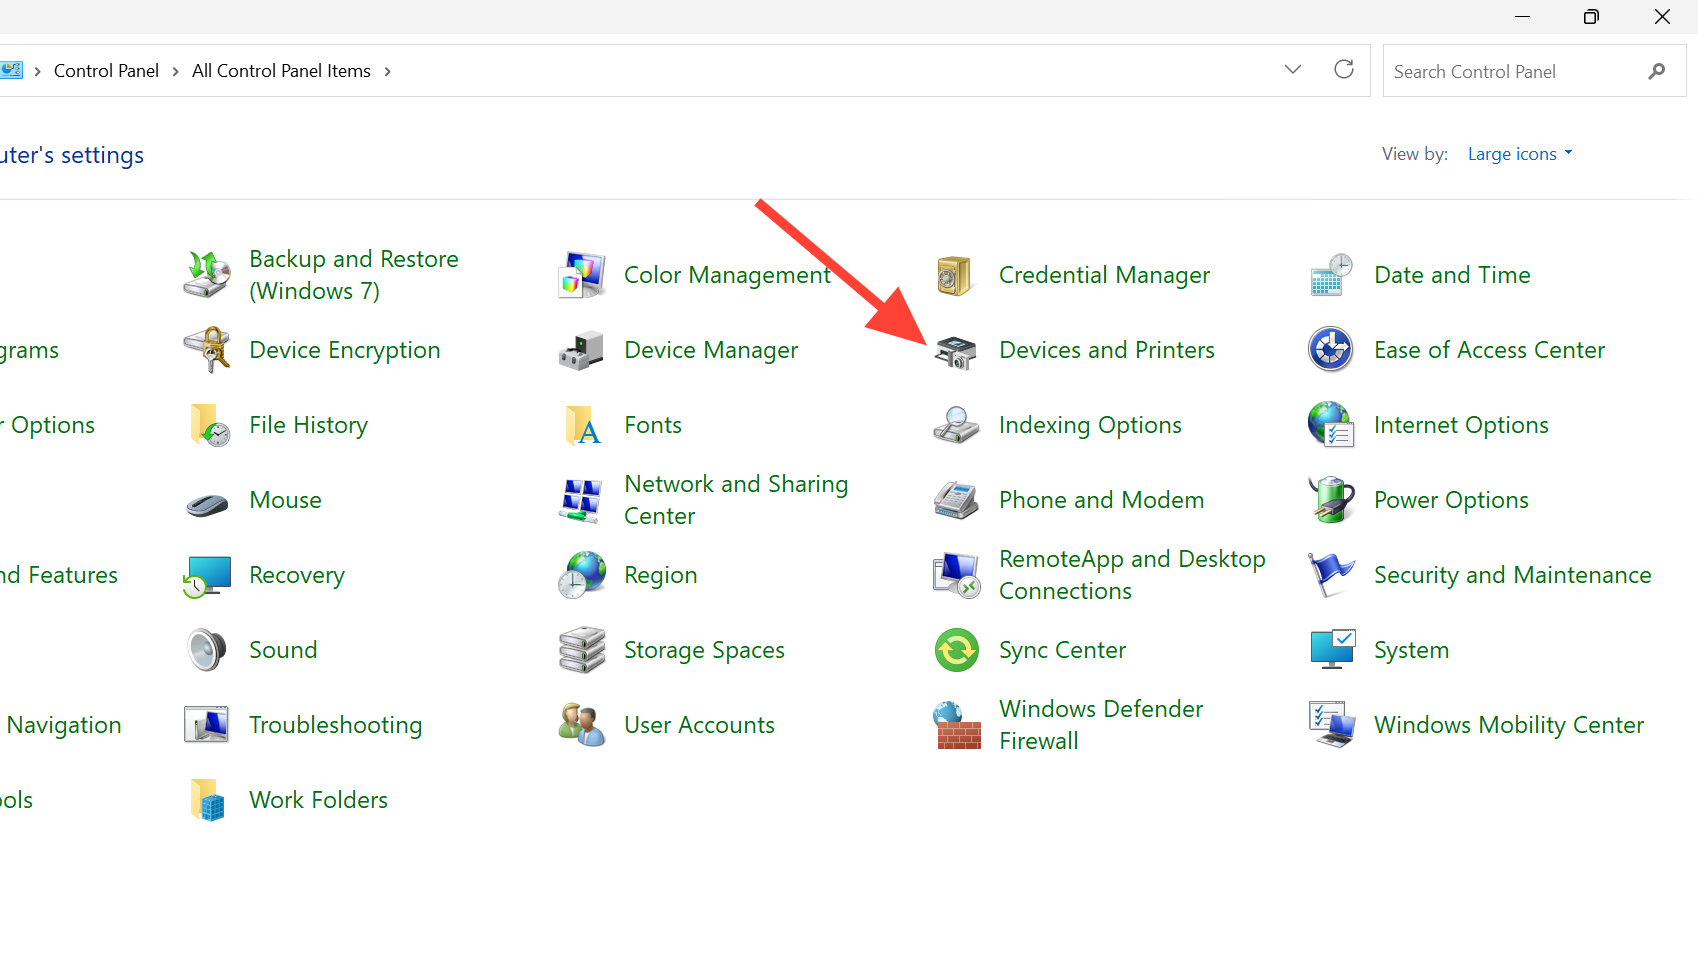
Check BIOS and Windows Update
Power-related options in BIOS or UEFI firmware can suppress the OS-side tab. If USB Wake Support, Wake on LAN, or related options have been disabled by the OEM or by a previous tweak, re-enabling them under the Advanced or Power section of BIOS can bring the tab back after the next boot.
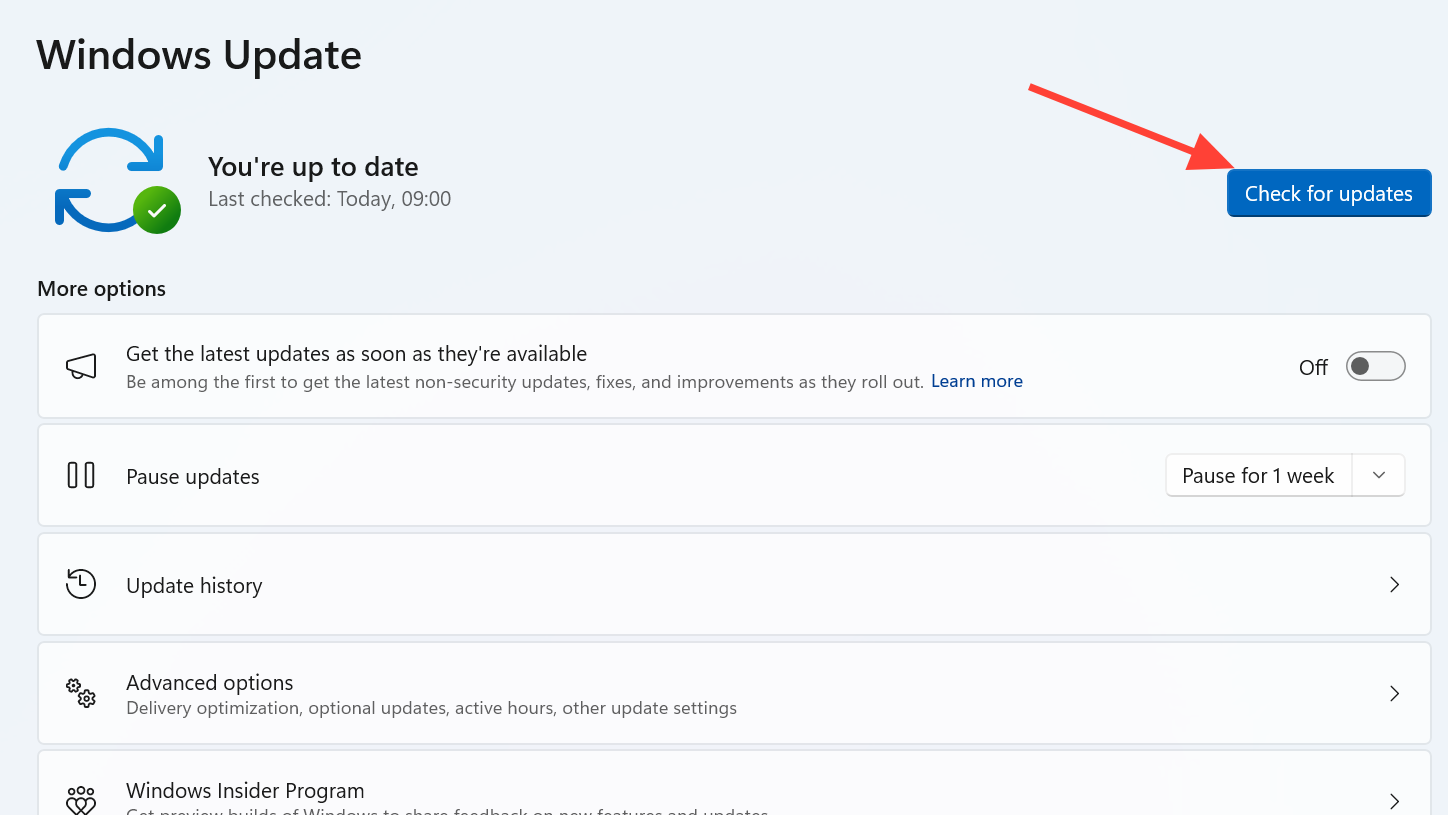
Outstanding Windows updates are also worth installing first. Open Settings, go to Windows Update, and run Check for updates. Some Modern Standby and adapter behavior changes ship as cumulative updates rather than driver updates.
When the tab still won’t appear
If none of the above work, the hardware or its driver simply doesn’t support per-device power management on your system. That’s expected for many basic peripherals and for some chipsets where Windows handles power entirely through Modern Standby. In that case, manage power at the system level through Settings, then System, then Power & battery rather than per-device.
For a Wi-Fi adapter that keeps turning itself off, the practical workaround if the tab can’t be restored is to keep the driver at the version where it worked, prevent Windows from auto-updating that driver, and confirm “Battery saver” isn’t aggressively disabling wireless on battery.