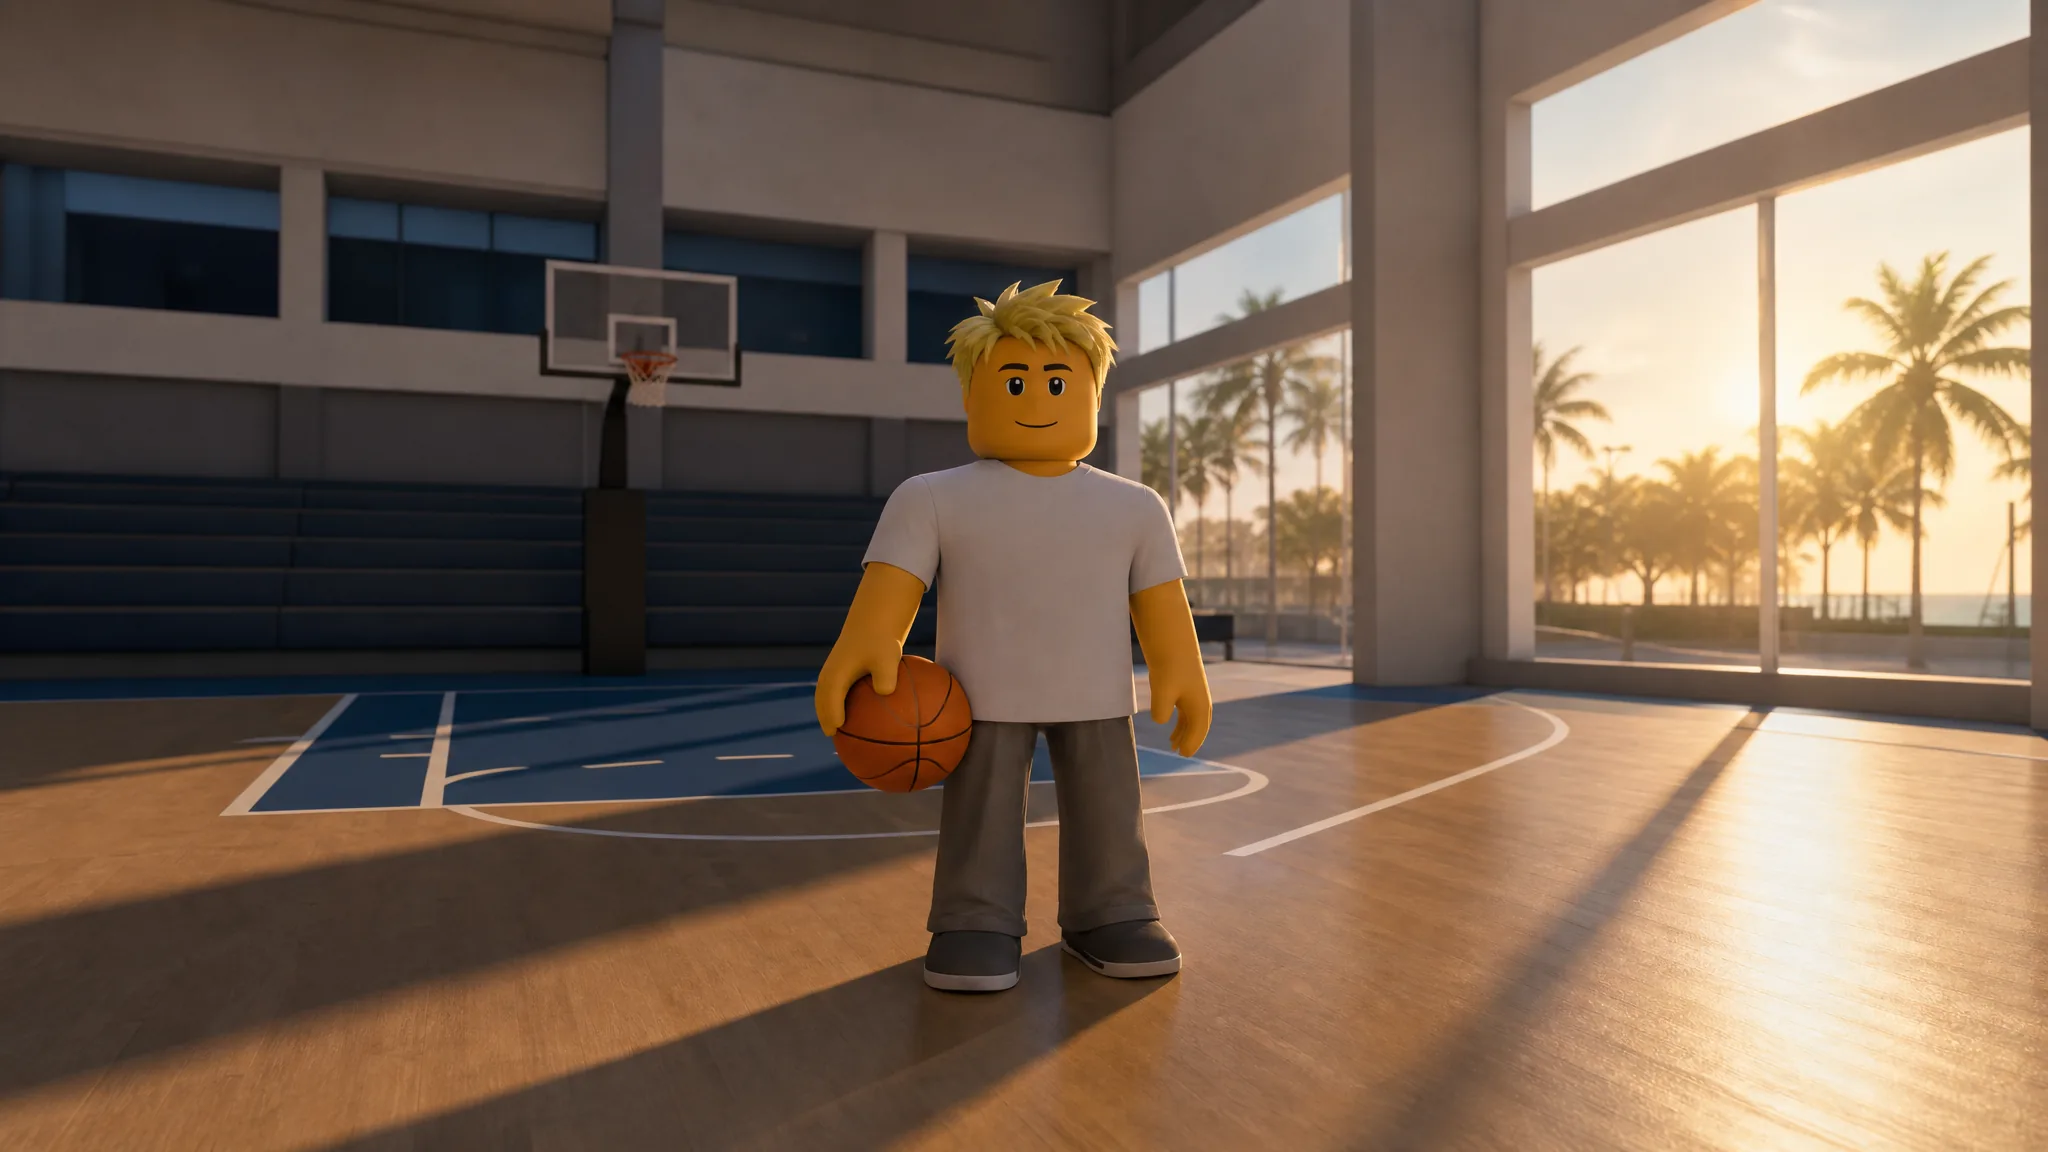
Small forward gives you the widest range of options in Practical Basketball. Done correctly, one build can pull up from mid-range, finish through contact, stretch the floor from deep, dribble like a guard, and still contain wings on defense. The setup below hits all of those roles without collapsing in any single area.
Quick answer: Use a 6’8″ small forward with a 6’8″ wingspan, 225 lbs, and the Built body type. Prioritize 86 Driving Layup, 85 Mid-Range, 82 Three-Point, 84 Perimeter Defense, and 91 Stamina, then run Highlight Reel as your takeover.
Small forward attributes and frame
The frame is the foundation. A 6’8″ height with a matching 6’8″ wingspan keeps you agile enough to stay in front of guards while giving you the reach to shoot over smaller defenders. The Built body type at 225 lbs raises your Strength to 71, which helps you finish through contact and hold position without draining much speed.
| Category | Attribute | Value |
|---|---|---|
| Setup | Height | 6’8″ |
| Setup | Wingspan | 6’8″ |
| Setup | Weight | 225 lbs |
| Setup | Anomaly | None |
| Setup | Body Type | Built |
| Finishing | Close Shot | 59 |
| Finishing | Driving Layup | 86 |
| Finishing | Driving Dunk | 85 |
| Finishing | Standing Dunk | 25 |
| Shooting | Mid-Range Shot | 85 |
| Shooting | Three-Point Shot | 82 |
| Shooting | Moving Shot | 75 |
| Playmaking | Pass Accuracy | 71 |
| Playmaking | Ball Handle | 80 |
| Playmaking | Post Control | 25 |
| Defense | Interior Defense | 64 |
| Defense | Perimeter Defense | 84 |
| Defense | Lateral Speed | 72 |
| Defense | Block | 65 |
| Defense | Steal | 25 |
| Physicals | Stamina | 91 |
| Physicals | Speed | 85 |
| Physicals | Acceleration | 84 |
| Physicals | Vertical | 85 |
| Physicals | Strength | 71 |
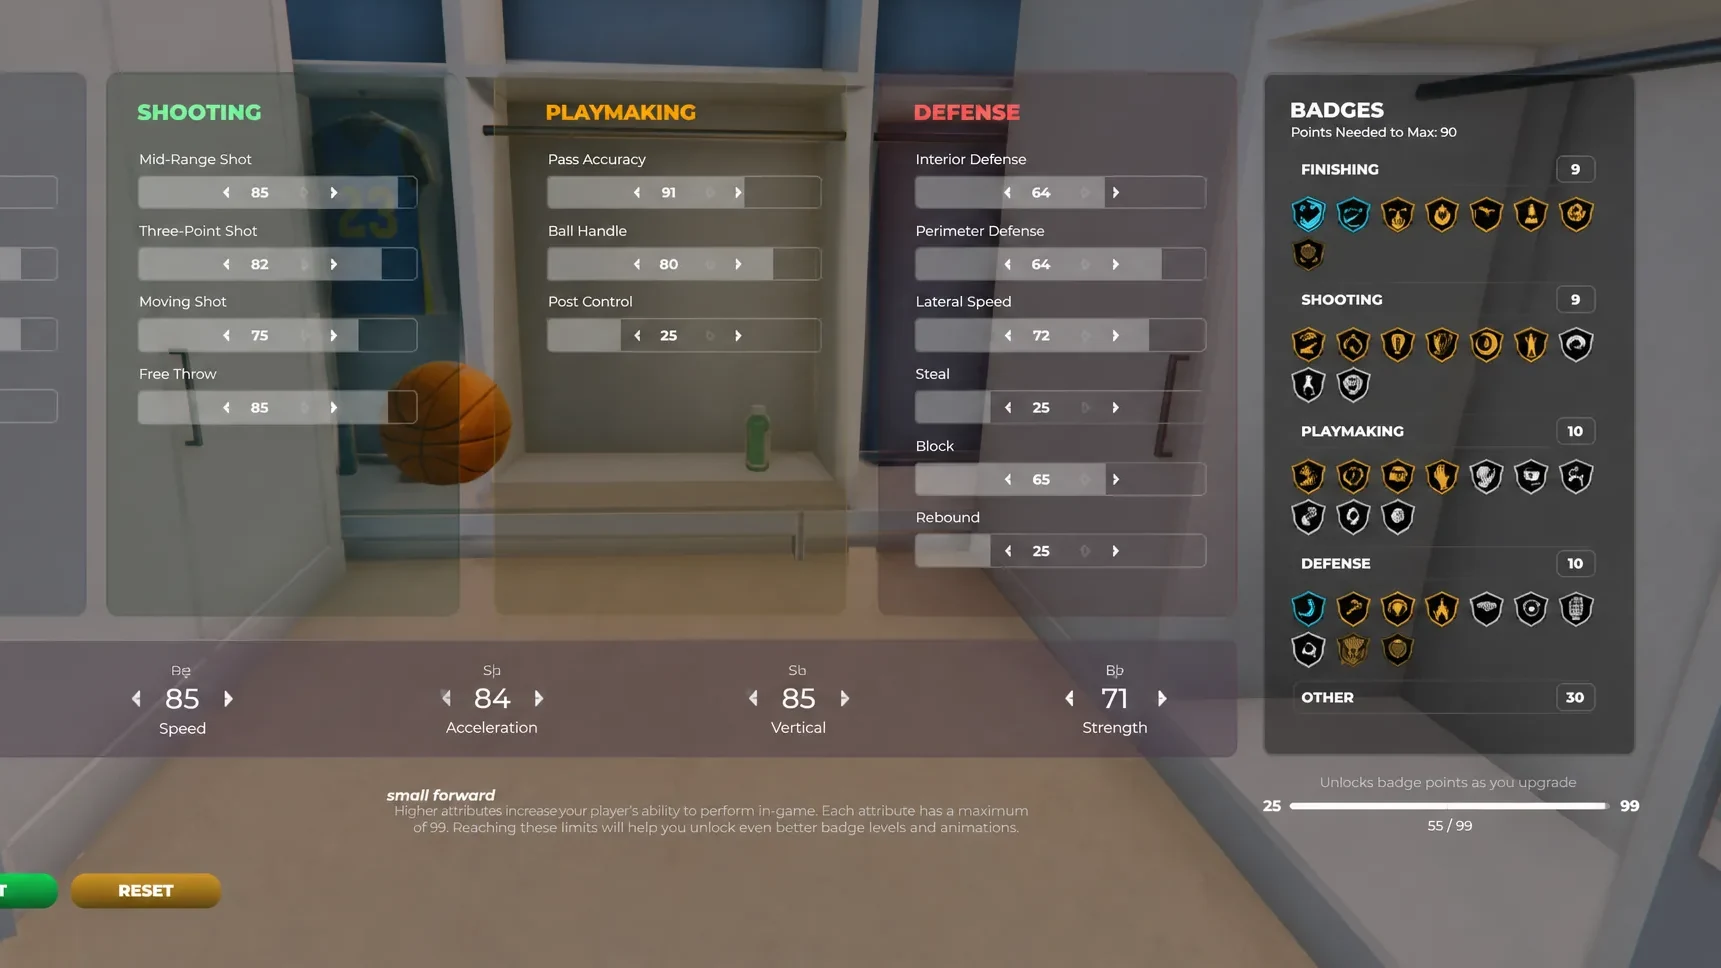
Note: The Built frame is the stronger pick over a Narrow one. You keep 85 Speed, so mobility barely changes, but the extra Strength makes contact finishes and physical defense far more reliable.
Best badges for the small forward
Badges decide how the attributes actually play out on the court. Spread them across finishing, shooting, playmaking, and defense so no part of the build gets exposed.
Finishing badges
| Badge | What it does |
|---|---|
| High Flyer | Extends the dunk range on driving dunk attempts. |
| Aerial Assault | Raises the chance of hitting floaters. |
| Gymnast | Boosts high-difficulty layups, including spins, hop steps, euro-steps, cradles, and reverses, and improves your ability to beat defenders with those gathers. |
Shooting badges
| Badge | What it does |
|---|---|
| Quick Draw | Speeds up your catch-and-shoot jumper. |
| Tunnel Vision | Reduces the penalty from a closing-out defender on both mid-range and three-point shots. |
| Limitless Shooter | Extends the range on standing three-point shots. |
| Formless Shooter | Improves difficult off-the-dribble jumpers such as hop steps, spins, stepbacks, and pull-ups. |
Playmaking badges
| Badge | What it does |
|---|---|
| Tireless Handles | Lowers the energy lost on dribble moves, letting you chain combos longer. |
| Quick Handles | Improves how fast you can string dribble moves together. |
| Quick Pass | Speeds up how quickly the ball leaves your hands and increases pass velocity. |
Defense badges
| Badge | What it does |
|---|---|
| Locks | Helps you stay in front of the ball handler with quicker cut-off moves and better bumping. |
| Intimidator | Lowers an opponent’s shooting success when you contest and raises your shot defense while tightly guarding. |
| Tough Ankles | Reduces the chance of getting crossed over or ankle-broken. |
Best takeover for the small forward
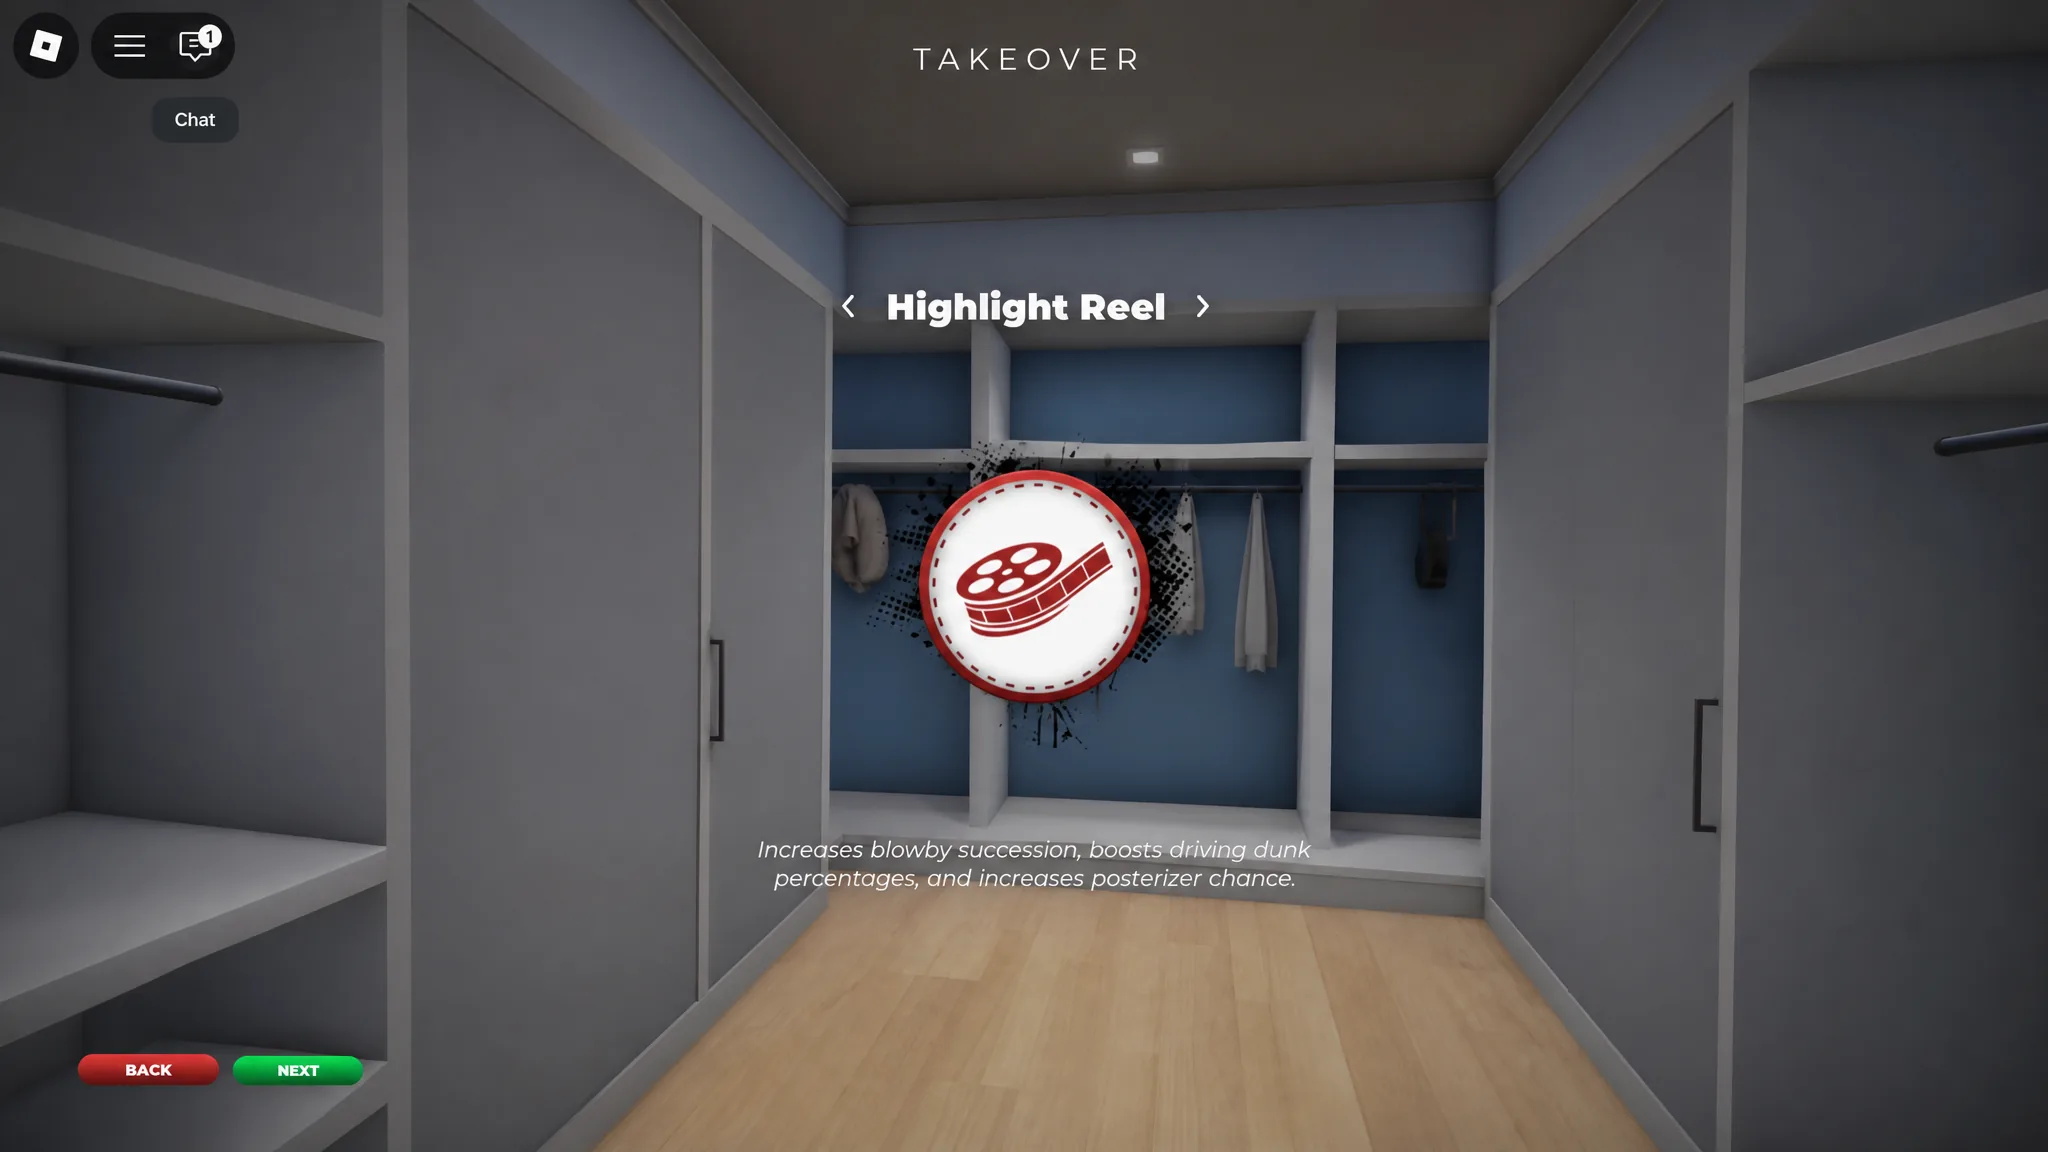
Highlight Reel is the default takeover for this build. It strengthens posterizer dunks, boosts finishing at the rim, and makes scoring through contact happen more often, which lines up with the build’s slashing identity.
If you lean toward perimeter scoring, Knockdown Shooter is the alternative. It extends your shooting range and makes tough jumpers easier to convert. Pick it when your game runs through mid-range pull-ups and corner threes rather than attacks at the basket.
How to play the build and win matchups
Read the defender before you commit. Use your size to score over smaller matchups, and use your 85 Speed and 80 Ball Handle to blow past bigger ones. The mid-range pull-up is your most dependable shot because it is one of the hardest attempts for defenders to contest cleanly.
On defense, live on the perimeter. Stay square, use your speed to keep pace with wings, and let Locks, Intimidator, and Tough Ankles carry the contest. With 84 Perimeter Defense and 91 Stamina, you can pressure the ball across long possessions without fading late.
The build’s ceiling comes from making quick decisions rather than forcing one scoring method. Take the first clear advantage, whether that is an open jumper, a driving lane, or a pass out when help collapses on you.
If you are just starting out, pairing this setup with the game’s Practical Basketball park and public gym modes is the fastest way to learn the timing on the mid-range release and your defensive slides.