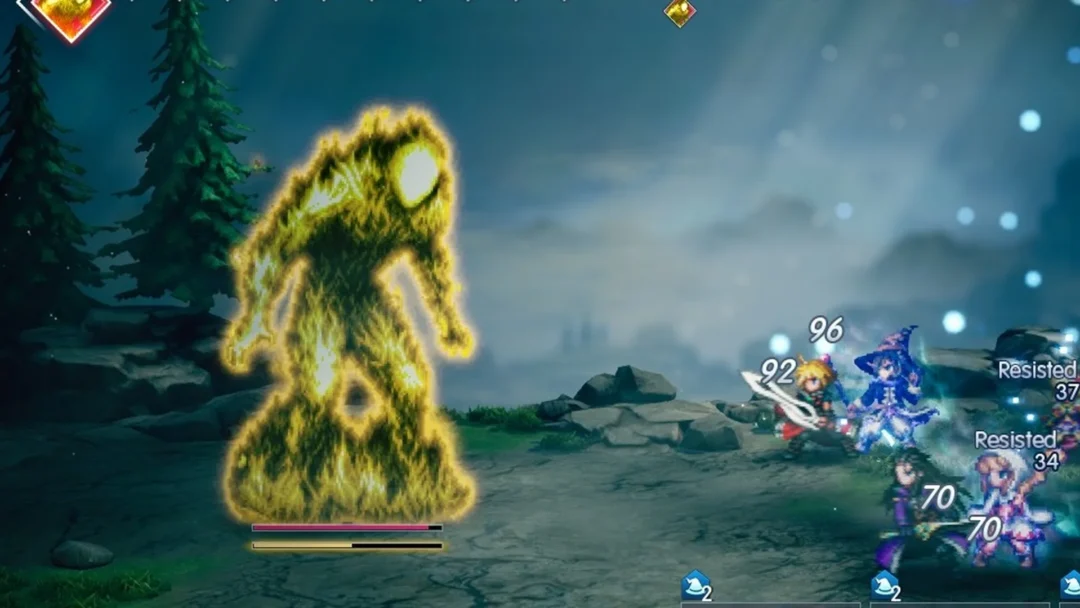
In Chapter 2 of Final Fantasy Resonance (“Eternal Blue”), the dwarves’ workshop-town is the Dwarven Forge on Dirnado. After Mt. Thunderclap, your objective becomes “Visit Borin at the Dwarven Forge”. Since the Forge is a town, random encounters do not occur inside.
Quick answer: Leave Mt. Thunderclap by the far exit past Liquid Thunder. On the World Map, follow the road south to a hairpin, west over the first wooden bridge, south over the second bridge, past the “Dwarven Forge” sign, and west over the long bridge to the Forge’s south door. Inside, ride the lift down to the main floor, save at the circle in the east wing (the inn there costs 100 Gil), then talk to Borin at the west end of the long forge counter. He asks you to deal with the monster in the forge: Mom Bomb, on the lower floor at the bottom of the long staircase. The item shop sells 13 items (Ether 500, Phoenix Down 200, Earth Scroll I 1,000) and the weapon shop 7 weapons, from Knight’s Blade (1,800) to Ashura (4,200). Chests: Phoenix Down x3, Sledgehammer and Headband, plus two Tablet Shards.
| What | Where |
|---|---|
| Save point | Main floor, east wing beside the inn |
| Inn | East wing, 100 Gil |
| Item shop and weapon shop | West of the inn (money-bag and crossed-swords signs) |
| Borin | West end of the long forge counter, up the stairs from the hall’s west end |
| Mom Bomb | Lower floor, in the small nook at the foot of the long stairs |
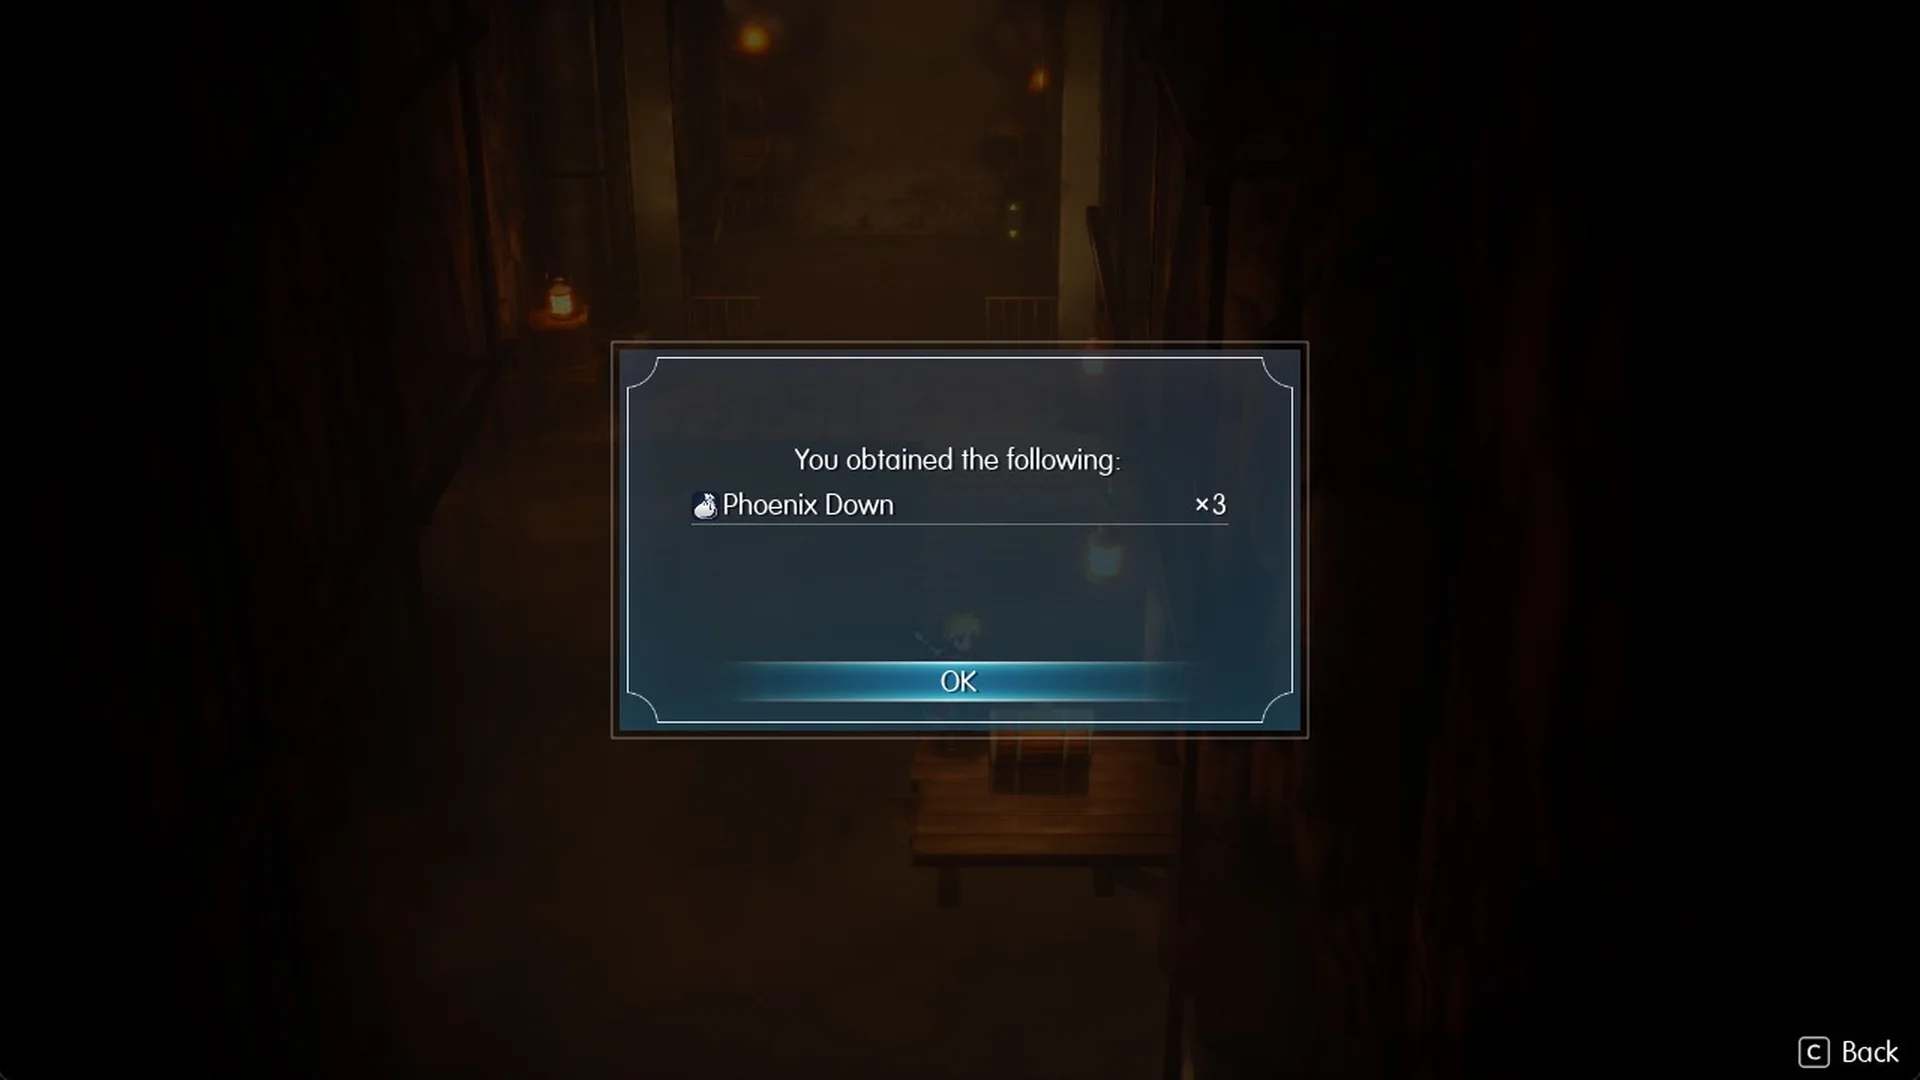
| Phoenix Down x3 | Chest in the small side room the lift stops at |
| Sledgehammer | Main floor, on a railed walkway behind the molten-metal trough at the north wall of the raised forge room |
| Headband | Lower floor, up a wooden walkway along the cliff, east of the lower floor shard |
| Tablet Shard | Main floor, across the iron walkway west of the hall statue, at the south end of the west arm |
| Tablet Shard | Lower floor, south-west corner of the scrap-bin room |
How to get to the Dwarven Forge from Mt. Thunderclap
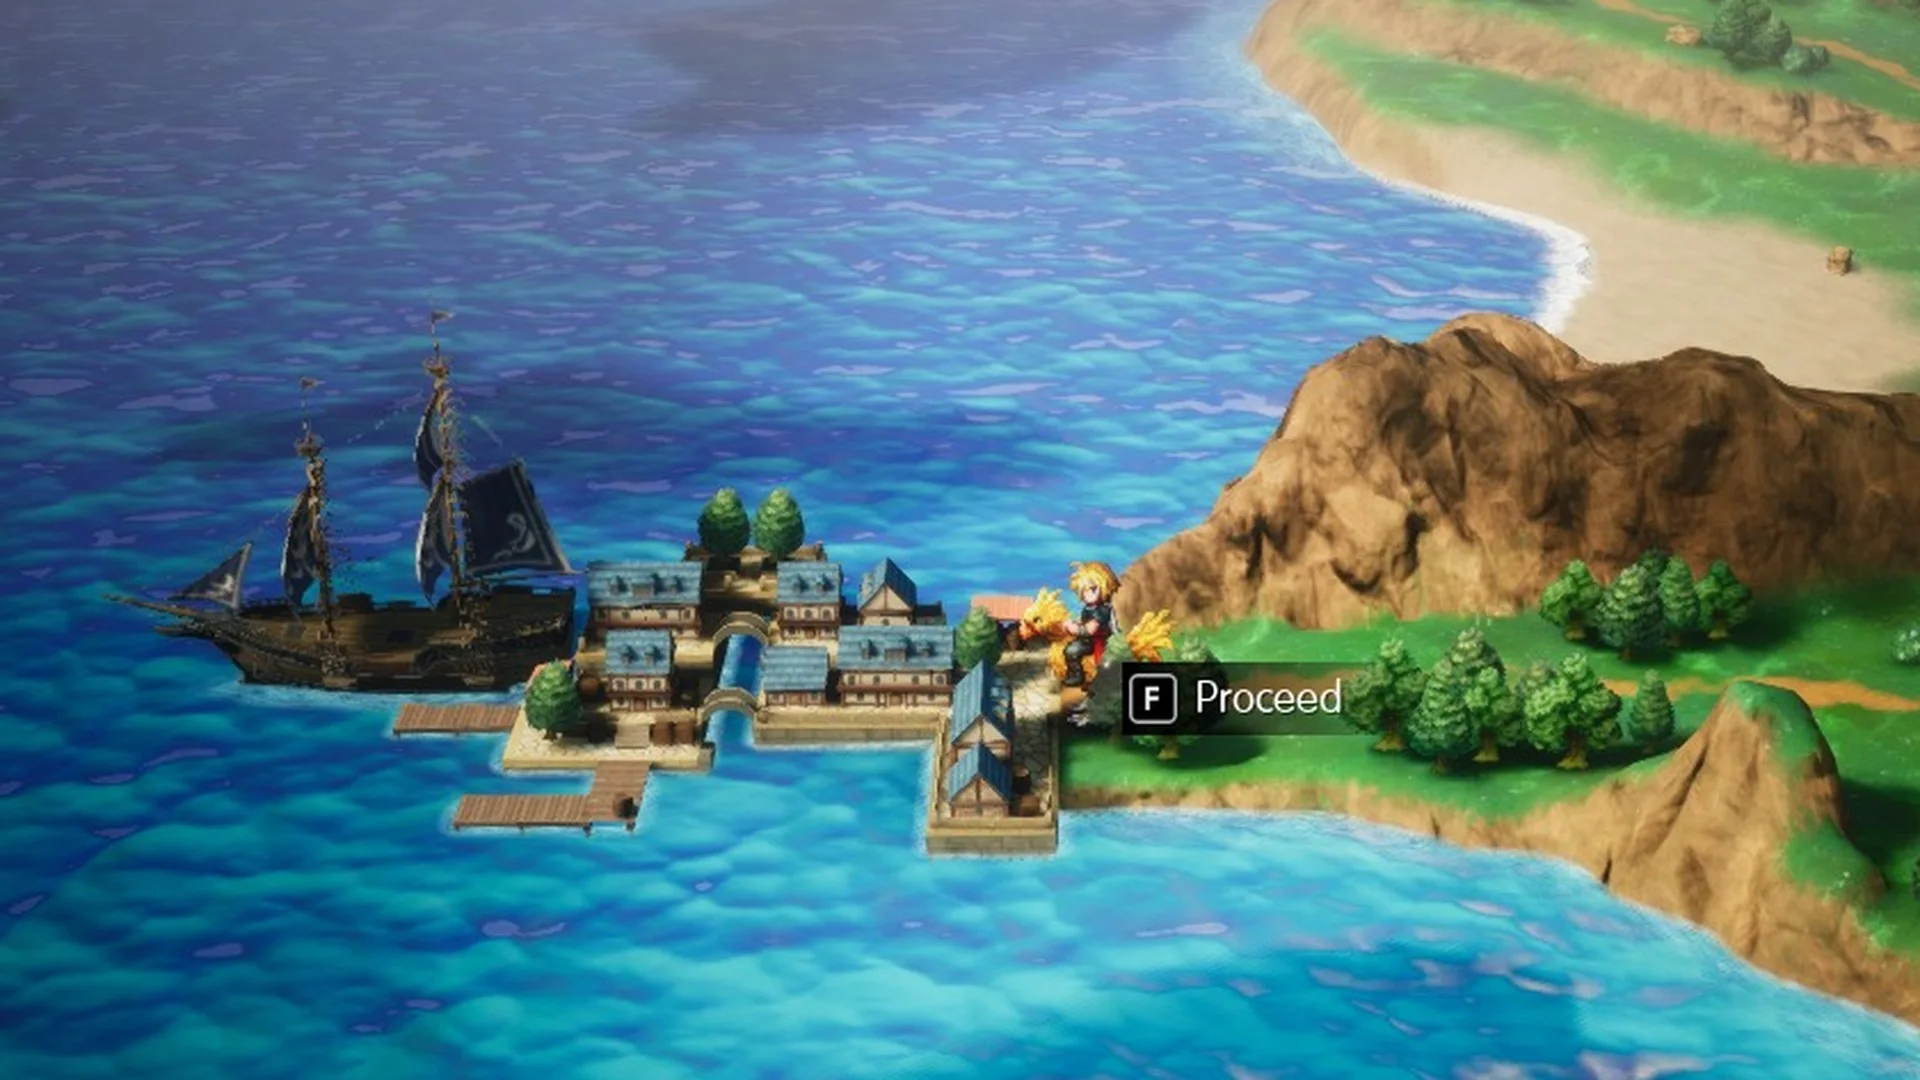
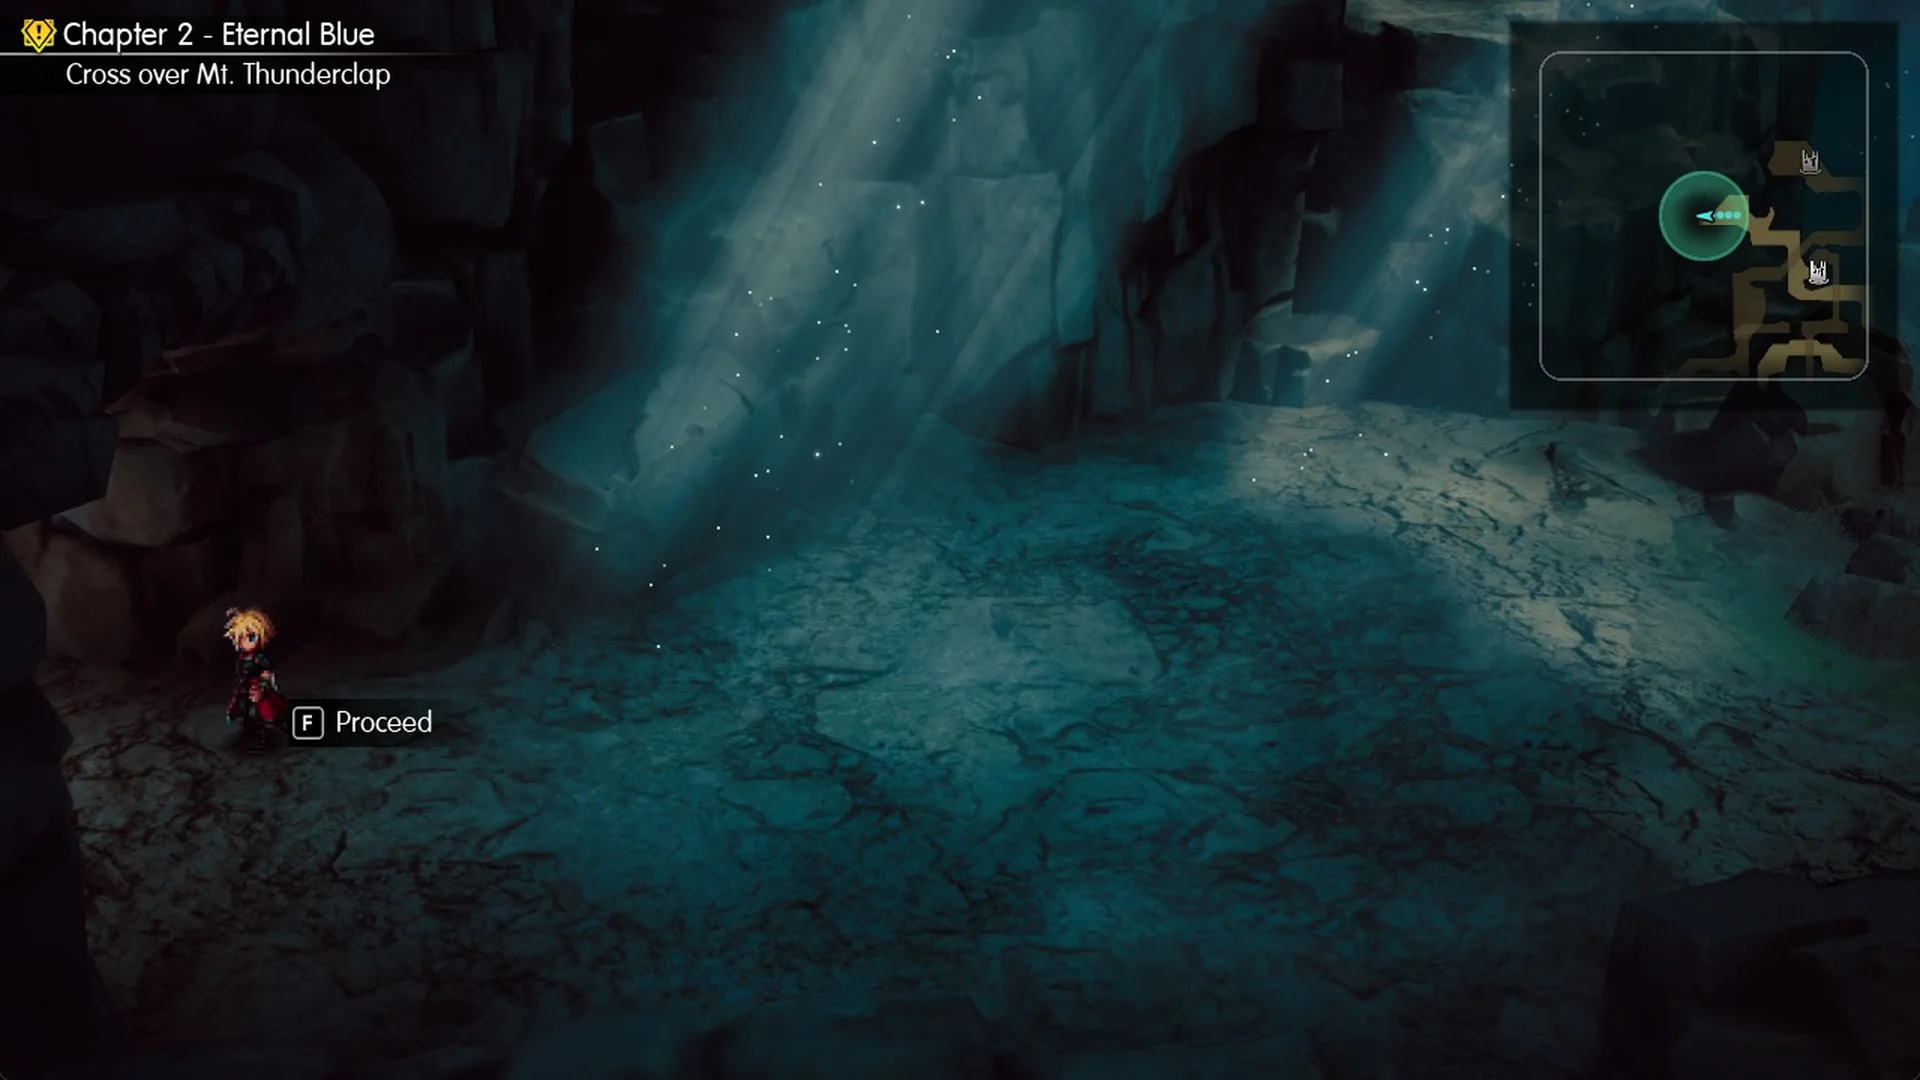
The far exit past the Liquid Thunder fight doesn’t drop you inside the Forge. Pressing “F Proceed” there puts you on the World Map beside the cave mouth, with “Quest Updated: Visit Borin at the Dwarven Forge” and an autosave. If you still need to clear the mountain, the Mt. Thunderclap walkthrough and the breakdown of how to beat Liquid Thunder cover both.
After leaving, look for the Forge’s yellow “!” on the World Map, to the west and south-west.
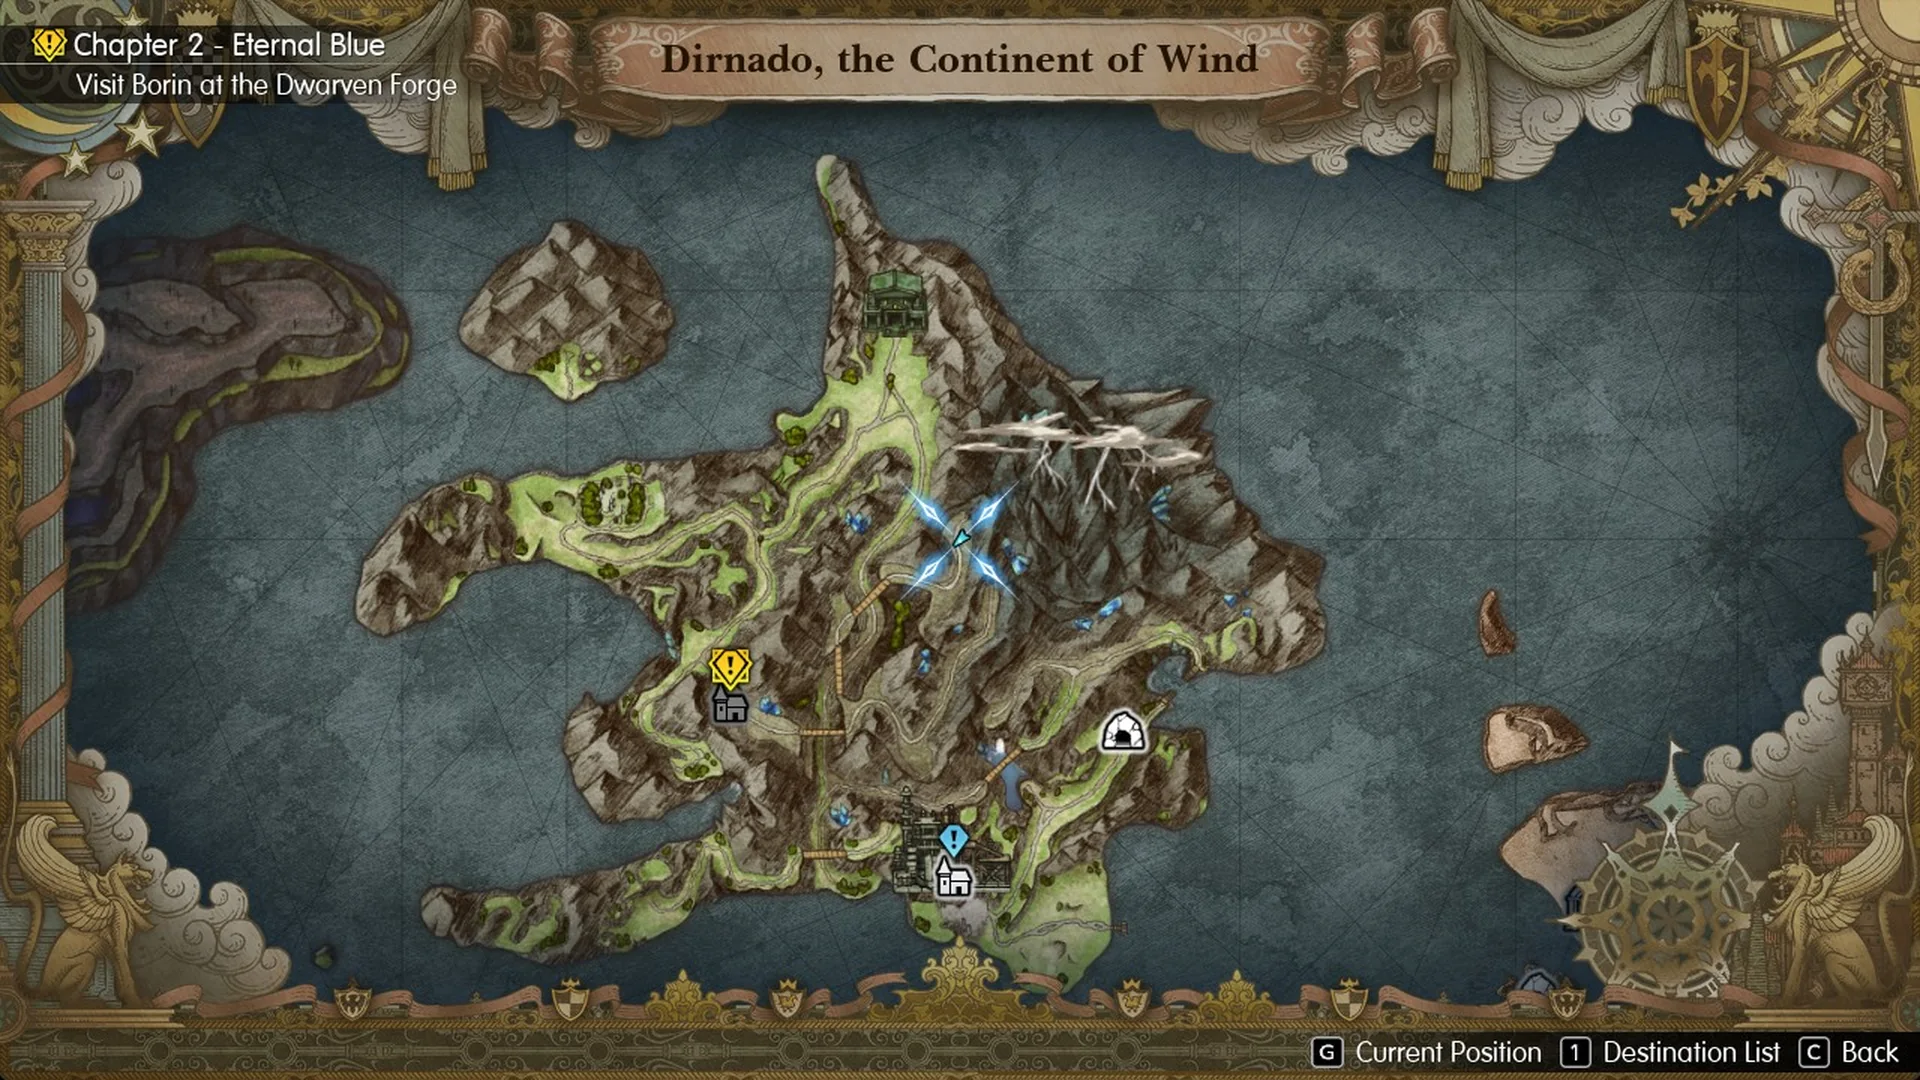
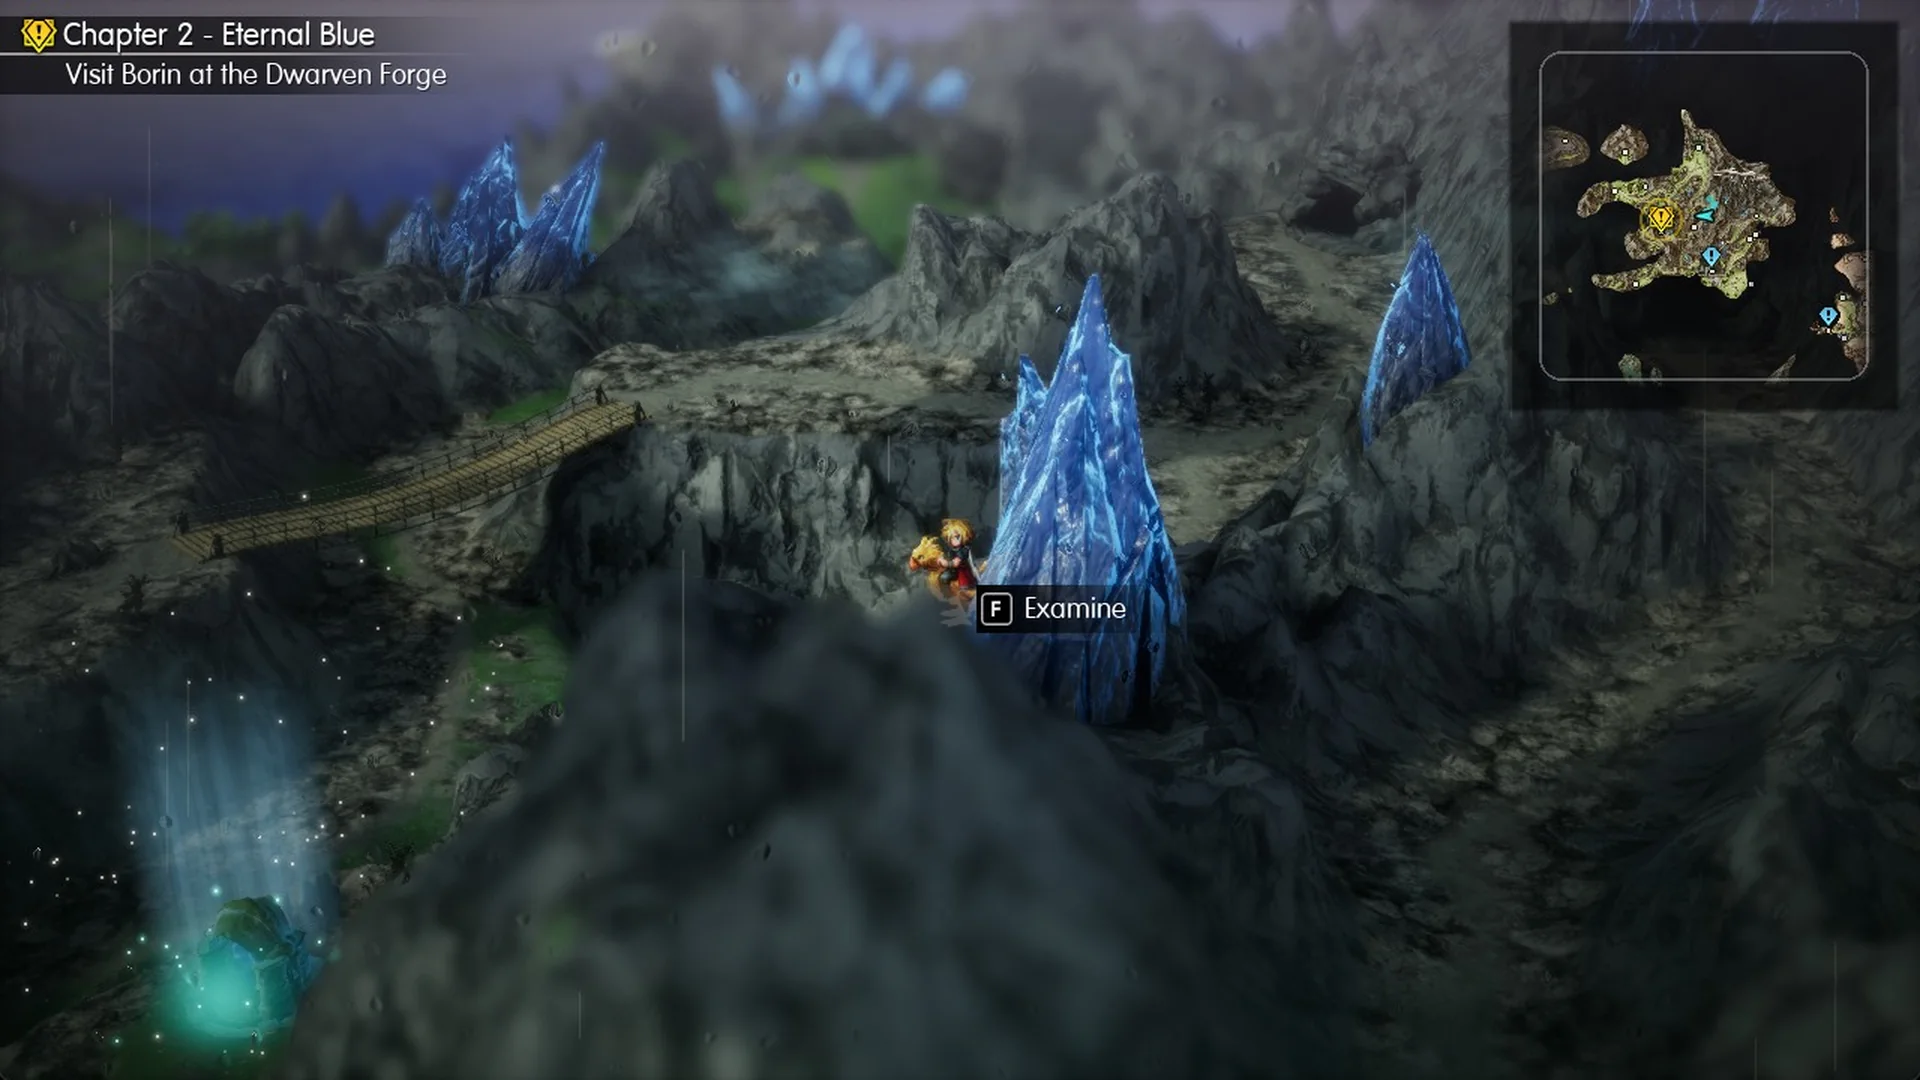
There’s an optional detour first. Walking south-west straight off the arrival spot takes you down to a blue crystal on a ledge with a cliff on its west side. Examine it for Earth Scroll I x2. There’s no way west from that ledge, so climb back up to the road afterward.
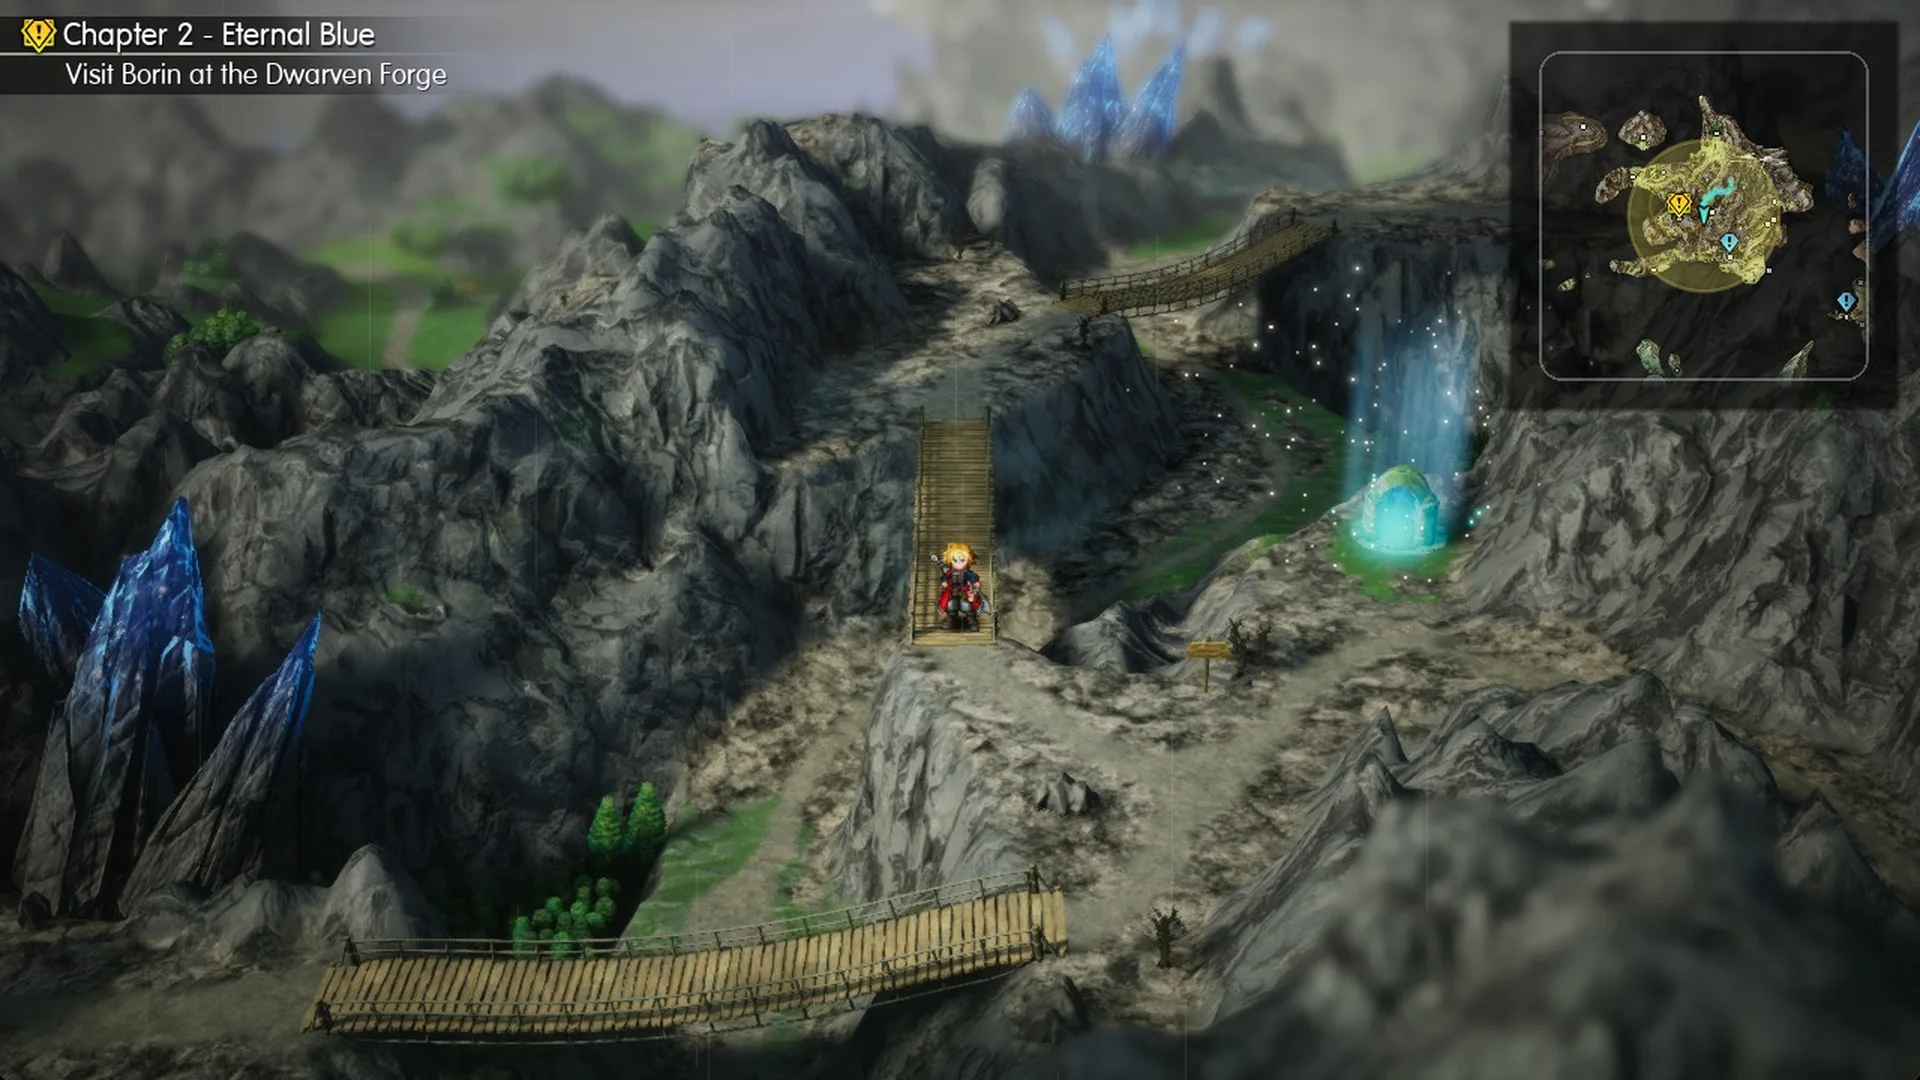
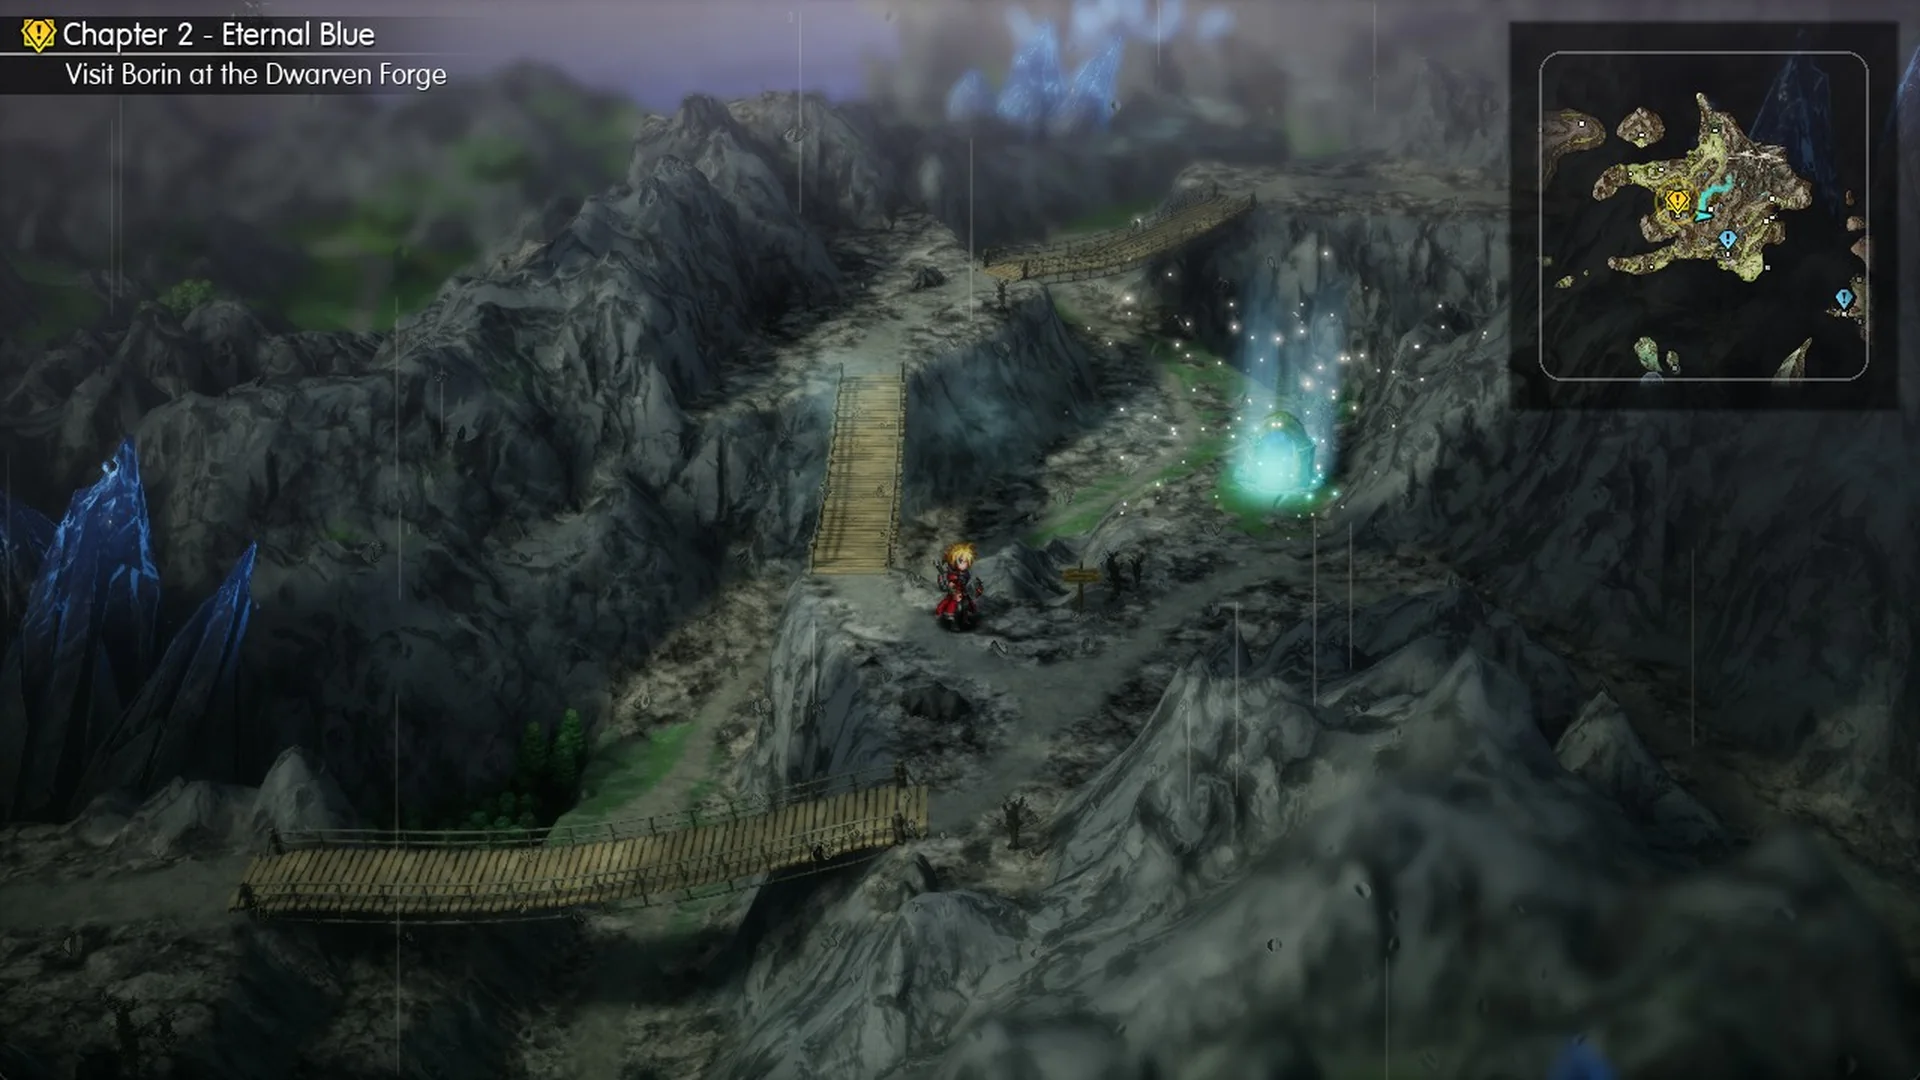
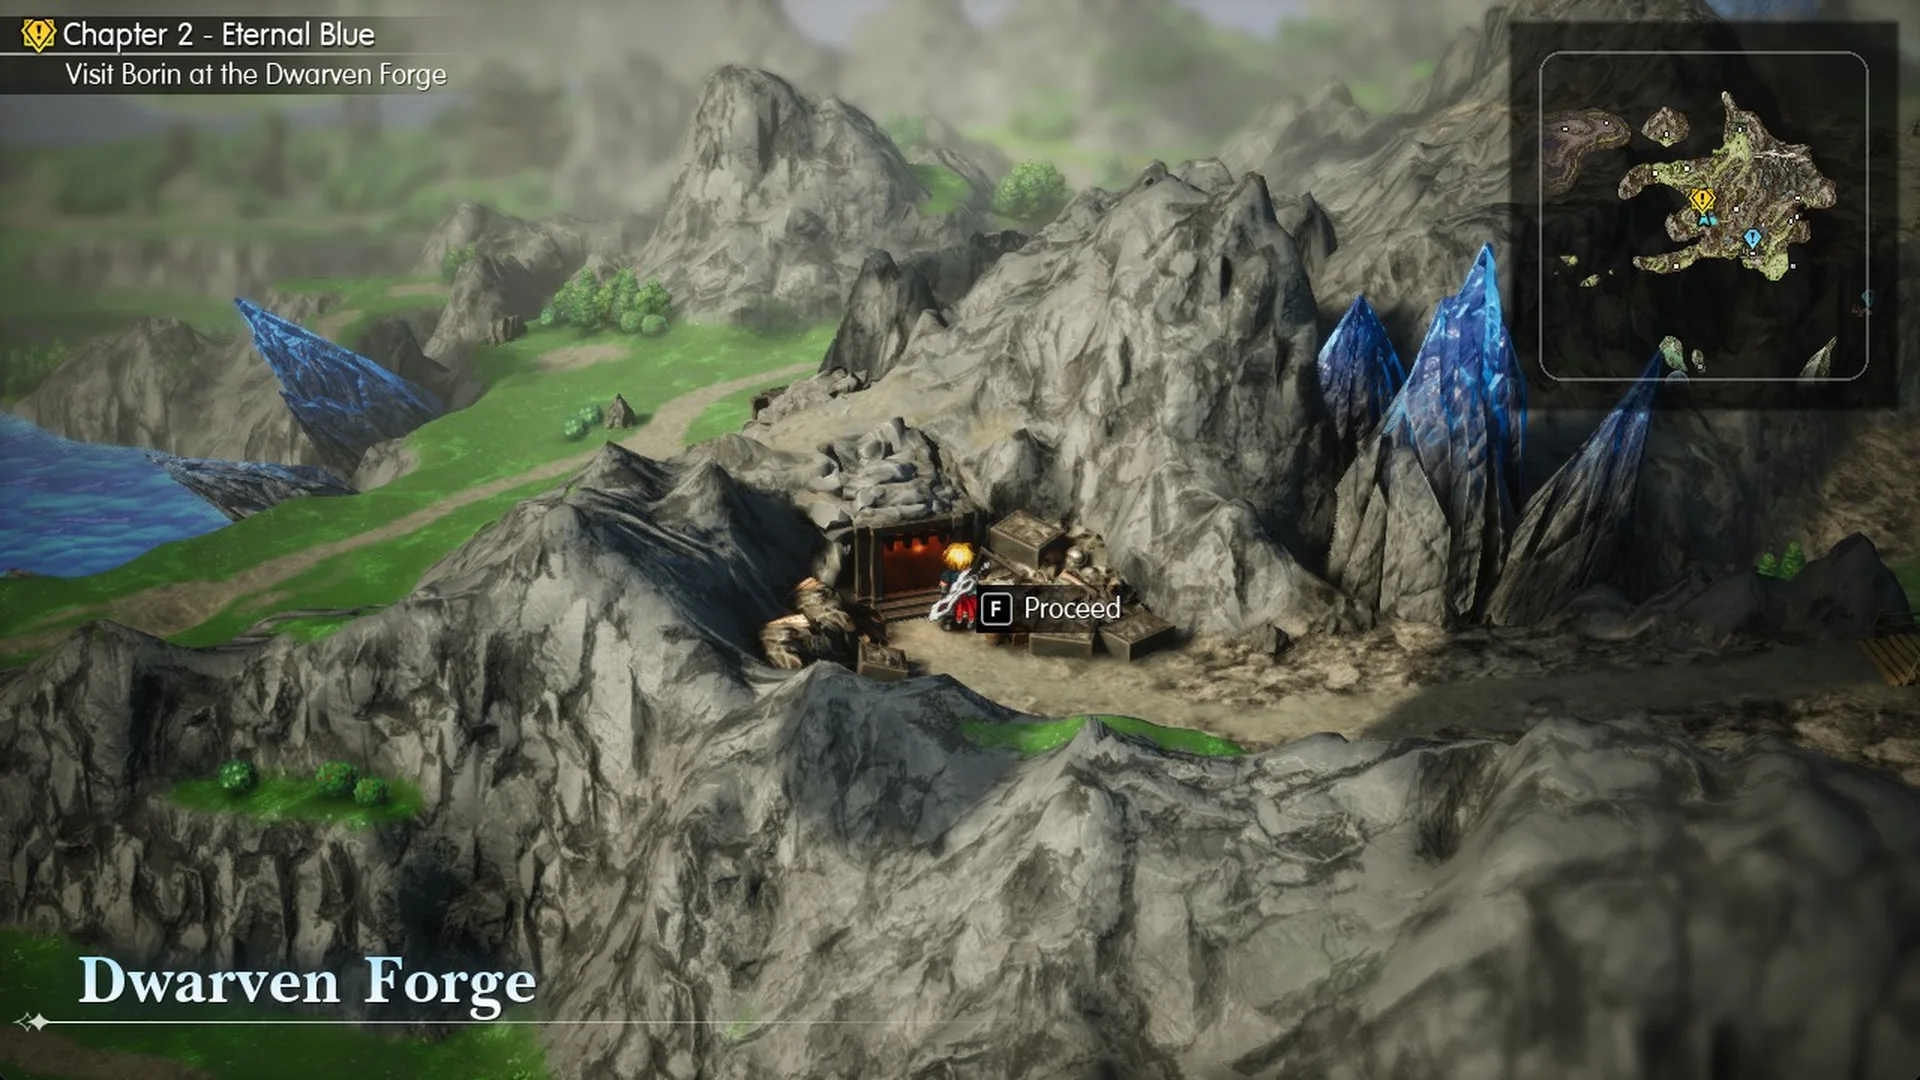
Random battles can happen on this road; a group of four Bombs gave 118 EXP and 310 Gil. To save on the World Map, press Esc to open the System Menu and choose Save; inside the Forge, saving is possible only at the save circle.
Entrance level and the lift
Your entrance is at the southern end of the entry hall, and a wooden catwalk runs along the west side. On this floor, your only destination is the lift.
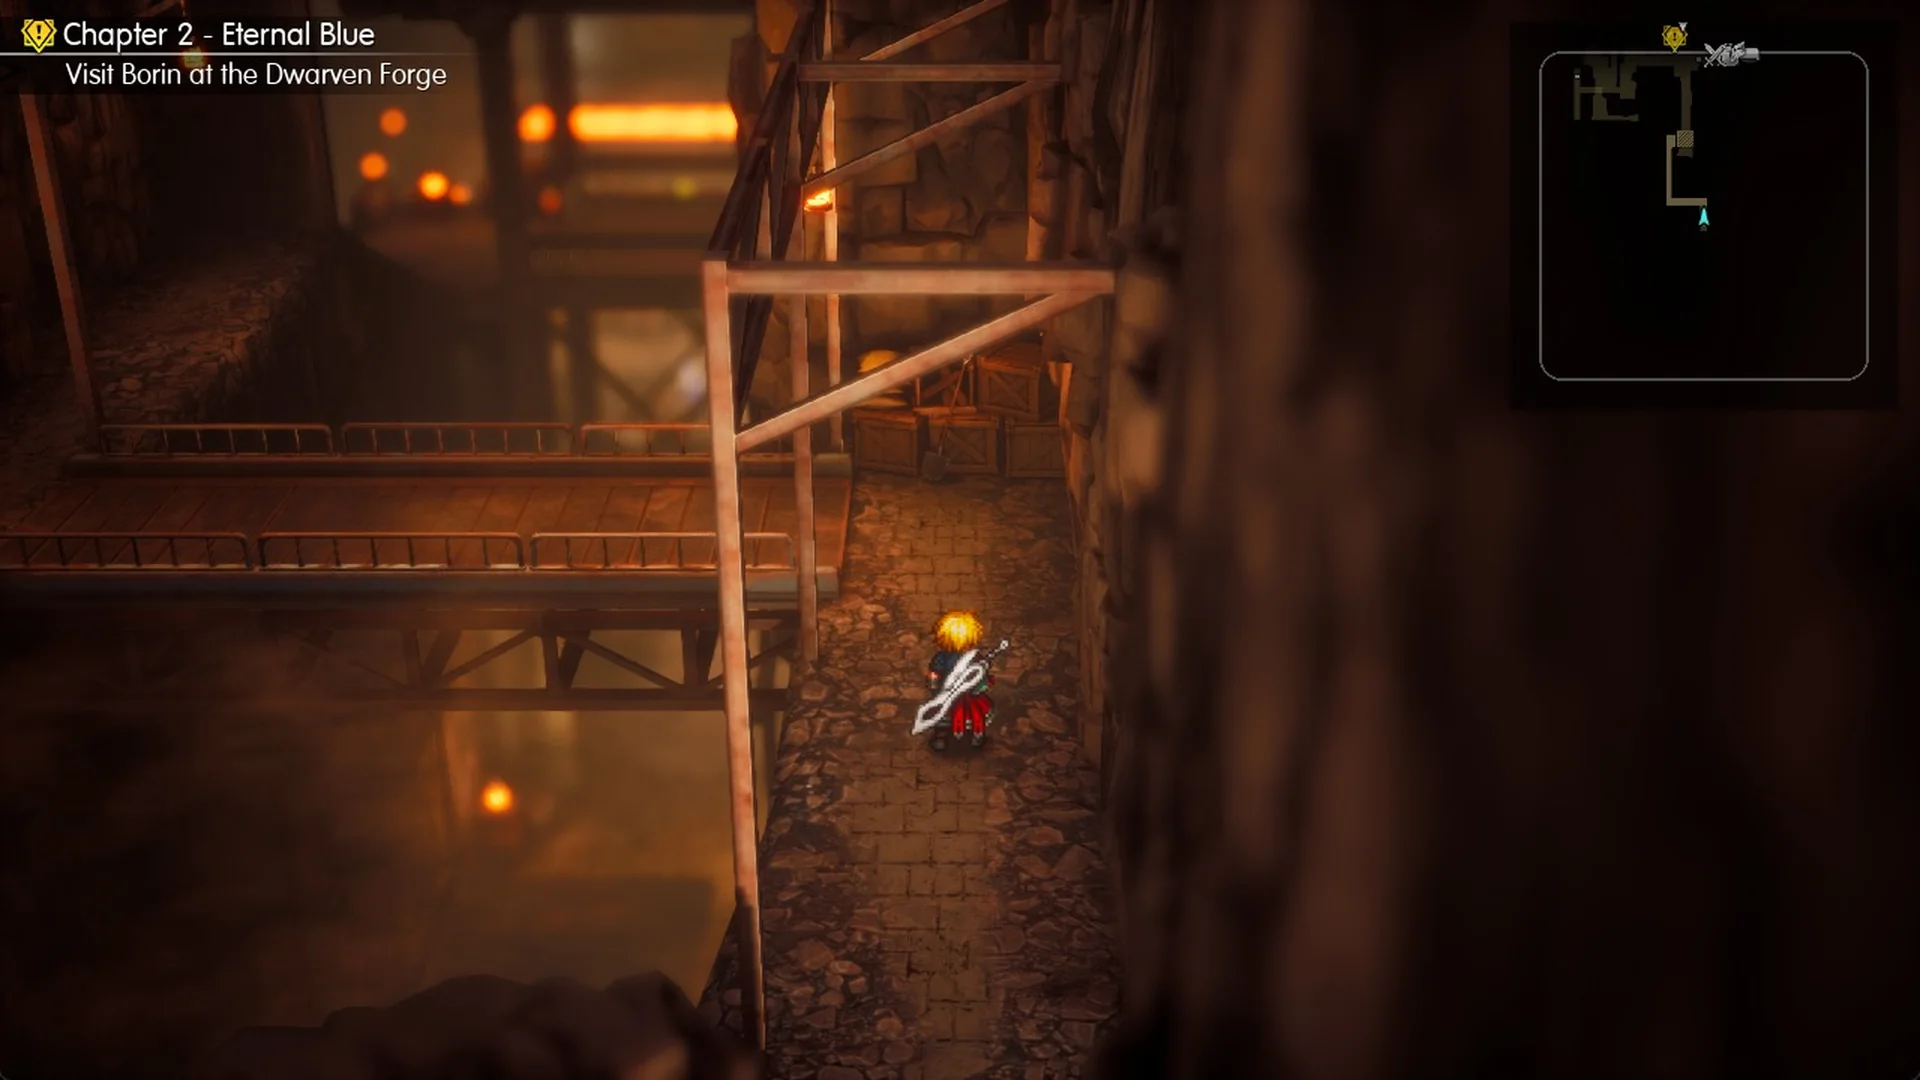
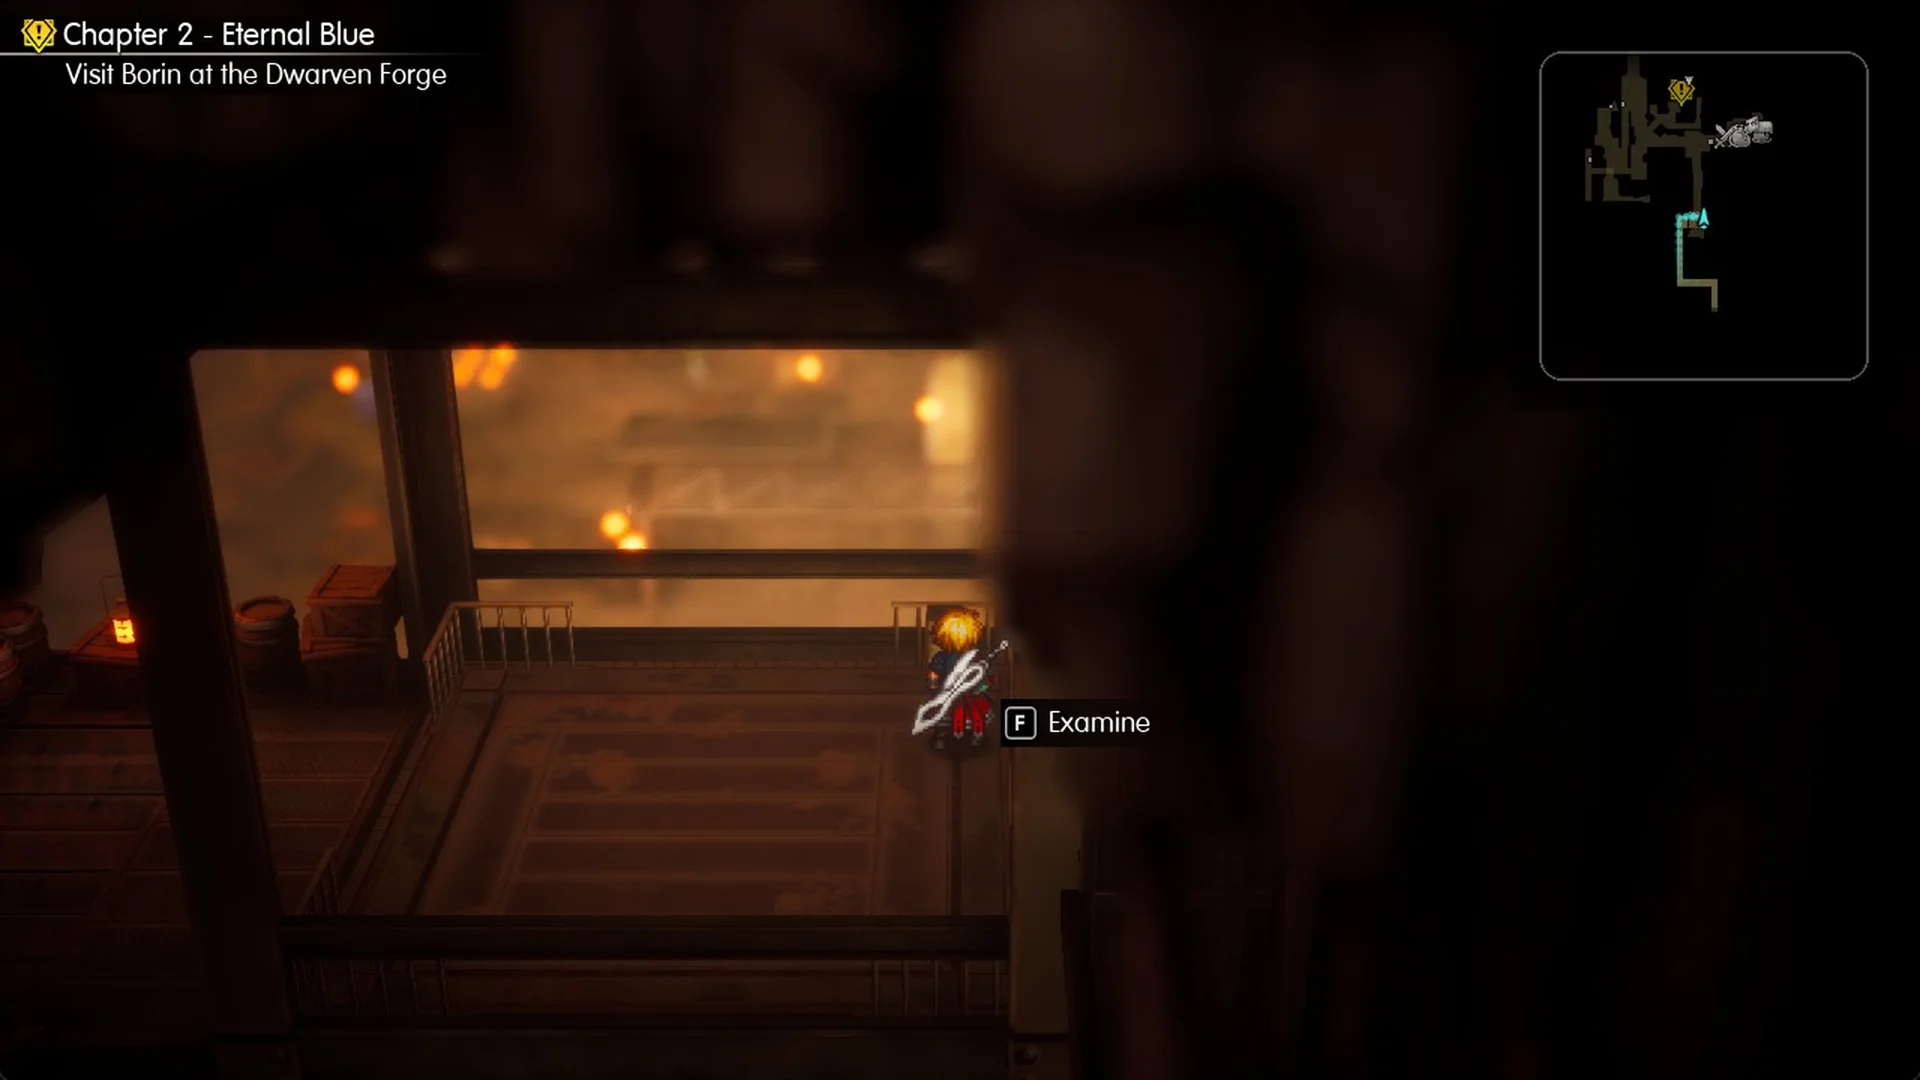
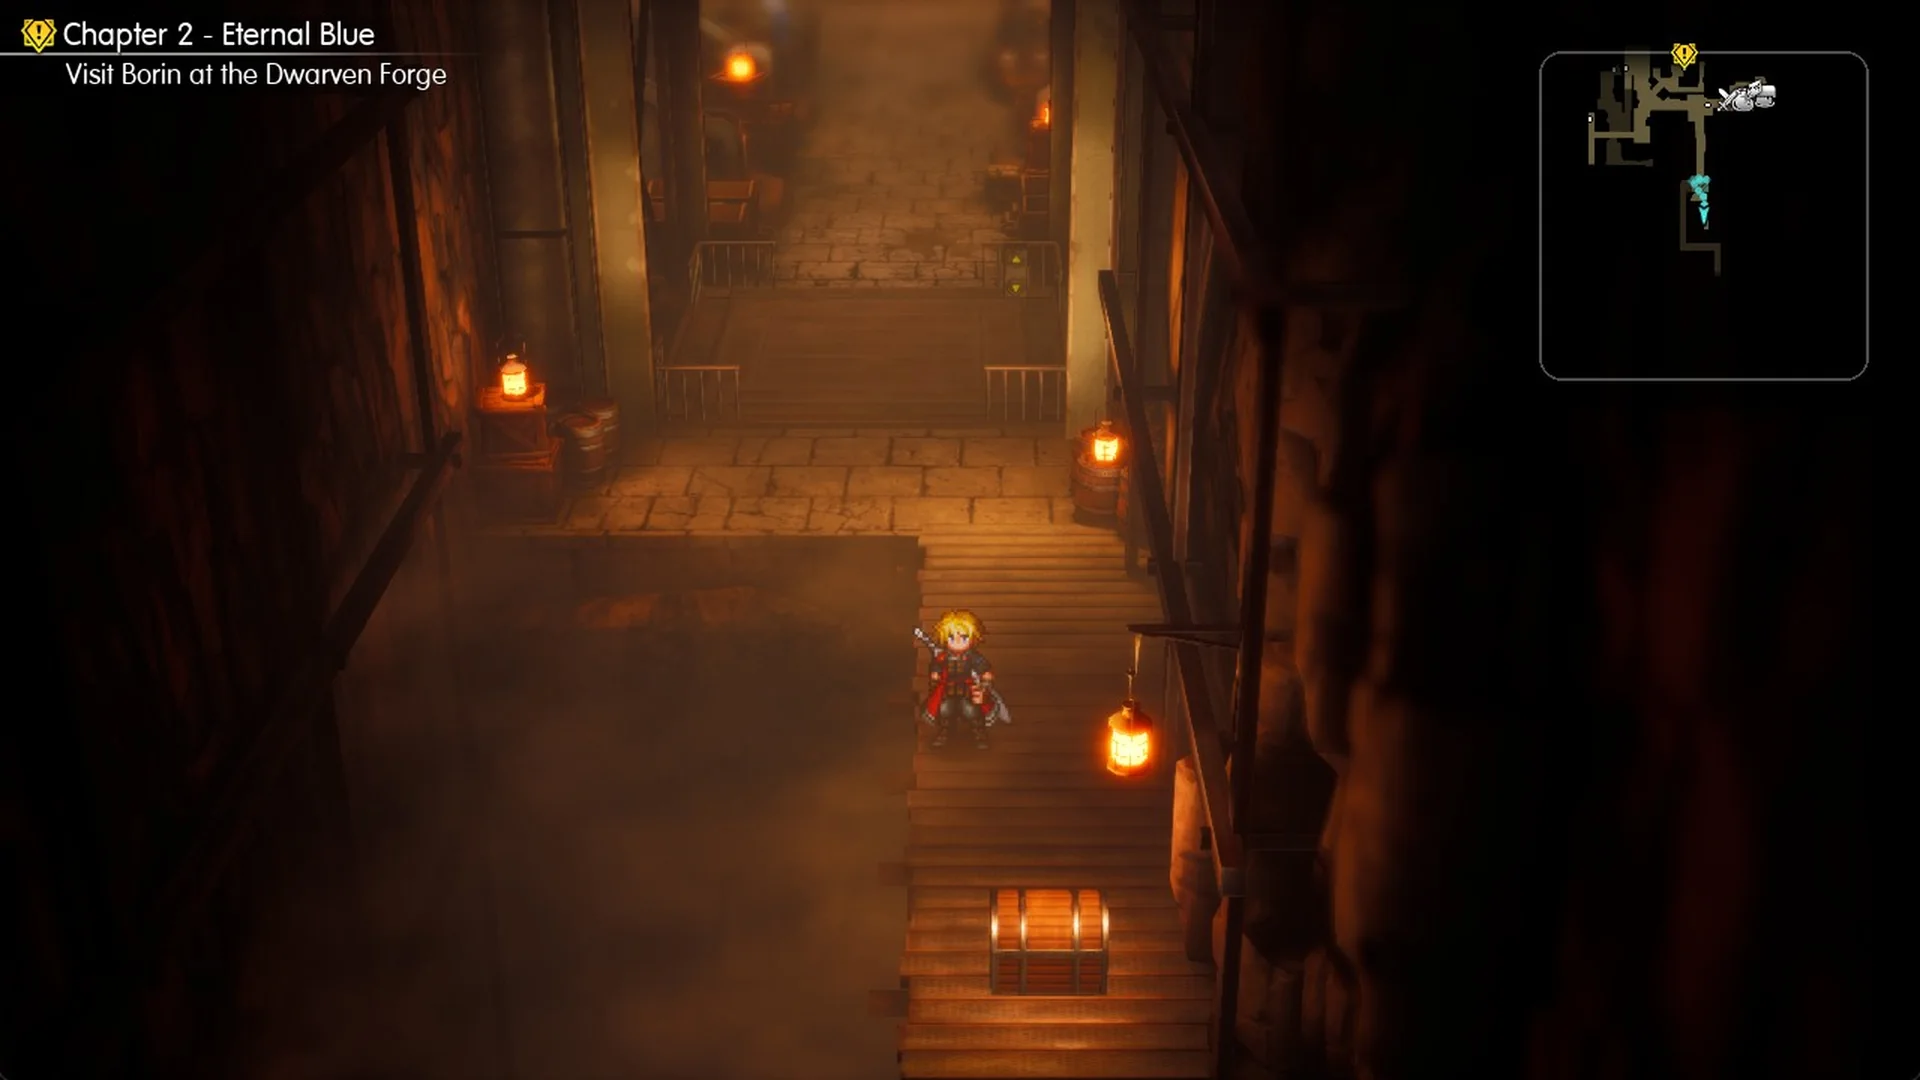
The chest there holds Phoenix Down x3.
Main floor: Save point, inn and shops
Head west, then north off the lift into the long south corridor, where dwarves are hard at work.
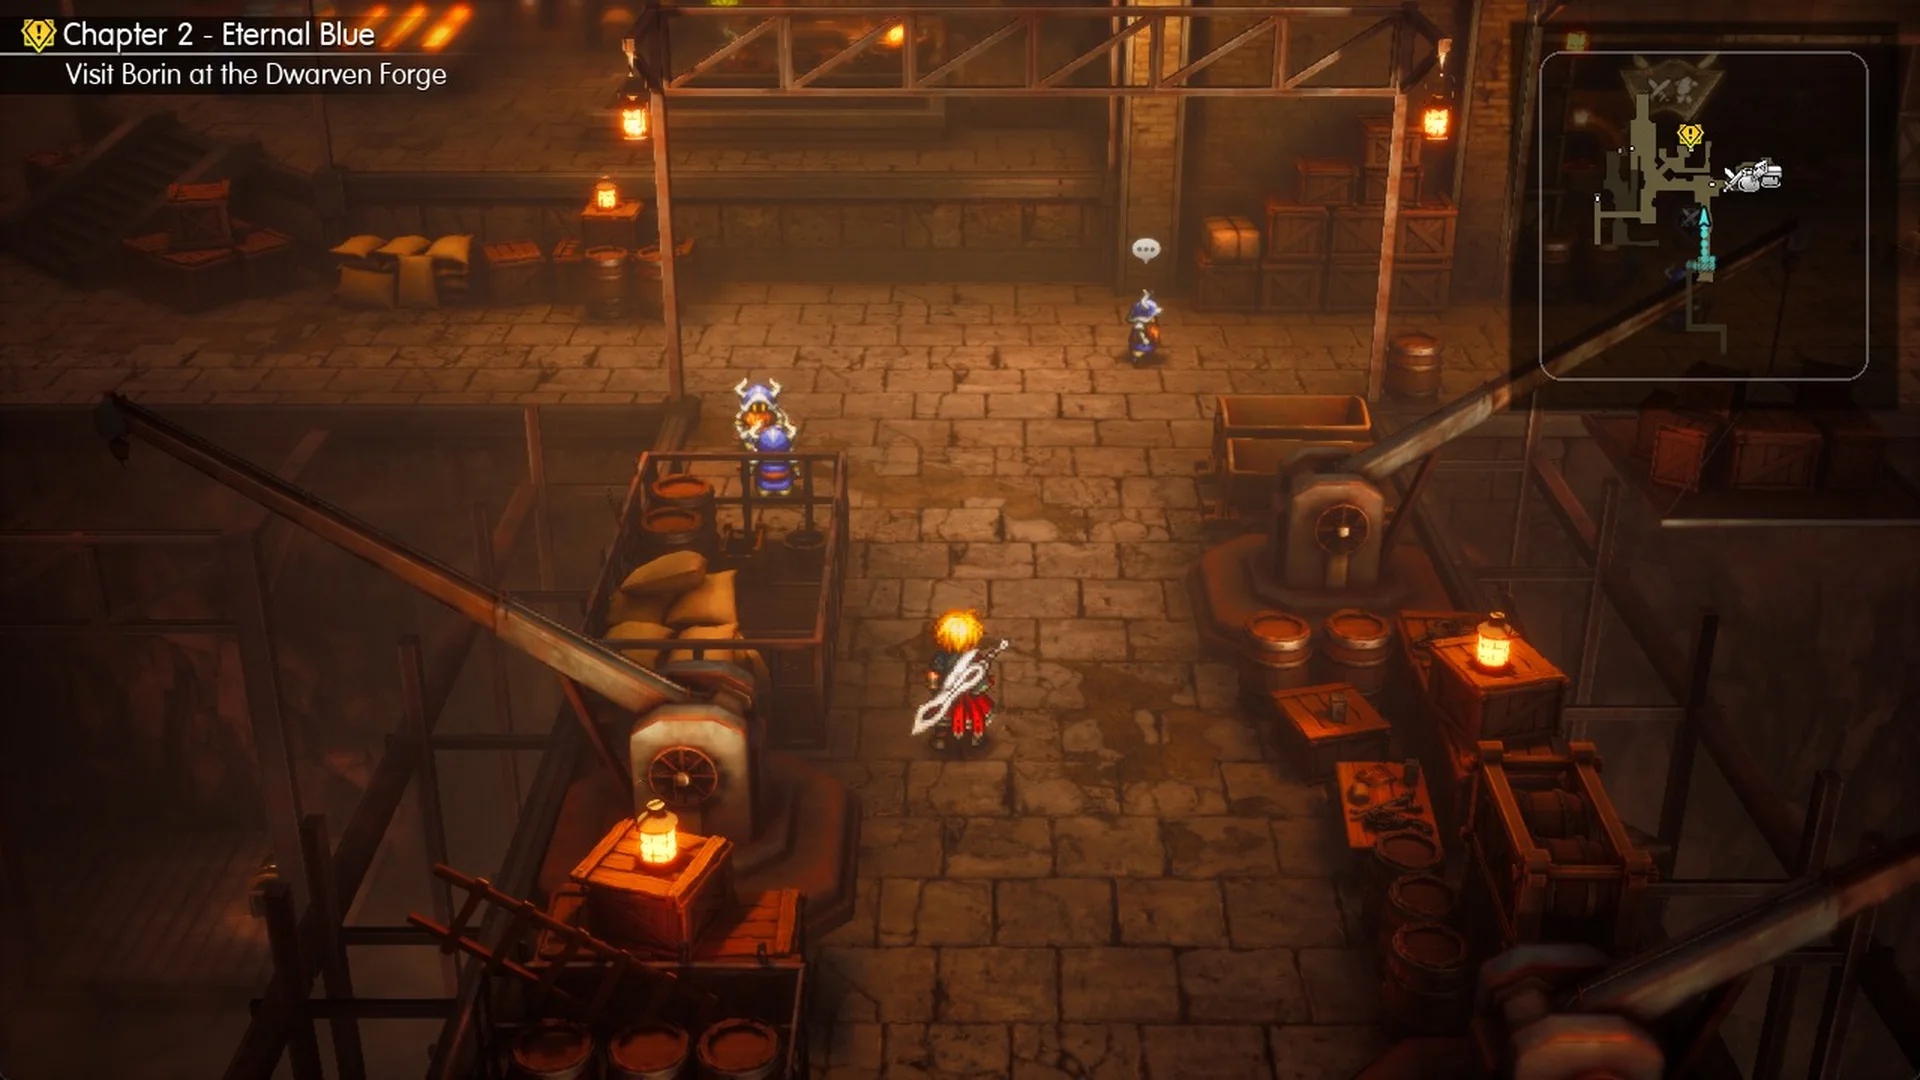
From the top of the corridor, go north, then east around the barrel by the north row, to reach the pink save circle in the east wing. Stand inside it on its east (crystal) side until “F Examine” shows. The menu offers Save progress only, with no tent option here.
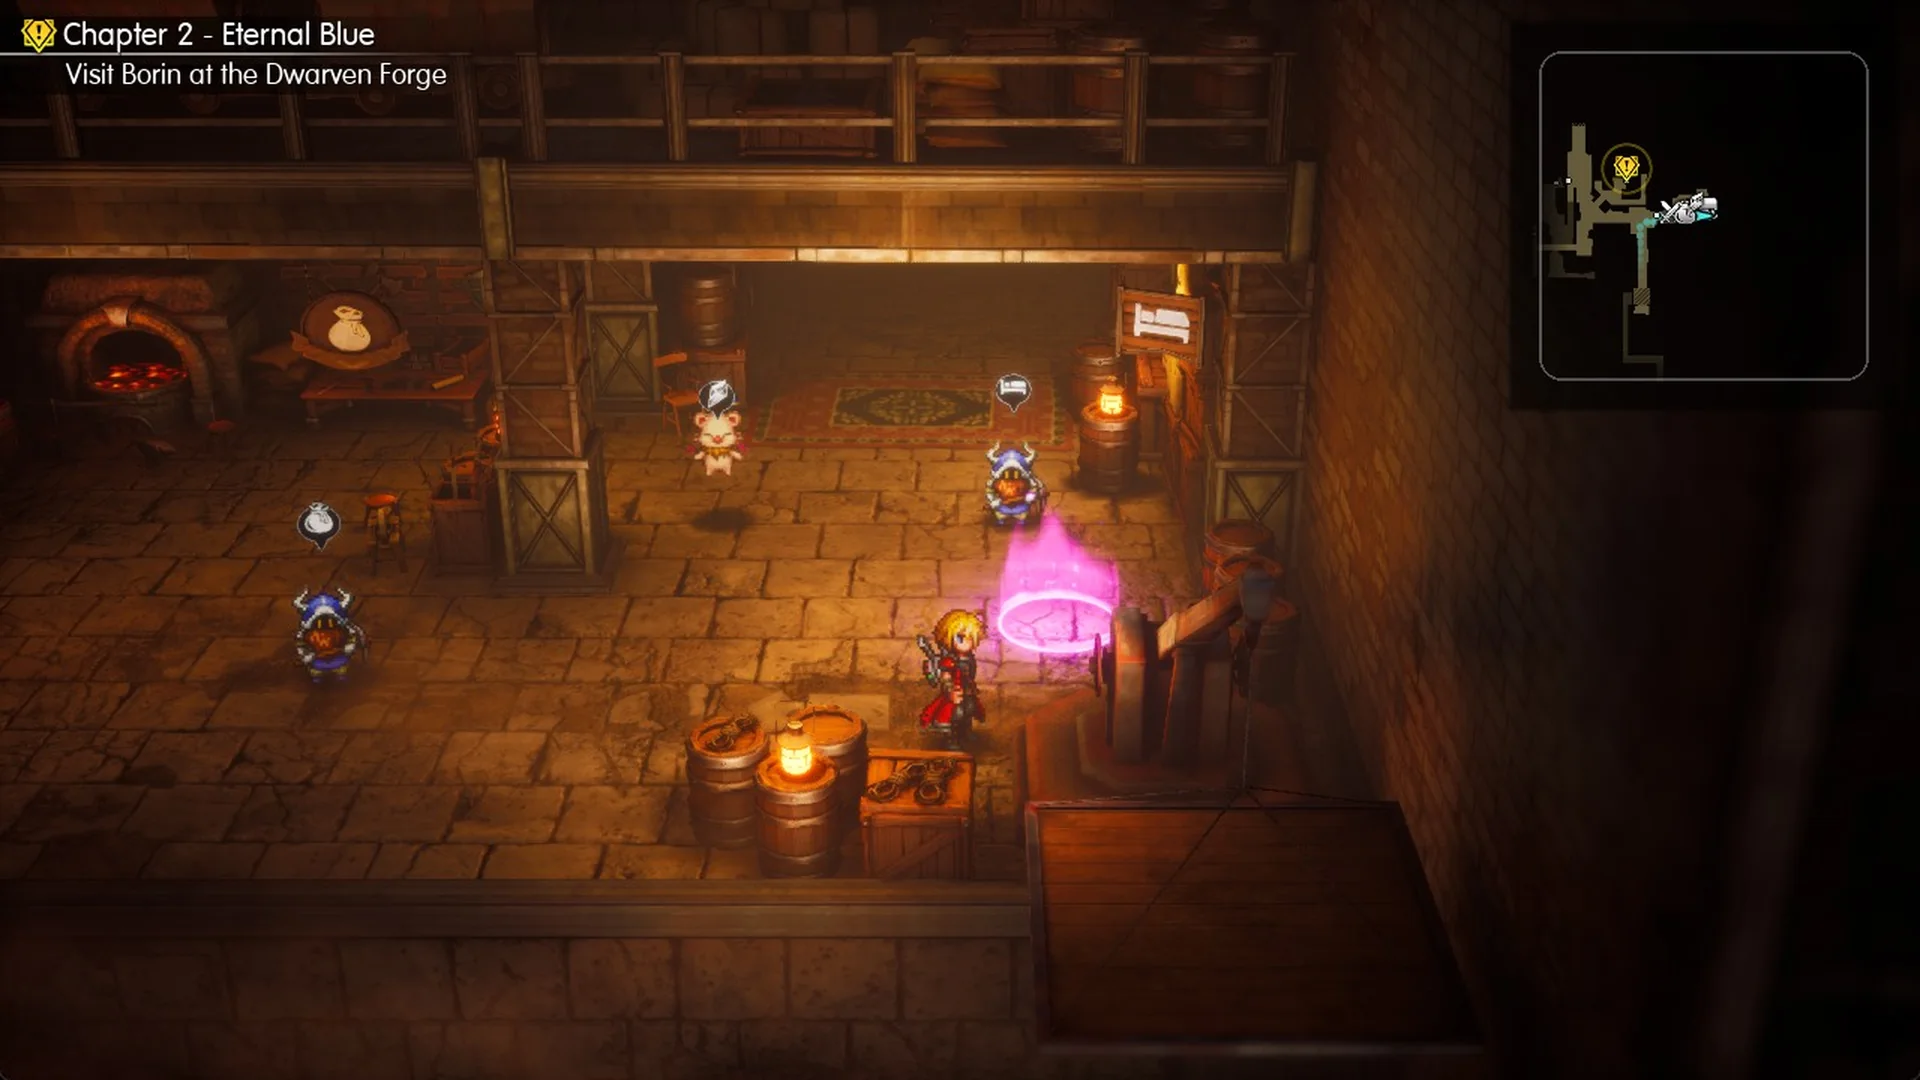
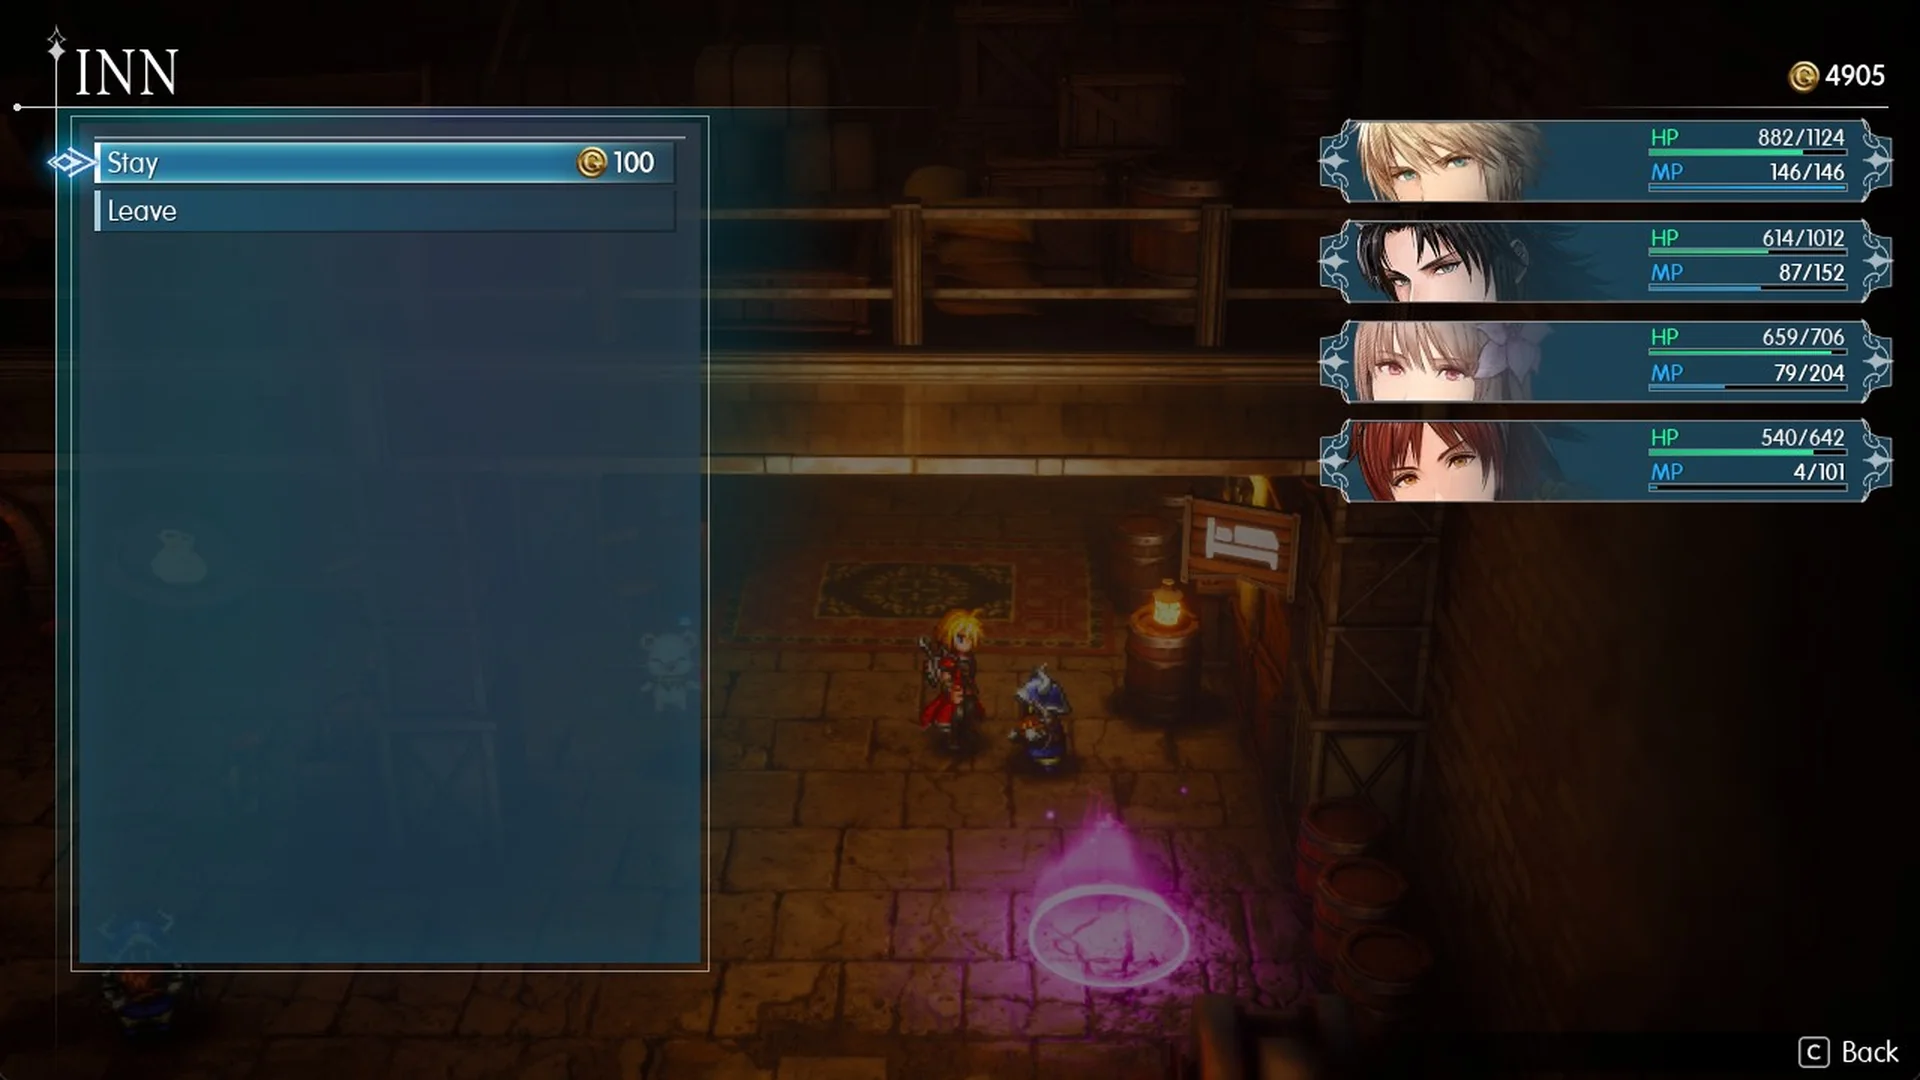
The inn is right next to the circle, and a moogle stands nearby. The Innkeeper greets you with “Lali-ho! We’ve got human-sized beds, too! Come on in and rest a while, lali!”
Choosing Stay costs 100 Gil and restores the party’s HP and MP.
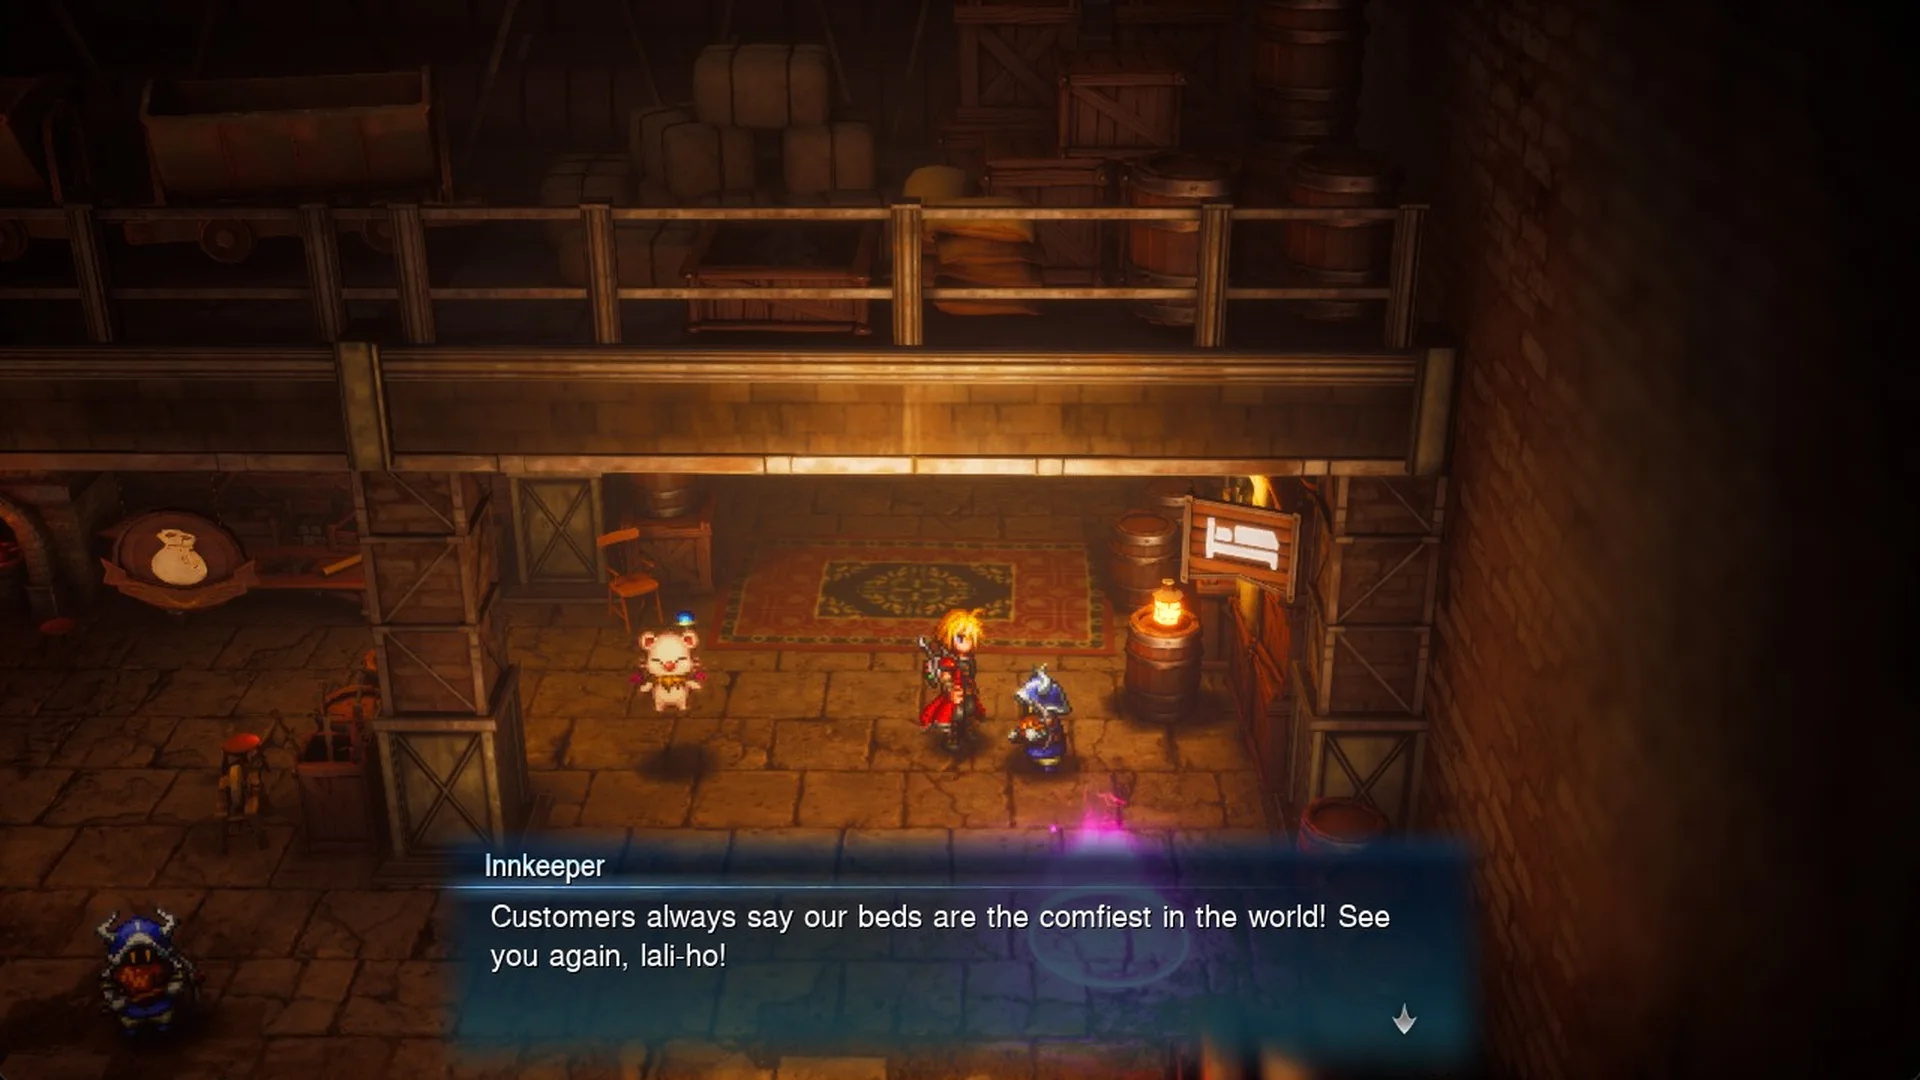
Afterwards the Innkeeper says “Customers always say our beds are the comfiest in the world! See you again, lali-ho!”
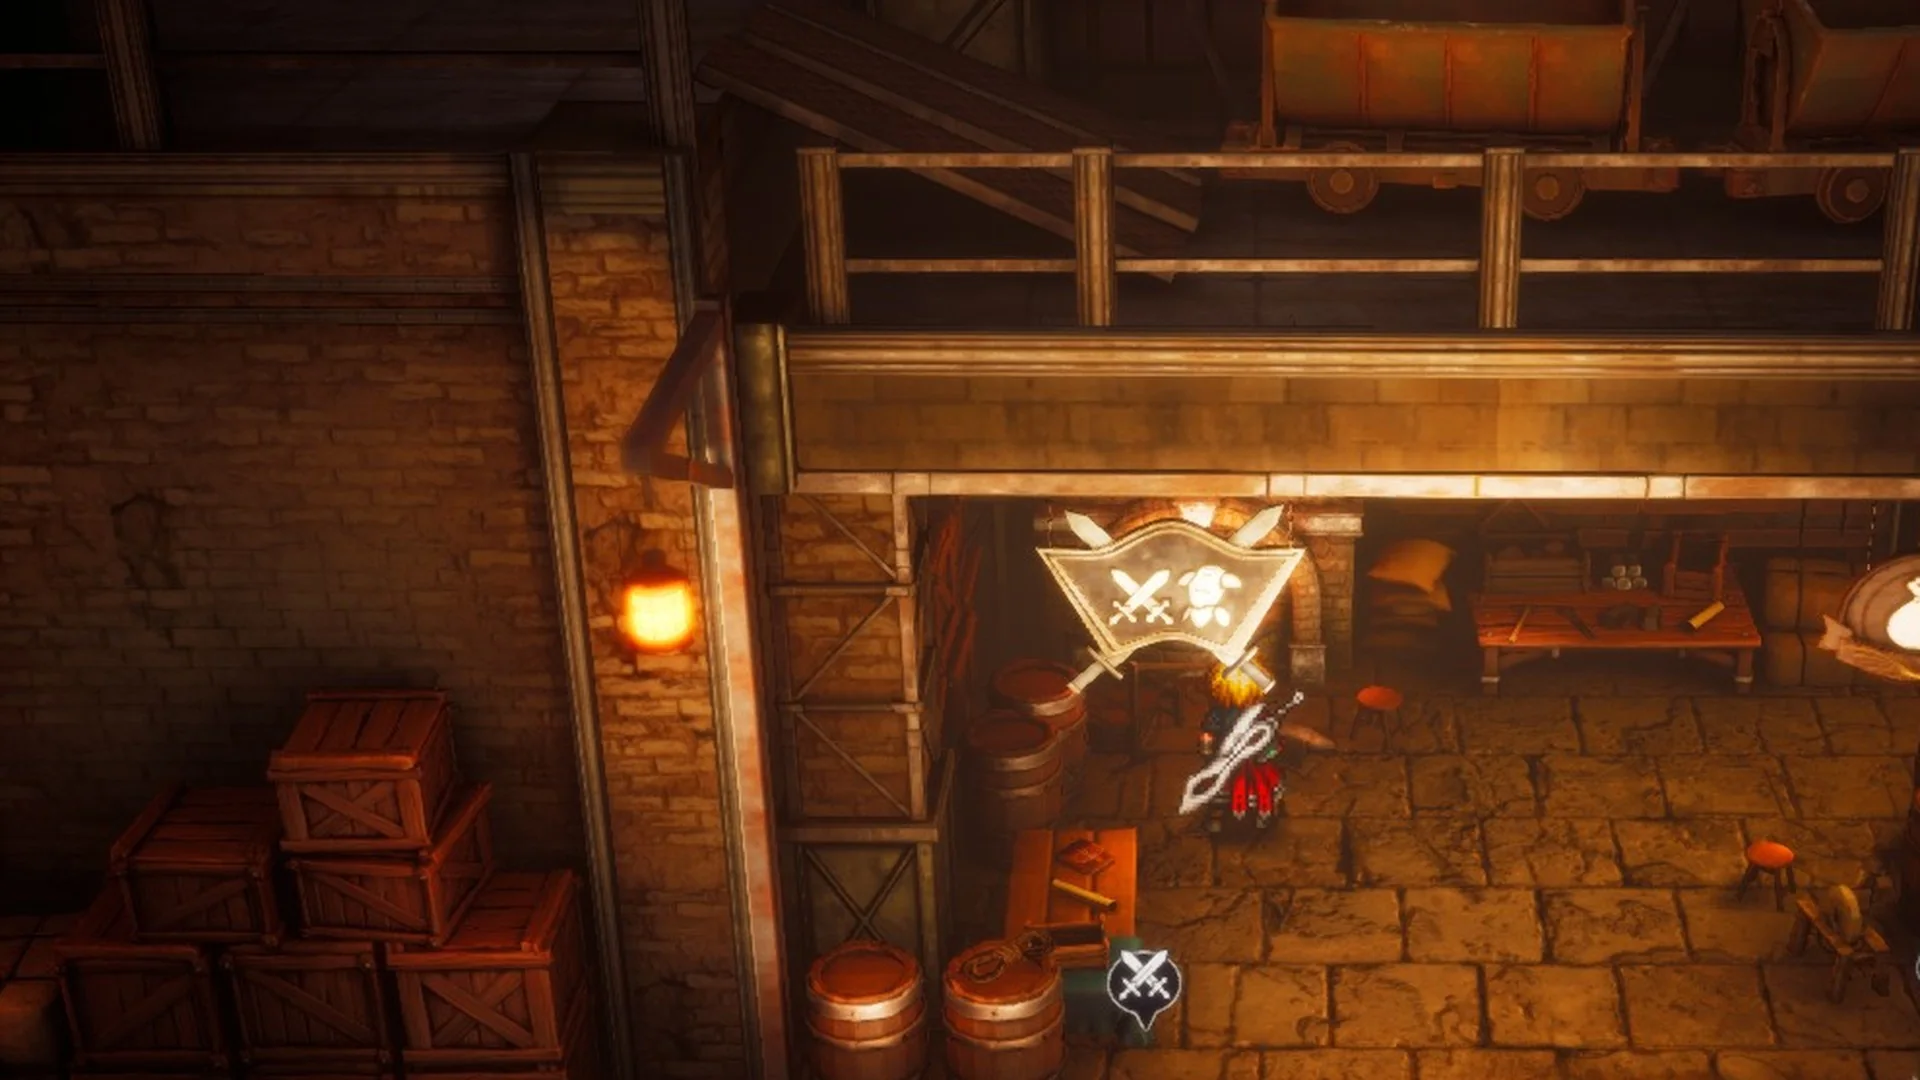
The item shop (money-bag sign) and the weapon shop (crossed swords) sit just west of the inn. Both shopkeepers stand in front of their counters, so talk to them there rather than from behind.
Dwarven Forge item shop
The shopkeeper opens with “You can never have enough supplies or hard work. That’s an old dwarf saying, lali.” There are 13 items on sale, four of them in limited stock.
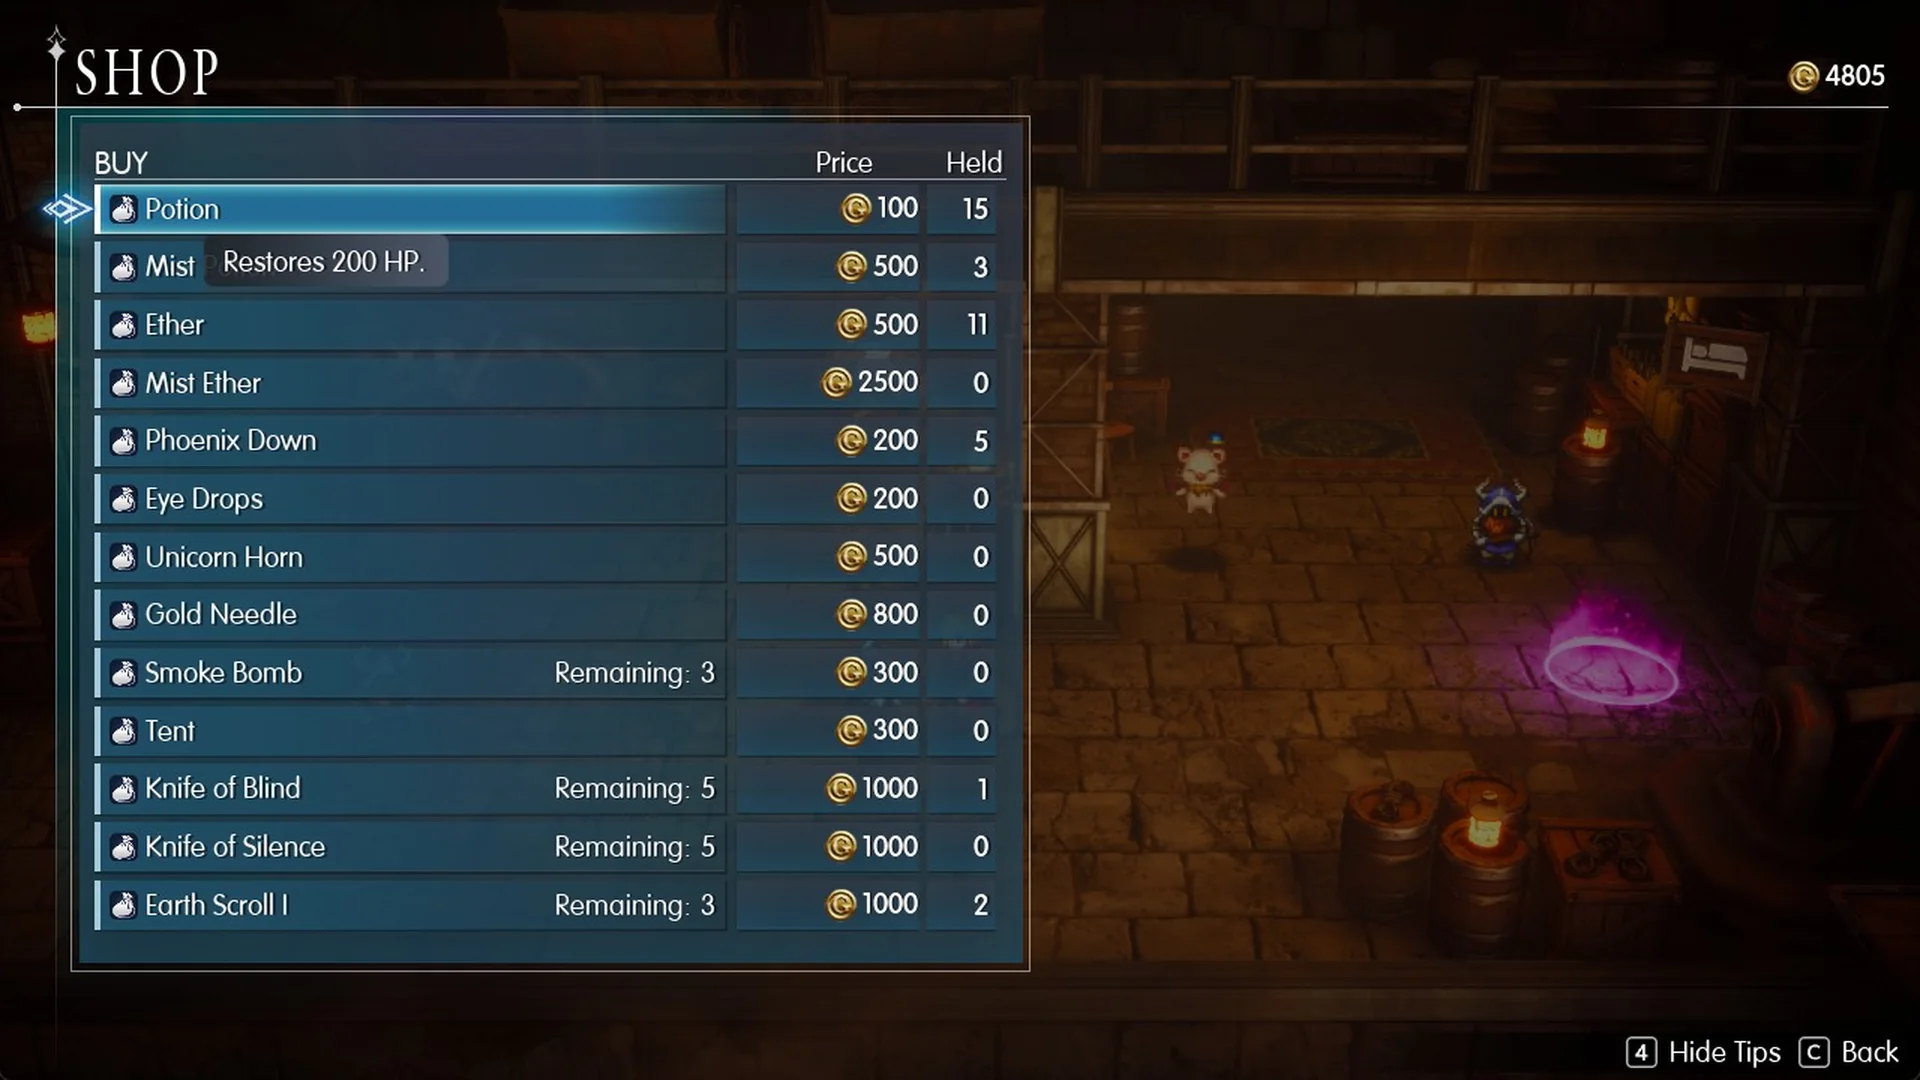
| Item | Price (Gil) | Effect |
|---|---|---|
| Potion | 100 | “Restores 200 HP.” |
| Phoenix Down | 200 | “Revives a KO’d ally with 25% HP.” |
| Eye Drops | 200 | “Cures Blind.” |
| Smoke Bomb (Remaining: 3) | 300 | “Allows the party to flee from escapable battles.” |
| Tent | 300 | “Completely restores HP and MP when used at a save point or on the field map.” |
| Mist Potion | 500 | “Restores 200 HP for all allies.” |
| Ether | 500 | “Restores 50 MP.” |
| Unicorn Horn | 500 | “Cures Paralysis.” |
| Gold Needle | 800 | “Cures Petrify.” |
| Knife of Blind (Remaining: 5) | 1,000 | “Deals physical damage to a single enemy and inflicts Blind. Power increases when thrown.” |
| Knife of Silence (Remaining: 5) | 1,000 | “Deals physical damage to a single enemy and inflicts Silence. Power increases when thrown.” |
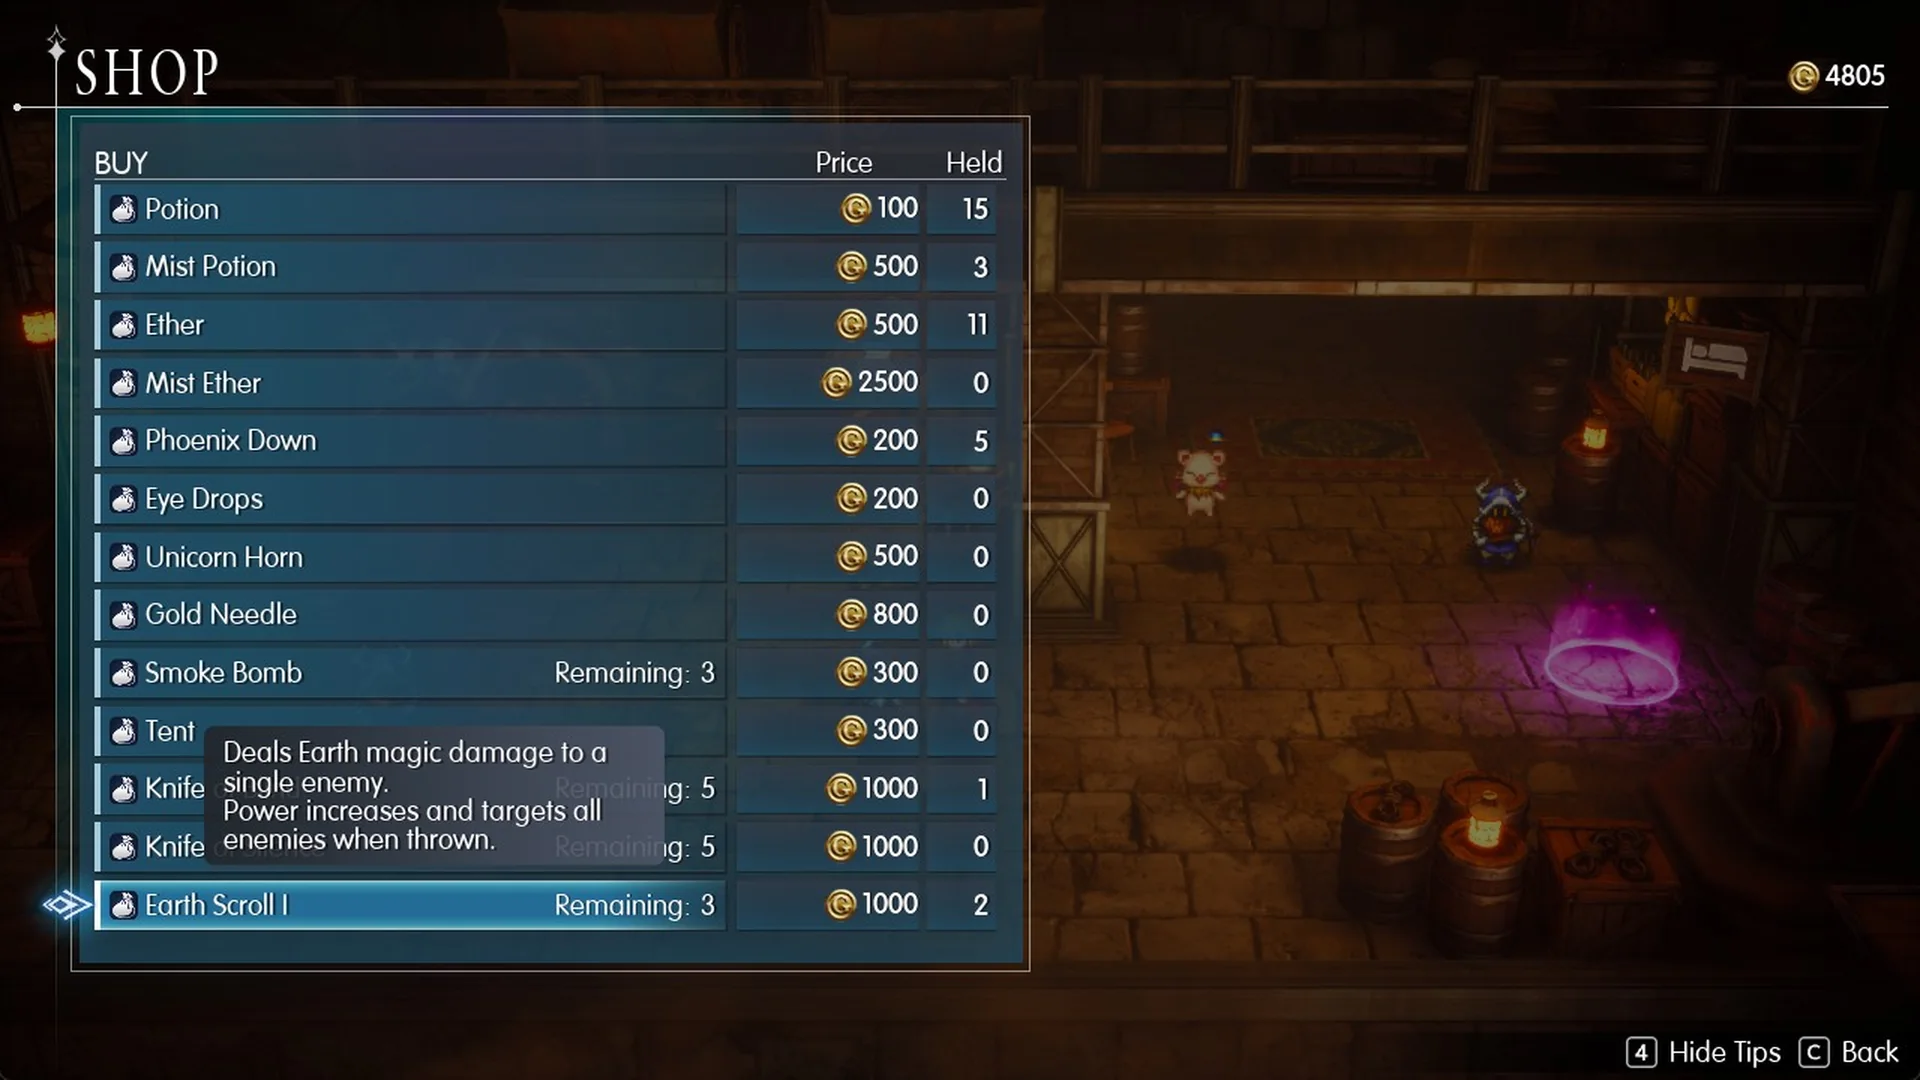
| Earth Scroll I (Remaining: 3) | 1,000 | “Deals Earth magic damage to a single enemy. Power increases and targets all enemies when thrown.” |
| Mist Ether | 2,500 | “Restores 50 MP for all allies.” |
Before Mom Bomb, pick up Ethers for whoever casts Cura (Lasswell) and a couple of Phoenix Downs. A Unicorn Horn is worth carrying too, since Mom Bomb’s Body Slam paralyzes. Earth Scroll I, three in stock, is the Earth item here for Earth-weak enemies.
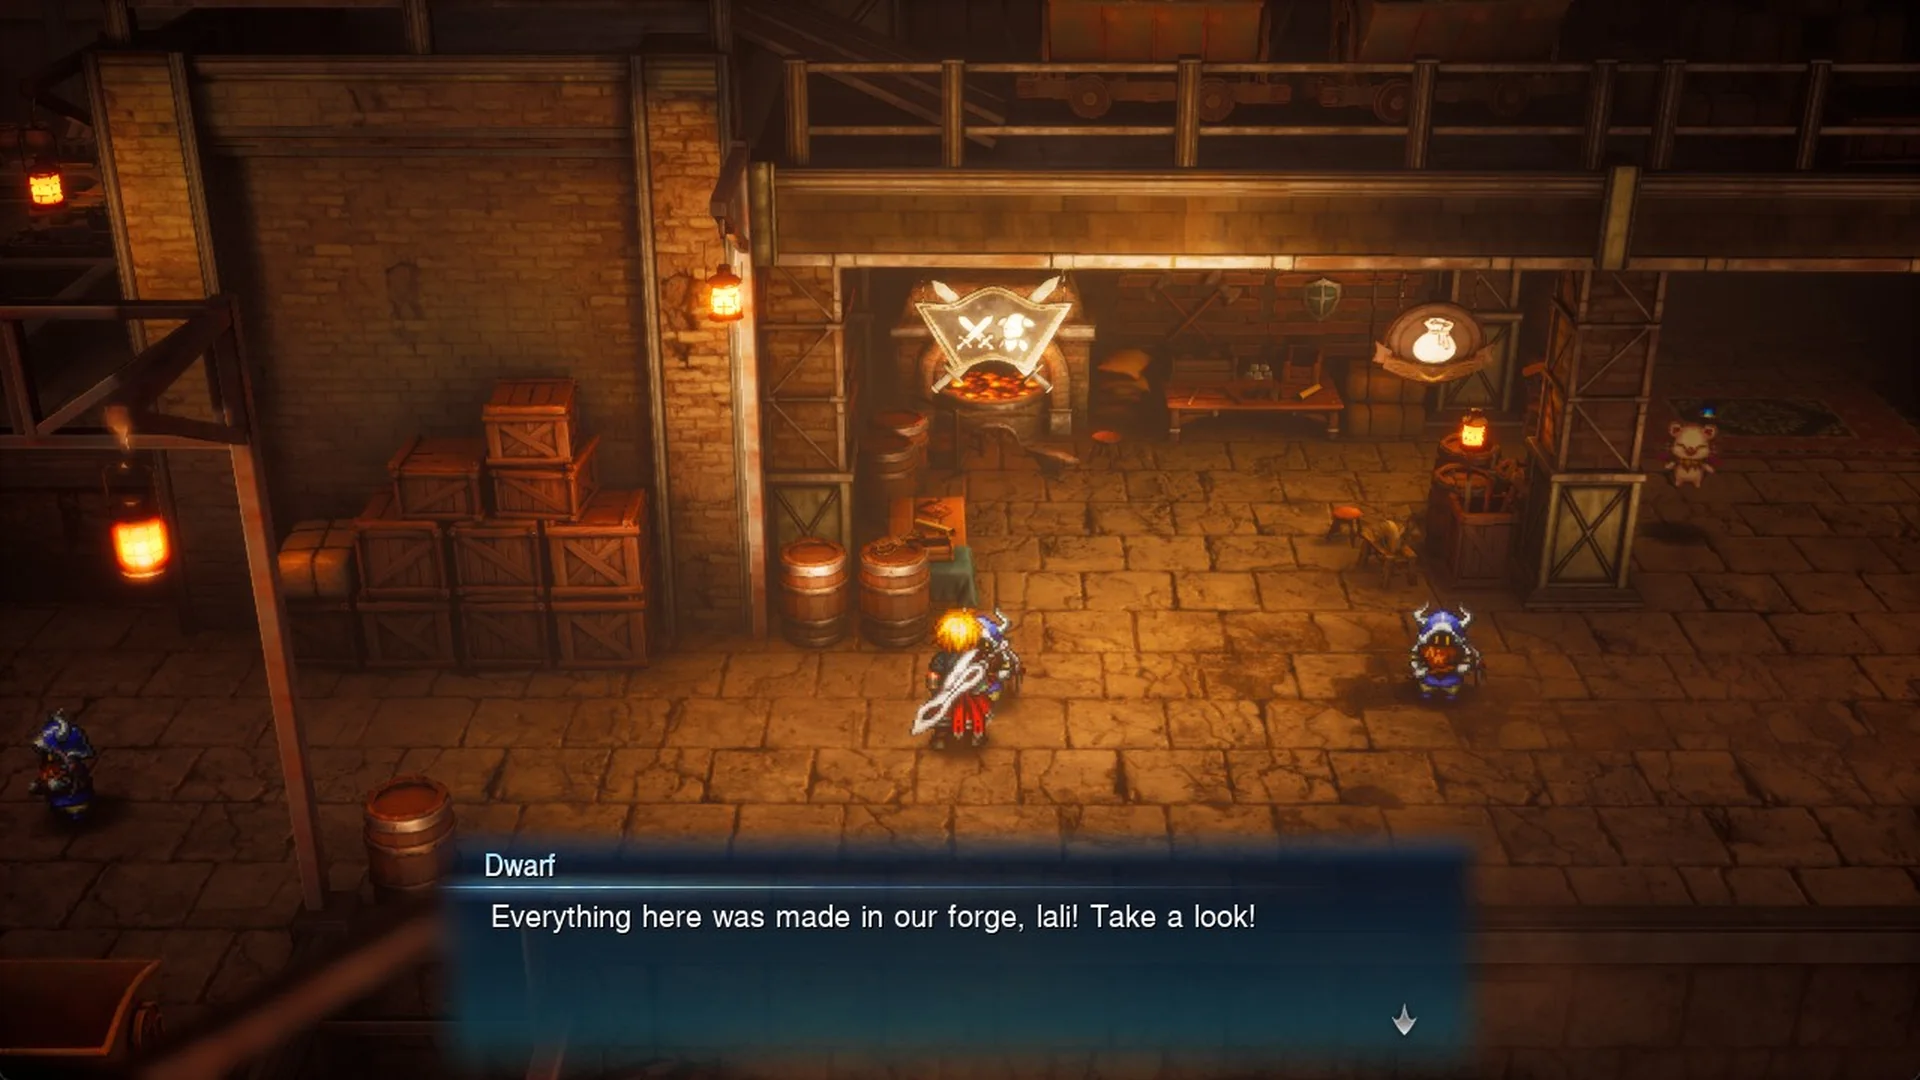
Dwarven Forge weapon shop
“Everything here was made in our forge, lali! Take a look!” The weapon shop sells seven weapons and nothing else.
| Weapon (type, user) | Price (Gil) | Phys. Atk / Mag. Atk | Effect |
|---|---|---|---|
| Knight’s Blade (Greatsword, Rain) | 1,800 | 43 / 21 | – |
| Composite Bow (Bow, Fina) | 2,000 | 37 / 31 | – |
| Samurai’s Katana (Katana, Lasswell) | 2,200 | 39 / 28 | “Increases HP by 30.” |
| Slam Hammer (Hammer, Lid) | 3,600 | 39 / 40 | – |
| Flametongue (Greatsword, Rain) | 3,800 | 52 / 24 | “Increases damage dealt by Fire attacks by 20%.” |
| Silver Bow (Bow, Fina) | 4,000 | 43 / 39 | – |
| Ashura (Katana, Lasswell) | 4,200 | 49 / 34 | – |
Knight’s Blade, Samurai’s Katana and Composite Bow are also sold in Dilmagia (the Dilmagia shops list them), so the Forge’s new stock is Flametongue, Ashura, Silver Bow and Slam Hammer.
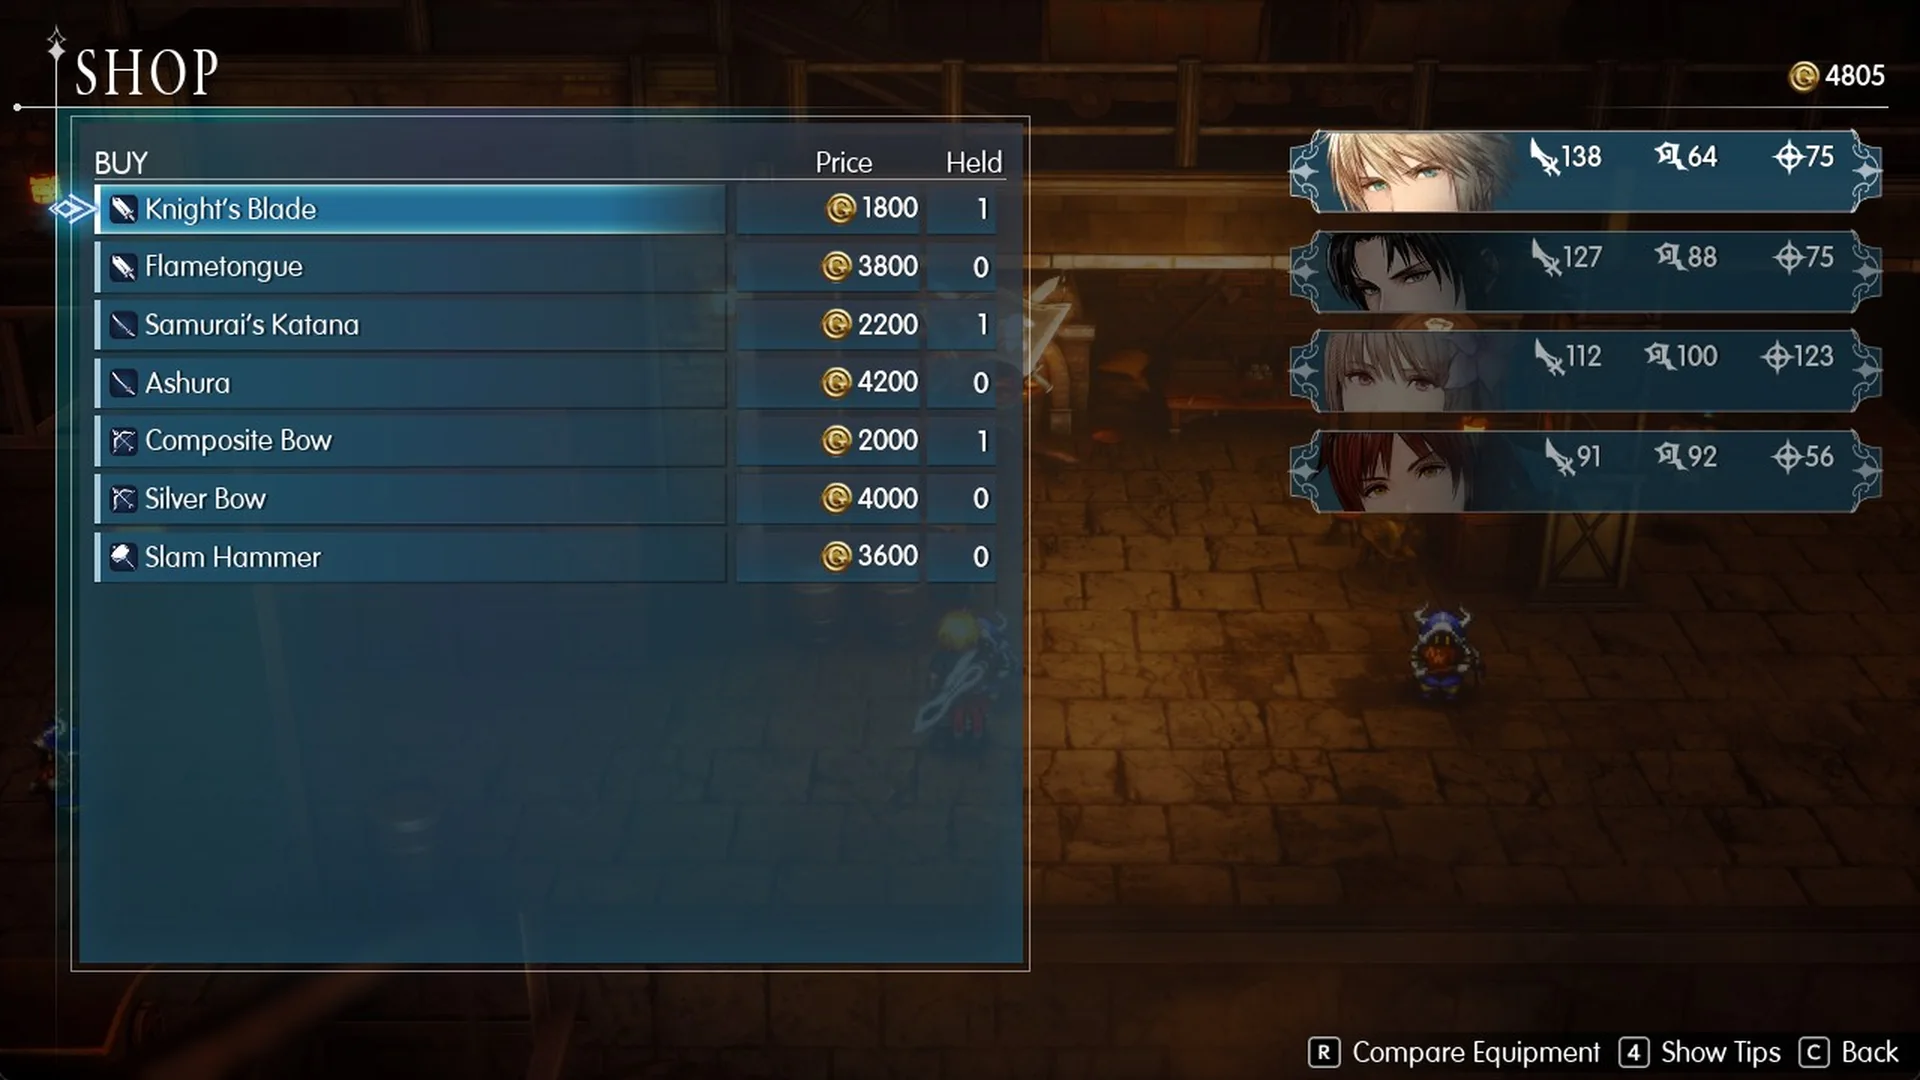
Ashura and Silver Bow provide the strongest attack boosts here, benefiting Lasswell and Fina respectively.
Slam Hammer is a skip. The Sledgehammer chest in this same Forge matches its attack stats and adds “Increases critical hit rate.”
Flametongue deals strong damage, but the Fire bonus is wasted on Mom Bomb, which receives half damage from Fire. See the complete weapons list for the other locations where each weapon appears.
Meet Borin
Return from the save circle by heading west down the hall to the stairs at the western end. Go up north-east and continue east. Under the lava trough, Borin is at the western end of the long forge counter, marked by a yellow “!” above him. Approach from his front, on the south-west side, to get the Talk prompt; it won’t appear from the east.
Lid gets the first word in: “Borin! Lali-ho!”
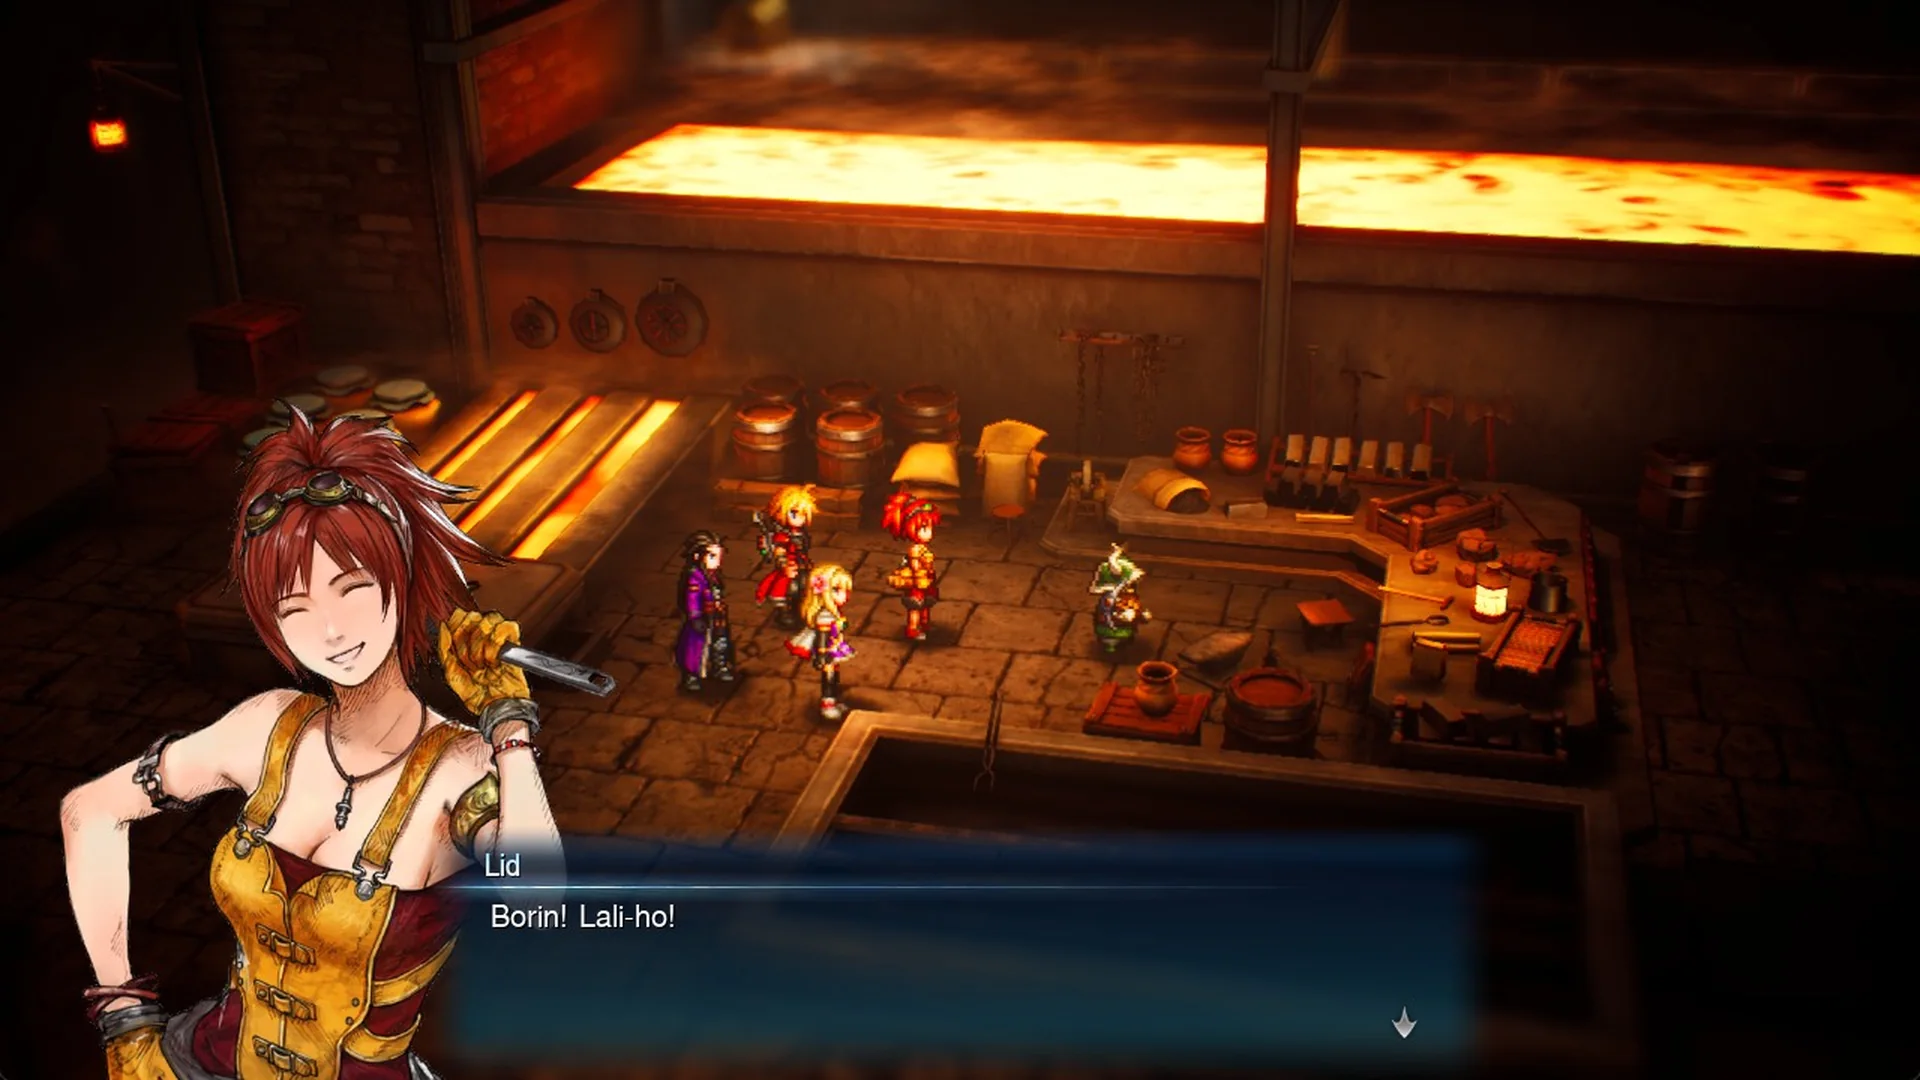
Borin answers “Good to see you again, Lid! Here to pick up your parts?” and adds “Gotta be the most careful with the tiny parts. That’s what the first Cid taught us…” Lid fills in the history with “A great man who built the first airship ever a few centuries ago.” and then “Yep! It’s my dream to inherit the Cid name someday.”
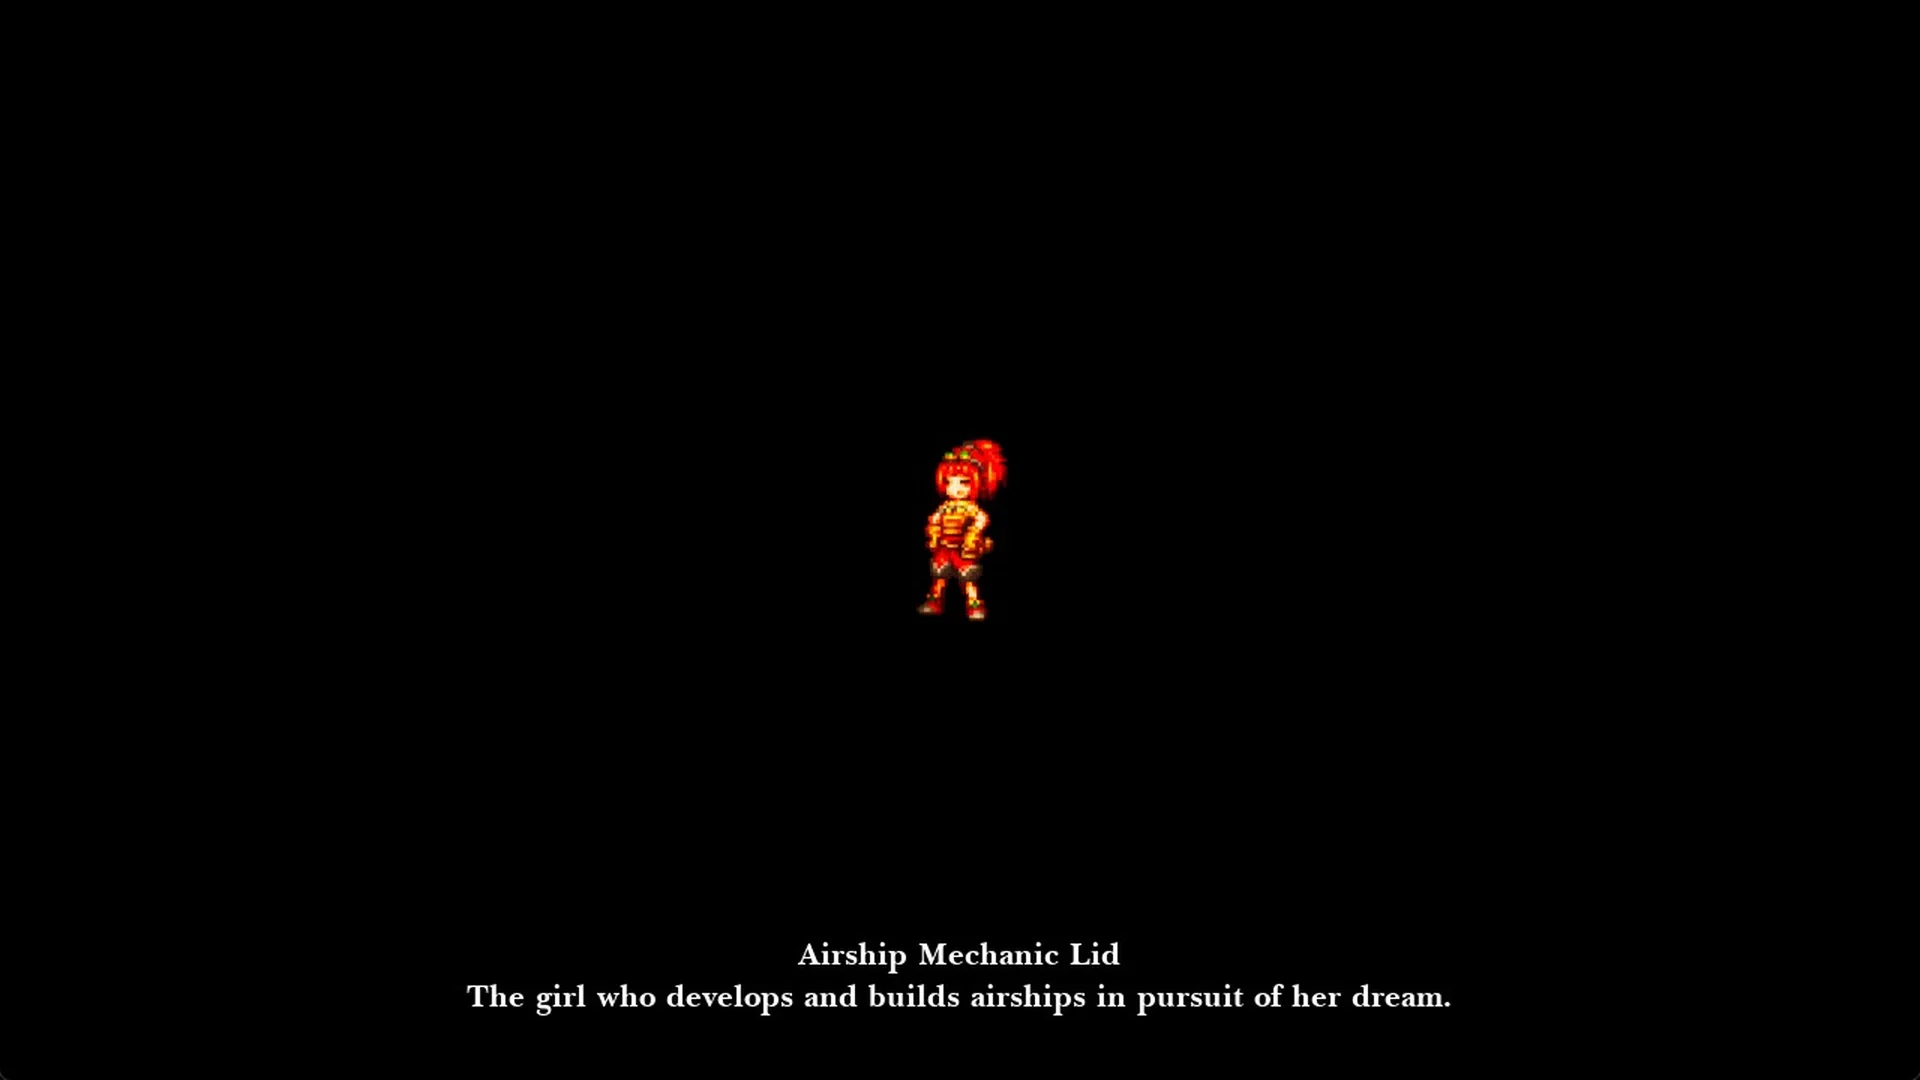
The title card follows: “Airship Mechanic Lid / The girl who develops and builds airships in pursuit of her dream.” For more on her, see how Lid joins.
Borin asks “Speaking of which. Lid, how is Evan doing?” and Lid shuts it down with “Just my brother. Got a problem with that?”
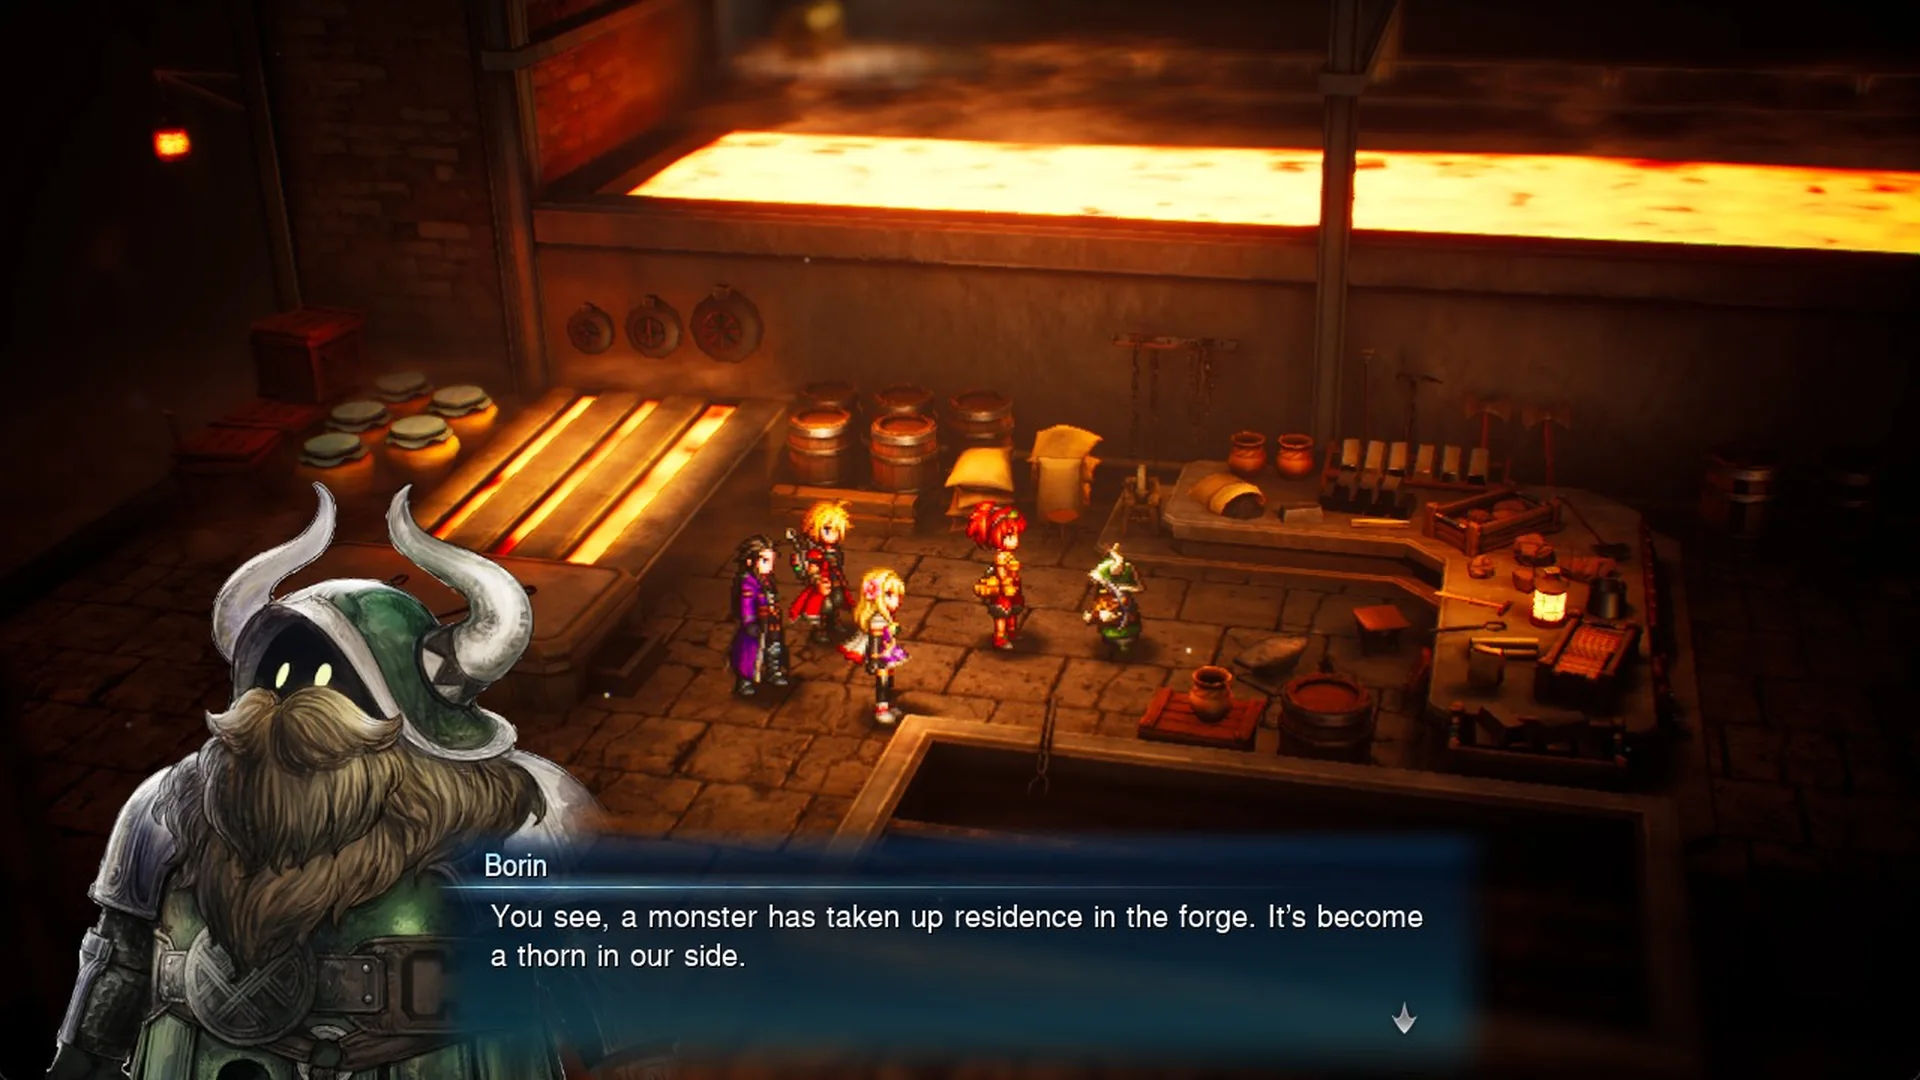
Then he gets to the point: “You see, a monster has taken up residence in the forge. It’s become a thorn in our side.”
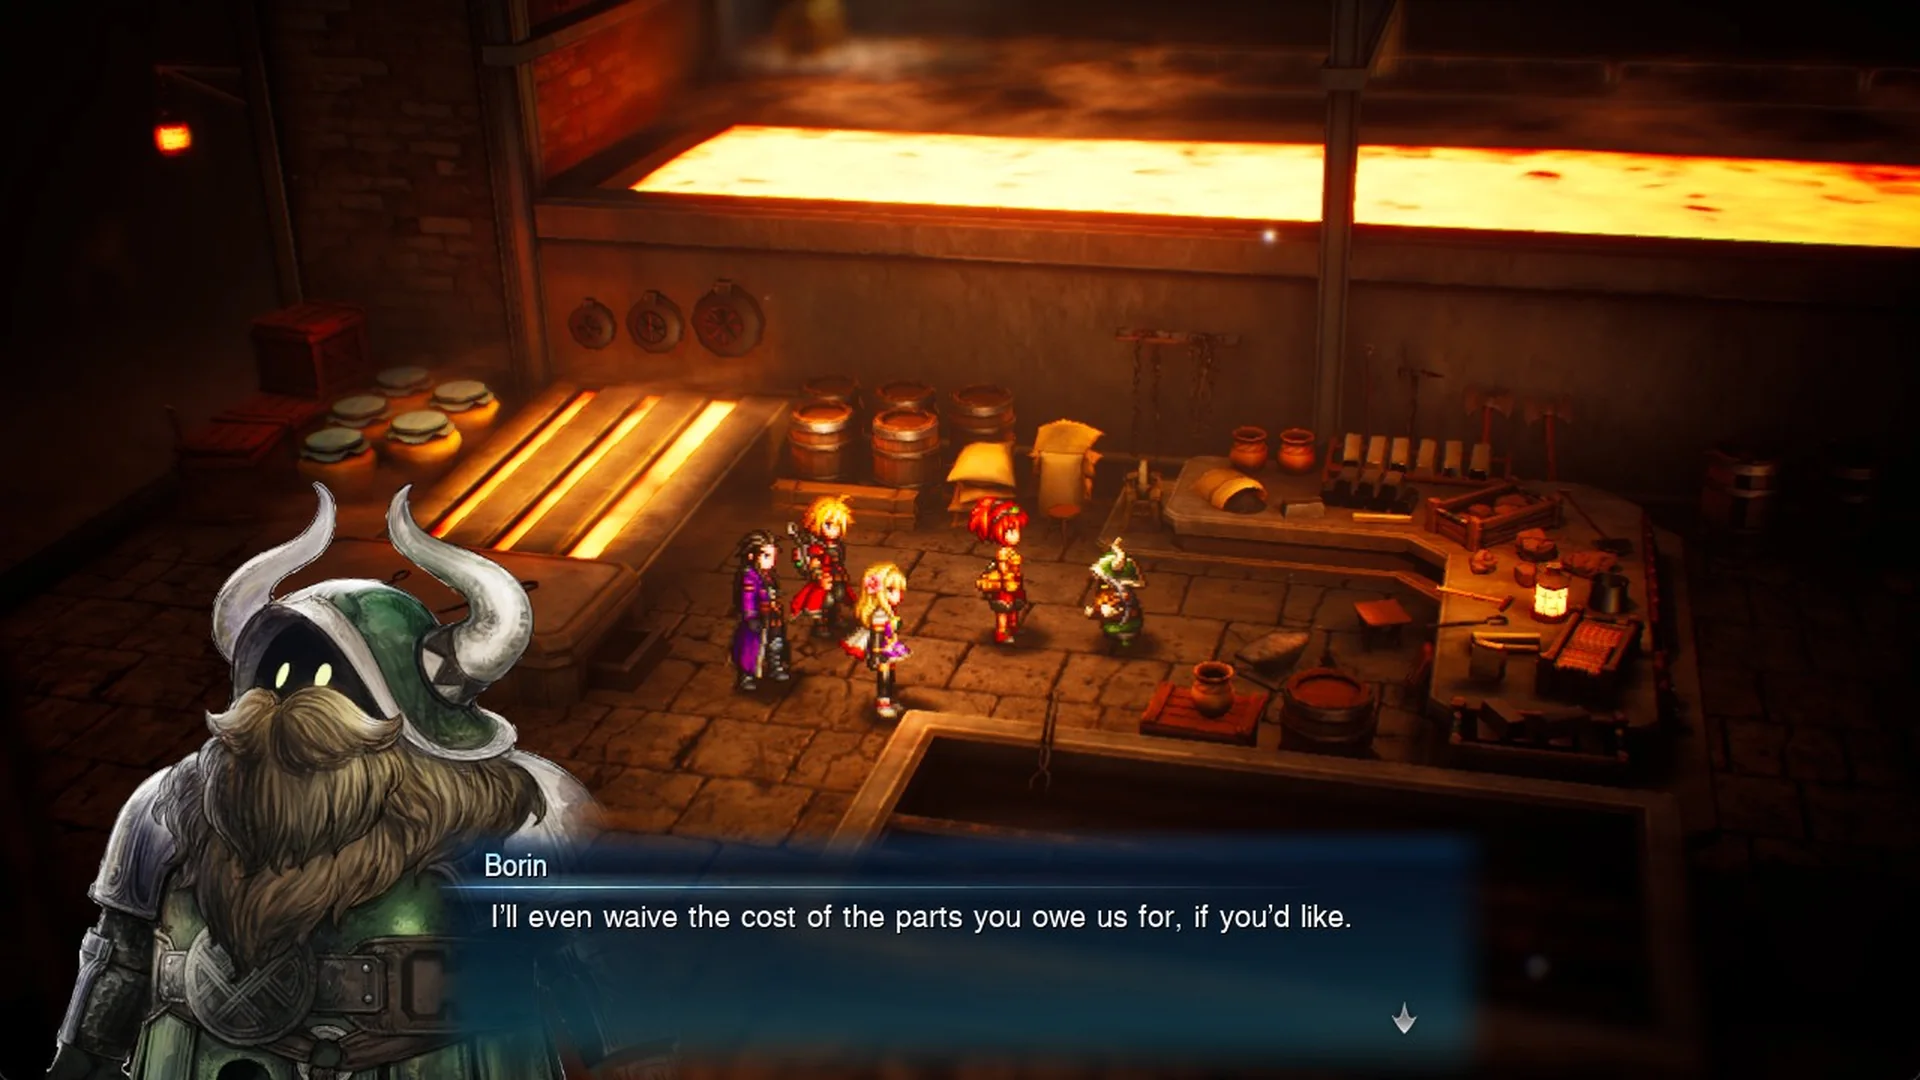
He sweetens it with “I’ll even waive the cost of the parts you owe us for, if you’d like.” Lid’s “You will!?” turns into “Hey, guys! The dwarves need our help! Let’s root out that monster!”
The game gives you no choice to make. It autosaves, updates the objective to “Defeat the monster at the forge”, and moves the map marker west to the route downstairs.
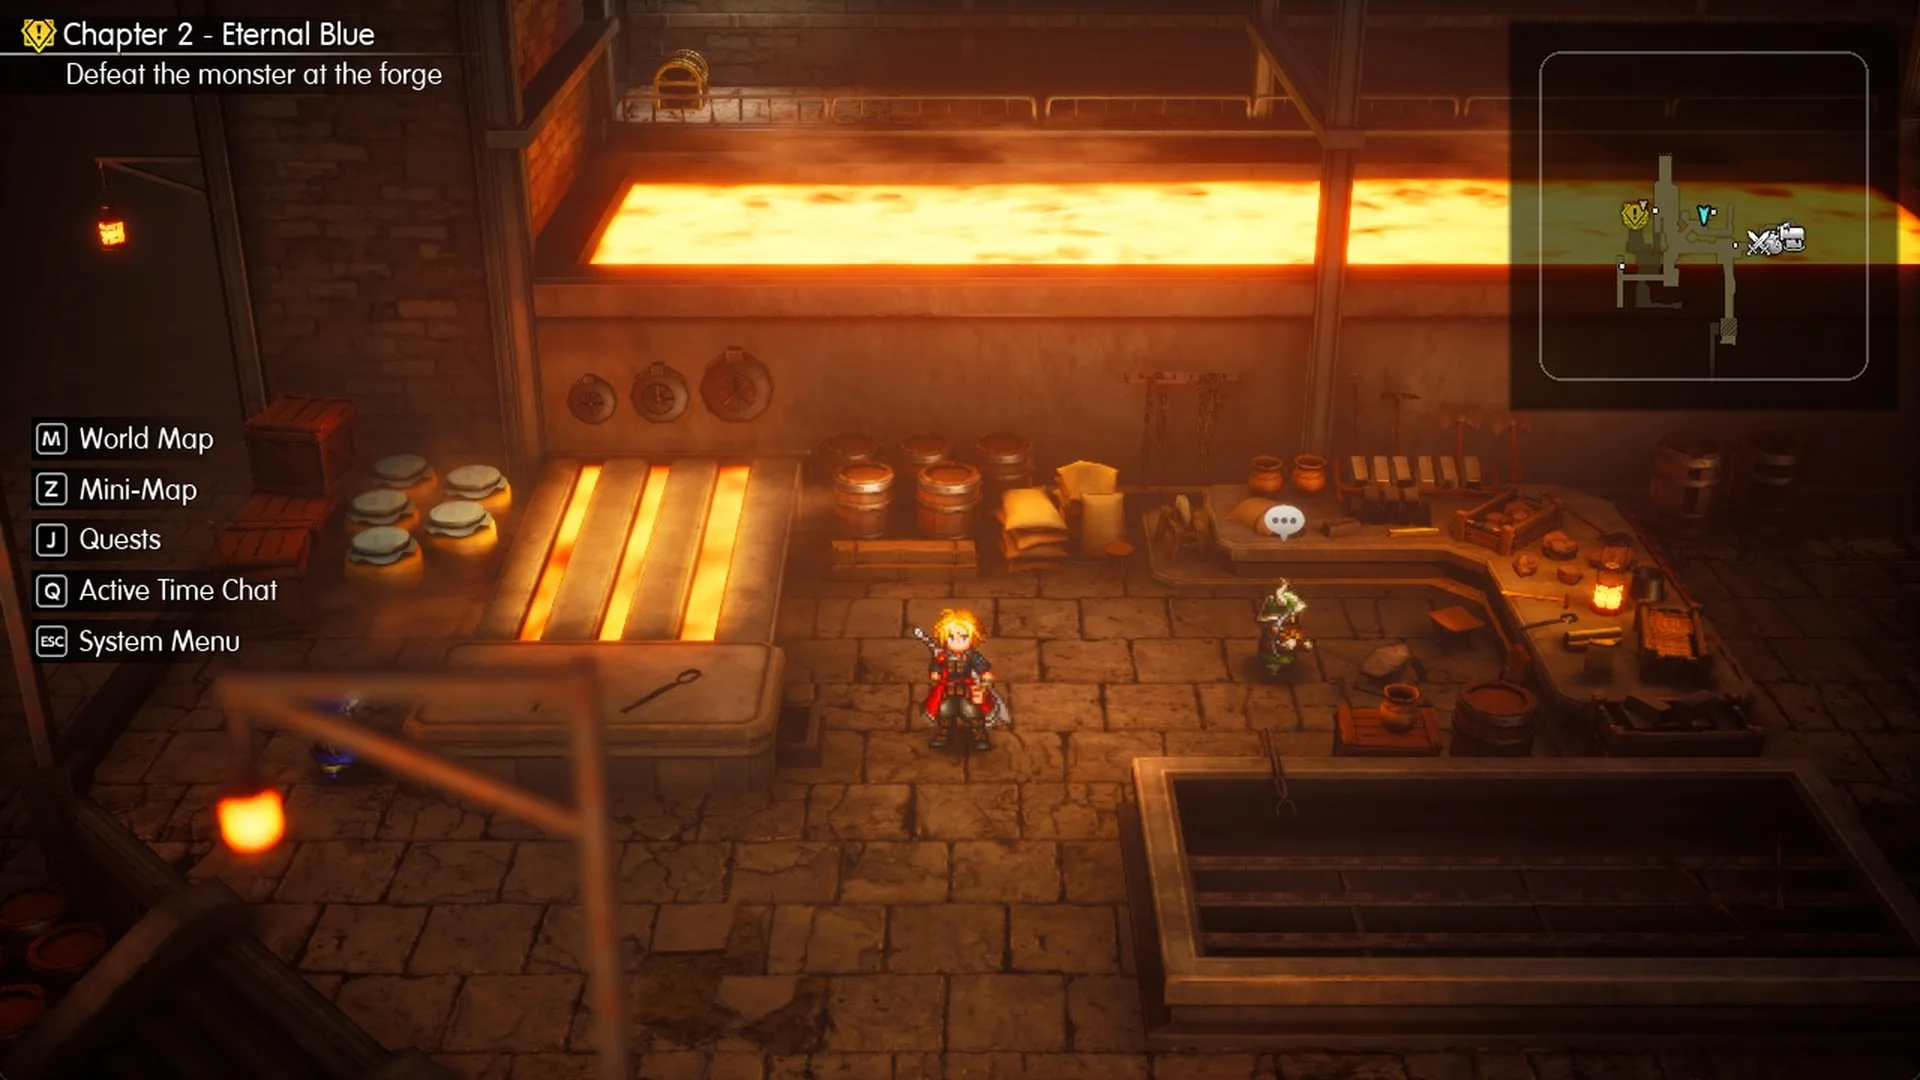
Lower floor: The Mom Bomb pocket
The west side of Borin’s platform is railed off, so you have to backtrack.
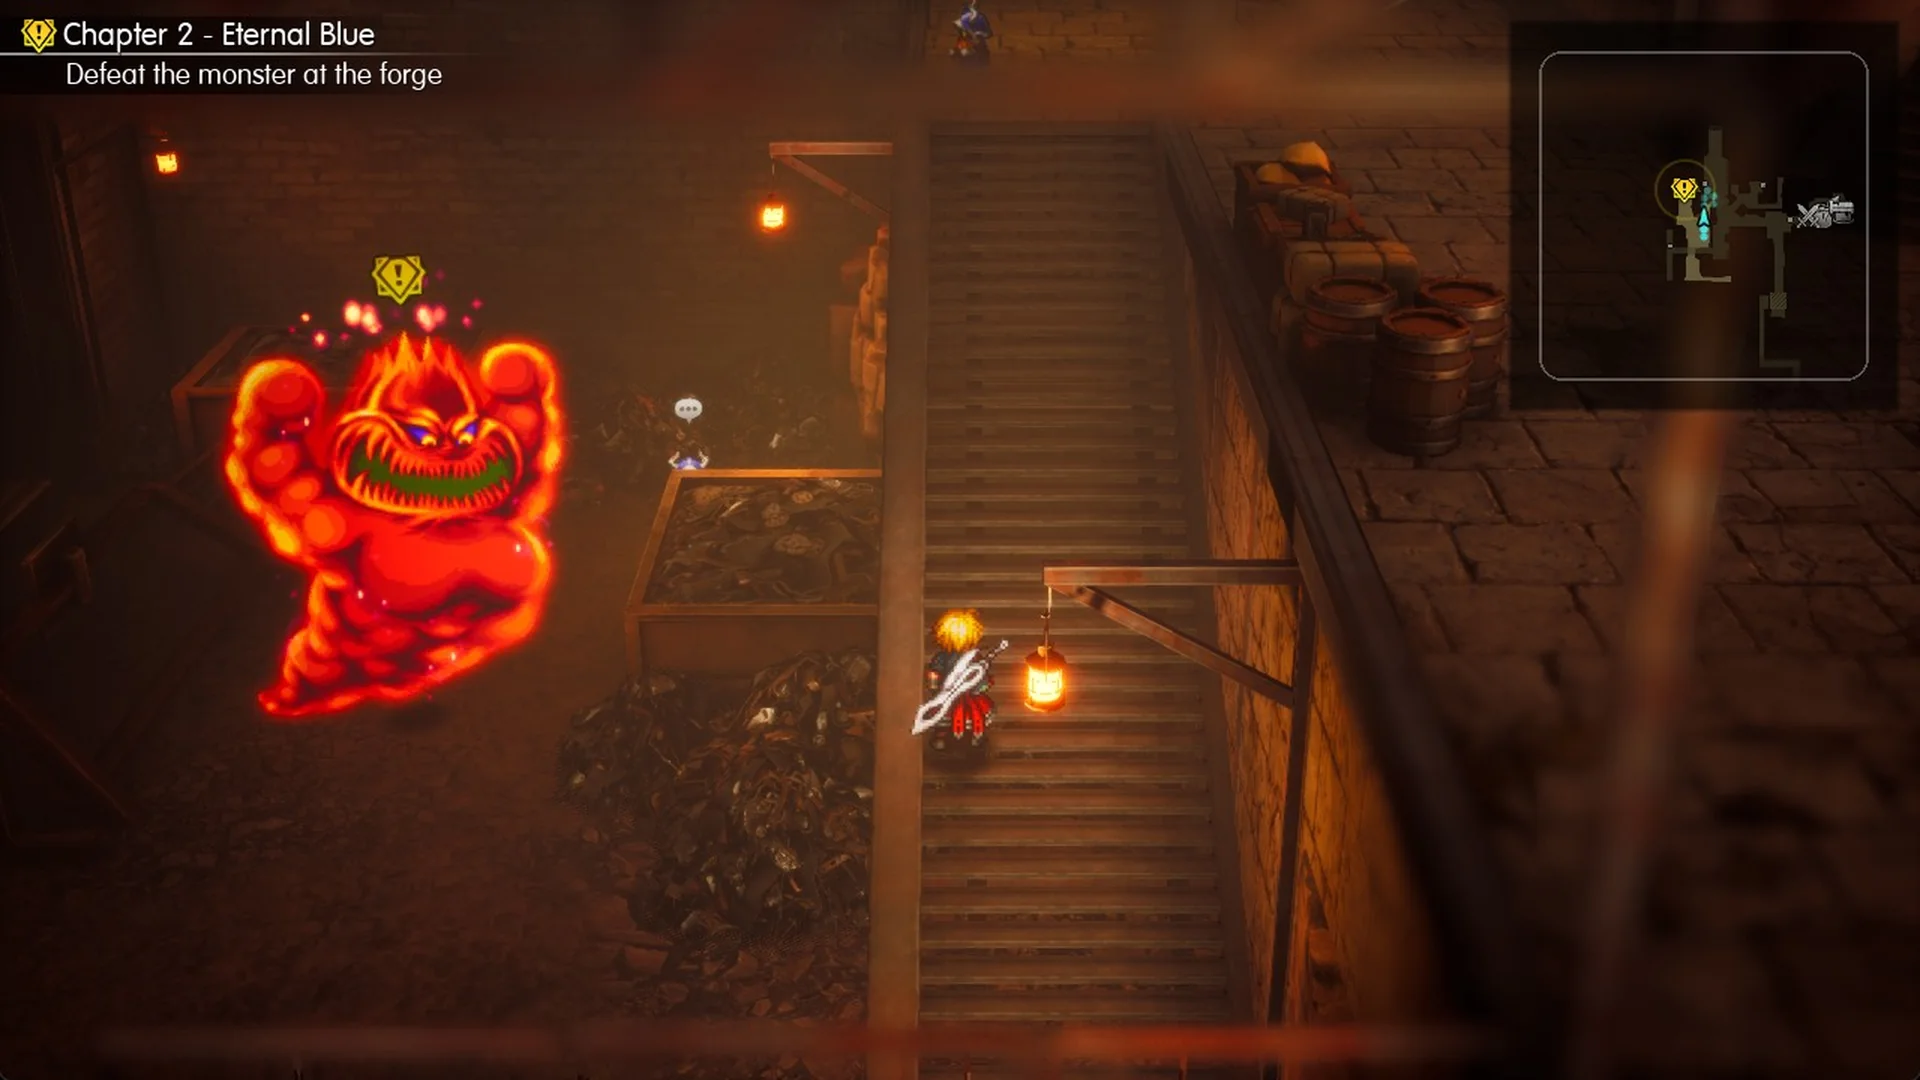
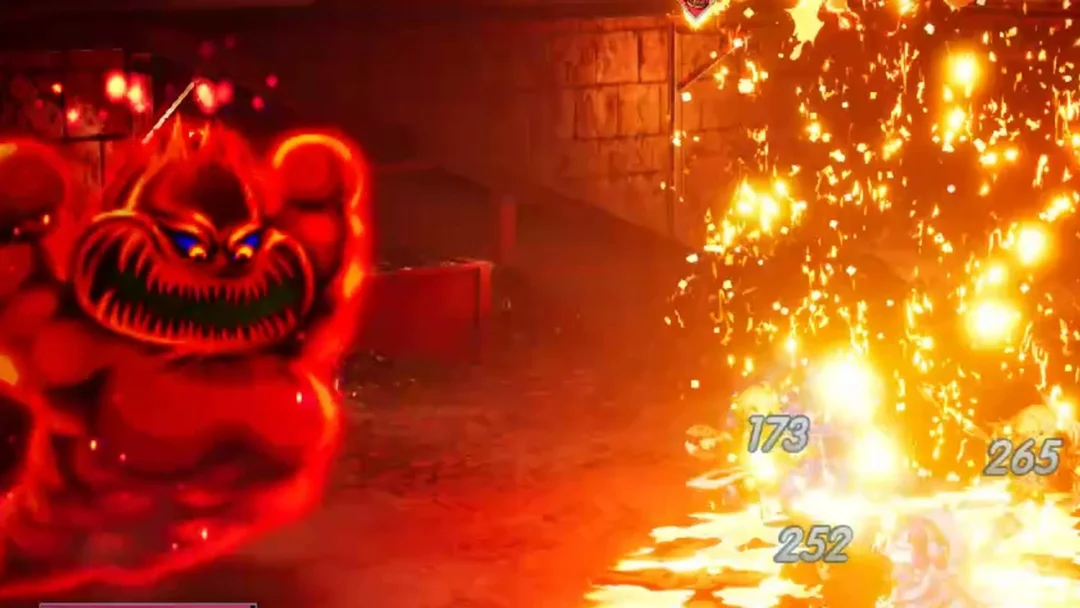
A dwarf beside it is frozen in place: “H-help, lali! M-my legs turned to jelly—I can’t move, lali!” Mom Bomb is a level 14 Demon with 21,000 HP. It’s weak to Water, halves Fire, and blows up at low HP into four Great Bombs.
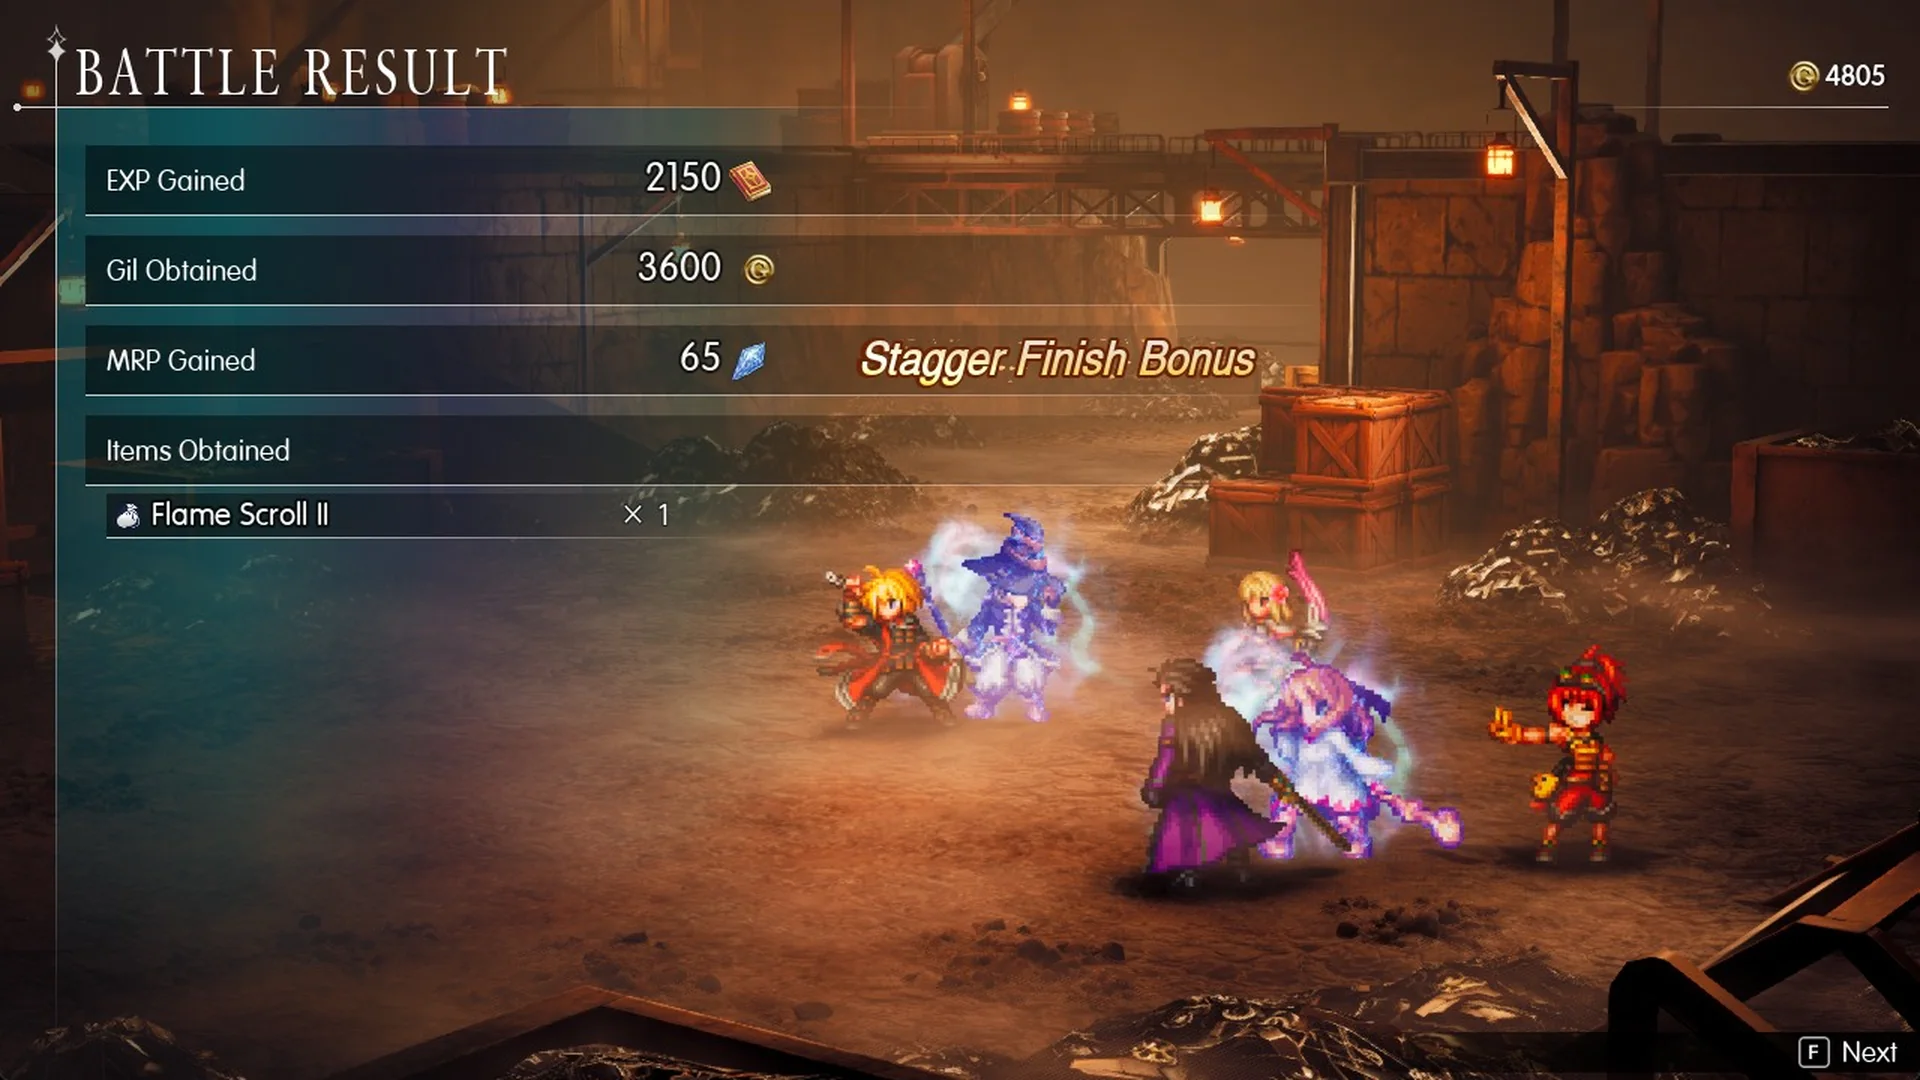
Winning pays 2,150 EXP, 3,600 Gil, 65 MRP and a Flame Scroll II. The full strategy is in how to beat Mom Bomb.
Dwarven Forge chests and Tablet Shards
The Forge holds three chests and two Tablet Shards across its floors.
| Item | Floor | Where |
|---|---|---|
| Phoenix Down x3 | Side room (a lift stop) | Chest just south of the lift car |
| Sledgehammer | Main floor | On a railed walkway behind the molten-metal trough at the north wall of the raised forge room |
| Headband | Lower floor | Plank landing at the top of the wooden walkway along the cliff, east of the lower floor shard |
| Tablet Shard | Main floor | South end of the west arm, across the iron walkway west of the hall statue |
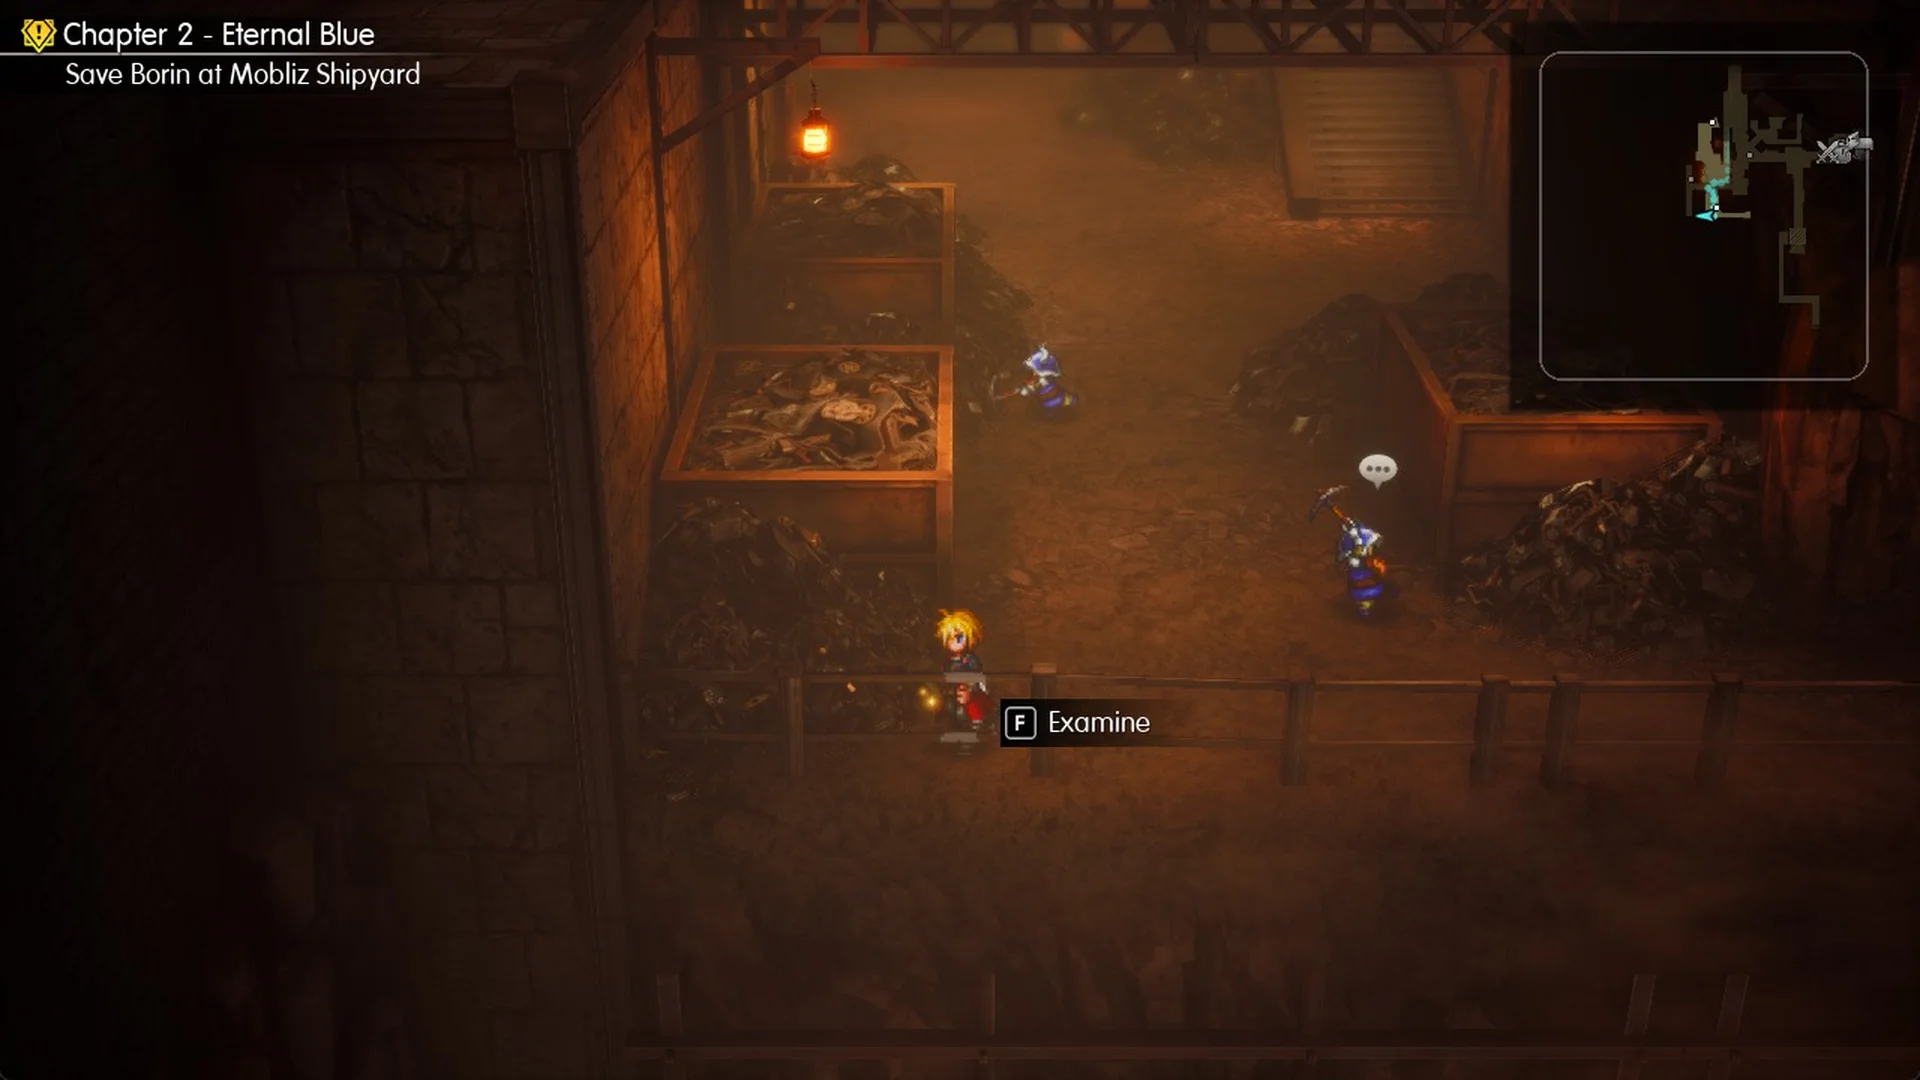
| Tablet Shard | Lower floor | South-west corner of the scrap-bin room |
The Sledgehammer is a Hammer with 39 Phys. Atk, 40 Mag. Atk and “Increases critical hit rate.” Its chest is in the raised forge room on the main floor: look past the long molten-metal trough at the room’s north wall, and the chest sits on a railed walkway behind it.
Main floor Tablet Shard: from the hall junction, go south along the hall to the statue, step a little north and head west onto the railed iron walkway that runs over the drop.
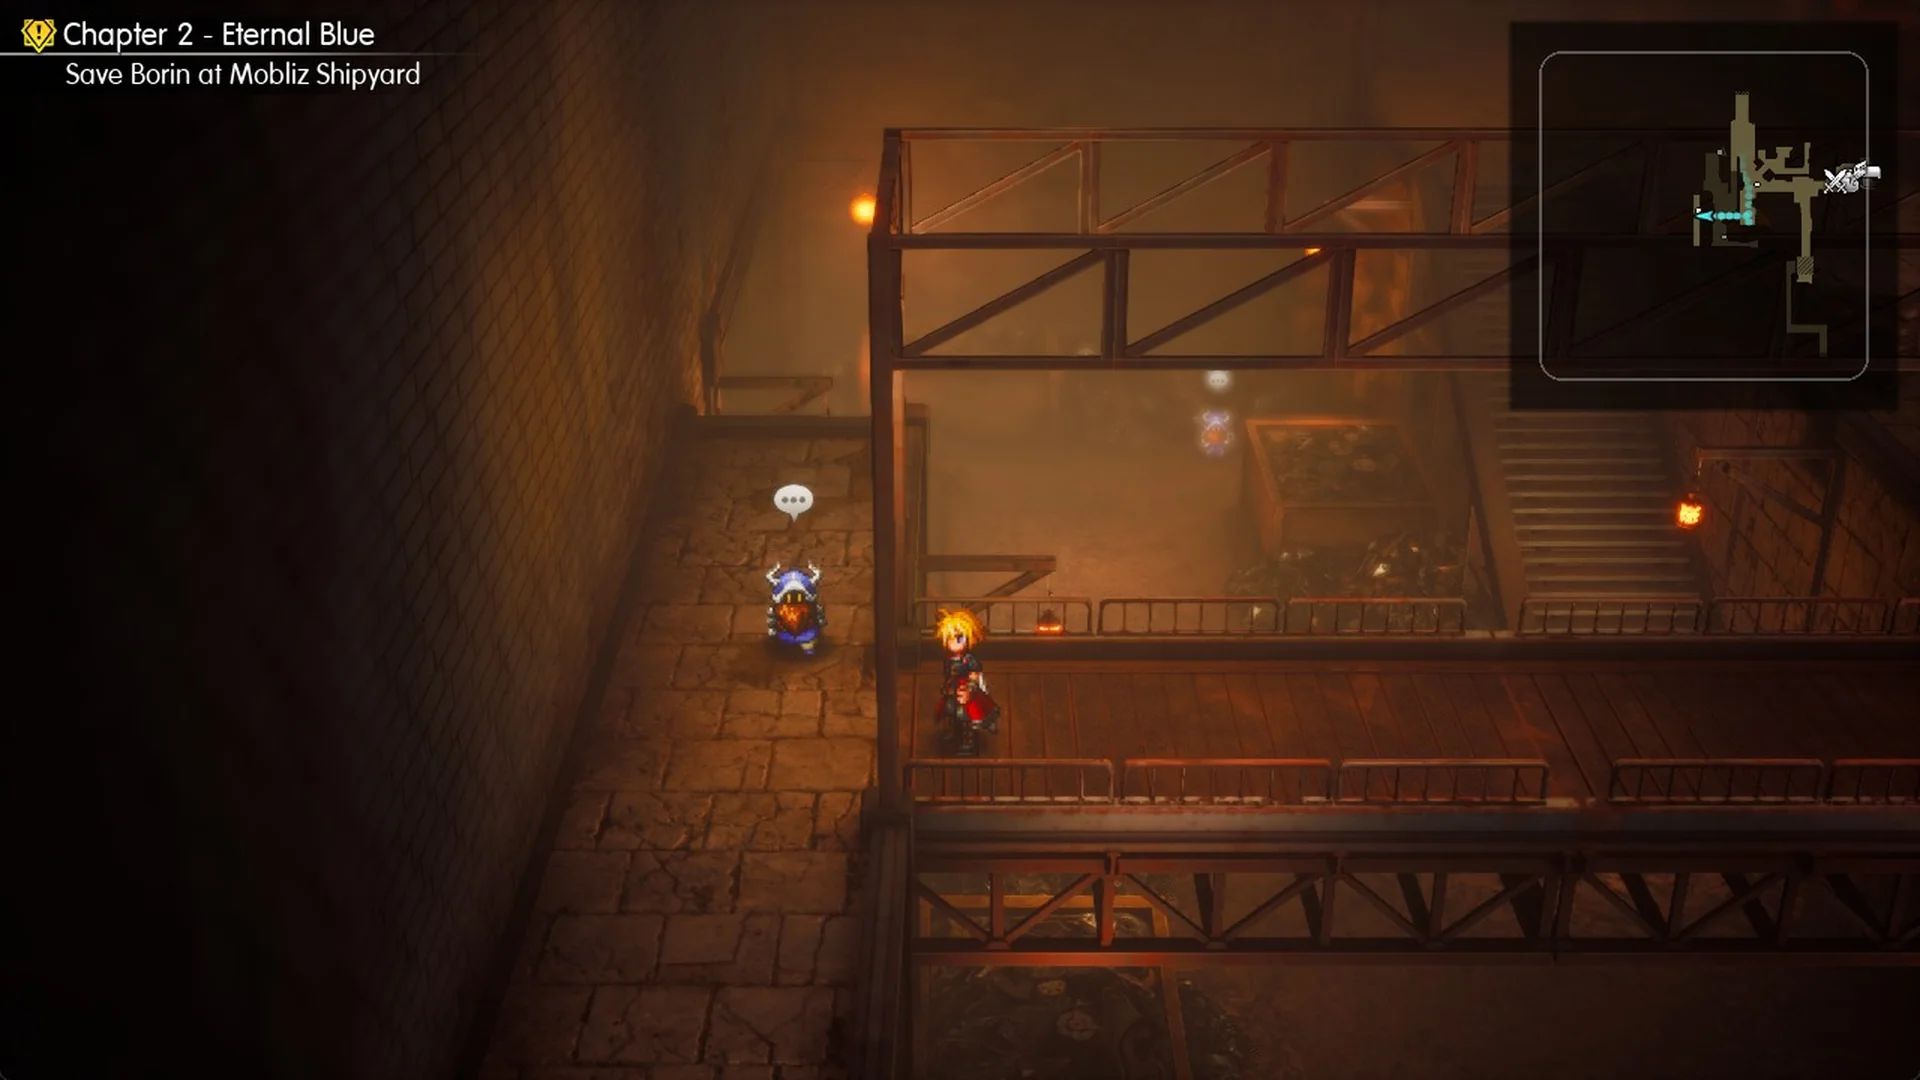
At the walkway’s west end, step onto the stone floor and go south to the end of the west arm. “F Examine” shows at the corridor’s south end.
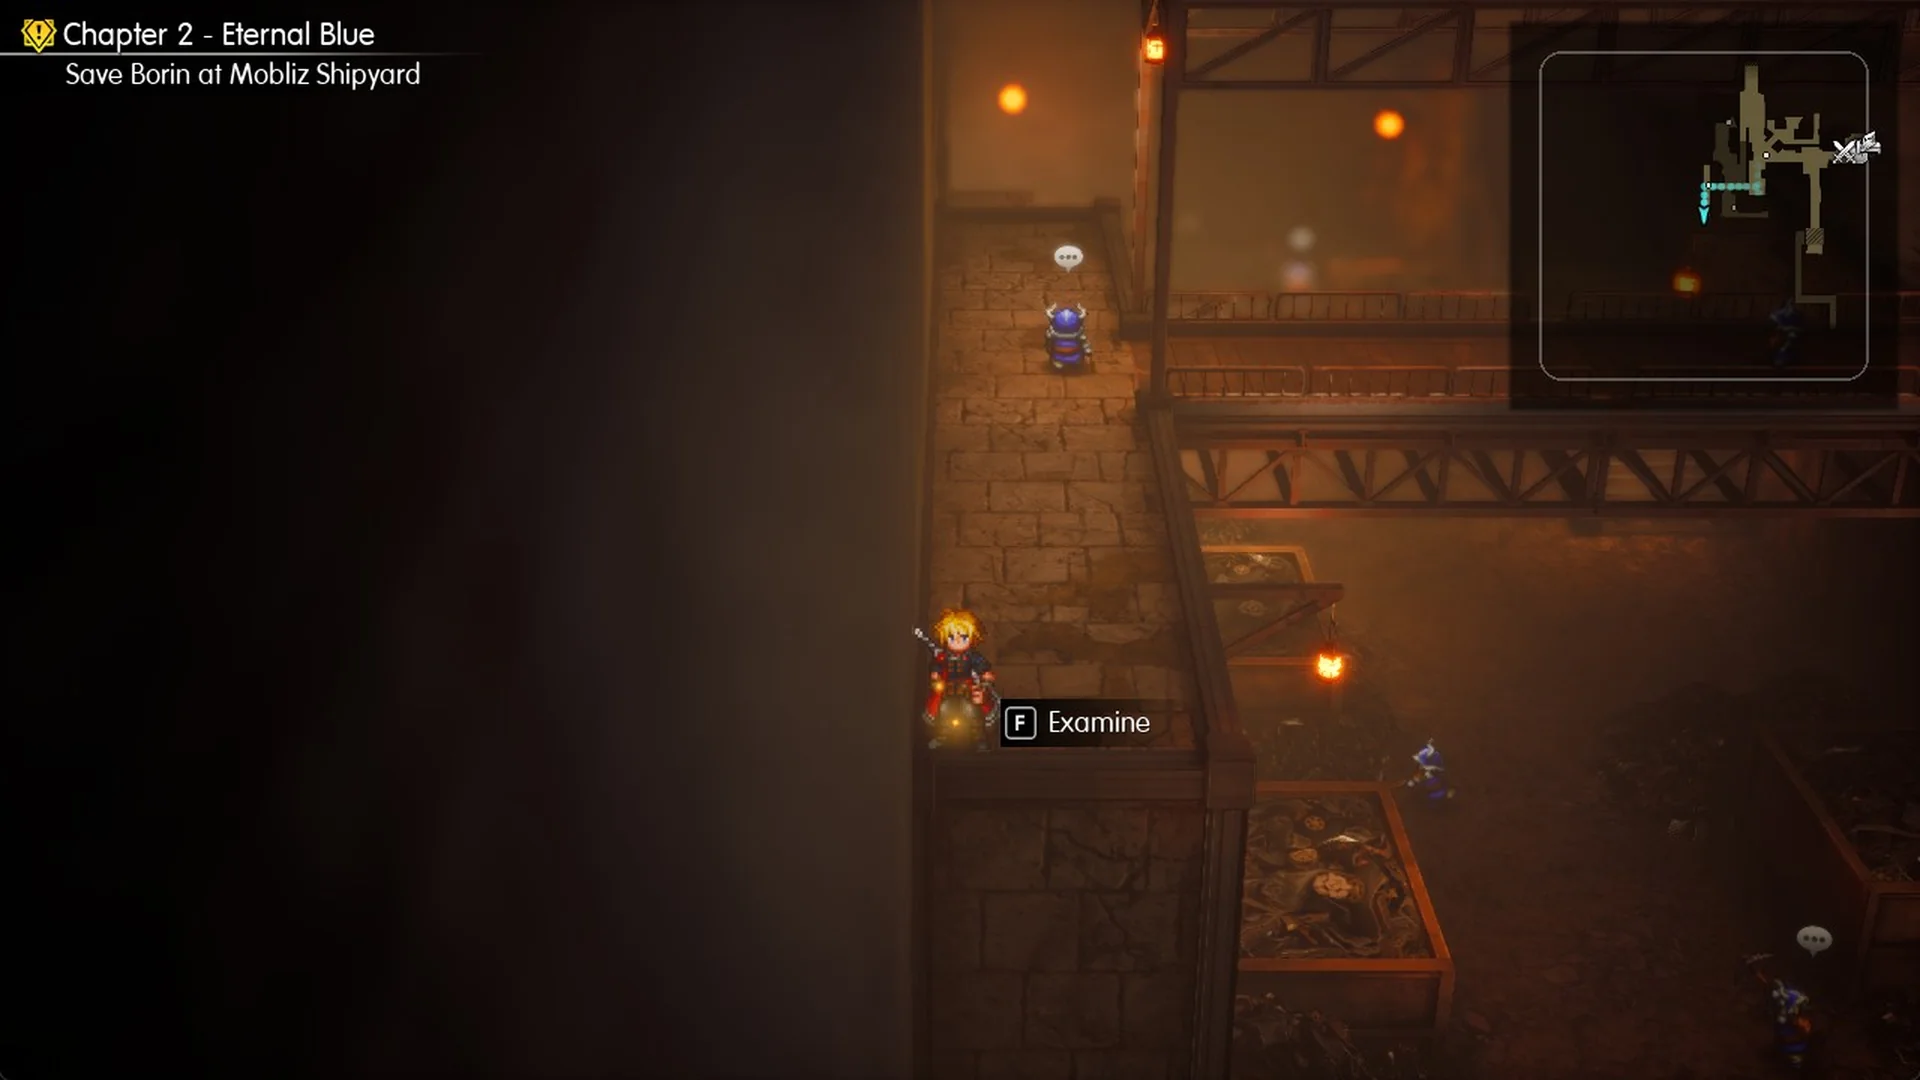
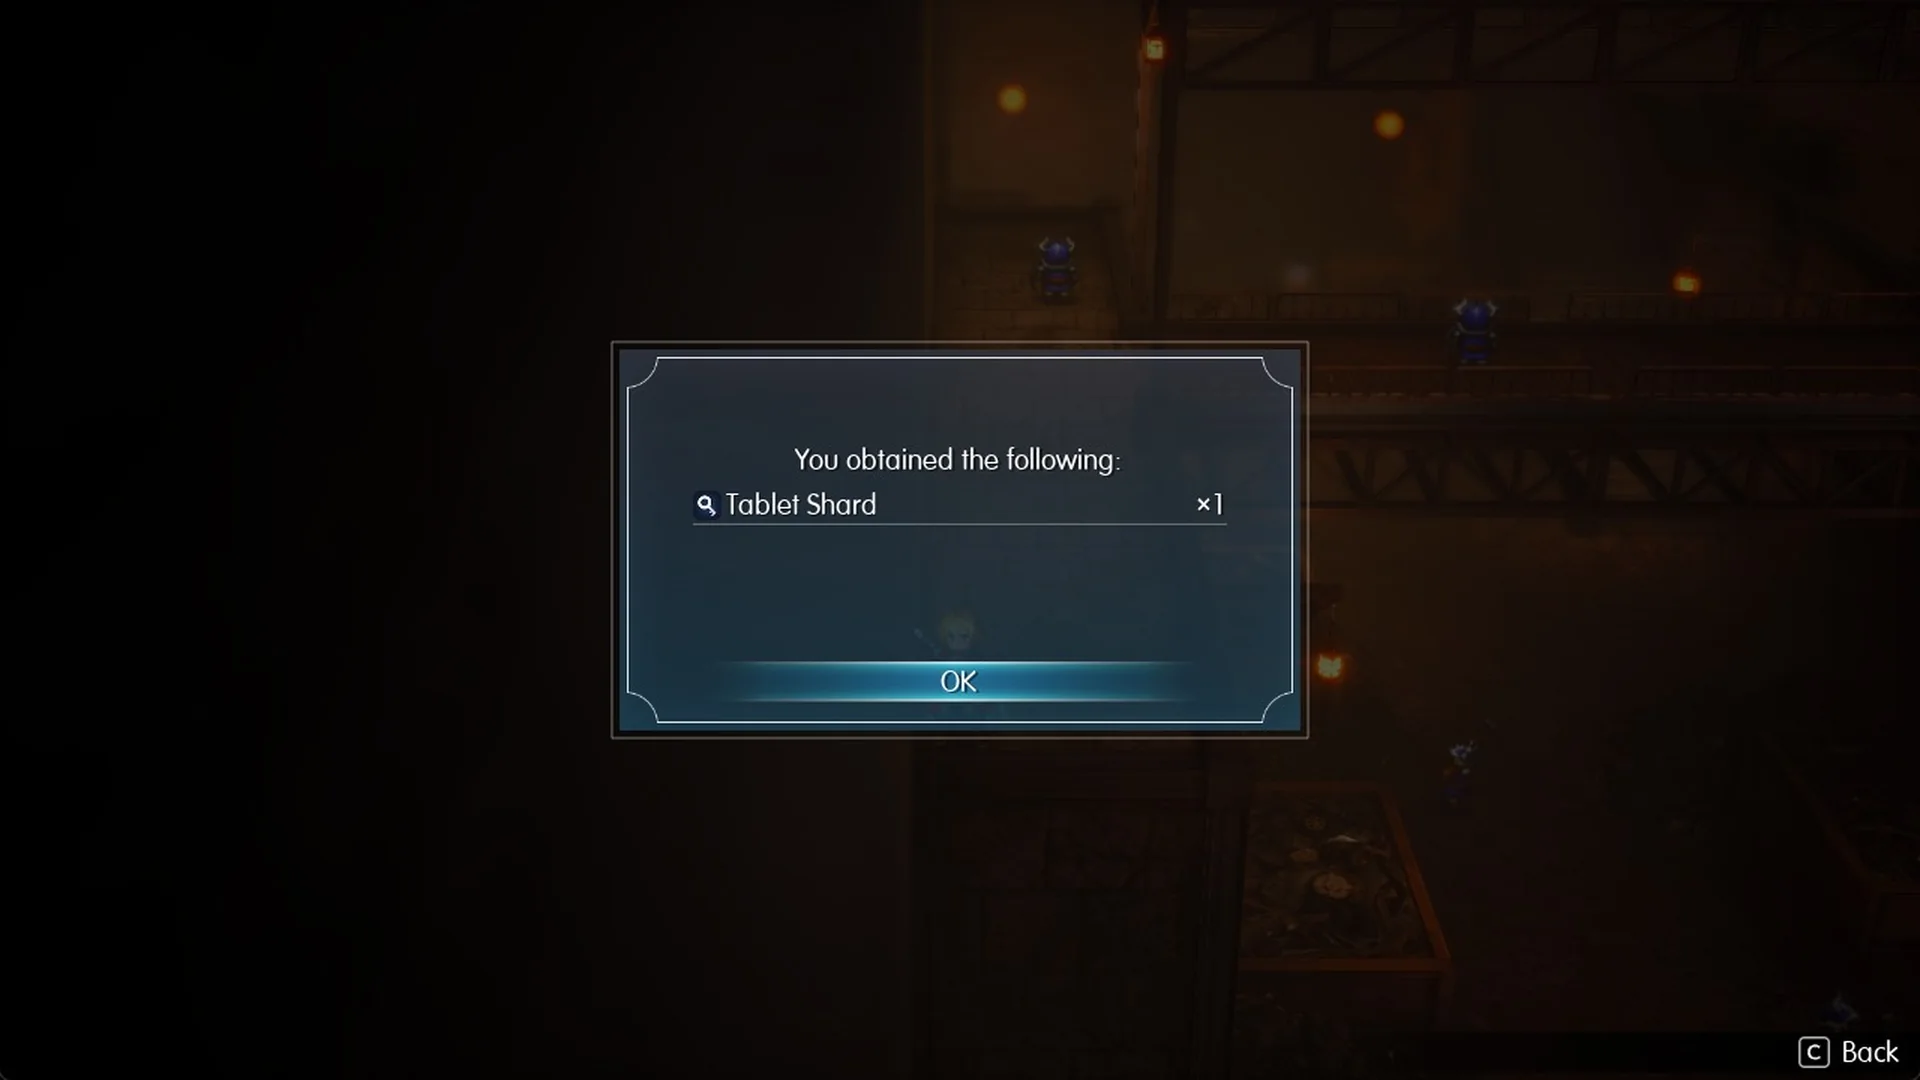
You get “You obtained the following: Tablet Shard x1”.
Lower floor Tablet Shard: from the hall junction, go west and down the long stairs (they pass under the iron walkway), then west into the scrap-bin room. Head south past the dwarves, going round the east side of the one in the way, to the railing at the room’s south edge, then west: “F Examine” shows in the south-west corner.
Headband: from that shard, go east along the room’s south edge to a wooden walkway that turns north along the cliff, and climb it to a plank landing. Step a little north (a post blocks the way straight east), then east to the chest and press F (Open).
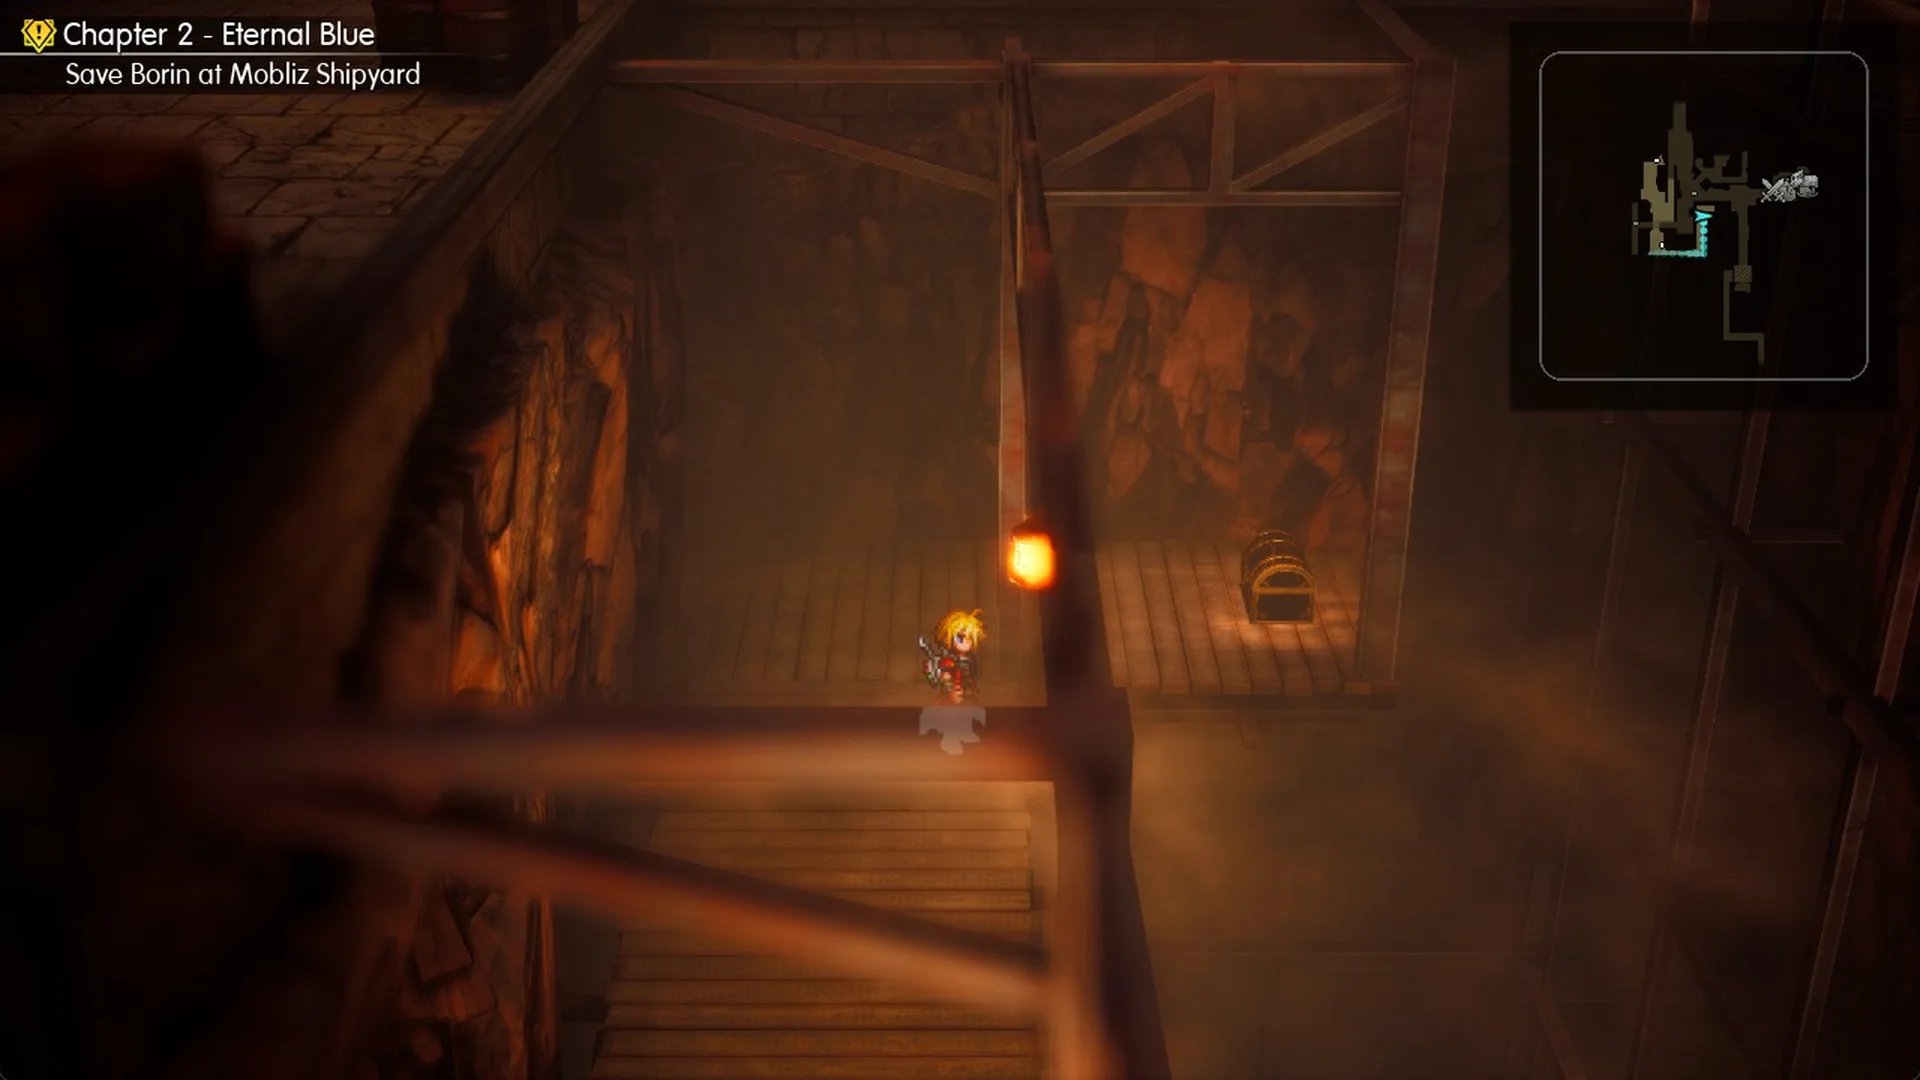
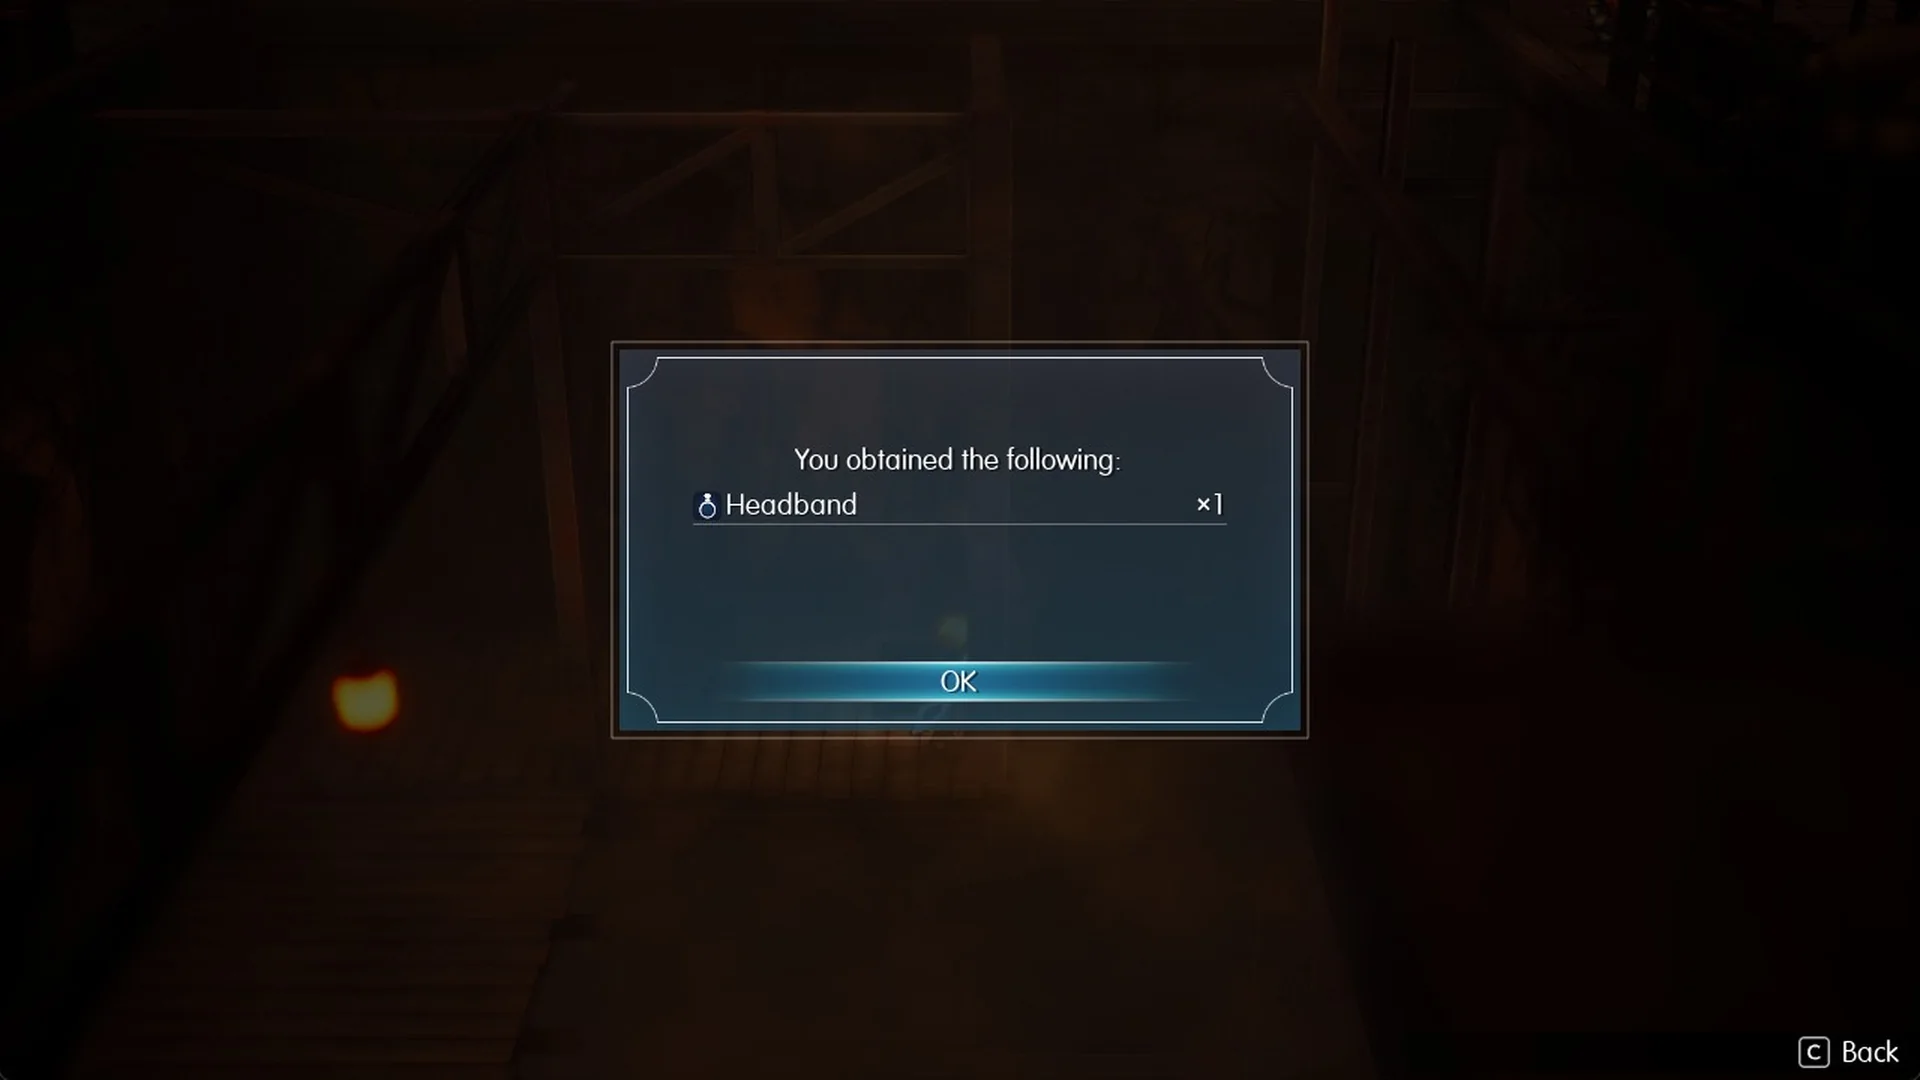
The chest holds the Headband, which reads “Prevents Sleep.”
Both shards and the Headband are still there after Mom Bomb and the kidnap scene. Every other shard is in the tablet shard locations list.
After Mom Bomb: Borin is kidnapped
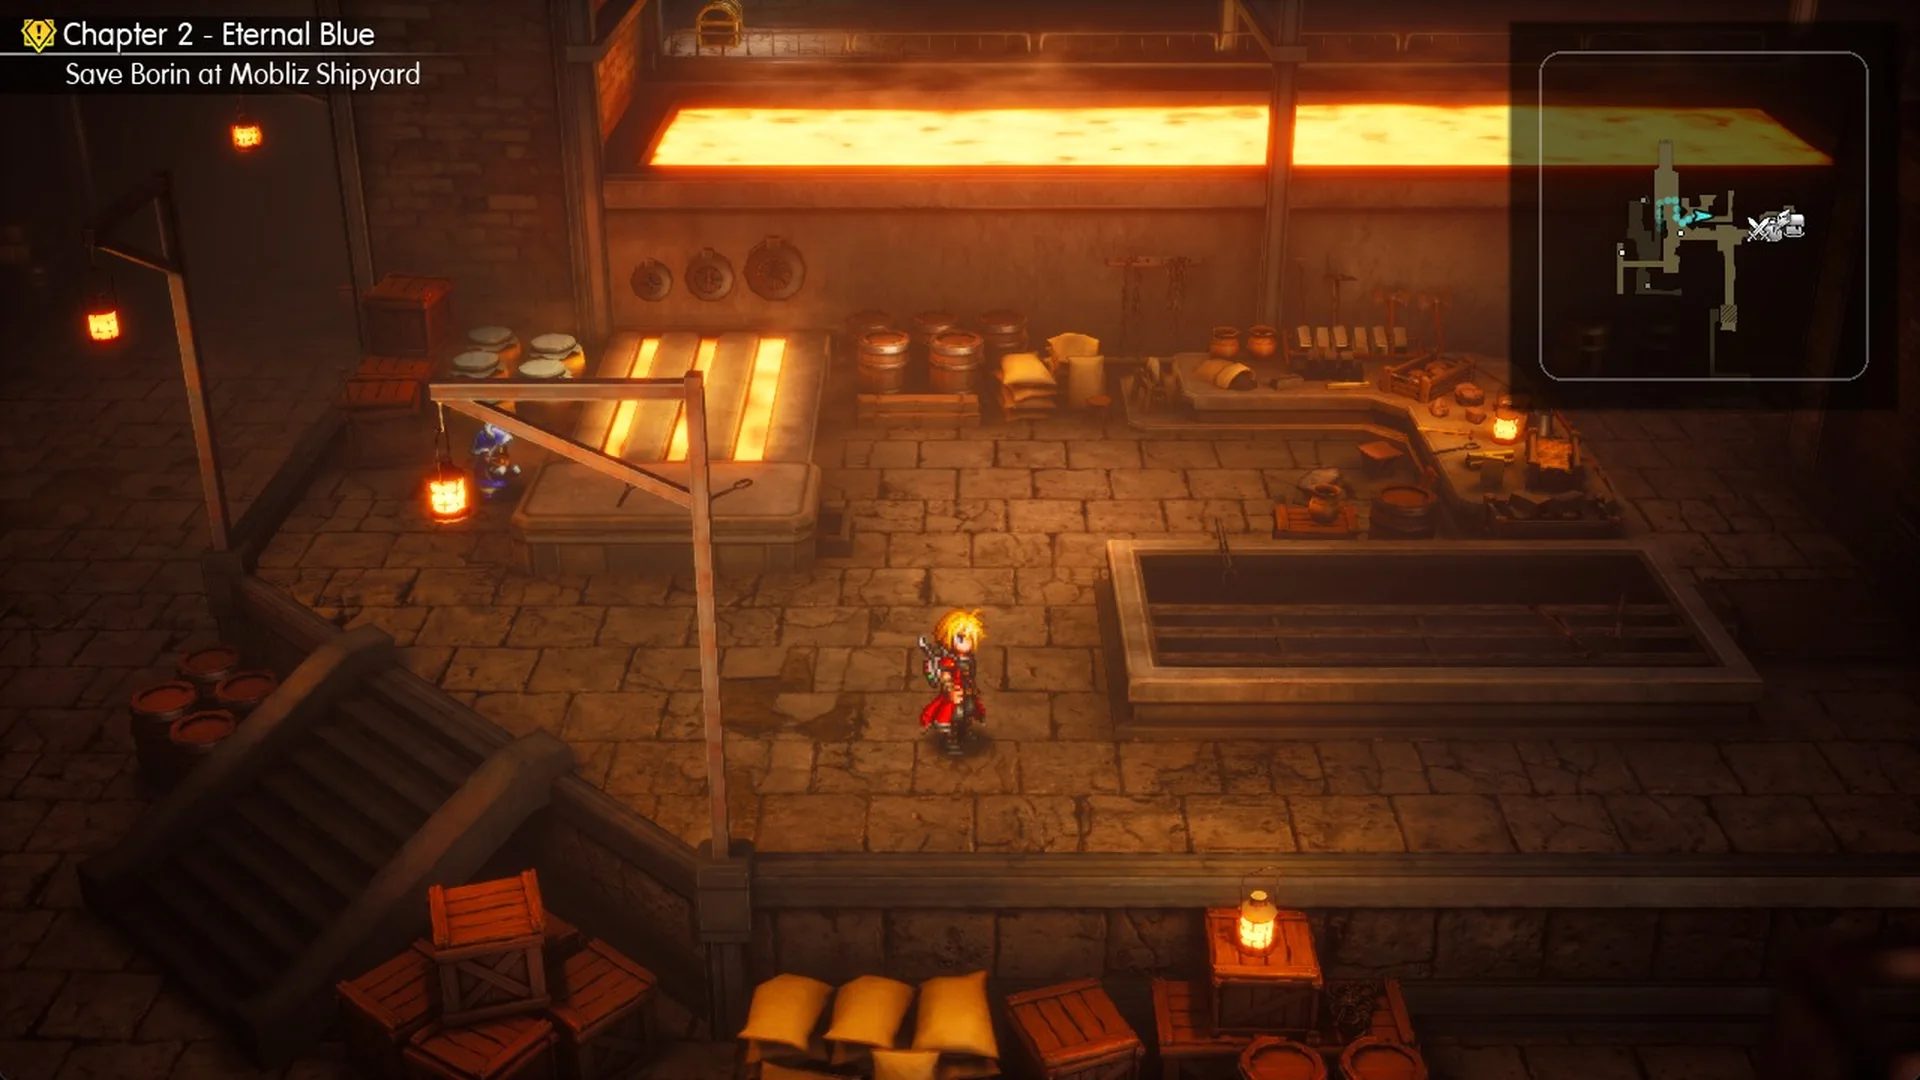
Your objective is now “Report back to Borin”. At the top of the long staircase, the corridor to the north is a dead end for now, and Lid stops you with “And where are you running off to? We still have business at the forge!” Head down into the west end of the main hall instead to trigger the scene.
A dwarf panics with “Oh no, oh no, oh no, lali!”
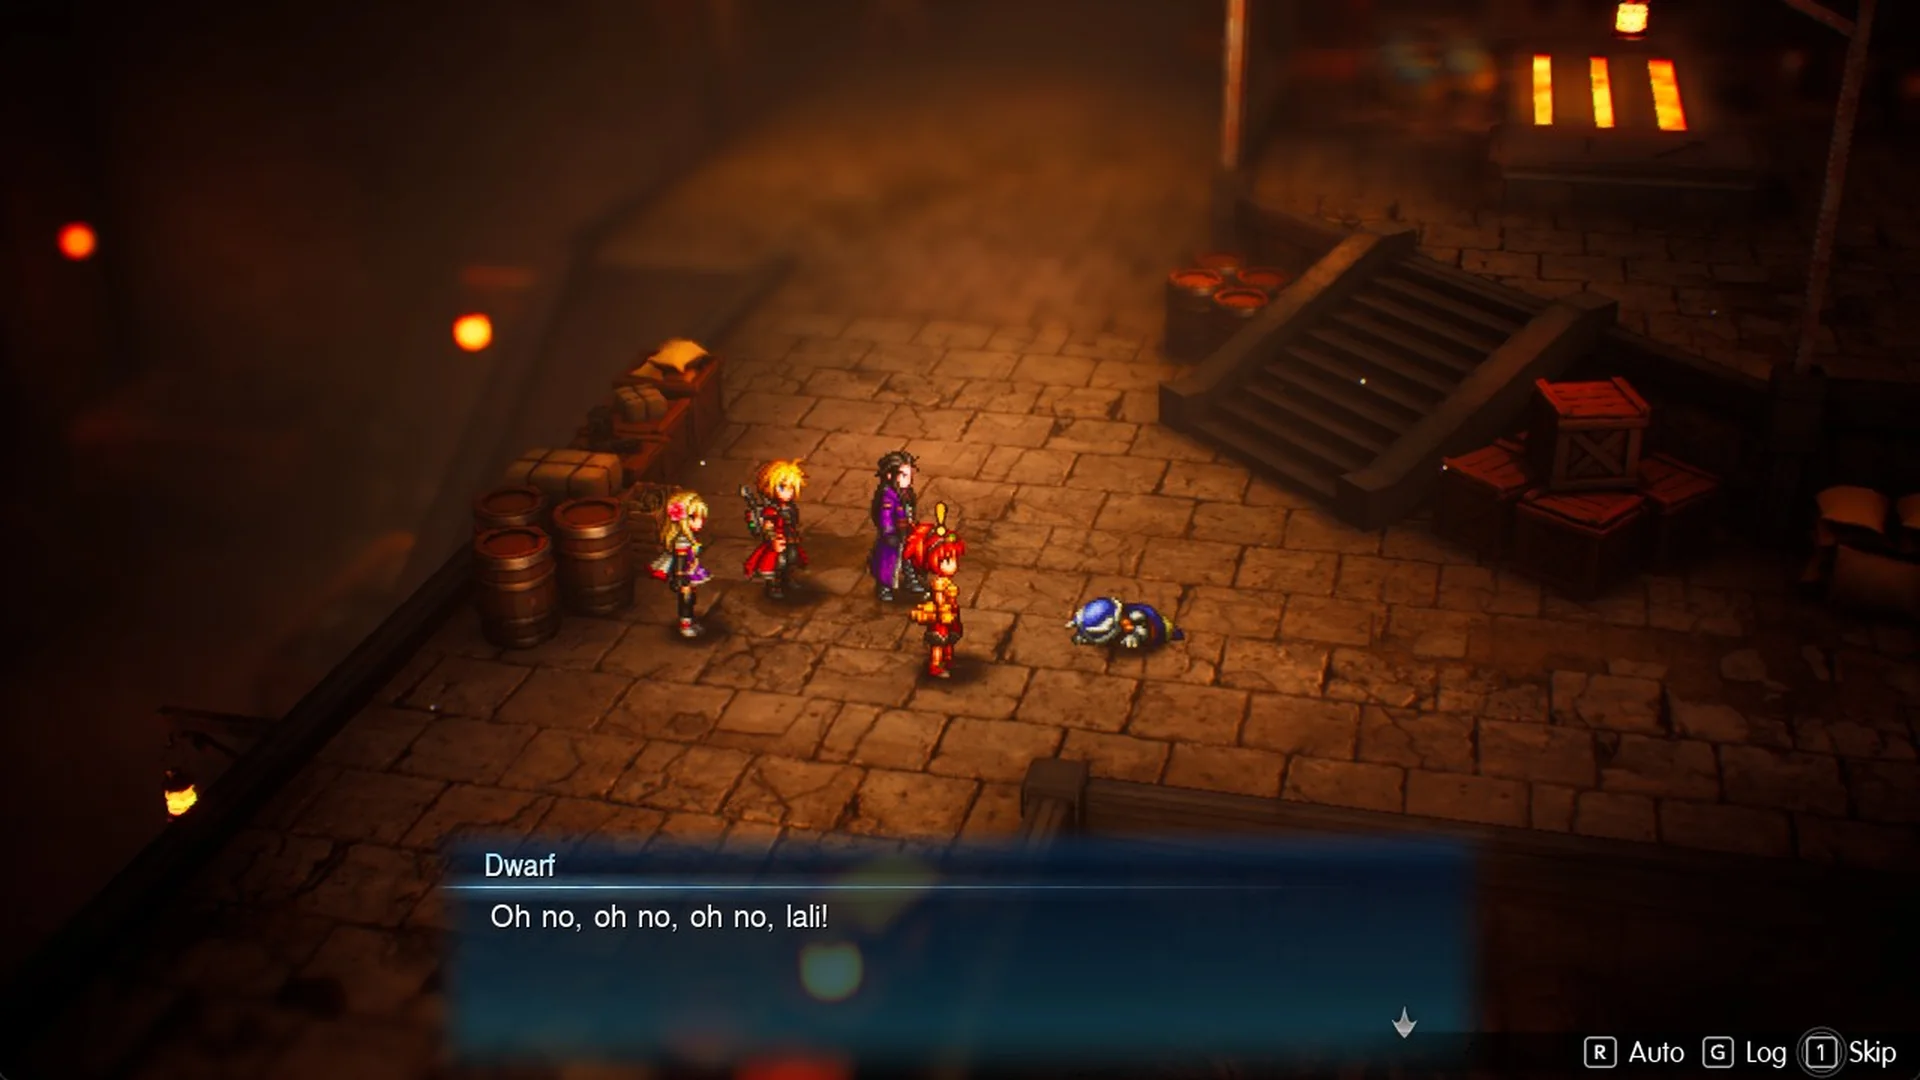
Then: “Borin’s been kidnapped! This armored goon grabbed him and took off, lali!”
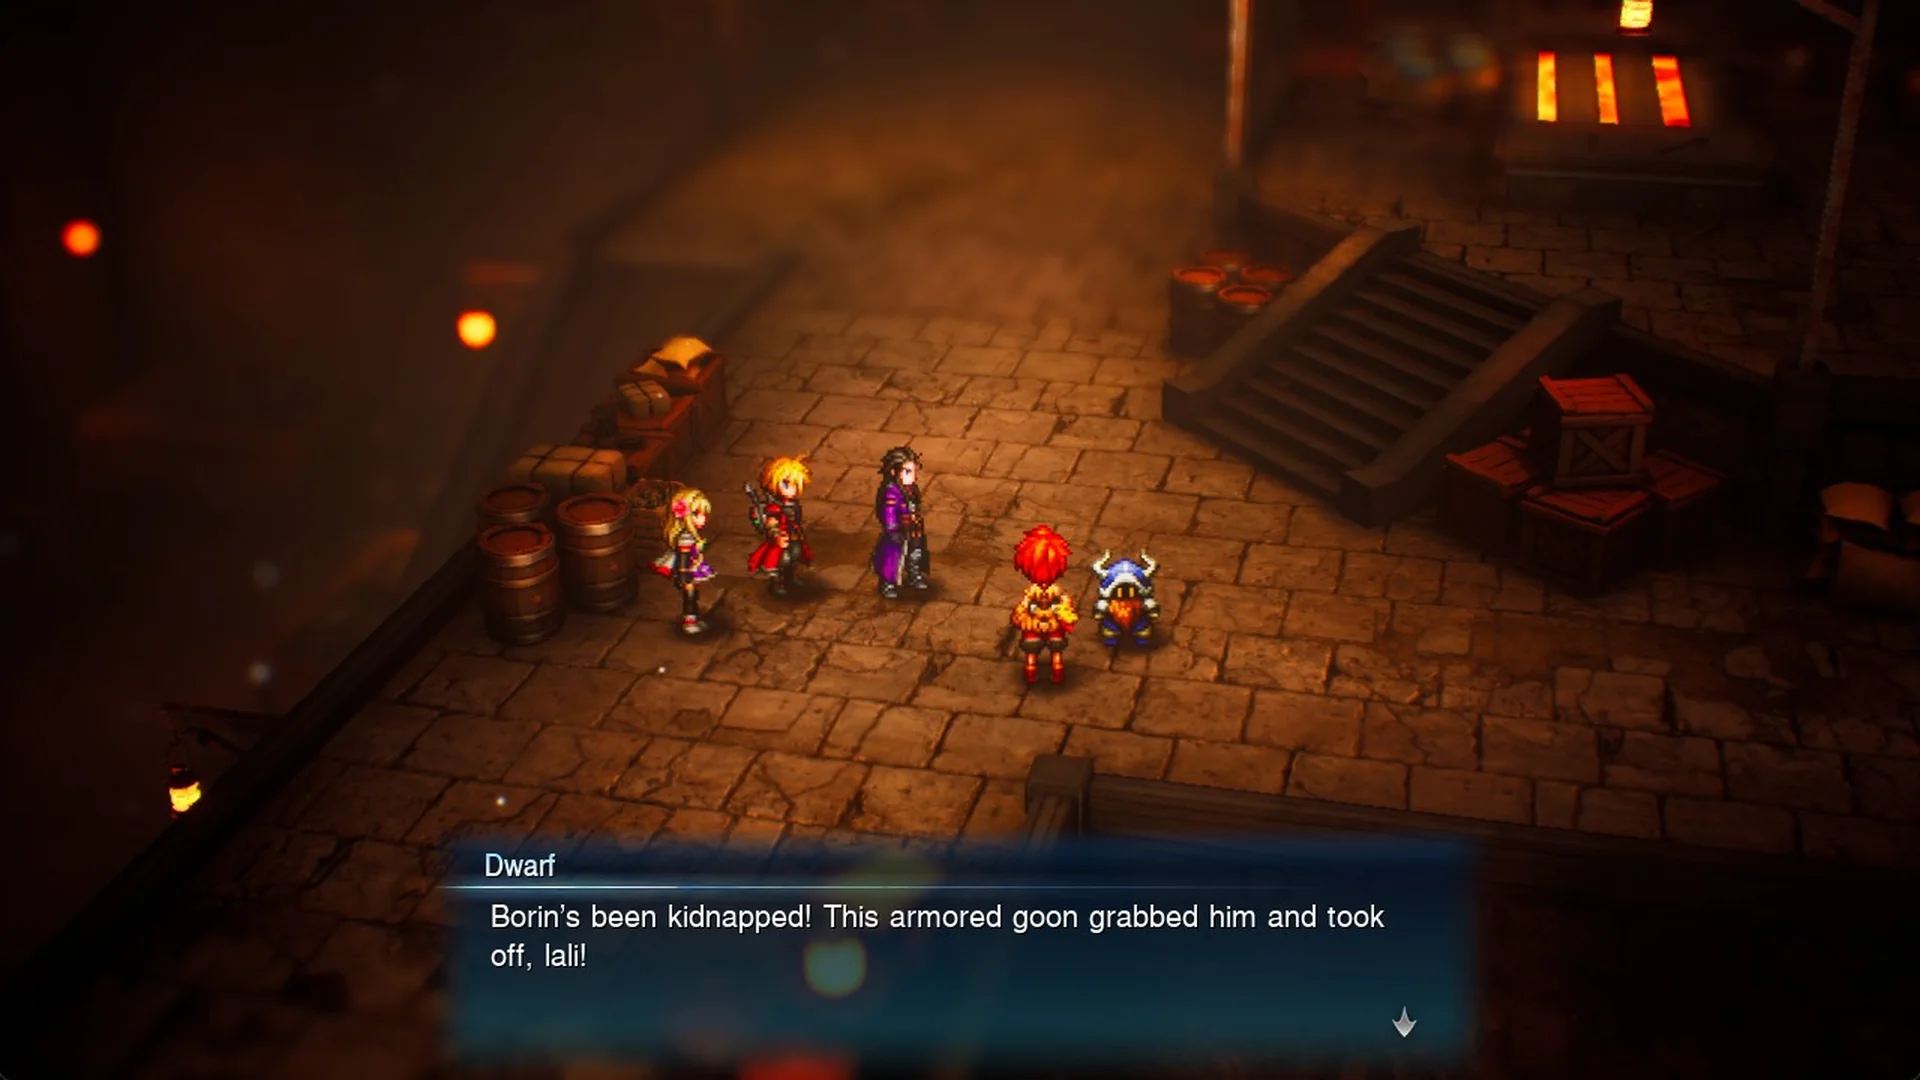
Rain asks “Armored? Can it be…?” The dwarf explains “Because they want to put him to work over at the Mobliz Shipyard. The kidnapper said so himself!”
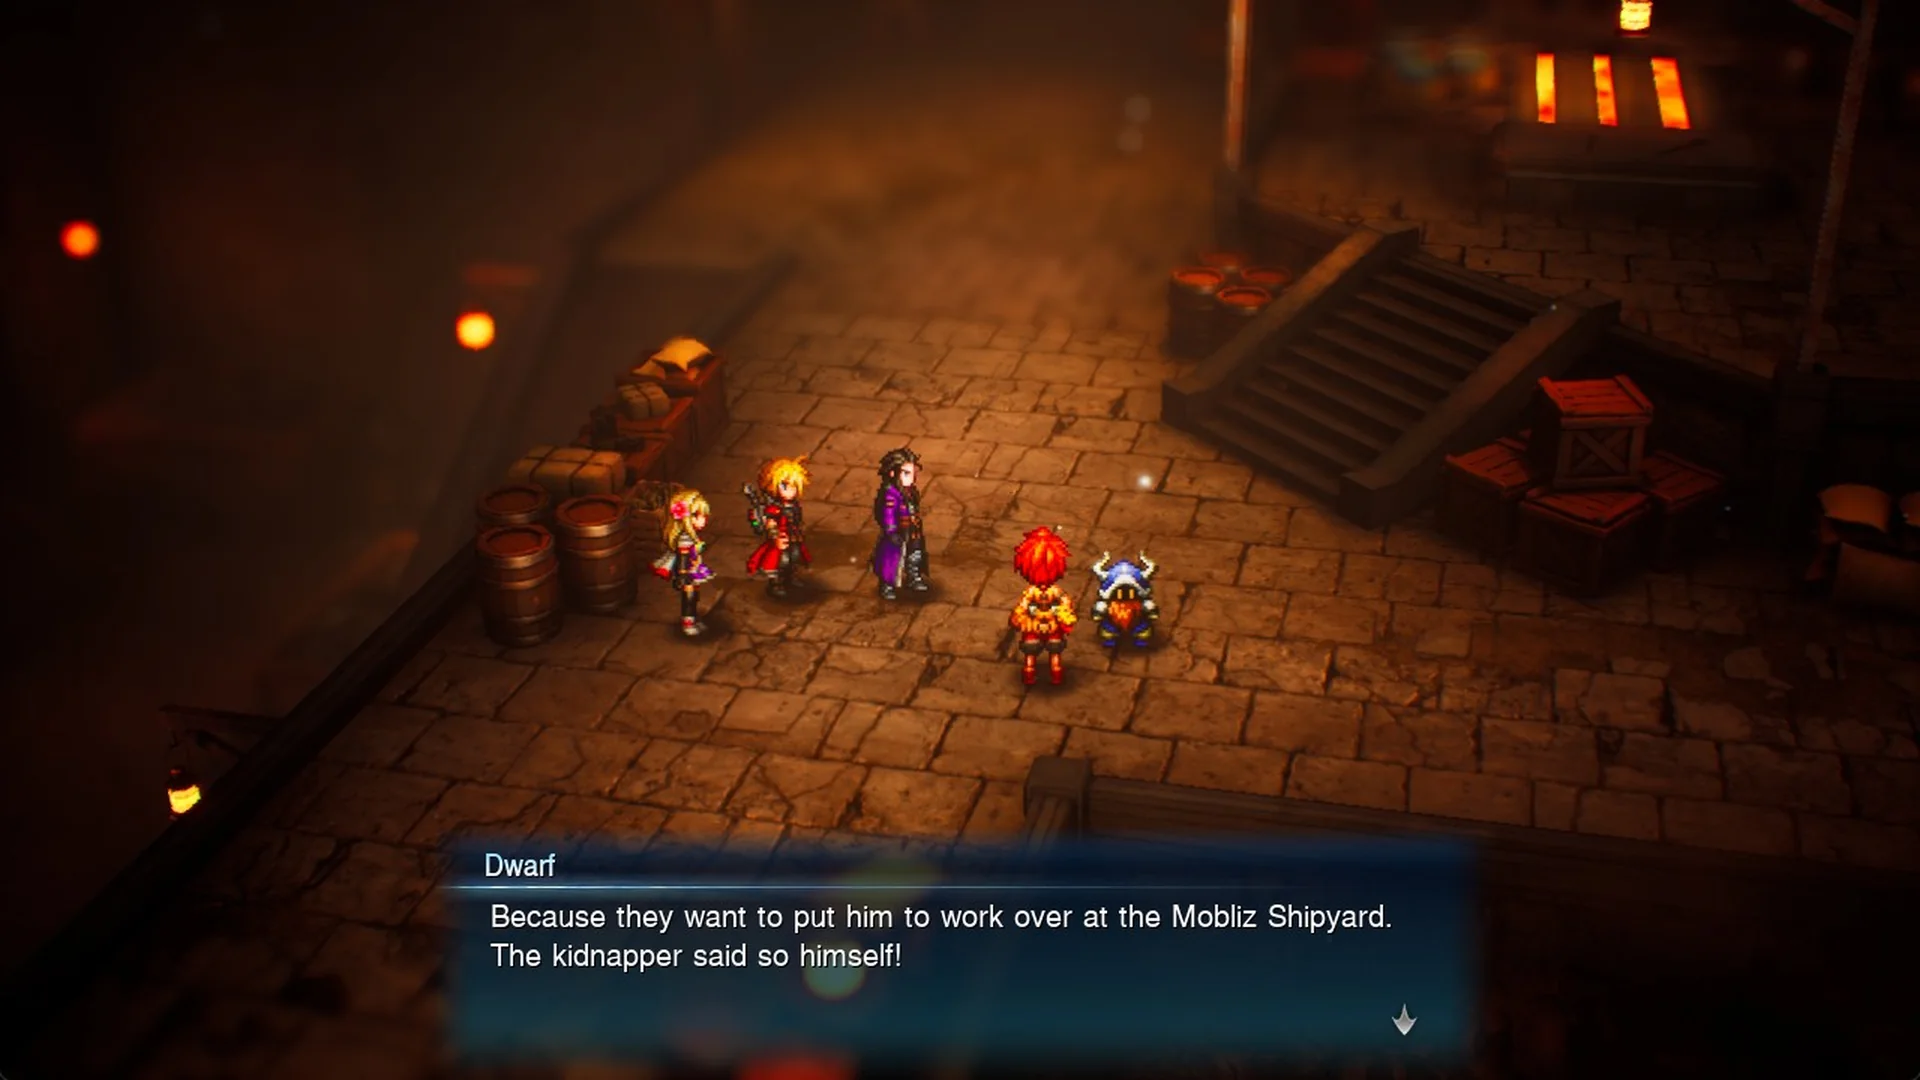
Rain answers “There’s no time to waste. Let’s go, Lid. We’ve got to save Borin!” and “Yeah. He could be part of the Sworn Six.”
There are no choices. The game autosaves and sets the new objective, “Save Borin at Mobliz Shipyard”.
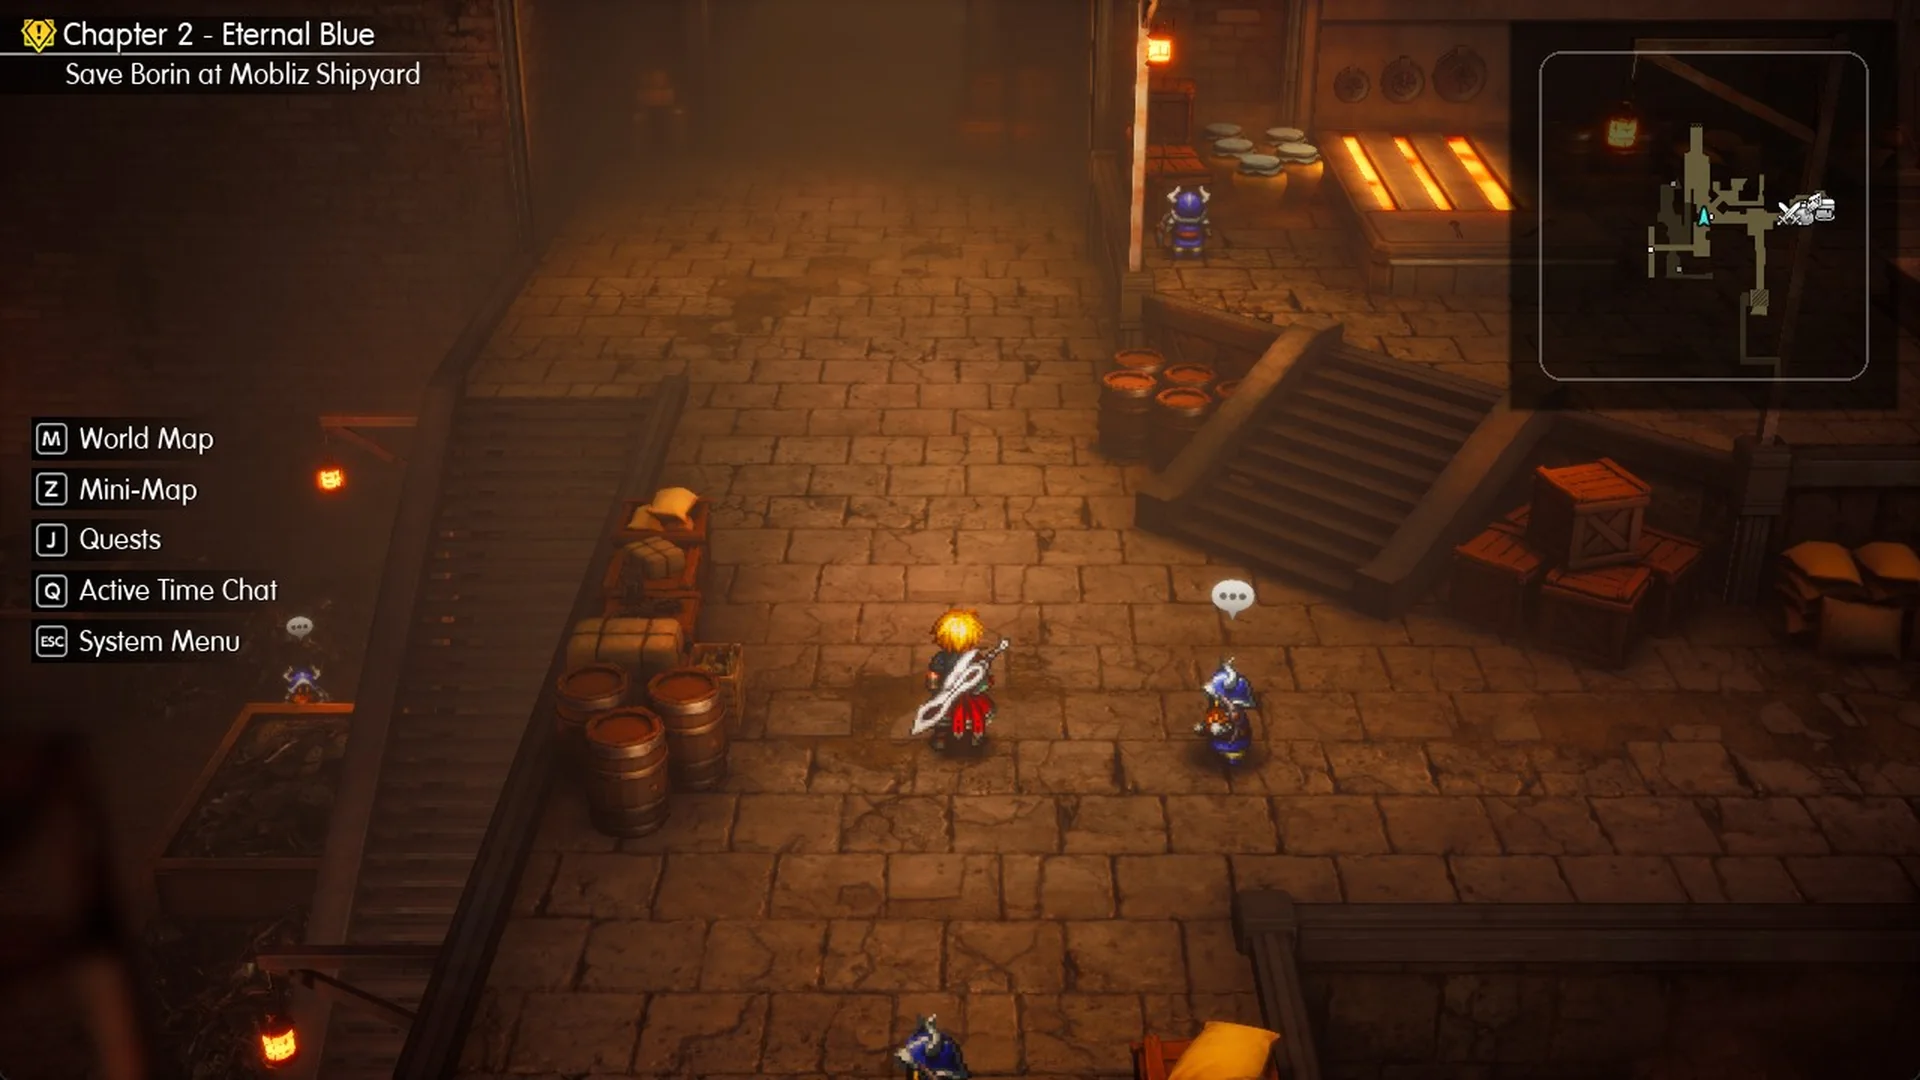
If the party is low on MP, rest at the inn before you leave. You’ll be back, too. Later in Chapter 2, the Forge is where several side quests start or end, including Verun’s “Arise, Mechabo!”, Roy’s “Lyrical Riddles” and the last step of Silvia’s “Elven Maven”. The rest of the story continues in the full walkthrough.