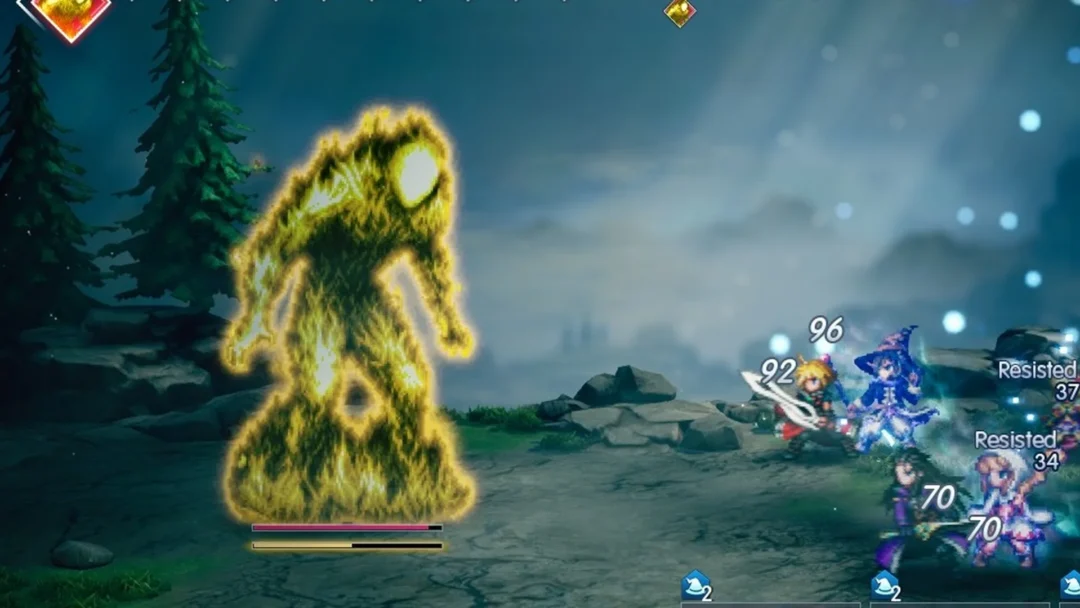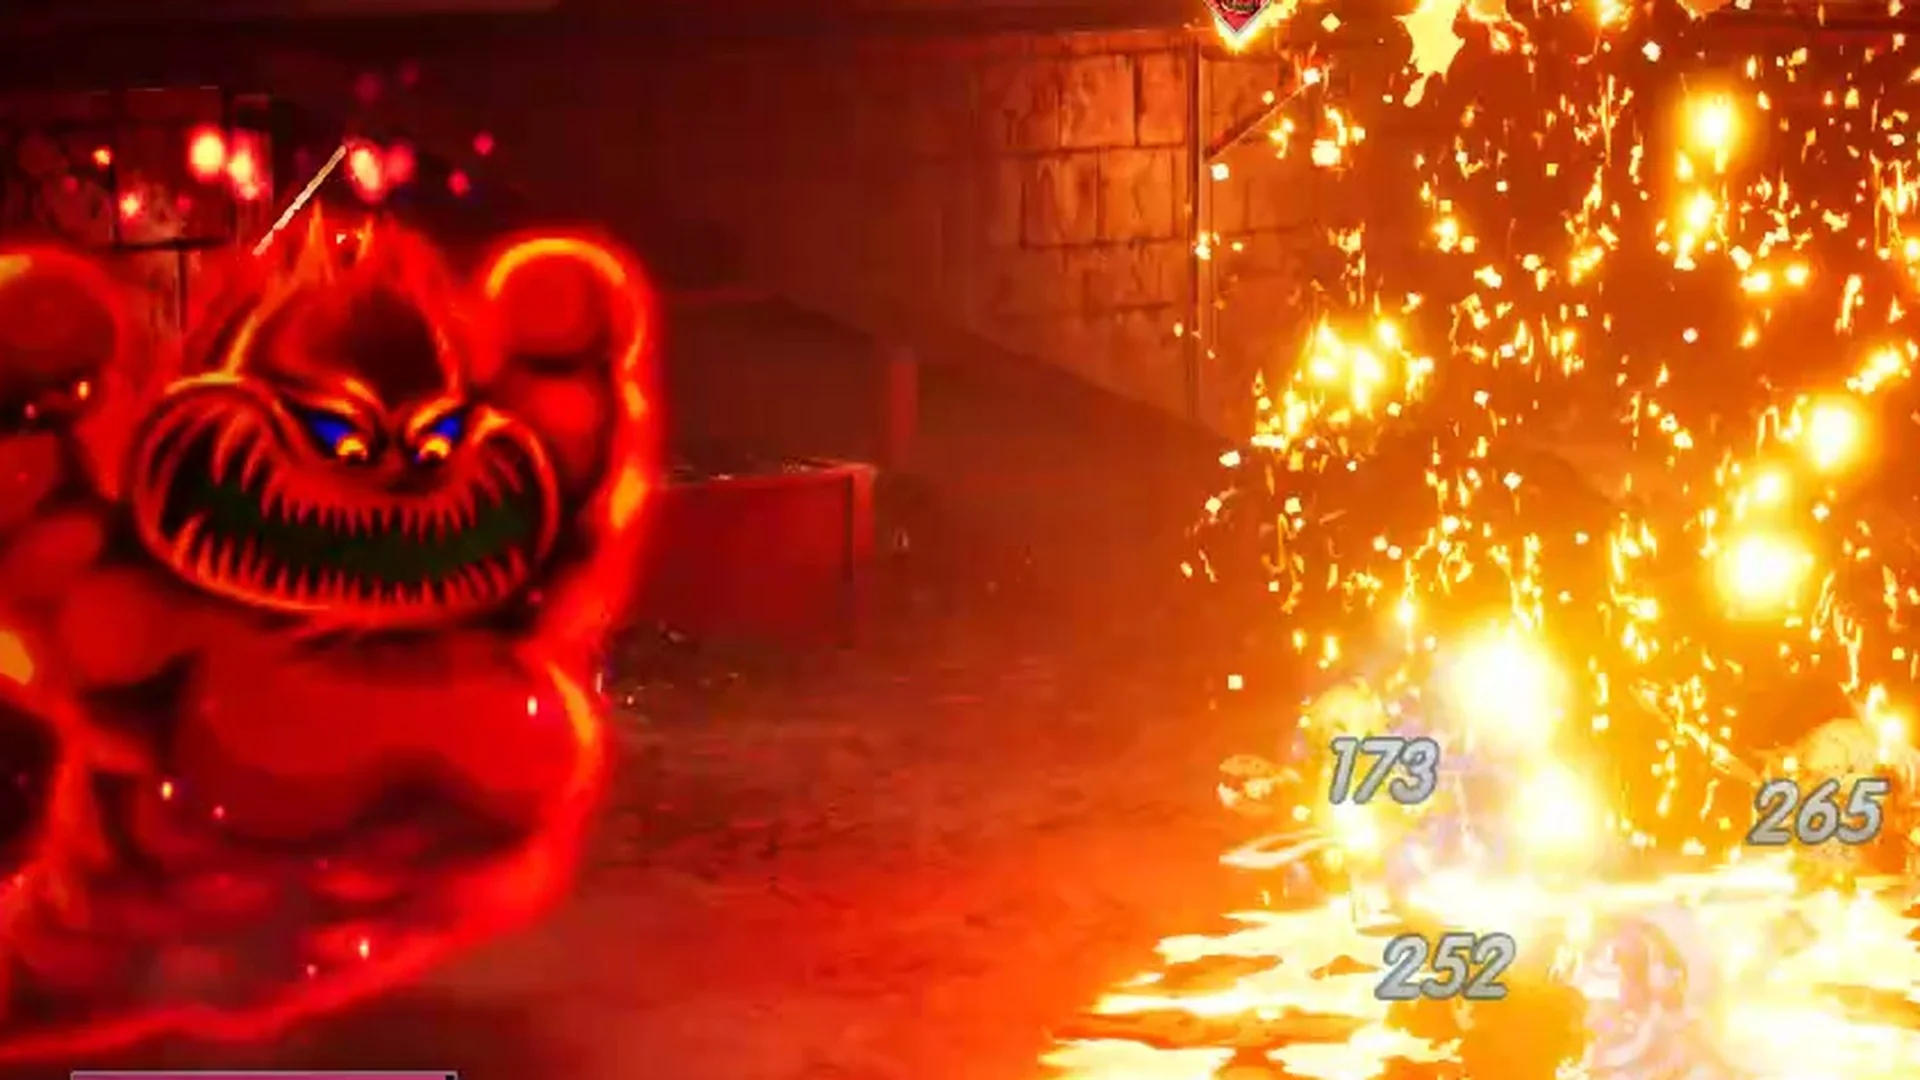
Mom Bomb is the Chapter 2 (“Eternal Blue”) boss in Final Fantasy Resonance. It waits inside the Dwarven Forge on Dirnado, one boss after Liquid Thunder, at the end of the road over Mt. Thunderclap. Borin the dwarf asks for help with “You see, a monster has taken up residence in the forge. It’s become a thorn in our side.” The objective then changes to “Defeat the monster at the forge”. The fight has two parts. First you wear down a single large bomb. Then you clean up the four smaller bombs that appear after it blows itself up.
Quick answer: Mom Bomb is a level 14 Demon with 21,000 HP, weak to Water and taking half damage from Fire. To start the fight, stand on the shadow at the base of its tail, face north (up the screen) and press F; if nothing happens, load your save and walk back. Cast Shellga first, heal the party with Cura, and spend Limit Bursts in each break turn. When the banner says “GONNA BLOW!”, heal everyone to full: on its next turn it uses Explode on the whole party and splits into four Great Bombs. Take the Great Bombs down one at a time. Winning gives 2,150 EXP, 3,600 Gil, 65 MRP and a Flame Scroll II.
| Mom Bomb | Value |
|---|---|
| Level | 14 |
| HP | 21,000 |
| Type | Demon |
| Weakness | Water |
| Resists | Fire (half damage) |
| Trait | “Self-destructs when HP is lowered.” |
| Drop | Flame Scroll II |
| Steal / rare drop | None |
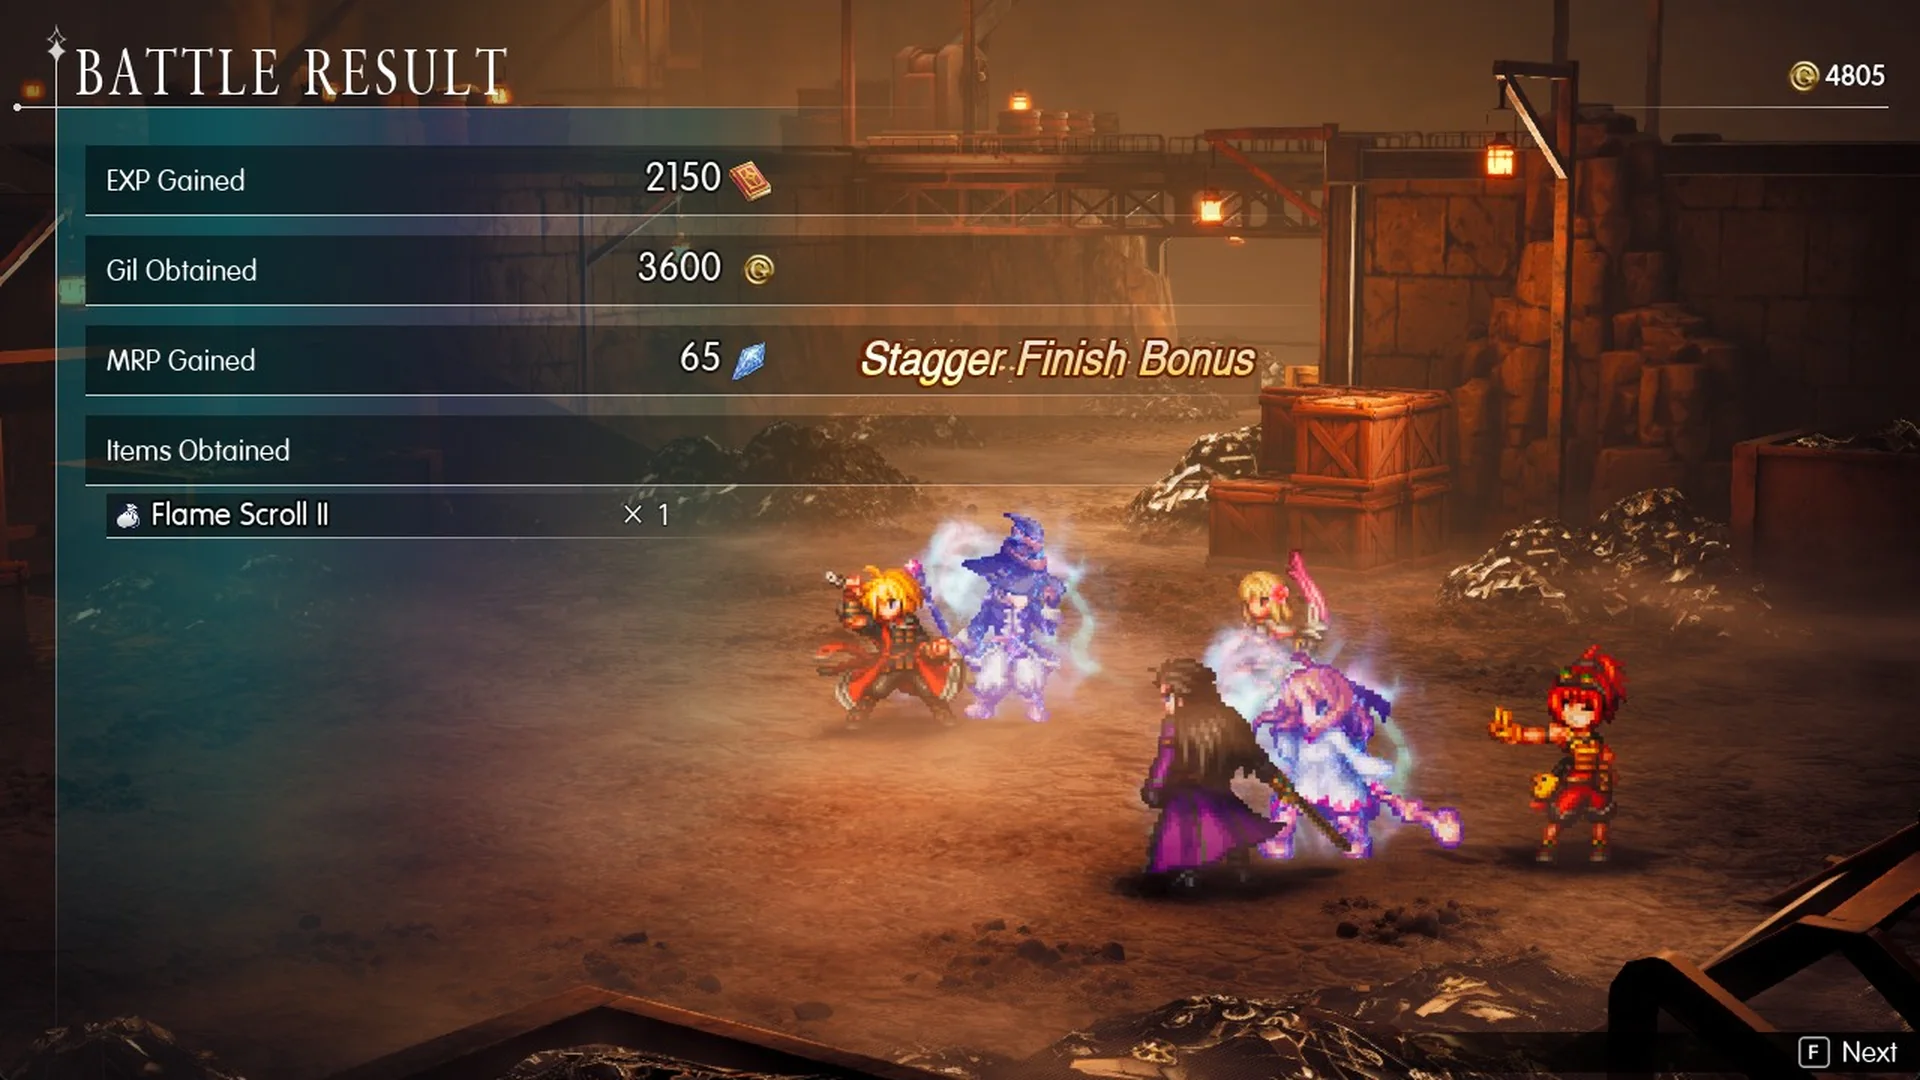
| Battle Result | 2,150 EXP, 3,600 Gil, 65 MRP |
The Battle Result total includes the four Great Bombs that appear partway through the fight.
Where to find Mom Bomb
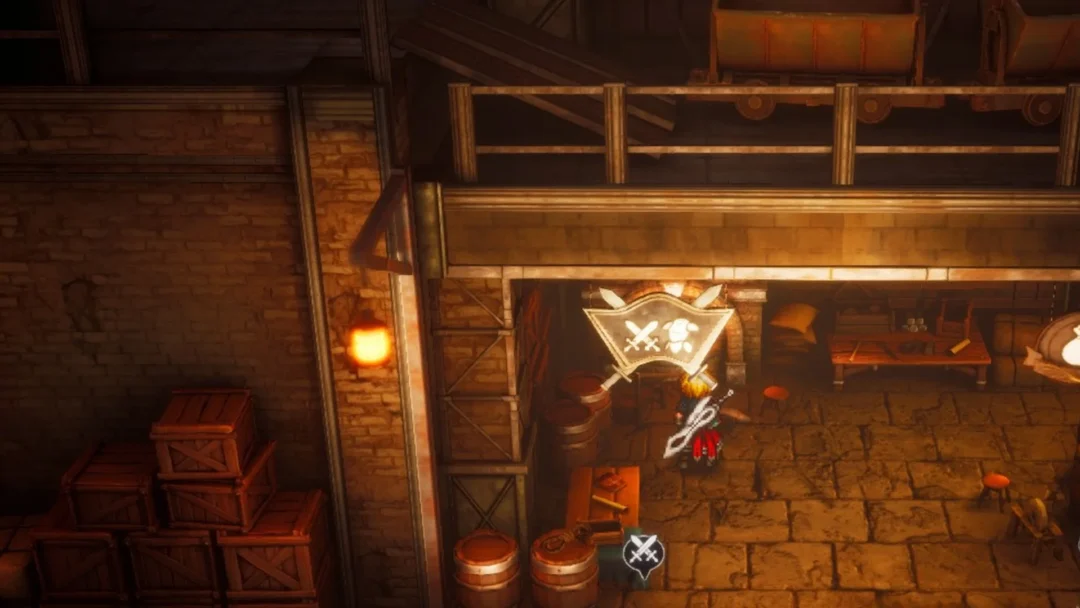
Mom Bomb is on the Forge’s lower floor. The way down stays closed until you talk to Borin, who is at the west end of the long counter on the main floor. For a complete guide to the area, see the Dwarven Forge walkthrough.
The lower floor has no save circle. Before you head down, save at the main floor circle in the east wing, beside the inn, and rest at the Forge inn for 100 Gil.
Mom Bomb floats in a small pocket lined with bins, with a yellow “!” above it. A dwarf stands beside it, but talking to him only gets you “H-help, lali! M-my legs turned to jelly—I can’t move, lali!”
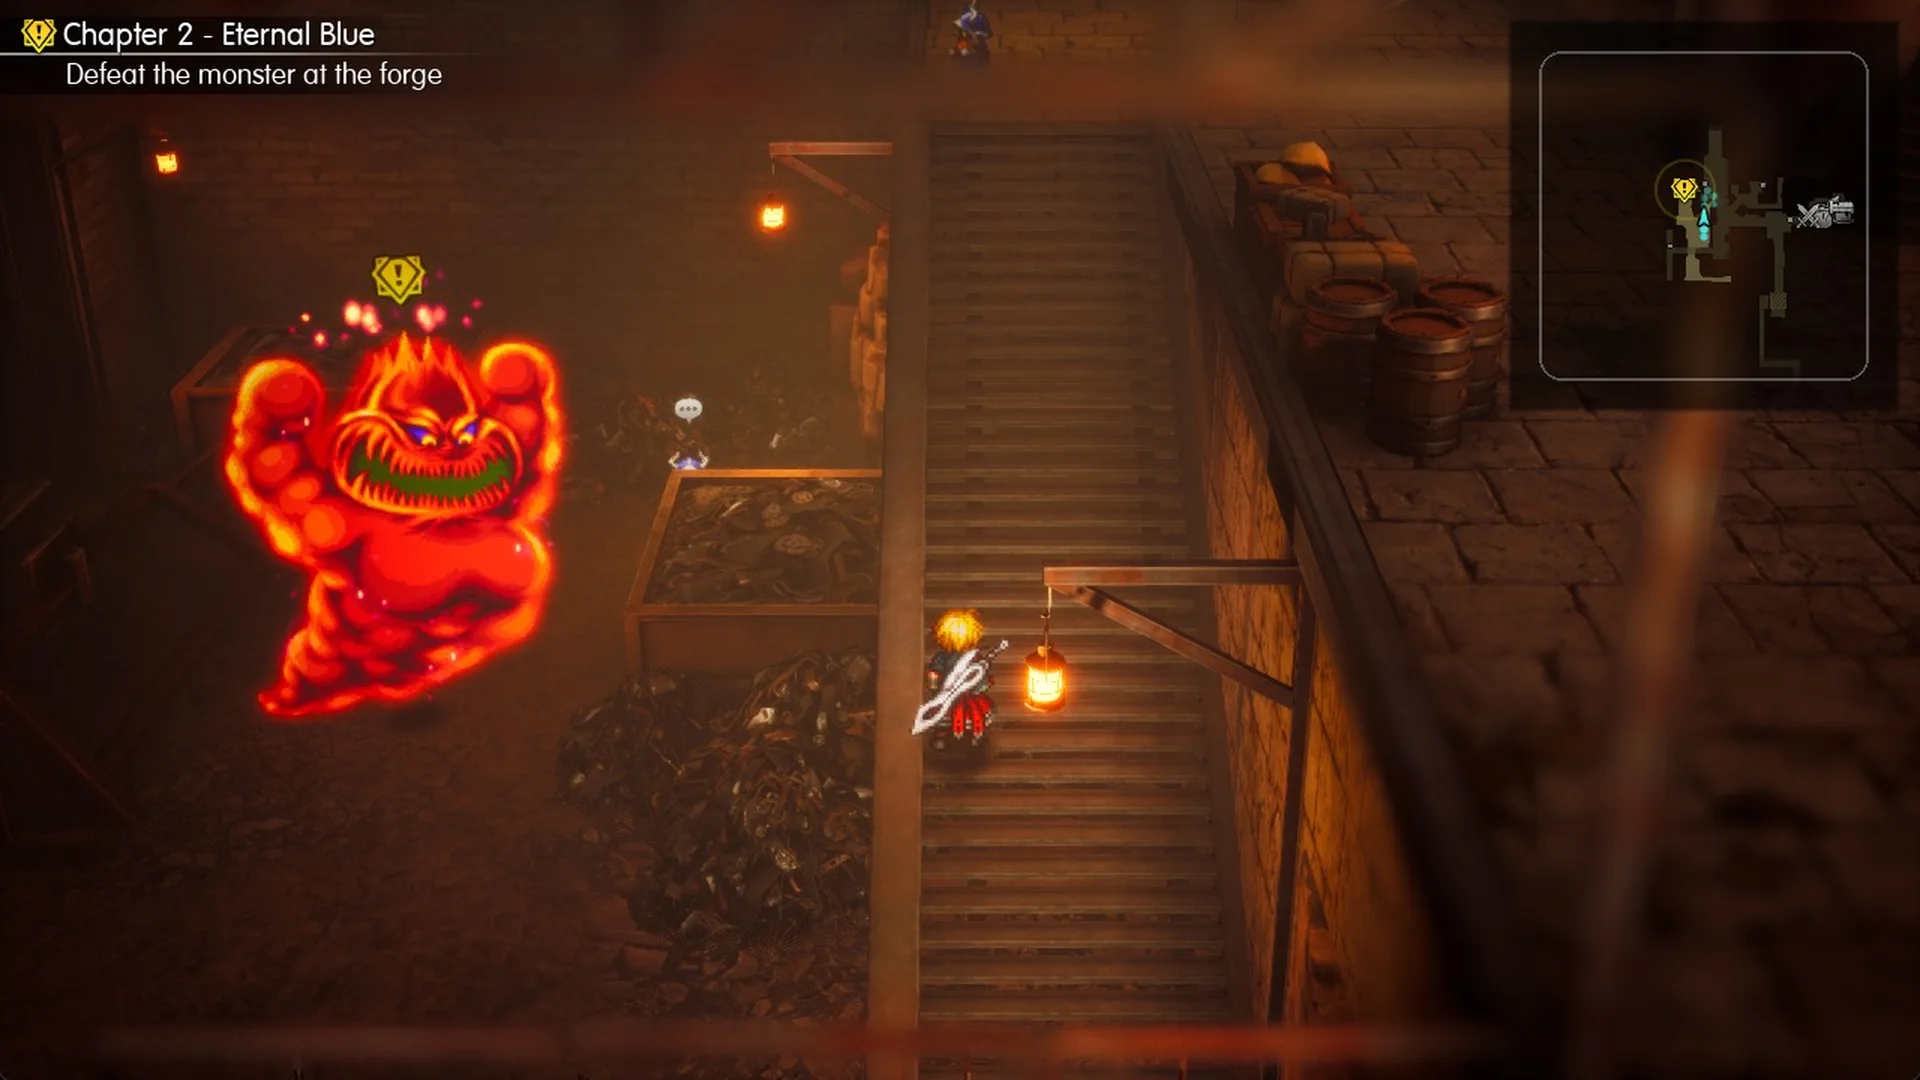
How to start the Mom Bomb fight (if it won’t trigger)
Mom Bomb’s body is solid. Walking into it does nothing. Pressing F while you face it from the south, east or west also does nothing, and so does talking to the dwarf. What started it was this:
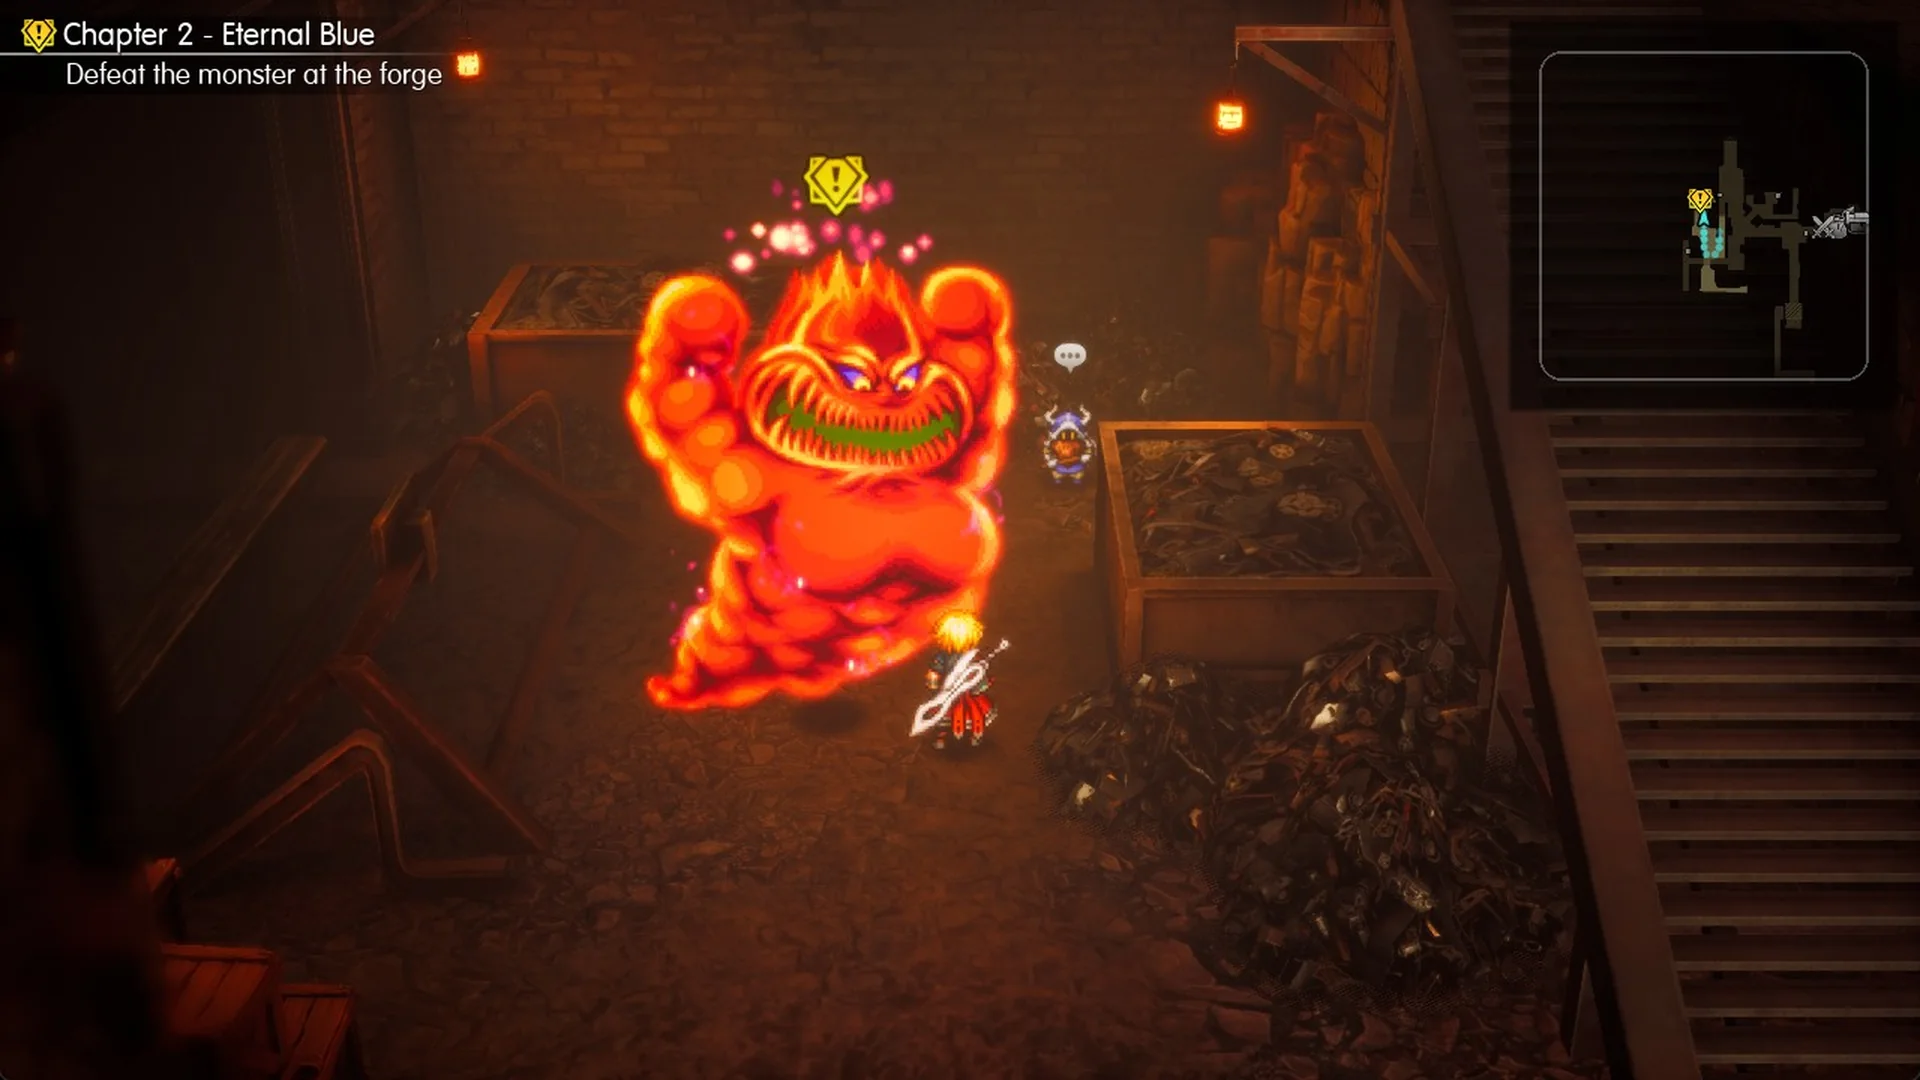
If pressing F there still won’t start the encounter, press Esc to open the System Menu and choose Load to reload your save. Return downstairs and try again. After a reload, the first press on the tail-base shadow facing north started the battle. The party’s line, “All right! Let’s give ’em what for!”, confirms that the battle has begun.
Mom Bomb’s stats and weakness
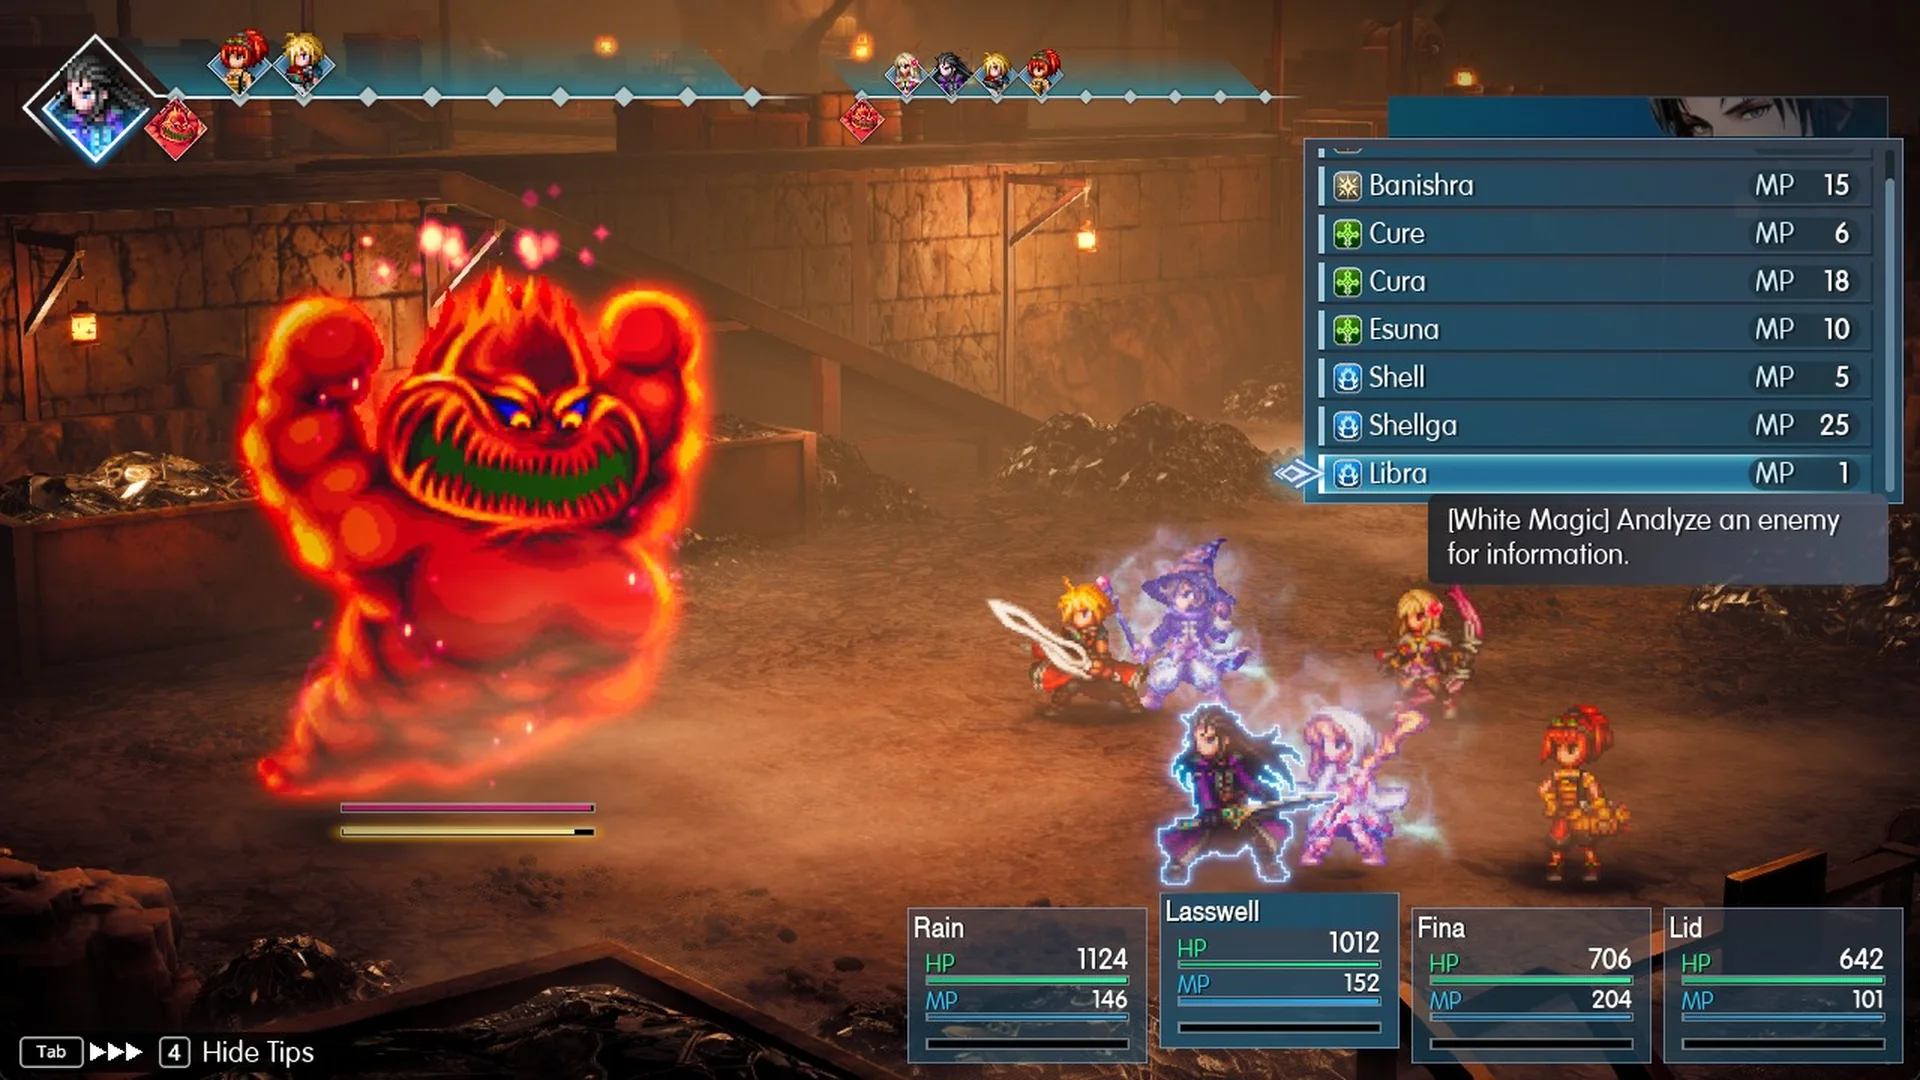
Libra, Lasswell’s White Magic spell (“Analyze an enemy for information.”), shows the full entry.
Mom Bomb is a level 14 Demon with 21,000 HP, and its trait says “Self-destructs when HP is lowered.” The drop is a Flame Scroll II. It has no Rare Drop, and you can steal neither a regular item nor a rare one.
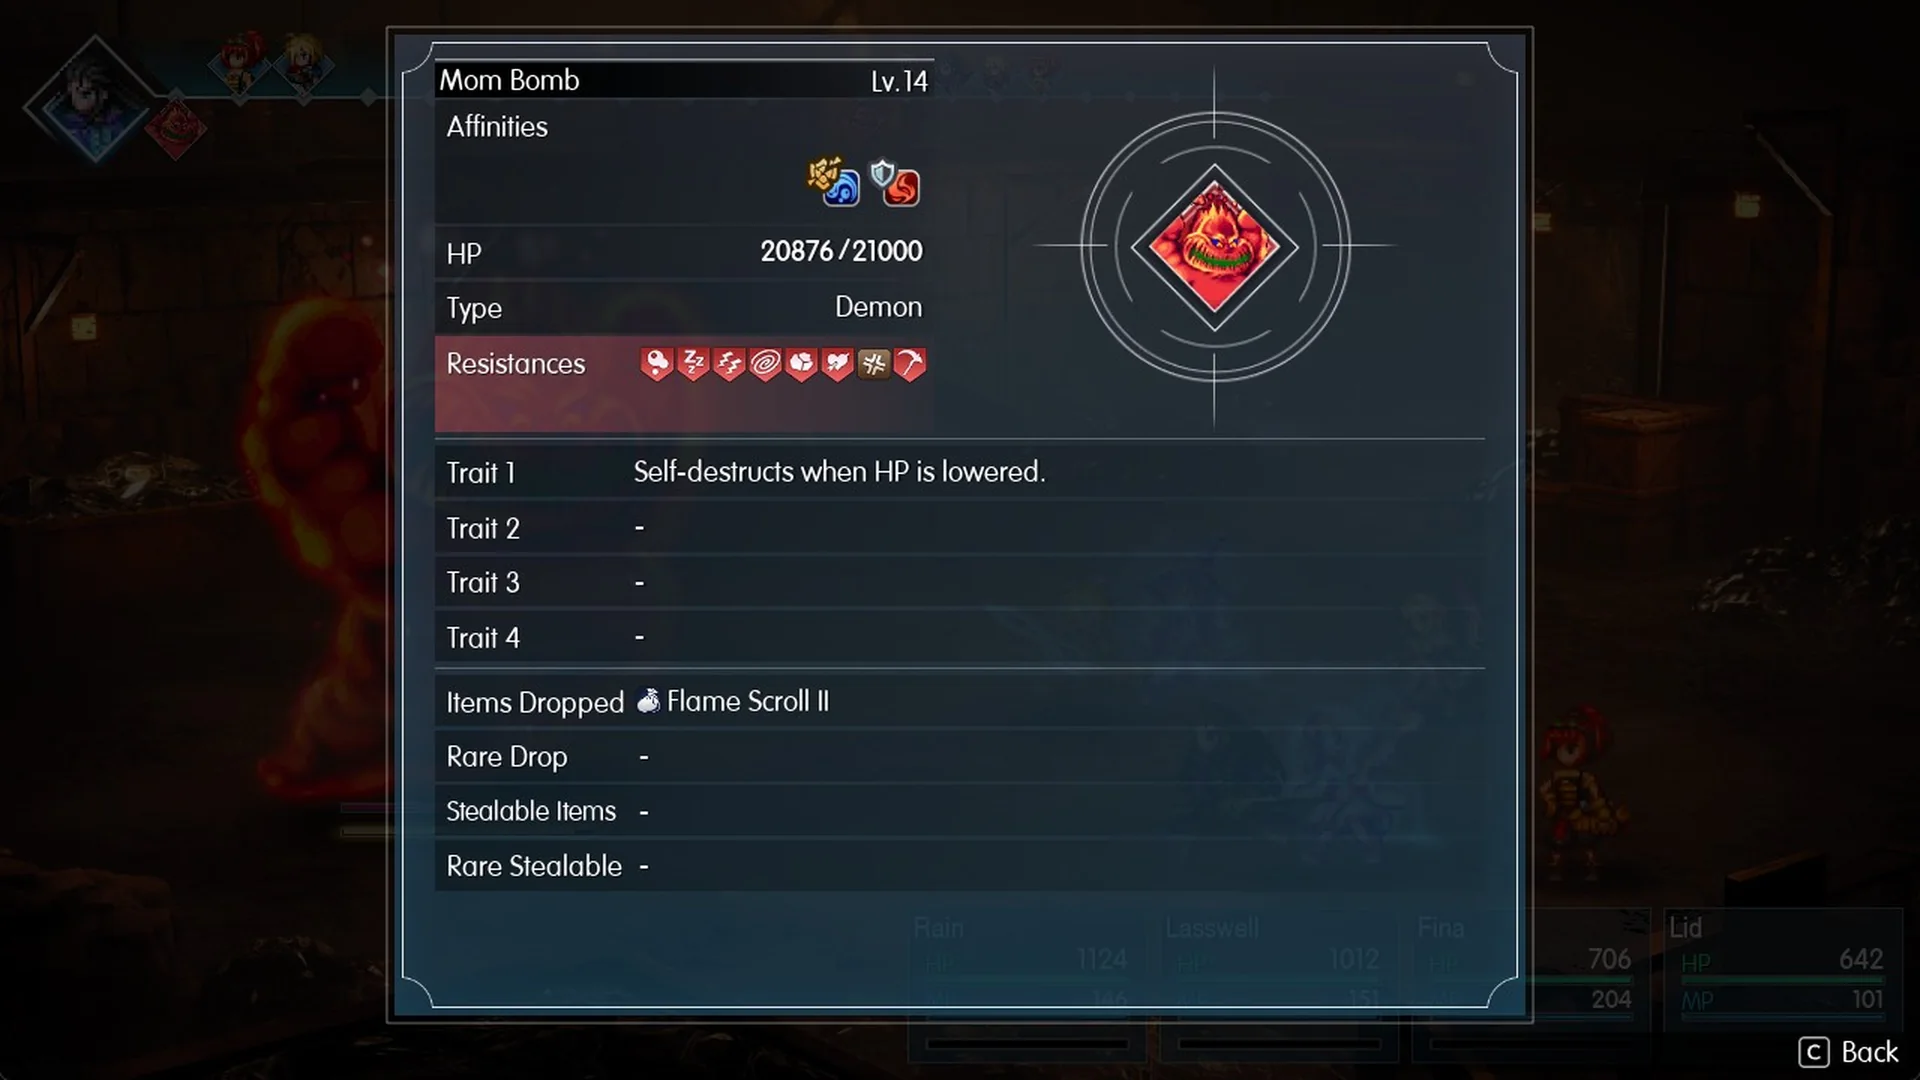
Water exploits Mom Bomb’s weakness, while Fire deals only half damage. Avoid using Fire: spells of that element, Flame Scrolls, and the Flametongue available from the Forge weapon shop are all reduced to half damage.
Water Scroll I costs 1,000 Gil at the Capital Market in Grandshelt (see the items list). Its description reads “Deals Water magic damage to a single enemy. Power increases and targets all enemies when thrown.” You can still reach Grandshelt by fast travel from Dirnado. Water is a bonus, though, not a requirement. The winning party had no Water at all and won with plain attacks, Lid’s Mechabo Kick and Limit Bursts.
Mom Bomb’s attacks
The damage figures below come from Normal difficulty with a party at levels 12 to 15.
| Attack | Who uses it | What it does | Damage seen |
|---|---|---|---|
| Crush | Mom Bomb | Hits one member | 280 on Fina |
| Firestorm | Mom Bomb | Hits whole party | 173–292 each |
| Fira | Mom Bomb | Whole party, two hits each | 257–450 total per member |
| Body Slam | Mom Bomb | One member, can paralyze | 186 on Lid |
| “GONNA BLOW!” | Mom Bomb | Self-destruct warning | None that turn |
| Explode | Mom Bomb | Hits whole party, splits into four Great Bombs | 360–587 each |
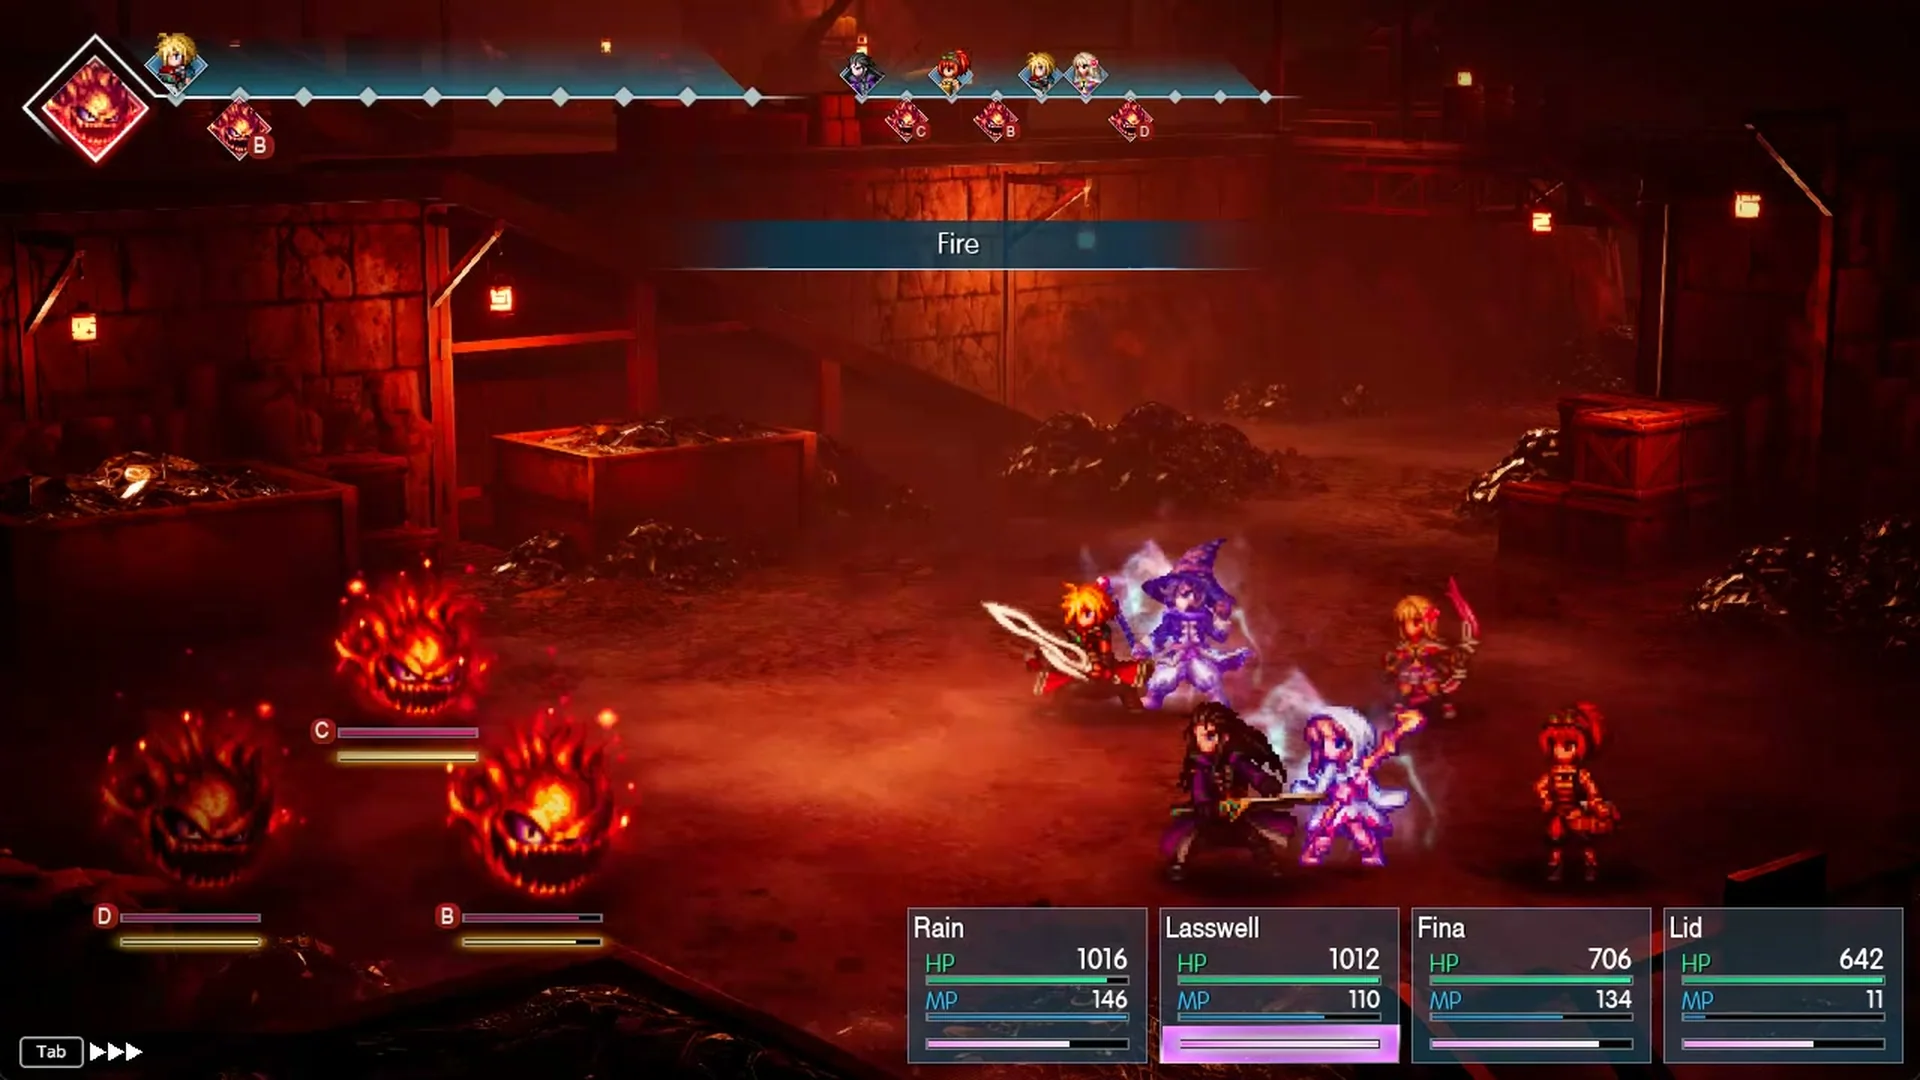
| Fire | Great Bomb | Hits one member | 108 on Rain |
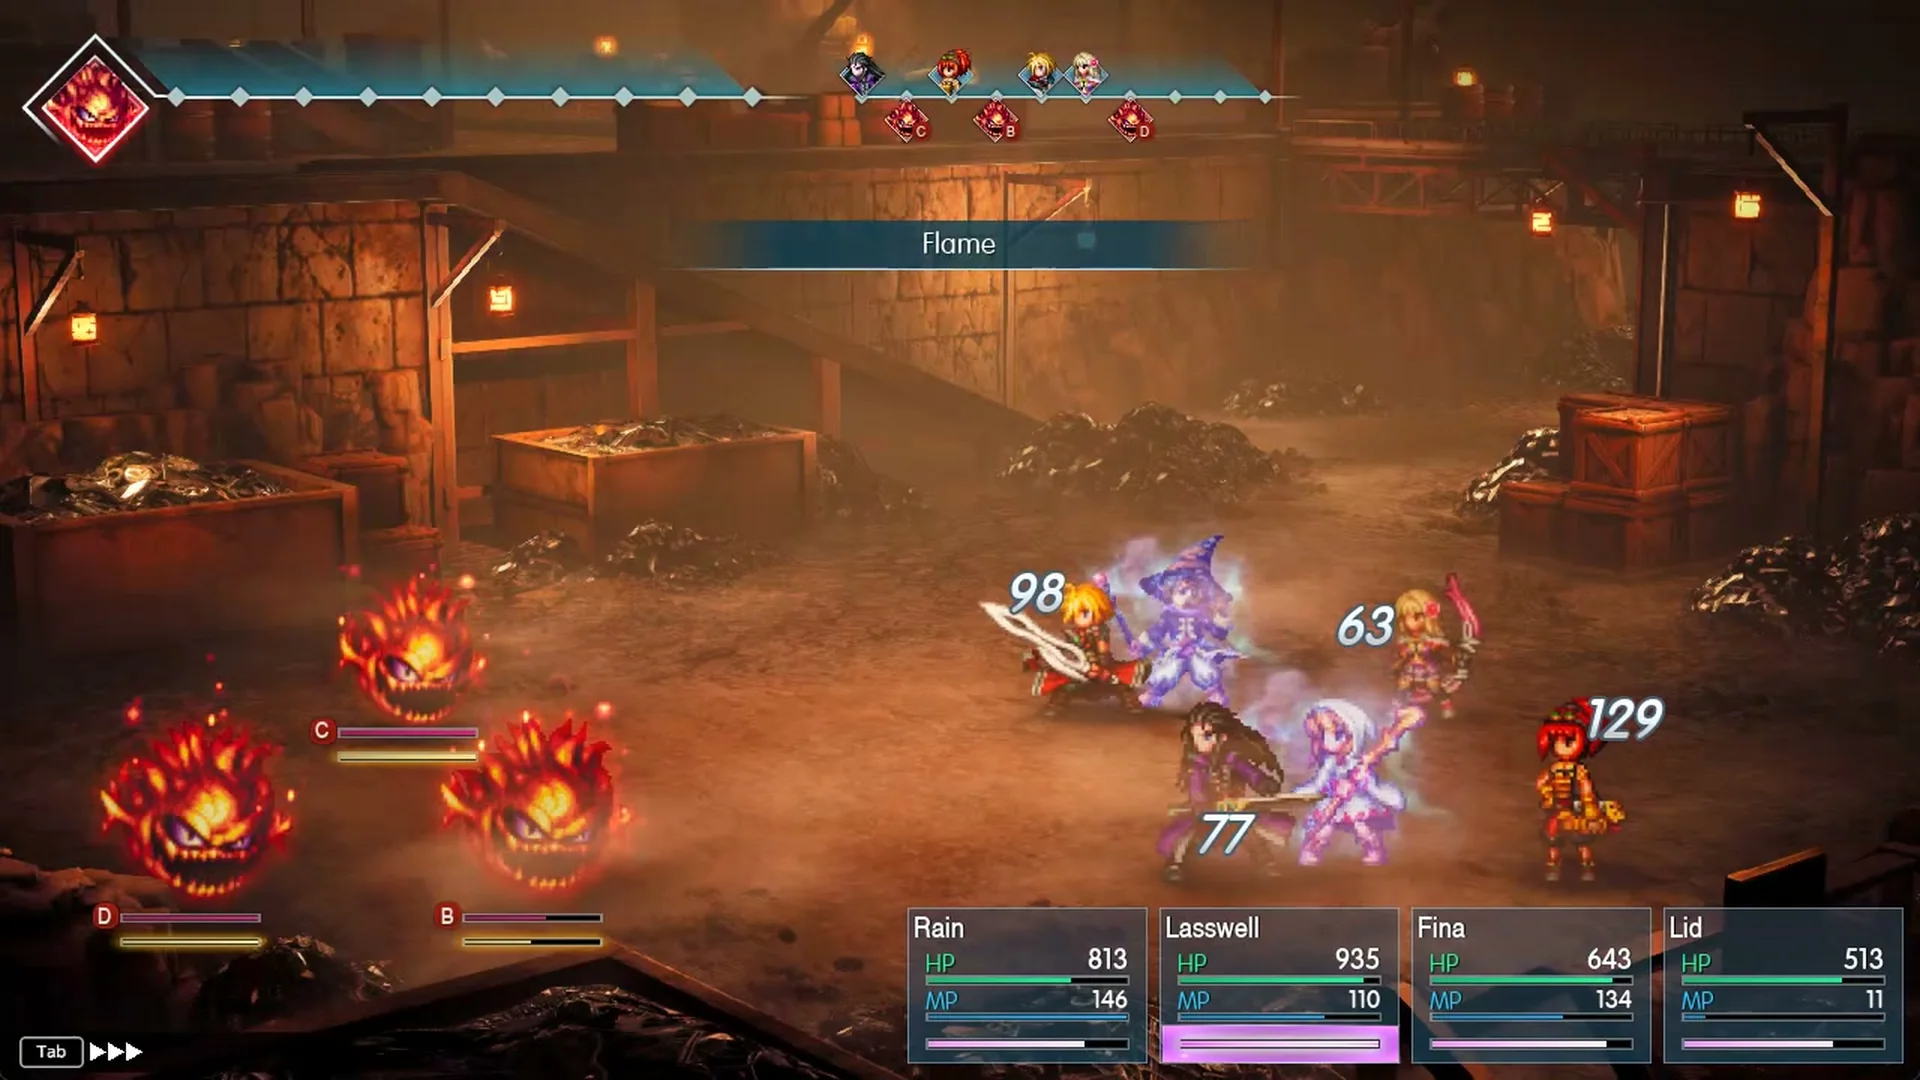
| Flame | Great Bomb | Hits whole party | 63–129 each |
| Bash | Great Bomb | Hits one member | 80 on Lid |
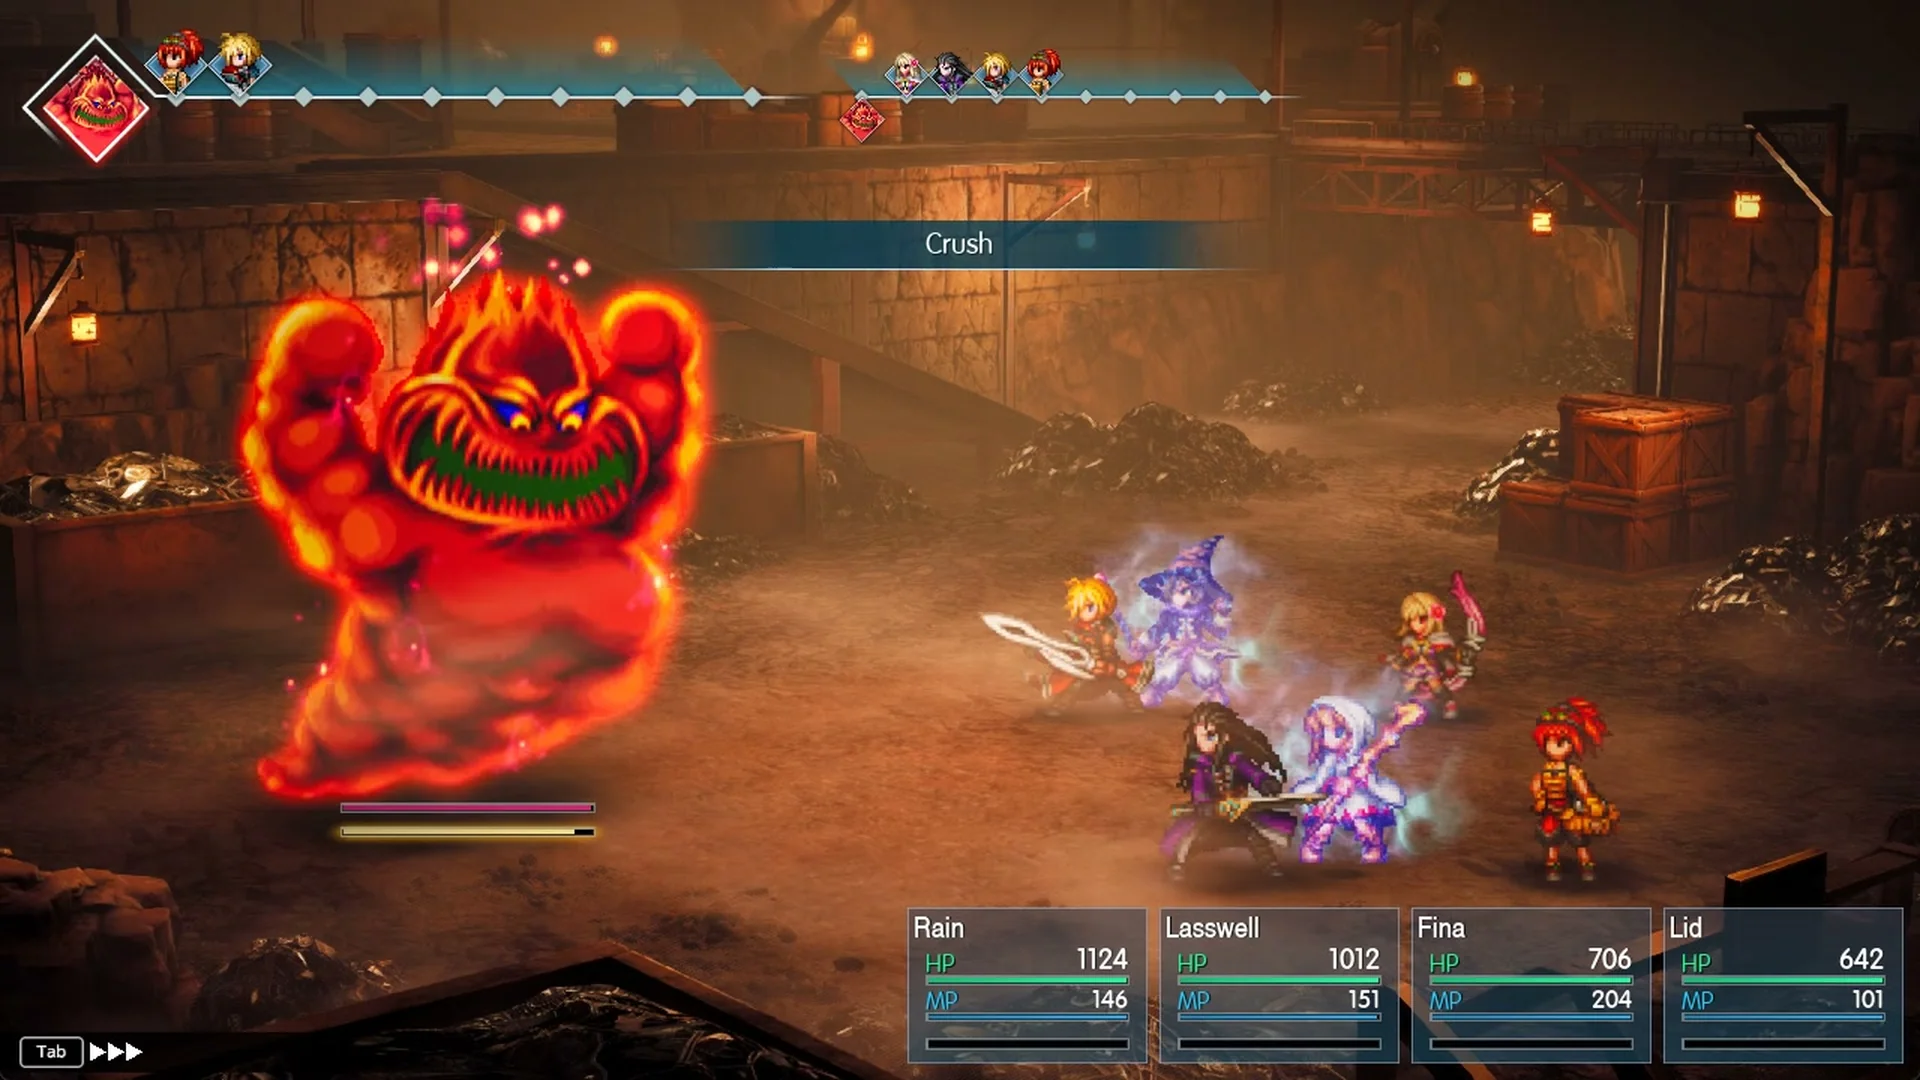
Crush hits one party member; it took 280 from Fina.
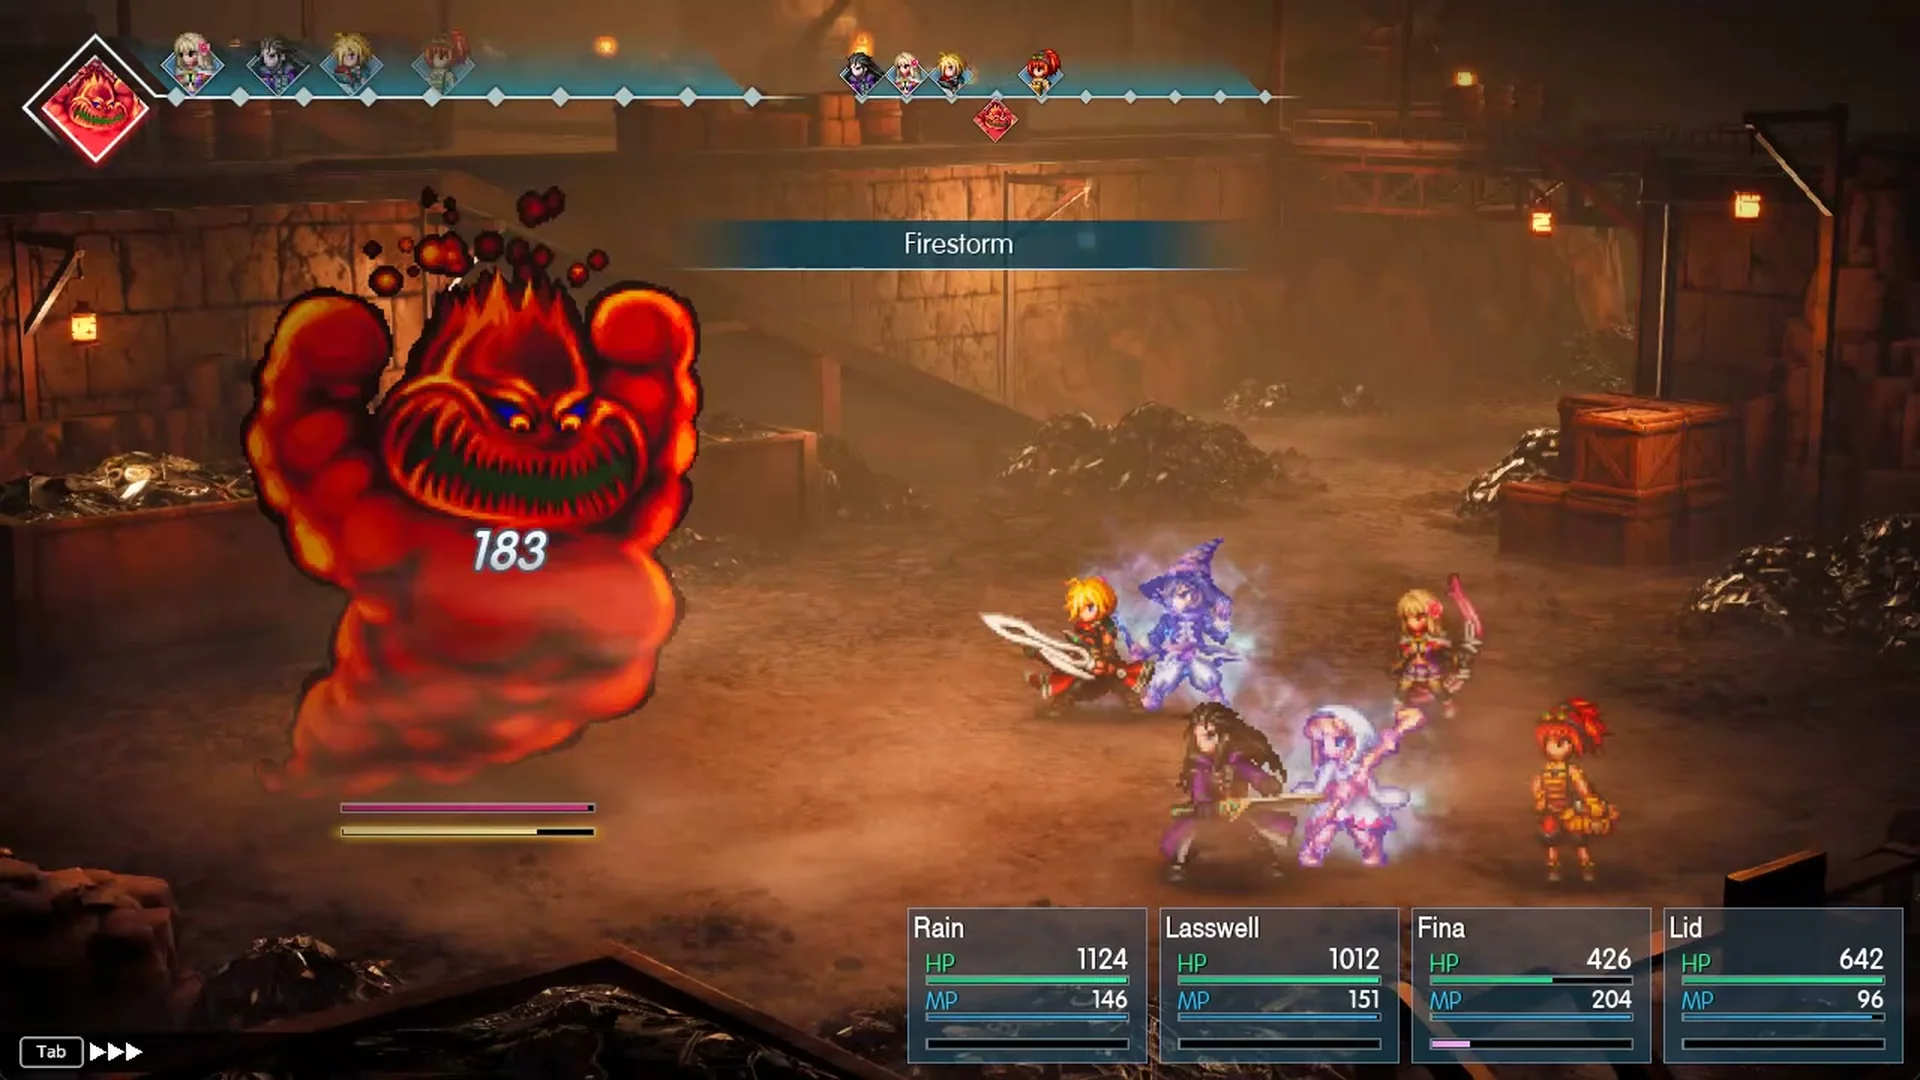
Firestorm sweeps the whole party for 173 to 292 each.
Fira is the hardest of its regular moves: it hits every party member twice, and Lid lost 450 of her 642 HP to it.
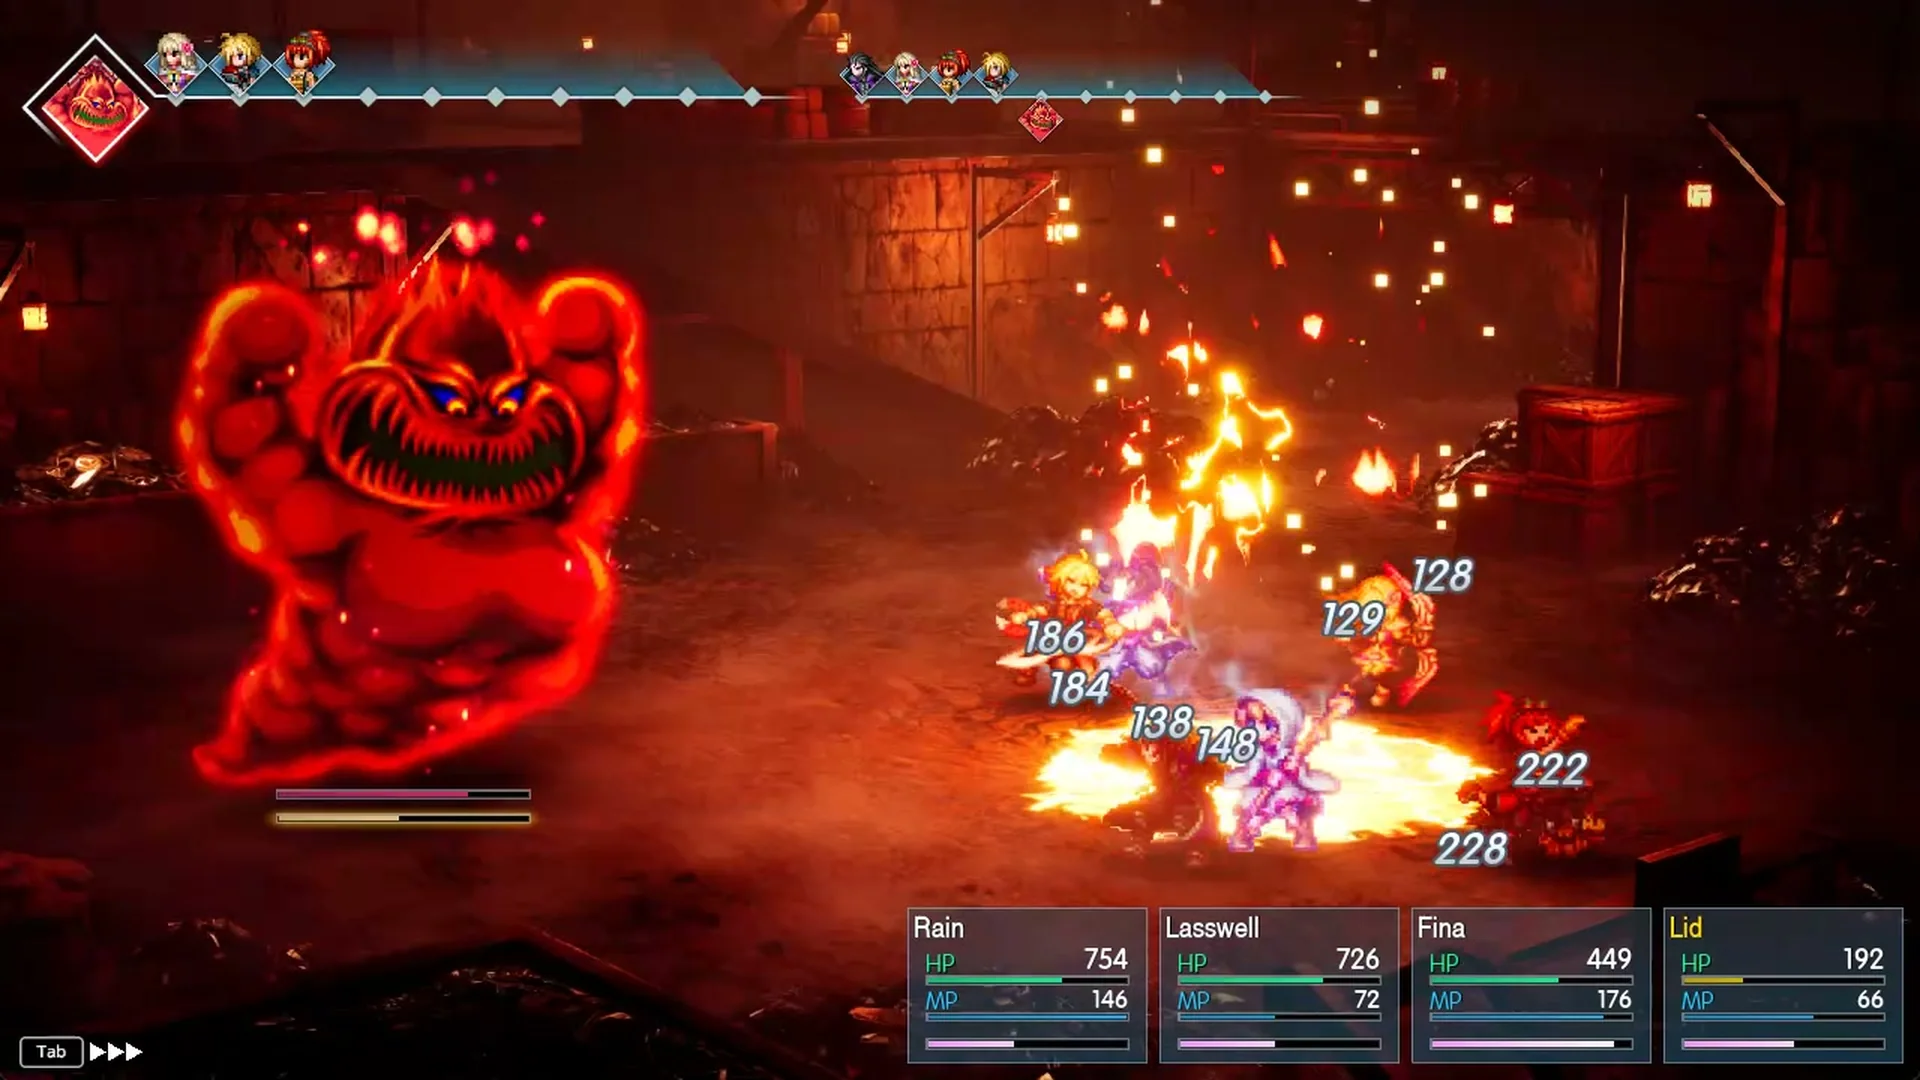
Body Slam hits one member and can paralyze them; the game shows “Lid is paralyzed!”. Rain and Fina were paralyzed later in the same fight, so a Unicorn Horn (“Cures Paralysis.”, 500 Gil in the Forge item shop) is worth carrying.
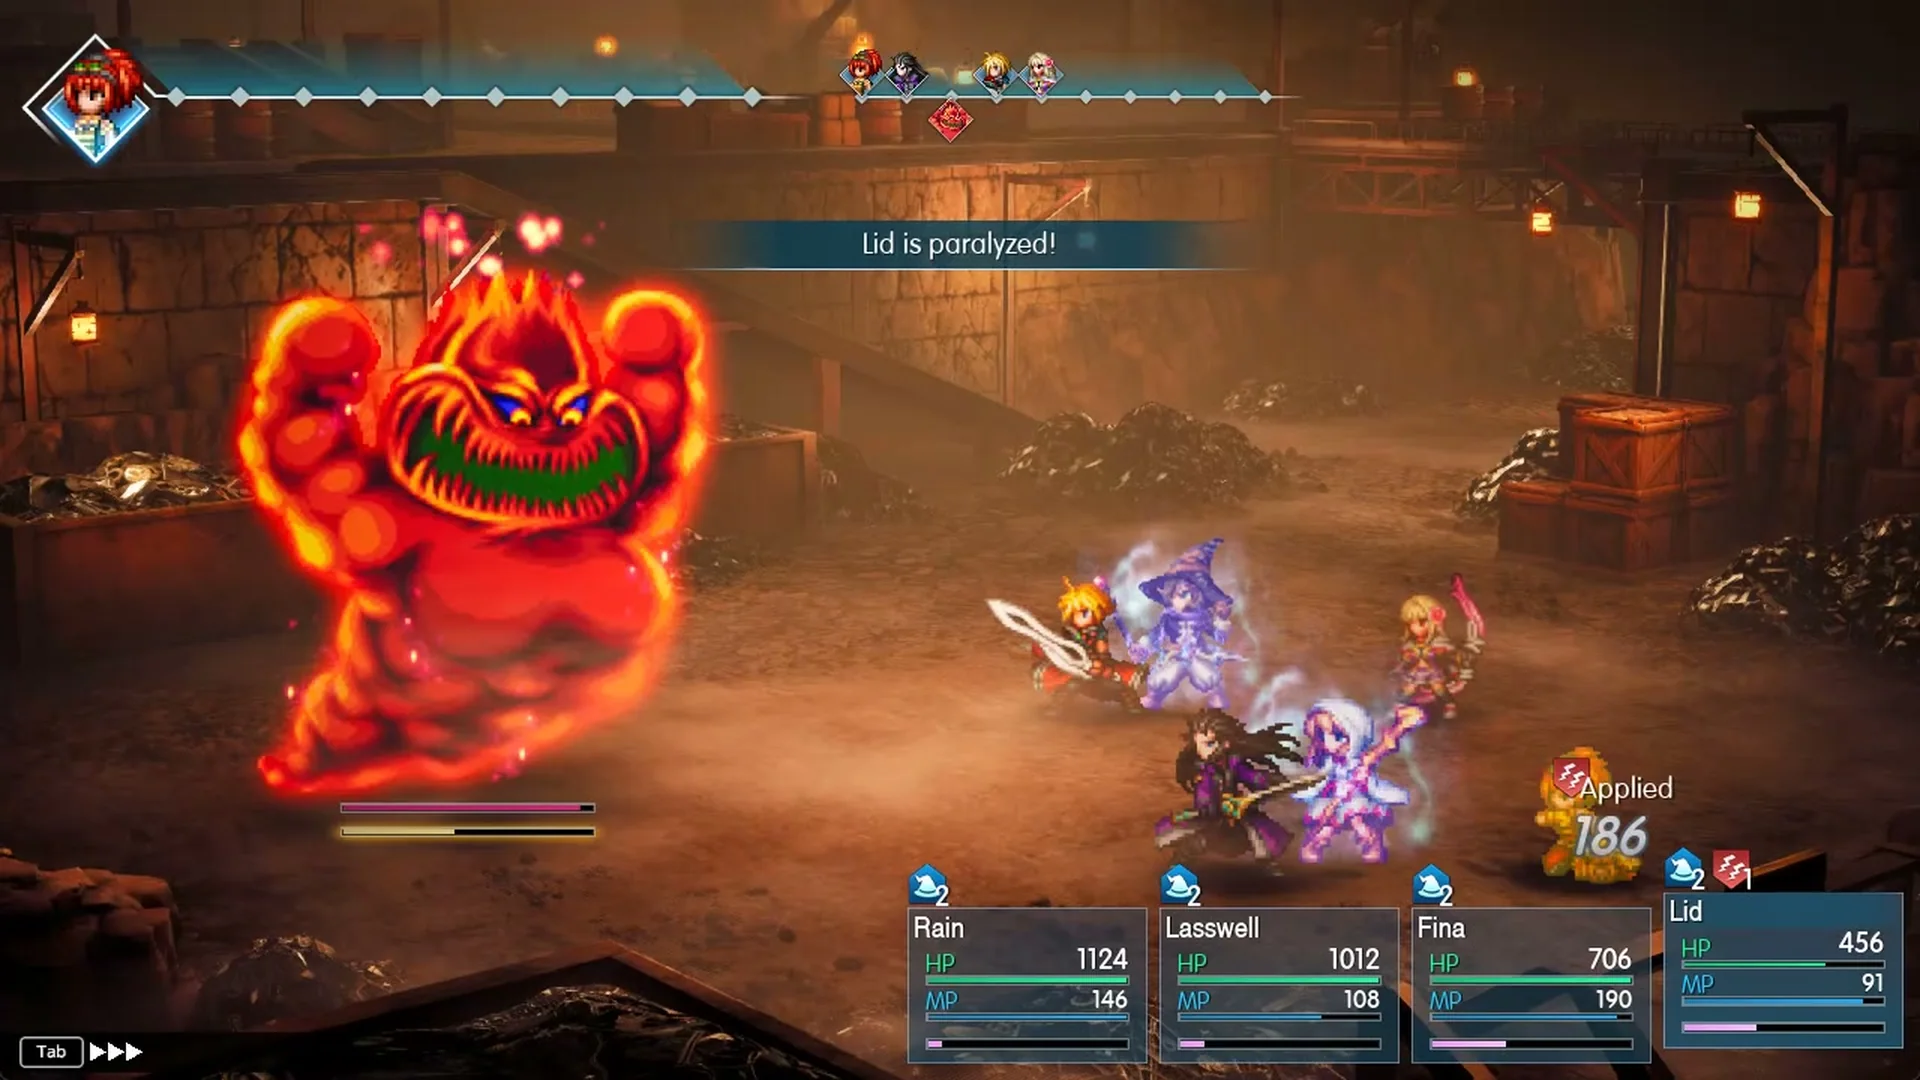
Once its HP gets low, its self-destruct trait shows the “GONNA BLOW!” banner. Nothing hits you that turn.
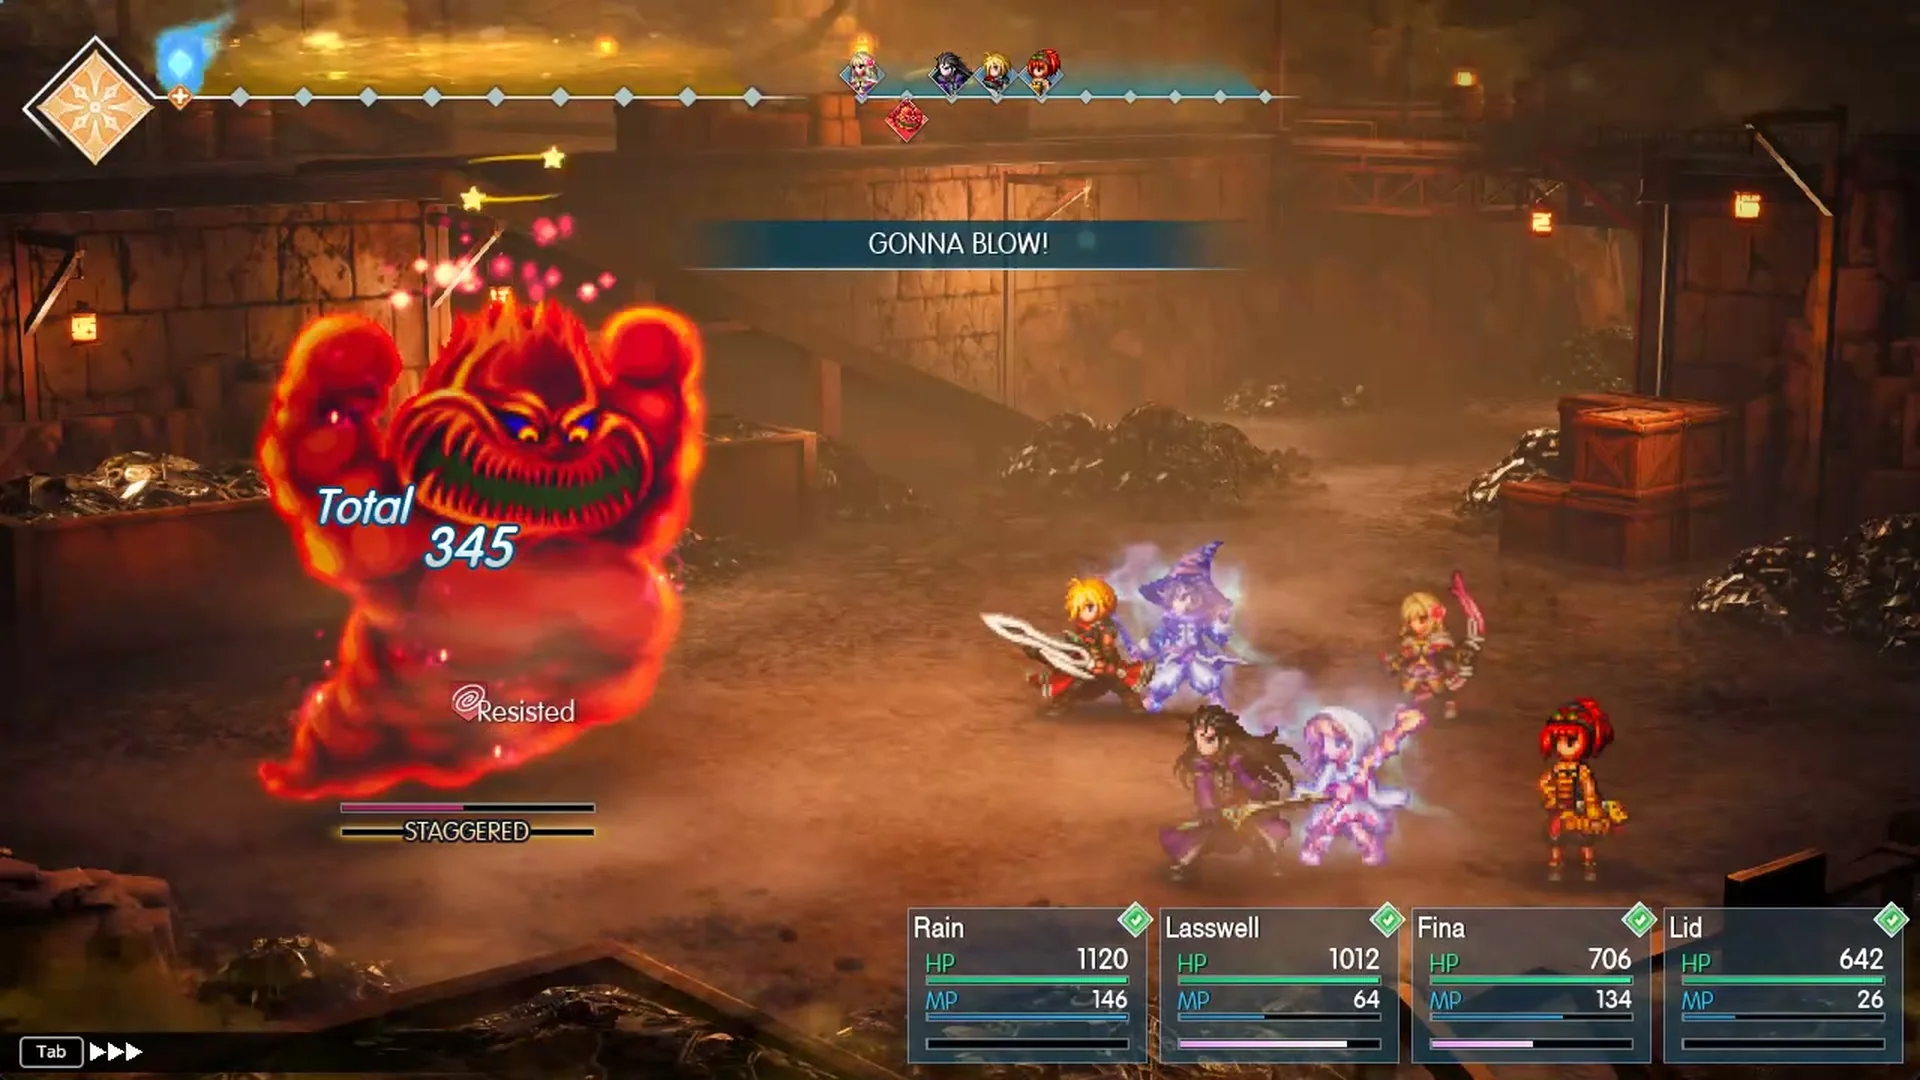
On its next turn it uses Explode on the whole party: 479 on Rain, 388 on Lasswell, 360 on Fina and 587 on Lid, leaving her with 55 HP. Mom Bomb had 9,612 of its 21,000 HP left just before it blew.
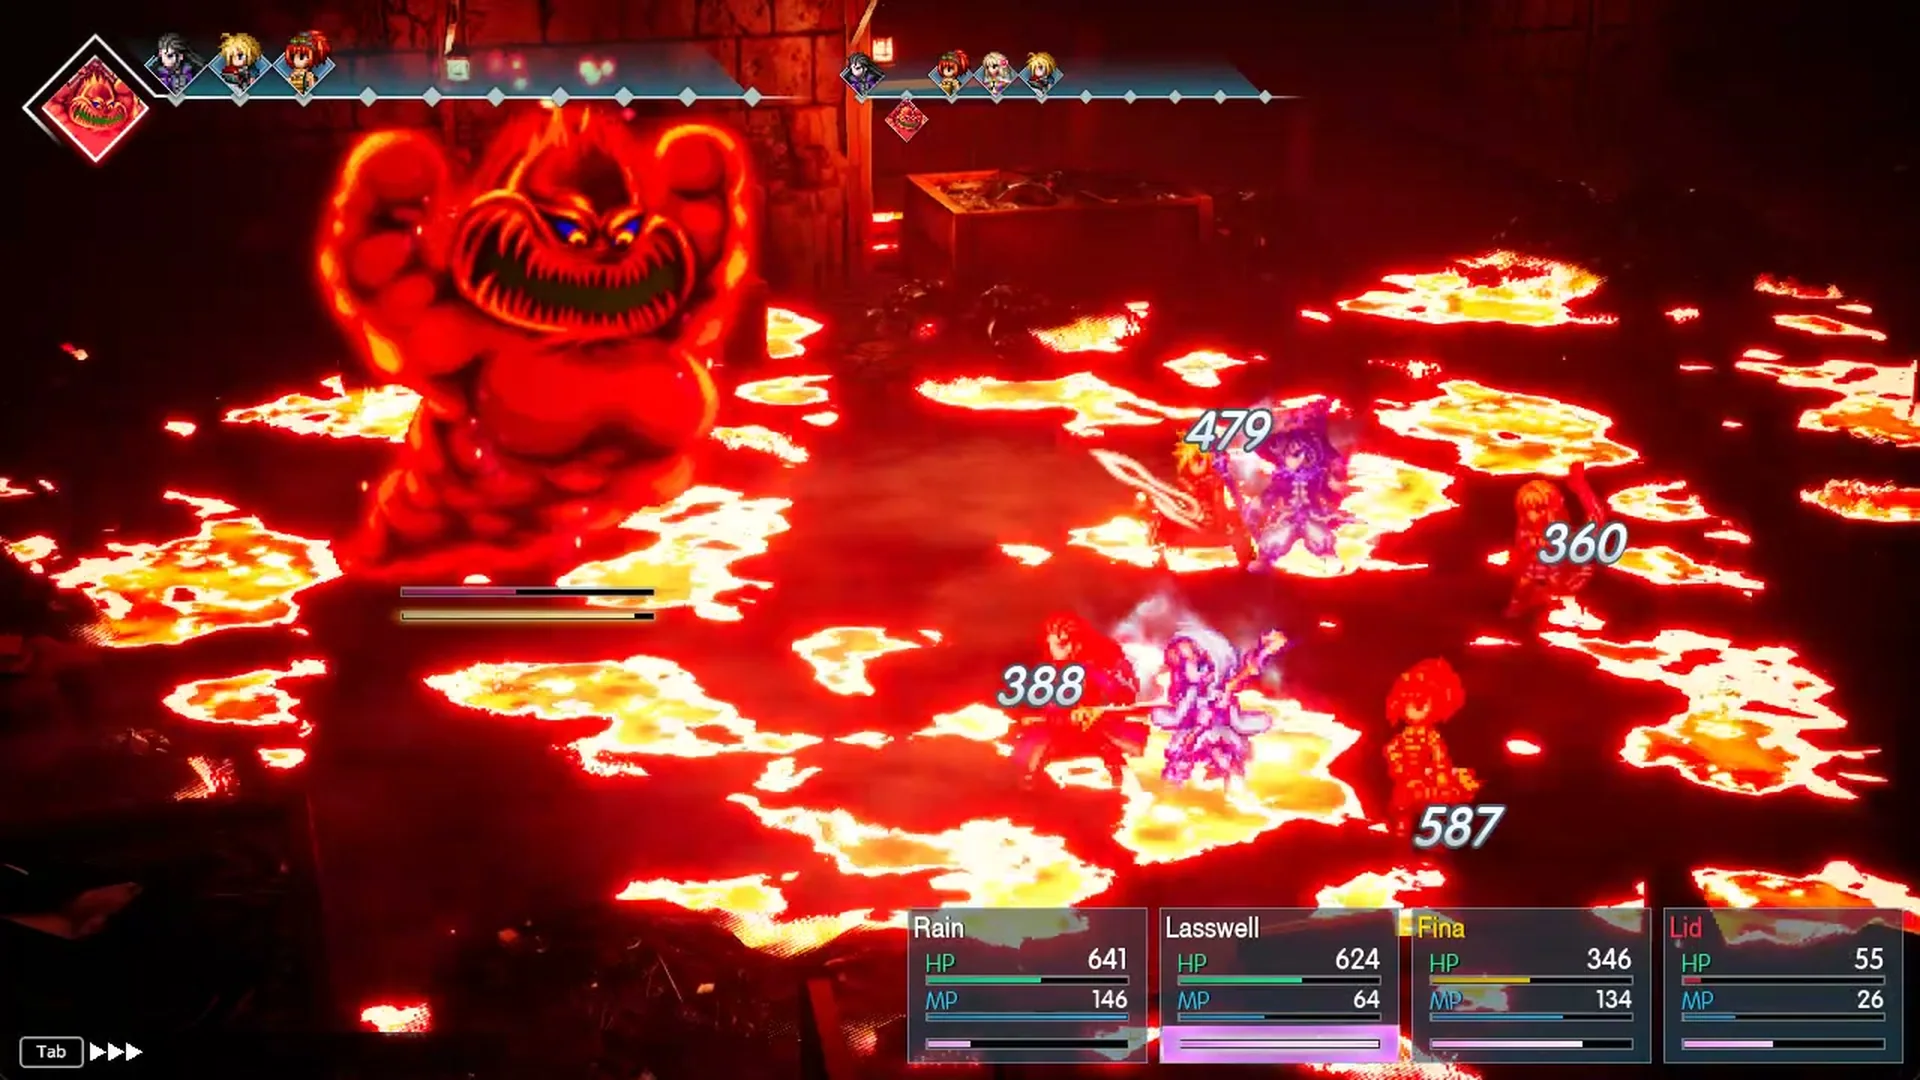
Then Mom Bomb is gone, and four Great Bombs, labelled A, B, C and D, take its place.
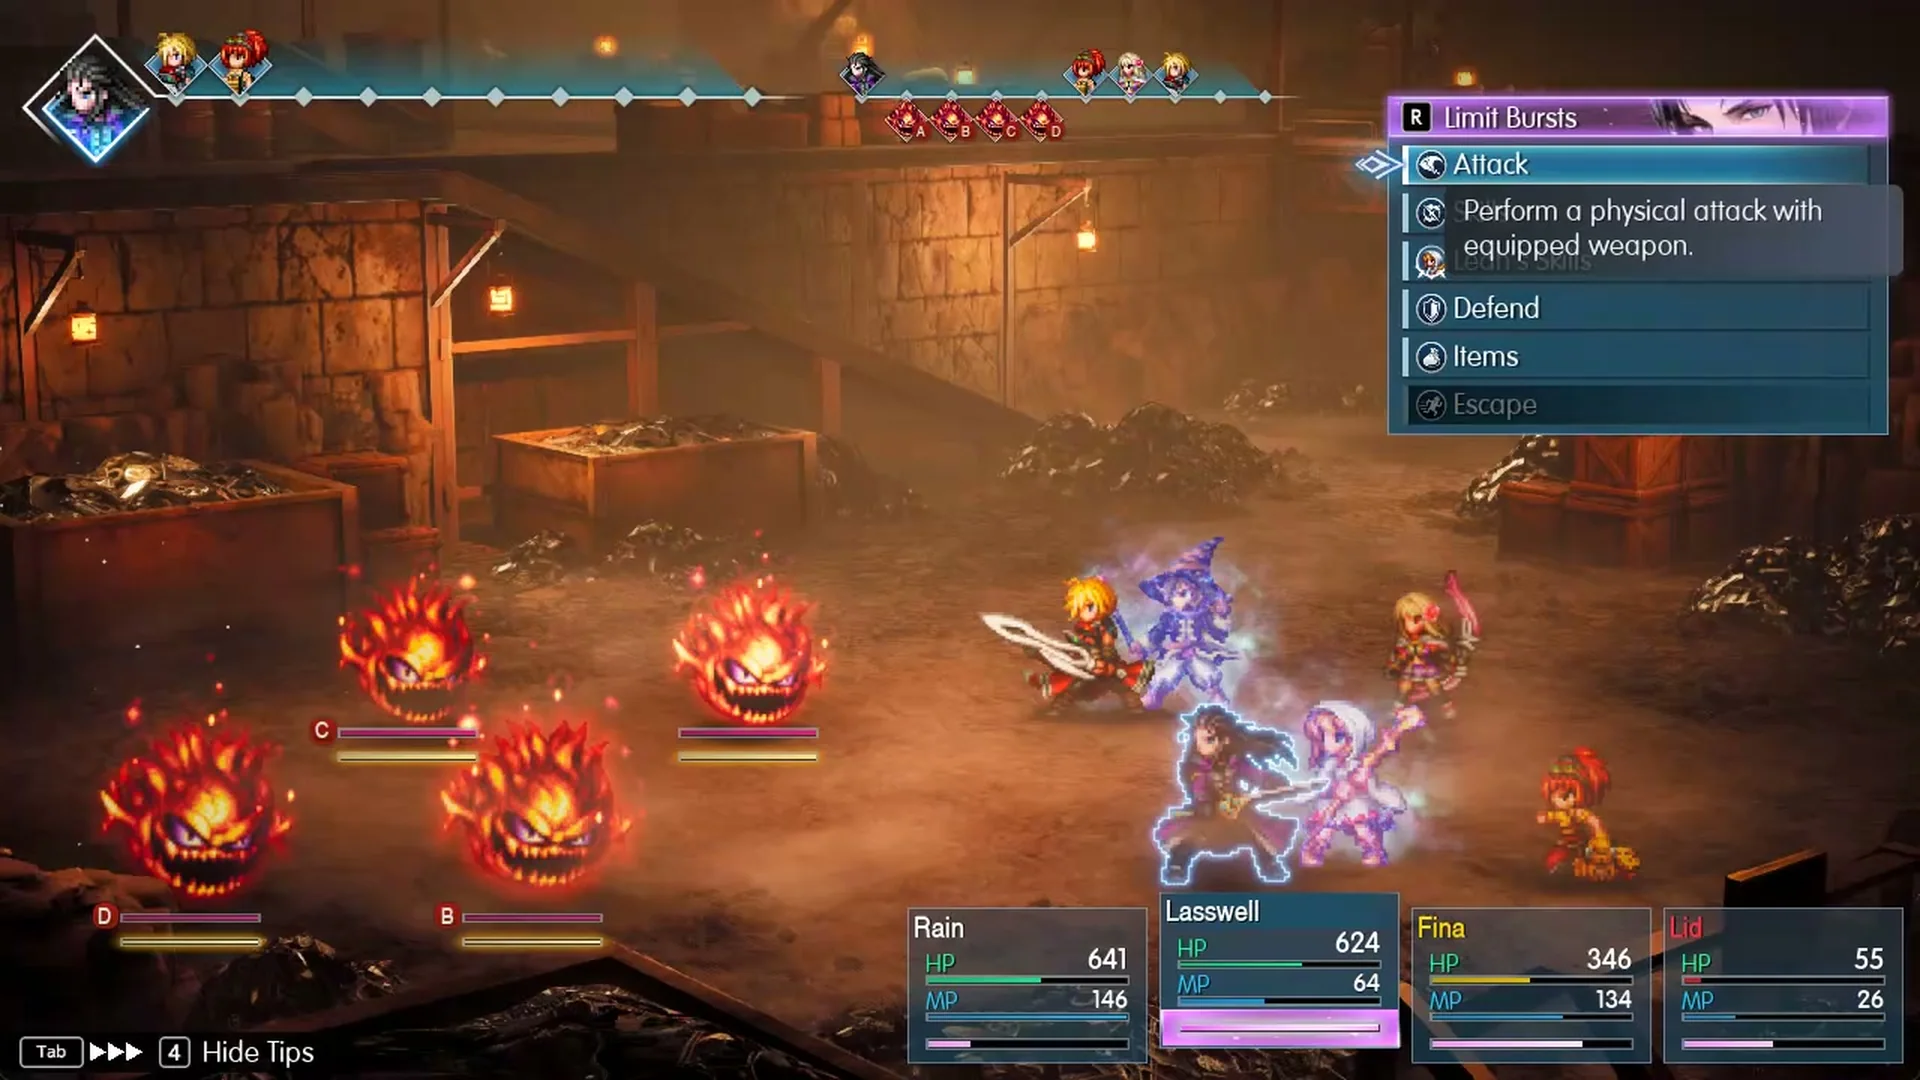
Each one is a level 14 Great Bomb.
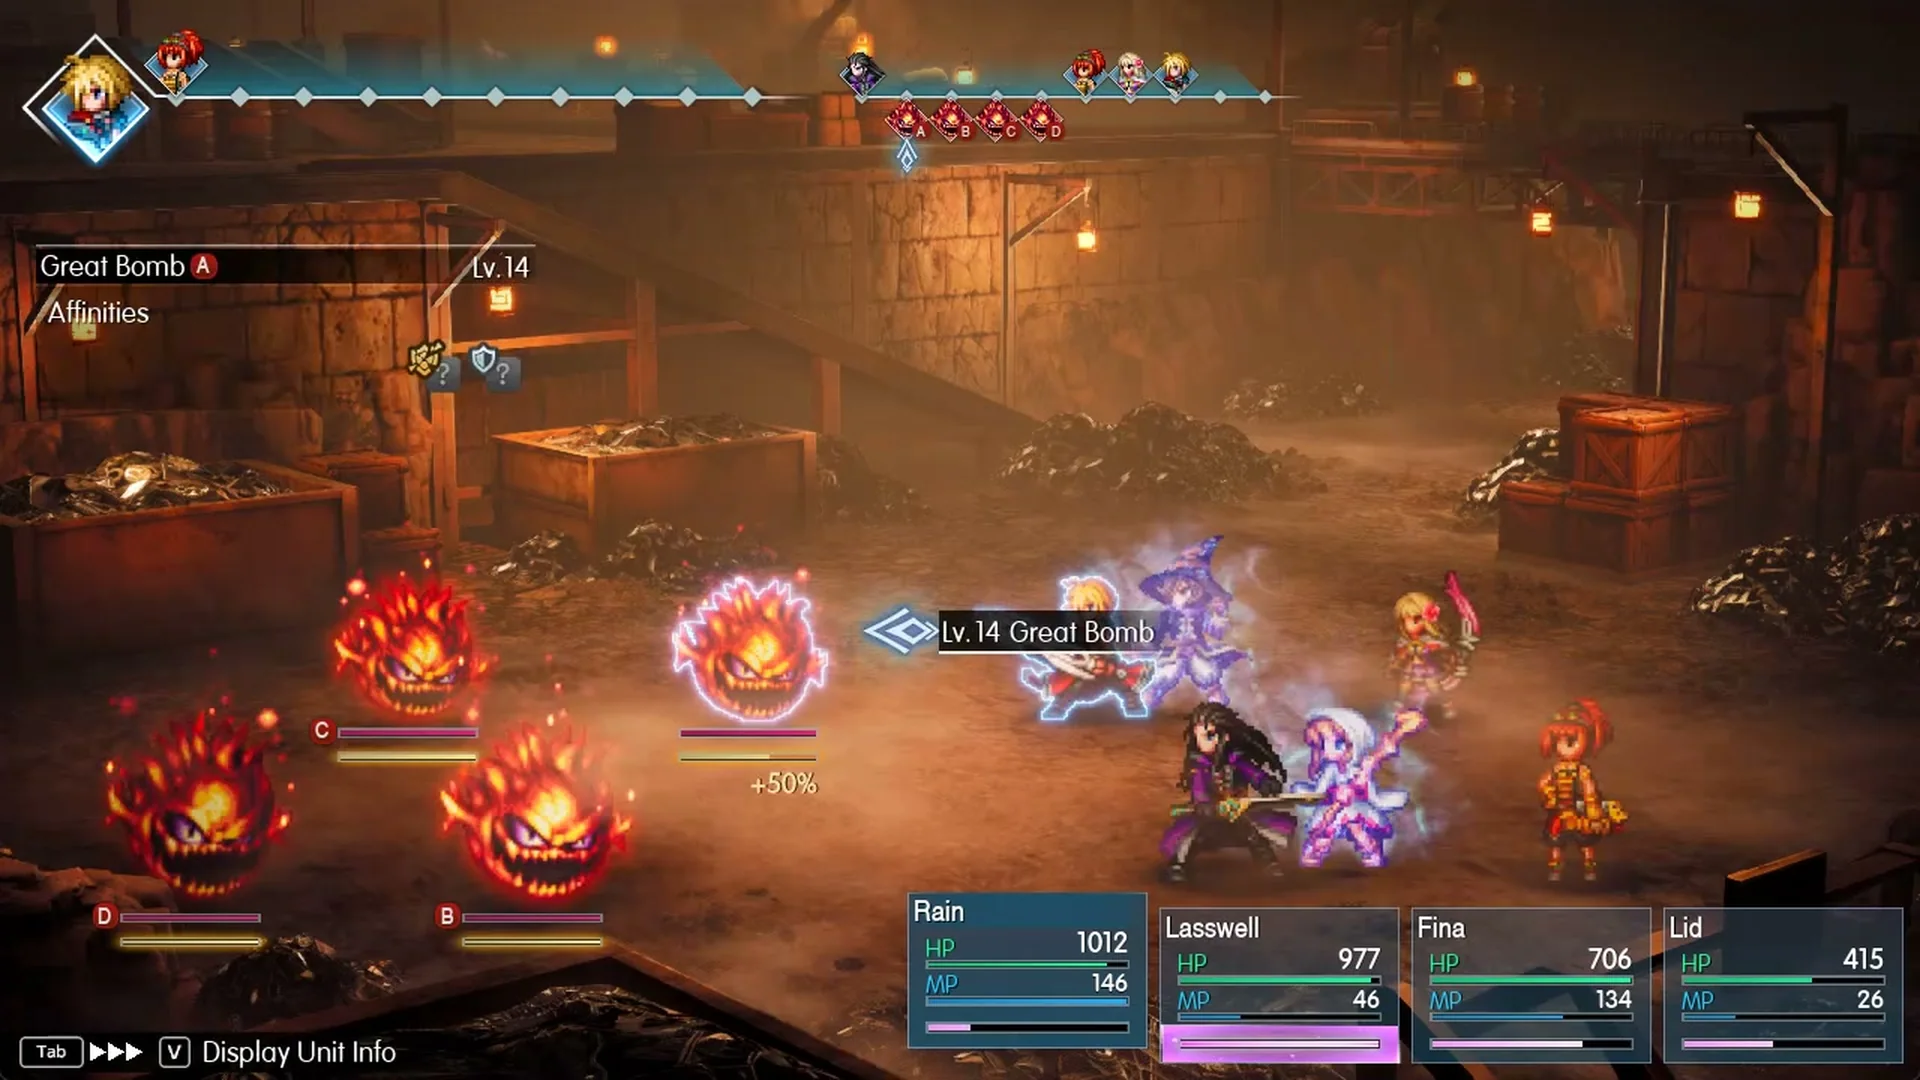
Great Bombs cast Fire on one party member (108 on Rain).
Their Flame chips the whole party for 63 to 129 each.
Bash hits one member; it did 80 to Lid.
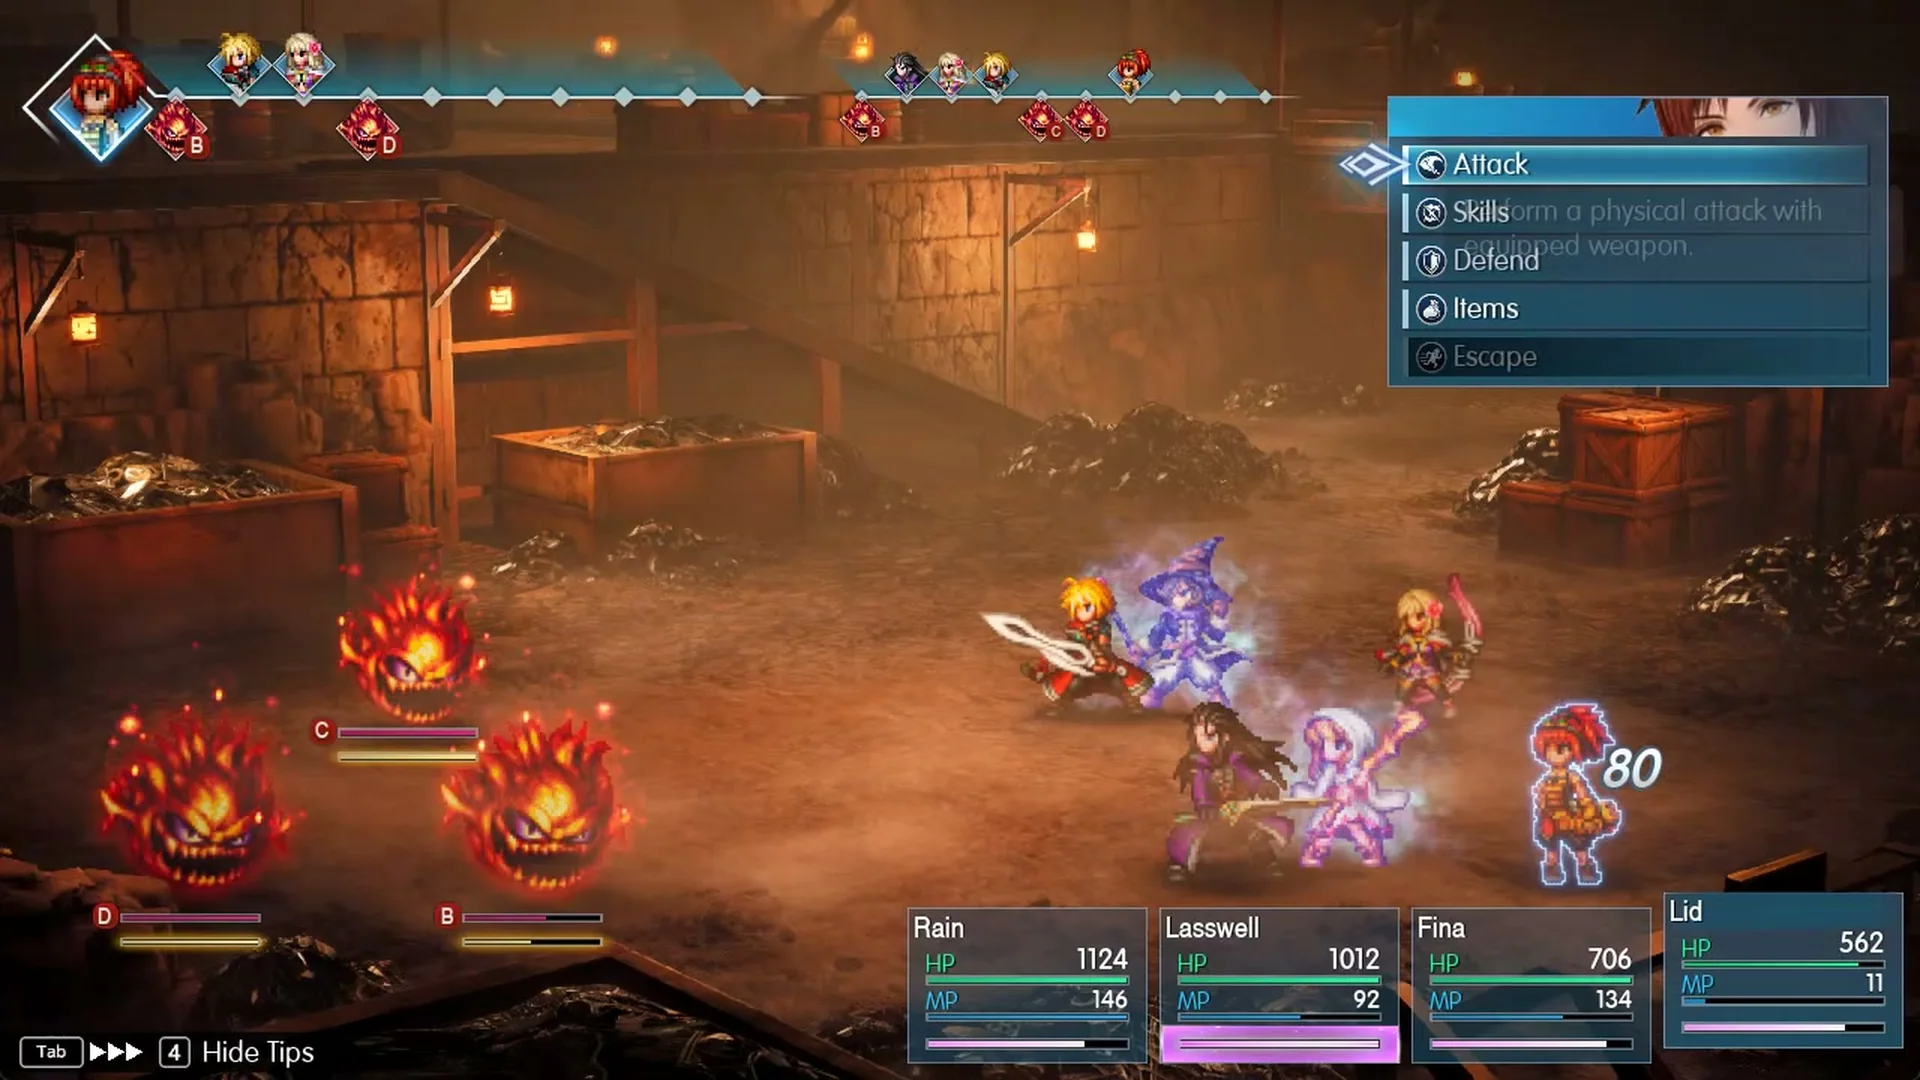
The Great Bombs are also weak to Water, take half damage from Fire and carry the same “Self-destructs when HP is lowered.” trait.
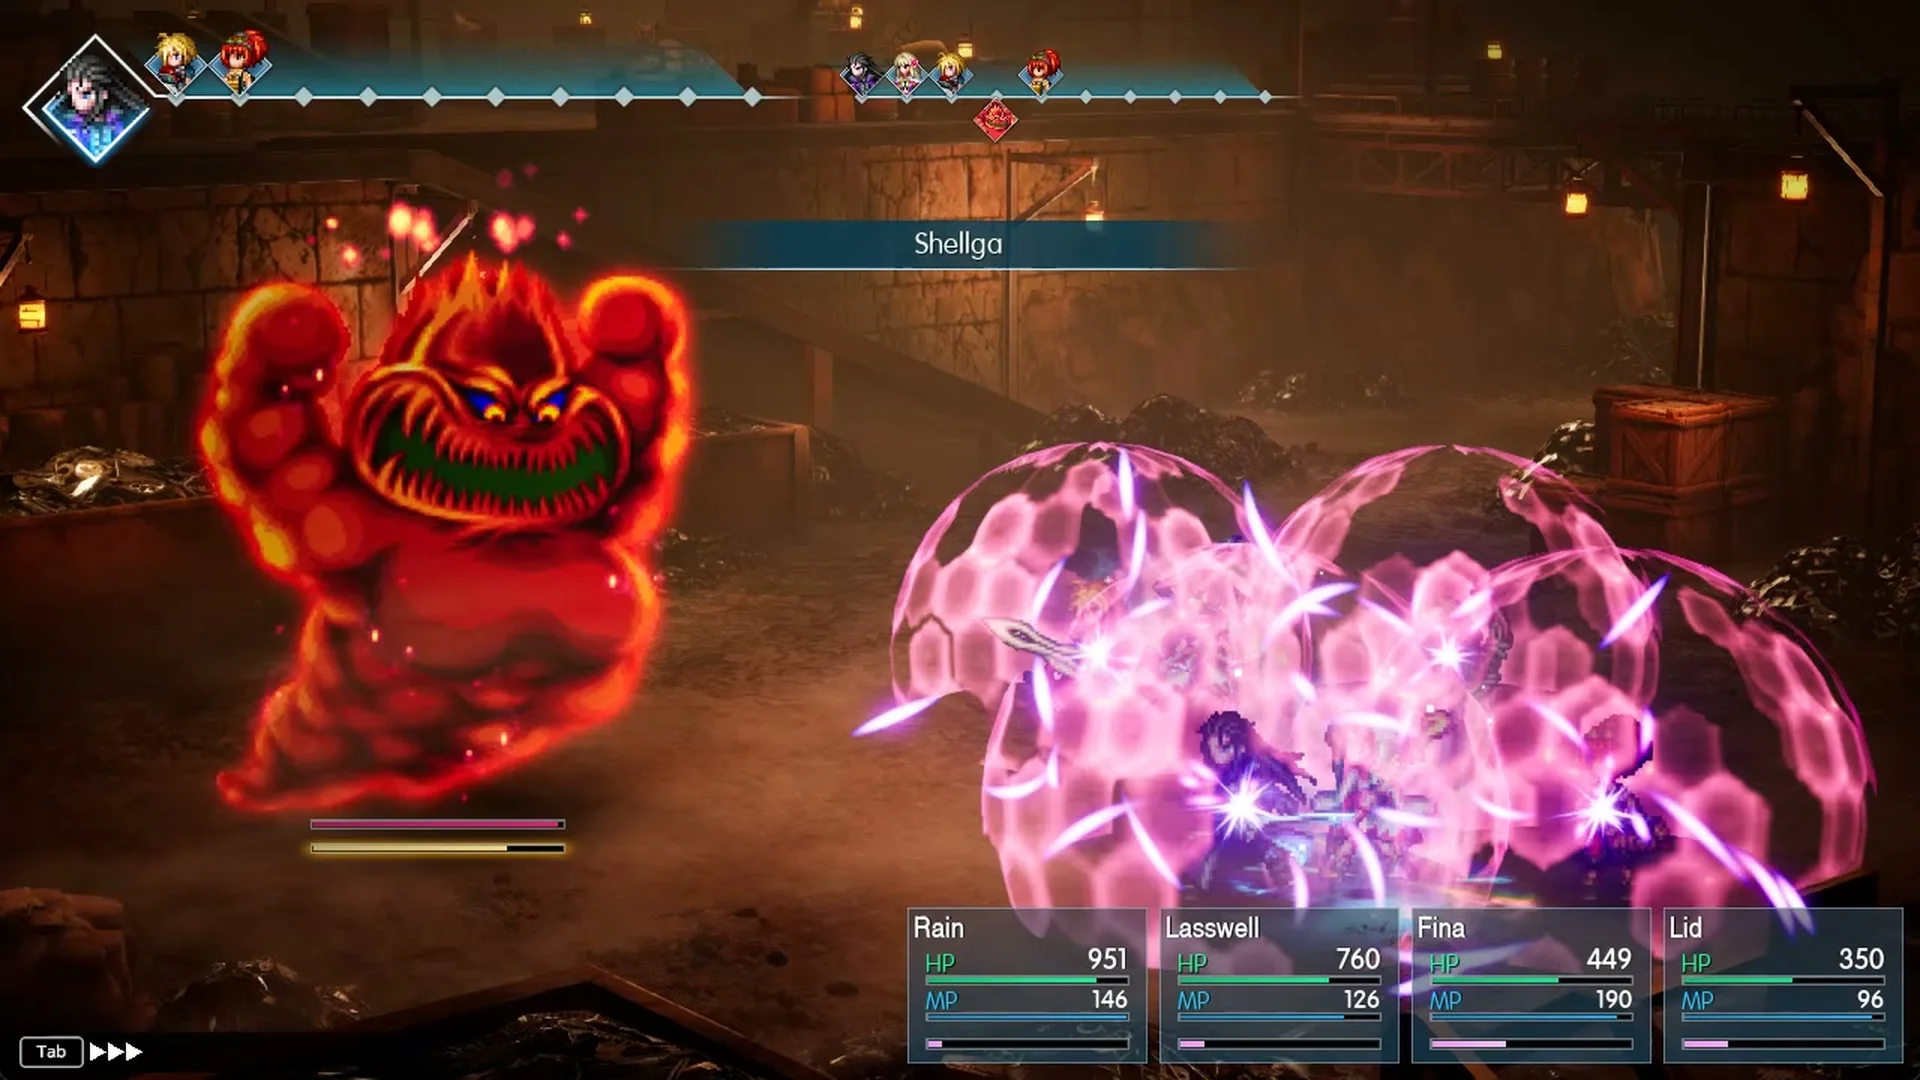
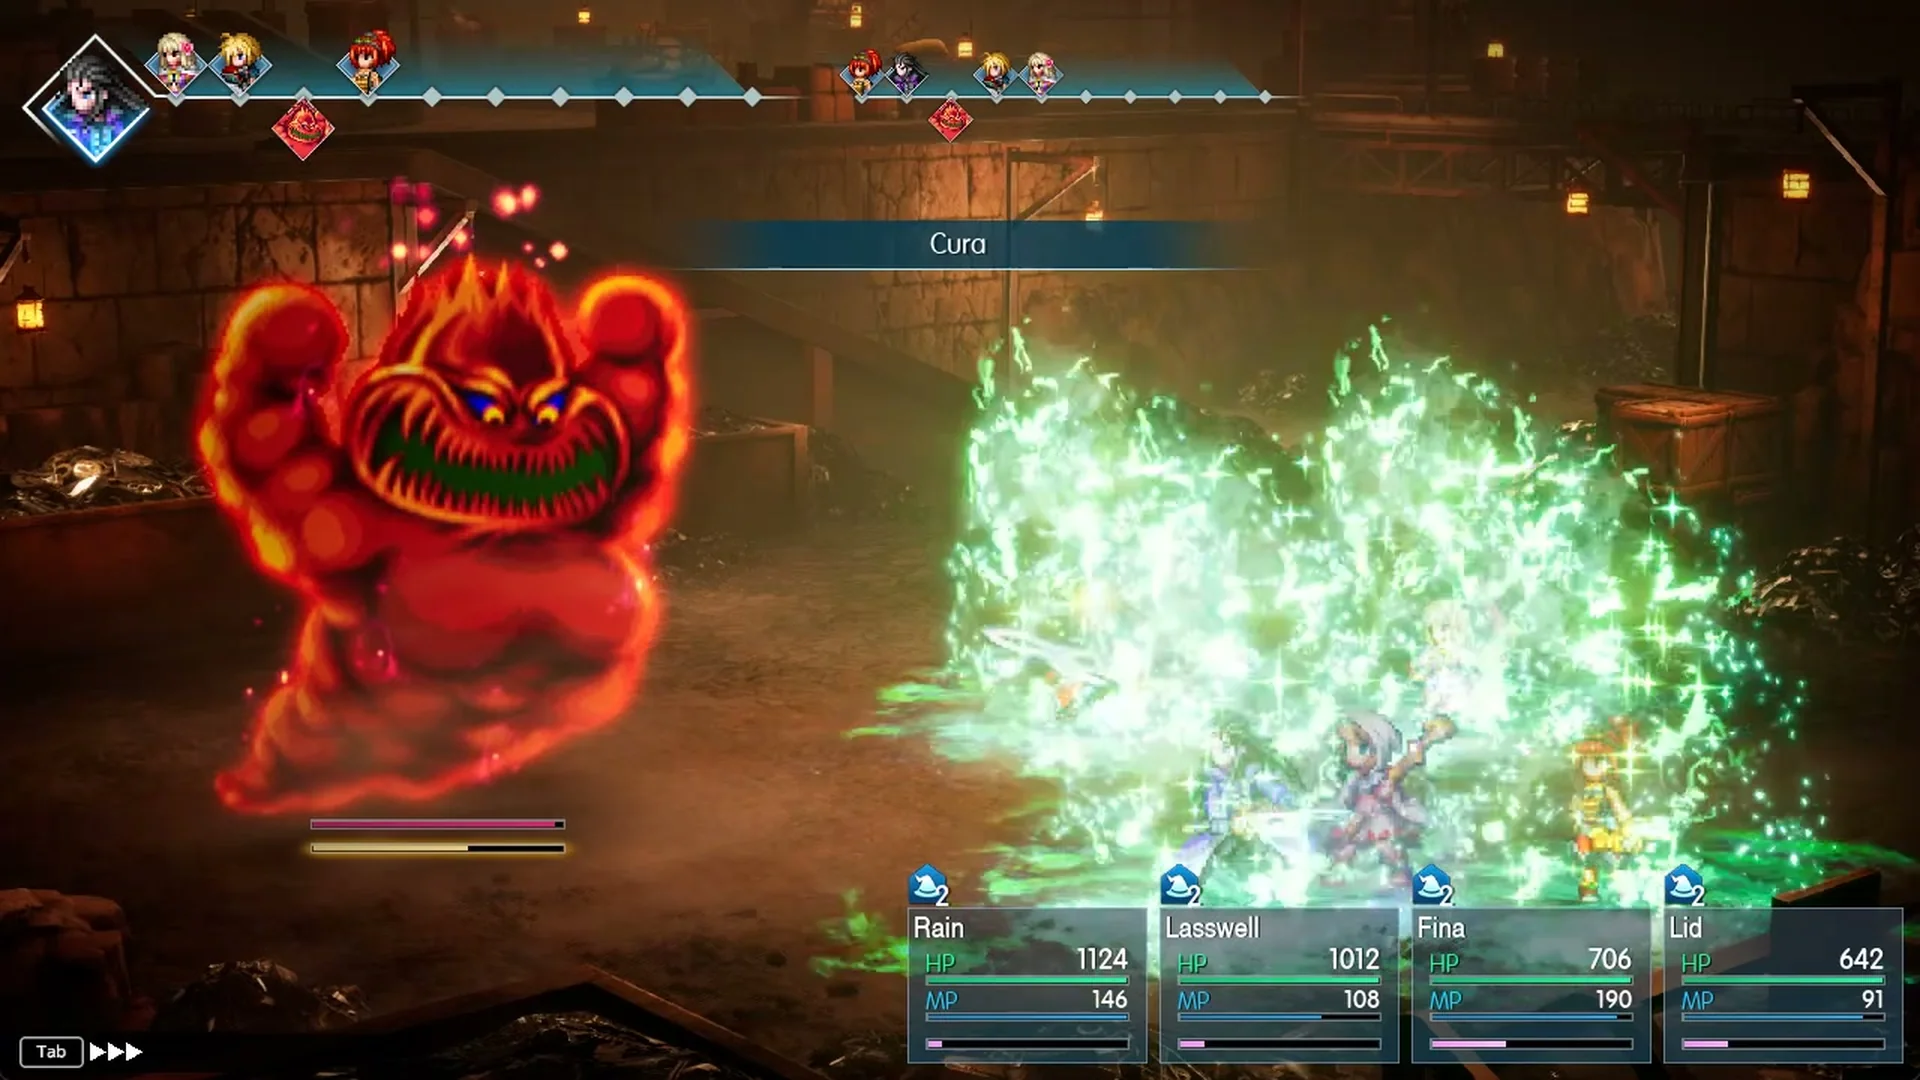
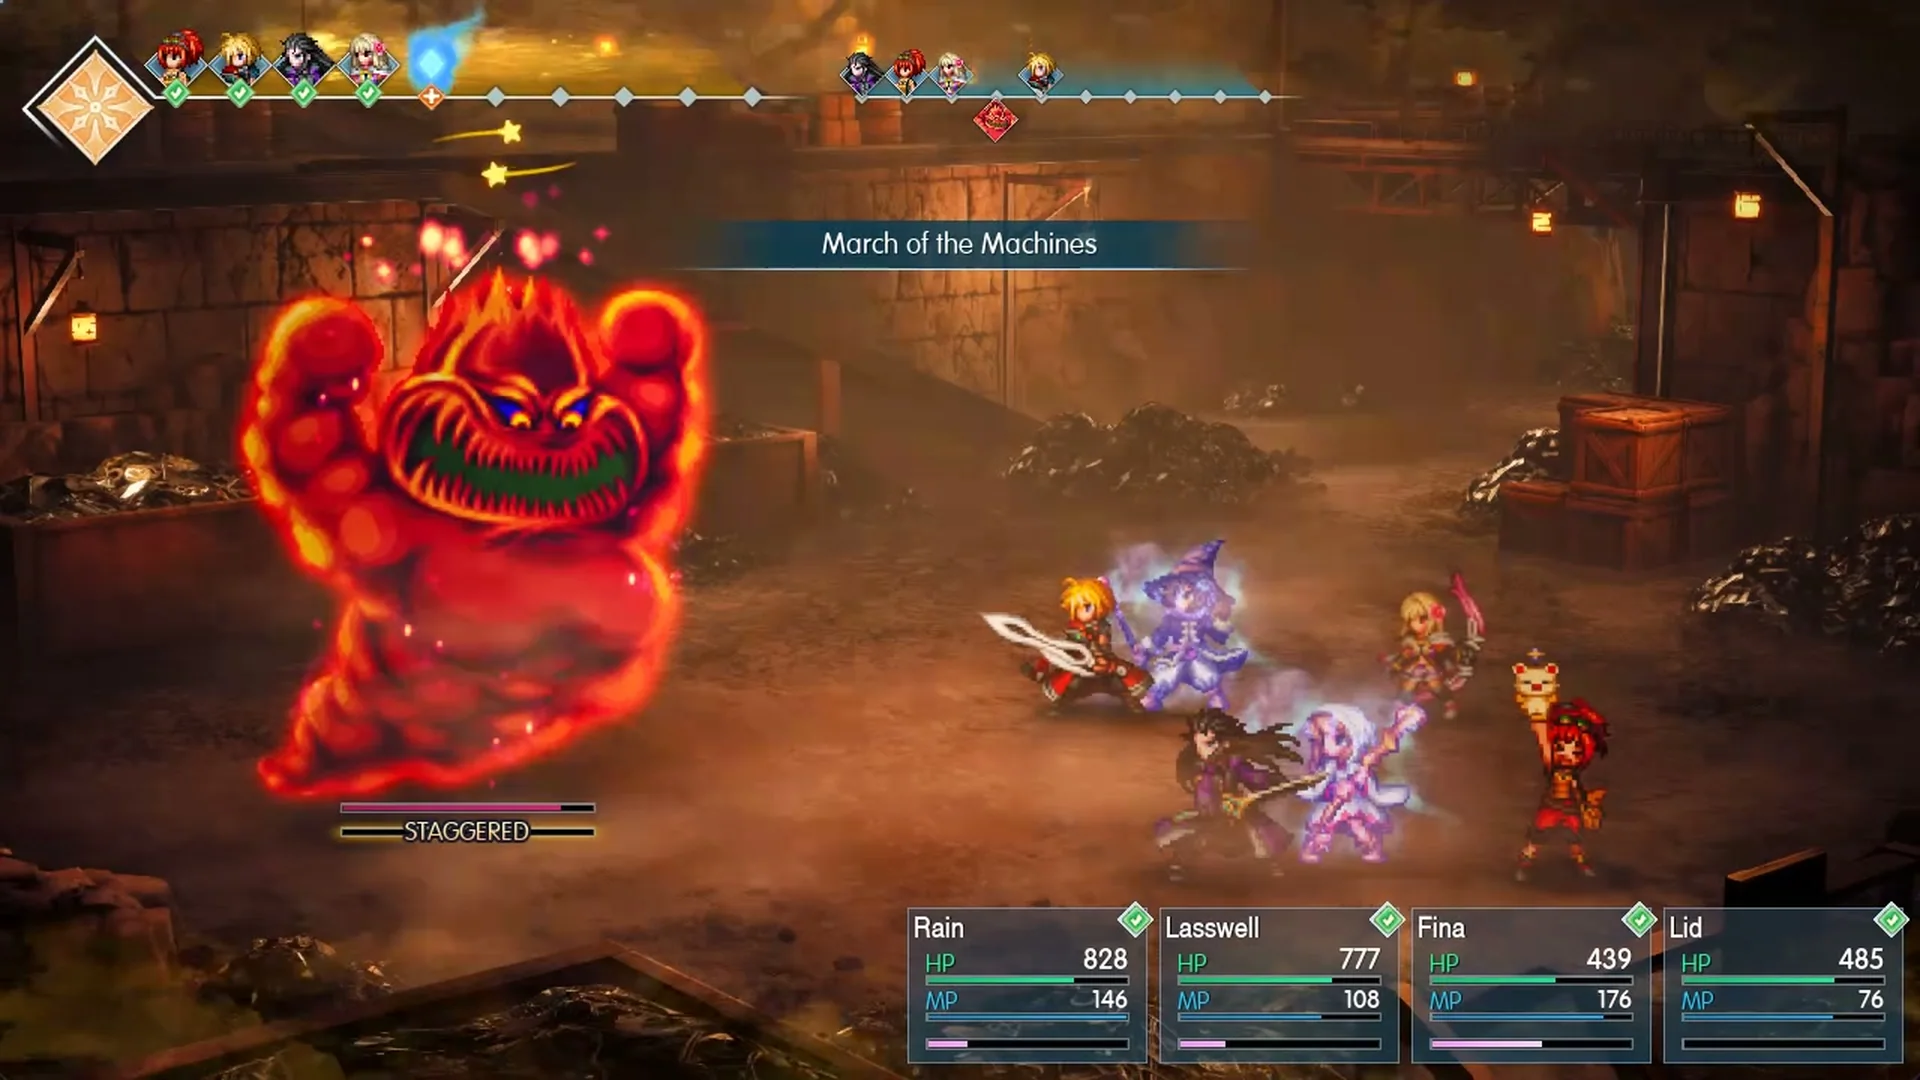
Strategy that beat Mom Bomb on Normal
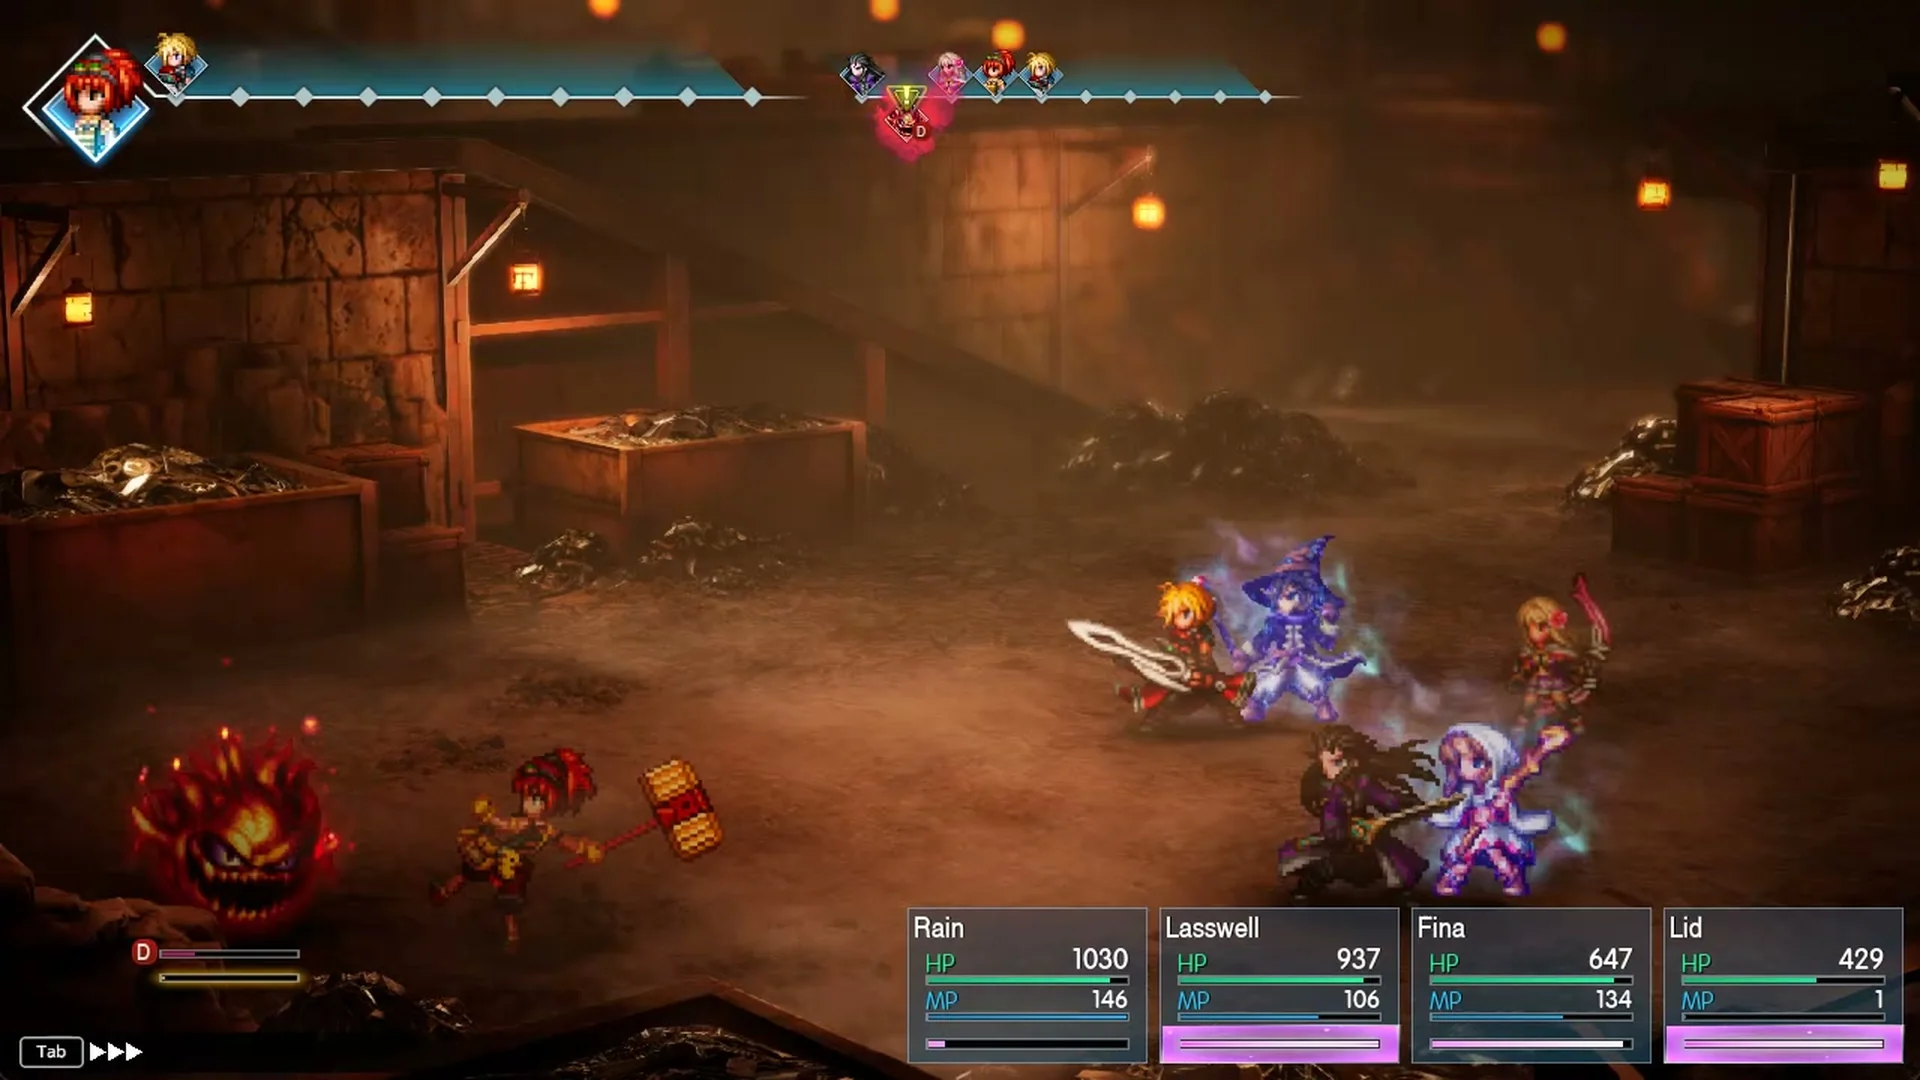
This plan won on Normal with Rain, Lasswell and Fina at level 15 and Lid at level 12, with nobody knocked out.
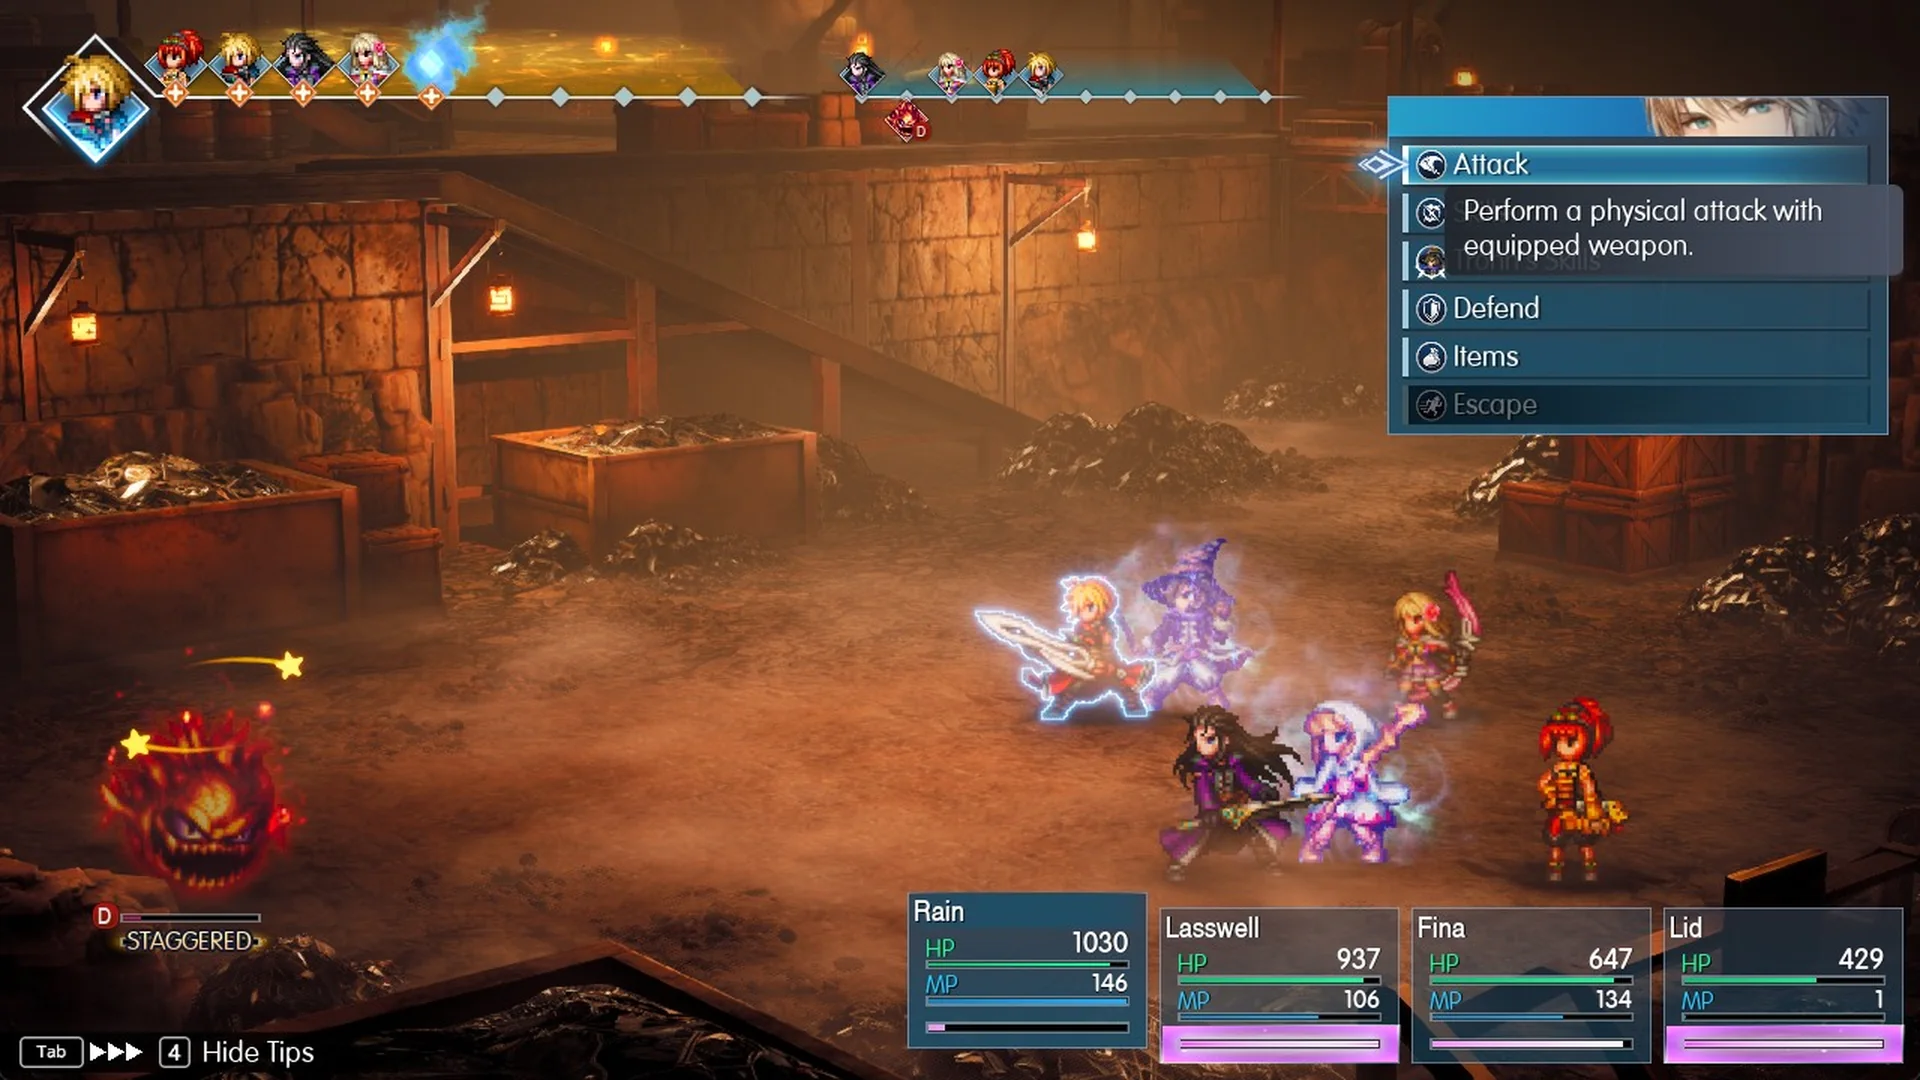
Lid went after the last one, D, and the battle ended soon after.
Rewards
The Battle Result screen awards 2,150 EXP, 3,600 Gil and 65 MRP with a Stagger Finish Bonus, plus one Flame Scroll II.
That scroll’s description reads “Deals Fire magic damage to a single enemy. Power increases and targets all enemies when thrown.”
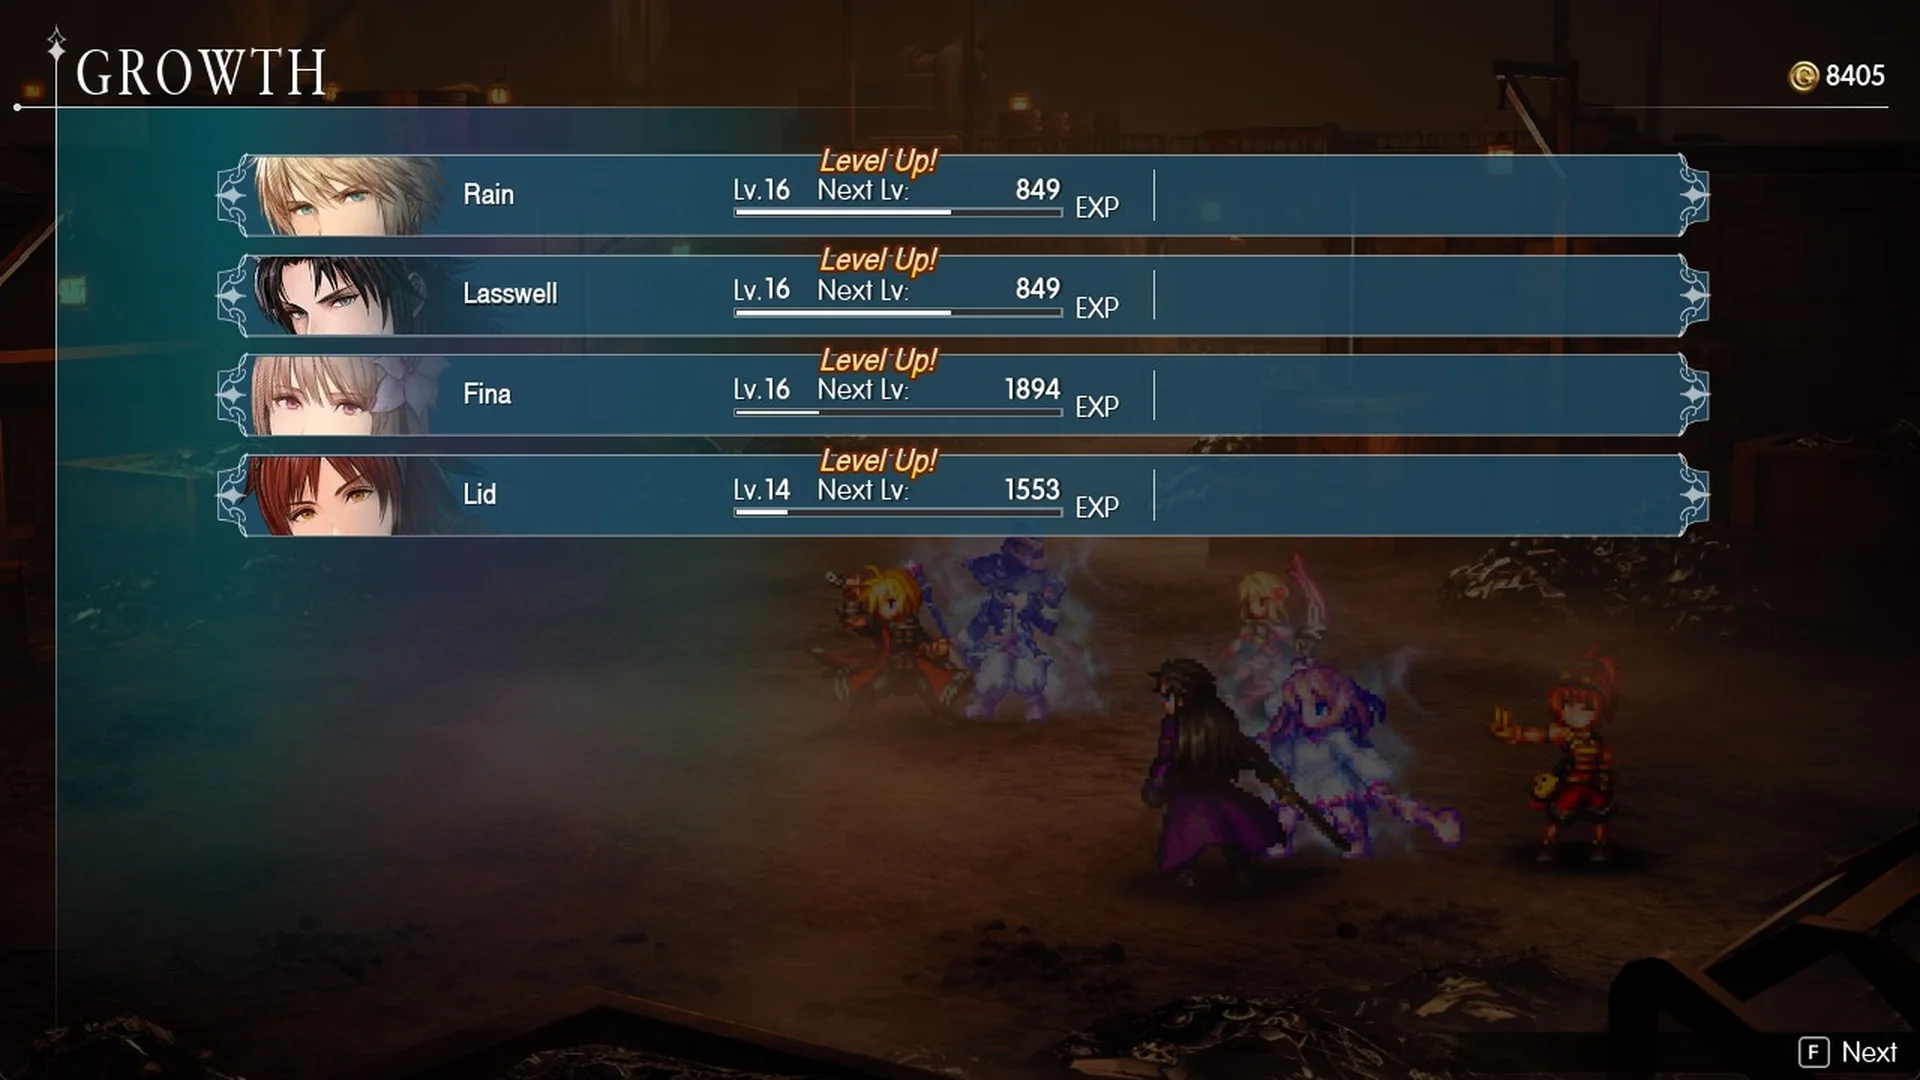
The whole party levelled up from the fight, taking Rain, Lasswell and Fina to 16 and Lid to 14.
After the battle, Lid says “Mwahaha! Oh, the precious savings on all those parts… Can life get any better for me?” and Fina adds “Well…at least she’s happy…”. The objective then changes to “Report back to Borin”.
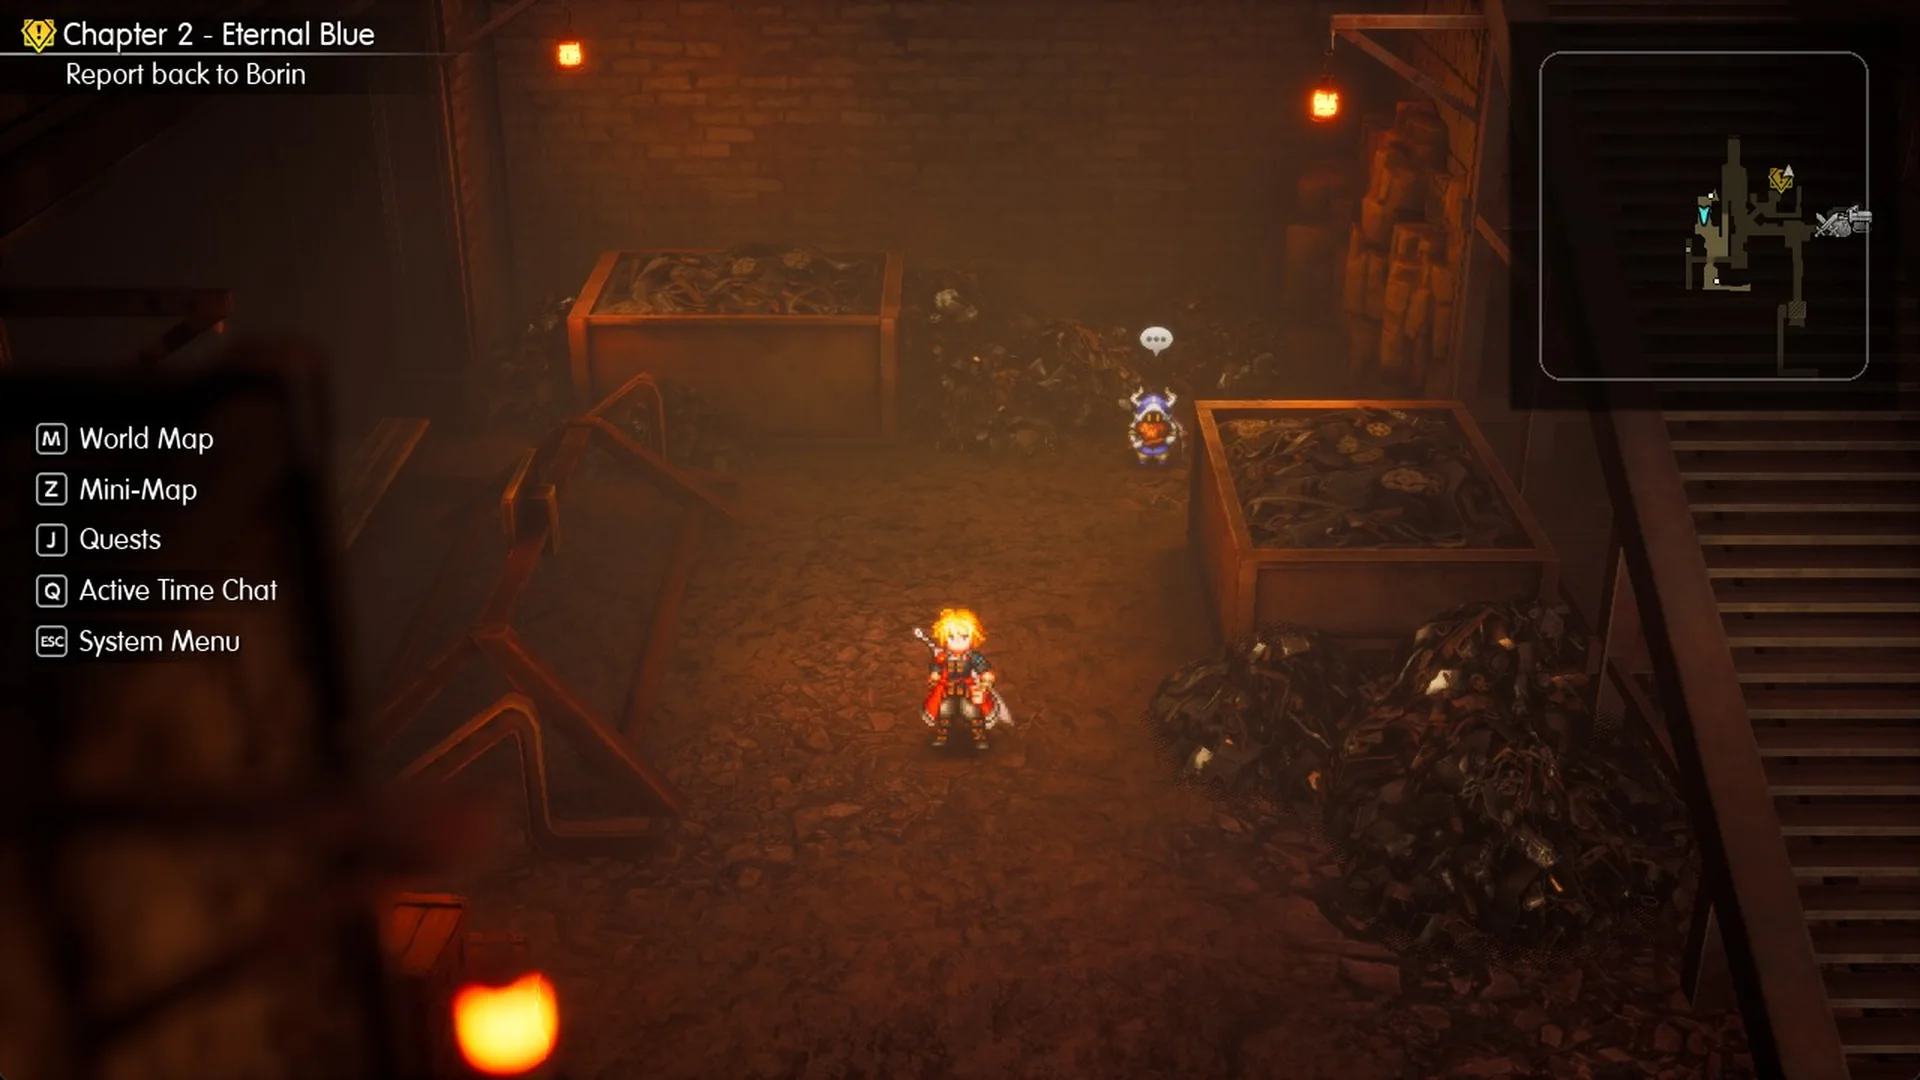
Heading back up the stairs toward Borin triggers the next scene. Borin has been kidnapped and taken to the Mobliz Shipyard, and the objective becomes “Save Borin at Mobliz Shipyard”. The full Final Fantasy Resonance walkthrough picks up from there, and the bosses list has every other boss.