


Dungeons are the point where Project Slayers 2 stops rewarding patience and starts rewarding arithmetic. Every floor hands you a card choice, and those choices — not how deep you crawl — decide whether a run ends at 40,000 points or clears the 90,000 needed for a V2 weapon. Getting in takes a single quest. Scoring well takes a plan.
Quick answer: Reach level 65, take Blacksmith Togane’s forge quest in Hidden Mist Village, register the portal past the Forgotten Ruins bridge, then build every run around permanent point multipliers and Damage cards.
Level 65 and the gear check that comes first
Dungeons open at level 65, and that is a genuine entry point rather than a number to overshoot. Any Breathing Style or Blood Demon Art works inside, so there is no build that locks you out. What does lock you out is showing up with nothing but M1 attacks and a starter katana. Before you queue in Slayers 2 on Roblox, run through the short list below.
- Level 65 or higher on the character you plan to run.
- One or two unlocked Breathing or Blood Demon Art moves.
- You prepare Potions and supplies in the dungeon area itself rather than buying them beforehand.
- A weapon you have actually inspected in the inventory screen.
Your katana’s Damage Factor and Block Points combine with every pickup inside the dungeon, so an underpowered weapon can quietly limit the reach of your stat cards. If you still need a second ability, complete a Breathing trainer questline first. The trainers assign these tasks in order — meditation, pushups, a boulder split, target shooting, a cup game, and finally a fight with the trainee — and the ability earned at the end contributes more in a dungeon than several levels of raw stats.
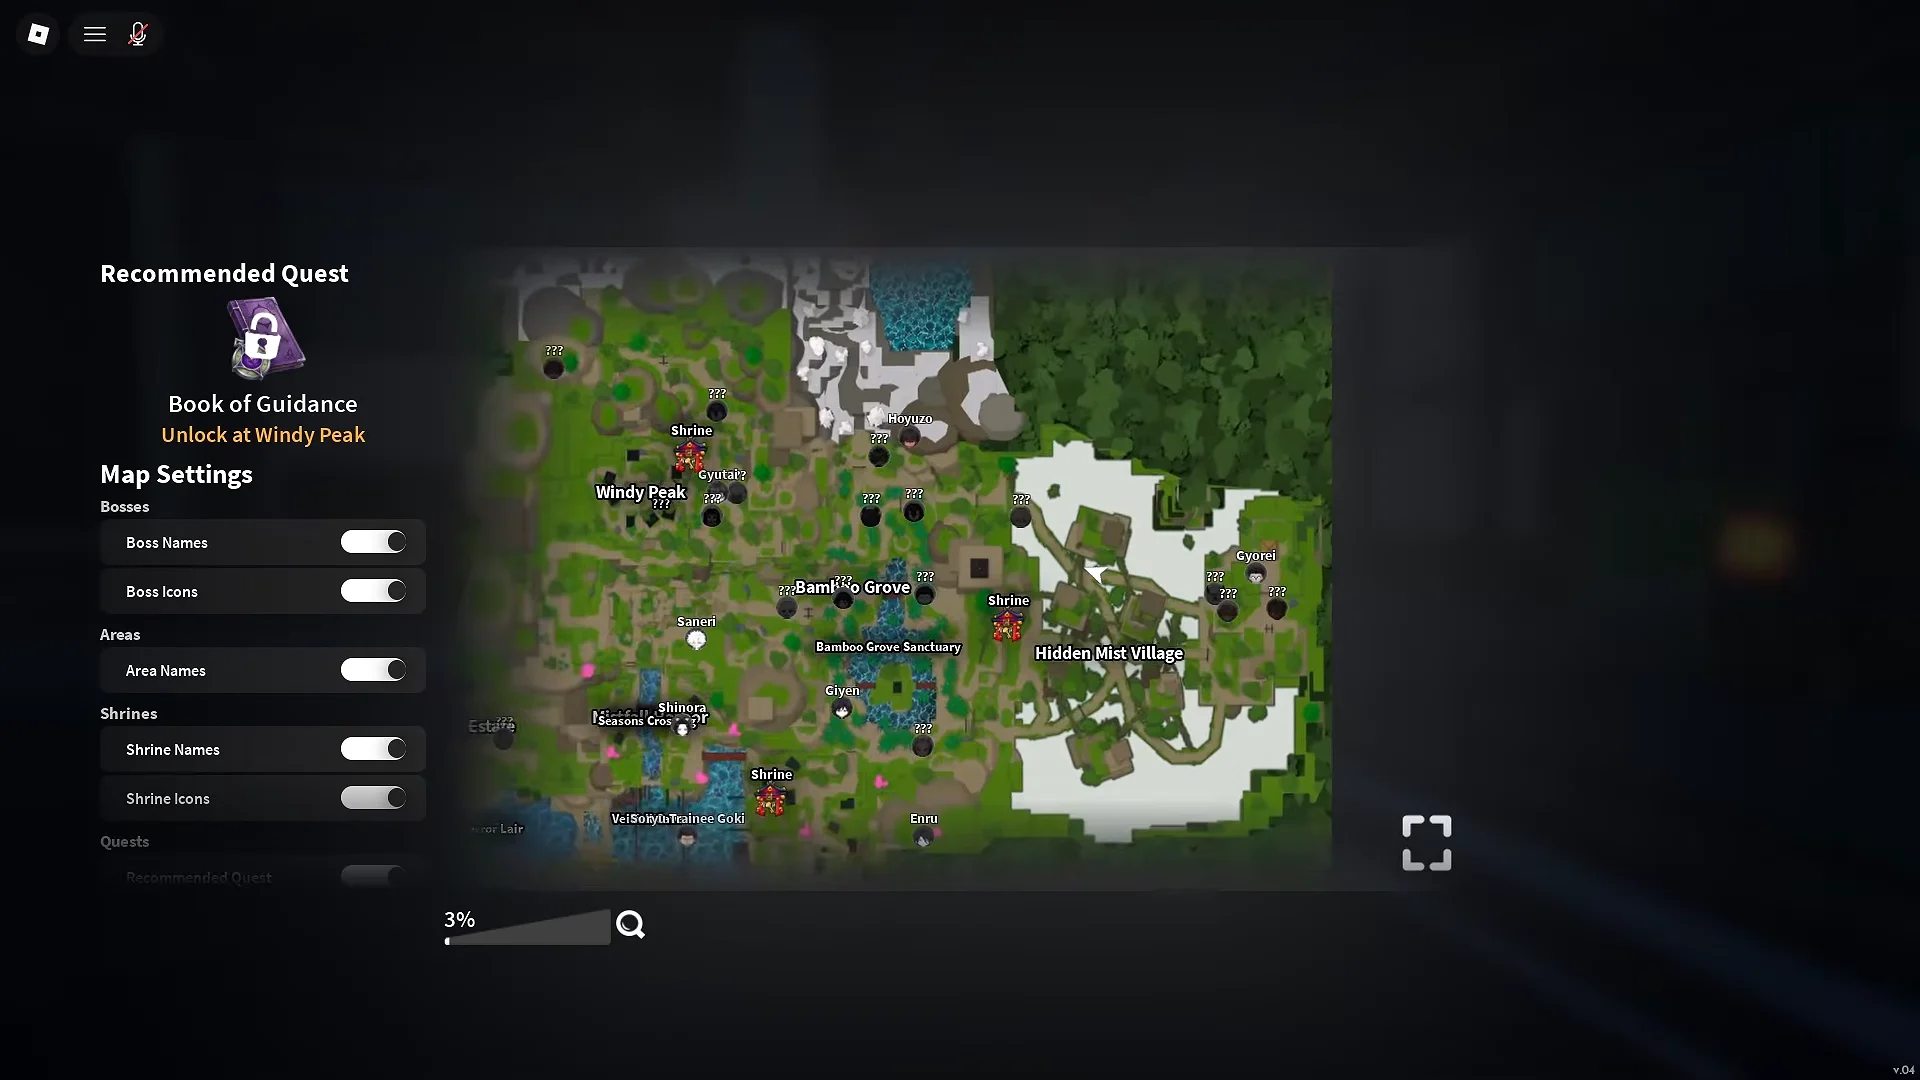
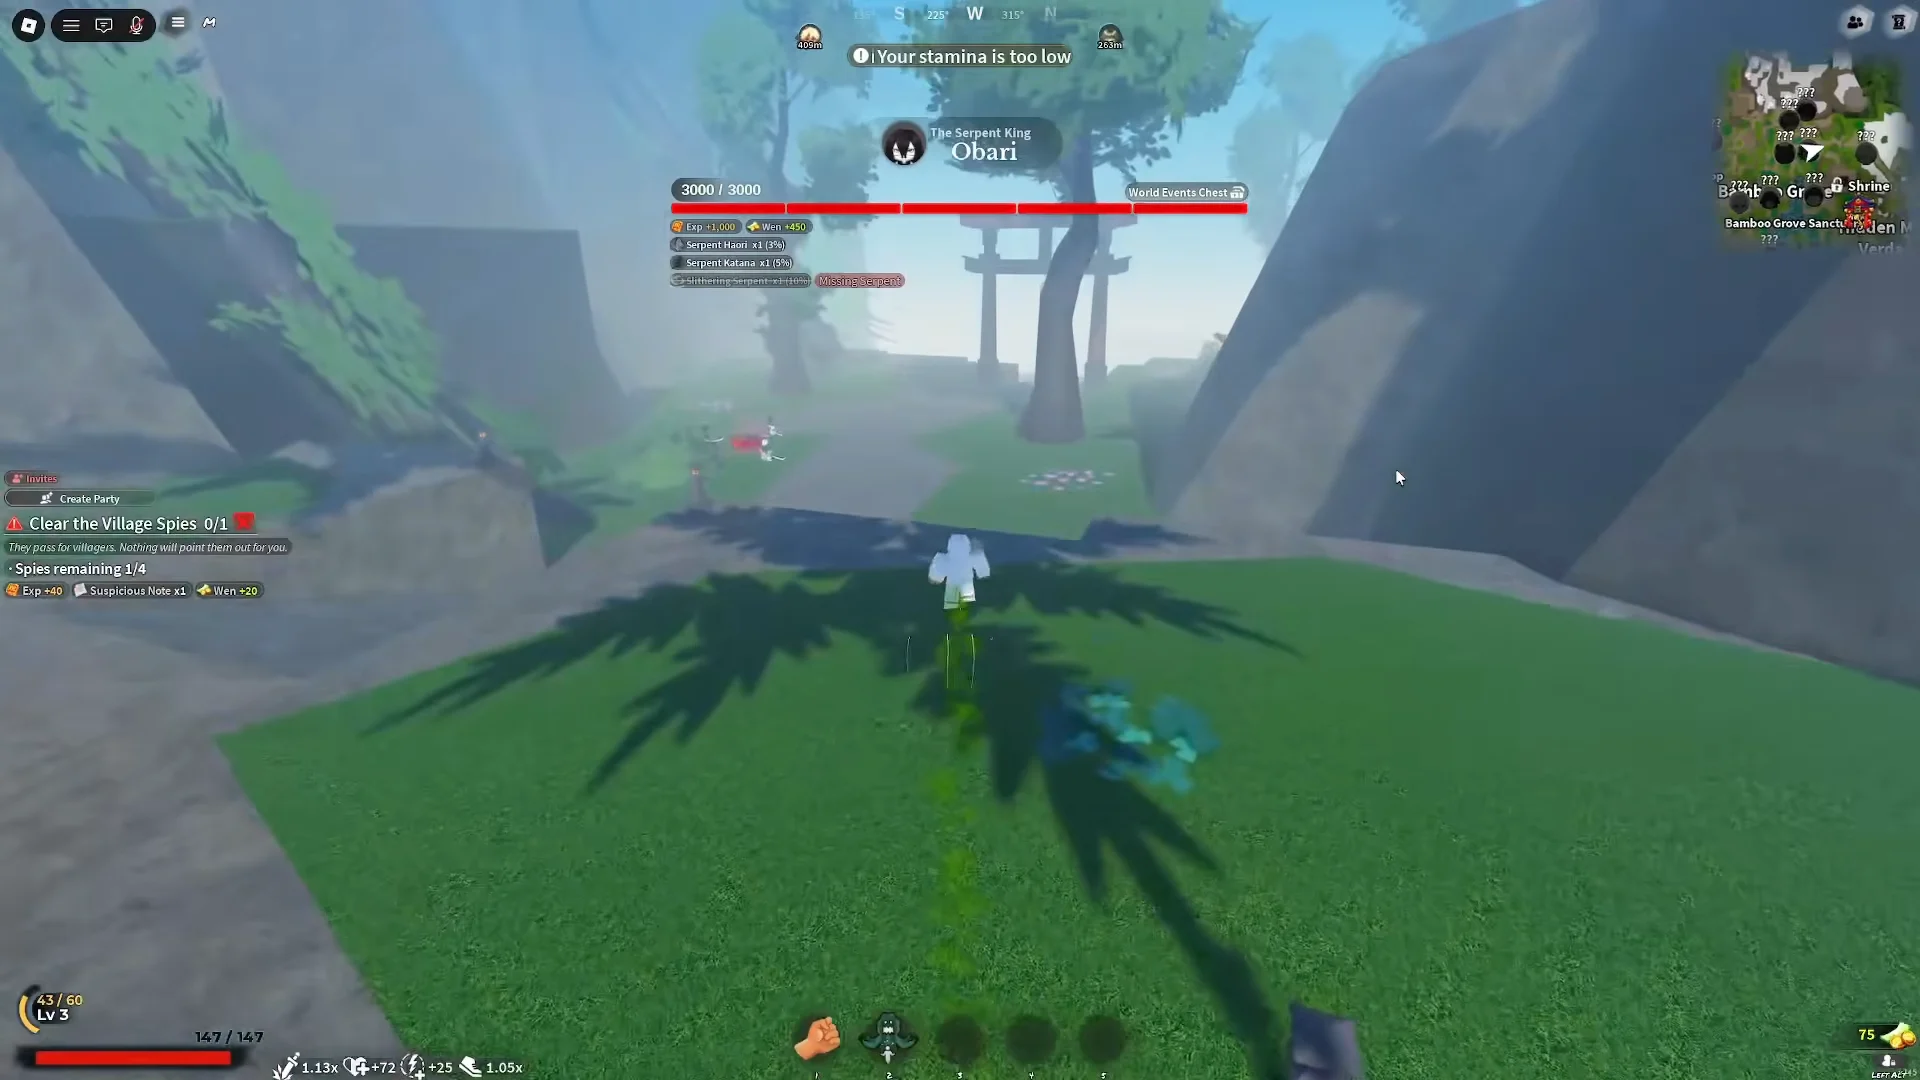
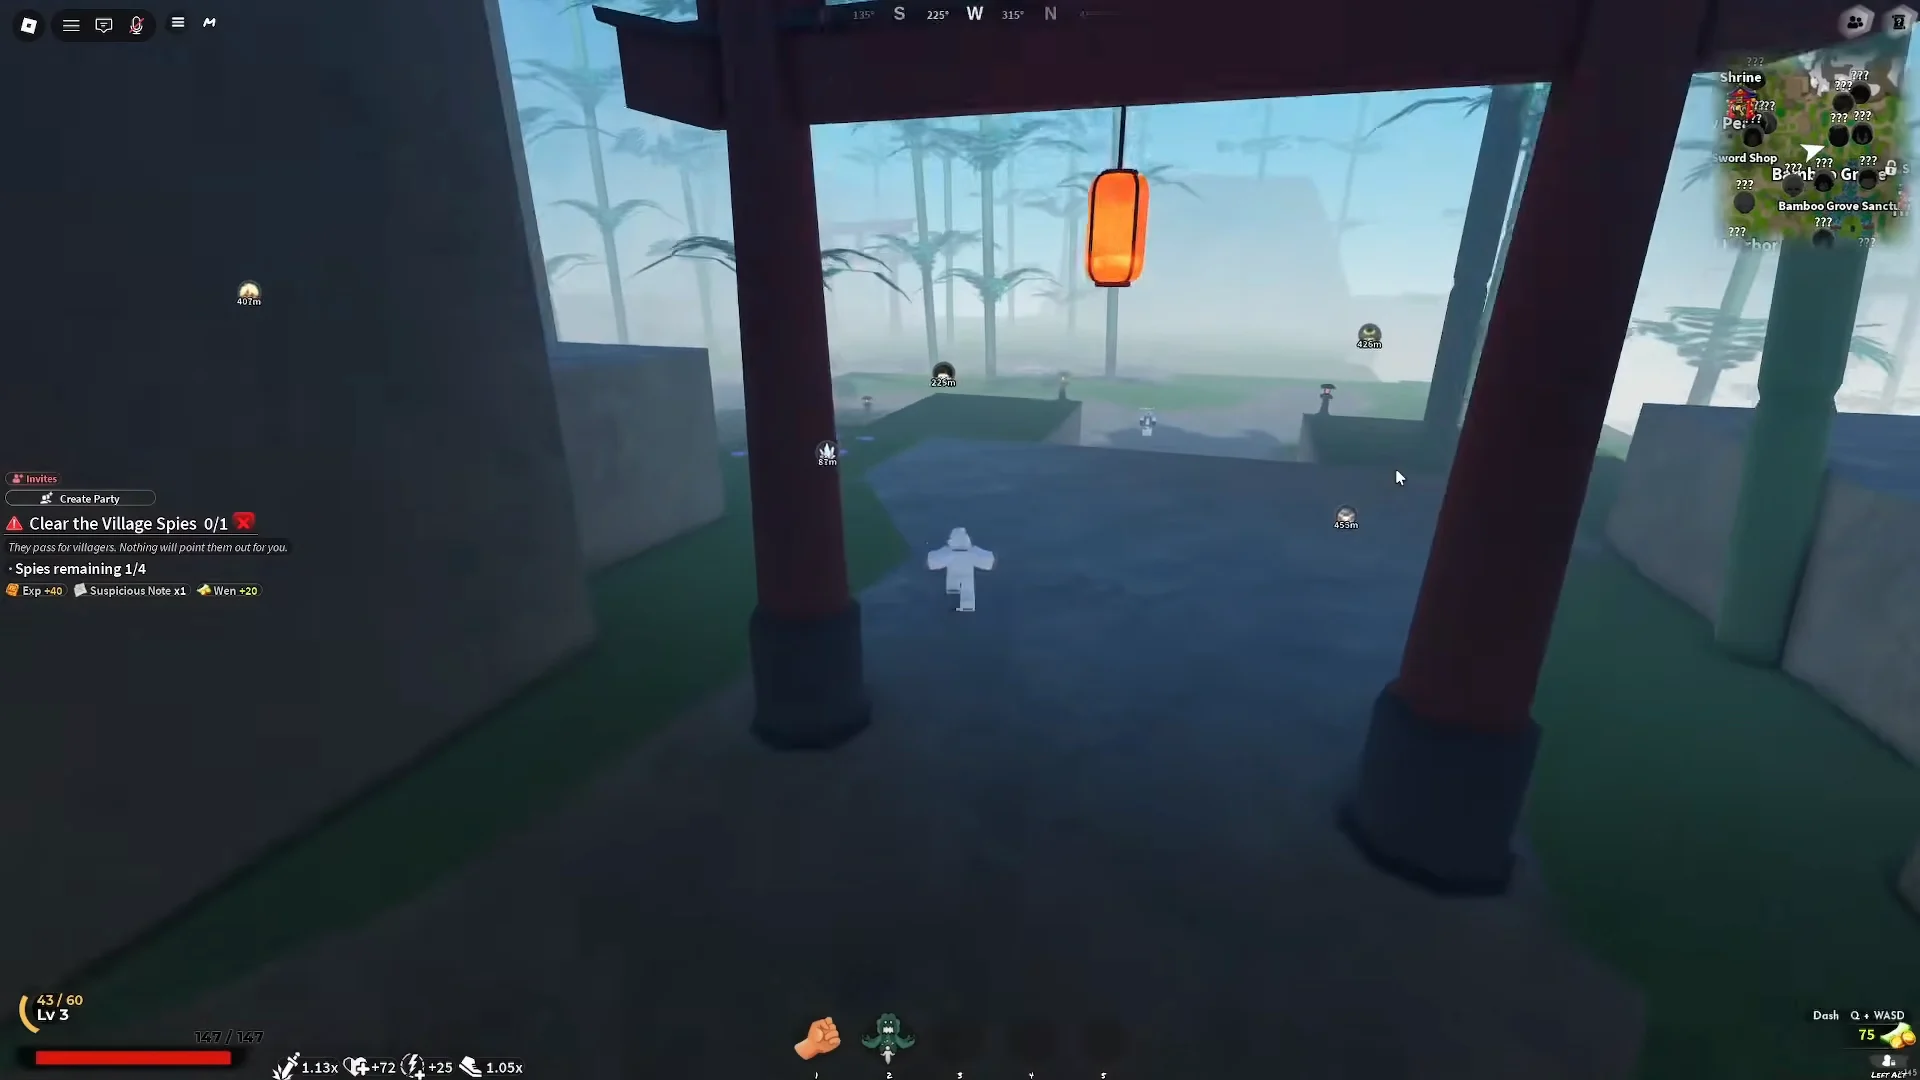
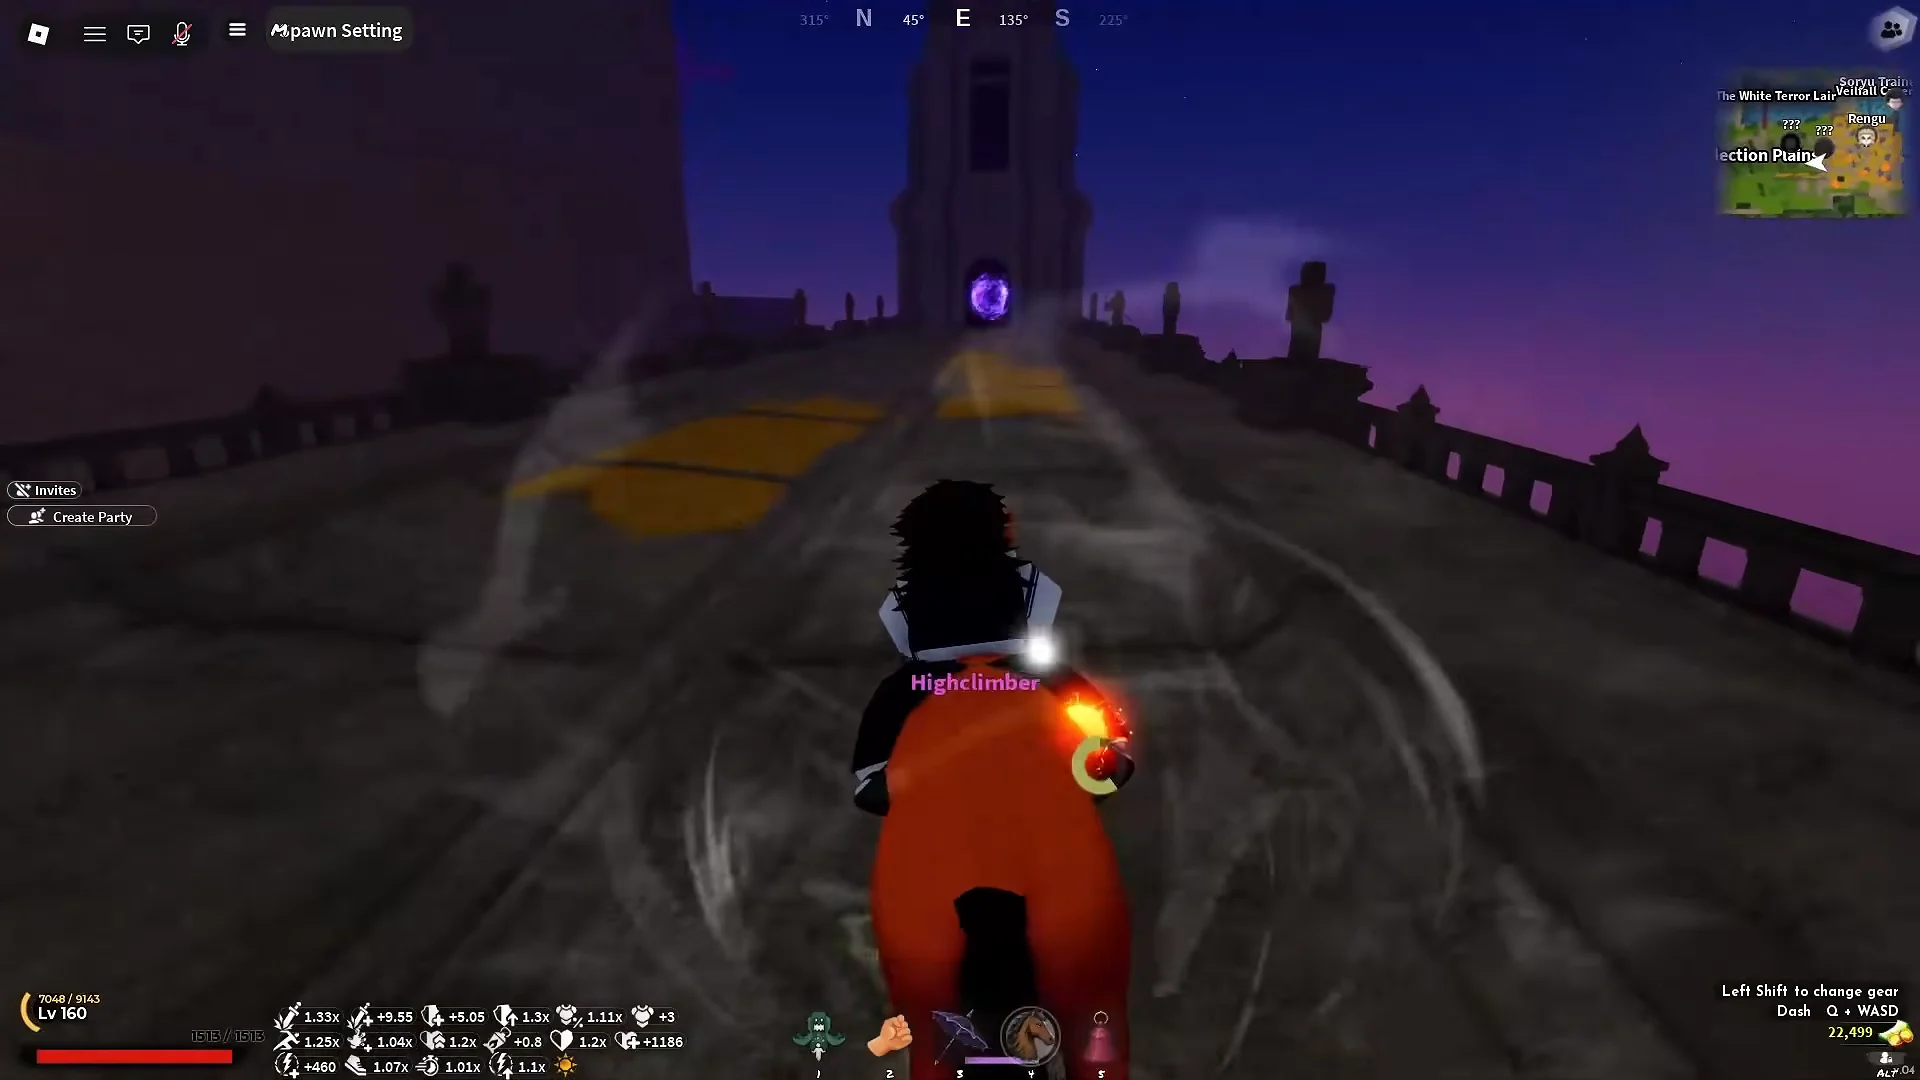
Unlocking the Ouwigahara portal from Hidden Mist Village
The portal is gated behind a blacksmith quest, and you only have to walk the route once. After that it lives in the hub menu.
Queueing Ouwigahara Normal and how Ranked scoring works
Use the mode menu to select Ouwigahara Normal, then choose solo or group queueing. Before the countdown ends, you can also switch Ranked on or leave it off. Ranked attempts count toward the leaderboard in the dungeon lobby, where you can see player rankings, scores, and the season’s remaining time.
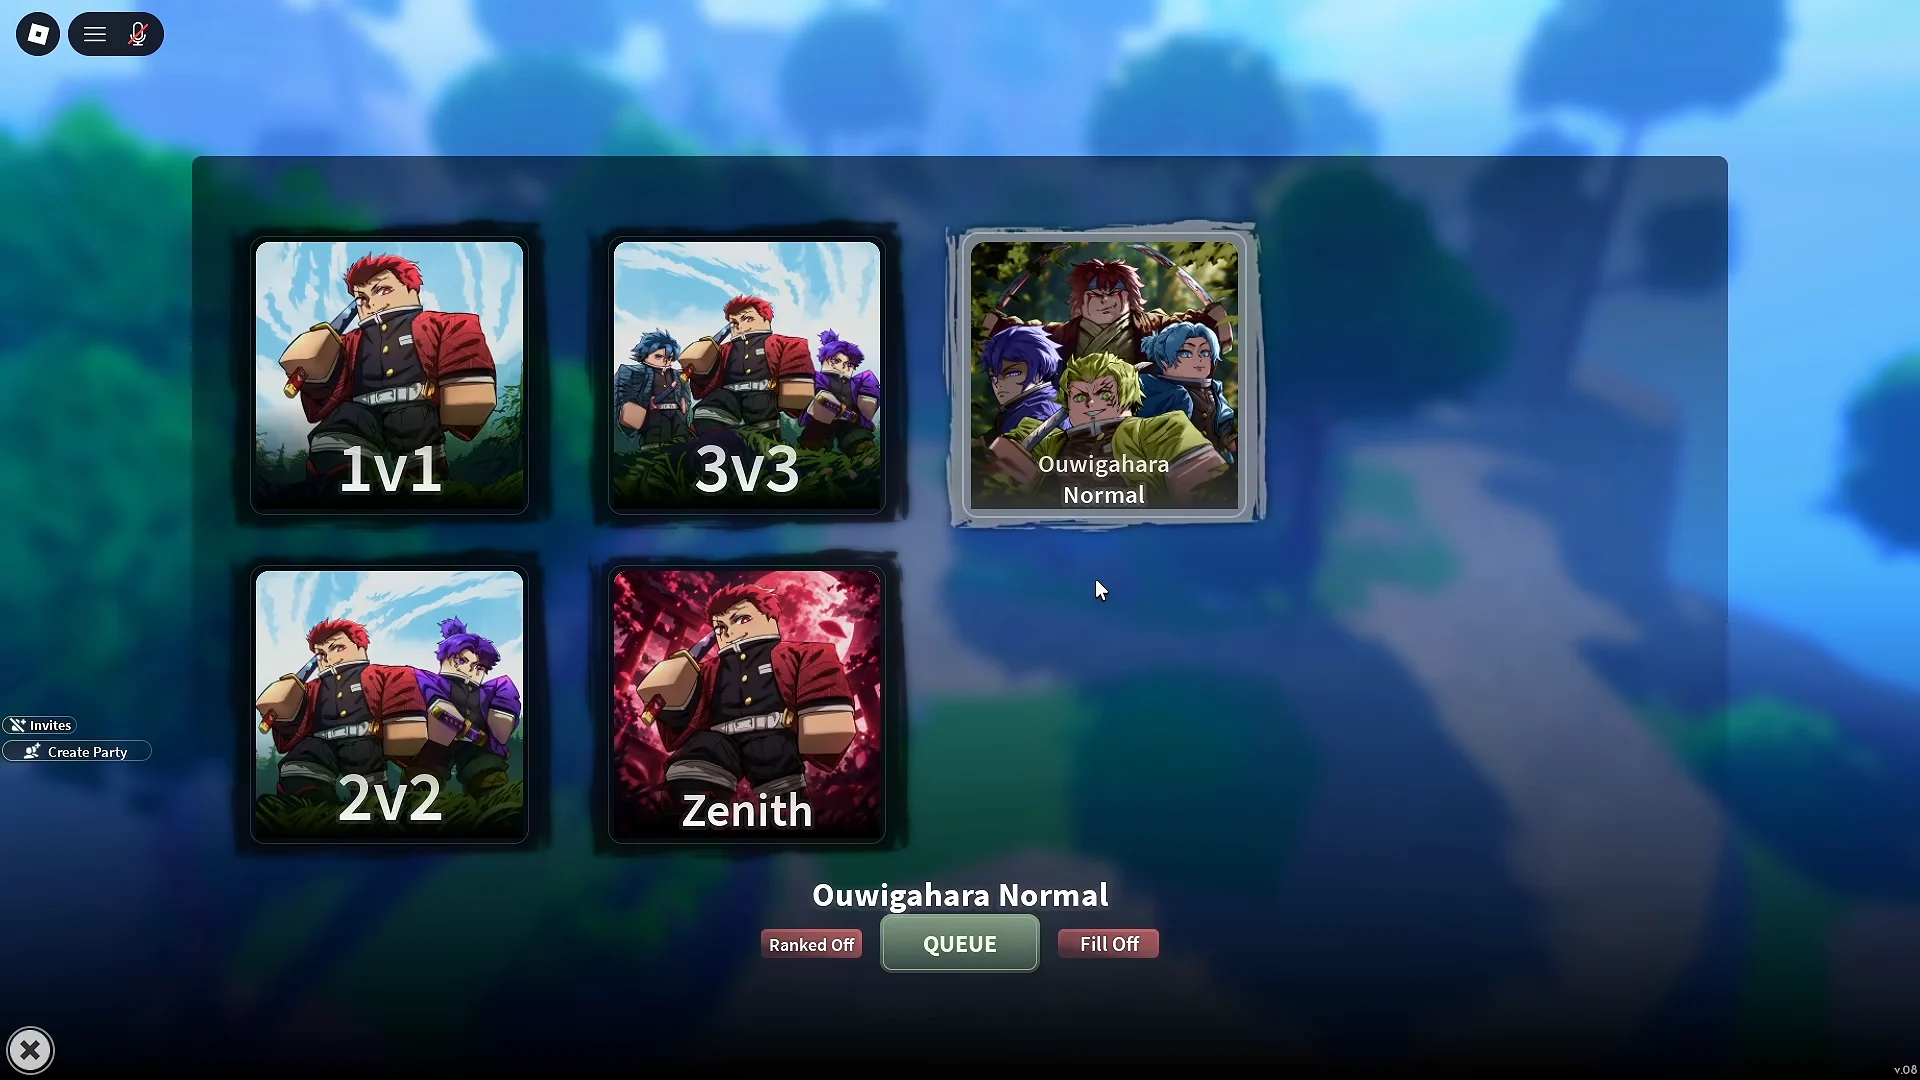
The leaderboard uses total points as its measure, rather than the deepest floor reached. A player who builds multipliers from floor one and falls on floor 20 may place above someone who steadily reaches floor 35 using only stat cards. That rule drives every choice that follows: prioritize score, while retaining enough damage and health to live long enough to bank it.
Ranked attempts do not allow revives. A single death ends the run, so cards that reduce your health are much more dangerous here than during a casual clear.
The queue area itself is worth a lap before you enter. The Apothecary shop, Togane’s Nichirin Forge recipe list, Changer Zeni’s exchange counter and the Tower Crystal all sit within a few steps of the portal, so stock up there rather than backtracking to the open world.
Best dungeon cards to take
There are two card categories: character upgrades and dungeon changes that come with a point multiplier. The latter determine the final score, and effects covering every remaining floor gain far more value when selected early.
Multiplier cards that decide your score
| Card | Effect | When to take it |
|---|---|---|
| Lucky Draw | Legendary card, improves draws | Top priority, as early as possible |
| Boss every floor | Large permanent multiplier | Ranked pushes with strong damage |
| Blood Moon | x1.5 points, enemies hit harder, die faster | Early and mid run only |
| Double Time | x1.3 points | Any time in the first half |
| Ascension | x1.2 points, extra elite per floor | Group runs, or fast solo clears |
| Fair Fight | x1.2 points, changes enemy spawns | Safe early multiplier |
| Streak | +5% per clean floor cleared | Early, for compounding value |
| The Horde | More enemies, more points | Once your damage is already high |
| Vampiric | Heals you on every kill | Any time it appears |
Lucky Draw deserves attention during the opening floors. Its payoff depends on the number of future draws available for improvement, making one taken on floor three worth several times one taken on floor thirty.
Blood Moon offers the pool’s most straightforward risk-versus-reward exchange. It removes a chunk of enemy health while making their attacks considerably stronger, which works well while their damage remains low but can become lethal after late-floor scaling begins. Choose it early; late in the run, consider it carefully.
Look among the black multiplier cards for the boss-spawn modifier, not among the usual stat choices, because it is easy to miss. Choosing it places a boss on every floor that remains and provides the strongest available score multiplier, so Ranked runs should use it only when your damage already clears floors comfortably.
Stat card priority
After you secure the multipliers that last throughout the run, stat cards provide the survival needed to benefit from them. This priority order suits almost every build.
| Priority | Stat | Why |
|---|---|---|
| 1 | Damage | Faster clears fix every other problem |
| 2 | HP | Survives late-floor mistakes |
| 3 | Cooldown Reduction | More ability uptime |
| 4 | Block Points | Extra defence on hard floors |
| 5 | Stamina Regen | Useful, never urgent |
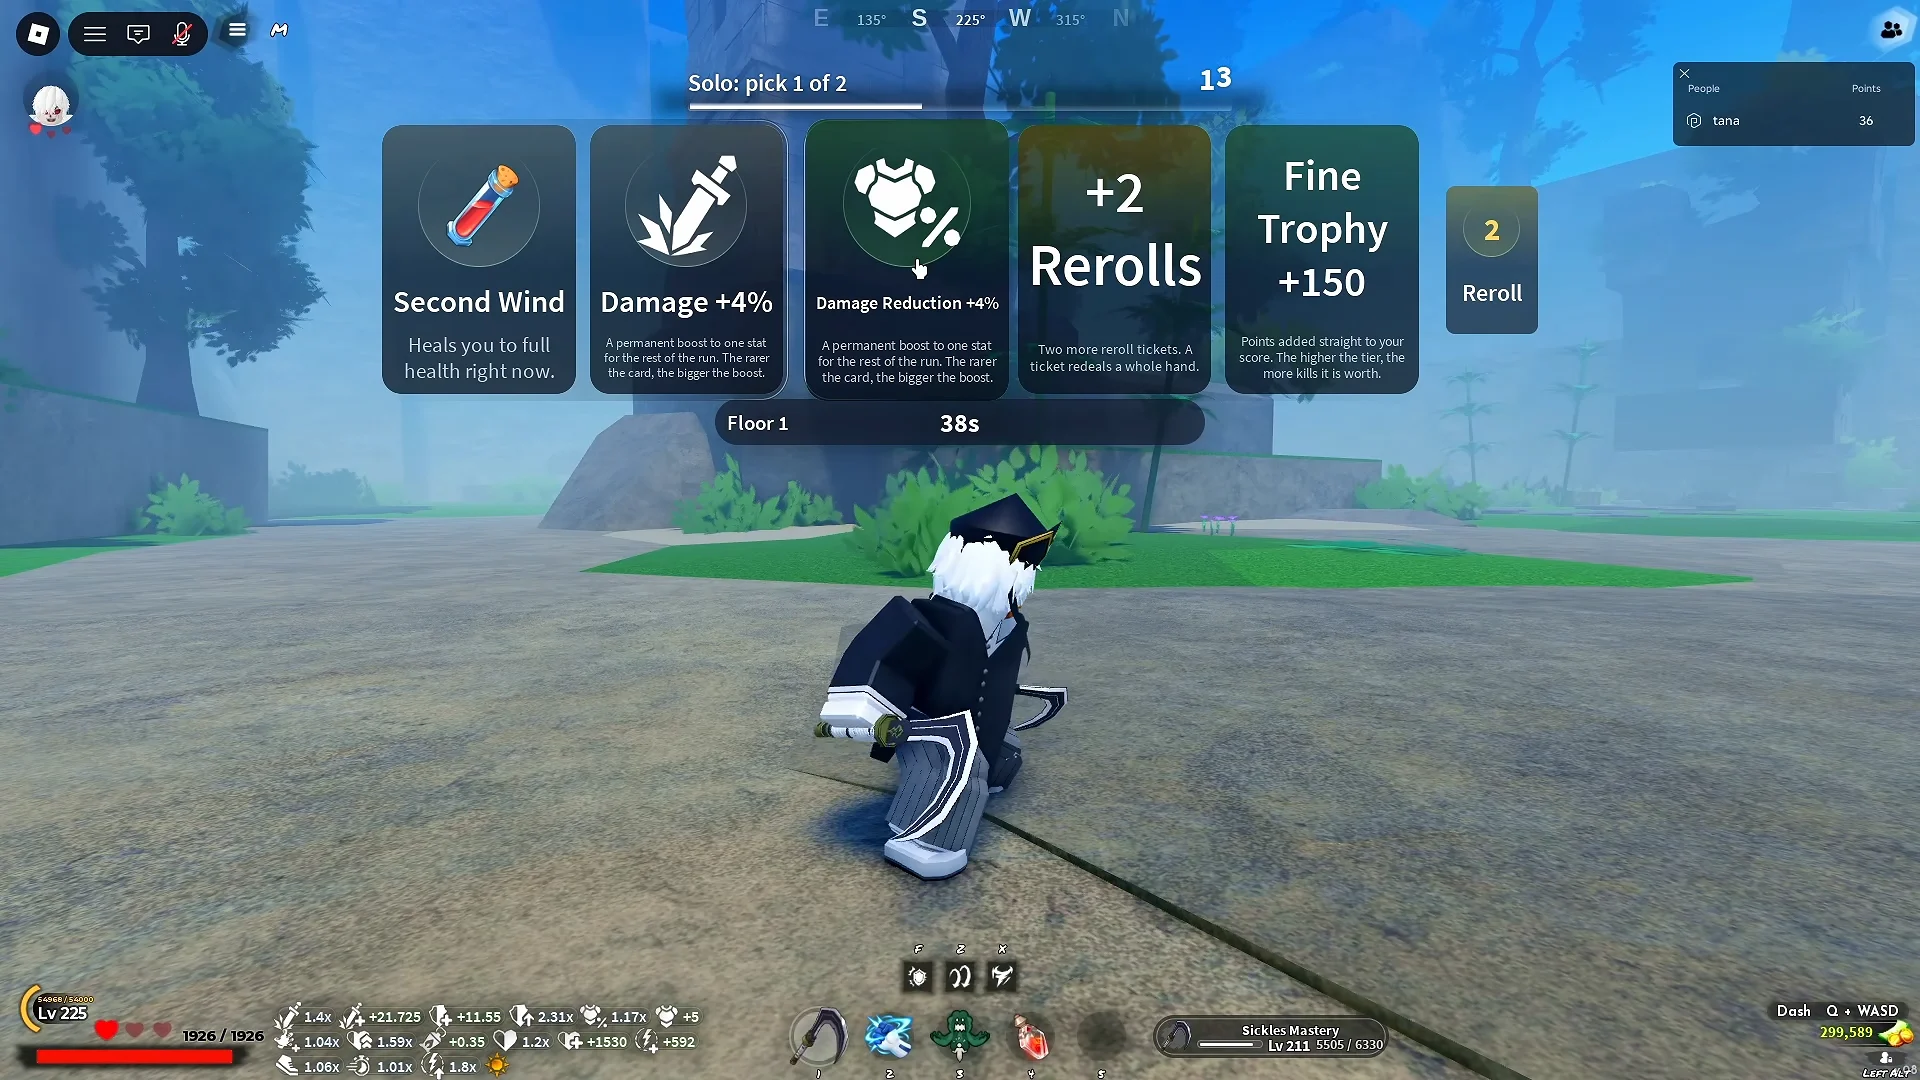
Both flat and percentage-based damage increases apply. Whenever it appears alongside HP, Damage Reduction is the better pickup — on floor one, a +4% Damage Reduction card outperforms a small trophy bonus that never compounds. Attack Speed is misleading: it appears to raise damage, while a direct damage increase or multiplier improves clear speed more consistently. If the choices are those two, select Damage.
Cards to skip or handle carefully
- Grounded — disables dashing and double jumping, slowing the whole run.
- Elite Guard — grants +1.15 points for only the following floor, so it falls behind permanent bonuses.
- Glass Cannon and other half-health modifiers — double damage for -50% health, fatal in Ranked.
- +50% enemy health — acceptable early for a good point reward, punishing once kills already drag.
- Iron Tower and Iron Discipline — poor picks once you are past floor 10.
- Trophy cards, permanent Movement Speed and Attack Speed — filler when nothing better is on offer.
Heavy Hitter is the exception among the trade-off cards. +50% damage for -20% stamina is generally worth taking, because the stamina cost rarely changes how a floor plays out while the damage does.
Run pacing for 50,000 and 100,000 points
Let your kit determine how aggressively you play, rather than your ambition. If you have fewer than two abilities, aim for roughly 50,000 trophies and play safely: use M1 attacks on standard waves, saving your move for glowing NPCs and bosses. Most builds can reach about wave 20 this way before resources become a problem.
Pushing past wave 60 flips the approach entirely. Patience stops working and ability spam takes over — cast far more often, lean on wide crowd control such as Flame Mastery’s V move, and stop trading M1s with enemies that can end a Ranked attempt in two swings.
Floor-by-floor priorities
Floors 1 to 5 are for Lucky Draw, cheap multipliers like Fair Fight and Fog of War, and any meaningful Damage card. Floor 10 closes with a boss fight against the Yeti Demon and hands over a milestone card upgrade, so arrive with enough health to eat a guard break. From floor 11 the run shifts into the ice biome, where Ascension and Streak are worth holding out for and HP finally matters as much as damage. Another Yeti waits on floor 15. Deeper in, high-value Fortune and Grand Trophy cards are the ones that push a good run into a great score.
Solo runs versus group runs
For scoring, solo is usually the best default. You retain the run’s full set of advantages, choose every card yourself, and determine each floor’s pace — all crucial when pursuing a leaderboard position.
Group play is viable when you deliberately seek cards that increase shared points. Without those cards, three players clearing together may bank less individual value than those same three players would separately. Ascension is the clear multiplayer choice because backup makes an additional elite on every floor much easier to handle.
What dungeon points buy in the lobby
Points are spent back in the dungeon lobby, which is where the real rewards live. It is also the fastest mastery grind in the game.
| Spend | Cost | What you get |
|---|---|---|
| Training Boosters | Varies | EXP and mastery levels |
| Ouwigahara Chest | 30,000 points | Legendary gear rolls |
| Changer Zeni | 30,000 points | One Mythic Refinement Ore |
| Outfitter mannequins | 60,000 points | Cosmetics such as the Presence Hider Mask |
| Nichirin Forge | 90,000 points + materials | V2 weapon crafting |
At the Training Boosters, the Tower Crystal turns points directly into experience and mastery, allowing Flame Mastery, Sword Mastery, or fist and Blood Demon Art mastery to reach maximum much faster than through open-world grinding. Drops such as Demonic Horns II and the Silver Fang Mask come from the Ouwigahara Chest, while dungeons provide the path to Tier 2 gear.
Refinement Ore from Changer Zeni costs 30,000 points per piece, making ten a pricey purchase. Instead, unlock salvaging through Denzo’s quest and dismantle Mythic-rarity items to obtain the same ore.
Most of these materials go into the Nichirin Forge. Its recipes include V2 weapons such as the Butterfly Katana, the Damascus line, and the Volcanic Katana. A basic V2 requires 90,000 Dungeon Points, 500 Metal Scraps, Silk Thread, 10 Mythic Refinement Ore, and the weapon’s own dungeon materials. A run reaching roughly floors 60 to 70 pays for the point portion of that cost, which is why each earlier card choice should be made deliberately.





