

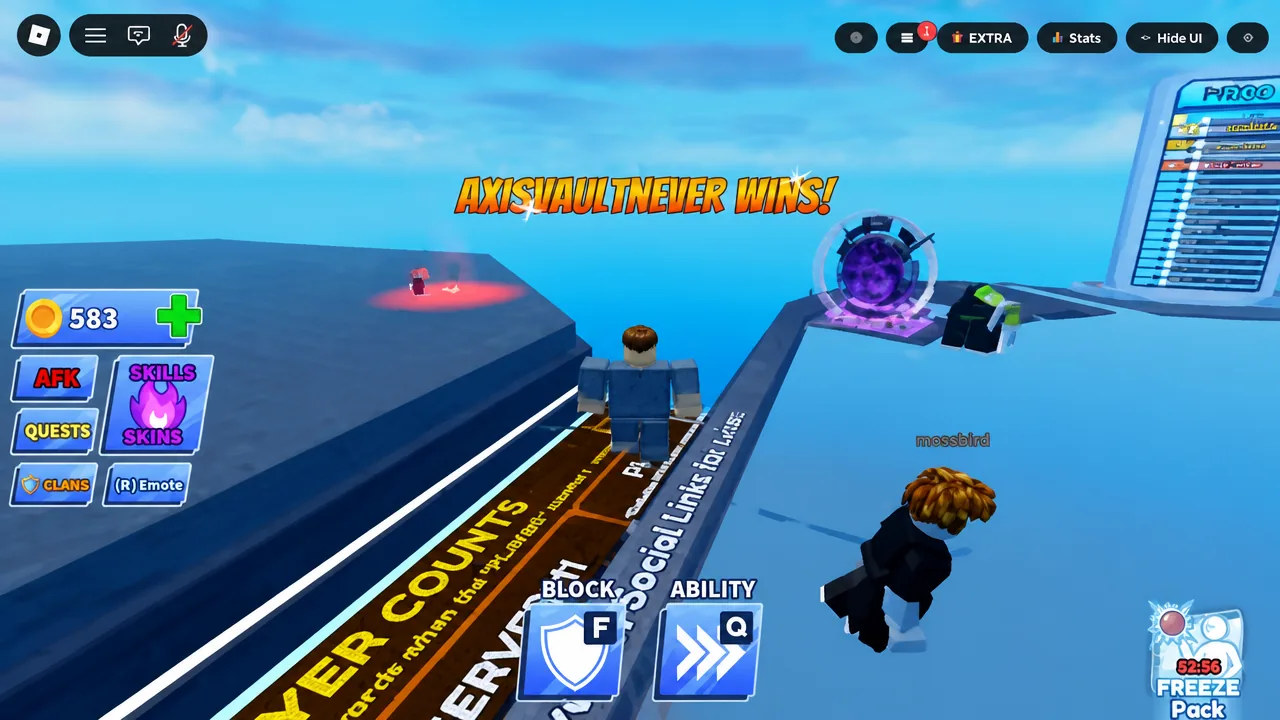
Blade Ball drops you into an arena with a homing ball, a sword, and no tutorial worth the name. The ball picks a target, flies at them, and either gets deflected or removes them from the round. Everything else in the game sits on top of that one exchange.
Quick answer: Press F or left-click to block the ball just before it reaches you, and press Q or right-click to fire your equipped ability. You know the ball has locked onto you when your character glows red.
Blade Ball controls on every platform
There are only four inputs that matter, and two of them decide whether you survive. Blocking and abilities are the pair you will use hundreds of times per session. Shift lock and emotes are situational.
| Action | Keyboard / mouse | Controller / touch |
|---|---|---|
| Block | F or left click | R1, tap screen, or tap the UI button |
| Ability | Q or right click | X button or tap the UI button |
| Shift lock | Shift | Y button or tap the UI button |
| Emote | R | L1 or tap the UI button |
Keybinds are not fixed. The settings menu lets you rebind anything that feels awkward, and it also holds a low graphics toggle. Turning particle effects down is worth doing early, because the arena fills with slash effects and ability visuals that can cost you frames at exactly the wrong moment.
Getting into a match
Reading the red targeting cue
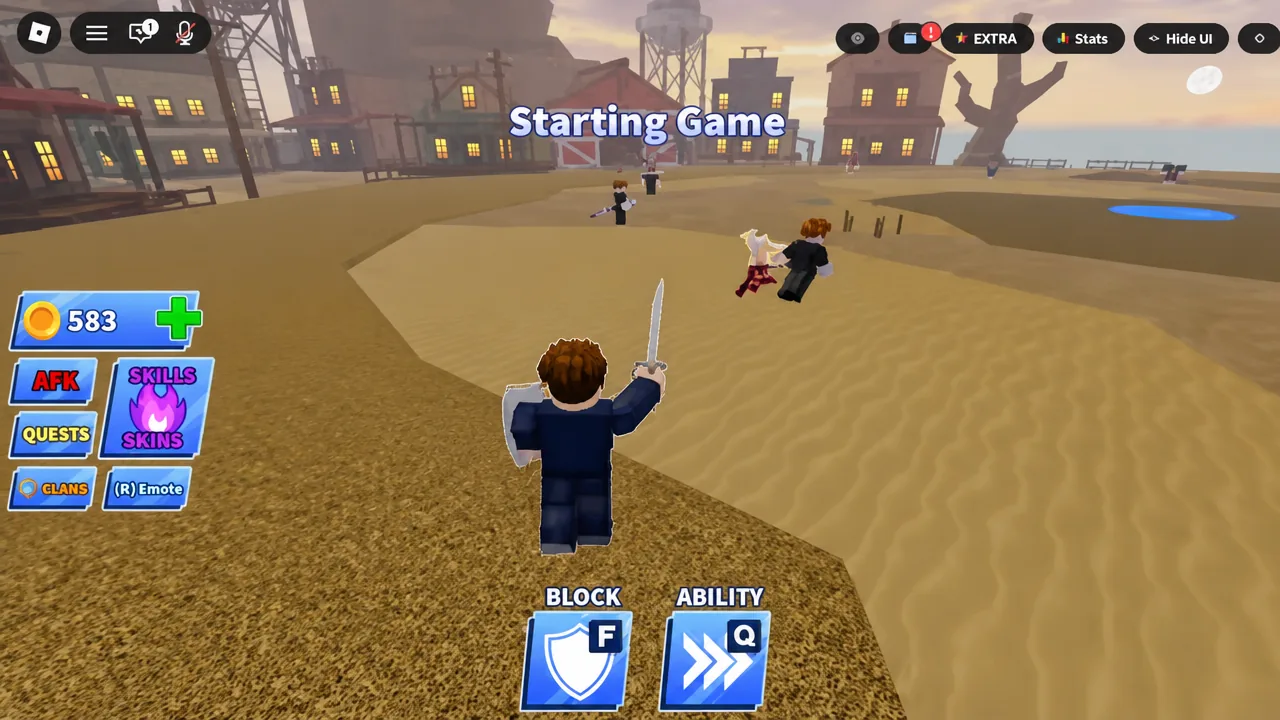
The ball only ever chases one player at a time, and the game tells you when that player is you. Your character and hitbox turn red the moment the ball locks on. That red outline is your cue to stop thinking about positioning and start thinking about timing.
Press block just before the ball reaches you, not at the moment of contact. Waiting for impact is the single most common way beginners die. Aim to swing when the ball is roughly at arm’s length, and keep your camera facing it — a deflect will not connect if the ball arrives from behind your character.
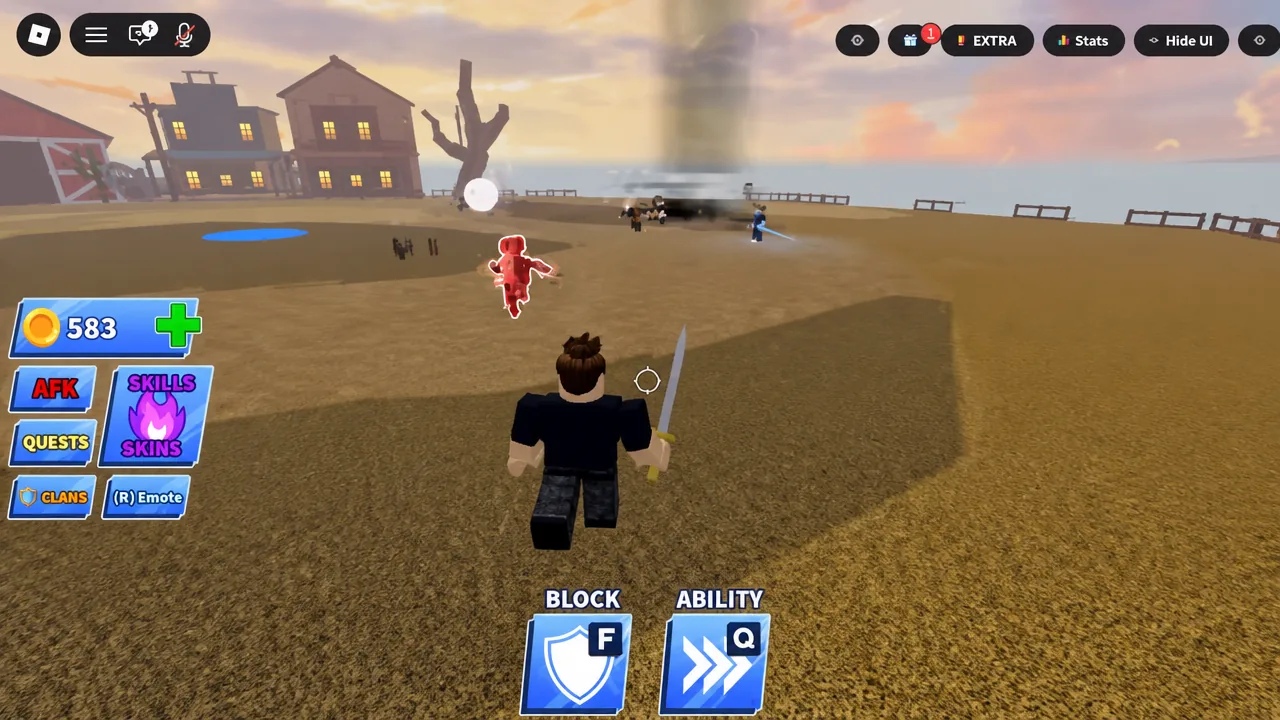
Every successful deflection speeds the ball up. The exchange that felt comfortable on the first pass becomes noticeably tighter by the fourth or fifth, which is where most rounds end. Once the speed climbs, stop trying to react to the ball’s position and start swinging on rhythm instead.
Tip: With shift lock enabled, you can alternate F and right-click to input blocks faster than either alone. It is most useful in a one-on-one standoff where the ball is bouncing between two players at high speed.
Where to stand and what to watch
Standing still makes you the easiest target on the map. Keep moving between deflections, but move with purpose rather than sprinting in circles. The centre of the arena gives you the widest range of return angles, while hanging back keeps you out of the immediate exchange until the crowd thins.
Never park directly next to or in front of another player. If they deflect the ball at you from that range, there is no reaction window left. Give yourself distance, and move away from clusters of players who are feeding the ball back and forth at speed.
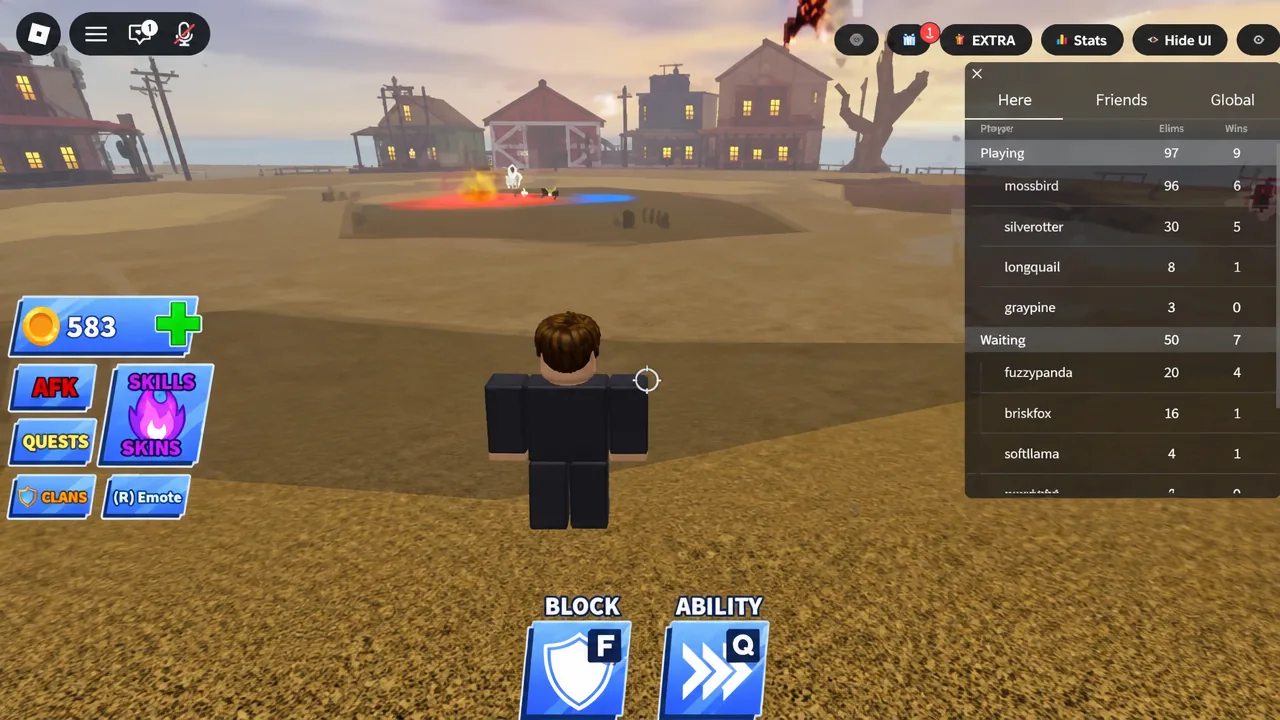
Track the ball for the whole round, even when it is not pointed at you. Watching other players trade deflections shows you which abilities they have equipped and how they like to time their swings, which is information you get for free before it is your turn. The player list also tells you how many opponents are left — the alive counter drops as people are eliminated.
Curving the ball to force mistakes
The ball travels in whatever direction you are facing when you deflect. Point your camera to the right and it bends right; angle it upward and you get a high shot. Both change the arrival timing your opponent has to solve for.
Curves work best in a one-on-one because a predictable straight return is trivially easy to block. A subtle bend is more effective than a dramatic one — a slight change in angle is much harder to read than a wide arc that telegraphs itself. This works with essentially any blade, so it costs nothing to practise.
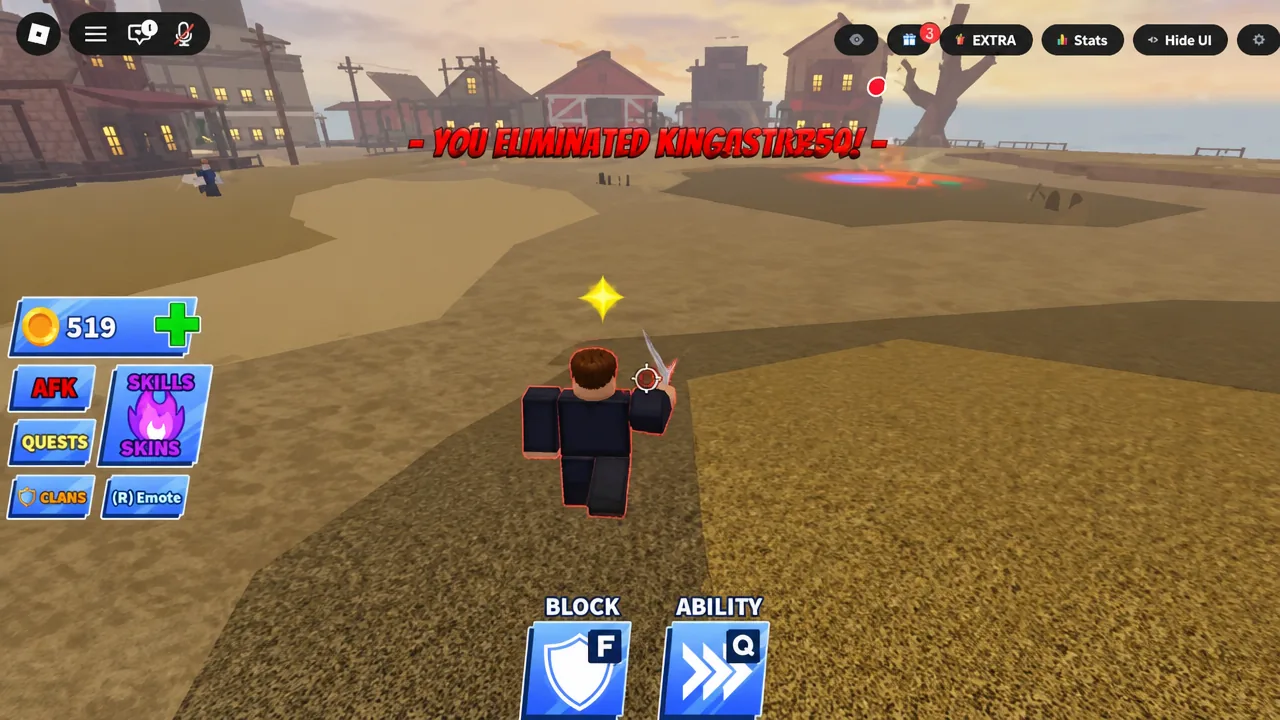
Eliminations are confirmed on screen. When your deflection takes someone out, a “YOU ELIMINATED” banner appears with their username on it, which is your signal that the shot landed rather than clashed.
Abilities: what to unlock and when to fire
Abilities are the only purchases that change how you play. Sword skins and explosion effects are cosmetic and do nothing for your deflect timing, so spending early coins on them is money you will wish you had later.
You start with Dash, a neutral movement ability that is more useful than it looks — it teaches you how repositioning interacts with the ball’s approach. New abilities are unlocked with Coins, wheel spins, and event rewards. Most purchasable abilities can be upgraded twice, and those upgrades cut the cooldown as well as boosting the effect. The first upgrade costs half the original price, the second costs the full price again.
| Playstyle | Marker | What it does for you |
|---|---|---|
| Offensive | Red square | Pressures opponents, disrupts their rhythm, forces bad deflects |
| Defensive | Green circle | Buys survival time — Invisibility removes you from the ball’s targeting for a short window |
| Neutral | Star | Mixed utility and movement, such as the starter Dash |
Active abilities run on cooldowns, and the stronger the effect, the longer the wait. Passive abilities, including Quad Jump, Luck, Reaper, and Guardian Angel, stay on for as long as you are alive with no input required. Learn your cooldown length by feel rather than by staring at the icon, because several ability icons look almost identical in the middle of a rally.
Do not burn an ability at the start of a round out of habit. Save it for the moment the ball speed spikes or the angle becomes unblockable. Baiting an opponent into spending theirs first, then attacking while it recharges, is the standard way skilled players close out a duel.
Practising in Training Mode
Training Mode is reachable through Server Select, via the blue button in the lower right. It exists so you can drill timing without losing a round for it.
Inside, you set the number of AI opponents and their skill level. You can also decide whether the bots move around or stand in place, and whether they target each other instead of you. Standing bots at a low skill level are the right setting for learning the parry window; moving bots at a higher level are where you test curve shots and ability timing.
What the lobby menus do
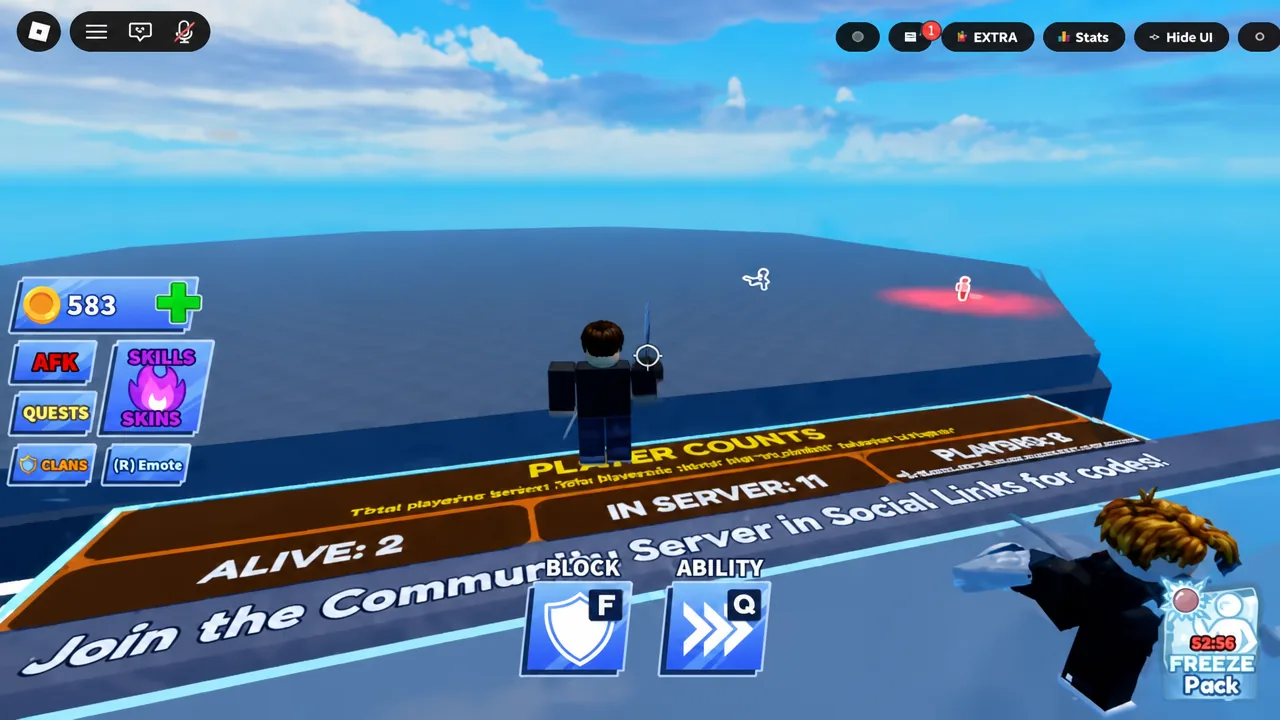
Between matches you spawn into a hub with several stations. Crates open for cosmetics, Group Rewards and Server Selection sit behind their own portals, and an AFK zone lets you idle. Leaderboards track Most Wins and Most Kills, and a player count board shows how many people are in the server versus how many are in the current match.
The Daily Login panel is the one to check every session. Rewards escalate across Day 1 through Day 5, with the final day flagged as the best reward, and each day’s tile switches to CLAIMED once you take it. Day 2 hands over the Freeze ability, which is a genuinely useful defensive pick for a new account and one you would otherwise be saving Coins for.
Codes are redeemed from the main menu through the Codes or Twitter button. Most reward Coins, wheel spins, or cosmetic sword skins, and they expire quickly — often within a few weeks of release. New ones tend to appear alongside updates, seasonal events, and visit milestones.
Mistakes that end rounds early
Most early eliminations come down to a short list of habits rather than bad reflexes.
- Blocking on contact instead of just before it. The window closes before the ball touches you.
- Swinging early on every single deflection. Experienced players simply delay their return and watch you whiff.
- Facing the wrong way. Your sword needs to be pointed at the ball for the deflect to register.
- Standing on the spawn point. Being stationary makes you the obvious first target.
- Buying cosmetics before an ability. Skins do not shift a single frame of your timing.
Getting hit sends you back to the waiting lobby, where you can spectate the rest of the round and queue for the next one. That downtime is not wasted — watching the players who outlasted you is the fastest way to learn what the tighter deflection windows actually look like before you are the one standing in them.





