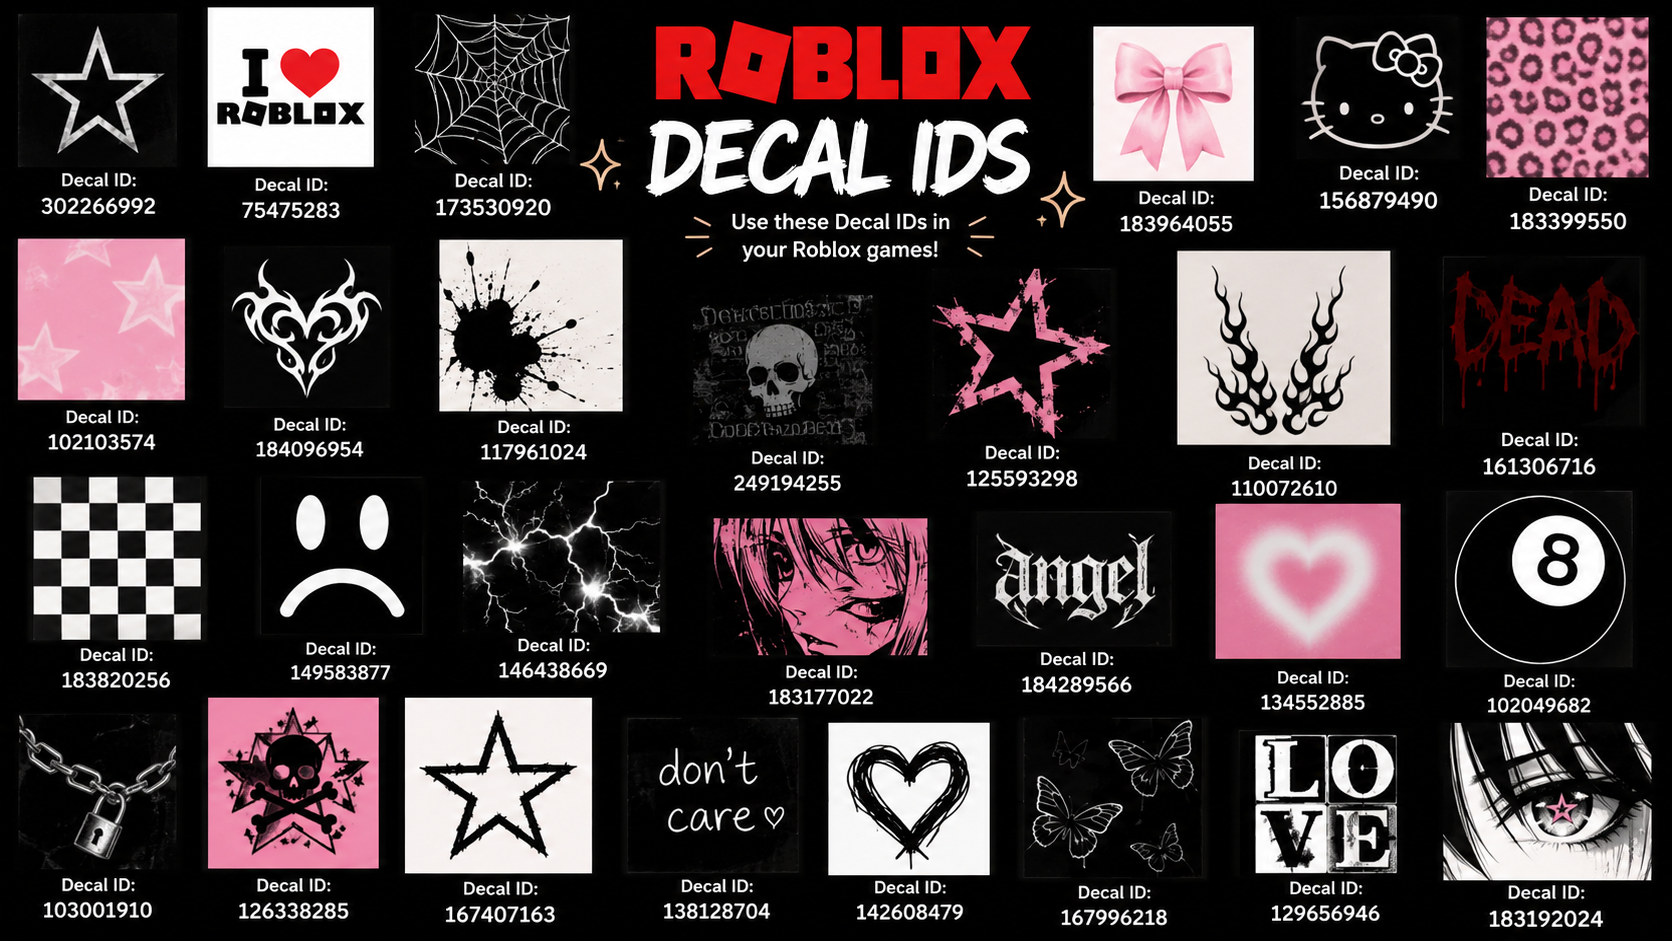
Decals are image assets you place on a surface in Roblox Studio. They stretch across the face of a part instead of tiling like a texture, which makes them useful for posters, signs, logos, faces, and one-off art details. Roblox also lists decals in the Creator Store, where you can browse and copy asset IDs for use in your place.
Roblox decal IDs
| Decal | ID |
|---|---|
| Epic Face | 109251560 |
| Rainbow Cat Tail | 469008772 |
| Sapphire Encrusted Headphones | 53890741 |
| Shiny Cutie | 2782324454 |
| grey wistful wink | 710679541 |
| Laughing Fun | 227600968 |
| Wings | 76819021 |
| TX-08 Galatron Gunner | 93390411 |
| Face | 6979666270 |
| Galaxy | 3131549391 |
| cat ears | 112902315 |
| hair | 6576347905 |
| hair | 4637746375 |
| Nerd Glasses | 422266604 |
| Spider-tux | 1803741 |
| Radioactive Stripe | 91049678 |
| sword pack | 83250046 |
| Outrageous Sword Pack | 73737627 |
| Spread The Lulz! | 24774766 |
| Gravity Coil | 23534055 |
| The Rock | 8425069728 |
| Beluga | 7129155278 |
| Anime Aesthetic | 5252447904 |
| aesthetic anime | 5191098772 |
| Aesthetic anime girl | sad | hardcore | 8652665149 |
| Kawaii | 5206932266 |
| funny cat moment | 7205866972 |
| roblox meme 1 | 7279137105 |
| Help me rickroll all of Roblox | 6403436082 |
| Invisible Kitty | 2483186 |
| Cheems dog minecraft edition | 9676276958 |
| One Piece All x Luffy | 8964489645 |
| Super Super Happy Face | 1560823450 |
| Pikachu | 732601106 |
| Doge | 130742397 |
| Creepy Mr. Bean | 91635222 |
How to use a decal ID in Roblox Studio
Texture field and press Enter.Face property to place the image on the correct side of the part. The available faces are Front, Back, Left, Right, Top, and Bottom.The decal worked if the image appears on the selected surface in the viewport after you press Enter and choose the correct face.
How to find more decals
The Creator Store includes a large decals catalog under 2D resources and stickers. Popular listings there include items such as cat ears, Rainbow Cat Tail, Shiny Cutie, Epic Face, Laughing Fun, Wings, Roblox sword, and Galaxy, along with creator names and approval ratings.
You can also search by name inside Studio through Toolbox, open Marketplace, switch to Images, and copy an asset ID from the result you want to use. Once you have the ID, paste it into the Decal object’s Texture field.
How to upload a custom decal
Decals and textures are not the same
A decal covers one surface with a single stretched image. A texture repeats across the surface instead of filling it with one full image. If you want a poster, logo, warning sign, face, or picture frame, use a decal. If you want a repeating material look, use a texture.
Important limits and moderation rules
Custom images are reviewed before they become usable. Roblox also limits uploaded images to 1024 x 1024 pixels. If an image is approved, it can be applied with its asset ID in Studio or in experiences that accept image IDs.
For in-game use outside Studio, some experiences support image or decal IDs directly. A common example is using a Spray Paint tool with an asset ID, but support depends on the experience.
For quick decoration work, the fastest route is simple: copy a decal ID, insert a Decal into a Part, paste the ID into Texture, and set the Face property until the image appears where you want it.