Every look in Facecard: Makeup Showdown is painted by hand onto a 3D head. Whether a round’s look scores one star or five depends largely on how well you control the brush. The tool itself is simple. A few settings decide whether a contour line comes out as a soft shadow or a thick stripe across the jaw.
Quick answer: Open the MAKEUP tab and pick a product. Then use the BRUSH panel in the top-right corner to set Size, Strength, and Softness, and turn the Stabilizer on or off before painting.
Brush settings in Facecard: Makeup Showdown
The BRUSH panel stays in the top-right corner of the makeup interface while you paint. It holds one toggle and three sliders. Each one changes a different part of the stroke, so you can adjust them one at a time.
| Setting | What it changes | Higher / on | Lower / off |
|---|---|---|---|
| Stabilizer | Stroke smoothing | Smoother, dragged lines | Raw, more sensitive lines |
| Size | Stroke width | Broad marks | Fine detail |
| Strength | Pigment opacity | Intense colour | Light, sheer colour |
| Softness | Edge feathering | Diffused edges | Crisper edges |
The Stabilizer works like a buffer between your cursor and the stroke. With it on, the line trails slightly behind your movement and comes out smoother. This helps with long, even passes like contour along a cheekbone. With it off, the brush follows every small movement, which feels more direct but also picks up shaky hand motion. Flipping the toggle shows a “Stabilizer Enabled” or “Stabilizer Disabled” message, so you can confirm which mode you are in.
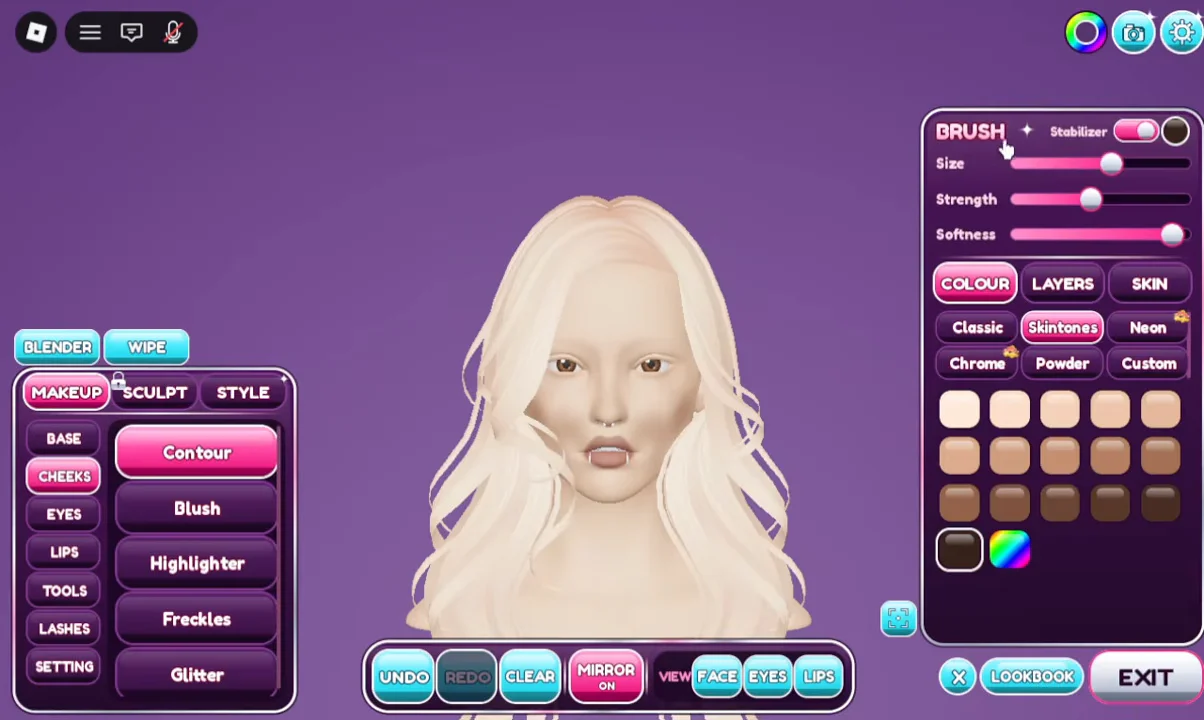
Size is the slider that most often causes trouble. Pushed too far, it turns a single tap into a large blot that covers half the cheek. Strength and Softness work well together. A low Strength with high Softness builds colour slowly and blends at the edges. A high Strength with low Softness gives a sharp, saturated mark, which suits liner-style details.
How to paint with the brush
The brush always paints the product you currently have selected. Choose what to apply first, then set the brush.
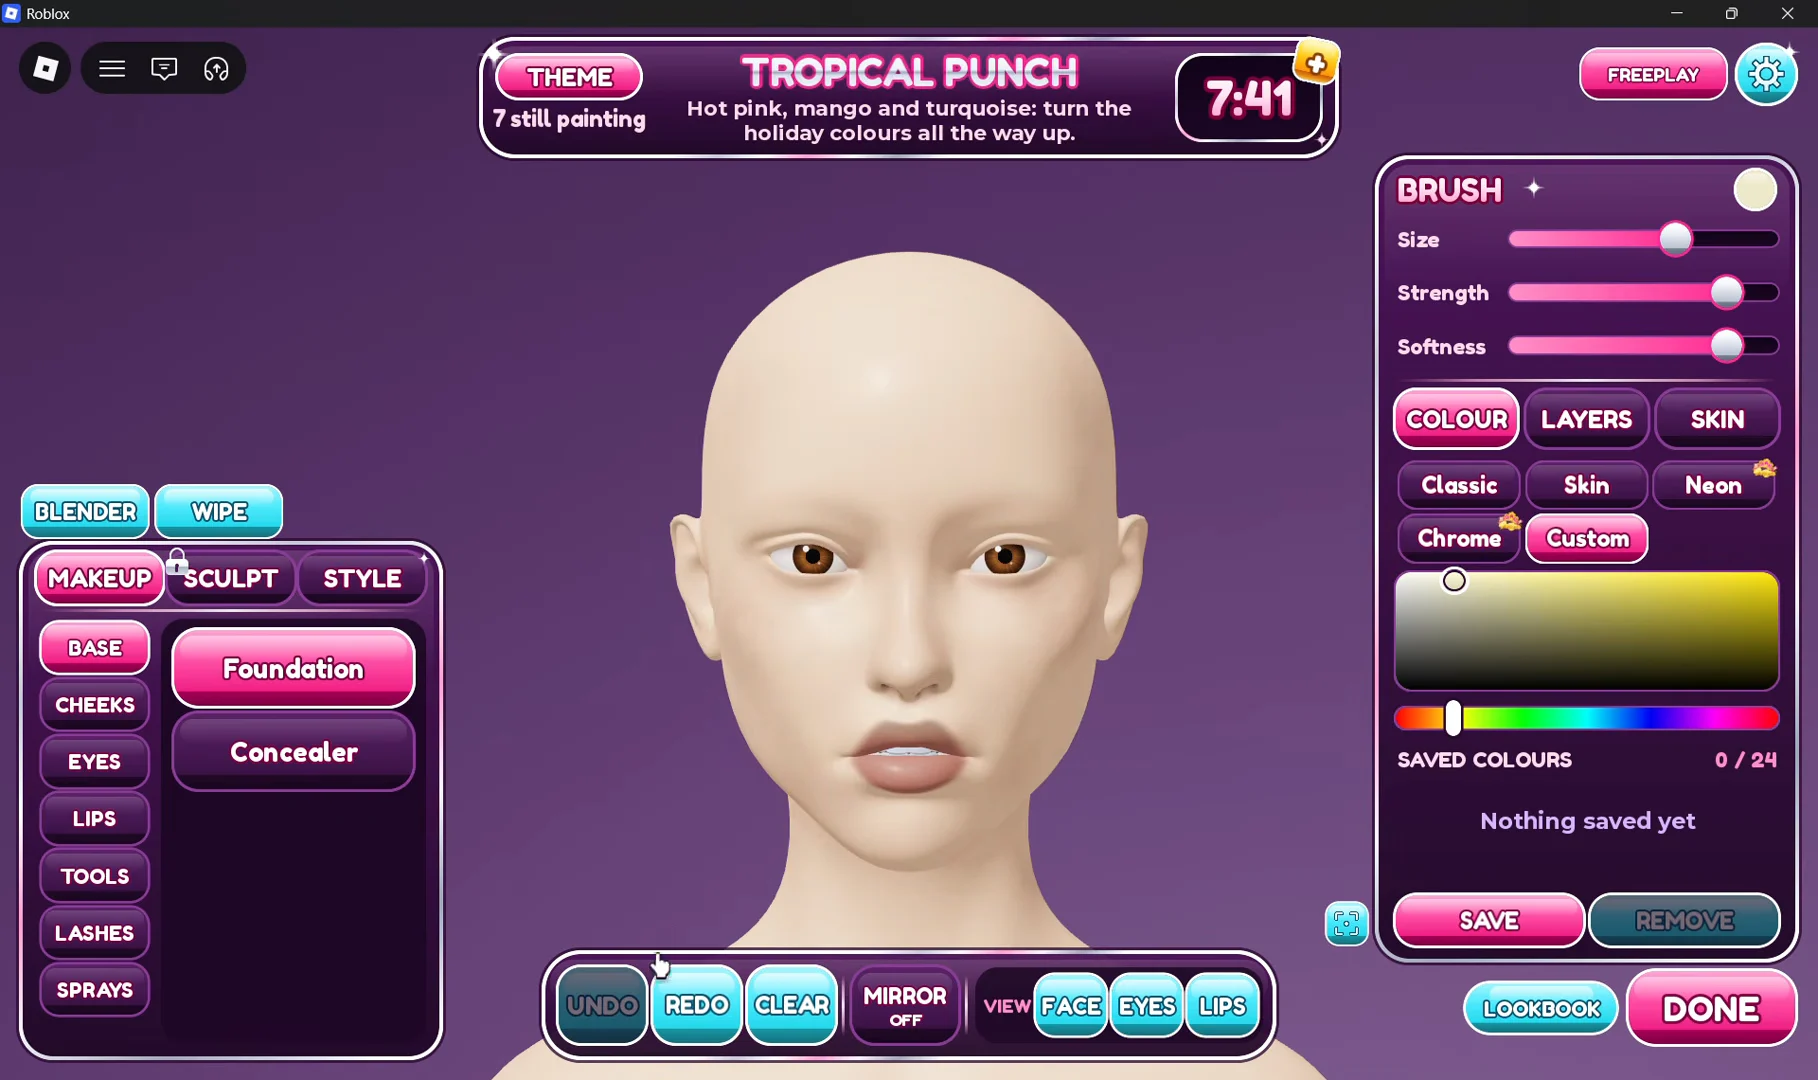
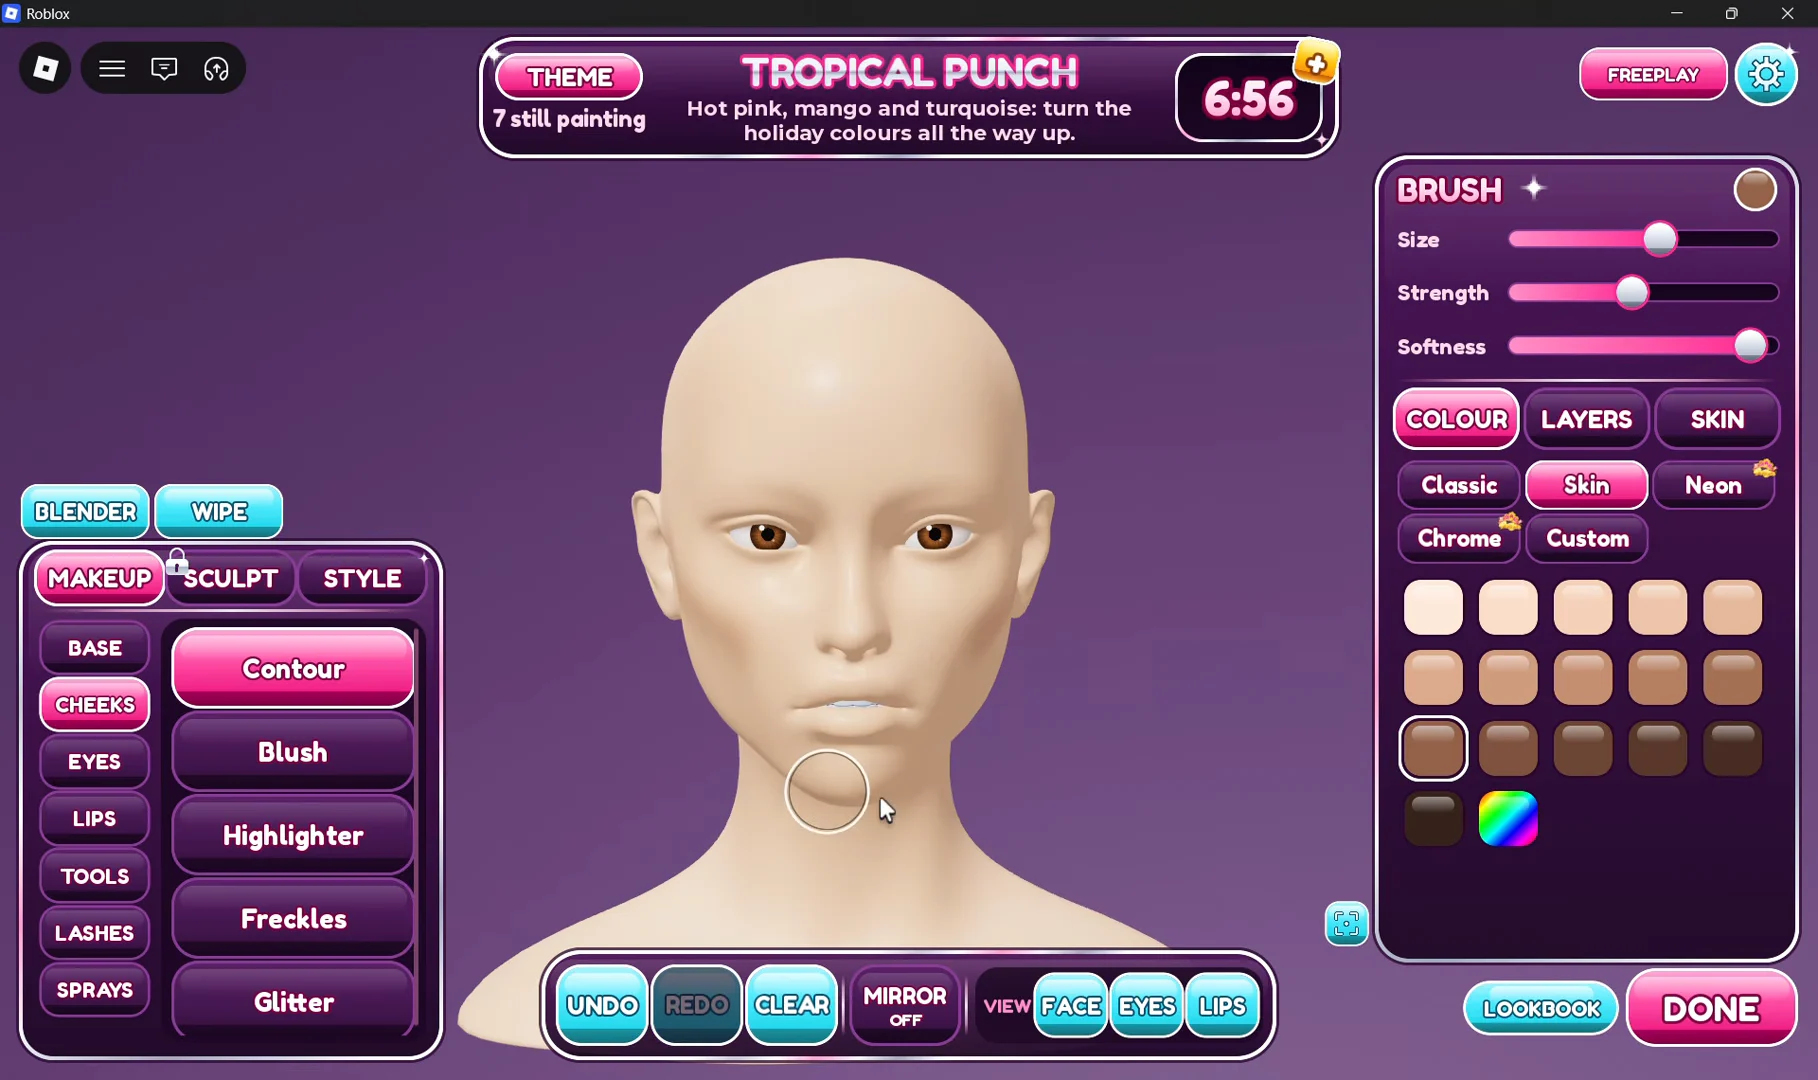
You can tell the brush is working when colour appears on the face under the cursor ring as you drag. If the mark comes out bigger, darker, or harder-edged than you wanted, change the matching slider and paint again.
Brush controls on the bottom bar
The bar along the bottom of the editor handles corrections and camera framing. You will use it alongside the brush constantly.
- UNDO and REDO step back or forward through your strokes.
- CLEAR wipes the makeup from the face so you can start over.
- MIRROR ON copies each stroke to the opposite side of the face.
- VIEW shortcuts (FACE, EYES, LIPS) move the camera to that area for closer work.
Mirror is the easiest way to get symmetrical contour, blush, or eyeshadow. Turn it off when you want a deliberately one-sided detail. For small areas like the lash line or lips, zoom in with the VIEW shortcuts and lower the Size slider. These two changes make precise work much easier.
CLEAR removes the whole look, not just the last stroke. To fix a single mistake, use UNDO instead.
Ranked rounds run on a timer that ends with “TIME’S UP! BRUSHES DOWN.” That makes it worth learning these settings before your first competitive round. Freeplay mode has no timer, so it is a good place to test how Size, Strength, Softness, and the Stabilizer affect your strokes.