

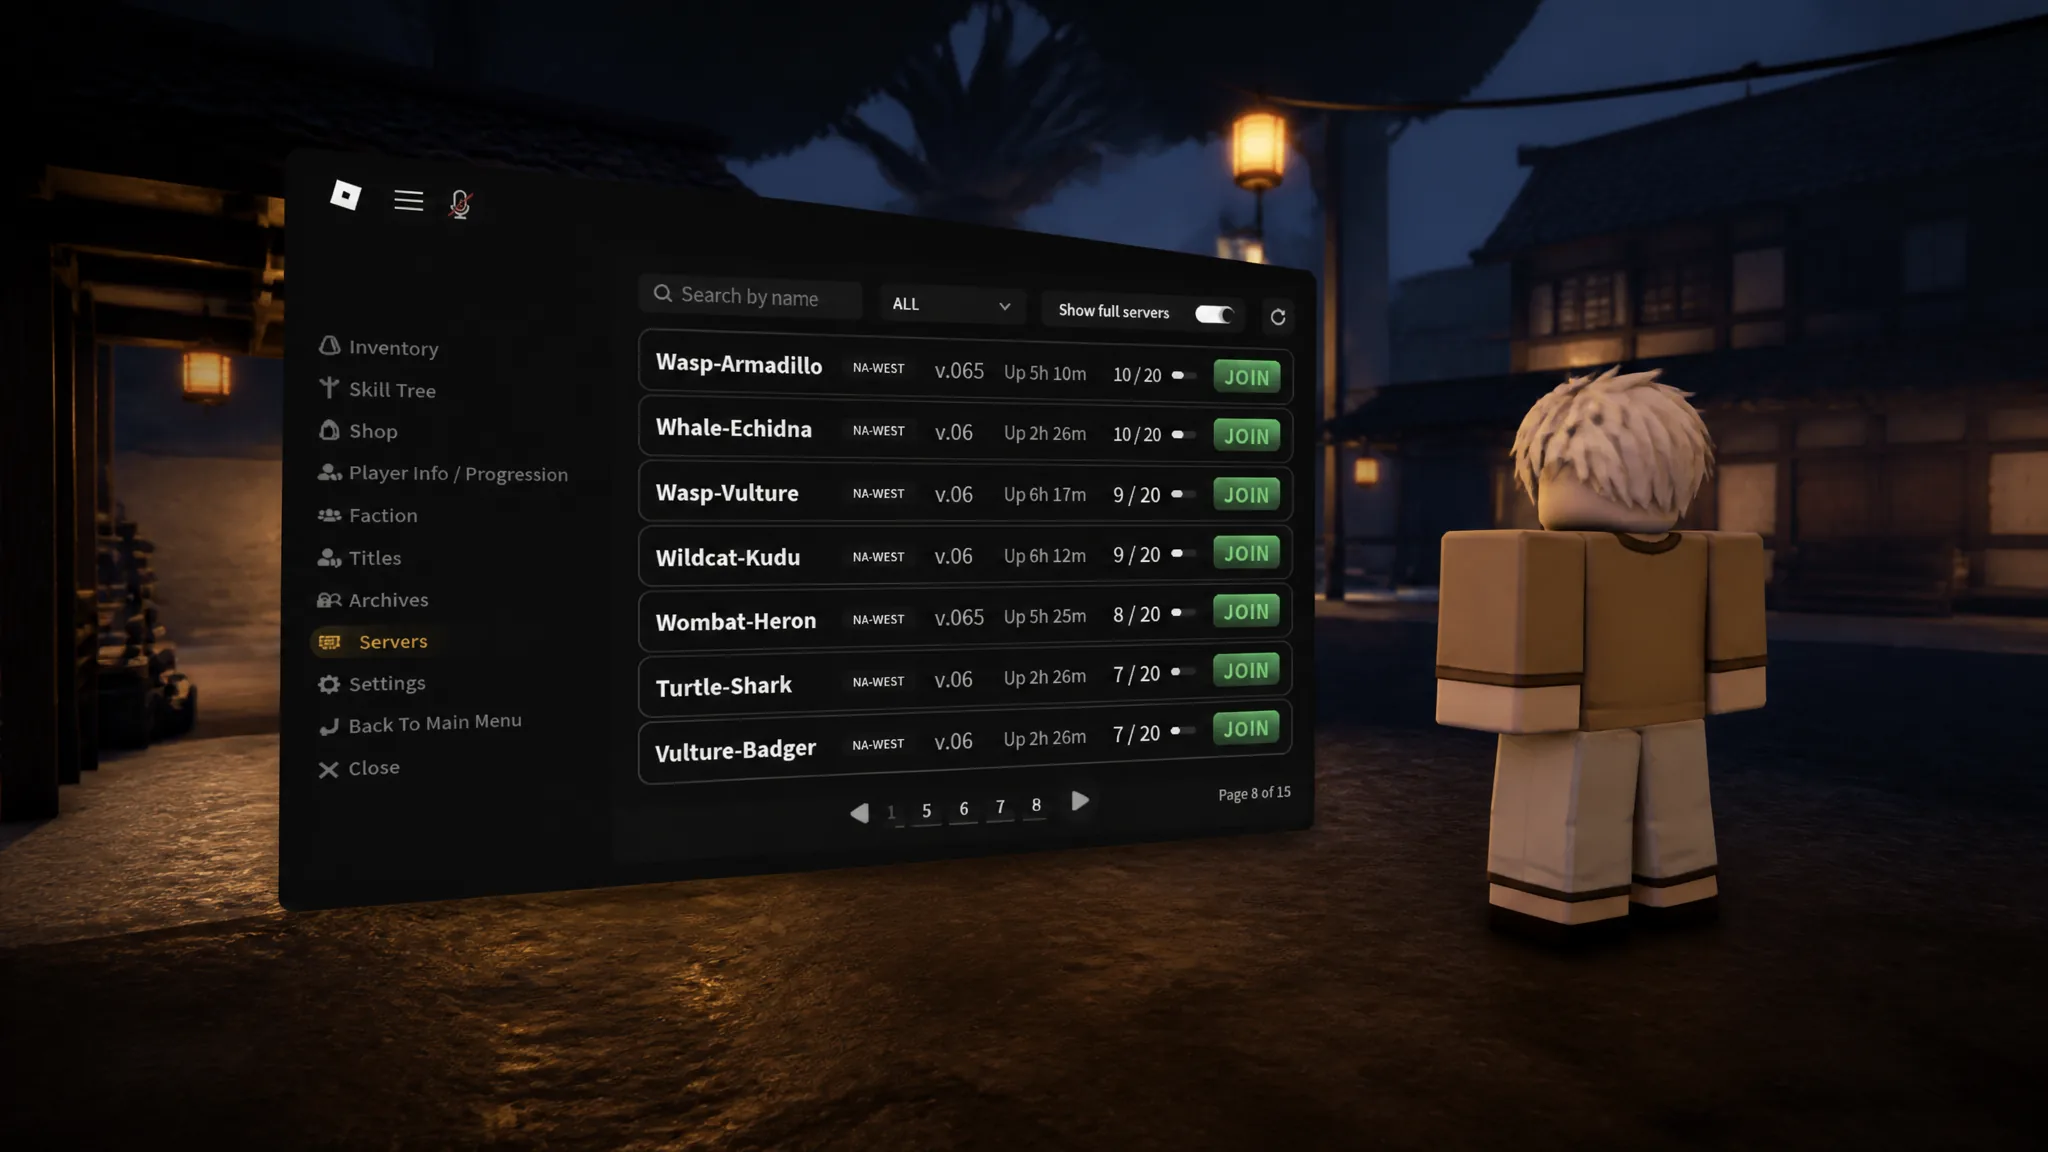
Server hopping is part of daily life in Slayers 2. Maybe you want a session running a different time of day, a lobby with fewer people fighting over the same spawns, or simply a server closer to where you live. The game handles all of that inside its own menu, so you never have to back out to the Roblox app and rejoin.
Quick answer: Open the menu with the icon in the top-left corner, pick Servers from the left sidebar, filter by region if you want, then press Join next to any listed session.
Switch servers from the in-game Servers tab
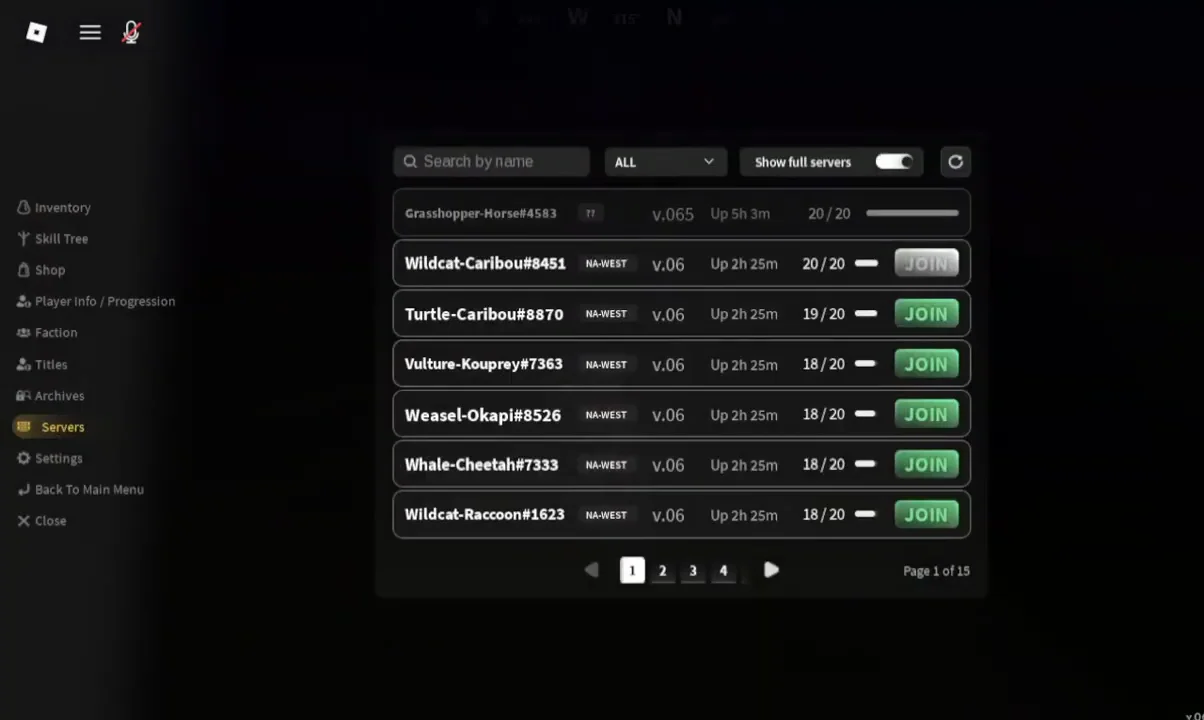
You will know the swap worked when the game drops you into a fresh session and the menu closes back to the normal game screen. From there you can reopen the same menu and jump again as often as you like.
What each column in the server list means
Every entry in the browser carries the same handful of details, and they are worth reading before you commit to a session.
| Column | What it tells you |
|---|---|
| Server name | How that session is labeled in the list |
| Version | Which build the server is running |
| Uptime | How long the session has been live |
| Players | Current headcount against capacity |
| Join | Button that moves you into that session |
Uptime is the one people skim past. A server that has been running a long time has already burned through a lot of its day-night cycle, which matters if you are hunting something that only appears at a specific time.
Filter servers by region
Above the list sits a dropdown that narrows everything down by region, with entries such as EU and NA-CENTRAL. Pick one and the browser only shows sessions hosted there, which is the fastest way to cut a long list down to servers you will not lag in.
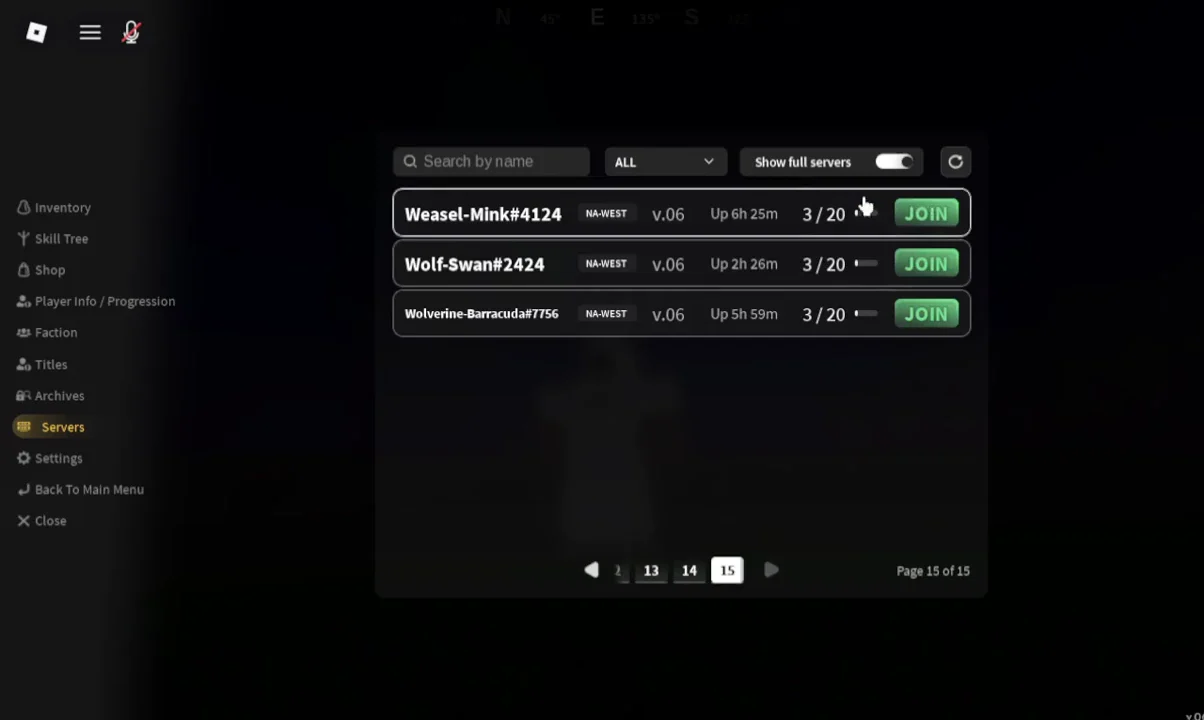
Clear the region filter if the list looks thin. Narrowing to one region can hide sessions with the player count or uptime you actually wanted.
When hopping servers is worth it
The most common reason to jump is the clock. Certain encounters only turn up at night, and rather than waiting out a full in-game day, players cycle through the browser looking for a session that is already dark. It does not always pay off — sometimes sitting in one server until night comes around is faster than opening the list ten times.
Beyond that, the version column is a quick way to land on a session running the build you expect, and the player count helps you avoid a lobby where every boss and node is already claimed.
Private server access settings that control who can join
Private servers work differently. Instead of picking a session off a list, entry is decided by chat commands the owner and moderators type in-game. These are the ones that determine whether a player gets through the door.
| Command | Effect on joining |
|---|---|
/access closed | Blocks regular players; whitelist still enters |
/access friends | Limits entry to eligible friends |
/access everyone | Opens the server to all players |
/whitelist <player> | Lets that player in regardless of access setting |
/unwhitelist <player> | Removes that exemption |
/kick <player> | Removes them; they can rejoin |
/ban <player> | Blocks entry, and works while they are offline |
/unban <player> | Restores their ability to join |
/shutdown | Clears everyone out and restarts the session |
Type the command in the in-game chat exactly as written and swap the placeholder for a real username, with no angle brackets. So /kick George removes a player called George. Moderators can handle player management, but /mod, /unmod, and /shutdown are owner-only.
/shutdown removes every player immediately and starts a clean session, so save it for an actual restart rather than mid-event.
Between the Servers tab for public sessions and the access commands for private ones, you have full control over where you land. If a lobby is too crowded, running the wrong time of day, or just full of people you would rather not share a boss with, you are two clicks from somewhere else.





