

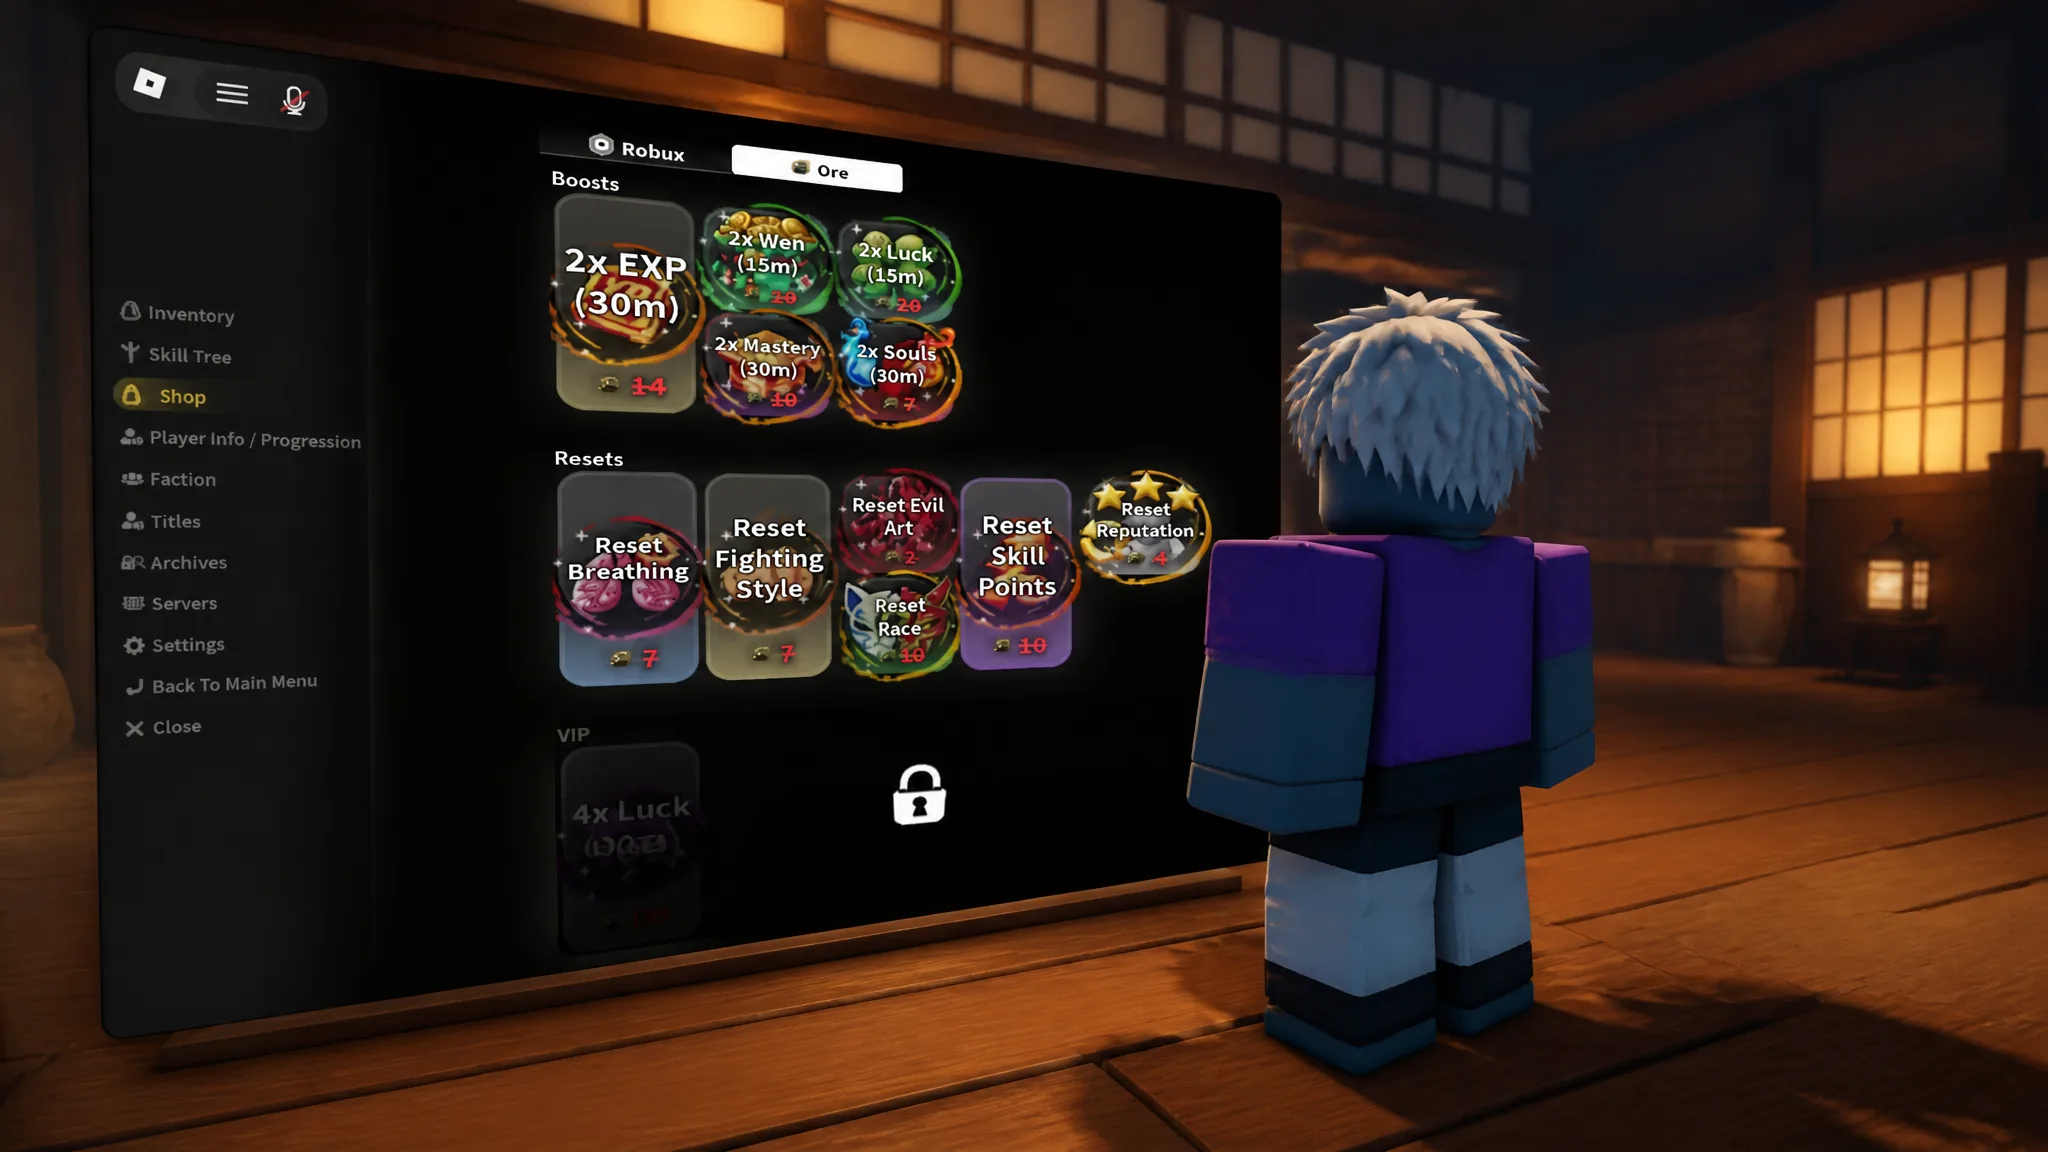
Gifting in Slayers 2 is not handled by a trade window, a friends list, or a separate gifting menu. It lives inside the regular in-game Shop, alongside the boosts and resets you would normally buy for yourself. The only difference is a small text box in the corner that decides who actually receives the purchase.
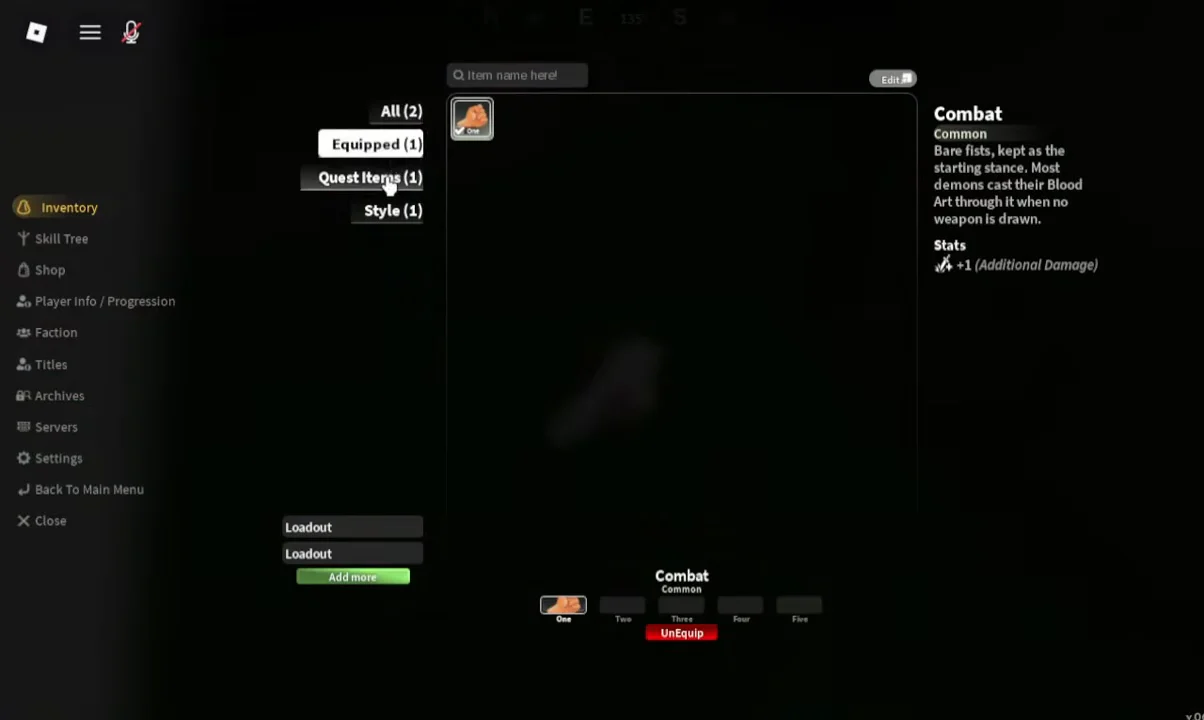
Quick answer: Open the menu with the three-line icon at the top left, pick Shop, type the recipient’s exact username into the “Gift to…” field, click the item, then hit the green checkmark to confirm.
What you need before sending a gift
Two things decide whether the purchase goes through. You need enough currency to cover the item, and you need the recipient’s username typed correctly.
- Currency: shop entries are paid for with Ore or Robux.
- Enter the recipient’s exact username rather than their display name.
- Access to the item itself — a few shop entries are locked behind VIP and show “You need VIP to access this” instead of a price.
Ore is the grindable option if you would rather not spend Robux. It drops from chests around the world, Final Selection awards one, and world bosses hand out four. Codes redeemed from the main menu can also include Ore.
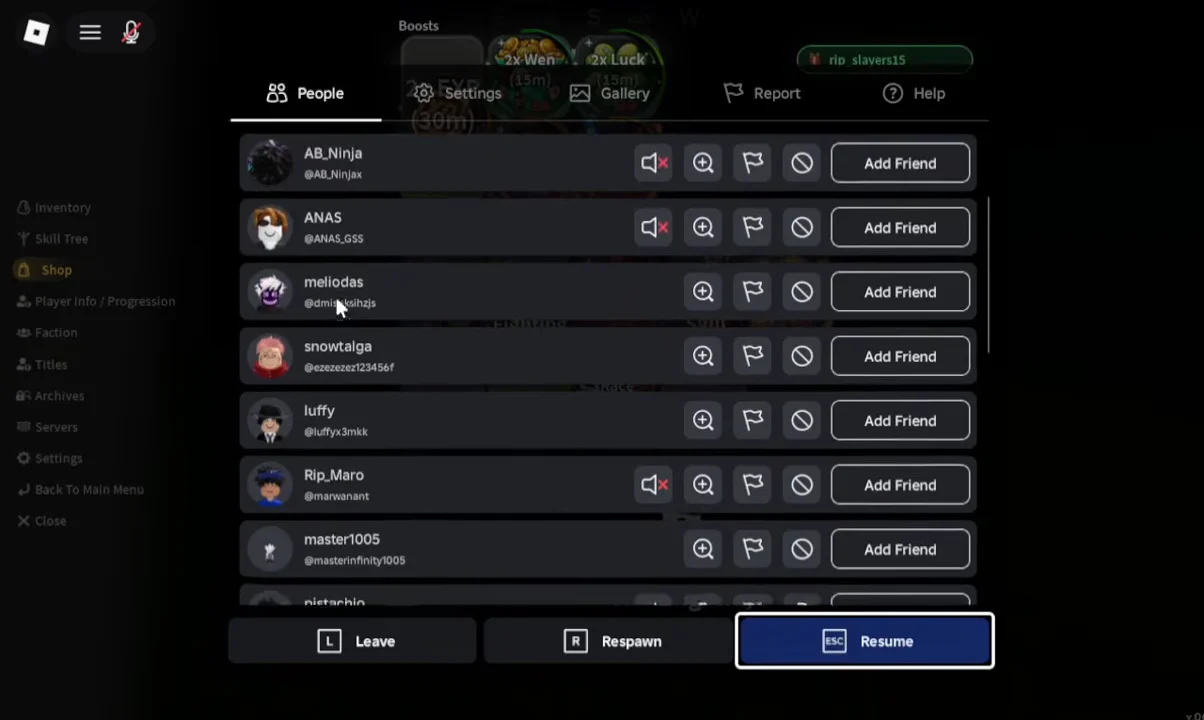
If you are gifting someone in your current server, open the Roblox player list first and copy the username from there. It is the fastest way to avoid a typo in the “Gift to…” field.
How to gift an item in Slayers 2
Which Shop items can be gifted
The “Gift to…” field applies to the Shop as a whole, so the boosts and the reset scrolls are both fair game. Boosts run on a timer once used, while resets are single-use on the system they name.
| Item | Category | Duration |
|---|---|---|
| 2x EXP | Boost | 30 minutes |
| 2x Souls | Boost | 30 minutes |
| 2x Mastery | Boost | 15 minutes |
| 2x Luck | Boost | 15 minutes |
| Reset Breathing | Reset | One use |
| Reset Fighting Style | Reset | One use |
| Reset Evil Art | Reset | One use |
| Reset Skill Points | Reset | One use |
| Reset Race | Reset | One use |
| Reset Reputation | Reset | One use |
A 4x Luck option also appears in the Shop, and some entries sit behind a VIP requirement rather than a straight currency cost. If an item shows the VIP message when you click it, it cannot be bought or gifted until that requirement is met.
How to confirm the gift worked
The confirmation prompt is the checkpoint. It spells out the item name and the destination username before anything is spent, so if the name in that prompt is wrong or missing, cancel and correct the “Gift to…” field rather than confirming.
After you click the green checkmark, your Ore or Robux total at the top of the Shop drops by the item’s cost. That deduction, paired with the recipient’s name in the prompt you just accepted, is how you know the gift was sent to the right player.
Since the whole flow lives in a single panel, gifting several items in a row is quick. The username stays in the field, so you can send a second boost without retyping anything — just watch your remaining balance in the prompt each time.





