

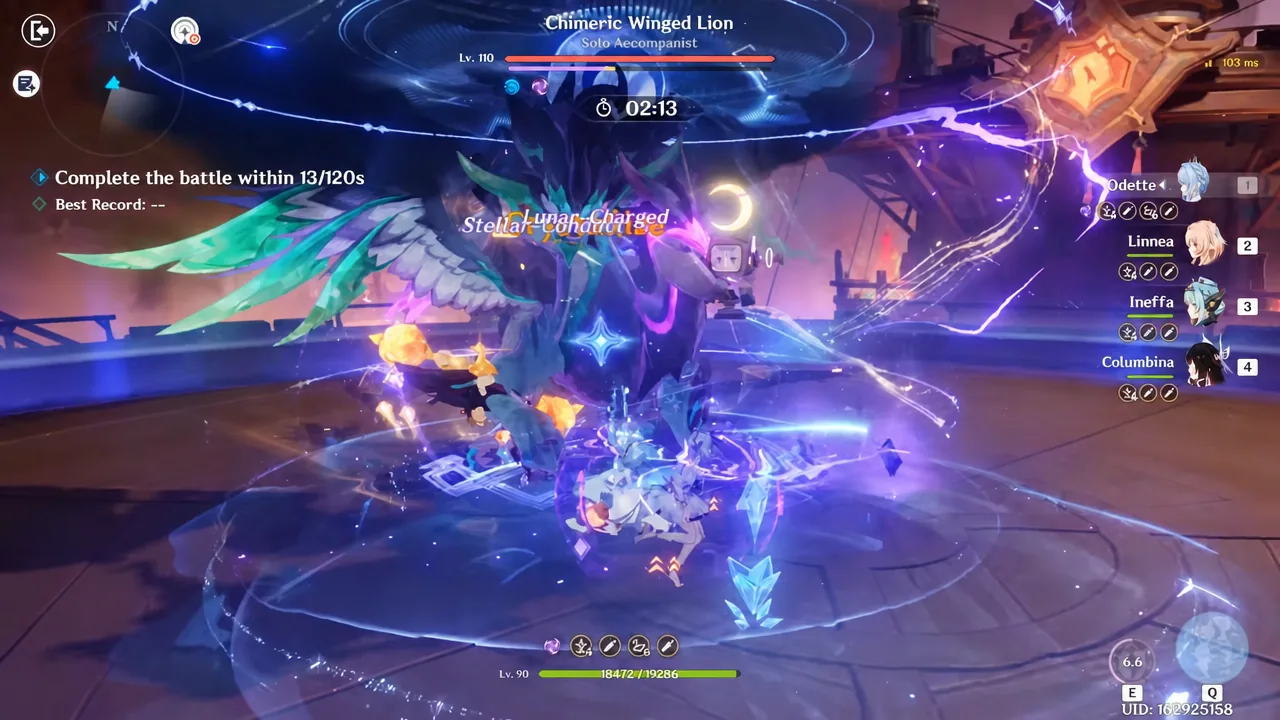
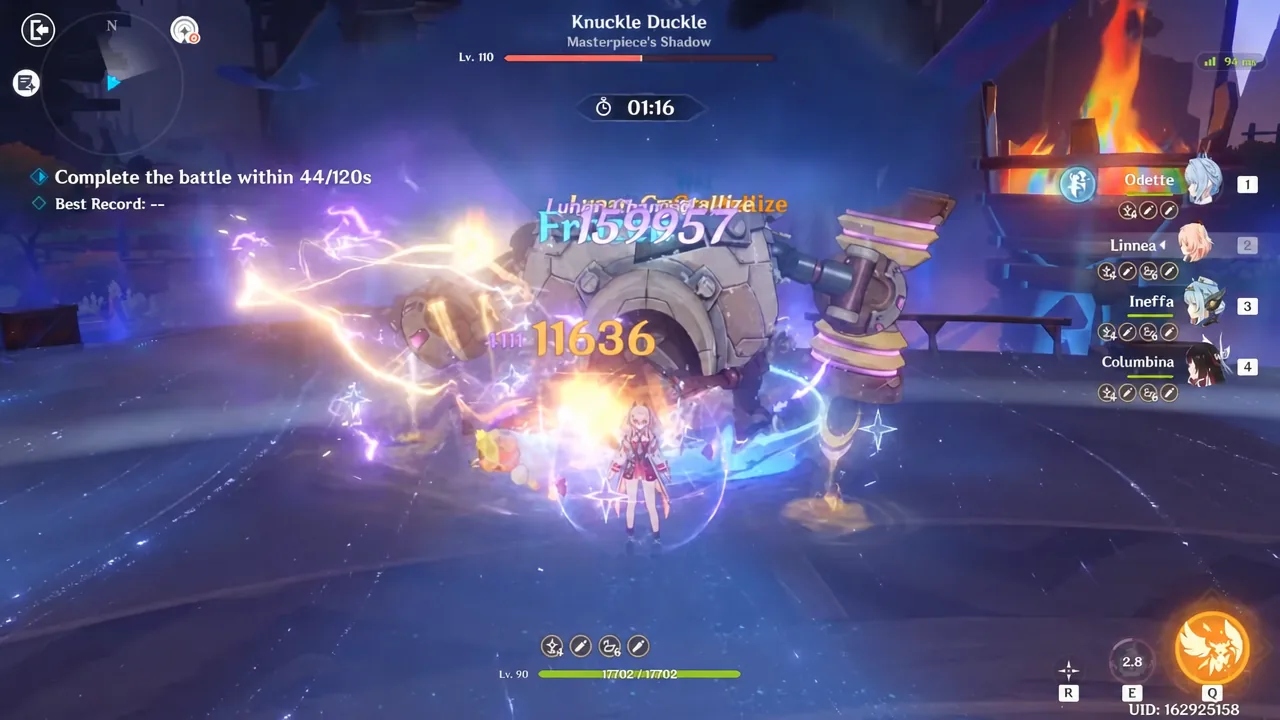
A four-character lineup of Odette, Linnea, Ineffa and Columbina steamrolling every Dire battlefield in Version 7.0 looks like a meta breakthrough. It is not one. The run is a modded setup, built with custom weapons and artifact rolls, and it ignores the single rule that shapes every serious Stygian Onslaught clear: characters are locked to one battlefield once you climb past Hard.
Quick answer: You cannot reuse one team across all three Dire fields in the live game. Menacing, Fearless and Dire lock each character to a single battlefield, so Dire requires three separate rosters and a solo Fearless clear to unlock.
The Dire showcase clear times
The run takes the same four characters through all three Level 110 bosses back to back. Odette covers Cryo, Linnea Geo, Ineffa Electro and Columbina Hydro, which on paper gives the team access to Stellar and Lunar reactions in every fight. Every stage ends in roughly a minute.
| Battlefield | Boss (Lv. 110) | Clear time |
|---|---|---|
| 1 | Chimeric Winged Lion | 73 seconds |
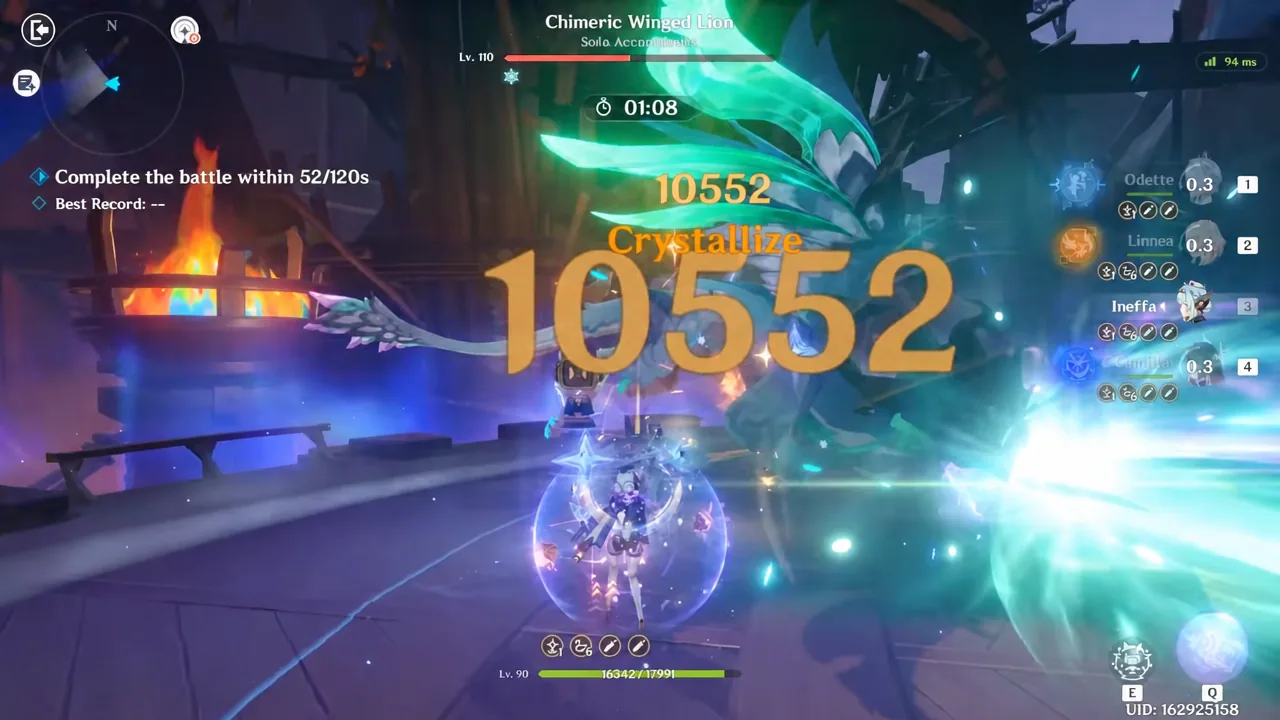
| 2 | Veteran Wind Operative | 57 seconds |
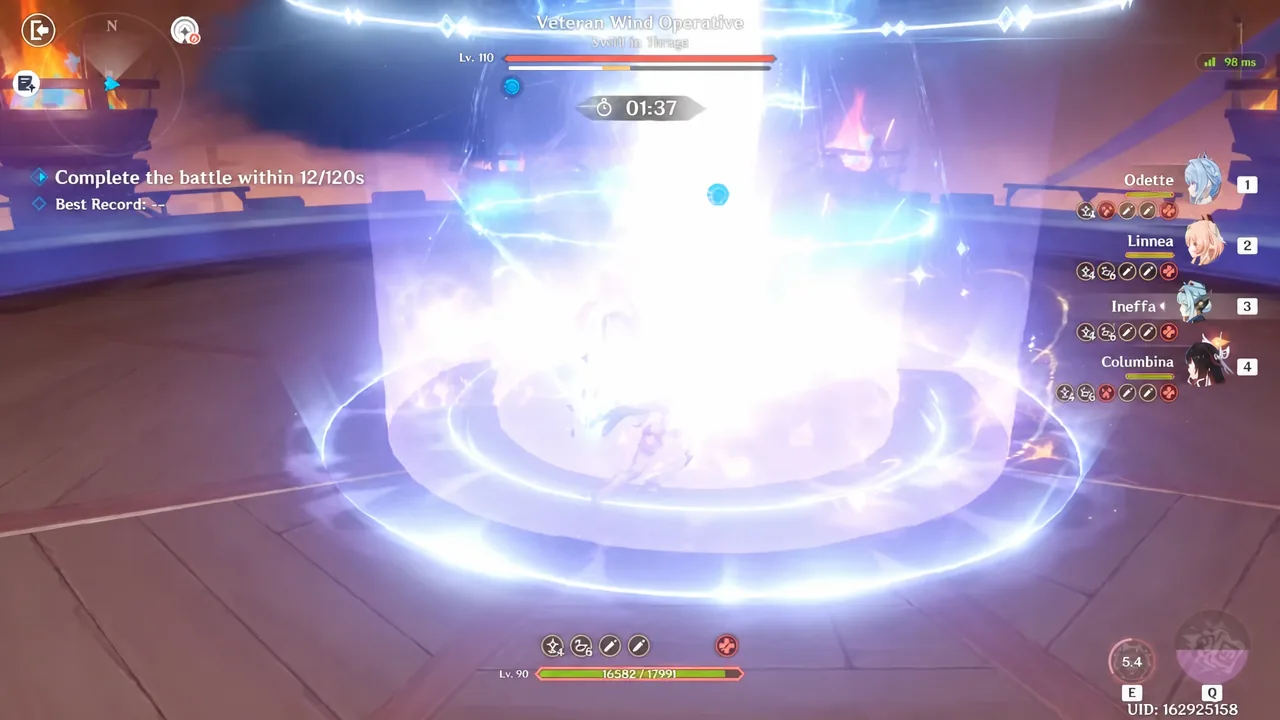
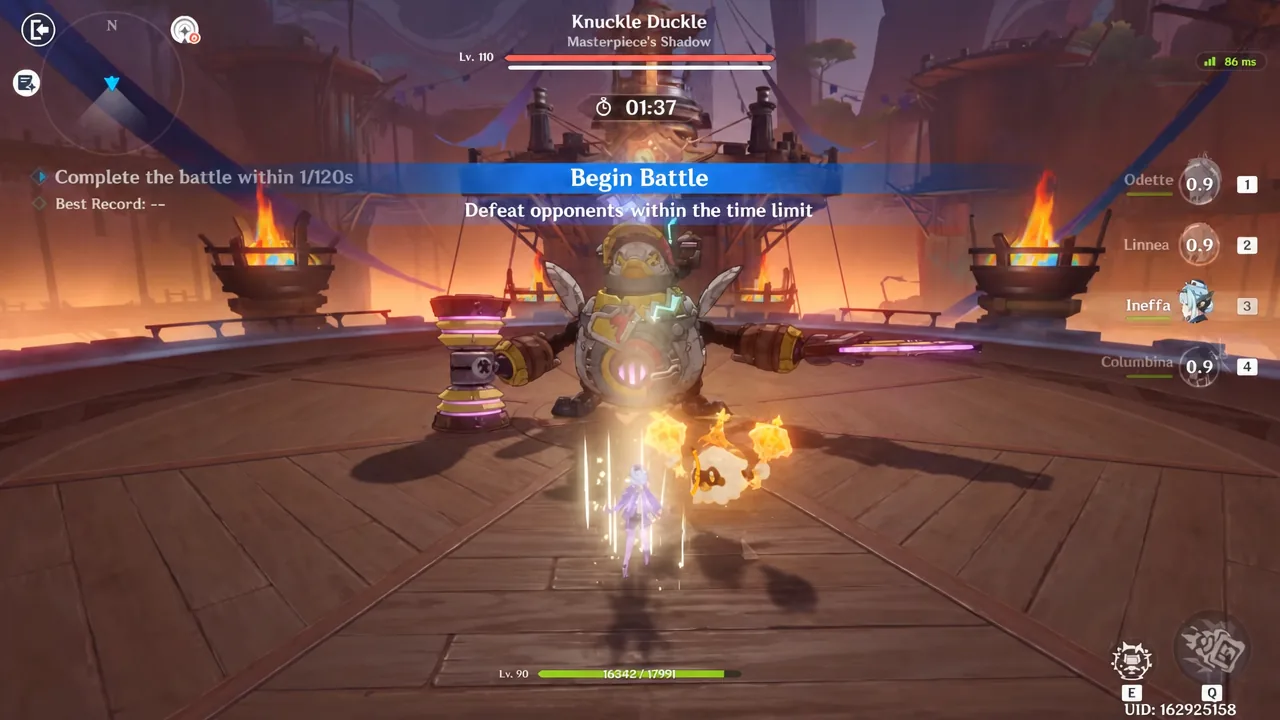
| 3 | Knuckle Duckle | 71 seconds |
That is 201 seconds of combat in total. For comparison, a strong live-account Dire clear this cycle lands closer to 318 seconds across the three fields, split roughly 101, 103 and 114 seconds.
Why one team cannot run all three battlefields
Stygian Onslaught has six tiers: Normal, Advancing, Hard, Menacing, Fearless and Dire. The first three allow co-op and let you be loose with rosters. From Menacing upward, the same character cannot appear on two battlefields, so you need three distinct teams with three sets of gear.
Dire also strips away the Exalted Ones buffs that prop up the lower tiers, and it is solo only. There is no co-op safety net and no daily rotating stat boost, which is why account breadth matters more than any single strong team.
Note: Dire only unlocks after you clear Fearless solo. Clearing Hard once still banks the 450 Primogems from the stacked lower tiers, so the reward floor does not require any of this.
Chimeric Winged Lion: Electro ward and the Stellar window
The Lion opens with a resilient Electro ward and sits at roughly 23.3 million HP on Dire. Raw damage barely dents the ward. When the boss channels Anemo power into its greatsword, hitting it with Radiance: Stellar Glimmer interrupts the attack and chips the ward instead.
Break the ward and the stored damage dumps back into the boss, Cryo and Anemo resistance drops, and a stun window of about 15 seconds opens. Five Anemo orbs spawn afterward; Pyro, Hydro, Electro or Cryo pops them, or a second Stellar pass skips that step entirely. Then the ward comes back. Because the boss already carries an Electro aura, Stellar-Conduct teams trigger the reaction more reliably than Stellar Swirl.
Veteran Wind Operative: Bond of Life and shield backlash
The Operative is the lowest-HP field of the three at around 17.5 million on Dire, and it raises a non-elemental shield rather than an elemental one. Everything you pour into that shield is reflected back when it breaks, after which the boss stays exposed for a long stretch.
It also applies Bond of Life to your party, which is a gift for Arlecchino and Clorinde and a nuisance for everyone else. Melt and Vaporize lose value during the shield phase, while Overload and mono-Pyro keep their numbers intact. Sidestep the Anemo thrust — a clean hit heals the boss and reapplies Bond of Life.
Knuckle Duckle: Stamping Devices and the Lunar-Charged skip
Knuckle Duckle opens Heavy Duckstruction, which puts up a ward and five Stamping Devices. Each device holds roughly 25 percent of the boss health pool, so grinding them down with plain damage burns the clock. Enough Electro-Charged or Lunar-Charged applications skip that health entirely and bounce backlash into the ward.
Once the last device falls, resistance drops and the burst window opens. Miss it and the ducks come back for a second round, which a Dire timer will not forgive. The boss also runs a stretch of reduced Electro resistance during the fight, which is why Electro carries dominate this field.
Dire teams that work in the live game
Split your roster before you queue. Park a Stellar carry on the Lion, a Bond of Life carry on the Operative, and your Lunar-Charged pile on Knuckle Duckle. If one team is thin, leave it on the Operative, since that field has the smallest health pool.
| Field | First-pick team | Fallback |
|---|---|---|
| Chimeric Winged Lion | Sandrone, Yae Miko, Odette, Escoffier or Nicole | Cryo Traveler, Odette, Yae Miko or Alyosha, Sucrose |
| Veteran Wind Operative | Arlecchino, Fischl, Chevreuse, Bennett or Nicole | Arlecchino, Xilonen, Citlali, Bennett (Melt) |
| Knuckle Duckle | Flins, Ineffa, Columbina, Sucrose | Zibai, Linnea, Columbina, Illuga or Mavuika, Xilonen, Columbina, Ineffa |
Odette and Columbina are the pressure points. Odette enables Stellar teams the way Columbina enables Lunar ones, and both can only sit on one field at a time. Cryo Traveler is the usable stand-in for Odette on a second Stellar board, and Aino or a well-built Fischl covers for Columbina when she is committed elsewhere.
Dire rewards and the 180-second skin
Clearing Dire hands you the Radiant Phantasm: Incursion Repeller weapon skin. The five-star version, Radiant Phantasm: Incursion Repeller – Sublimation, has a stricter condition: finish all three Dire fields inside 180 seconds total, which averages 60 seconds per battlefield.
You know it registered when the difficulty tier flips to cleared and the skin lands in your rewards claim. Fearless and Dire rewards, along with Dust of Enlightenment, are claimed solo — co-op still pays out for Hard and Menacing. This rotation runs until September 22, 2026, and features the Chimeric Winged Lion, Veteran Wind Operative and Knuckle Duckle.
The modded weapons and artifact sets in the showcase
The character menu at the end of the run is where the setup gives itself away. The four characters carry weapons including Whitelake Frostfeather, Golden Frostbound Oath, Fractured Halo and Nocturne’s Curtain Call, paired with Disenchantment in Deep Shadow, Silken Moon’s Serenade and Aubade of Morningstar and Moon.

Those are real names, but the stat sheets behind them are not something an account can farm toward, and the whole point of the run is that the fights end before any boss mechanic gets a second cycle. Treat it as a demonstration of what the Dire encounters look like without the pacing pressure, not as a build target.
If you are chasing an actual Dire clear this cycle, the work is in coverage rather than raw damage. Three functional teams that each answer one specific mechanic — Stellar for the ward, Bond of Life for the shield, Lunar-Charged for the ducks — will get you there faster than one overbuilt lineup you can only use once.





