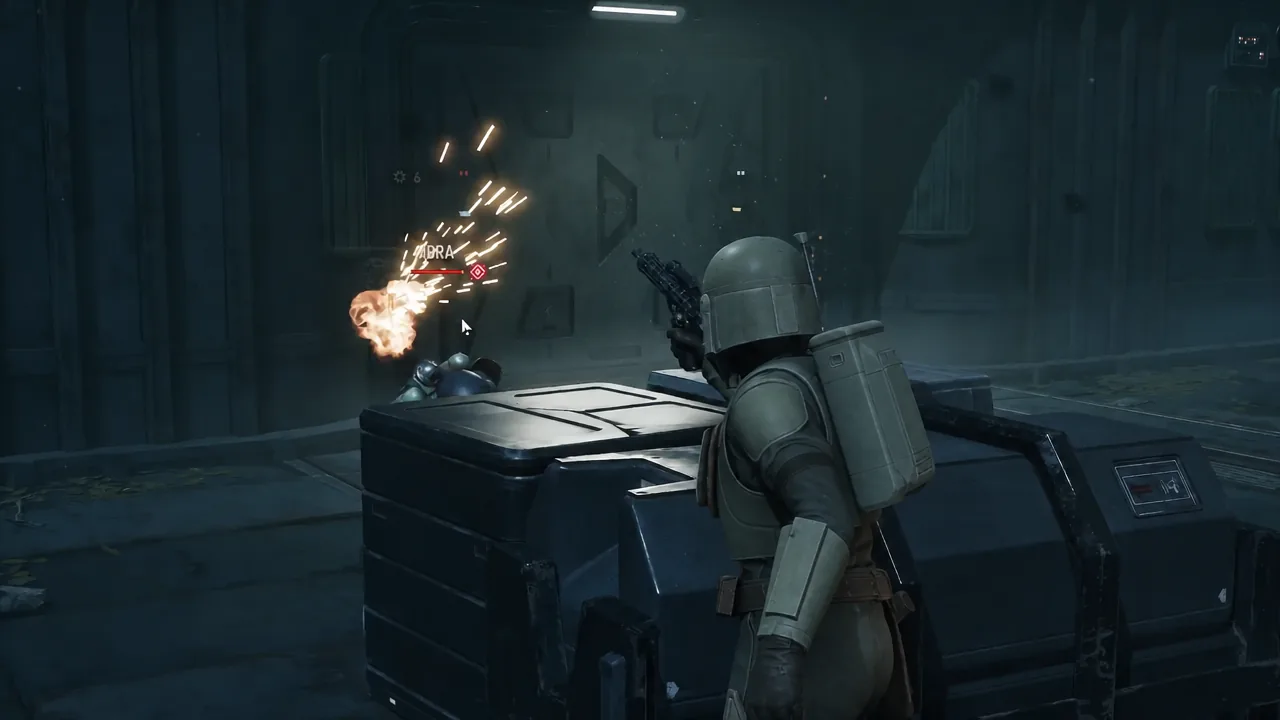
Best Served Cold is Cly Kullervo’s first crewmate mission in Star Wars Zero Company, and it is a straight elimination job on Brentaal IV. There is no stealth phase, no hostage to babysit, and no extraction timer. You drop into a tiered arena full of Pike gangsters, kill Idra Farrar, then survive the wave he calls in on his way out.
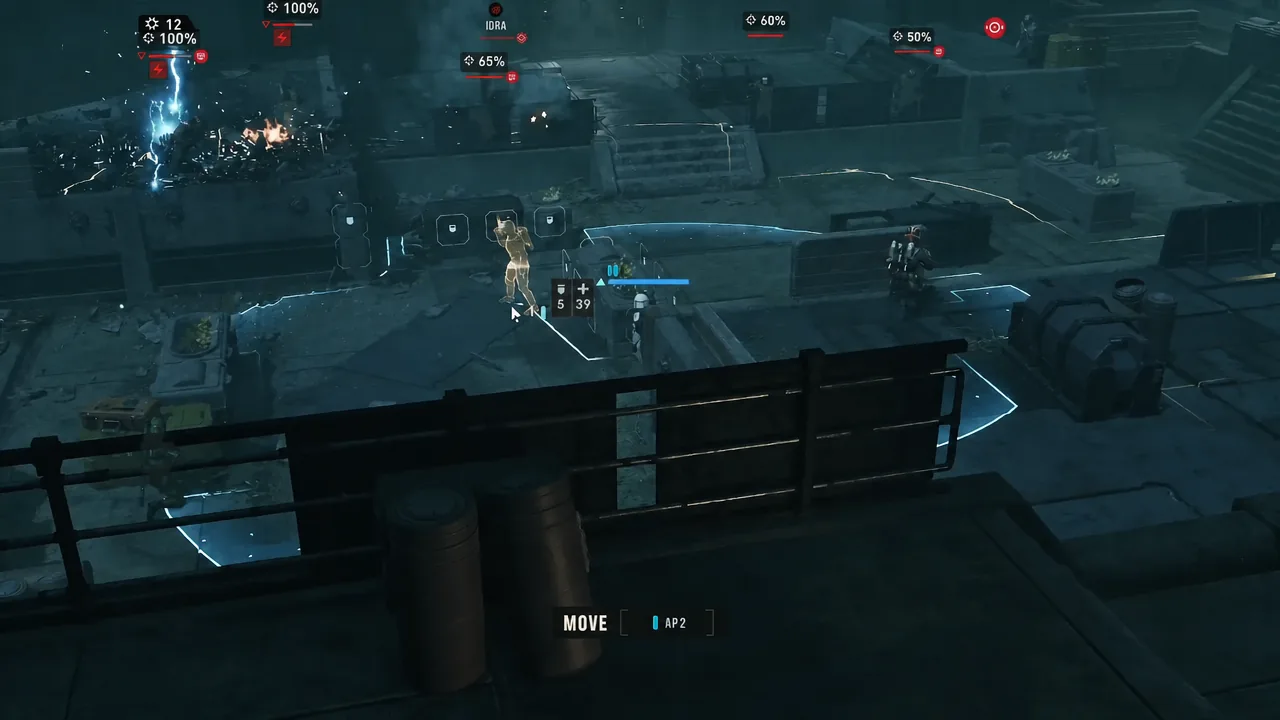
Quick answer: Shoot the electrical generator on the left side of the arena on turn one to shock the clustered Pike Strikers, push Tel-Rea Vokoss into melee to burn down Idra Farrar, and hold Trick’s Flamethrower Mk. II for the reinforcements that spawn from the lower entrance the instant Idra drops. Cly must be alive when the last gangster falls.
How to unlock Best Served Cold
Cly is not part of the starting roster and she does not show up through the main campaign. Around Cycle 14 she walks into your office at The Den and offers to join Zero Company for free, provided you help her finish a job she refuses to explain. Say yes. There is no downside, and turning her away simply removes an operator and two missions from your run.
She cashes in that favor roughly six cycles later, naming Idra Farrar as the target. Accepting unlocks Best Served Cold, which sits under the Fathom Menace chapter and deploys to Brentaal IV. If Cly is on the crew, both of her crewmate missions are flagged as critical, so this is not something you can quietly let expire.
Best Served Cold objectives and fail condition
| Objective | What it means in the fight |
|---|---|
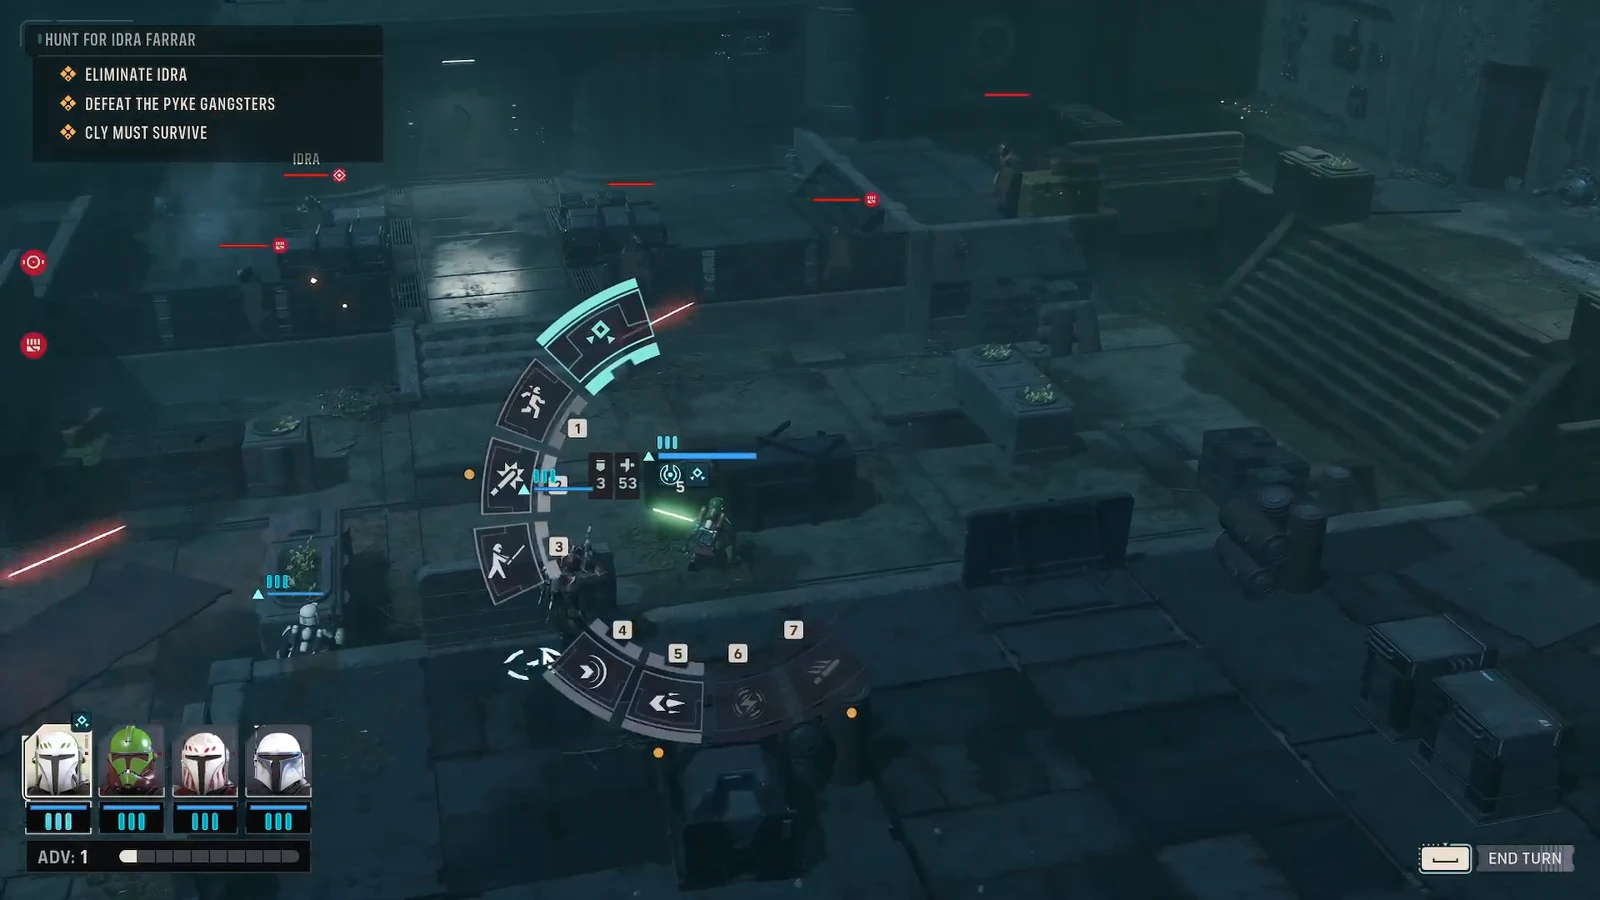
| Eliminate Idra | Idra Farrar starts on the upper platforms behind his crew. Killing him triggers reinforcements. |
| Defeat the Pike Gangsters | Every Pike Striker and Pike Enforcer, including the wave that arrives after Idra dies. |
| Cly Must Survive | Cly going down ends the mission. She is the fail state, not just a casualty. |
The order matters less than the timing. You can chew through the rank-and-file first or rush Idra, but the reinforcement wave is tied to his death, so clear the trash while you still have your area-of-effect tools loaded.
Best squad for the Idra Farrar fight
Cly is mandatory. The other three slots want one melee threat, one crowd-clearing specialist, and one ranged operator who can hold the high ground.
| Operator | Job in this mission | Abilities that carry |
|---|---|---|
| Cly Kullervo | Damage stacking, mobility. Keep her out of return fire. | Electroweb Dart III, Electroweb Surge II, jetpack repositioning |
| Tel-Rea Vokoss | Melee burst and crowd control; high base dodge lets her hold the middle. | Lightsaber Strike, Lightsaber Throw, Shockwave II, Pull |
| Trick | Wave clearing when the reinforcements bunch up at the spawn. | Flamethrower Mk. II, Brutal Strike VI |
| Hawks | Long-range chip damage and squad buffs from a safe tile. | Fire Longarm Blaster, Overwatch, Morale Boost IV, Combat Stim III |
A droid operator works as a swap if you would rather feed the team extra action points and throw Droid Poppers and Impact Bombs instead of running a Jedi. You lose the melee spike, but the arena is tight enough that thrown explosives land on three or four bodies at a time.
On Cly herself, leave the pistol alone. Her kit rewards cheap shots that build Advantage, and swapping to a heavier weapon just starves the abilities that make her useful. Tag targets with Electroweb Dart, then follow with Electroweb Surge to damage every darted enemy plus anything standing near her.
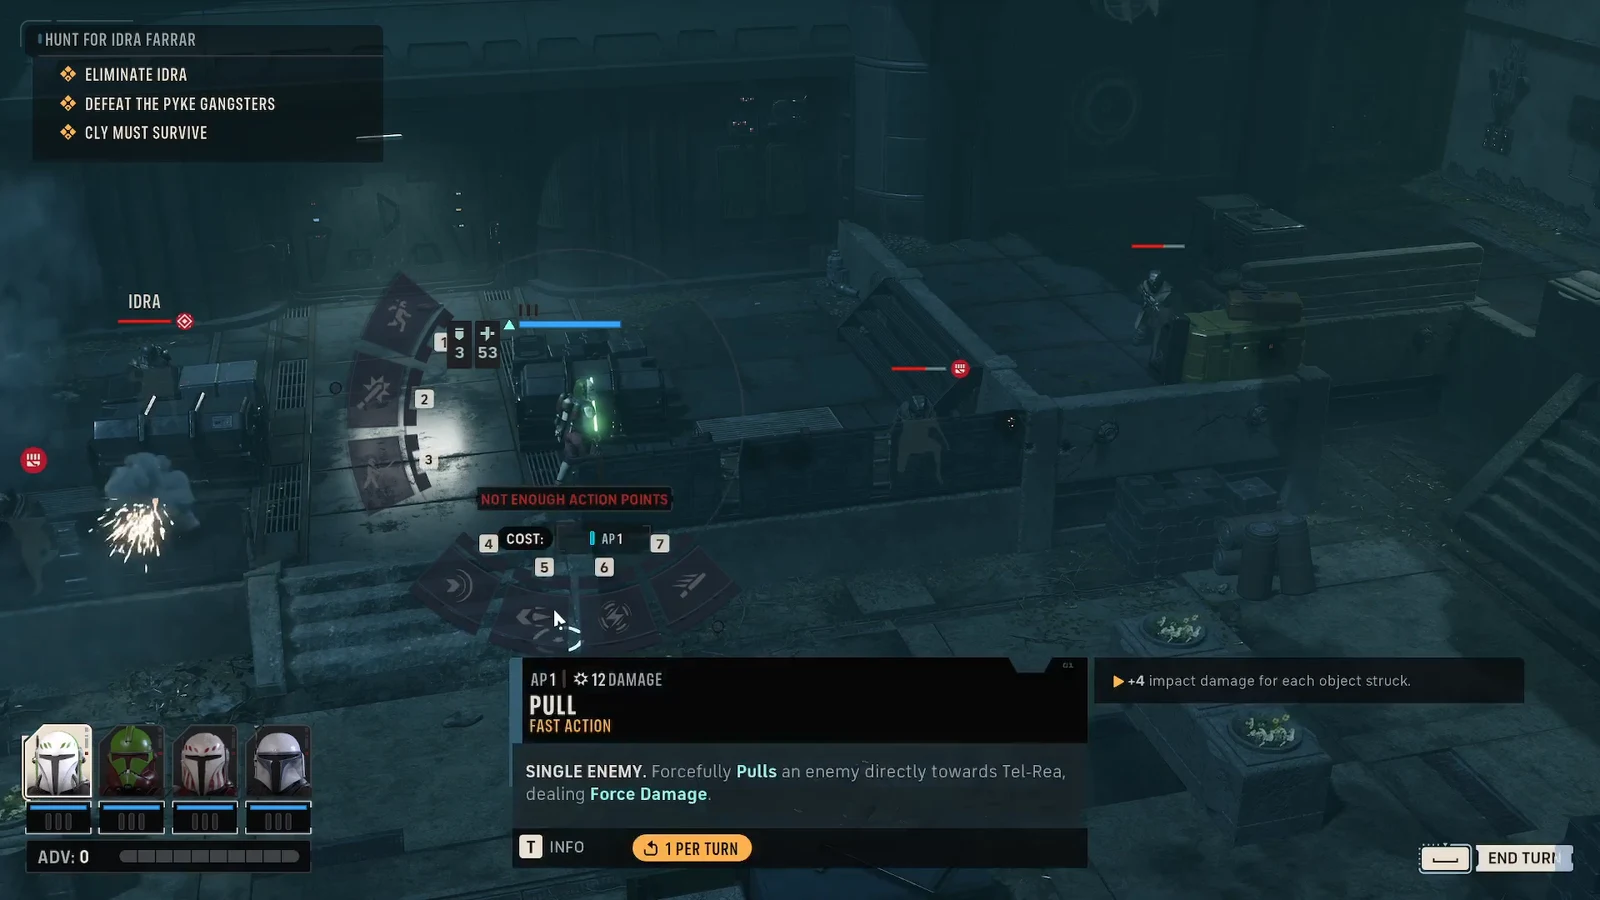
Opening turn: the electrical generator
Clearing the upper platforms and killing Idra
The reinforcement wave after Idra drops
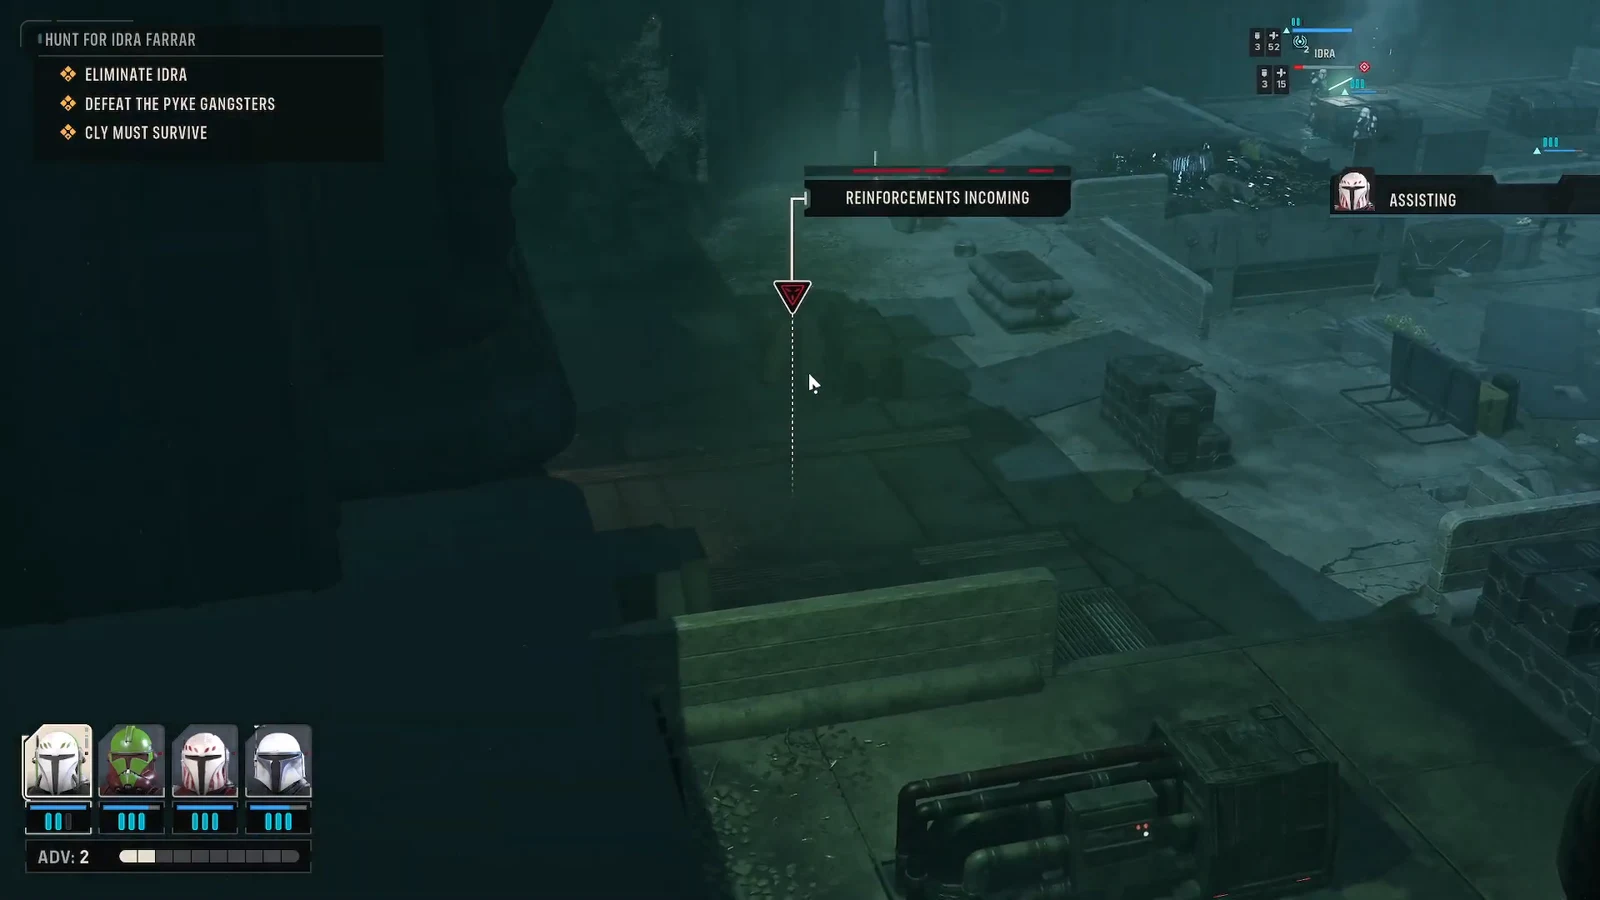
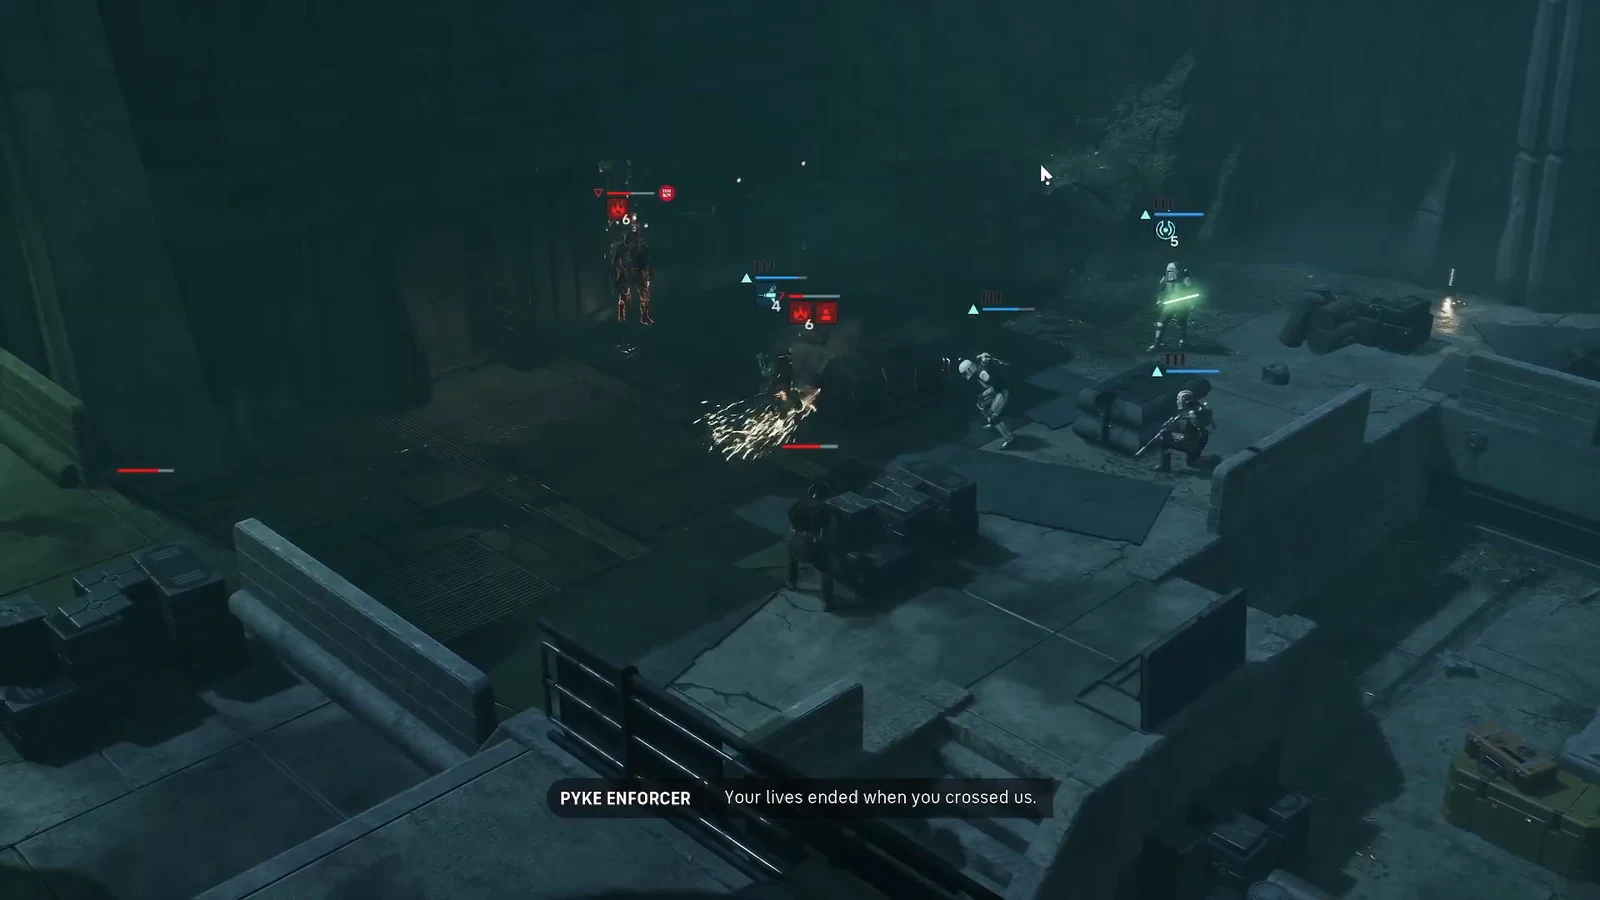
Killing Idra immediately calls in a fresh group of Pike gangsters from the lower entrance. They arrive bunched together, which is the entire reason you have been saving your area-of-effect tools.
How to confirm the mission is complete
Combat ends as soon as the last reinforcement gangster falls with Cly still standing. The objective list clears and a cutscene plays in which Cly leans on a beaten Idra for the location of someone named Kervis. If that scene has started, the mission has been banked.
The two ways this goes wrong are both avoidable. Cly getting focused down is an instant fail regardless of how healthy the rest of the squad is, so use her jetpack to break away instead of trading shots when Enforcers close in. The other is burning Trick’s flamethrower on the opening cluster, which leaves you swinging blasters at a full reinforcement wave that arrives packed into one corner.
Kervis is the thread this mission leaves dangling. Cly’s second crewmate mission does not become available until much later in the campaign, well after the story turns, and finishing both is what unlocks her achievement.