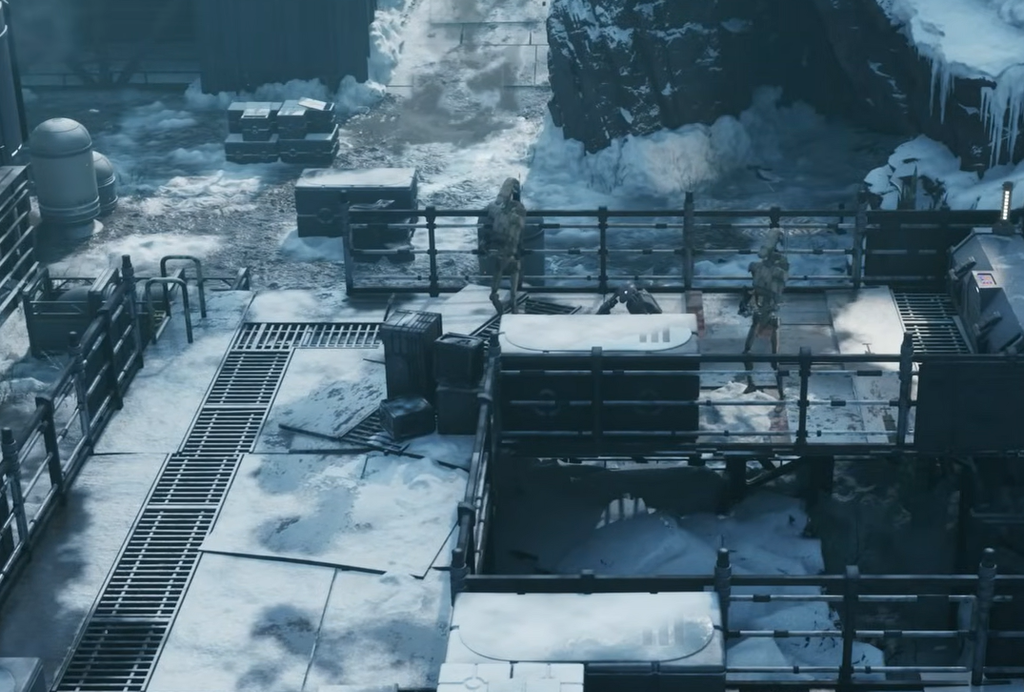
Cold Metal is an optional mission set on Kaller, where the job is to sabotage the power station feeding a Separatist base. The map funnels you through waves of droids before you reach the bomb plant point, so the fight is less about raw damage and more about controlling clustered enemies and timing your reinforcements. With the right squad and turn order, you can finish it cleanly.
Quick answer: Bring an Astromech loaded with Impact Grenades and Droid Poppers, take the high ground on the left, wipe droid clusters with grenades, plant the bomb with the Astromech, then retreat up the left catwalk and rush the exit while the final Super Battle Droids lag behind.
Recommended squad for Cold Metal
The Astromech is the key operator here. It cannot hold a weapon, but in exchange every consumable or throwable it carries gets two charges. Load it with Impact Grenades and Droid Poppers and it becomes the mission’s main tool for clearing large groups of weak droids. It also plants the bomb, since its high mobility lets it move and act in the same turn.
| Operator | Role in this mission |
|---|---|
| Astromech | Grenade spam on clusters and planting the bomb (two charges per throwable) |
| Hawks | Long-range fighter on the high ground; picks off priority targets |
| Trick | Rocket Strike plus blaster fire to shred top reinforcements |
| Heavy | Frontline pressure near the sabotage point |
Put a longer-range weapon on Hawks, because you spawn right next to strong high ground and want to abuse it immediately. This is a suggested composition, not a requirement. The mission can be cleared with other operators, but this group handles the droid numbers with minimal risk.
Cold Metal walkthrough
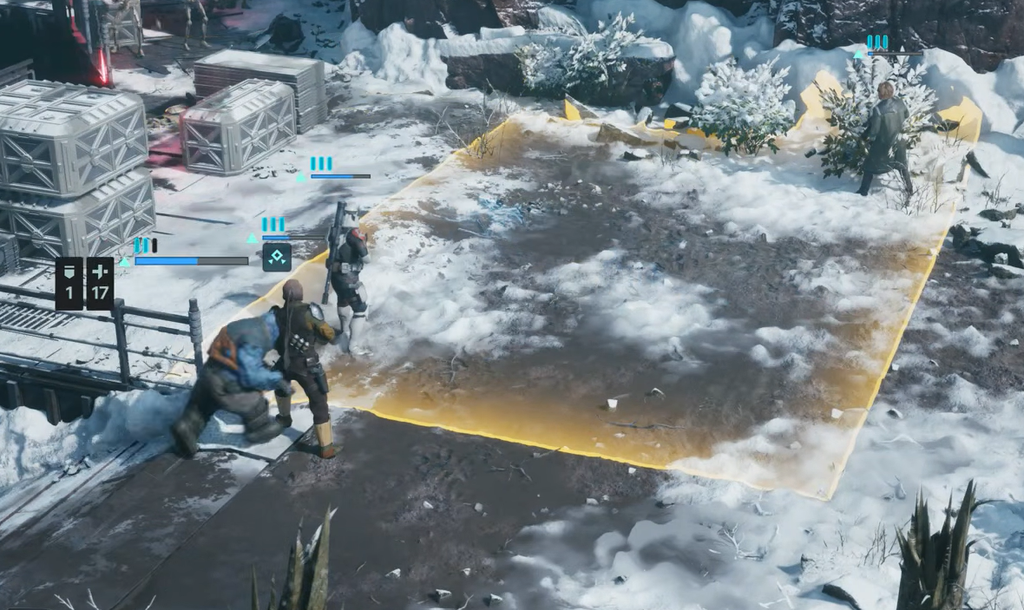
Reaching extraction with zero casualties
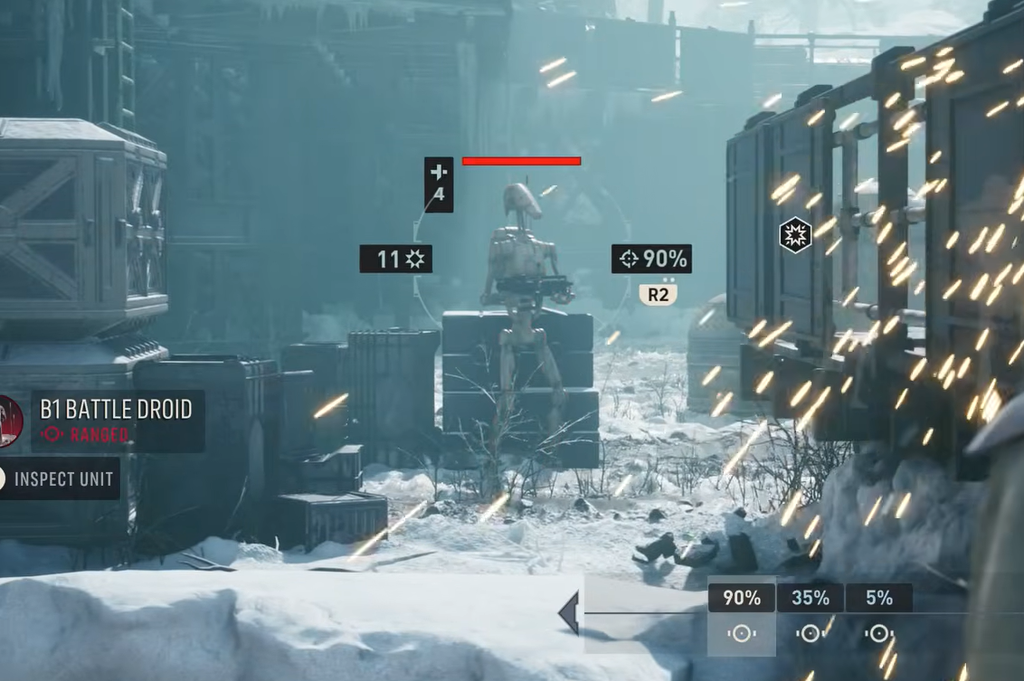
Leave through the left path. Move both the Heavy and the Astromech up the ladder onto the catwalk where your other two operators already are. The right-side reinforcements emerge tightly packed, so a single Impact Grenade or Droid Popper from the Astromech can kill most of them at once. Save any leftover charges for this moment.
For the reinforcements at the top left, mix Trick’s Rocket Strike with blaster fire to clear them out. Once the top path is open, move your whole squad onto the catwalk and push toward the point. If you blew up the ground-level reinforcements earlier, only two Super Battle Droids should remain, and they move slowly.
Exploit their lack of mobility and simply rush the exit. A reinforcement wave cannot attack on the same turn it spawns, so you can ignore the second wave entirely and race straight to extraction. Doing this lets you finish Cold Metal with no operators lost.
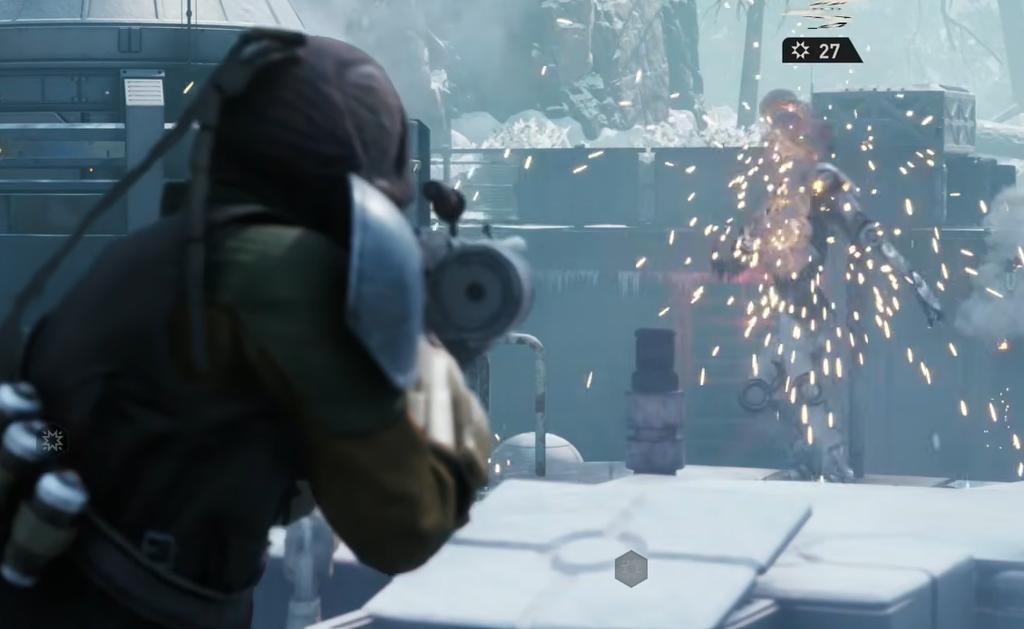
You know the run succeeded when the extraction objective completes with your full squad intact. If a Super Battle Droid catches you, it usually means you stopped to fight the last wave instead of prioritizing the exit.