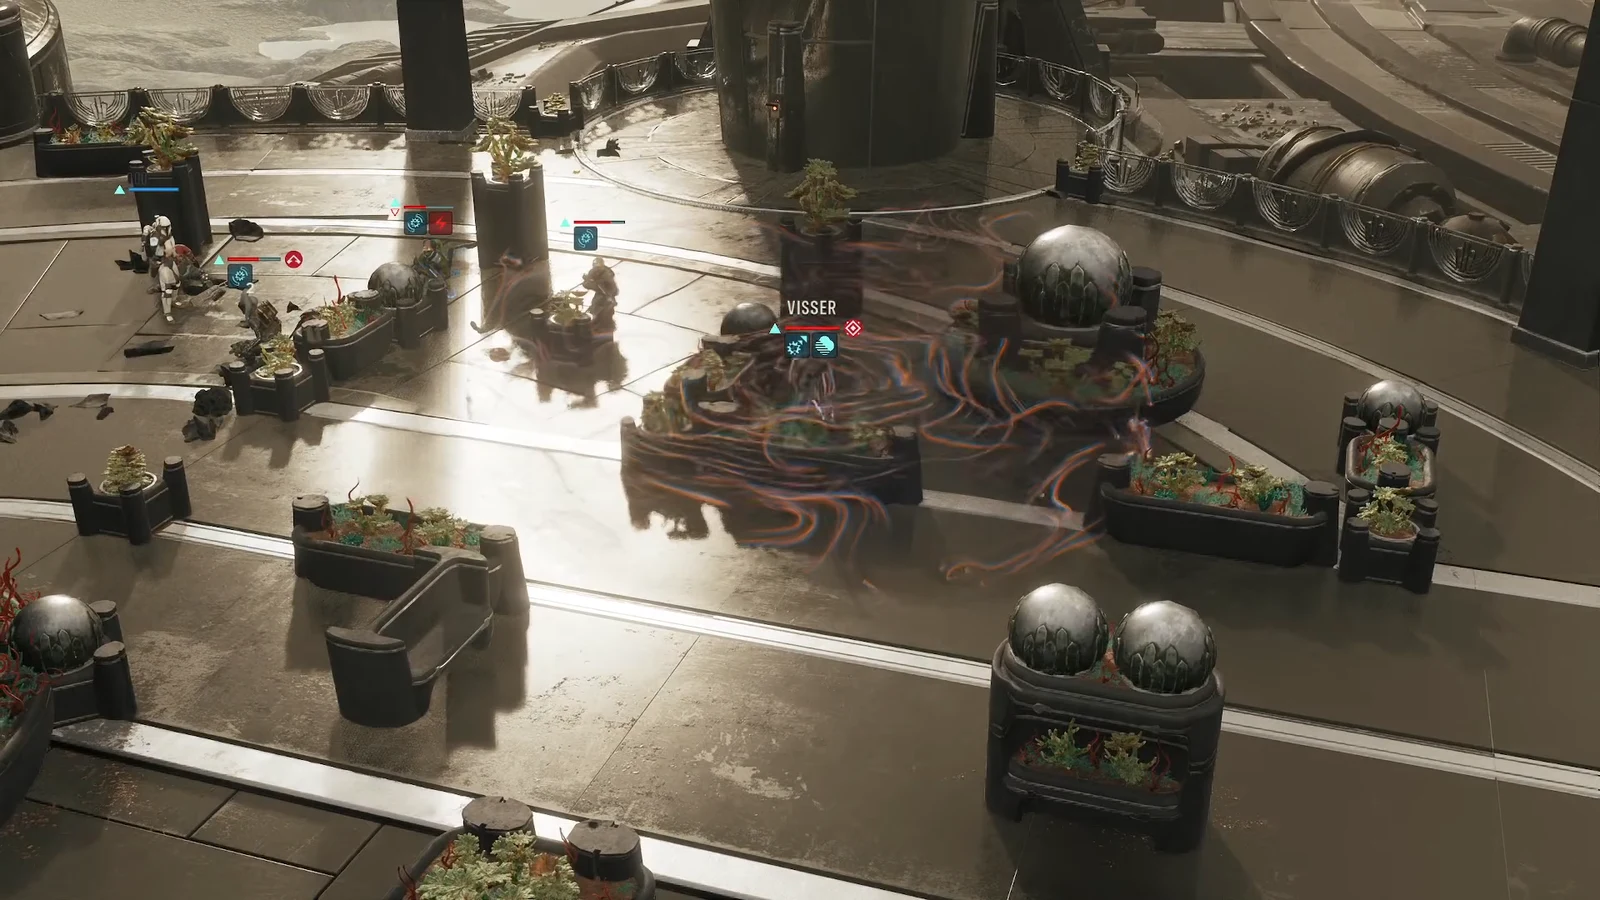
Retake Mordant Citadel drops a four-operator squad into Jae Mordant’s old mining citadel on Luunata, now held by the Infinite Coil. The objective is Visser, one of the Coil’s three named leaders, and he does not fight alone. Enforcers, a Coil Brute, and reinforcements all sit between your squad and the end of the mission, and Visser himself will start covering the ground in Plague Miasma once the fight gets going.
Quick answer: Kill Visser’s escort first using ledge knockbacks and high-percentage shots, keep every operator outside Plague Miasma, bank Advantage while you clear, then open on Visser with a Force Push and finish him with concentrated fire. The mission only completes once Visser and every remaining Coil unit are dead.
Squad picks for the Mordant Citadel fight
You deploy four operators, and Hawks always takes one slot in a story mission. The other three should cover three jobs between them: hitting several enemies at once, moving quickly across the arena, and keeping people upright. A Jedi and a Mandalorian in the same squad cover the first two on their own.
| Operator | What they bring to this fight |
|---|---|
| Hawks | Command ability spends Advantage to refresh an Action Point for another operator once per turn; a medic build also gives you Combat Stim, Medpac, and Surgeon’s Tools. |
| Tel-Rea Vokoss | Force Push costs 6 Advantage and throws every nearby enemy away from her. It breaks up clusters, pushes units off ledges, and works on Visser. |
| Cly Kullervo | Combat Jump moves her across the arena with her jetpack and damages what she lands on. Electroweb Surge shocks several targets at once. |
| Jae Mordant | Final Shot automatically finishes off an enemy left on low health, so you do not burn a full turn confirming a kill. |
| Trick | Heavy specialization with the rocket launcher for grouped Coil troops. |
| Kabb Uppercut | Uppercut knocks enemies out of cover, Identify Weakness marks a target Vulnerable, and Rally picks downed teammates back up. |
Tip: bonds matter here. Operators who have deployed together repeatedly bring cross-training and synergy bonuses into the fight, so a squad you have been running for several missions performs noticeably better than four operators meeting for the first time.
Opening turns: clear Visser’s escort first
Visser is the objective, but the escort is what actually kills your operators. Spend the first rounds thinning the Coil, and only commit to the boss once the arena is quiet.
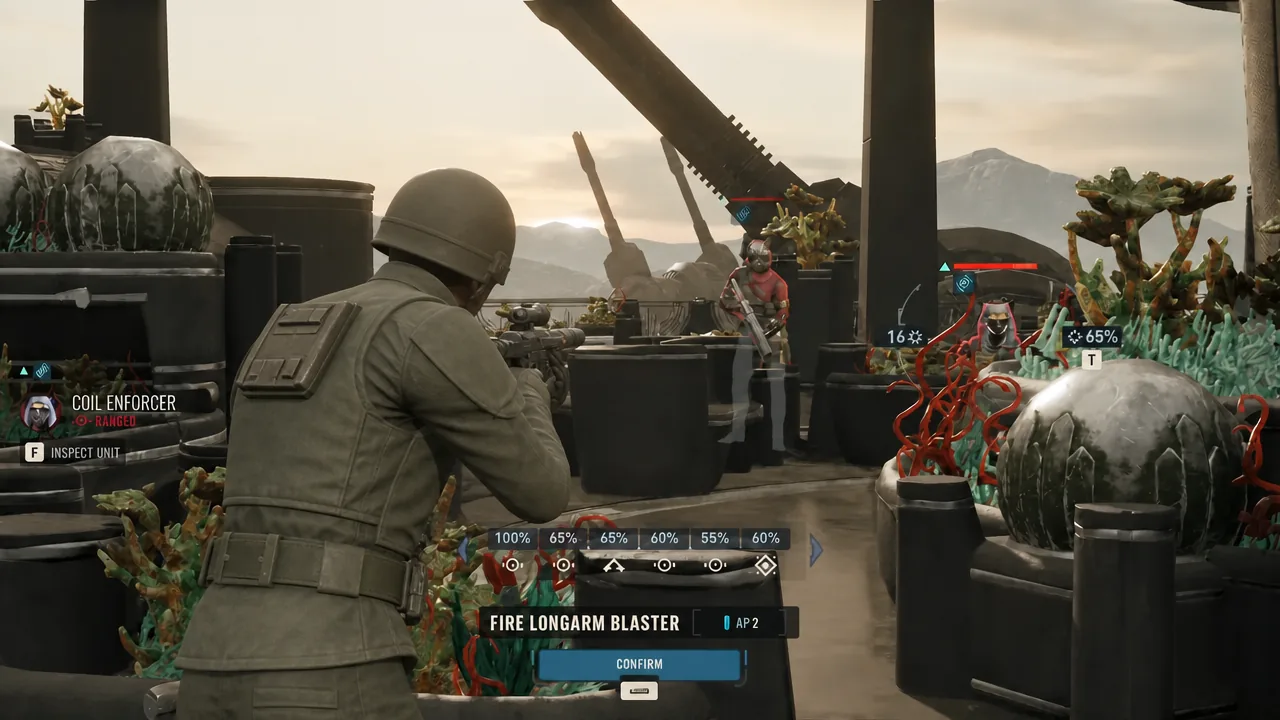
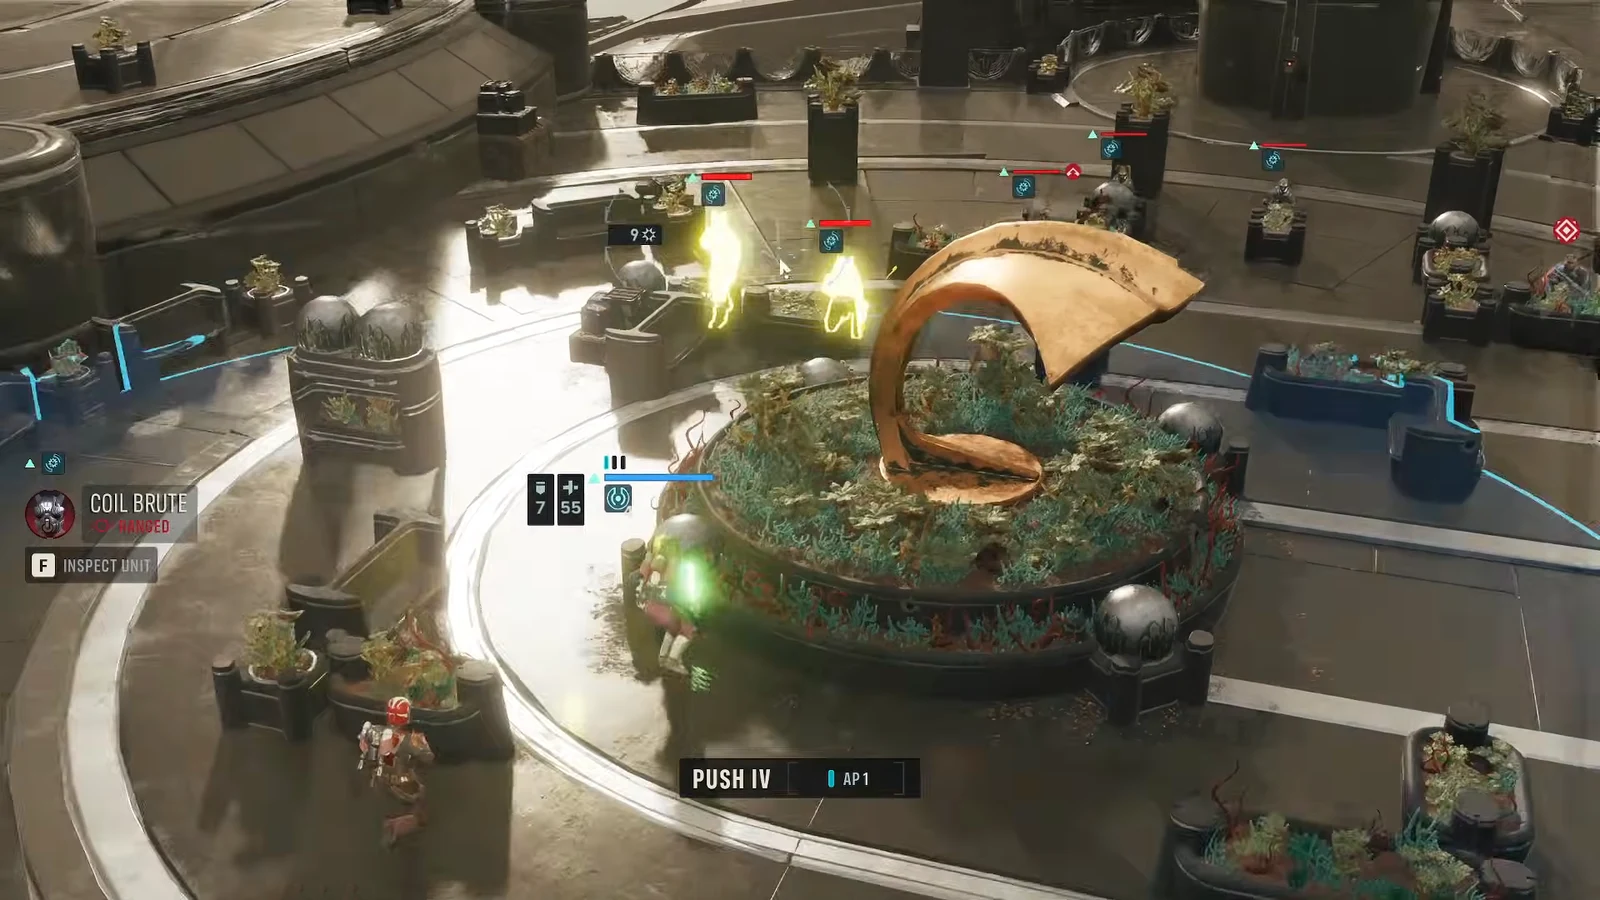
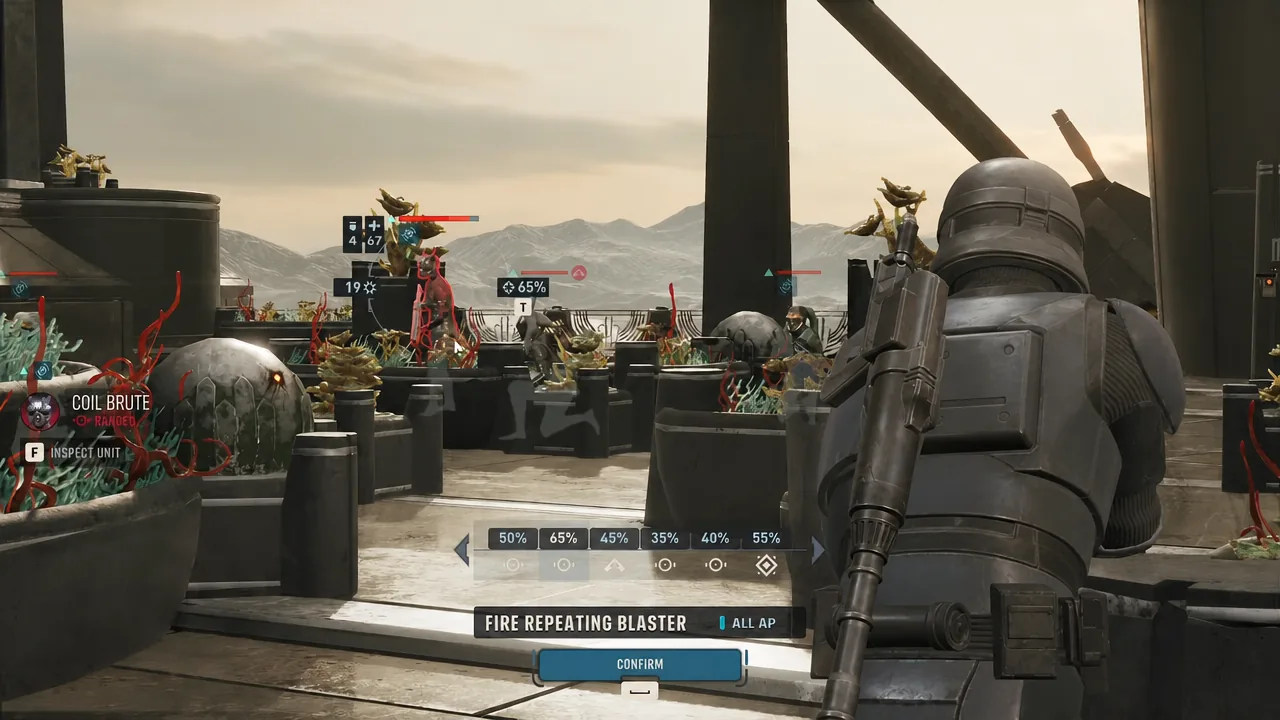
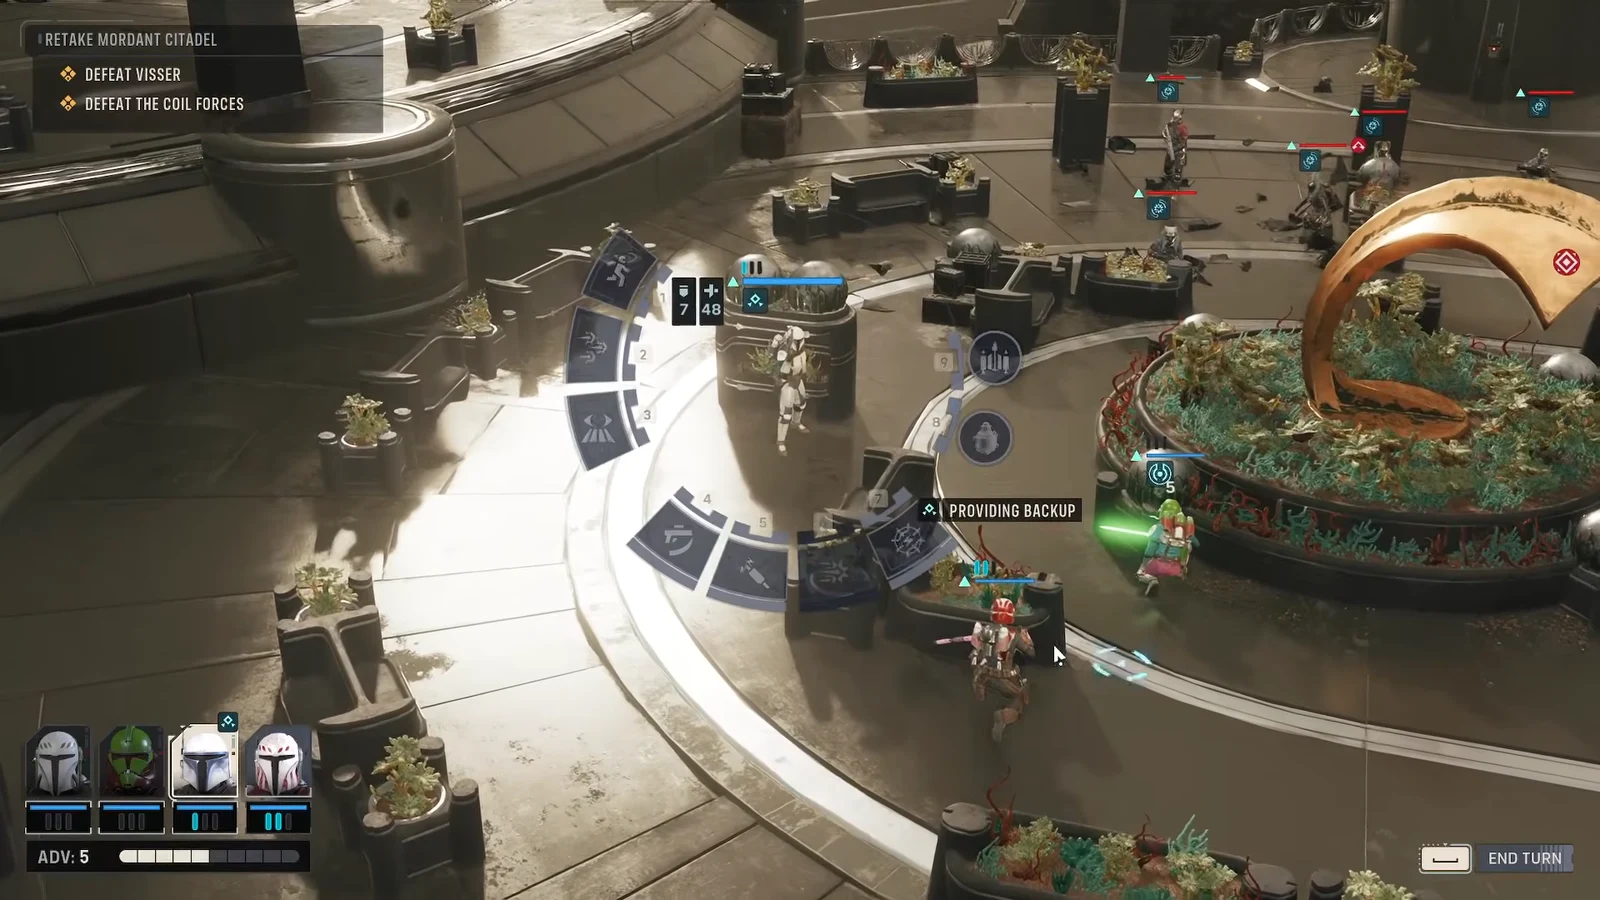
Advantage is the resource that wins this fight
Force Push costs 6 Advantage, and Hawks’ command ability spends Advantage to hand another operator an extra Action Point. That means the boss phase is largely decided by how much Advantage you have saved when Visser becomes the target. Do not dump it all on the escort.
Cly is the cheapest way to build it back up. Combat Jump repositions her and deals damage without costing you a normal move, and Electroweb Surge catches several Coil units at once, generating value from a single action. Alternate between spending on control and rebuilding the pool so you are never stuck with an empty bar when Visser closes in.
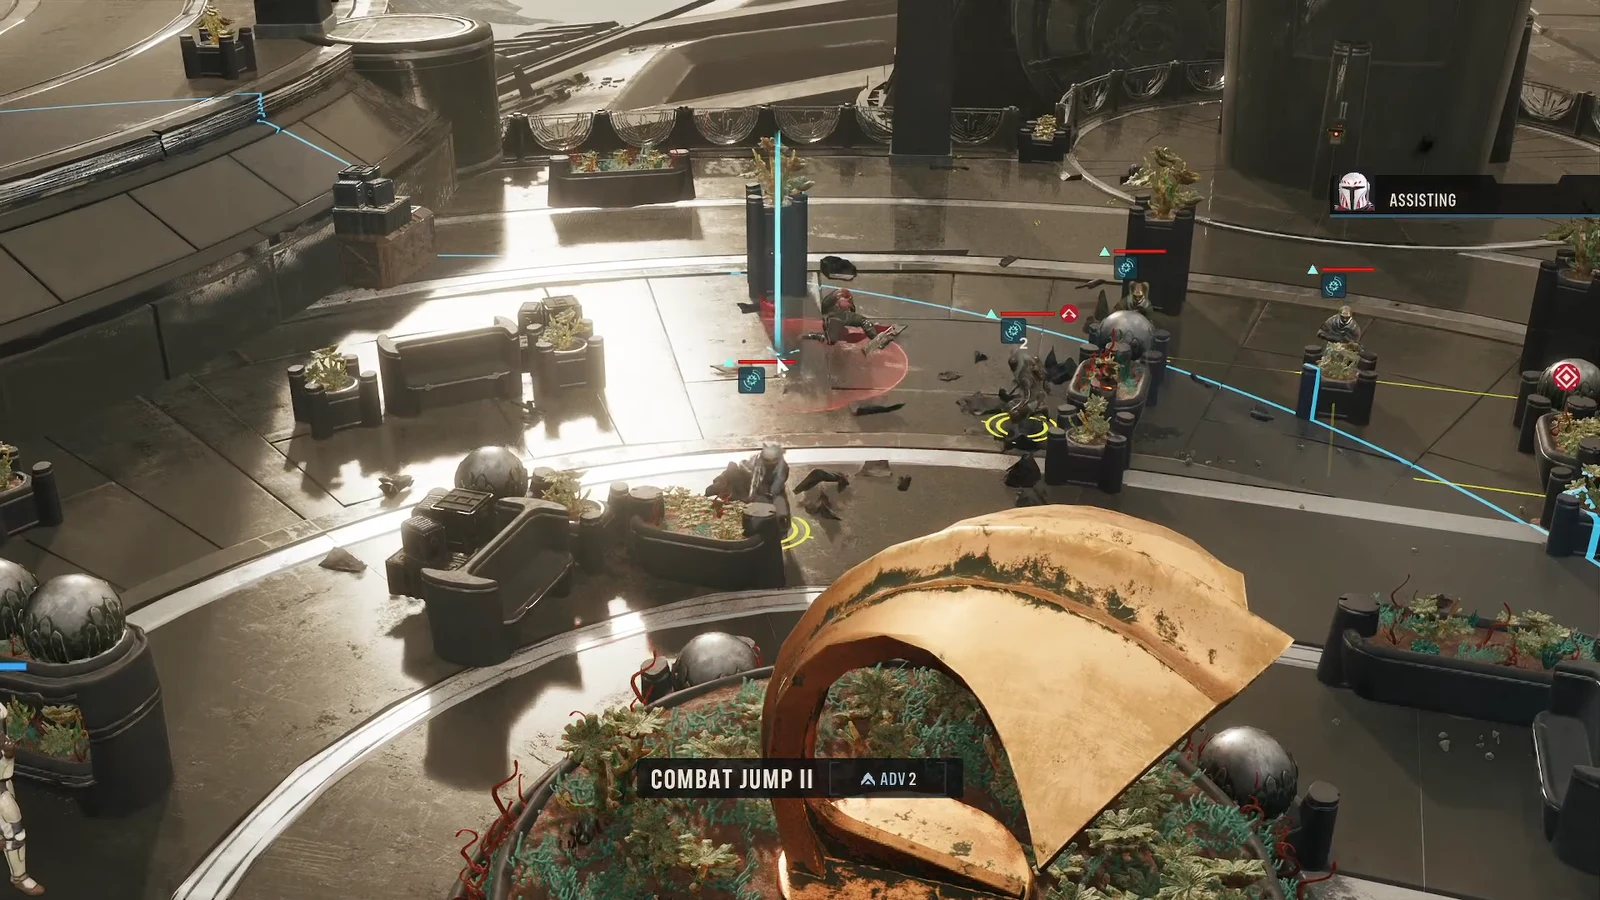
Plague Miasma and keeping the squad alive
Visser deploys Plague Miasma over part of the battlefield. Treat the affected ground as unusable, even if it holds the best cover in the room. Move operators out of it on their own turn rather than trying to shoot from inside it, and plan your approach on Visser so nobody has to end a turn standing in it.
Healing stims and Medpacs are the other half of surviving this. Top operators up before they drop rather than after, because a downed operator costs you a full teammate action to recover. If Kabb is on the squad, Rally gets someone back on their feet mid-fight; a medic build on Hawks can do the same job while the rest of the squad keeps shooting.
Killing Visser and confirming the clear
Once the escort is thin, turn everything on Visser in as few rounds as possible. Force Push works on him, so use it to break him off your front line or out of a favourable position, then follow up immediately with your heaviest damage while he is displaced. Marking him Vulnerable with Identify Weakness before the big hits lands more of them.
Position Jae so she has line of sight on him for the closing turn. Final Shot picks off a target left on low health automatically, which saves you a round of clean-up and closes the fight before Visser gets another activation.
Killing Visser does not end the mission on its own. Any surviving Coil units still have to be eliminated, so sweep the arena afterwards. The mission resolves when the last Coil unit goes down and the objective clears.
What makes this fight go wrong
- Hawks goes down. Hawks is immune to permadeath, but losing them restarts the mission outright.
- Injuries stack. Every other operator can die permanently. Being downed adds an injury, and three injuries kill a character for the rest of the run, taking their class and story thread with them.
- Advantage runs dry. Spending 6 Advantage on Force Push against trash leaves you without control tools when Visser is the one who needs pushing.
- Standing in Plague Miasma. Holding good cover inside Visser’s field costs more health than the cover saves.
Injuries carry over to whatever you deploy into next, so a sloppy win here is still a cost. If two or three operators finish the citadel banged up, it is worth spending time at the Den before the next contract rather than pushing straight on with a squad that is one bad round away from losing someone permanently.