Star Wars Zero Company: How to Call the Lift in Retake Mordant Citadel
The exact console position, the reinforcement wave it triggers, and how to close out the mission at the turbolift.
The exact console position, the reinforcement wave it triggers, and how to close out the mission at the turbolift.
by AllThingsHow Staff
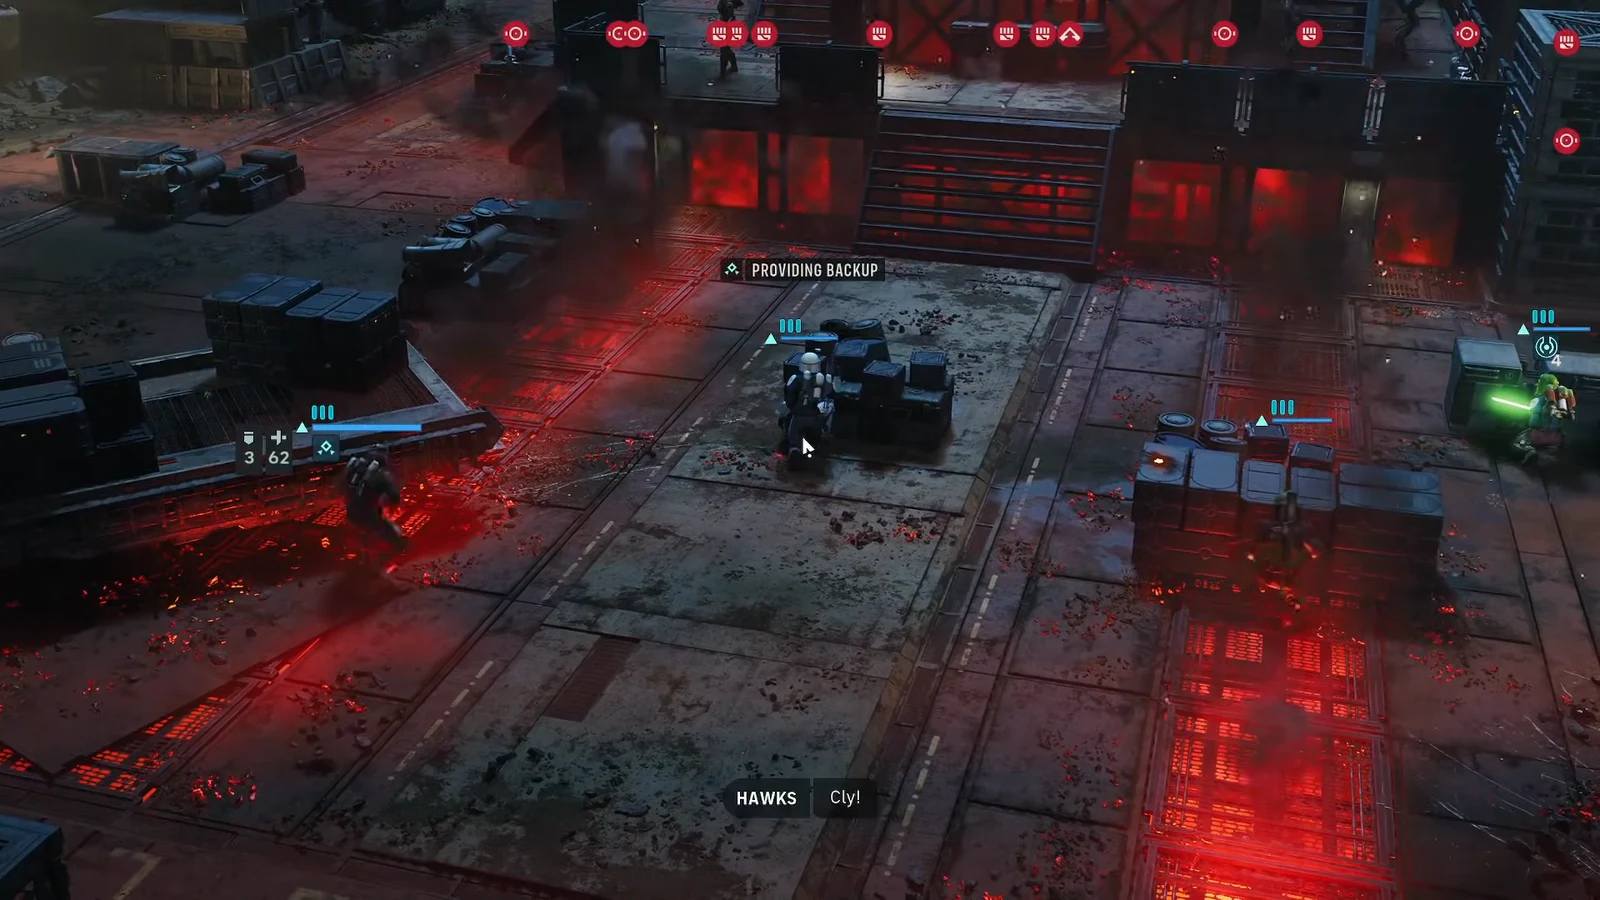
Retake Mordant Citadel drops your squad onto a multi-level platform with one instruction in the objective tracker: USE CONSOLE TO CALL THE LIFT. The console sits in the middle of the arena, surrounded by Coil forces on both the ground floor and the raised walkways, and the mission does not advance until an operator physically reaches it and interacts.
Quick answer: Move any operator onto the central console tile and interact with it. The lift call triggers a fresh Coil wave and swaps the objective to DEFEAT THE COIL ATTACKERS, so clear the platform before you touch it.
The three objectives in Retake Mordant Citadel
The mission runs on a fixed chain. Each objective replaces the previous one in the top-left tracker, and there is no way to skip ahead.
Objective
What completes it
USE CONSOLE TO CALL THE LIFT
An operator reaches the central console and interacts with it.
DEFEAT THE COIL ATTACKERS
Every enemy in the reinforcement wave is eliminated.
INVESTIGATE THE TURBOLIFT
The squad moves onto the turbolift to end the mission.
Squad and abilities that carry the fight
A four-operator team of Cly Kullervo, Tesh Hawks, Tel-Rea Vokoss, and Trick covers every role the encounter demands. Cly handles crowd damage, Tel-Rea handles positioning and melee cleanup, Hawks keeps the team standing, and Trick works the upper walkways.
Operator
Key tools here
Cly Kullervo
Electroweb Dart III, Electroweb Surge III, Combat Jump II, Droid Popper
Tel-Rea Vokoss
Lightsaber strikes, Force Push
Tesh Hawks
Surgeon’s Tools, Combat Stim III
Trick
Ranged attacks against the raised platform
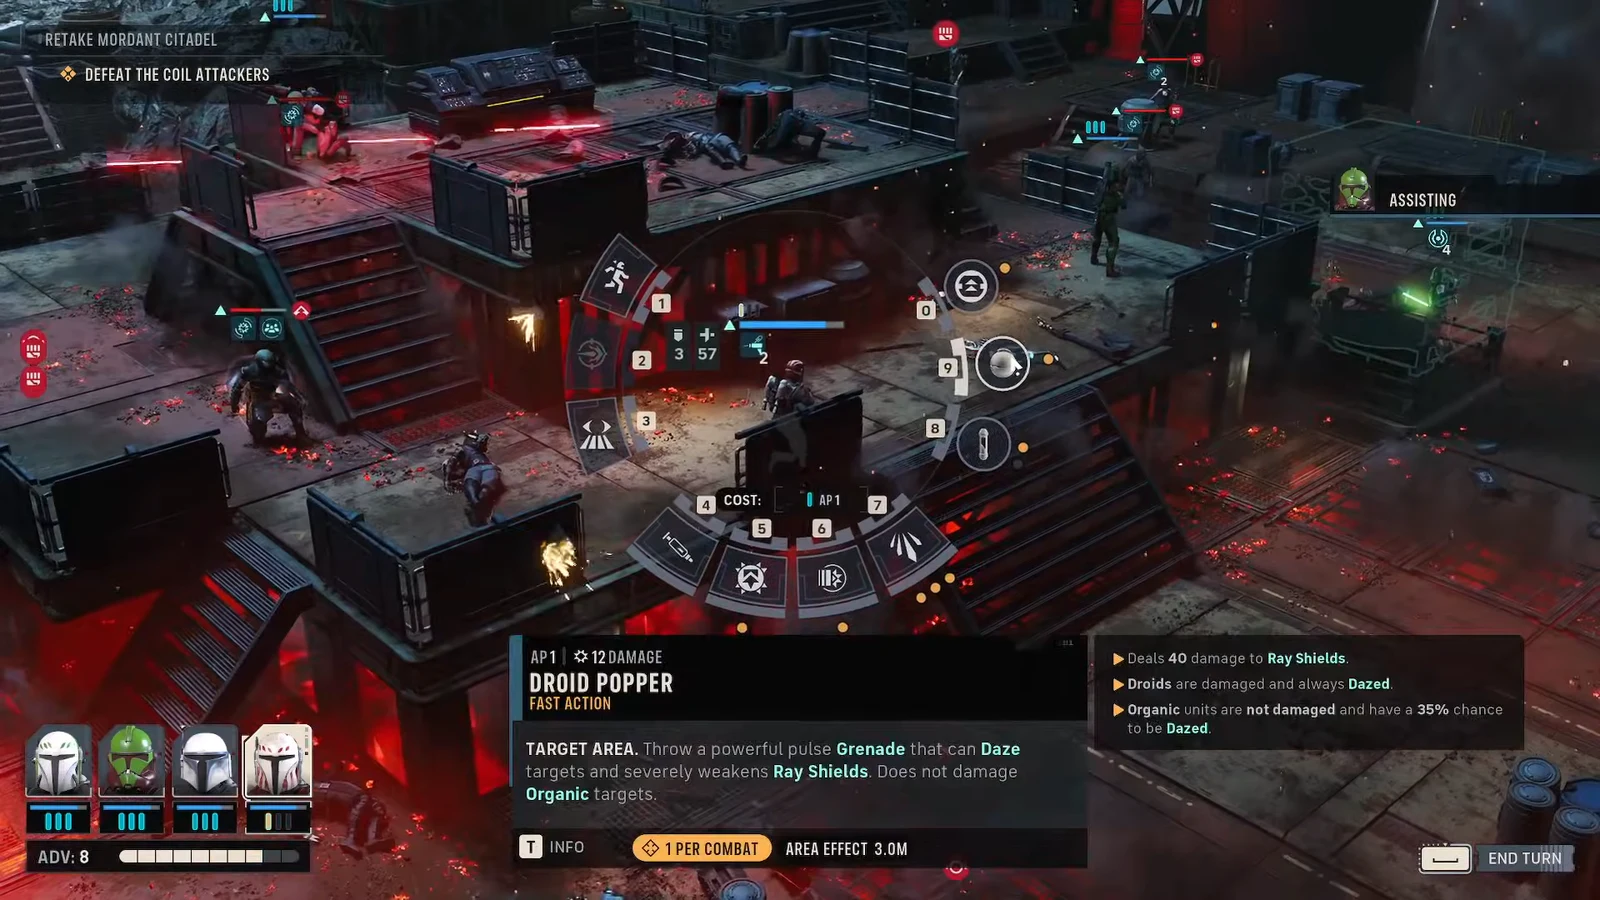
Enemy types on the map include Coil B1 Battle Droids, Coil Scourges, Coil Enforcers, Coil Guardians, and Coil Strikers. Droid Popper is the answer to the droid groups, and it is worth holding until two or more are bunched together.
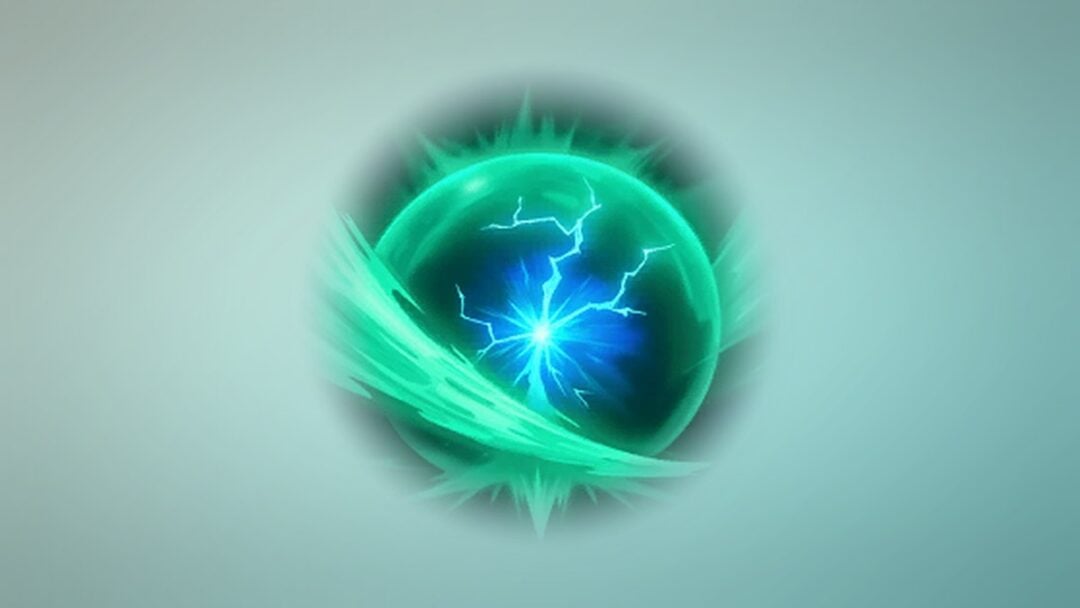
09:52The Droid Popper preview shows its target area, damage and daze effect before you commit the action point. Shown at 09:52 in PazarGamingGuides’s video. Image: Bit Reactor
Clearing the platform before you touch the console
Open with Cly against the closest melee attacker and call Hawks in for an assist. Spend whatever action points remain on overwatch so anything that pushes forward on the enemy turn eats a reaction shot.
Send Tel-Rea wide to the right flank. Splitting the approach stops the whole squad from sitting in one grenade-sized cluster and pulls part of the Coil line away from the console.
Put Trick on the enemies standing on the upper platform. They have clean sightlines down onto the console tile, so leaving them alive makes the interaction turn far more expensive.
Use Electroweb Dart III on a single priority target, then save Electroweb Surge III for the moment three or more enemies are grouped. Surge is the single most efficient tool in the room when the Coil bunch up around cover.
Throw the Droid Popper into the densest droid pack, then follow with another Surge on whatever survives. Between the two, most of the ground floor collapses in a single turn.
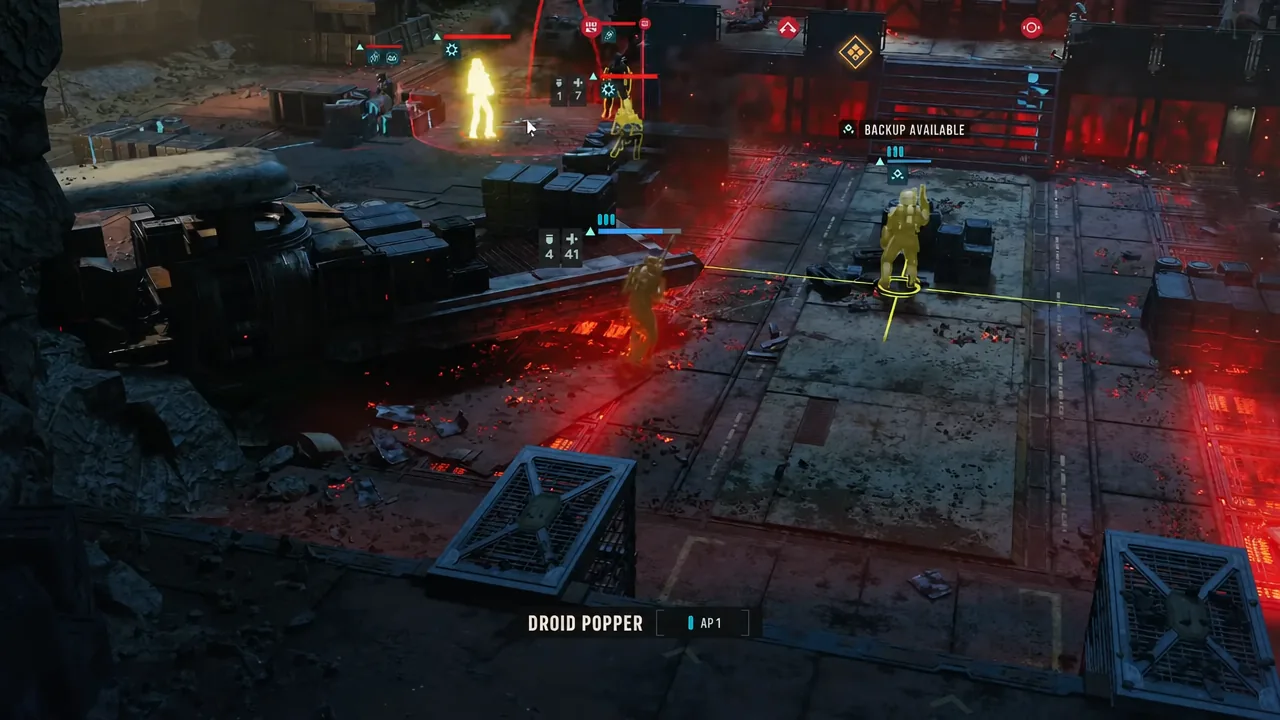
Droid Popper costs a single action point, which leaves room for a follow-up attack in the same turn. Image: Bit Reactor
Have Tel-Rea use Force Push to shove the right-side group off their footing and finish stragglers with lightsaber strikes. The right flank needs to be quiet before anyone commits to the console.
Walk Cly onto the console tile at the centre of the platform. Any operator can do this, but sending the one with the most remaining action points means they can still act afterwards.
Trigger the interaction prompt on the console. While that operator is standing exposed, use Hawks to apply Combat Stim III or the Surgeon’s Tools to anyone who took damage on the approach.
06:13The console sits at the centre of the industrial platform; an operator must stand on it to call the lift. Shown at 06:13 in PazarGamingGuides’s video. Image: Bit Reactor
Finish off anything still standing near the console with Tel-Rea and Trick, then complete the lift call. You know it worked when the objective text changes from USE CONSOLE TO CALL THE LIFT to DEFEAT THE COIL ATTACKERS.
Note: calling the lift is the trigger for the reinforcement wave. If the platform is still contested when you press it, you fight the leftovers and the new arrivals at the same time.
Pull Hawks back into cover the moment the wave spawns and heal anyone who is low. The new attackers arrive at full strength and will target the weakest operator on the field.
Use Combat Jump II to reposition Cly onto high ground or across the platform, then land an Electroweb Surge III on the freshly grouped reinforcements before they spread out. Their entry formation is the tightest they will ever be.
Send Tel-Rea into melee range against whatever closes on your line. Lightsaber strikes clear the front rank quickly and keep pressure off Hawks and Trick.
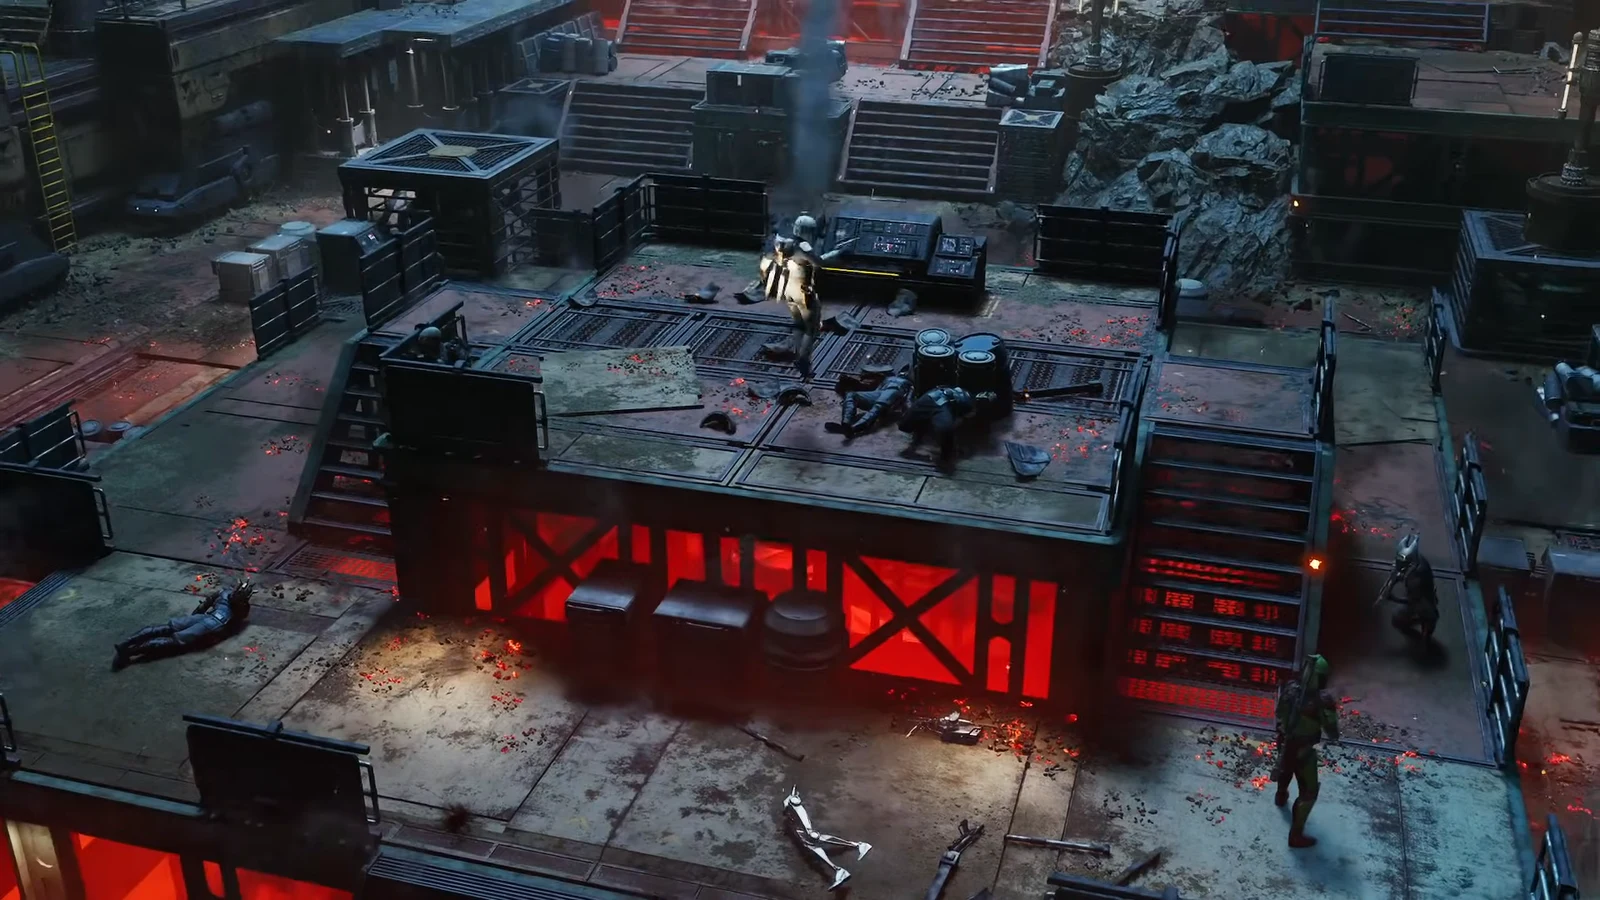
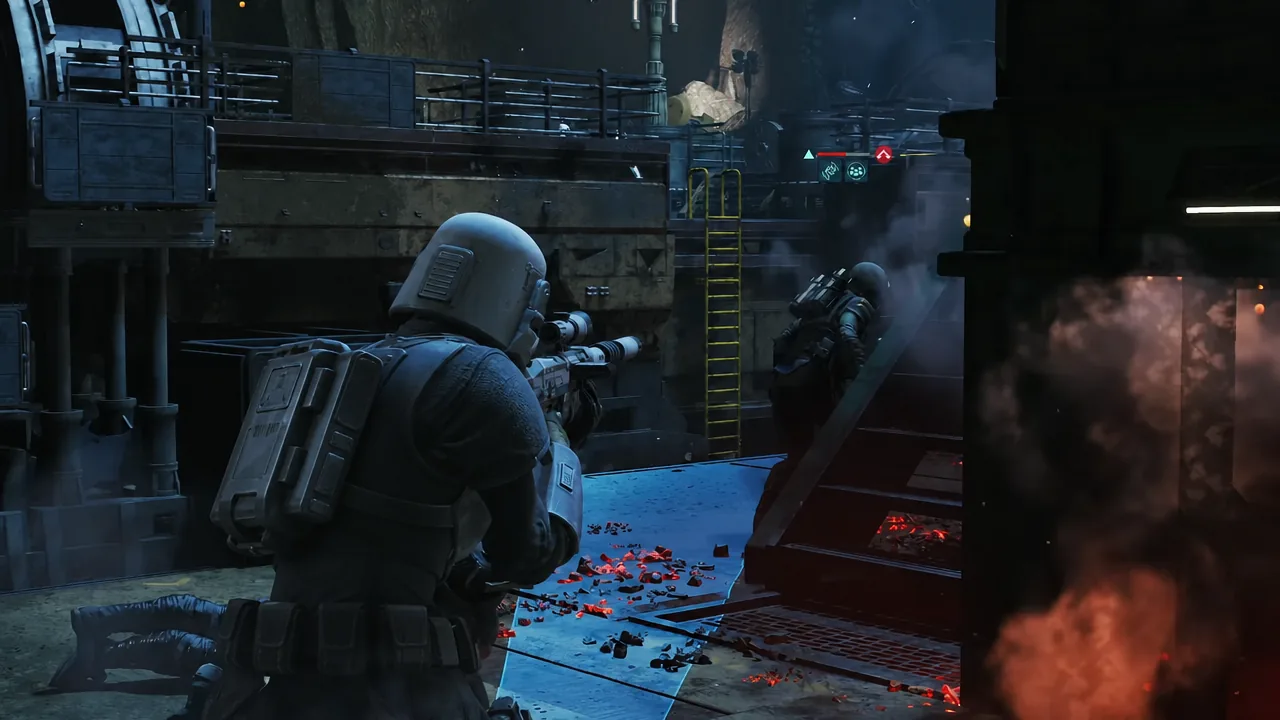
Ranged operators pick off Coil attackers while the melee line holds the centre of the platform. Image: Bit Reactor
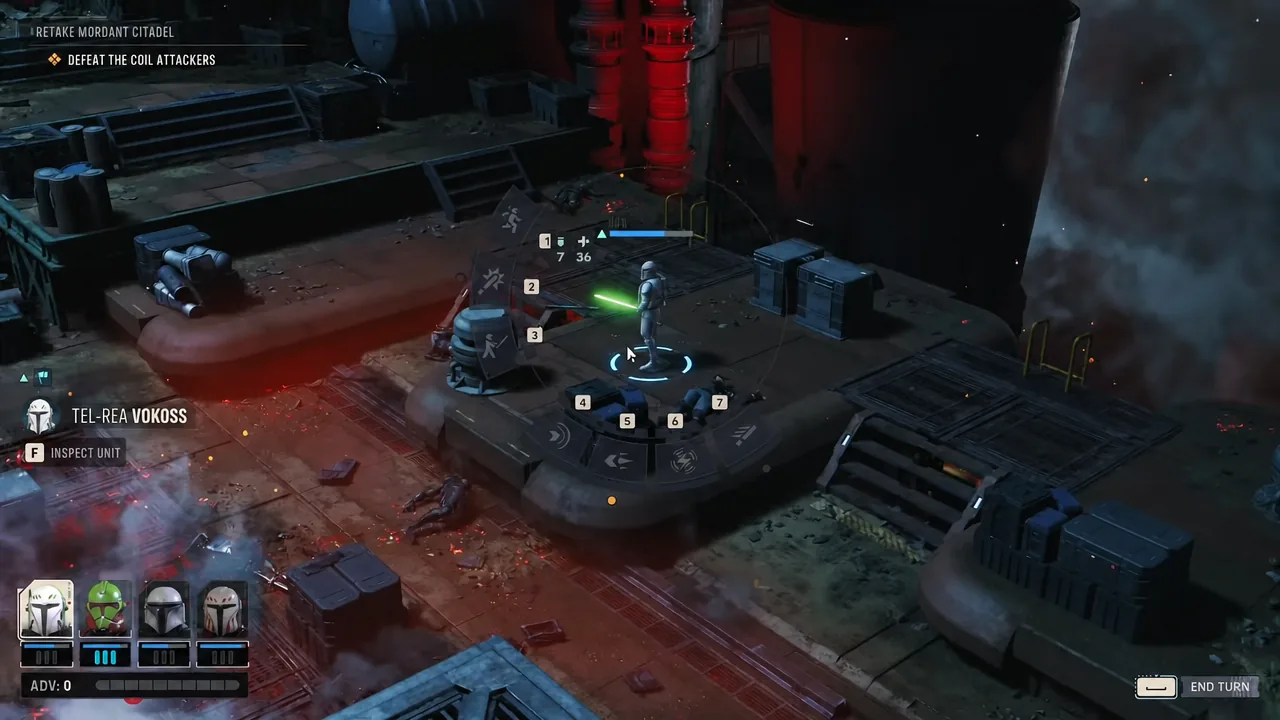
Work the ability wheel deliberately on the final few attackers. Rally any downed operator rather than trading another turn of damage, especially if permadeath is switched on.
The numbered ability wheel around the selected operator during the final cleanup of the Coil wave. Image: Bit Reactor
Finishing at the turbolift
Once the last Coil attacker drops, the tracker updates to INVESTIGATE THE TURBOLIFT. Move the squad to the turbolift the console summoned and the mission ends there, with no further combat wave after it.
If the objective refuses to change, an enemy is still alive somewhere on the map. The most common holdouts are units on the upper walkway or a Coil Guardian tucked behind cover on the far flank, both of which are easy to lose track of during the wave.
Since missions push you into the next cycle, handle anything outstanding at the Den before you deploy on this one, and restart from the game menu if a bad opening turn leaves the squad too damaged to hold the console.