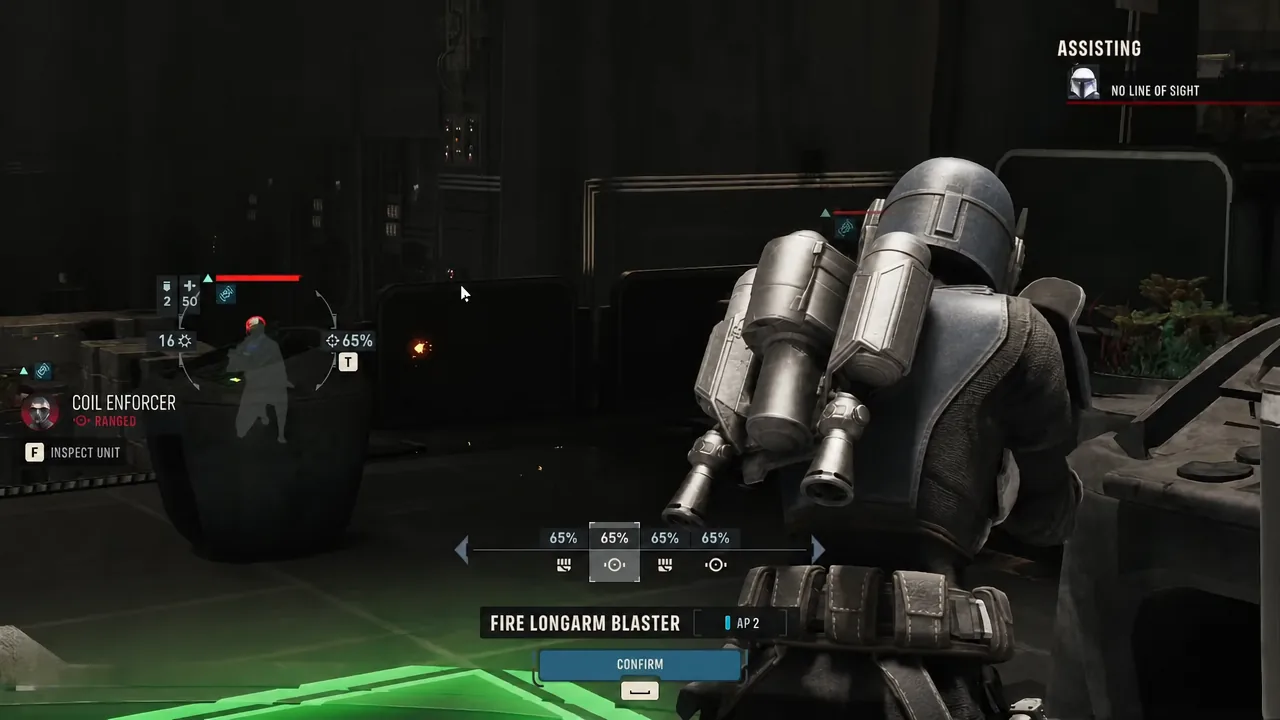
Retake Mordant Citadel swaps the usual “clear the room” objective for a hold. A circular zone sits in the middle of the floor, and the security lockdown only unlocks while your operators are standing in it. Enemies keep arriving for as long as the counter is climbing, so the fight is really a question of who can stay parked in the open the longest.
Quick answer: Keep at least two operators inside the marked circle at the end of every turn. The override percentage climbs while the zone is occupied, and once it reads 100 percent, move the whole squad to the turbolift to end the mission.
Override the security lockdown: the rules of the zone
The objective is scored by occupancy, not by kills. You do not need to wipe the room, and killing everything faster does not speed up the counter. What matters is how many bodies you have standing on the circle when the turn ends.
| Condition | What happens |
|---|---|
| Zone empty | Override progress stops climbing |
| Two or more operators inside | Progress continues each turn |
| Progress hits 25 percent | First reinforcement group arrives |
| Later in the hold | A second wave pushes in from both sides of the room |
| Progress hits 100 percent | Lockdown lifts; squad must reach the turbolift |
Note: the circle is open ground by design. Operators standing on it are easier to hit than operators behind cover, which is why the hold needs to be split rather than committed all at once.
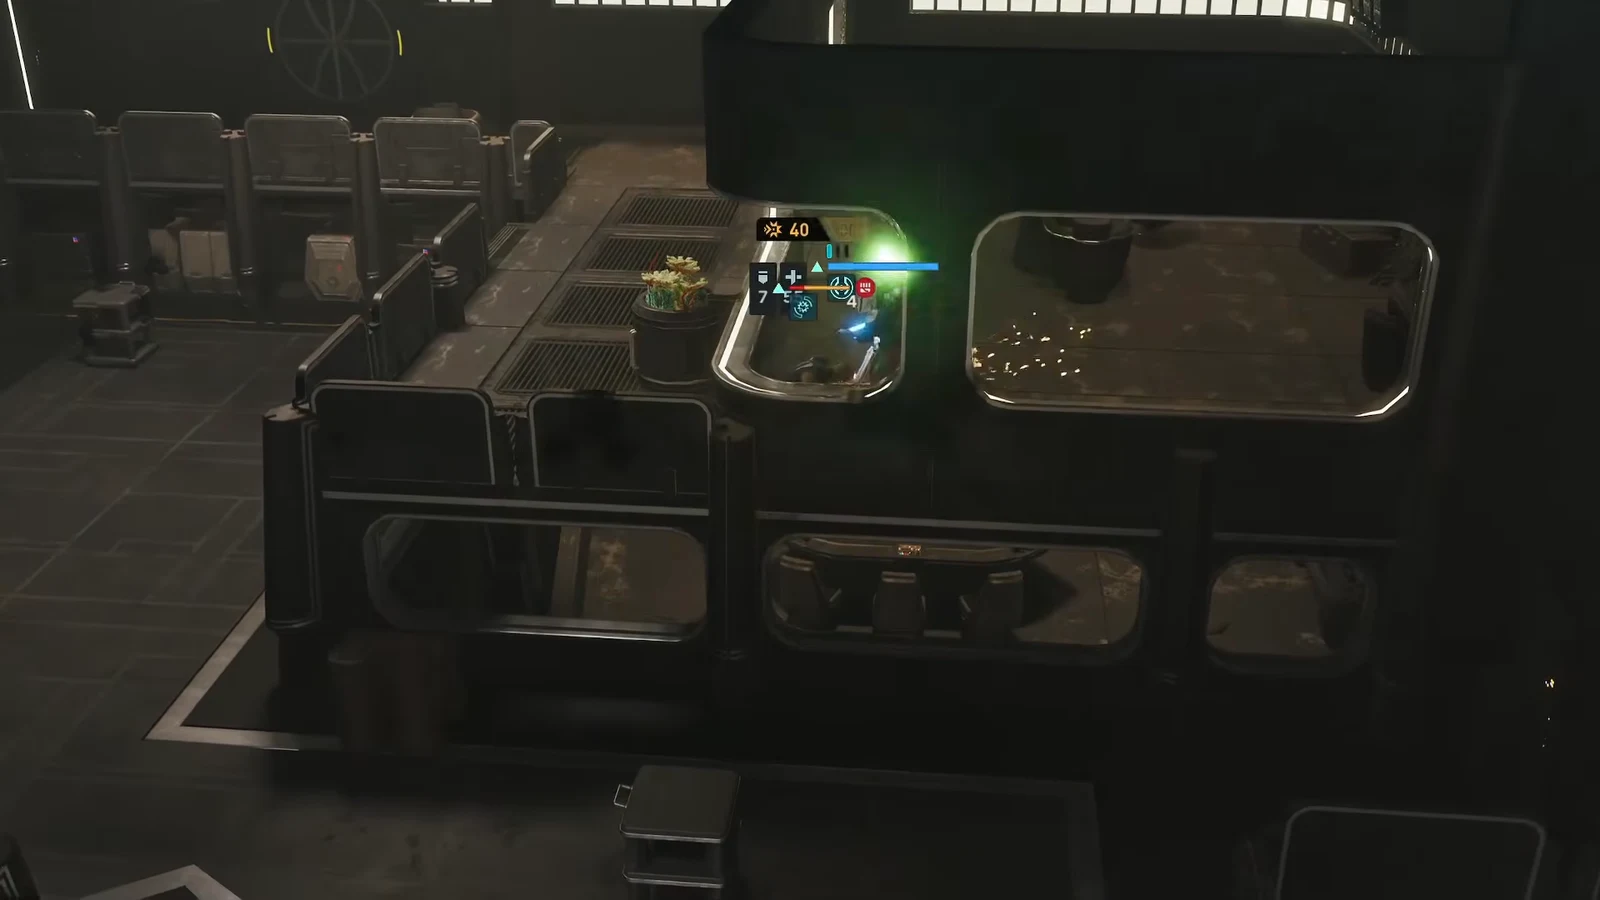
Splitting the squad: two on the circle, the rest on the approaches
Keeping the counter moving while under fire
Once the shooting starts, the temptation is to pull everyone into cover. Resist it. The moment the circle drops below two occupants, the percentage freezes and you simply fight the same waves for longer.
Rotate instead of retreating. If a ticket holder is badly hurt, walk a healthy operator onto the circle in the same turn before the wounded one steps off, so the zone is never vacant at the end of a round. Call for Backup costs no Action Points, so use it every turn to add a second operator’s damage to a shot you were taking anyway.
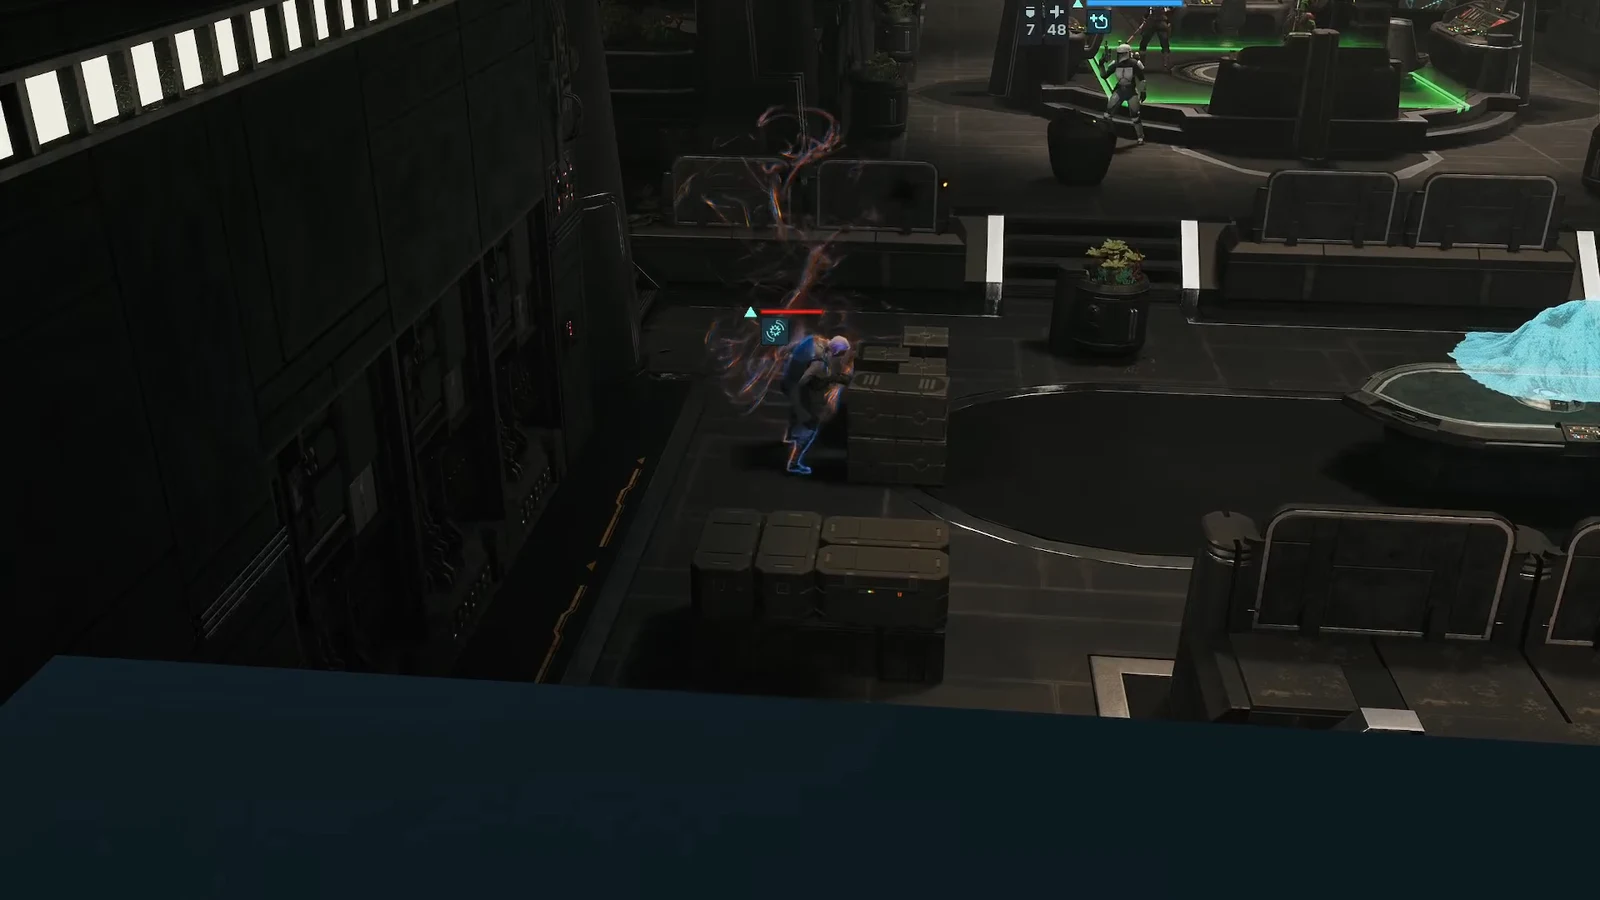
If an operator goes down inside the circle, Rally them quickly. A downed operator cannot take actions and does not hold the zone, and each knockdown adds an injury. Three injuries kill the operator outright when permadeath is on.
Reinforcement waves: what arrives and when
The first reinforcements land when the override reads roughly 25 percent. A warning appears on screen with a marker showing where the new group will drop, which gives you one turn to reposition before they act.
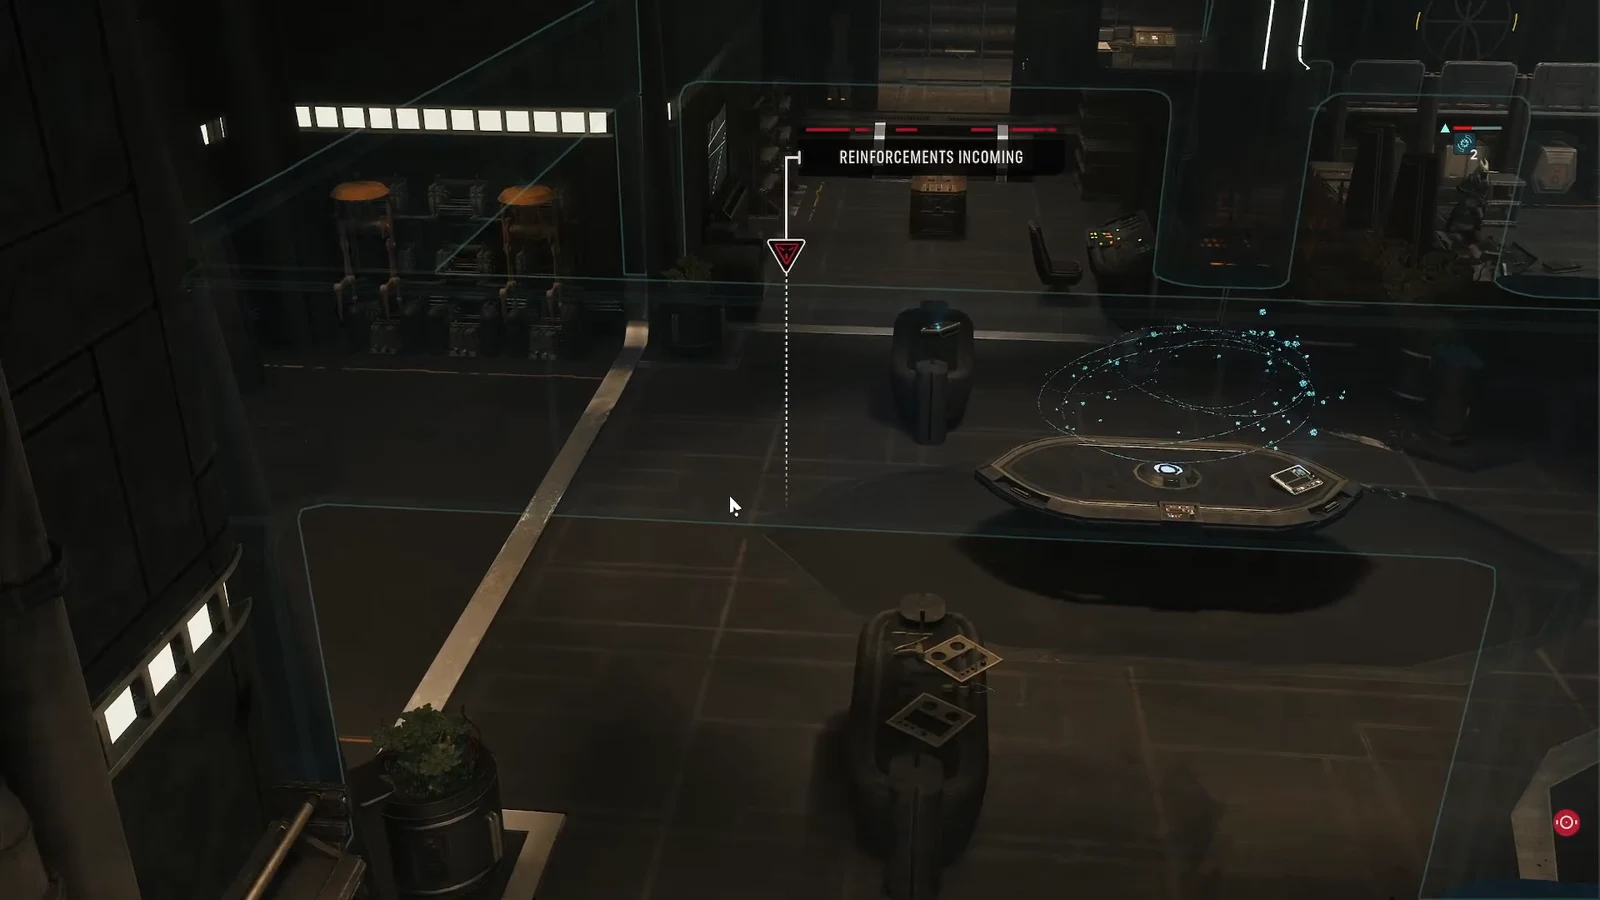
Use that warning turn properly. Point your Overwatch cones at the marked approach rather than at whatever is already shooting at you, and shift any operator whose back is exposed to the new angle. The second wave is harder because it comes from both sides of the room at once, so the squad has to be able to answer two directions without abandoning the circle.
Overwatch cones and area damage do the heavy lifting
Reinforcements have to walk to you, and that is the whole opening. An Overwatch cone laid across a doorway or corridor fires on enemies moving through it, and hits can interrupt that movement before they reach cover near the circle.
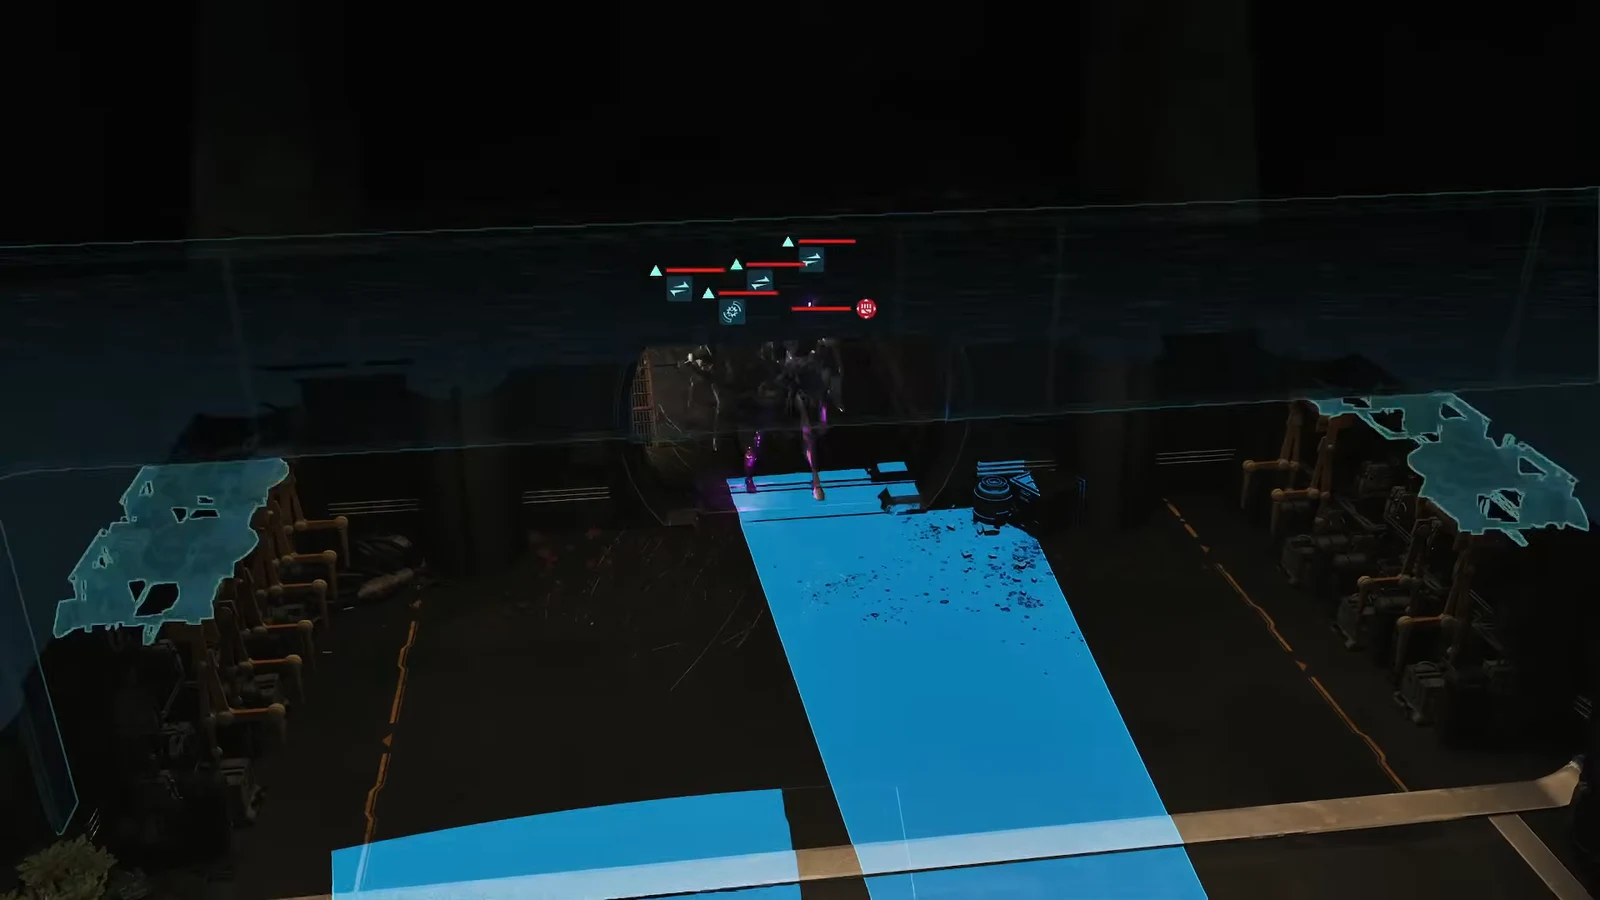
Shorter cones give a better Chance-to-Hit than wide ones, so aim them at the specific lane a wave has to use rather than fanning them across half the room. Feeding more Action Points into Overwatch lets that operator fire on more than one enemy during the enemy turn.
Waves also tend to bunch up as they funnel in, which is exactly when area damage pays. Trick’s flamethrower catches several clustered enemies in one action, and grenades do the same job when the group is packed behind a single piece of cover.
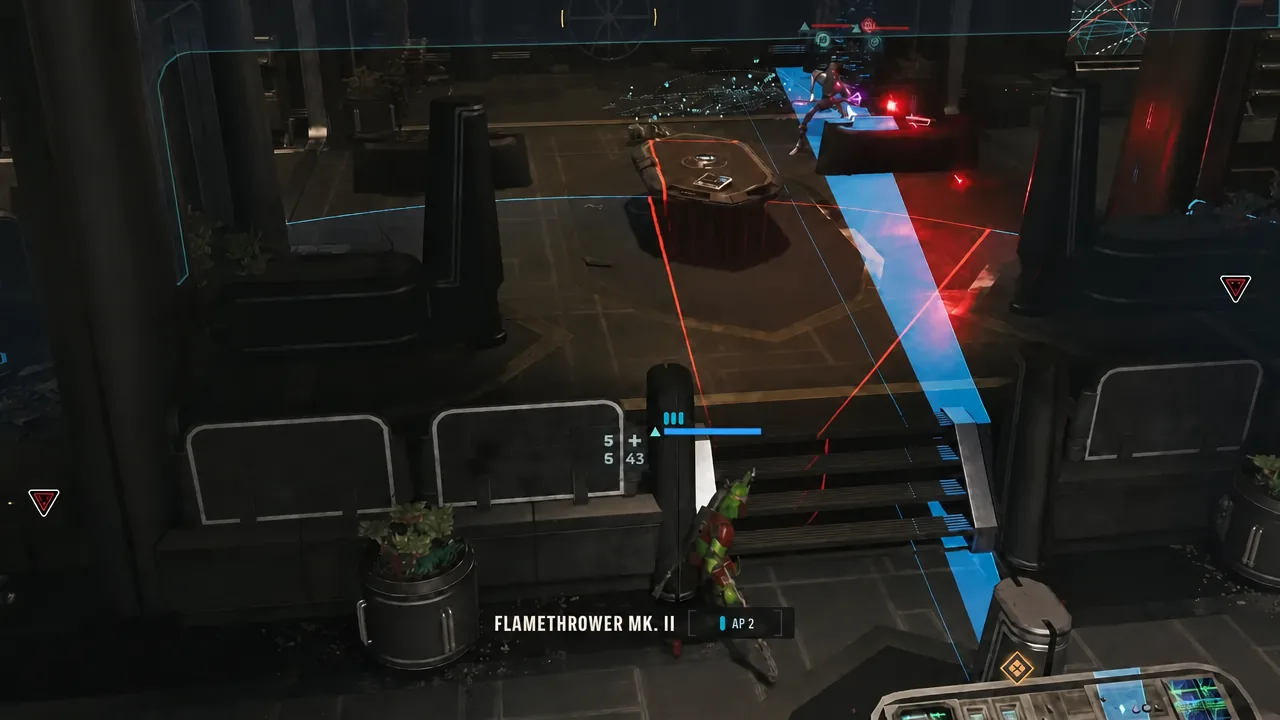
Advantage builds as you land hits and caps at 10, so it will refill during a long hold. Spend it on the turns where the circle is in danger, whether that means an extra Action Point for a squadmate or an Ultimate to clear a wave before it can shoot.
After 100 percent: get to the turbolift
Reaching 100 percent does not end the mission. The objective updates and the squad has to fall back to the turbolift, so treat the last stretch of the hold as preparation for the exit rather than a final stand.
Before the counter tops out, start drifting your ranged operators toward the exit route and stop pushing anyone deeper into the room. When the override completes, move everyone to the turbolift and take Overwatch only if you cannot cover the distance in one turn. You will know it worked when the objective list in the top left updates and the mission complete screen follows the squad reaching the lift.
Why the override stops climbing
- Fewer than two operators are standing inside the circle at the end of the turn.
- An operator holding the zone was downed and has not been Rallied, so they no longer count as occupying it.
- The squad pulled fully into cover to survive a wave, which stalls the counter and extends the fight.
Everything about this fight rewards patience over aggression. Two operators on the circle, cover and Overwatch on the approaches, area damage saved for the clustered waves, and a clean walk to the turbolift when the counter fills.