Cash in Storage Hunters: Open World comes from one thing above all else: how fast you can turn an auction win into a sold item. Players who pile up money are not luckier. They cut travel time, buy the right lockers, and keep items moving off their shelves. Once that loop is tight, your balance climbs on its own.
Quick answer: Join a small server, place your shop right next to the auction zone you are farming, skip low-start lockers, keep shelves grouped outside, and set the Assistant’s Auto Accept to 15%. Then upgrade Inventory Space and Selling Space first.
Pick a small server so you get the best shop plot
Your shop location decides how efficient every run is, and that starts before you bid on anything. On a packed public server, the plots closest to the auction area are already claimed, so you end up sprinting across the map for each sale. Smaller or newer servers leave those prime spots open.
| Server type | Best for | Drawback |
|---|---|---|
| Busy public server | Casual play | Best shop spots taken |
| Small public server | Efficient grinding | Some competition |
| Private server | Best farming setup | Needs access |
If you move to a better area later, move your shop with it. A plot that made sense in the Junk Yard is dead weight once your auctions happen in the Farmyard or Shipyard.
Put your shop next to the auction zone
The single biggest time saver is placing your shop as close as possible to where you buy lockers. The loop repeats hundreds of times a session: win a unit, haul the items back, drop them on shelves, return for the next auction. Every second of walking in that loop is a second you are not earning.
Match your plot to your stage of the game. As your net worth grows and better areas open, your shop should follow the money.
| Stage | Best shop location | Reason |
|---|---|---|
| Beginner | Near Junk Yard | Fast early farming |
| Early-mid game | Near Farmyard | Better item value |
| Mid game | Near Shipping Yard | Higher profit ceiling |
| Advanced | Closest to best auction zone | Maximum efficiency |
The math is simple. If a shorter route saves 30 seconds per trip across 20 trips, that is 10 minutes back in one session, which is another auction cycle or two of pure profit.
Skip the cheapest lockers and read the starting price
The most common beginner trap is grabbing the lowest-priced units because they feel safe. Those lockers are usually stuffed with low-value junk. Filling your inventory with trash wastes hauling trips and shelf slots on items that barely move your balance.
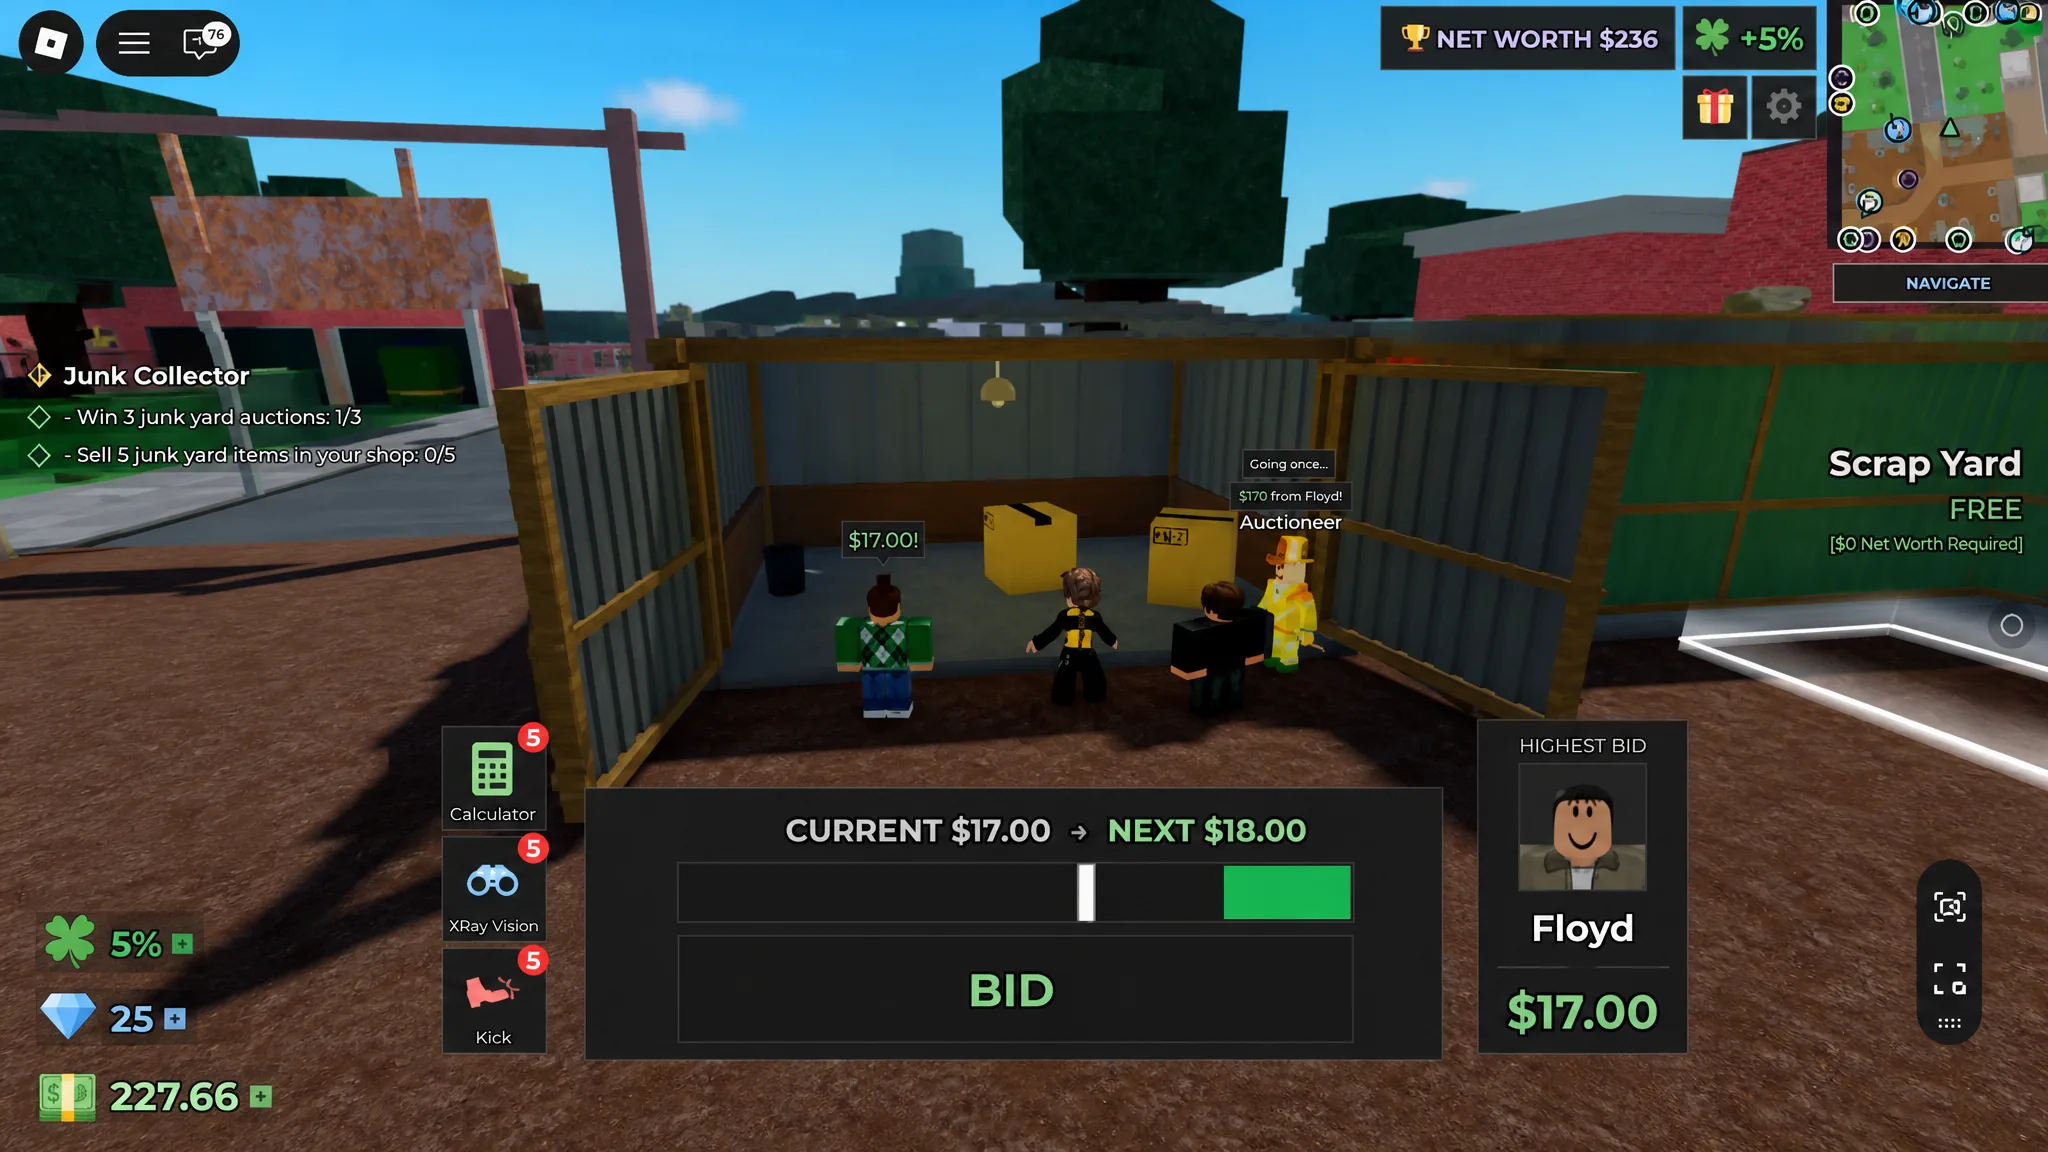
Watch the starting price before you bid. Units that open higher tend to hold better loot such as car keys, higher-tier furniture, or gear that resells for much more. A high start does not guarantee profit, but it usually signals better potential.
| Starting price | Likely value | Best move |
|---|---|---|
| Very low | Usually weak junk | Skip unless value is visible |
| Medium | Mixed items | Inspect first |
| High | Better item chance | Worth bidding |
| Rising fast | Others see value | Bid carefully |
Do not ego-bid. If two players drive a price up, let them fight and look for a cheaper locker. A unit only pays off if you can resell its contents for more than you spent. If a unit turns out weak, grab the best pieces and move on instead of squeezing coins out of clutter.
Group shelves outside for faster restocking
After shop placement, shelf layout is the next big speed gain. Keep shelves outside and close together so unloading a fresh haul takes a few steps, not a lap around a furniture maze. Spread-out shelves and decor that blocks paths slow down every single item you place.
The cost adds up fast. If a messy layout adds 5 seconds per item across 60 items, that is 5 minutes lost in a session for no reason. Tight shelves and clear paths fix it.
Use the Assistant and set Auto Accept to 15%
Once your shop starts filling up, the Assistant is worth using. It handles a chunk of the selling process so you can stay at auctions instead of babysitting customers. Pair it with the Auto Accept setting to keep items moving.
| Auto Accept | Selling speed | Profit per item |
|---|---|---|
| Very low discount | Slow | Higher |
| 15% | Balanced | Good |
| High discount | Fast | Lower |
15% is the sweet spot. Items sell fast enough to keep cash flowing without giving away too much value. If your shelves are always full, the problem is not storage luck, it is that your selling system is too slow.
Upgrade order that removes your bottleneck first
Do not spend Diamonds at random. Upgrade whatever is slowing you down the most right now, then re-check. If you keep running back and forth, that is an Inventory Space problem. If shelves stay full, that is a Selling Space problem.
| Priority | Upgrade | What it fixes |
|---|---|---|
| 1 | Inventory Space | Carry more per trip |
| 2 | Selling Space / Shelves | Sell more at once |
| 3 | Assistant Upgrades | Less manual selling |
| 4 | Price Tags | Smoother shop flow |
| 5 | Luck Boosts | Better item quality |
| 6 | Decor Bonuses | Useful after basics |
Luck matters, but it works best once your setup is already efficient. Better finds only help if you can haul and sell them quickly, so fix carrying and selling before you chase luck.
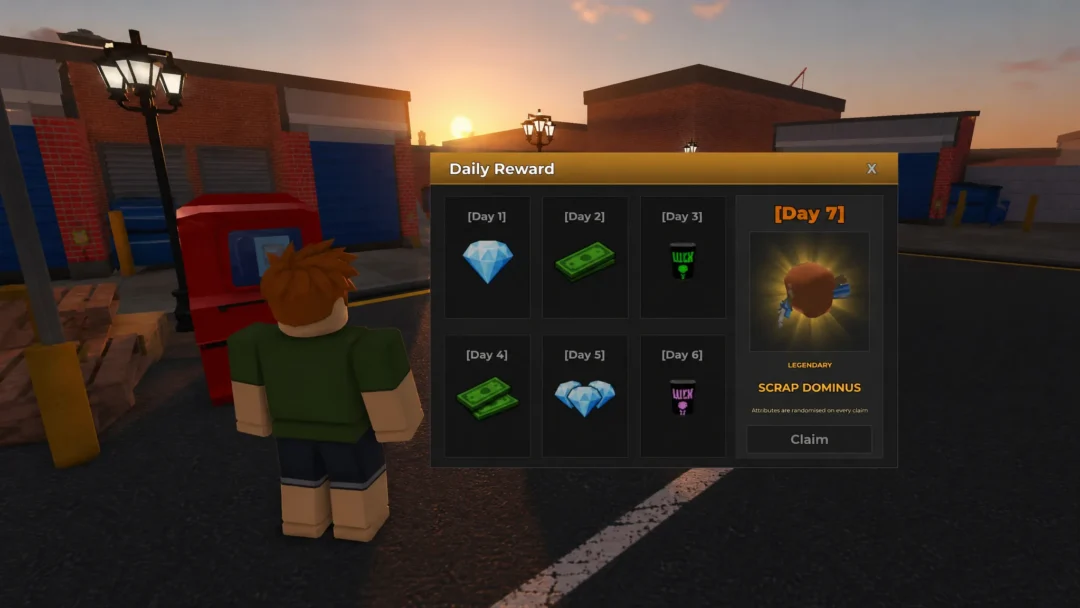
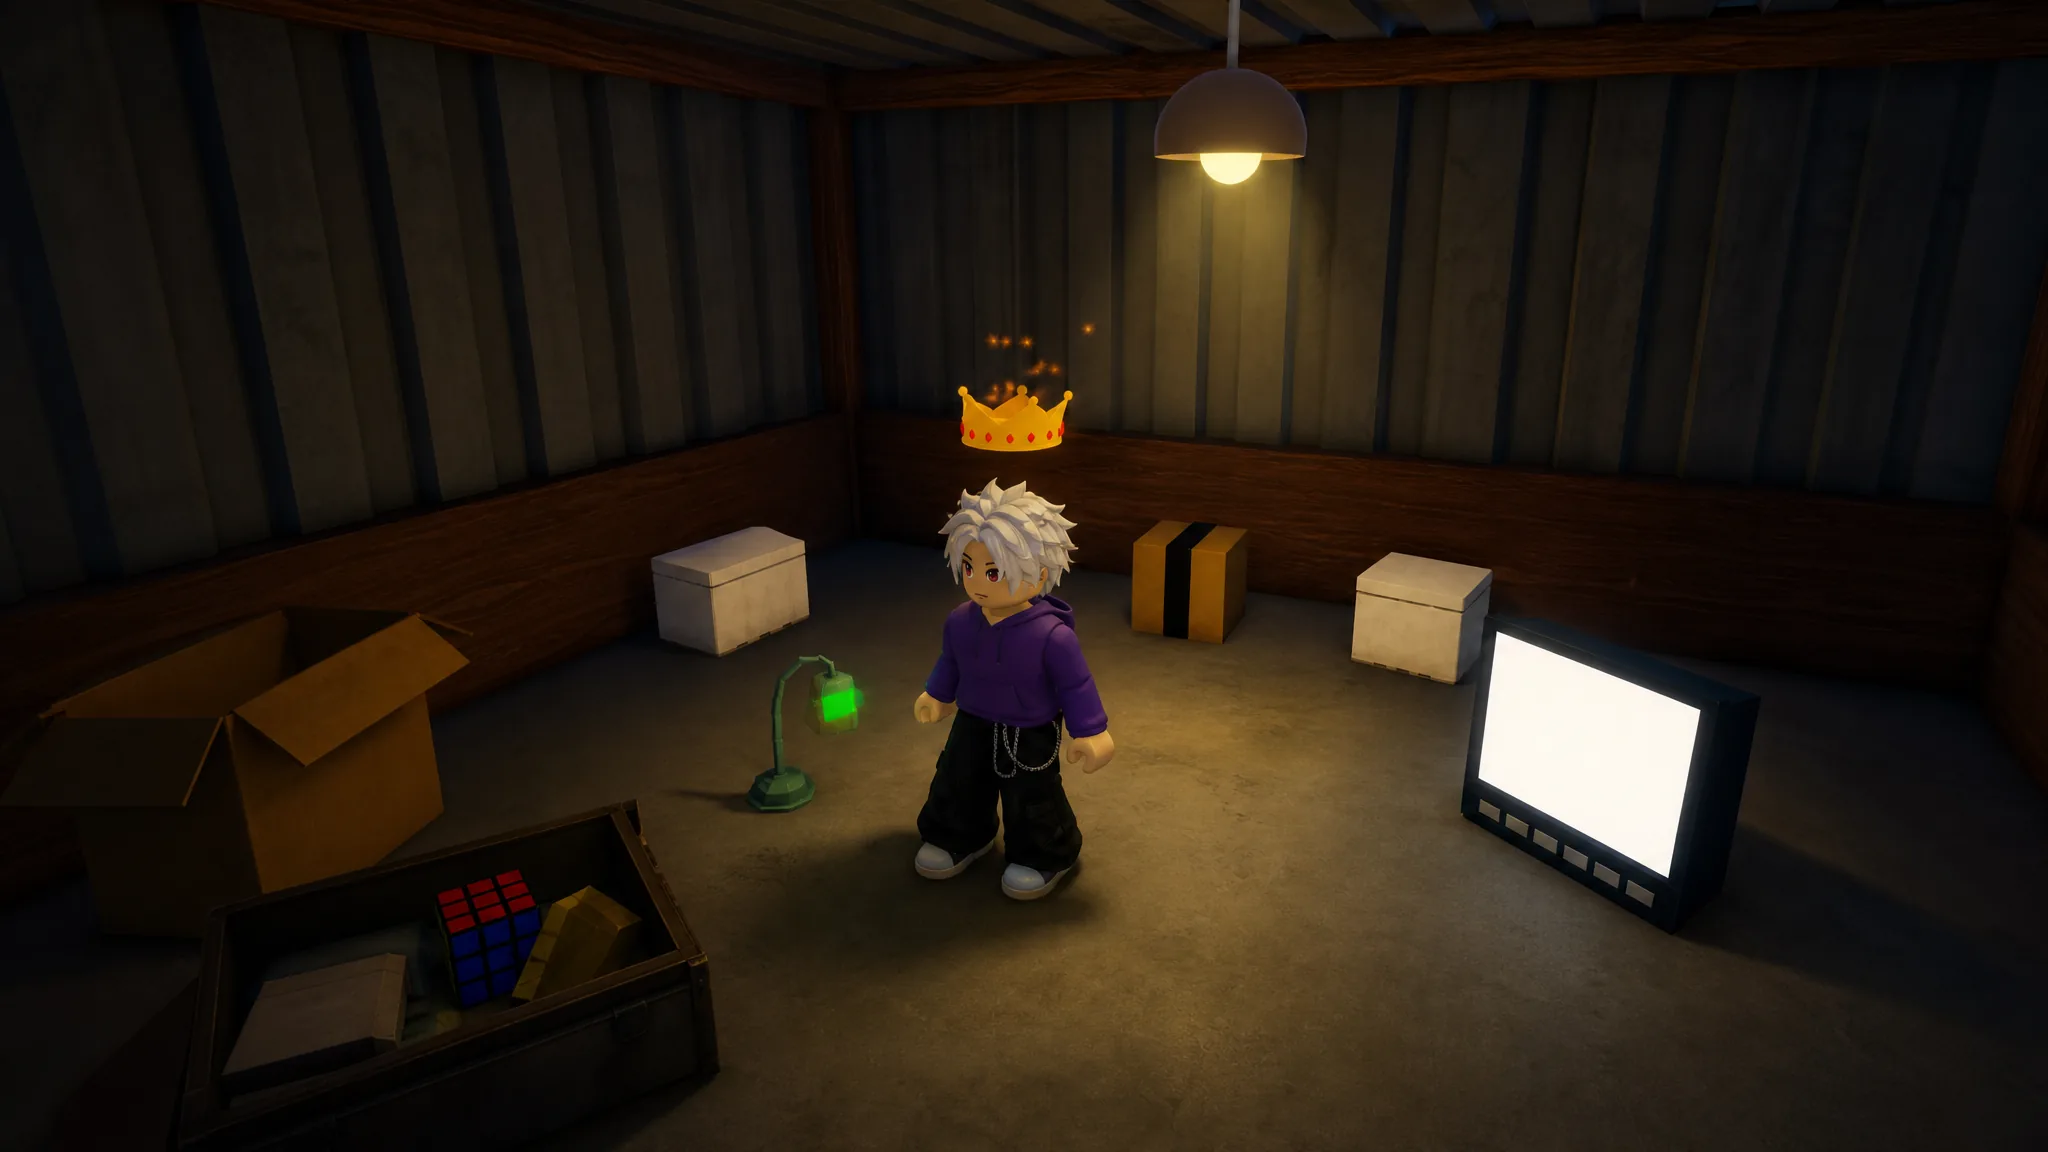
Collect Lost Items early for risk-free rewards
If you are new, grab Lost Items as soon as you can. They hand out money, Diamonds, and luck boosts without any bidding risk, which helps your account scale before you can afford strong lockers. It is the safest early power boost in the game.
| Lost Item reward | Why it helps |
|---|---|
| Money | More bidding power |
| Diamonds | Upgrade currency |
| Luck boosts | Better future finds |
| Collection progress | Long-term value |
Note: Hold onto the Key until you have used it to open the Back Alley locked garage for the Scythe, and keep the Backpack since it is a wearable accessory. If you sell the Key too early, it respawns after about 12 hours.
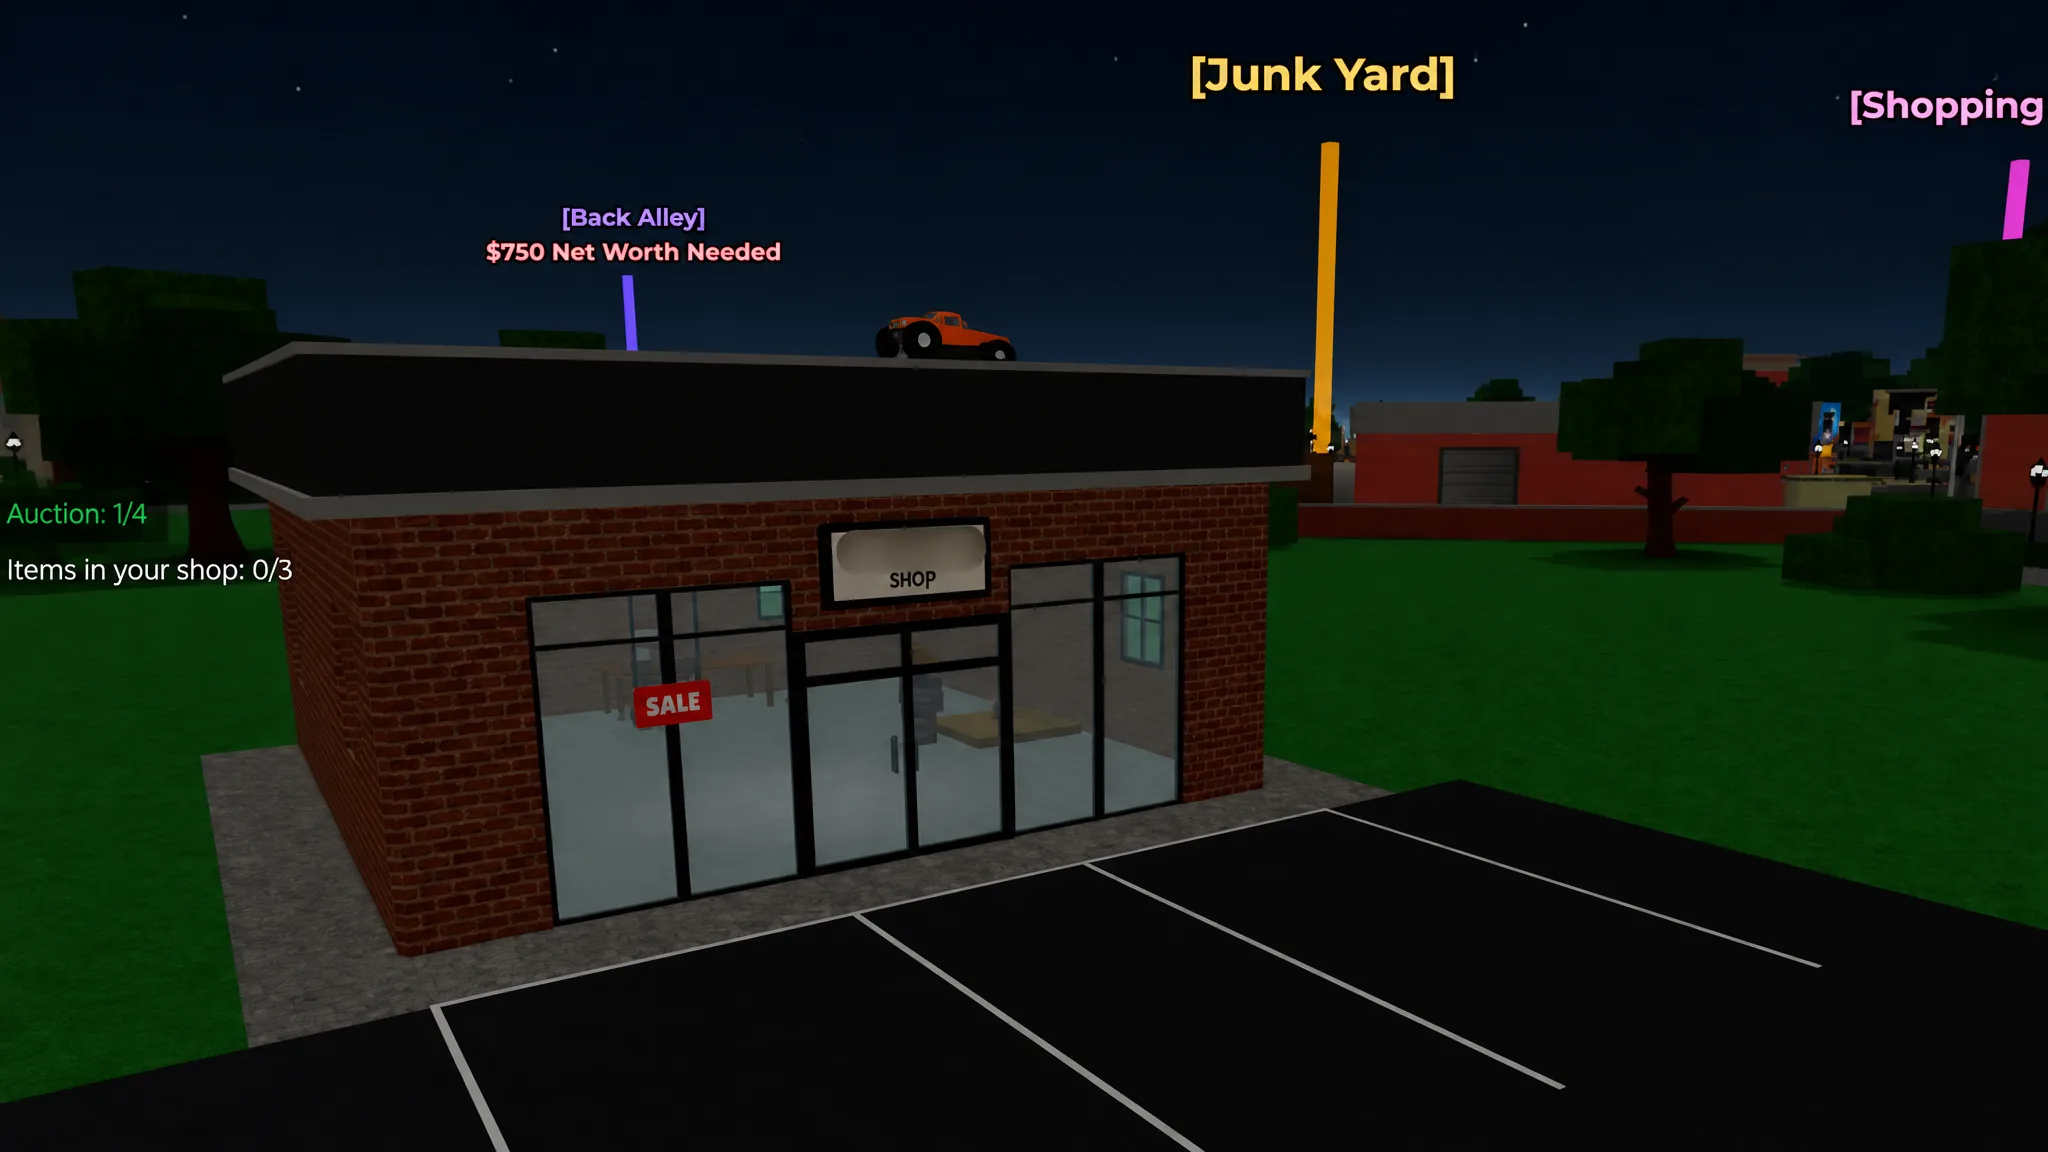
When to move to a better zone
Do not camp the Junk Yard forever. You unlock new areas by raising your net worth, and each one carries higher-tier containers with better loot. The Back Alley opens at 750 net worth, with the Farmyard and Shipyard following as your worth climbs.
| Area | Unlock requirement | Loot quality |
|---|---|---|
| Junk Yard | Free starter area | Common to Uncommon |
| Back Alley | 750 Net Worth | Uncommon to Rare |
| Farmyard | Higher Net Worth | Rare to Epic |
| Shipyard | Max Net Worth | Epic to Legendary |
Move up when you profit easily in your current zone and your inventory fills too fast to keep up. When you relocate, move your shop again so you never rebuild the long-travel problem you just solved.
How to tell the loop is working
You know the setup is dialed in when shelves clear between auction runs instead of staying jammed, when you spend most of your time bidding rather than walking, and when your net worth ticks up steadily enough to open the next area. The goal is a self-feeding cycle where more money buys better upgrades, better upgrades win better lockers, and better lockers raise your net worth. Getting rich here is not about one lucky unit. It is about making every single run faster than the last.