Accessories in Storage Hunters: Open World are both cosmetic and functional. The same item name can roll different stats, so a cheap hat can outperform a pricey one for your grind. Farming them well means winning the right lockers, checking every drop before you sell, and running a tight money loop that keeps cash flowing back to you.
Quick answer: Farm accessories by winning storage units in Junk Yard, Back Alley, and Farmyard, then open every accessory’s stat page before selling. Keep anything with Bid Zone Width, Energy Drink Time, movement speed, Luck, or NPC Offers Bonus, and sell items with negative or weak rolls for cash.
Where accessories drop in Storage Hunters: Open World
Accessories come out of storage units after you win an auction and collect the contents. They appear in the Accessories tab of your inventory, and each one can also be sold for a listed cash value. The map areas matter because higher-tier zones tend to produce higher-value items.
| Accessory | Slot | Area | Sell value |
|---|---|---|---|
| Cardboard Hat | Head | Storage units | $40 |
| Party Hat | Head | Junk Yard | $120 |
| Straw Hat | Head | Junk Yard | $220 |
| Scrap Valk | Head | Junk Yard | $415 |
| Safe Wristband | Wrist | Back Alley | $475 |
| Scrap Dominus | Head | Junk Yard | $565 |
| Flower Wristband | Wrist | Farmyard | $750 |
| Rider Helmet | Head | Back Alley | $800 |
| Spike Wristband | Wrist | Back Alley | $2,600 |
| Skull Domino Crown | Head | Back Alley | $4,500 |
| Gangster Valk | Head | Back Alley | $7,500 |
| C4 Wristband | Wrist | Back Alley | $12,500 |
| Gangster Dominus | Head | Storage units | $15,000 |
These are reference points, not a full list. If unlocked crate contents do not show up right away, check outside the store to the left, in the yellow box marked “Pick Here.”

Judge accessories by modifiers, not sell price
Accessory modifiers are randomized. Two copies of the same accessory can carry different stats, and some rolls are negative, meaning they lower a stat instead of raising it. Because of this, the listed cash value is a poor way to decide what to keep.
Open the stat page of every accessory before you sell it, especially cheap ones. A Cardboard Hat with the right roll can help your grind more than the money you would get for selling it. Exact stat ranges, caps, and the number of possible modifiers per item are not confirmed, so treat the priorities below as a guide rather than a fixed ranking.
| Priority | Stat | What it does |
|---|---|---|
| Top | Bid Zone Width | Widens the bidding zone so auctions are easier to control. |
| Top | Energy Drink Time | Extends energy drink effects for longer farming runs. |
| High | Walk Speed, Vehicle Speed, Aerial Speed | Cuts travel time between units, buyers, and farming spots. |
| High | NPC Offers Bonus | Raises how much NPC buyers pay for your finds. |
| Useful | Luck | Improves outcomes over long sessions. |
| Useful | Tip Chance, Tip Amount | Increases how often and how much buyers tip. |
| Niche | Bid Recovery | Refills the auction bid meter faster. |
| Risky | Bid Arrow Speed | Changes arrow speed, which can help or hurt depending on control. |
| Avoid | Negative modifiers | Reduce a stat; sell unless the positives clearly outweigh them. |
Build three loadouts for different jobs
You can equip one Head, one Back, and one Wrist accessory at the same time, so the best setup is a loadout rather than a single item. Keep separate sets built around one task each and swap between them when your activity changes.
| Build | Stats to look for | When to use it |
|---|---|---|
| Bidding set | Bid Zone Width, Bid Recovery, comfortable Bid Arrow Speed | Auction-heavy runs where winning units cleanly matters. |
| Movement/farming set | Energy Drink Time, Walk Speed, Vehicle Speed, Aerial Speed | Money routes, map travel, and long grinding. |
| Selling/profit set | NPC Offers Bonus, Tip Chance, Tip Amount, Luck | Cashing out through NPC buyers and chasing tips. |
How to equip accessories

The money loop: buy better, sell faster
Accessories are only one part of the profit. The core loop rewards speed, so the fewer seconds you waste walking and selling, the more auctions you can run. The routine is straightforward. Join a small or private server, place your shop next to your farming zone, skip weak units, bid on higher-value lockers, sell through a clean shelf setup, and upgrade whatever slows you down.
Shop location follows your money source. In a busy public server the best plots are usually taken, while a smaller server lets you claim a plot right next to where you farm. Move your shop whenever you move zones.
| Stage | Shop location | Reason |
|---|---|---|
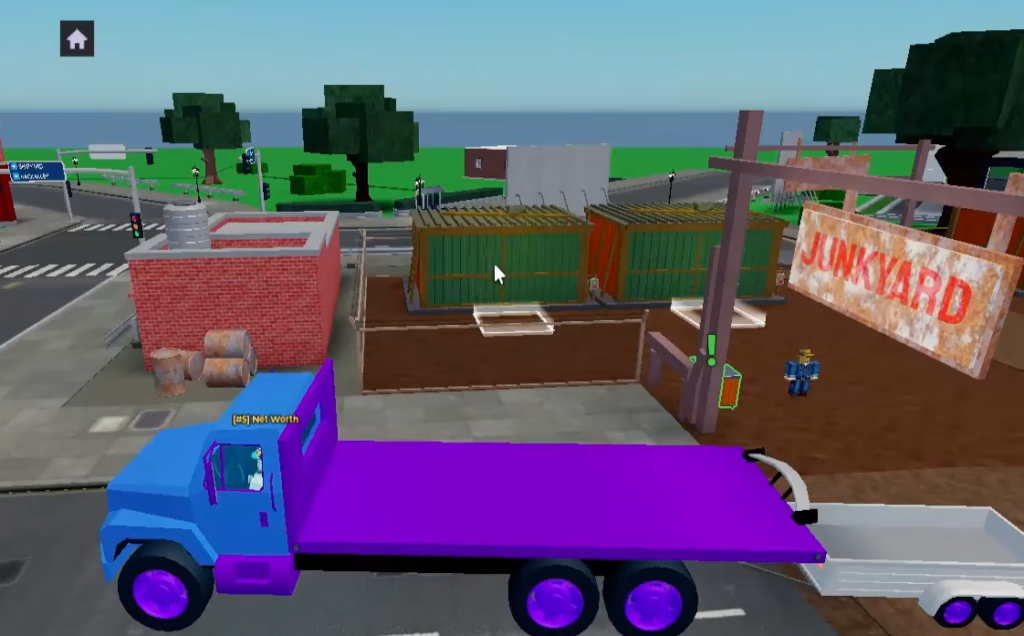
| Beginner | Near Junkyard | Fast early farming. |
| Early-mid | Near Farmyard | Better item value. |
| Mid game | Near Shipping Yard | Higher profit ceiling. |
| Advanced | Closest to your best auction zone | Maximum efficiency. |
Shelves are the next speed boost. Place them outside and keep them close together so you have a clean drop-off zone instead of a maze. Avoid spreading shelves out or blocking paths with decor, since every extra second per item adds up fast across a full inventory.
Once your shop starts filling up, use the Assistant and set Auto Accept to around 15%. That balance moves items quickly without giving away too much value. If your shelves are always full, the bottleneck is your selling system, not your storage luck.
Bid on the right lockers, not every locker
The biggest beginner trap is buying every cheap unit. Low starting prices often hide low-value junk, and filling your inventory with it wastes carrying time, shelf space, and cash flow. Watch the starting price and the visible items before you commit.
| What you see | Best move |
|---|---|
| Low start price with junk items | Skip unless value is visible. |
| Higher start price with valuable items | Bid. |
| Price climbing too high | Stop. |
| Rare item visible | Push harder. |
| Unsure about the value | Let it go. |
Do not ego-bid. A locker only pays off if you can resell its contents for more than you spent. If a unit turns out weak, grab the best pieces and move on rather than squeezing coins out of clutter. Two strong units beat five bad ones.
Early money and upgrade order
If you are new, collect Lost Items as soon as you can. They give money, Diamonds, luck boosts, and collection progress without any bidding risk, which makes them the safest early power boost. They help your account scale before you can afford strong auction wins.
Spend Diamonds on the upgrade that removes your biggest bottleneck first, then grind again.
| Priority | Upgrade | Fixes |
|---|---|---|
| 1 | Inventory Space | Carry more per trip. |
| 2 | Selling Space / Shelves | Sell more at once. |
| 3 | Assistant Upgrades | Less manual selling. |
| 4 | Price Tags | Better shop flow. |
| 5 | Luck Boosts | Better item quality. |
| 6 | Decor Bonuses | Useful after the basics. |
If you keep running back and forth, upgrade Inventory Space. If shelves are always full, upgrade Selling Space. If selling feels slow, improve the Assistant and pricing. Luck helps you find better accessories and better units, but it works best once your setup is already efficient. Aim to build the loop where more money funds better upgrades, better upgrades win better auctions, and better auctions raise your net worth.

Common mistakes that waste good accessories
The most costly habit is selling low-value accessories too fast. A cheap item with a strong modifier can beat an expensive one with weak or negative rolls. Chasing the best-looking cosmetic or the highest cash value alone ignores the stats that actually save time.
Do not ignore negative modifiers either. If an accessory cuts a stat you rely on, it can make bidding, travel, or selling worse even with one good bonus attached. Avoid wearing a single loadout for everything, since bidding, farming, and selling each need a different setup. And keep Storage Hunters systems separate from unrelated Roblox games that use their own currencies and gear rules.
Do not stay in Junkyard forever. When you profit easily and your inventory fills too fast, your setup can handle higher bids and the better items in the next zone. Move your shop with you each time, keep inspecting every accessory, and the farming and money loops feed each other from there.