
Topic
Mortal Shell 2
-
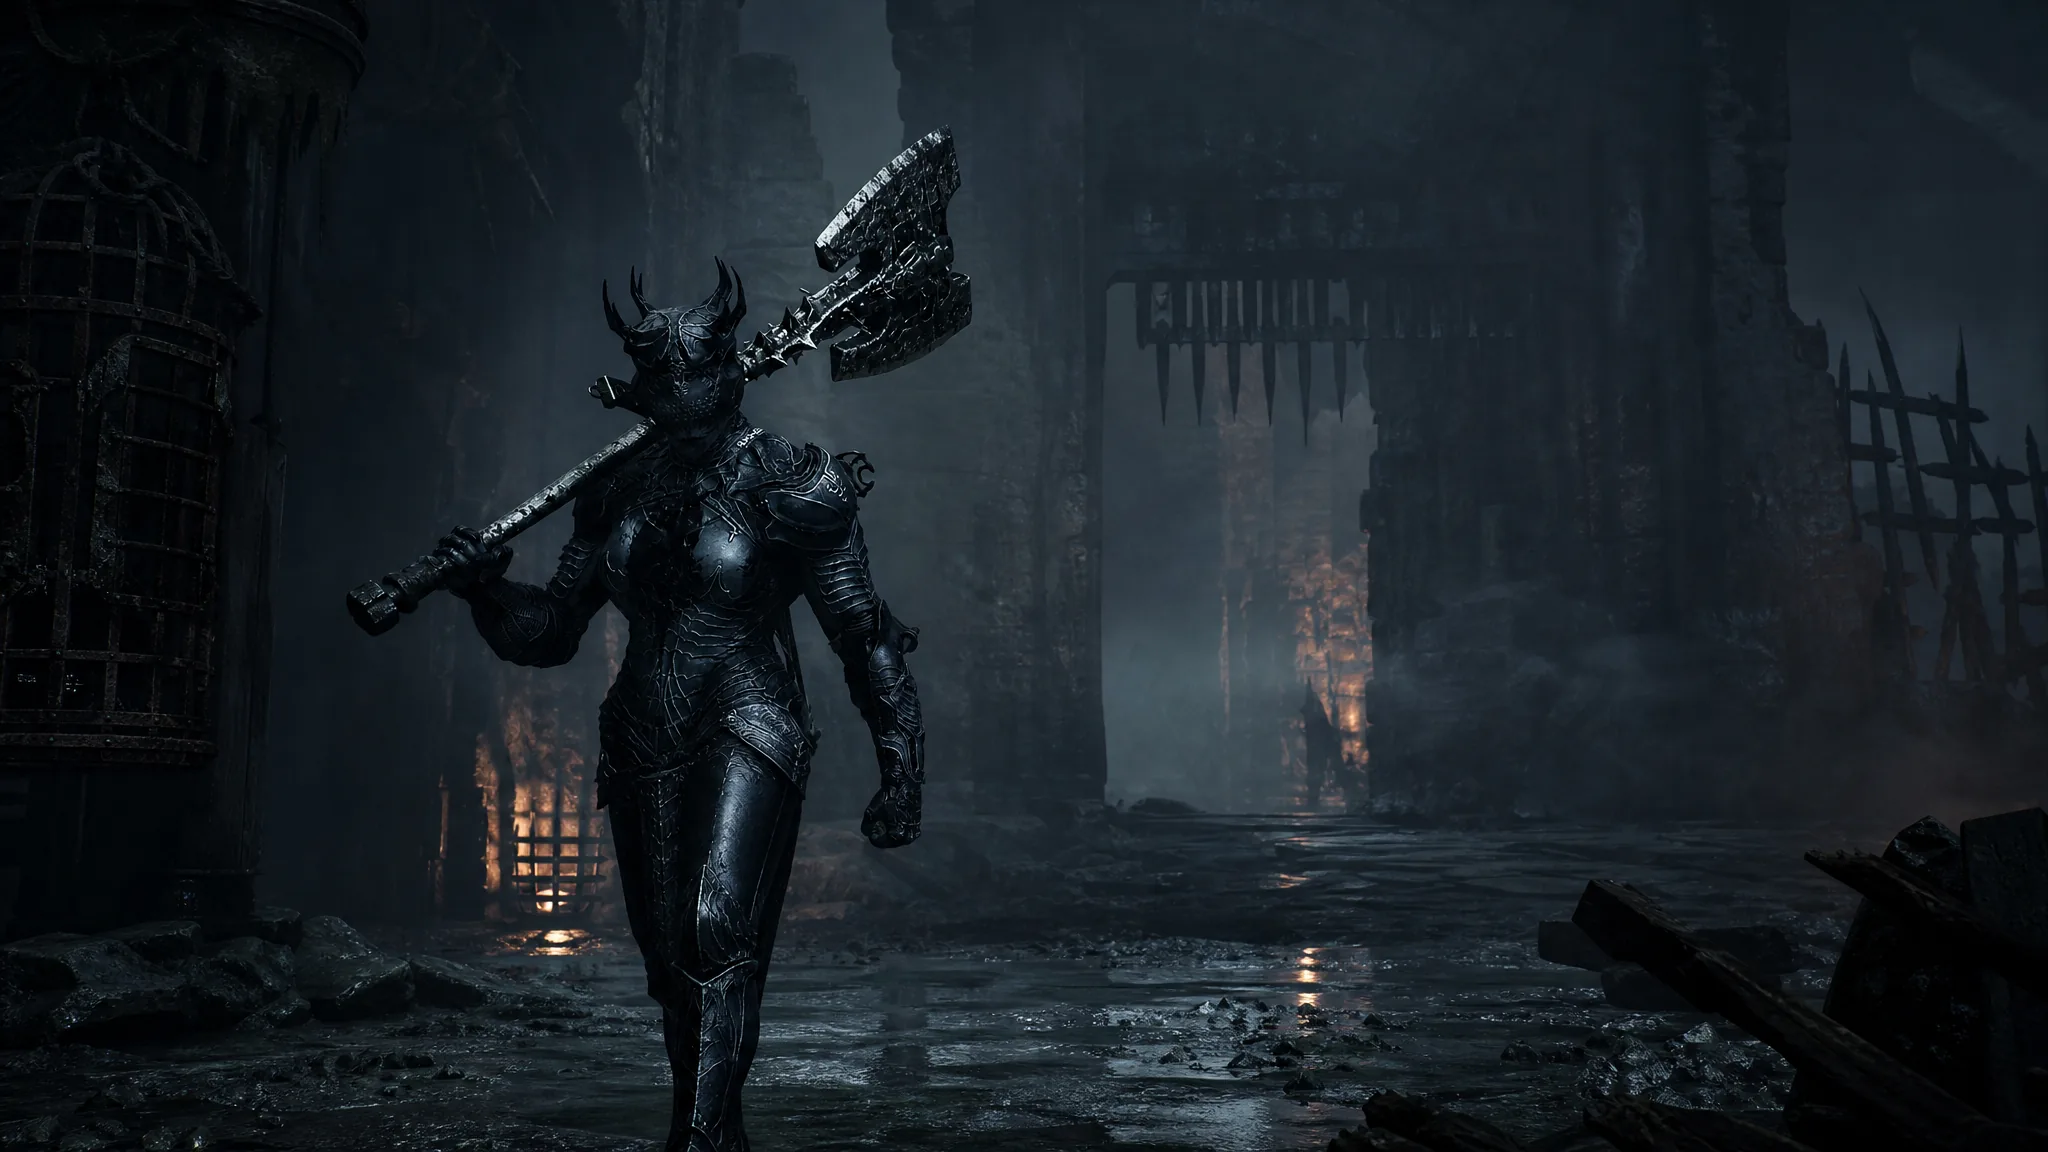
Prisoner’s Way Walkthrough in Mortal Shell 2
The boxed wall teleports you into the swamp. A crossbow shot opens the locked gate.
-
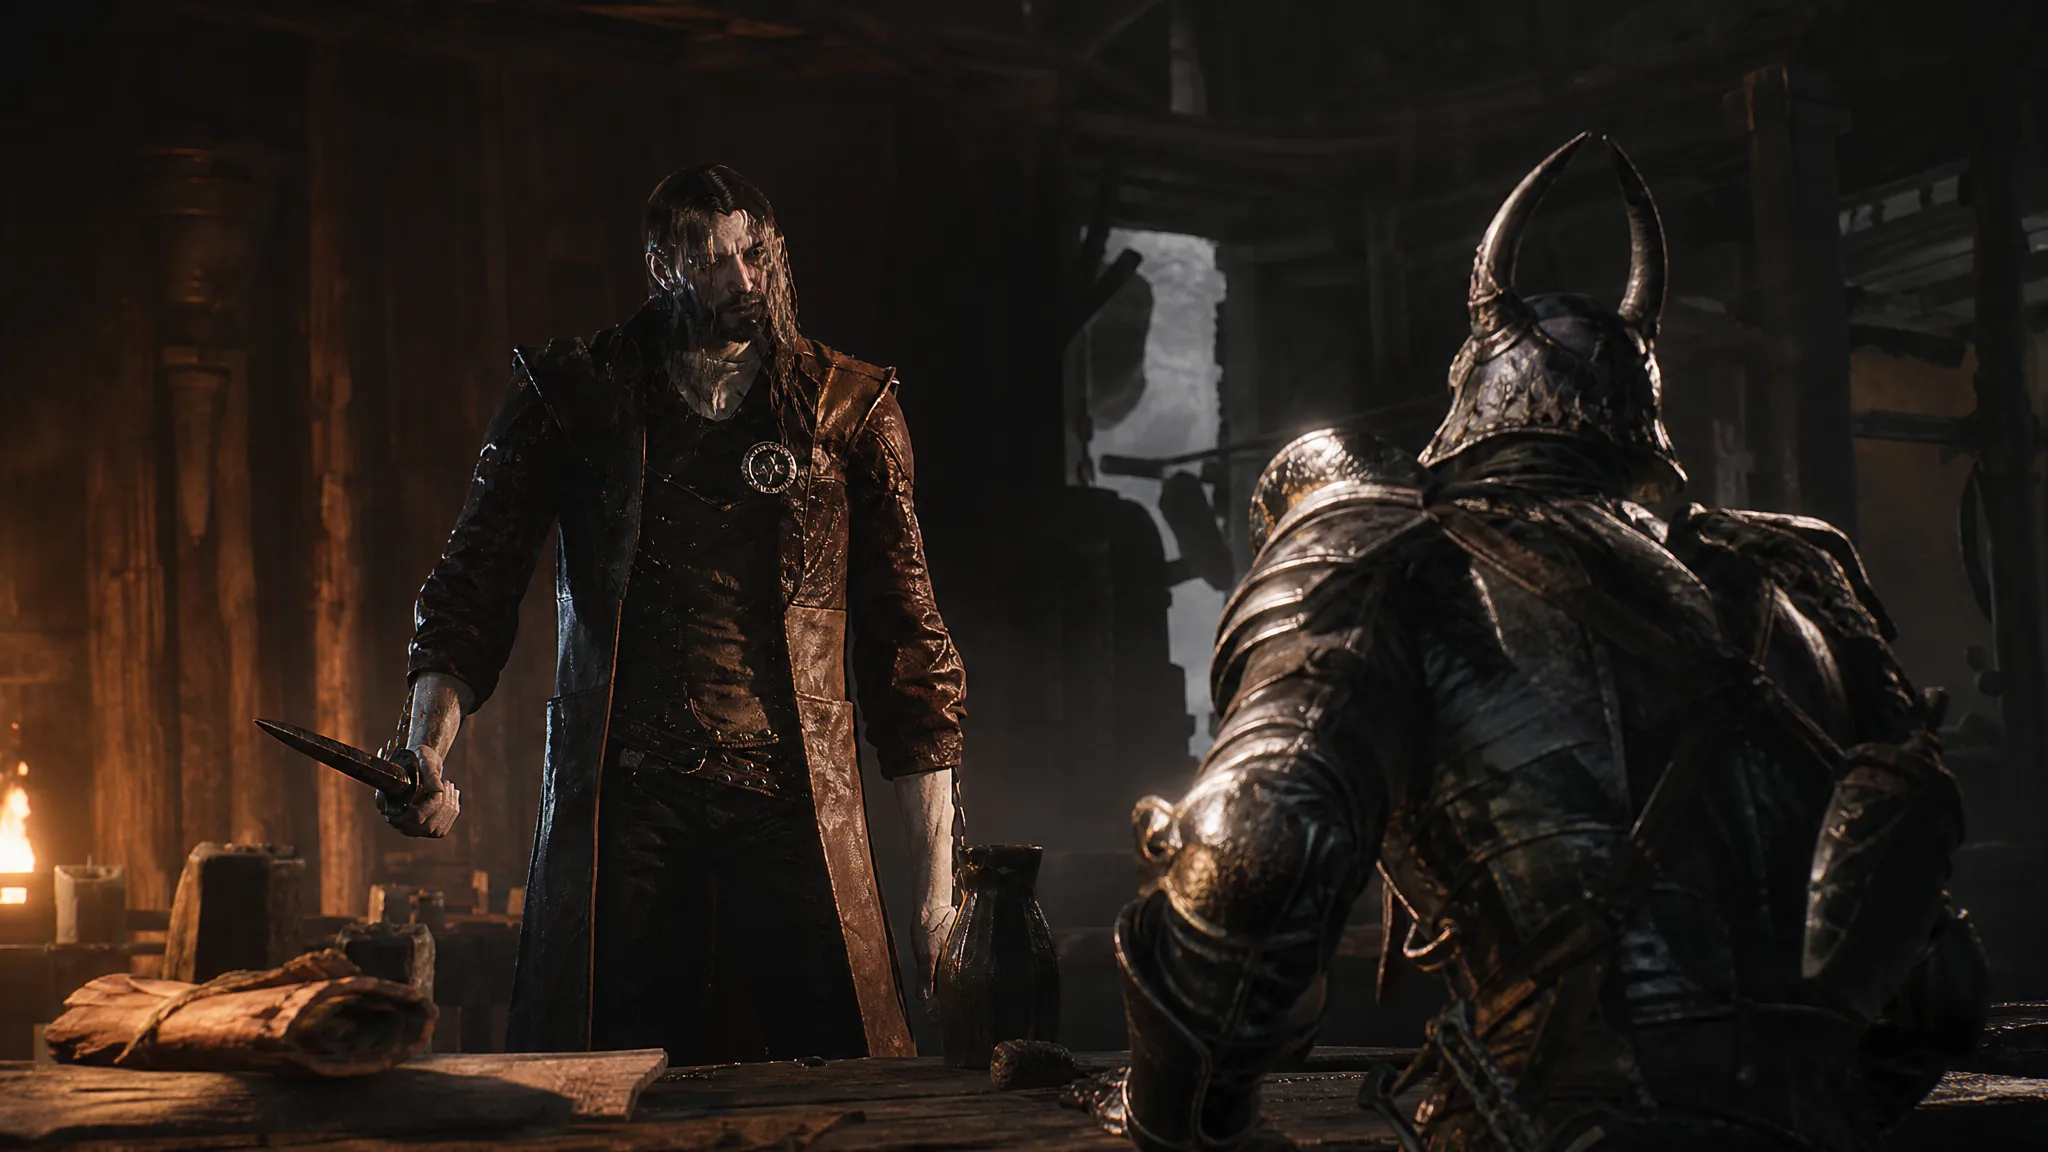
Mortal Shell 2 Merrick Dialogue After Finding Proxima
Speak to Merrick after taking Proxima’s shell, then again after the Hexapod dies.
-
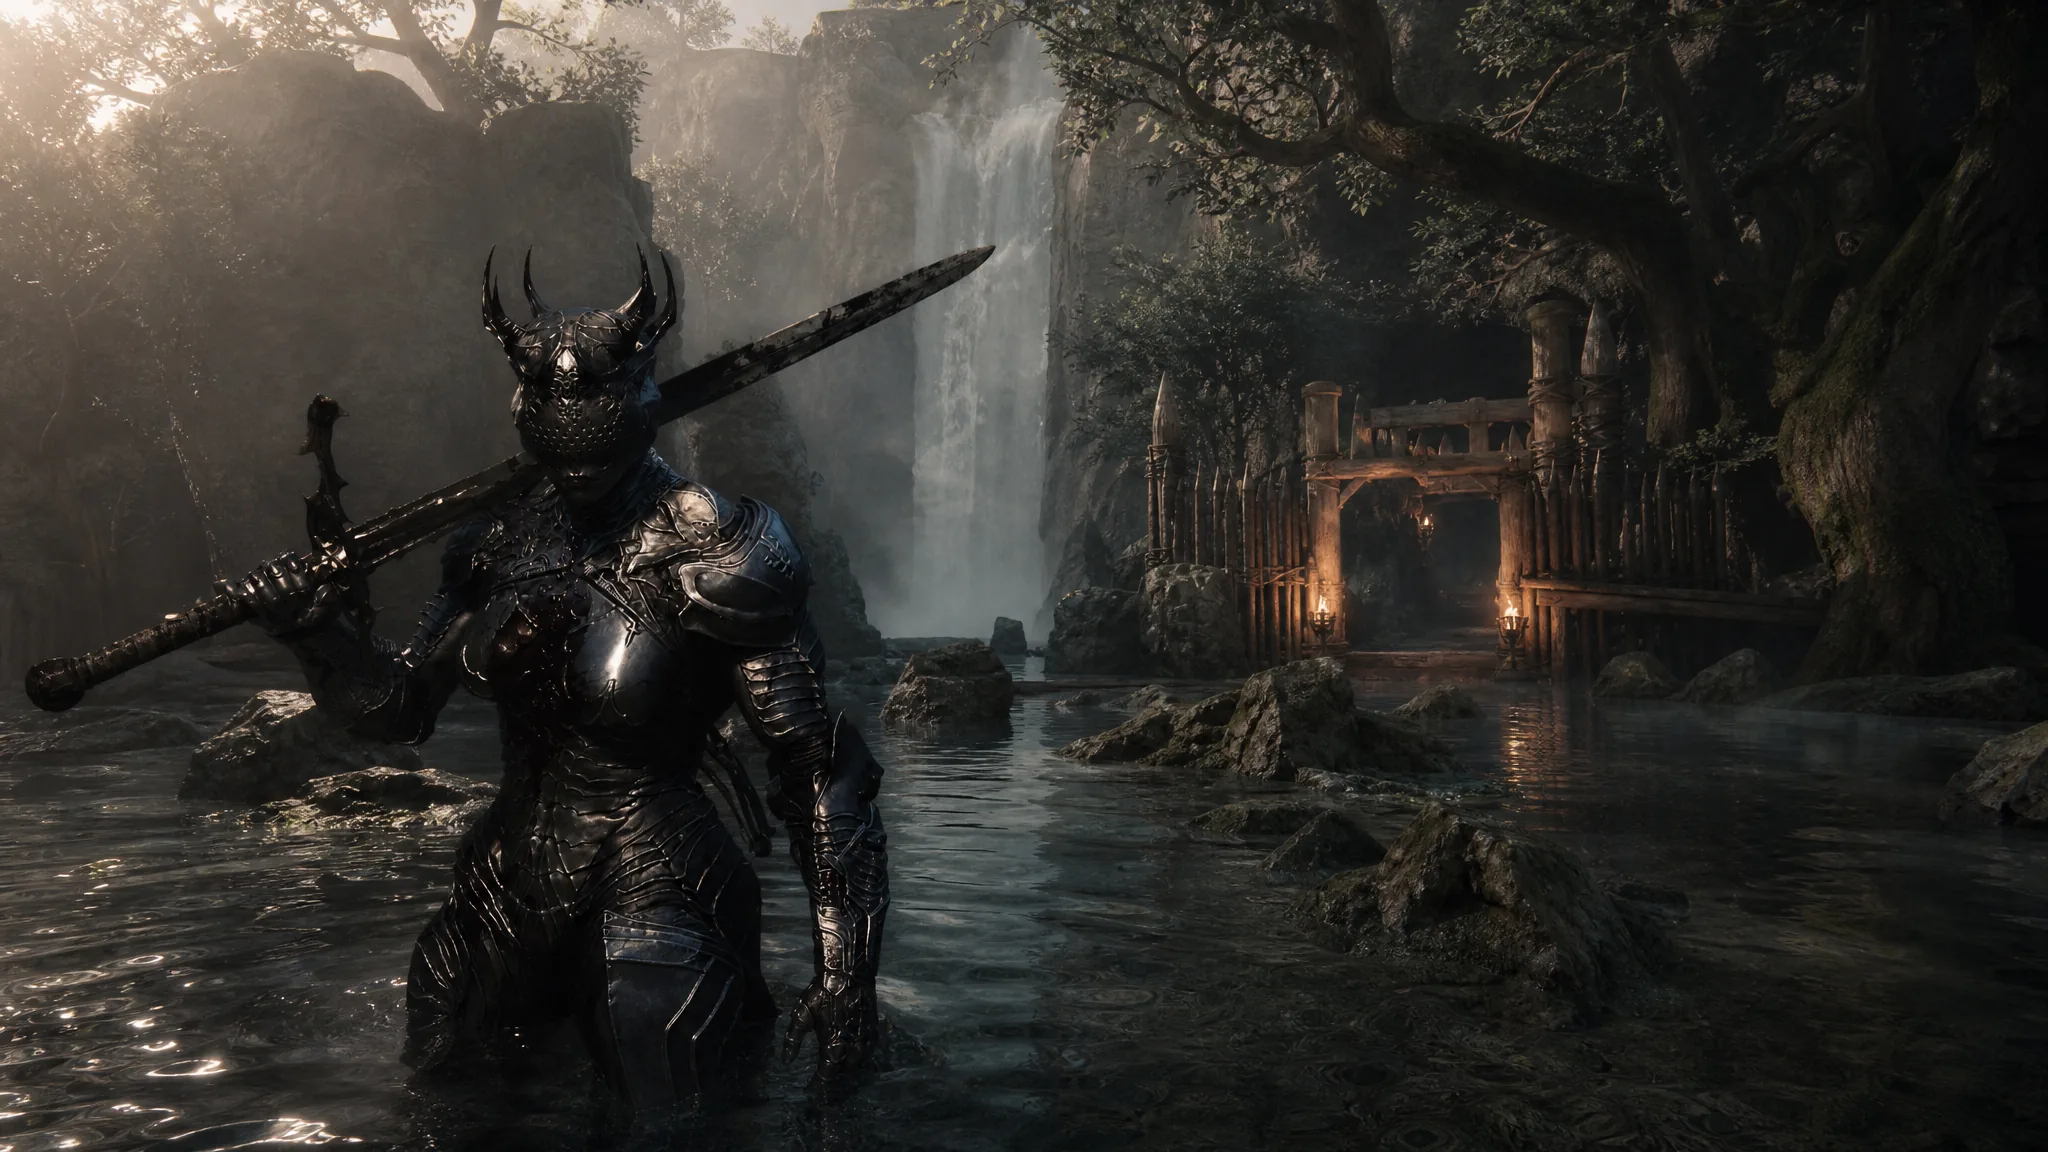
Mortal Shell 2: Waterfall Camp Dungeon Location and Guide
Open the hidden hut on Prophet’s Rest and take the Coin of Maman from the sarcophagus.
-
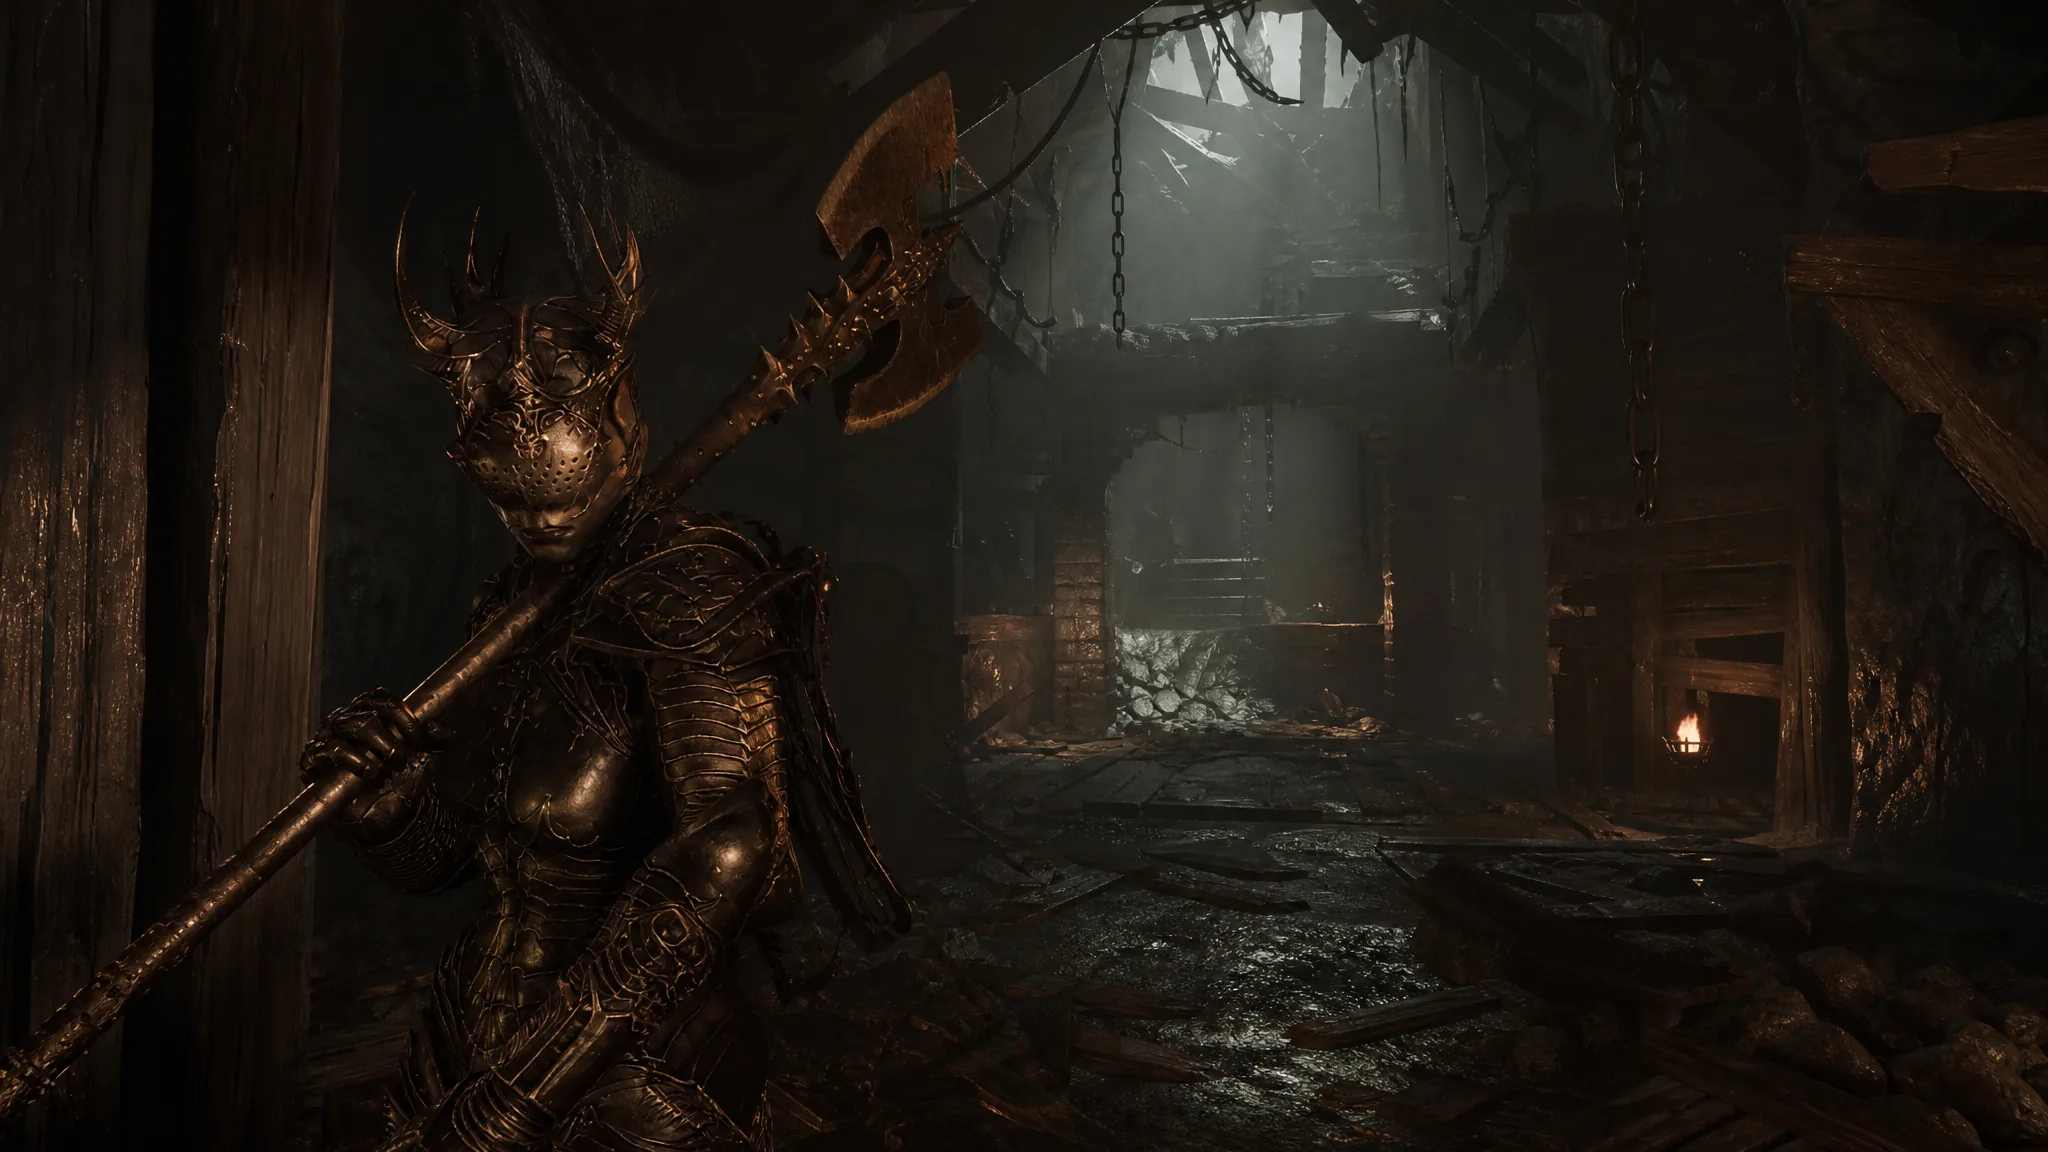
Mortal Shell 2: Crumbling Tunnel Dungeon Location
The cave is east of the Shattered Beacon and northeast of the Blackridge Pass beacon.
-
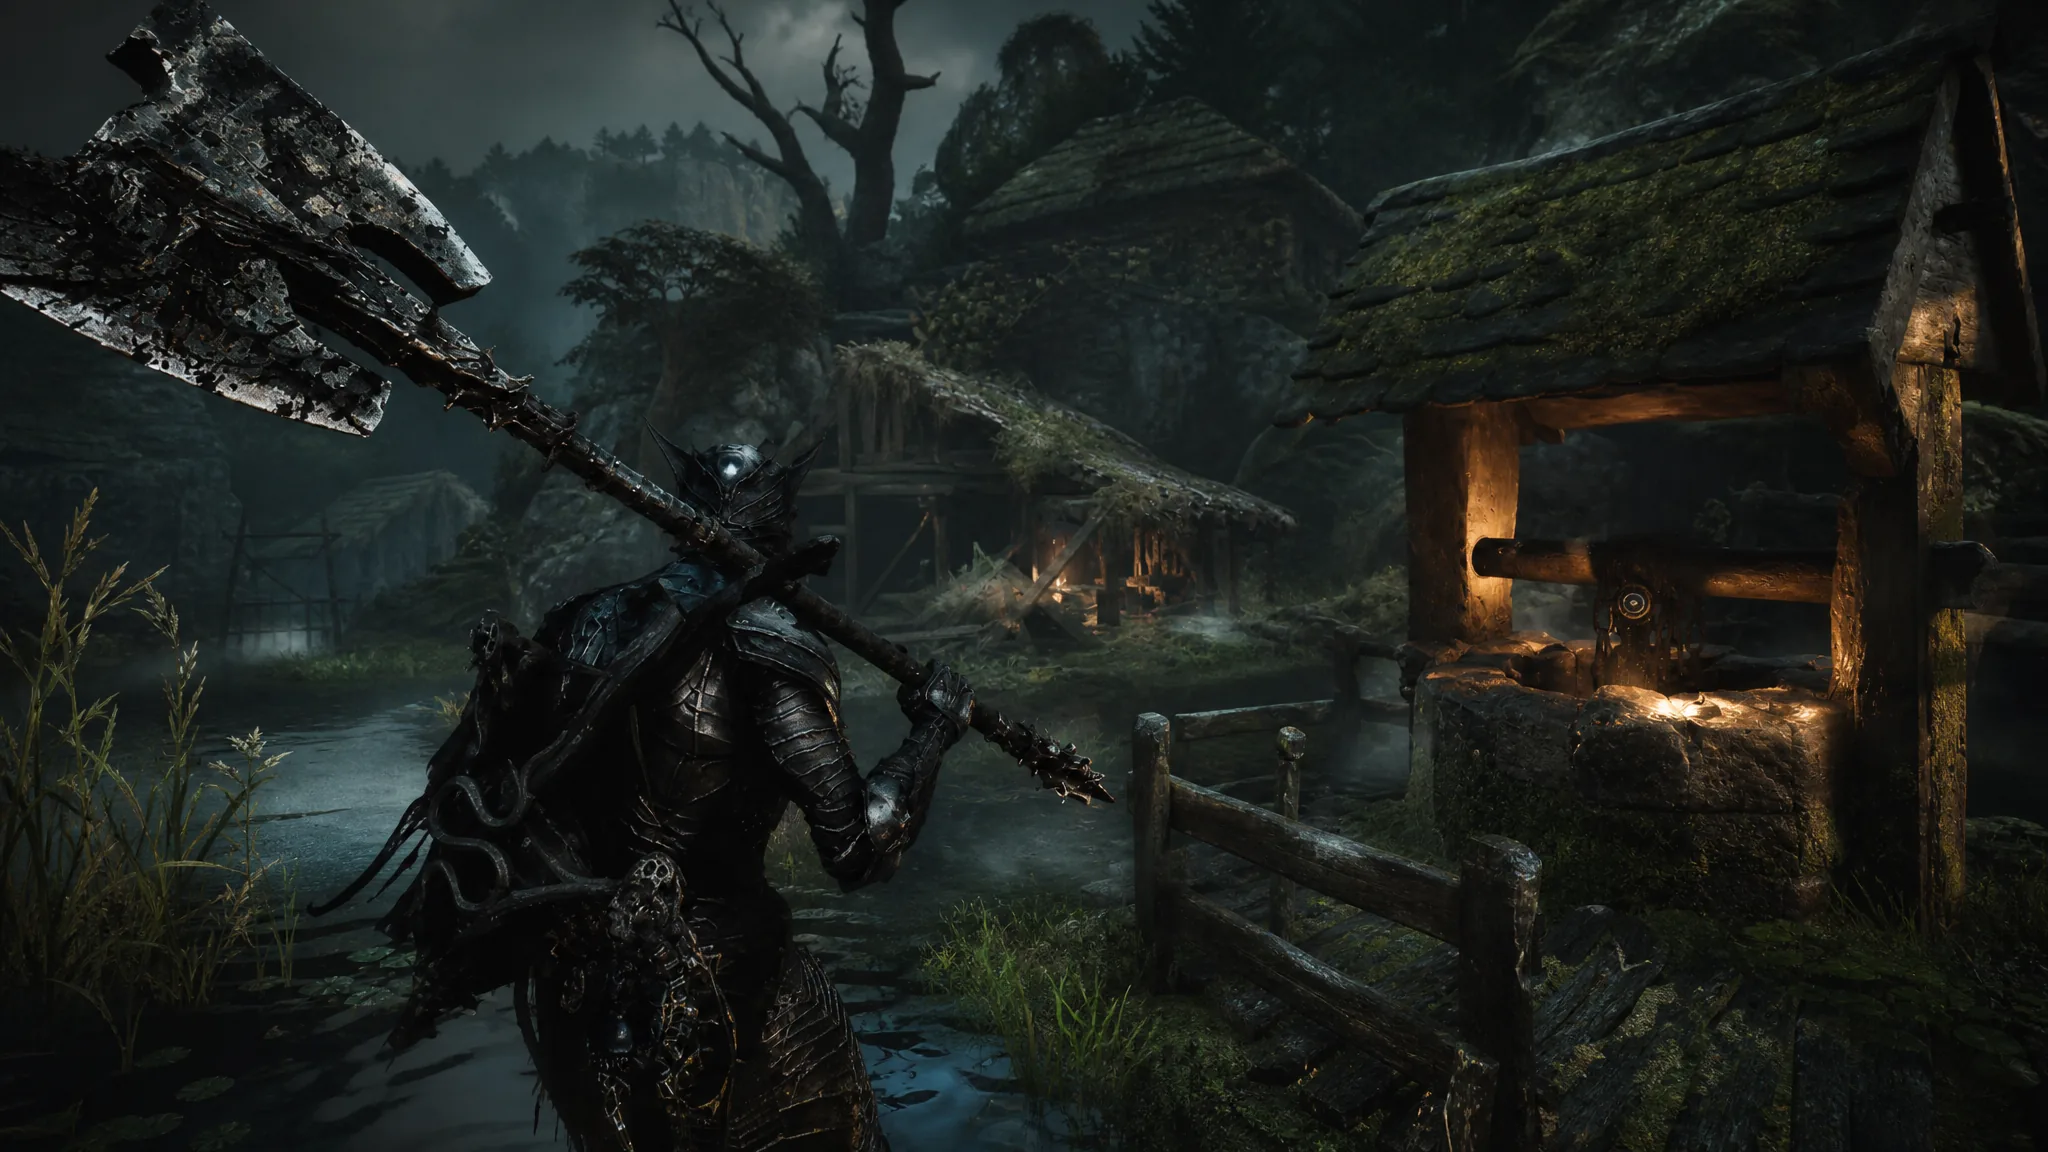
Mortal Shell 2: Holding Cells Dungeon Location
Both well entrances that drop you into the Holding Cells, and how to reach each one.
-
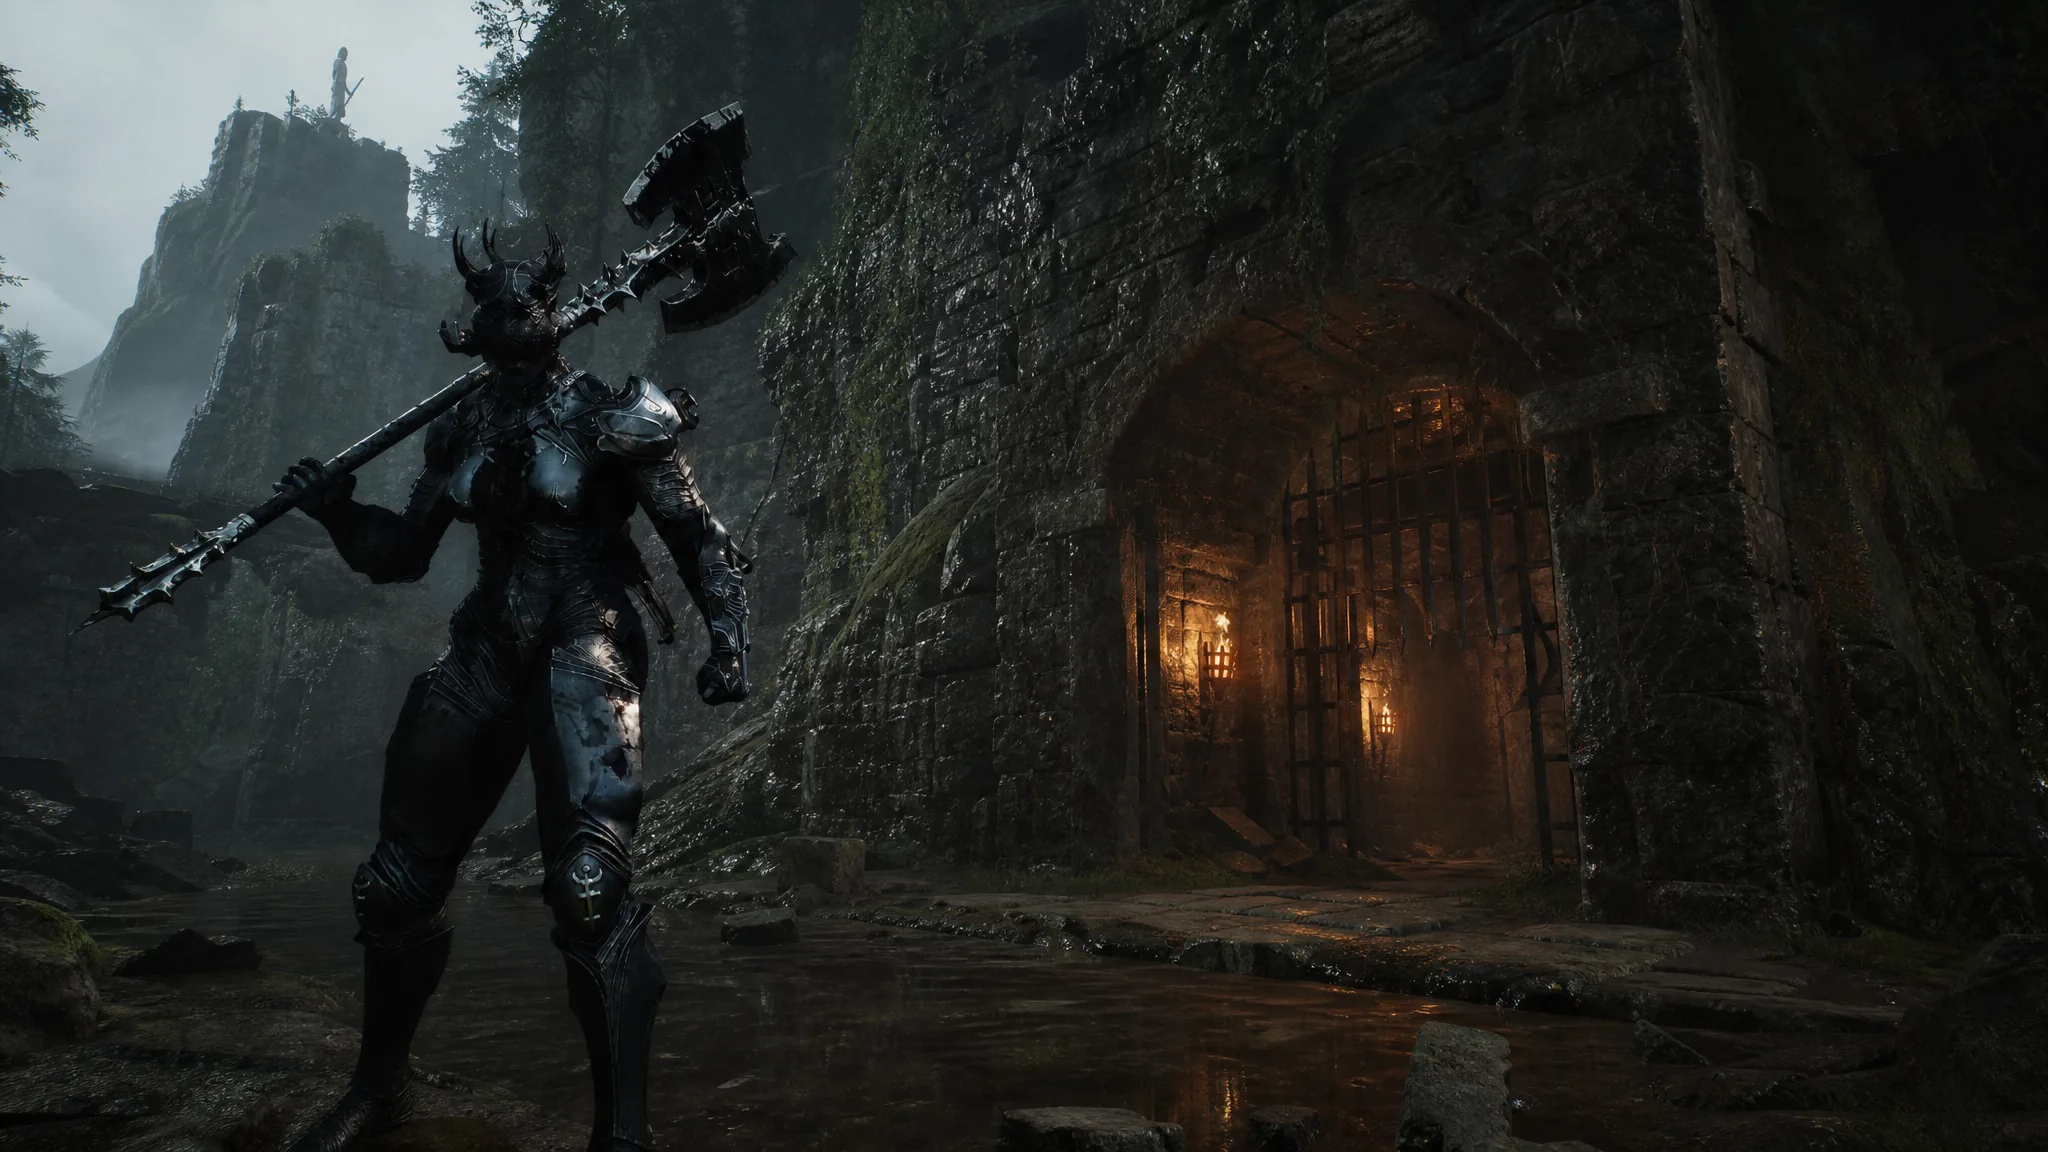
Mortal Shell 2: Holding Cells Guide and Feeding Room Key Location
Pick up the Feeding Room Key in a lower hut, then open the locked gate to the boss lift.
-
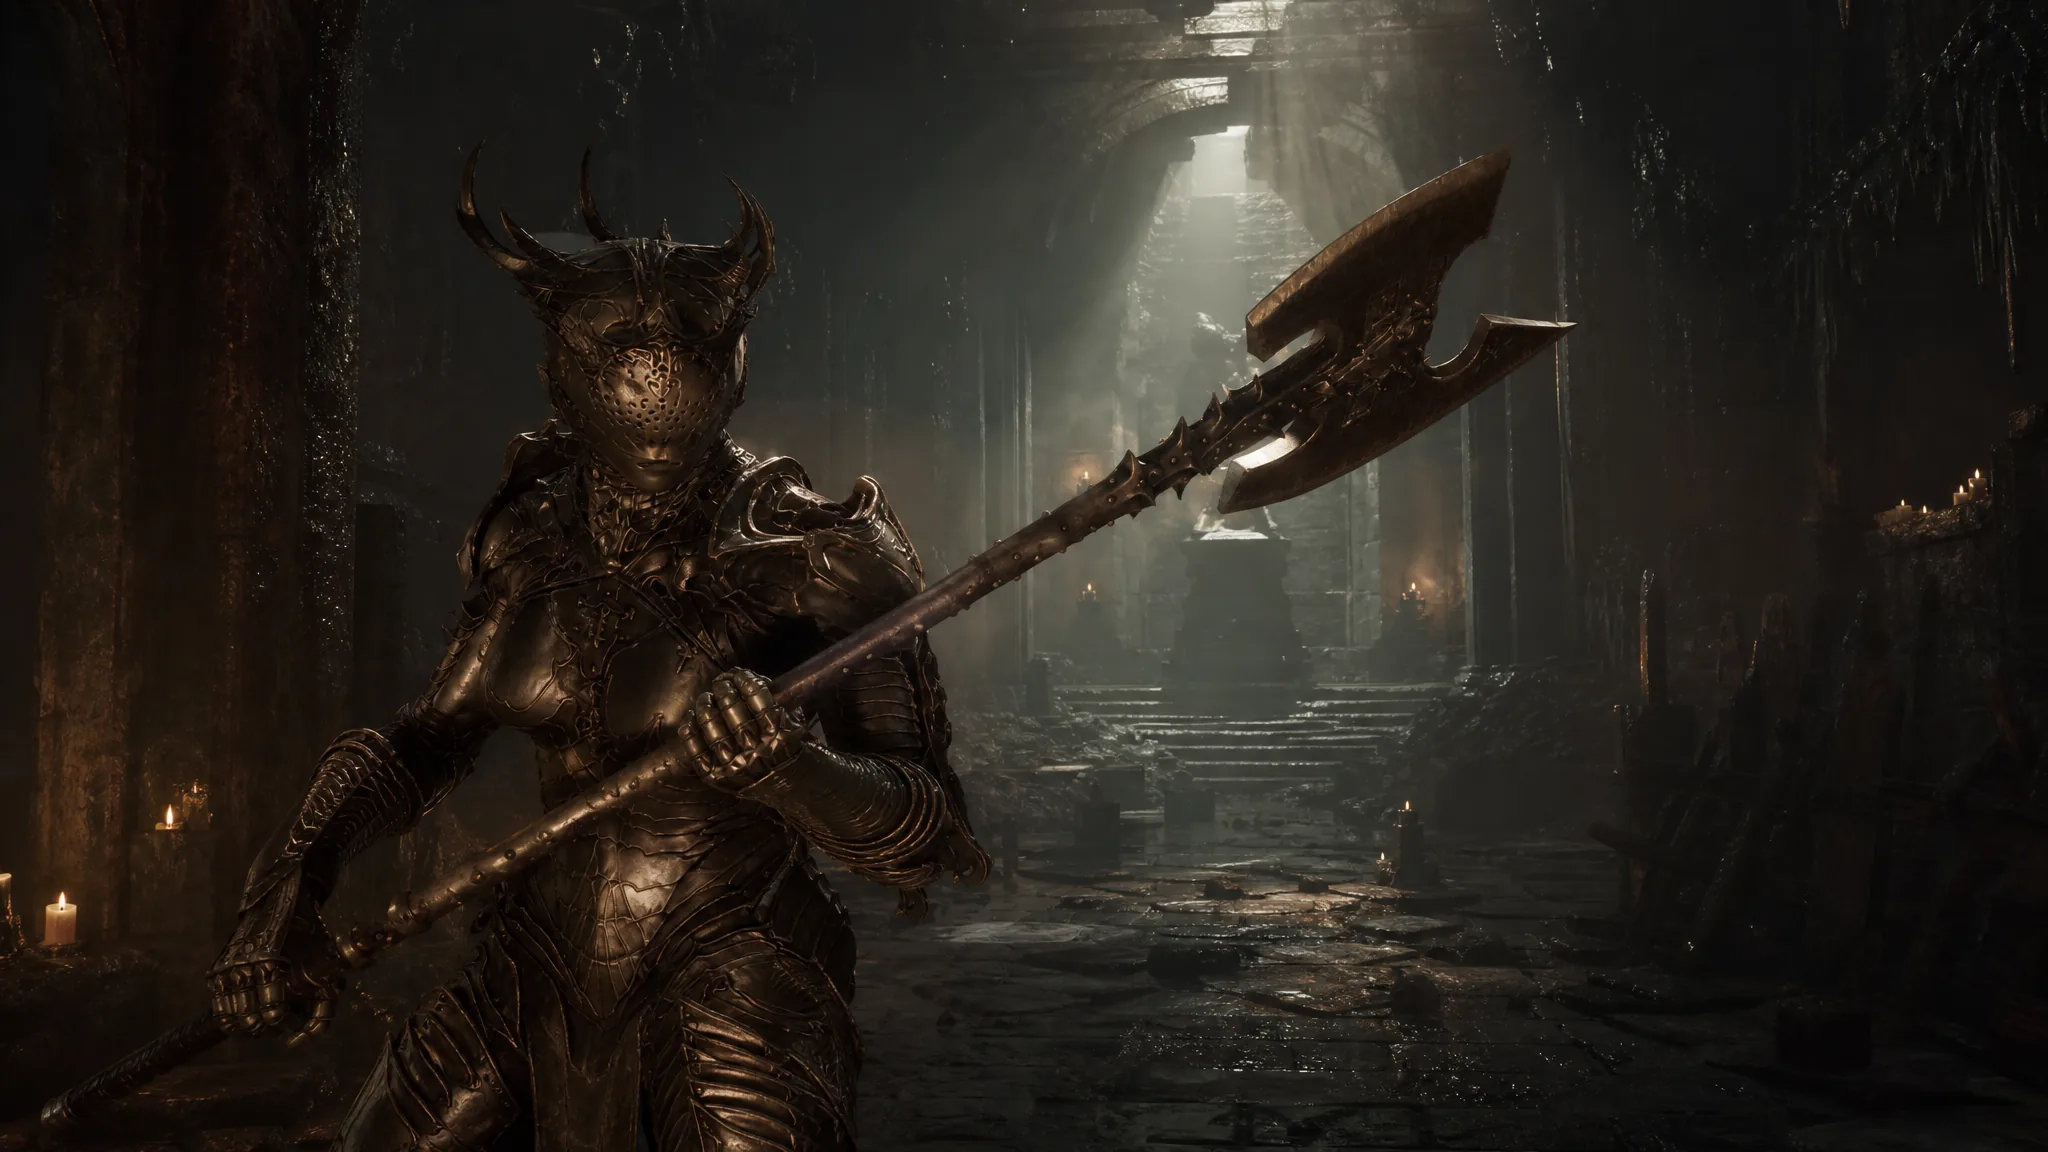
Mortal Shell 2: How to Unlock Feeding Grounds
Strike three marked gravestones in Stones of Remembrance, then clear the dungeon for the Myriad Stone.
-
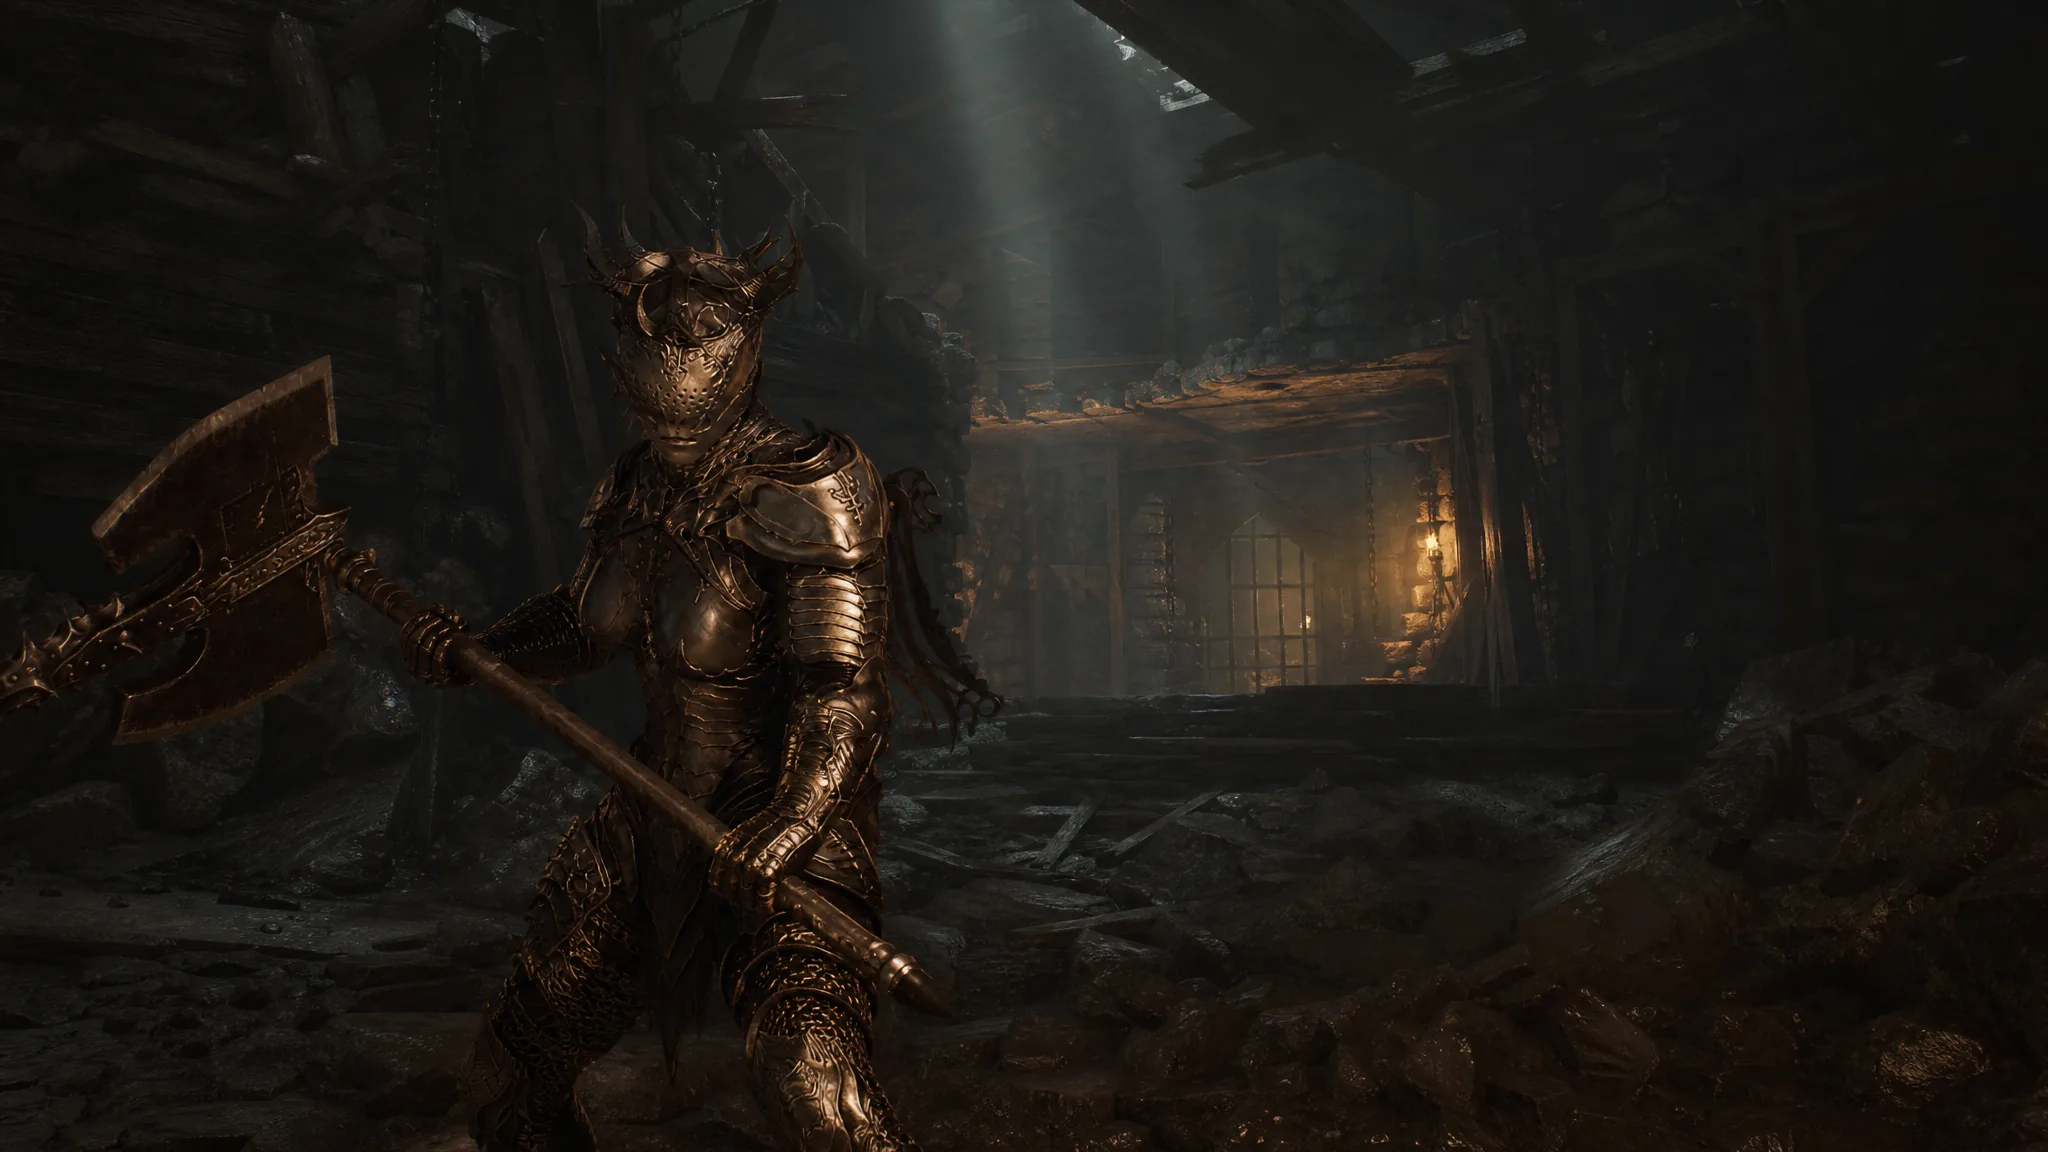
Mortal Shell 2: Crumbling Tunnel Dungeon Walkthrough
Take the Triarch Repeater Map near Proxima and get out before the cave seals.
-
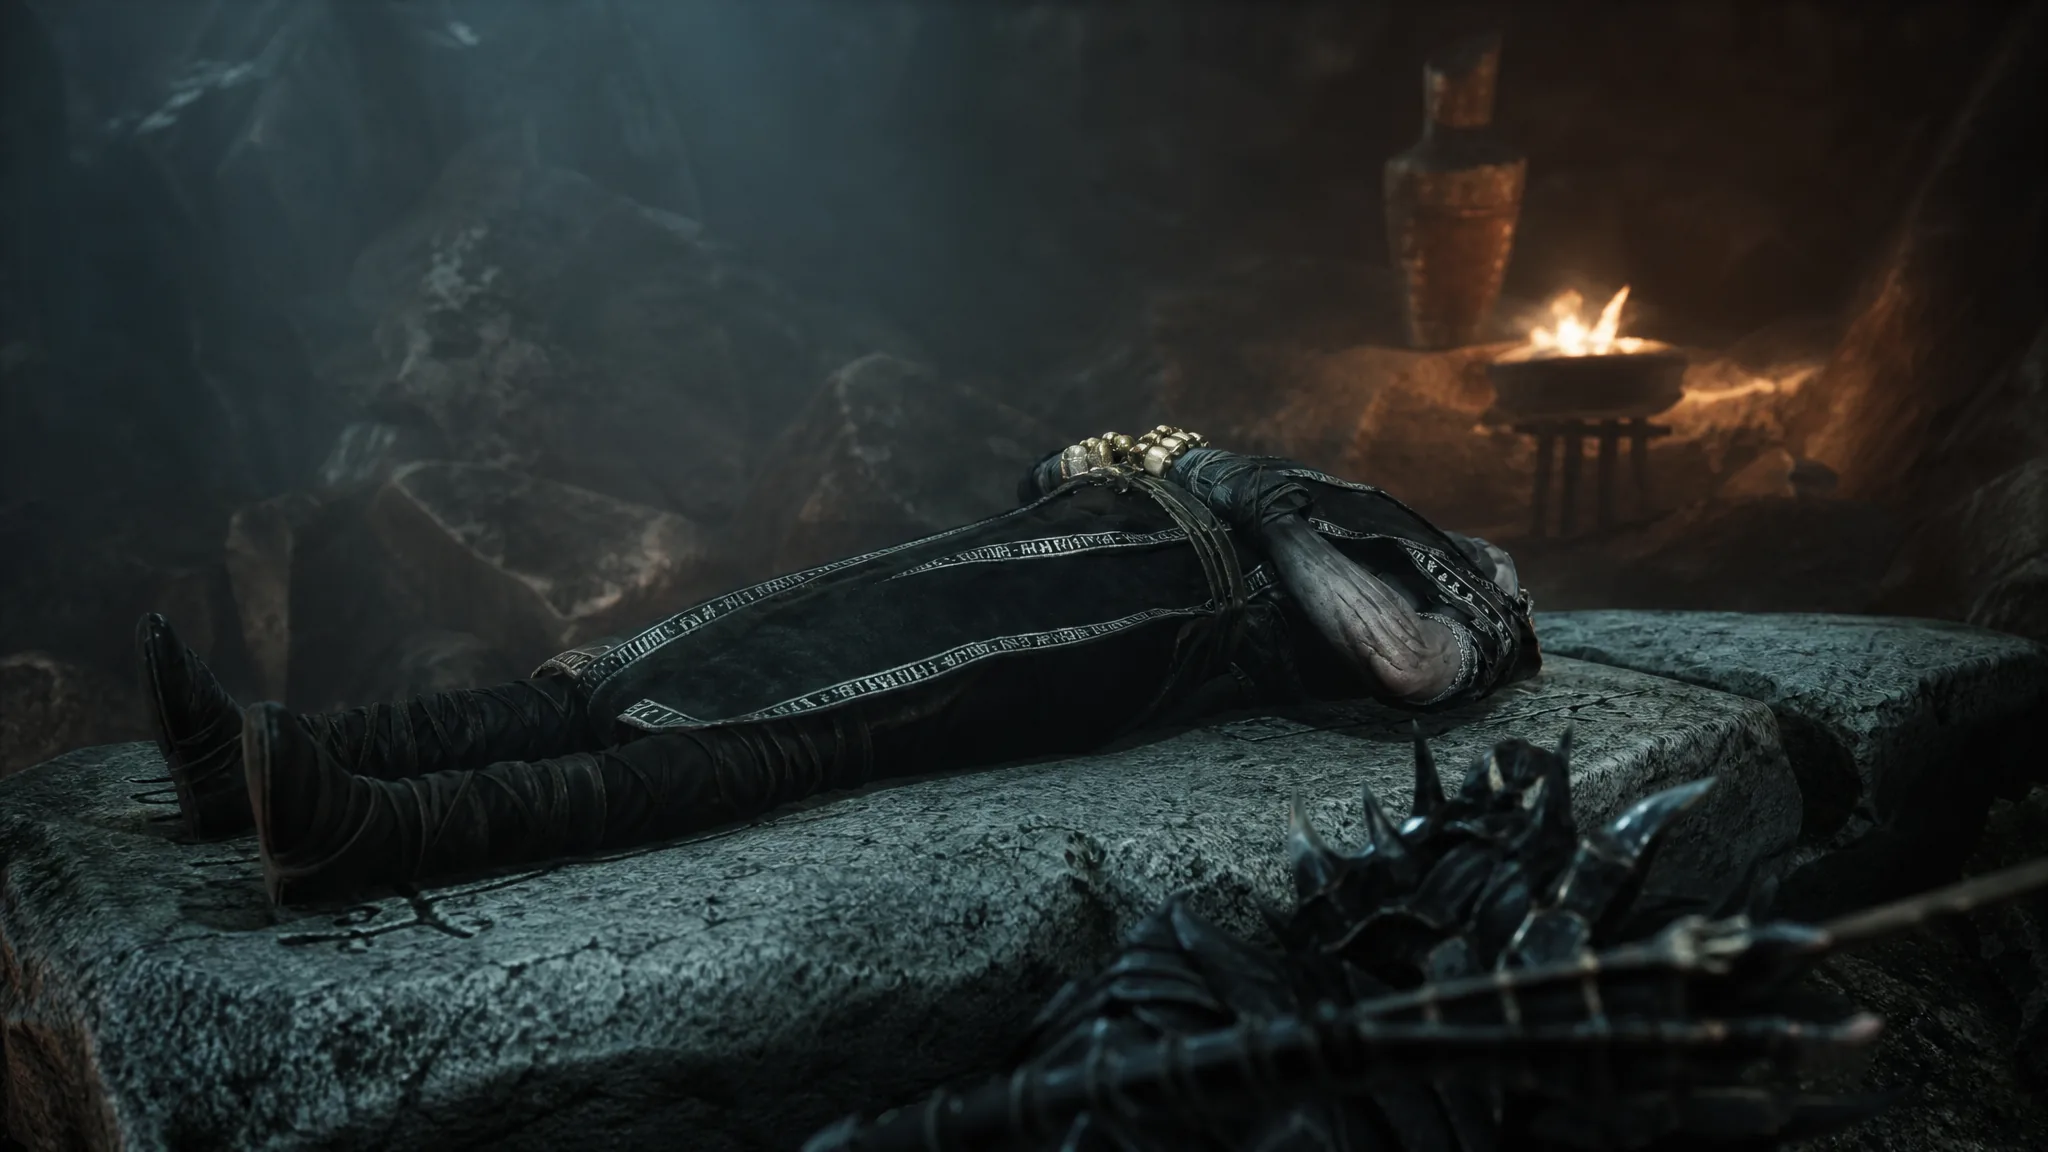
Mortal Shell 2: Smert First Memory Playthrough and Cutscene
Finish the Prophet’s Rest blood offerings, then survive Smert’s first memory to claim the shell.
-
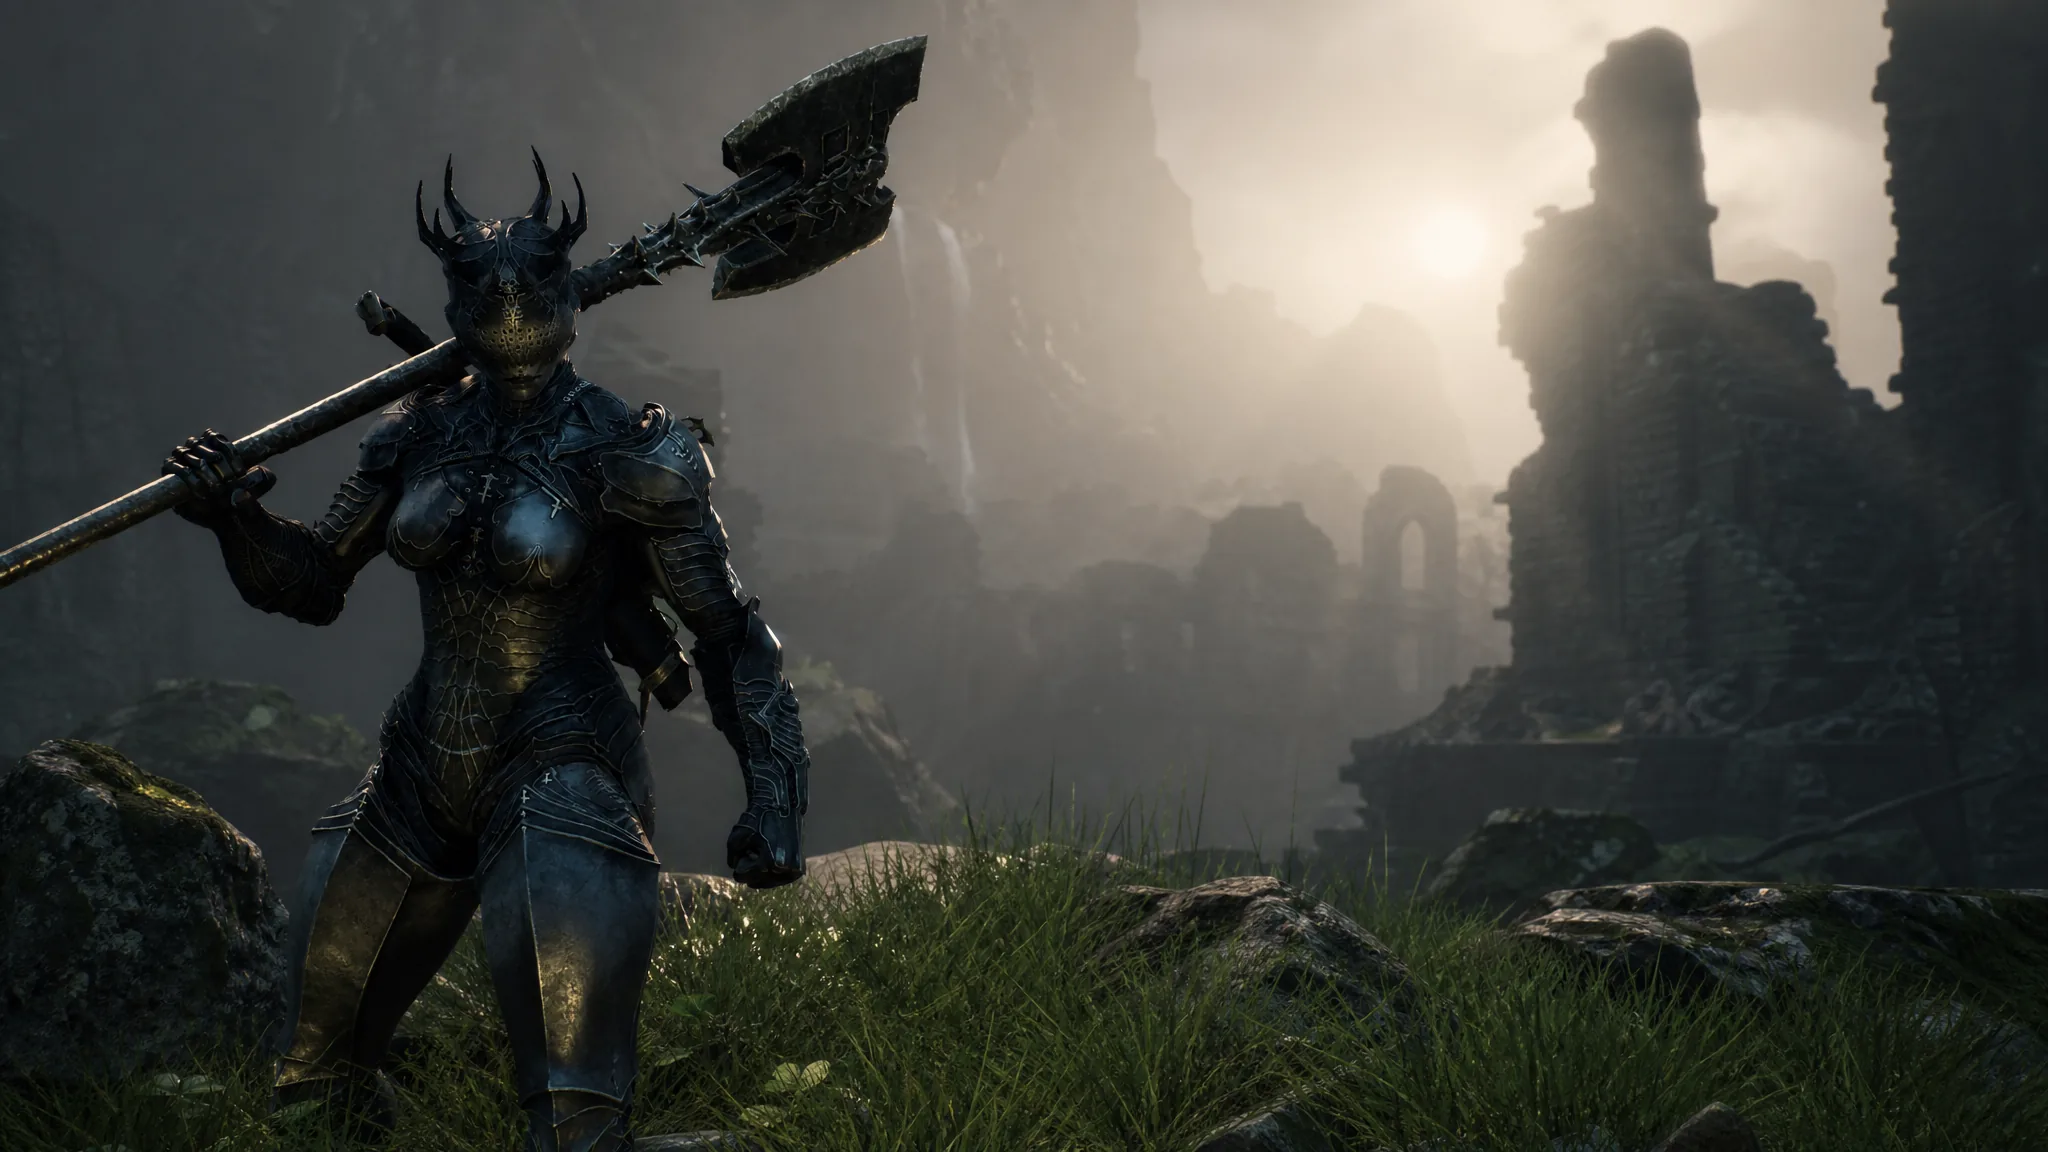
Mortal Shell 2: Illusionist’s Cache Dungeon Location
A cliff teleporter south of the Citadel of Penance drops you at the Desolate Peak entrance.