
Topic
Mortal Shell 2
-
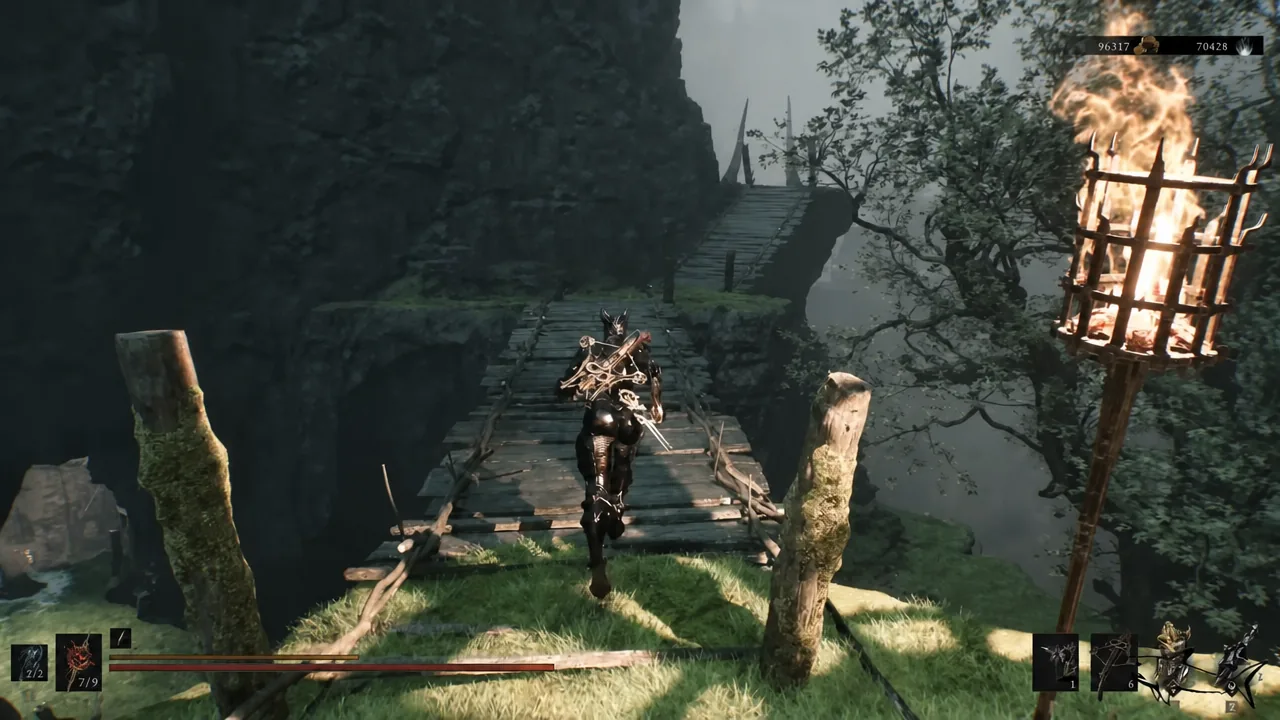
Mortal Shell 2: Lazlo Shell Location and Full Unlock Route
The exact path from Outskirts of Mammon to the Royal Crypt, the Vellen fight, and how to confirm the Shell is yours.
-
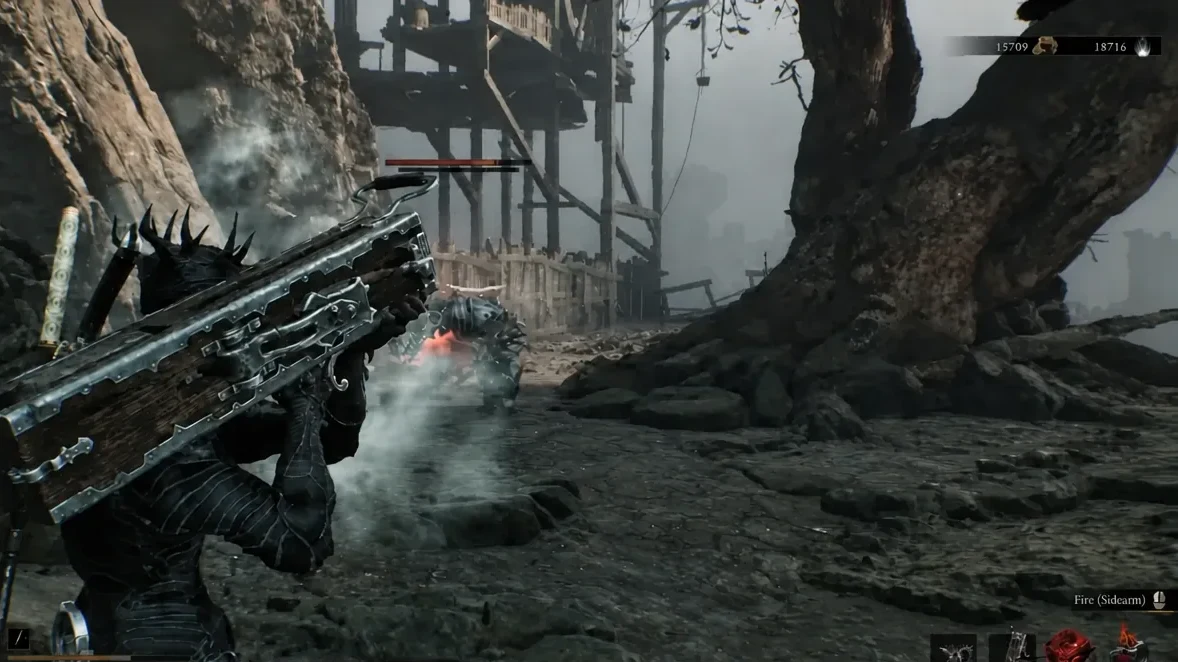
Mortal Shell 2: How to Get the Ballistazooka in Sentry’s Grave
The beacon route from the Outskirts of Mammon down into Sentry’s Grave, and the mini-boss that drops this heavy sidearm.
-
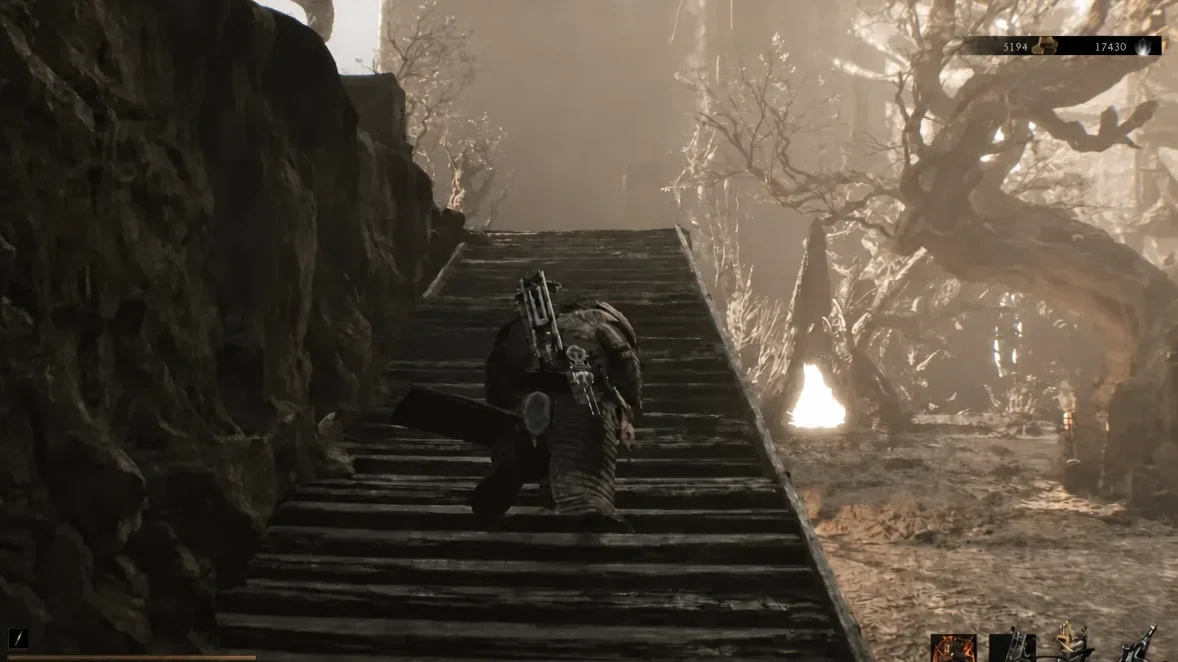
Mortal Shell 2: How to Get the Infested Stone Tarstone
The sticky bomb Tarstone for the Ballistazooka is sold by a merchant who only shows up after you summon the night.
-
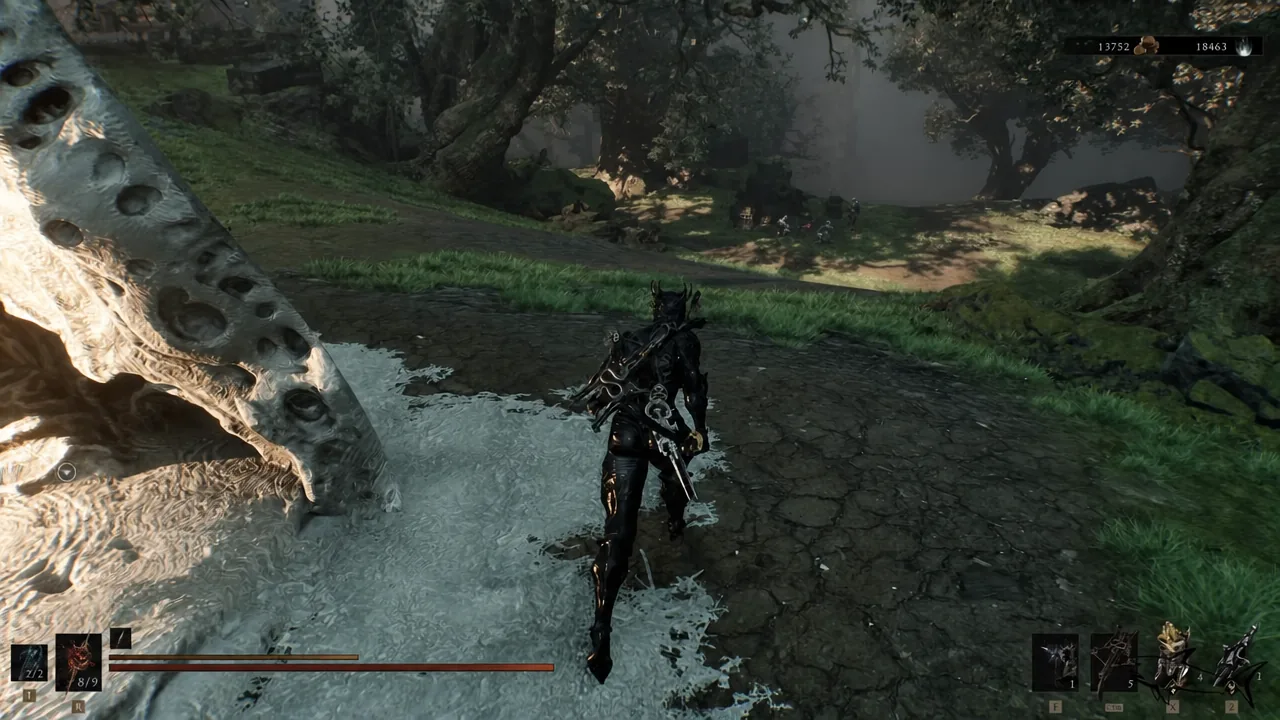
Mortal Shell 2: Besieged Ruins Location and Full Walkthrough
The exact route to the dungeon east of High Lord’s Courtyard, every chest inside, and how to claim the Zealot’s Stone.
-
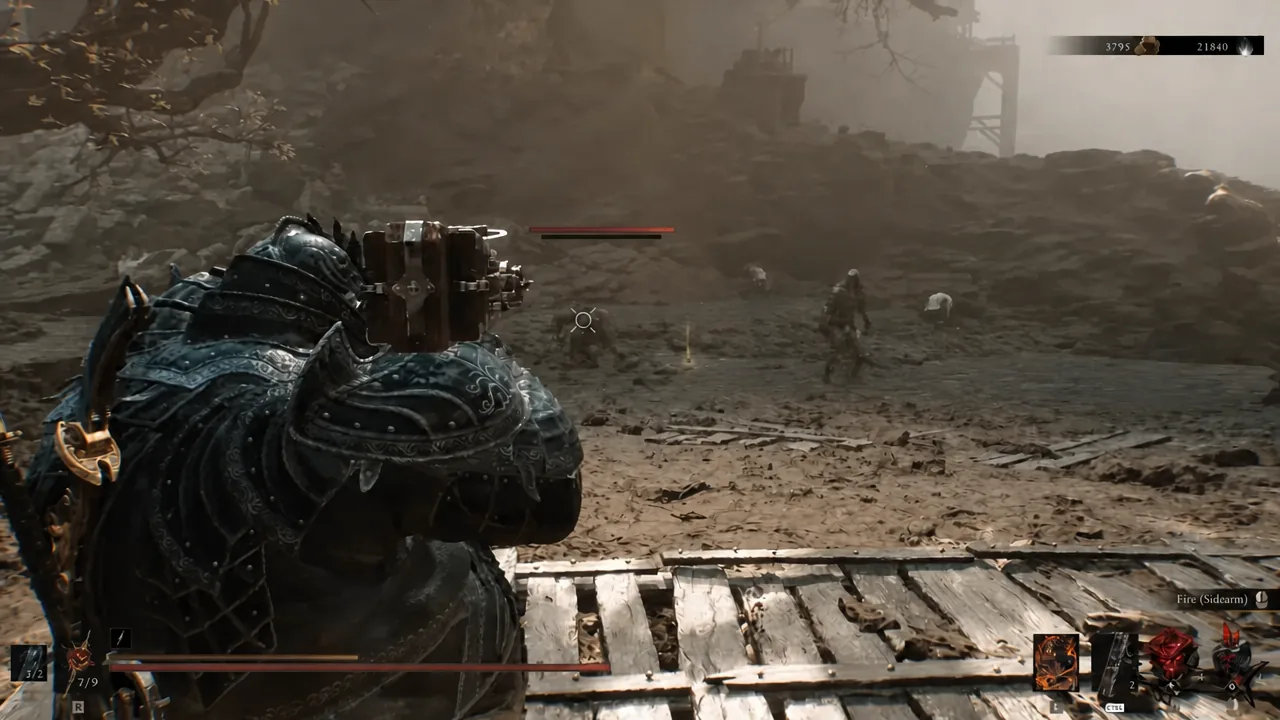
Mortal Shell 2: Weeping Stone Location and Trauma Sidearm Infusion
Where to buy the Weeping Stone for 1,500 Coin at night, and how to upgrade its Trauma infusion.
-
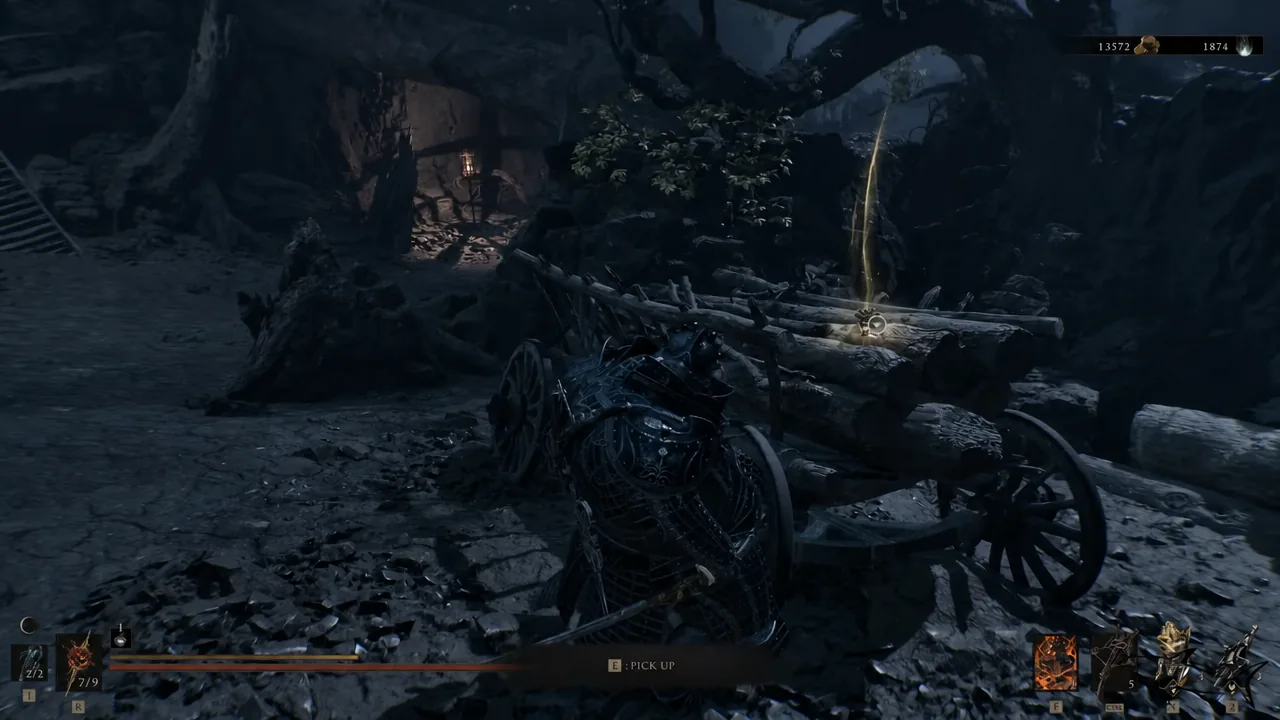
Mortal Shell 2: Fulminant Stone Location (Night Mode Tarstone)
The Collector only stocks this Ballistazooka Tarstone at night, near the Abandoned Outpost beacon in the Deserted Slums.
-
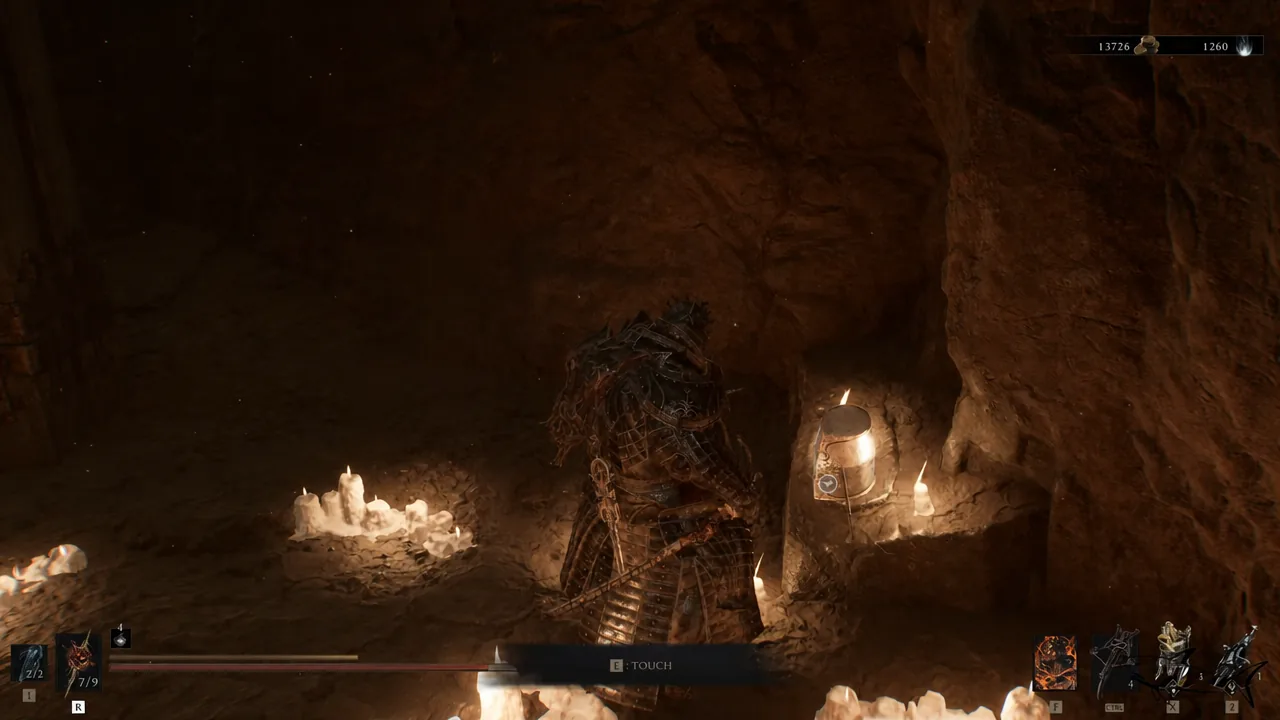
Mortal Shell 2: Zealot’s Stone Location and Light Combo Finisher
The exact route from Outskirts of Mammon to the Besieged Ruins, plus the stone’s Resolve numbers and upgrade path.
-
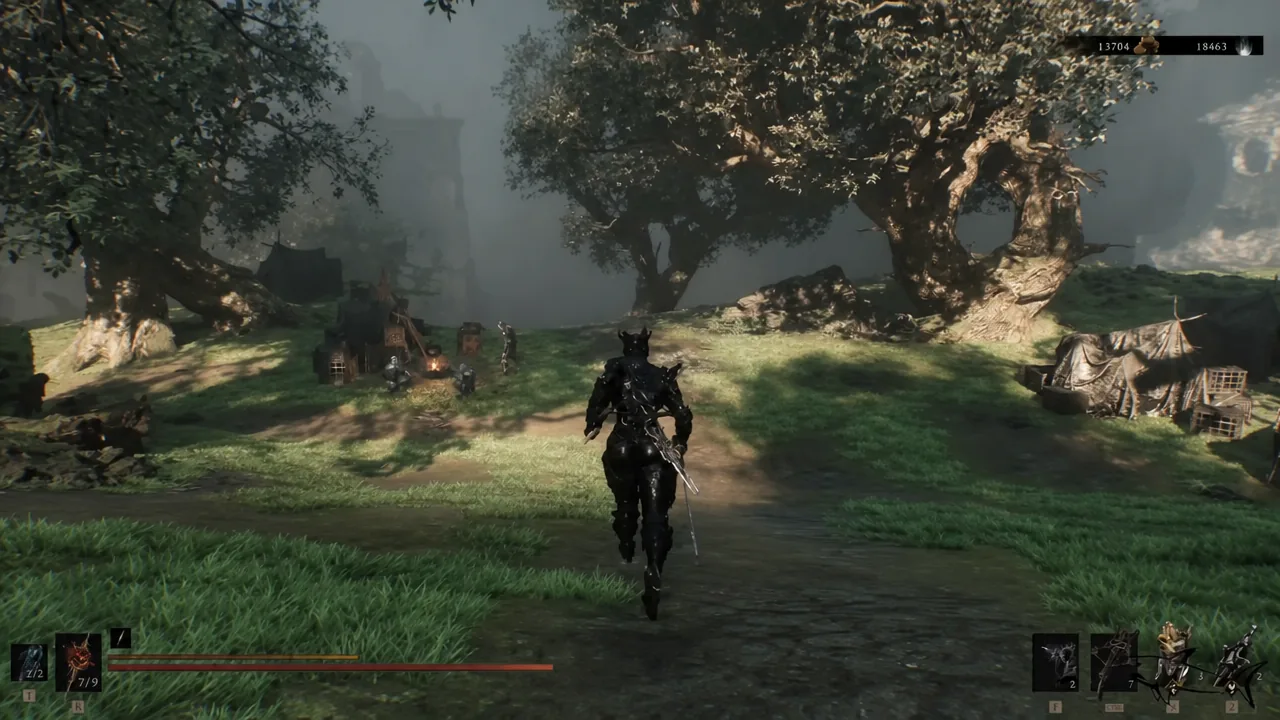
Mortal Shell 2: Spoiled Mortuary Location and 100% Walkthrough
Every enemy, chest, and hidden room inside the Ruins of Mammon dungeon, plus the fastest beacon route to its entrance.
-
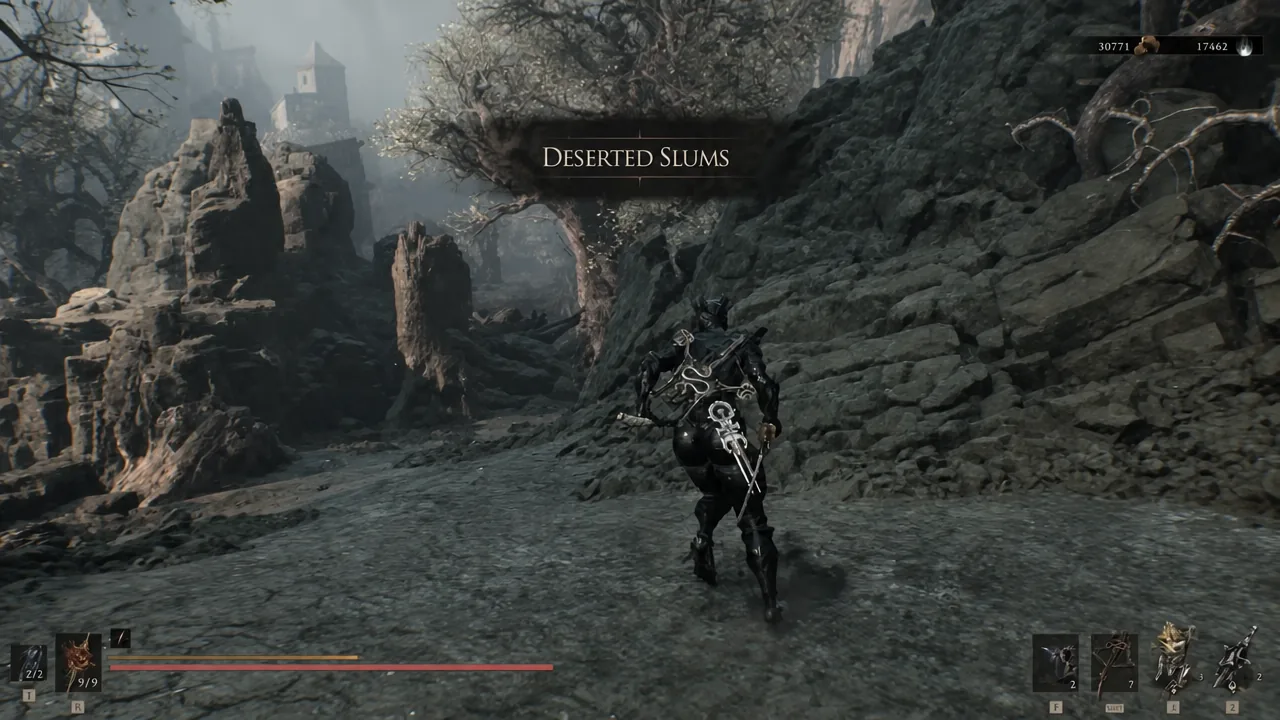
Mortal Shell 2: Splitting Stone Location and Multi-Shot Effect
The Splitting Stone sits in a chest at the Lonesome Spire, just east of the Gate of Mammon beacon.
-
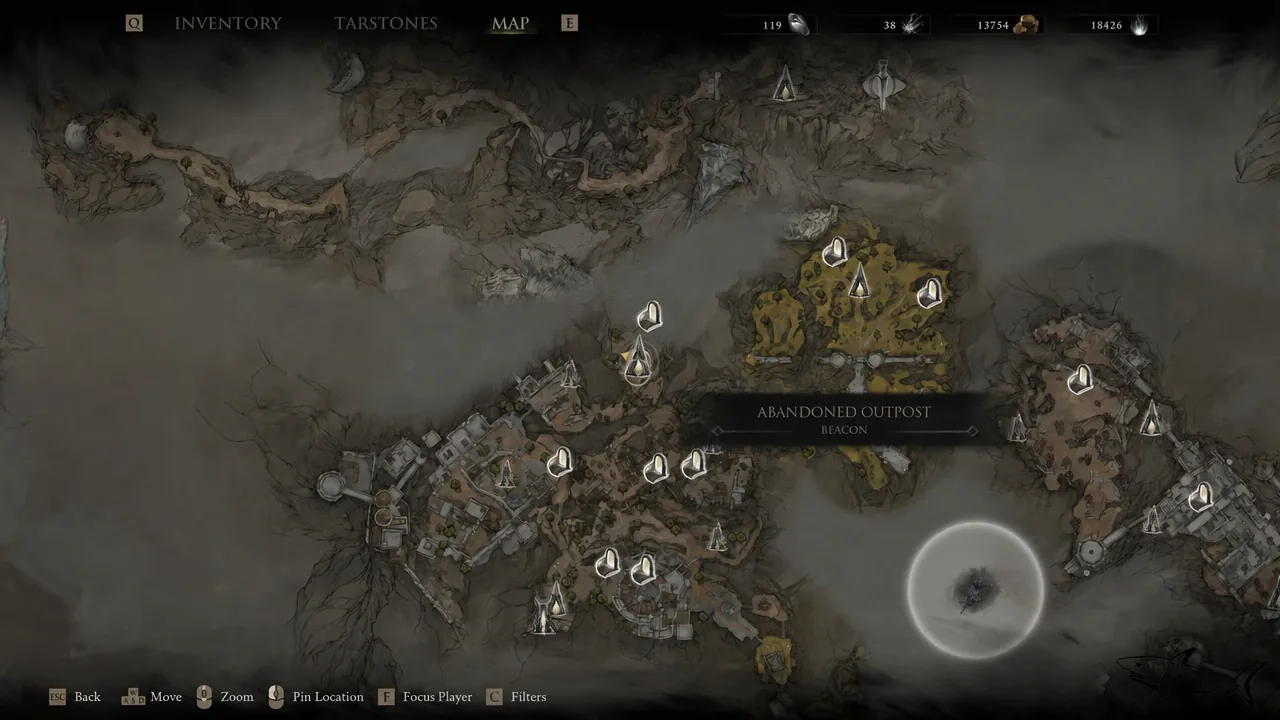
Mortal Shell 2: Sentry’s Grave Location and Full Walkthrough
How to reach the Ruins of Mammon dungeon, clear its hidden walls, and beat the Subjugated Guardian for the Ballistazooka.