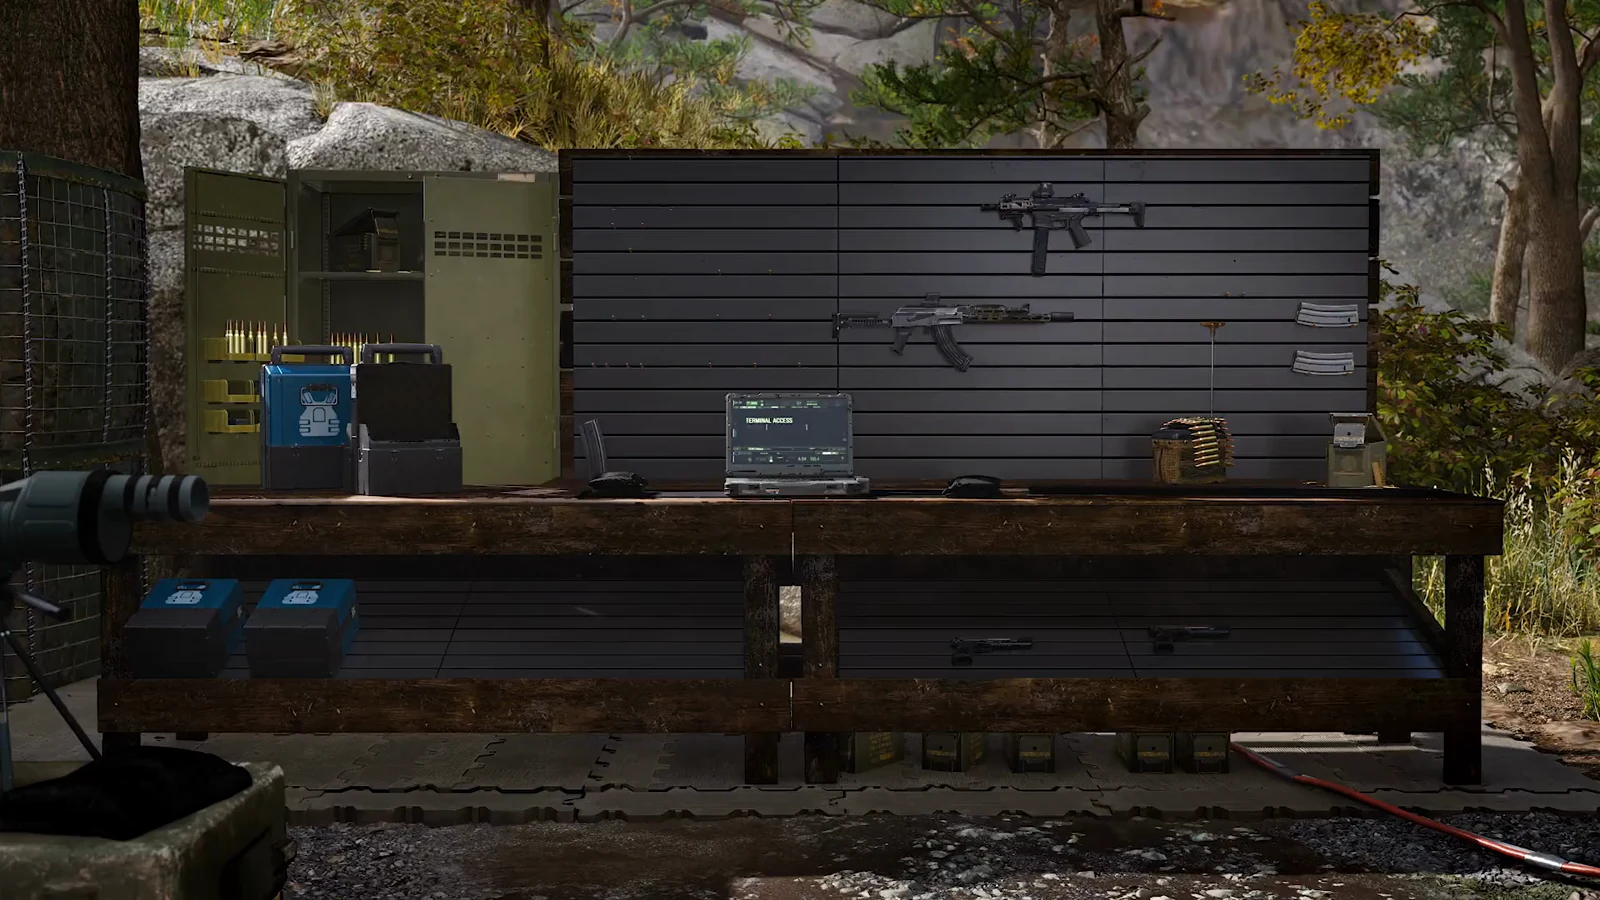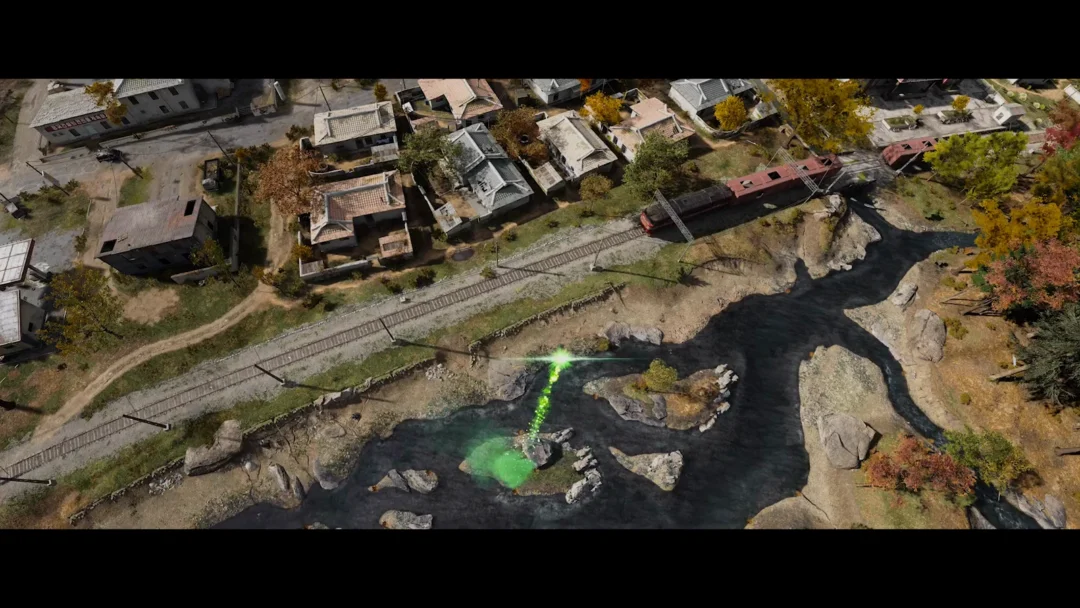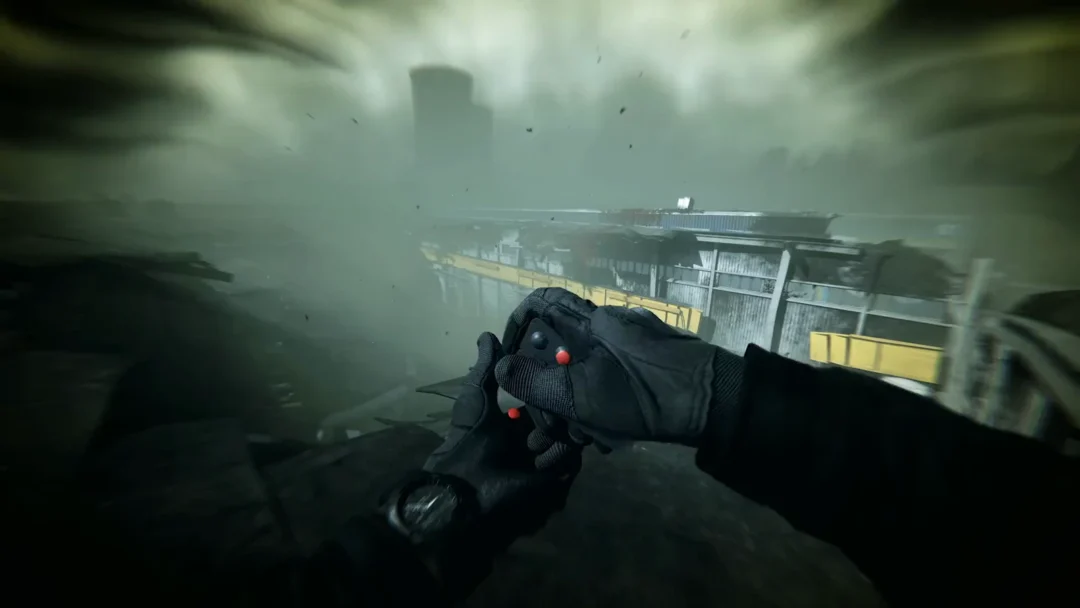
Monster Lairs are the open-world miniboss fights scattered across Vale Sangora, and there are 32 of them. Each one is a small, self-contained encounter with a nest, cave, or ruined camp attached, and each one pays out in experience, Skill Points, and loot you can carry straight into the next fight.
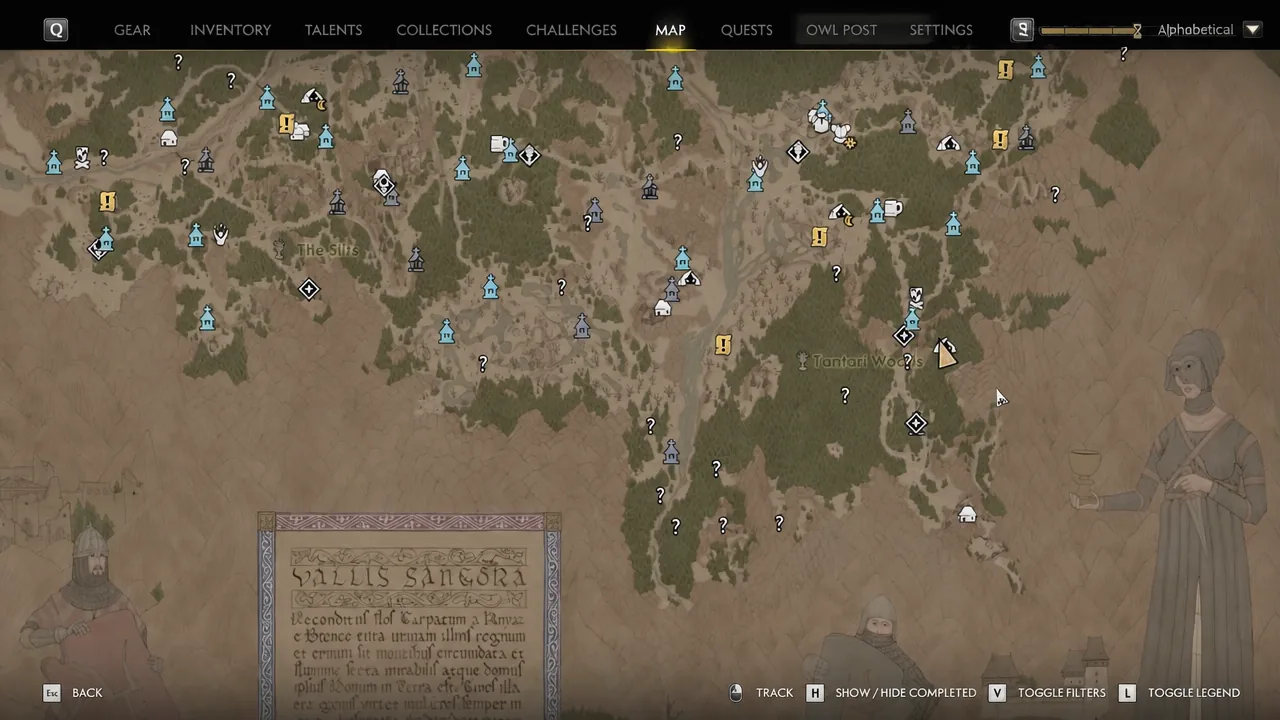
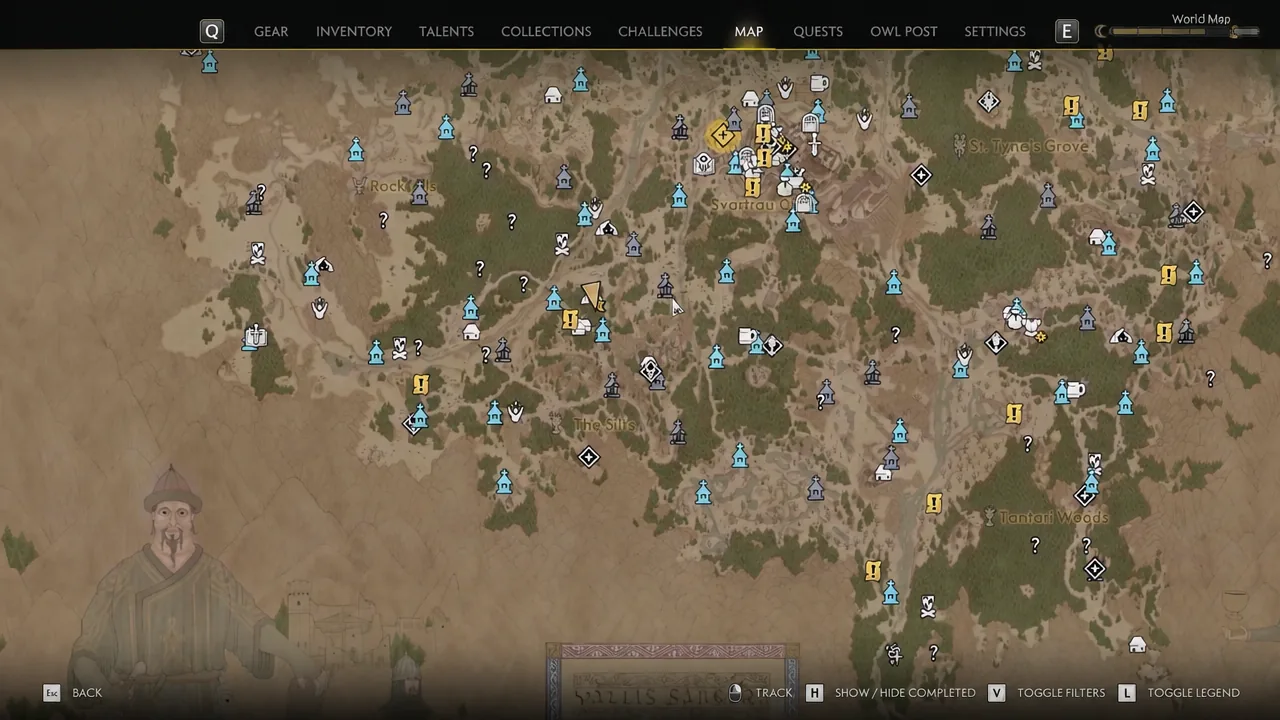
Quick answer: Climb all 11 Towers to reveal every Monster Lair on your map. They appear as white cave icons, and the Monster’s Lair category tops out at 32 markers once the map is fully uncovered.
Reveal all 32 Monster Lair markers on the map
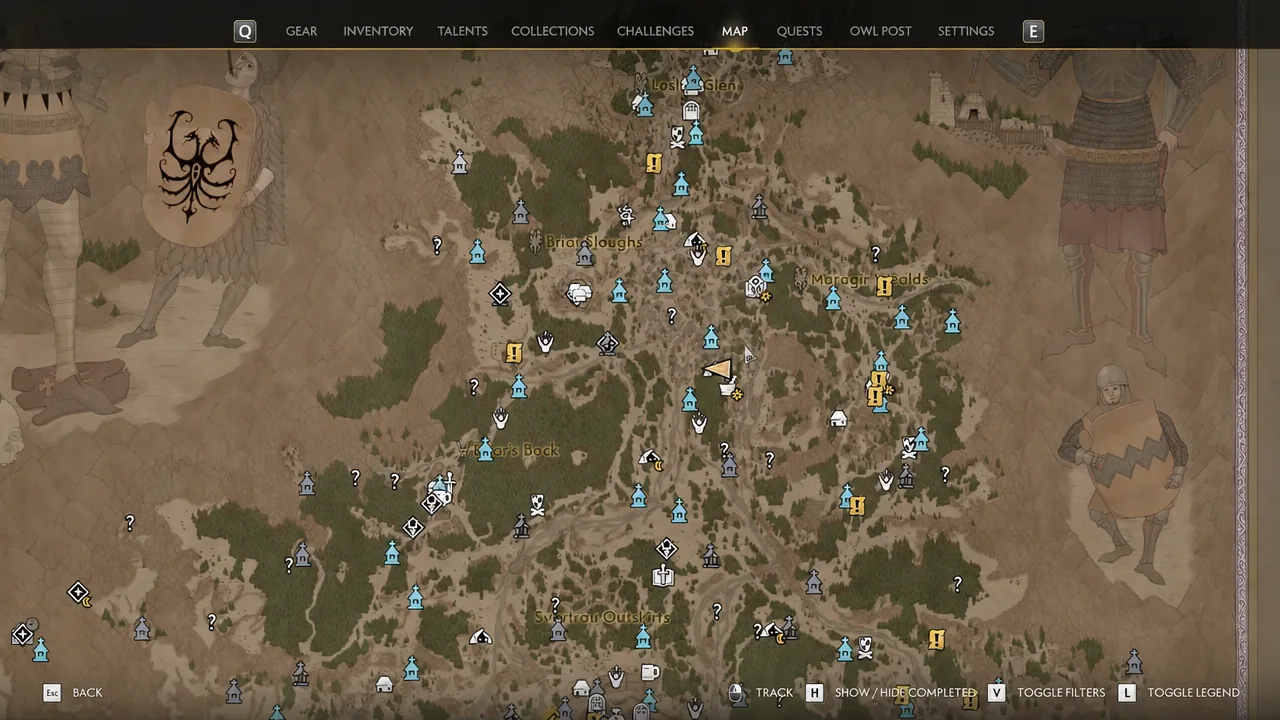
You do not have to stumble into lairs by accident. Towers act as the map-reveal mechanic here, and climbing all 11 of them fills in the Monster’s Lair category across the entire region. Until then you will only see the ones you have physically walked past.
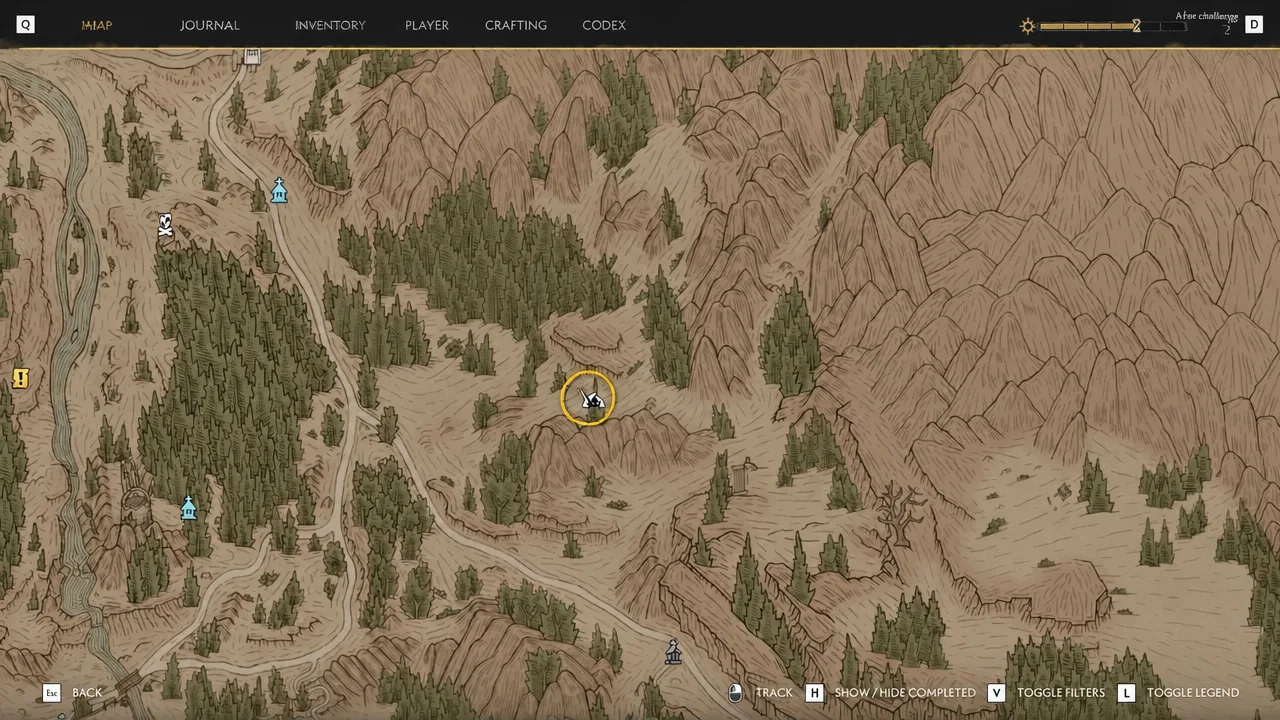
On the map, a lair is a white cave icon. That icon is shared by all five lair types, so you will not know whether you are walking into a bear or a pack of Kobolds until you arrive. Open the map, filter or scan for those cave icons, and plan a loop rather than a single trip.
Tip: turn on a movement skill before you start touring. Shapeshift from the Vampirism tree and Mercurial Fervor from the Witchcraft tree both cut travel time between markers considerably, which matters when the lairs are spread this thin.
Day and night restrictions on lair icons
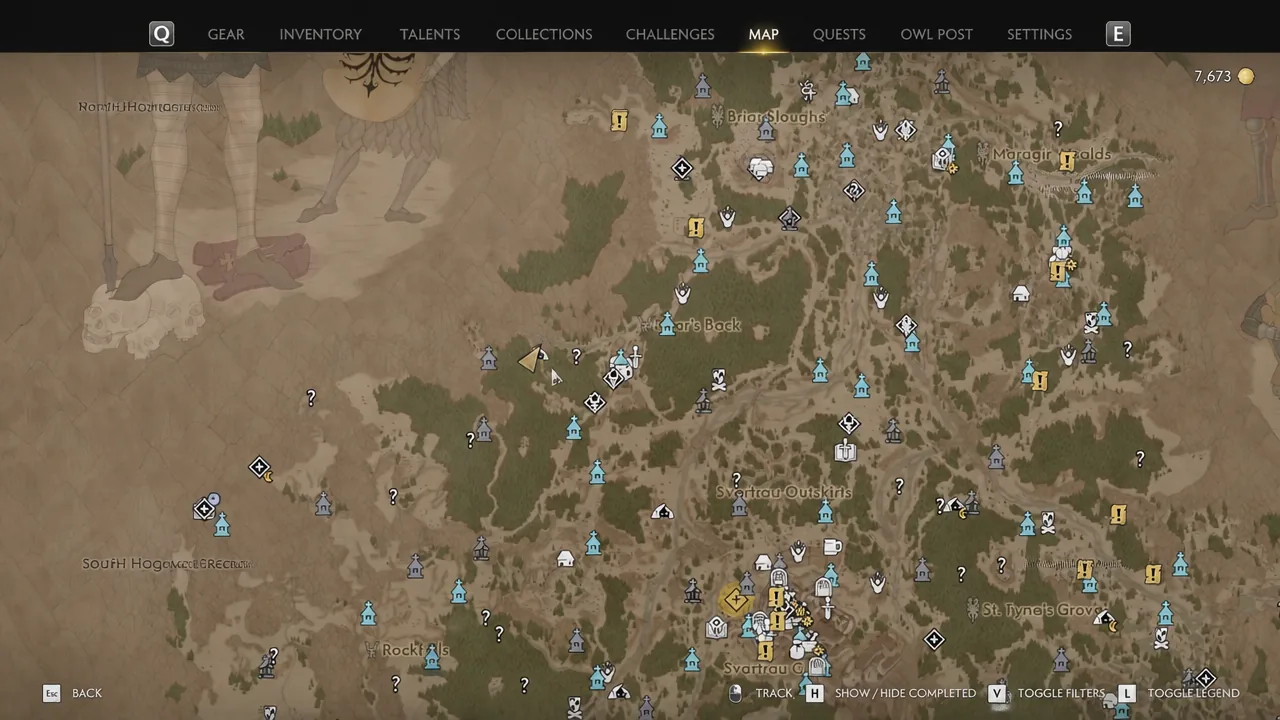
Most lairs can be cleared whenever you show up. A handful cannot. Those carry a small yellow sun or moon icon sitting next to the cave marker, and that symbol tells you the only window in which the encounter is available.
Check for that extra icon before you commit to a long ride. Arriving at a night-only lair in daylight means the fight simply is not there yet, and the trip is wasted.
Why Monster Lairs are worth clearing early
The important detail is what lairs do not cost you. They do not advance the clock. In a game built around a ticking timer, that makes them one of the few reliable ways to gain levels without spending time you need elsewhere.
Each cleared lair grants experience and Skill Points, which feeds directly into your level. Front-loading a chunk of them early gives you a stronger build before the story pushes you into harder encounters.
All five Monster Lair types and what guards them
Every one of the 32 markers falls into one of five categories. Knowing which is which changes how you approach the fight and where you search afterwards.
| Lair type | What you fight and loot |
|---|---|
| Kobold’s Nest | Groups of Kobolds defend the nest at several sites. Loot the nest itself plus one or two chests, and check skeletons nearby. |
| Murohn’s Lair | Hostile Murohns built around ruined huts, cabins, carts, and tents. Search bodies, containers, and the occasional journal. |
| Bear Cave | A bear guards the cave mouth or the interior. Inside are chests, skeletons, and a bear carcass to strip. |
| Tatzelwurm’s Lair | A giant worm carcass and its nest, sometimes sunk into swampland. Loot both the carcass and the nest. |
| Wolves’ Den | Cave dens surrounded by wolf and deer carcasses, with a chest tucked inside. |
Note: a bear or a Murohn will interrupt looting if you rush the containers first. Clear the guardian, then sweep the site.
Difficulty scaling and where to route your clears
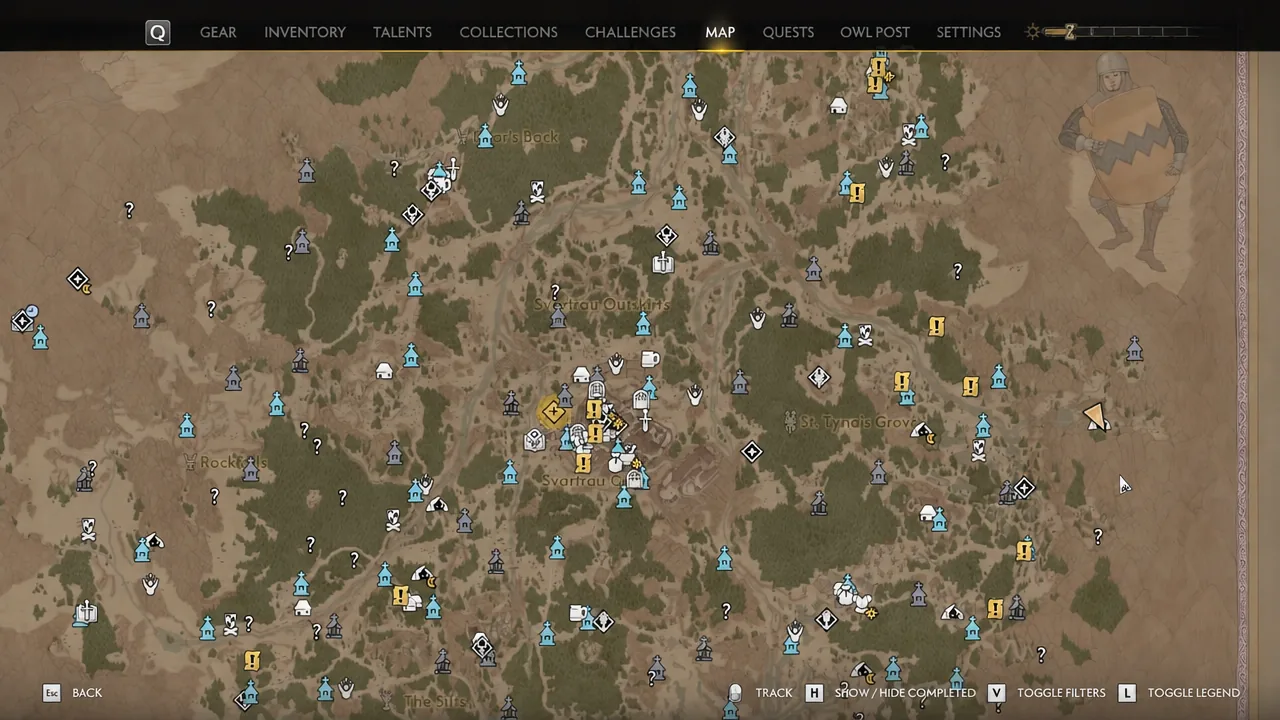
Lair difficulty climbs as you head south. The northern encounters are manageable at low level, while the southern regions are tuned for high-level characters and will punish an under-geared run. Work outward from where you already are rather than sprinting to the far end of the map for a marker.
Fast travel points make the tour far shorter. Boresco Commons, Svartrou City, Rock-Strewn Road, and Rockfall cover the drier northern and central stretches, while Southern Swampside, Whispering Bogs, and The Silts sit close to the wetter southern lairs, including the swamp-bound Tatzelwurm nests.
Skill manuals, weapons, and gear found in Monster Lairs
Beyond the level-ups, lair chests and carcasses hold equipment you will not easily buy. Skill manuals are the standout, since they unlock abilities outright rather than just adding stats.
| Category | Named rewards |
|---|---|
| Skill manuals | Lasting Malediction Manual, Medicus I Manual, Blasphemous Echo Manual, Frugal Witchcraft Manual, Forbidden Sigils Manual |
| Weapons | Glorious Billhook, Nature’s Bane, Hangman’s Sword, Elite Greatsword |
| Armor and accessories | Amulet of the Lizard, Ring of Fortitude, Amulet of Crimson Steel, Daylight Amulet, Slicer’s Ring, Ring of the Stalwart Warrior, Quick Fighter’s Ring, Isbrand’s Greaves, The Bulwark |
Search everything at a site, not just the obvious chest. Carcasses, nests, bodies, carts, and tents all hold pickups, and some of the better accessories sit in the containers people walk past on the way out.
How to confirm a lair is finished
A lair counts as done once its guardians are dead and its containers are emptied. The experience and Skill Point award landing is your confirmation, and your level bar moving is the clearest signal that the encounter registered rather than just being partially cleared.
Two things commonly go wrong. A day or night restriction means the encounter is not active when you arrive, and a lair deep in the southern regions can simply outscale you, which reads as a difficulty wall rather than a bug. In both cases the fix is timing, not a different route.
Working through all 32 is one of the steadiest ways to build a character in Vale Sangora, and because none of it burns time on the clock, there is little reason to leave them sitting on the map.