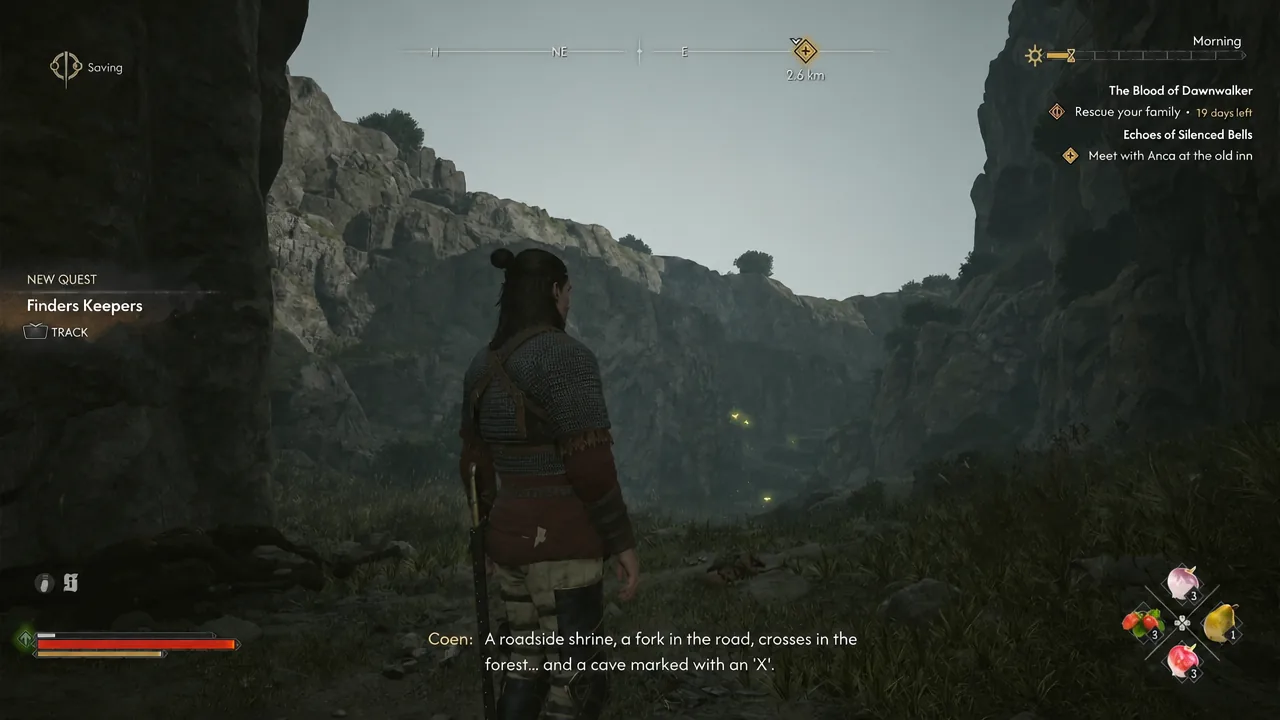
Finders Keepers is one of the quieter side jobs in The Blood of Dawnwalker, and it never gets handed to you by an NPC. It starts the moment Coen picks up a scrap of parchment during another quest, and it ends with a buried chest full of silver in a wolf den. The map does not place a marker on the treasure, so the whole thing hinges on reading landmarks correctly.
Quick answer: Loot the Treasure Map: Silver Cache during The Cursed Chasm, carry a shovel, then travel northwest from Briar Slough Hillock Shrine to the slanted rock with a shallow cave at its base. Kill the wolves and the Pack Leader, use Focus Mode on the ground, and dig.
Finders Keepers requirements and quest details
The quest is self-starting. Once the map is in Coen’s inventory, it appears in the journal with a single objective and no follow-up conversation. Everything else is optional preparation.
| Detail | Value |
|---|---|
| Quest giver | Treasure Map: Silver Cache (no NPC) |
| Requirement | Complete Smoke and Ashes; map found during The Cursed Chasm |
| Region | Briar Sloughs, near the chasm below Greifberg Castle |
| Objective | Use the map to find the treasure |
| Tools needed | Shovel |
| Enemies | Wolf pack plus a Pack Leader |
| Time cost | 2 Time Segments, including 2 in-game hours to dig |
| Reward | Silver Cache contents, XP, 1 Skill Point |
| Fail state | None, but it can be left unfinished if time runs out |
Note: the main story clock keeps ticking the whole time. The journal entry for rescuing Coen’s family sits above this quest with a day counter, so a treasure hunt that eats two time segments is a real cost, not free exploration.
Where to find the Treasure Map: Silver Cache
The map turns up while you are working through The Cursed Chasm, down in the gorge below the broken bridge, west of Coward’s Path Shrine. Search the scattered debris and broken barrels on the canyon floor. Interacting with the right one gives you Treasure Map: Silver Cache, and Finders Keepers is added to the journal immediately.
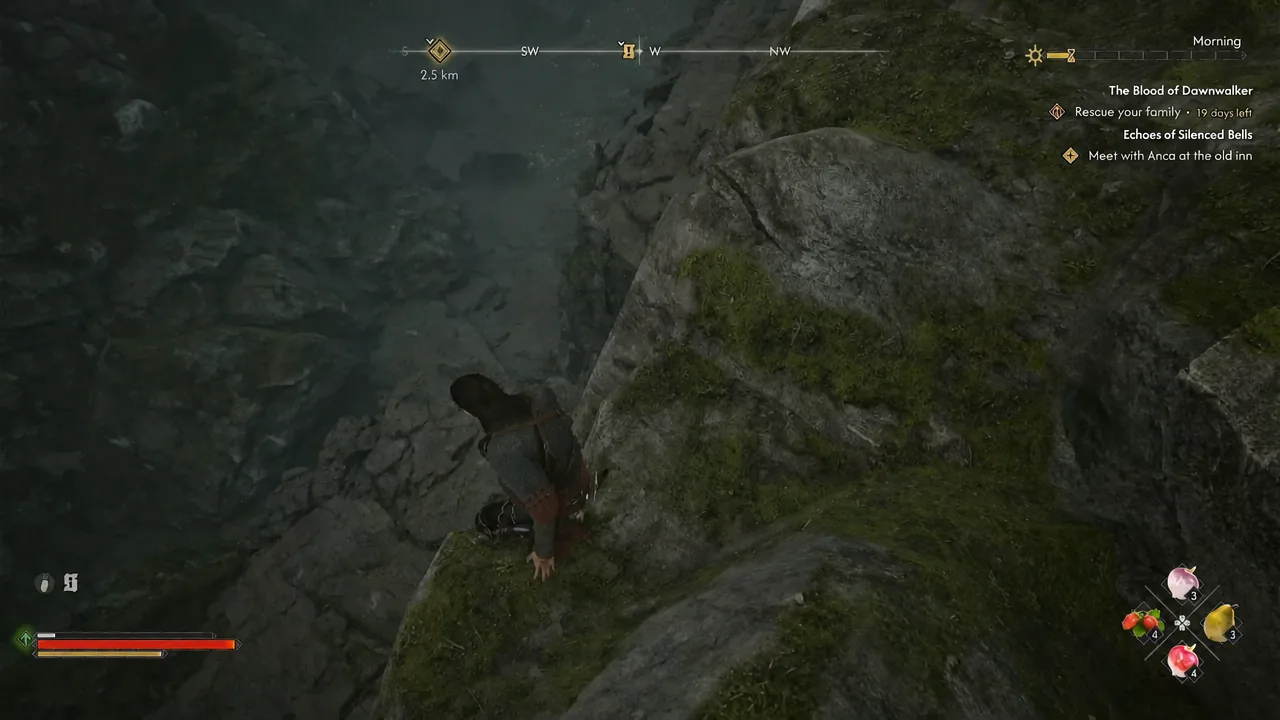
Open the map from the journal before you set off. It lists four landmarks rather than coordinates: a roadside shrine, a fork in the road, crosses in the forest, and a cave marked with an X. Those are the only directions the game gives you.
Get a shovel before you leave
Coen cannot excavate anything bare-handed, and walking the full route only to be turned away at the dig spot is the most common way this quest goes wrong. If there is no shovel in your inventory, head to Parlita Town and follow the mug icon on the map to the main tavern.
Stand facing the tavern entrance and look to the right, past the sheds and the stacked wood. The shovel is propped against the tavern wall. Pick it up and it stays with you for every dig site in the valley, not just this one.
Route to the Silver Cache dig site
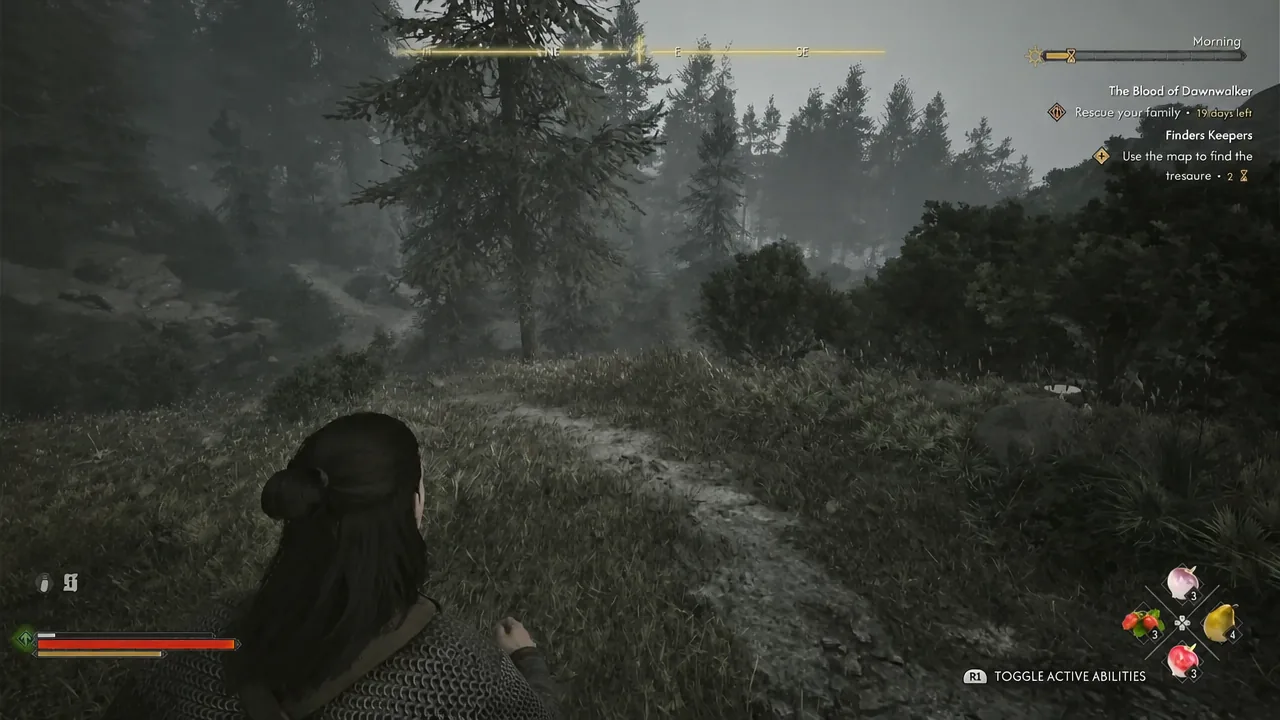
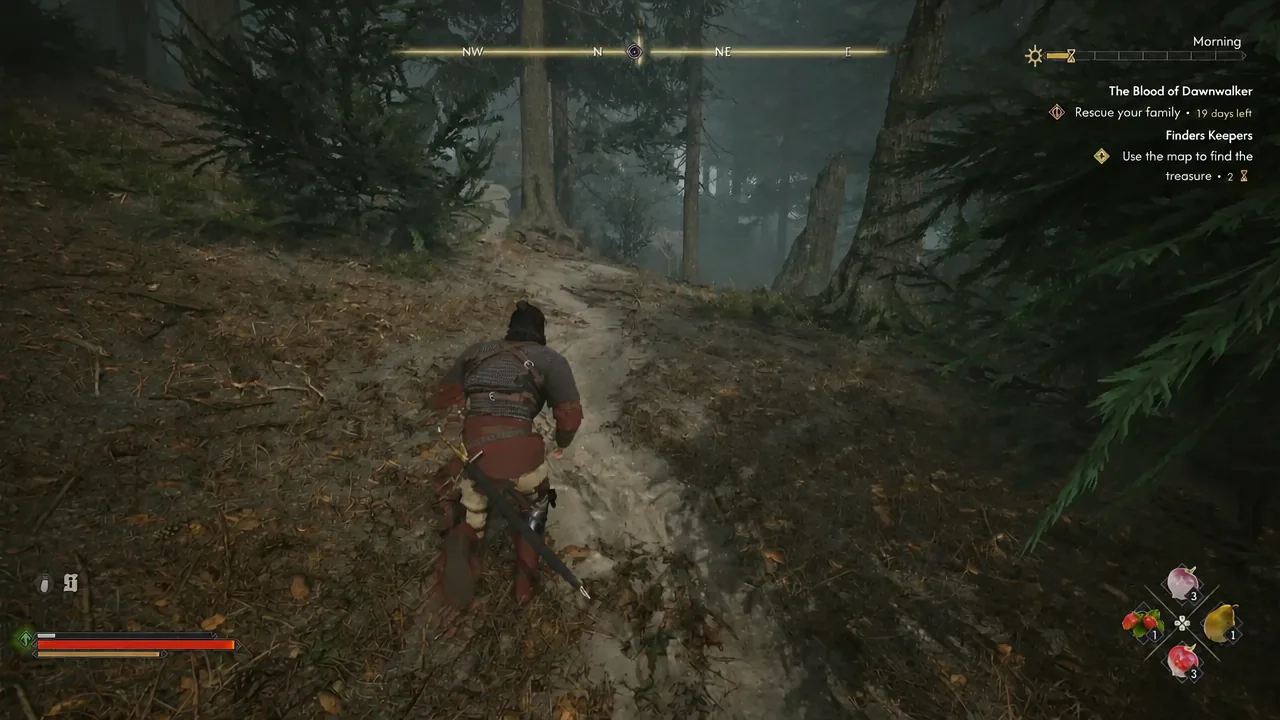
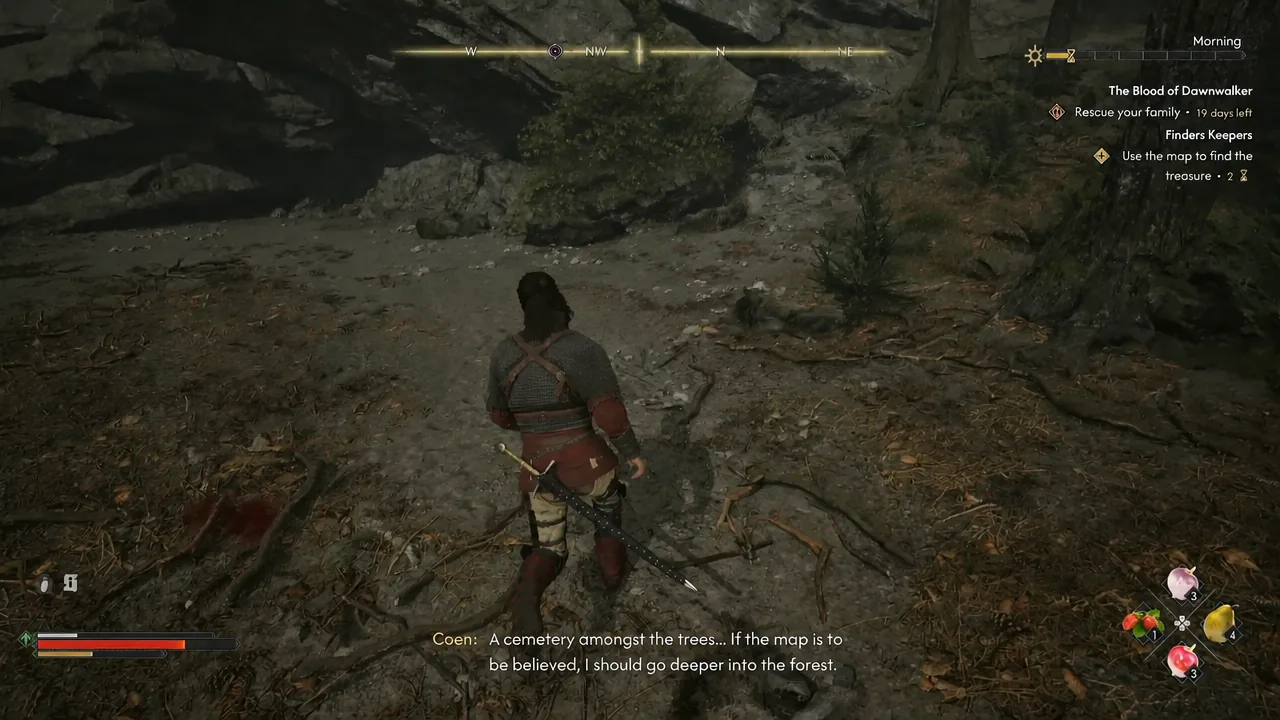
Clear the wolf den and the Pack Leader
The rock is a den. A pack of ordinary wolves circles the base, backed by a Pack Leader, which is simply a bigger, harder-hitting wolf rather than a scripted boss with its own arena. They will swarm from multiple angles, so fight with your back to the rock face rather than in the open.
Kill every wolf before you even think about digging. The excavation is a long interaction, and a single surviving wolf will interrupt it and force you to start again. The fight also drops Wolf Meat, Wolf Claws, Wolf Pelt, and Vials of Animal Blood, all of which are worth grabbing on the way past.
Dig up the Silver Cache
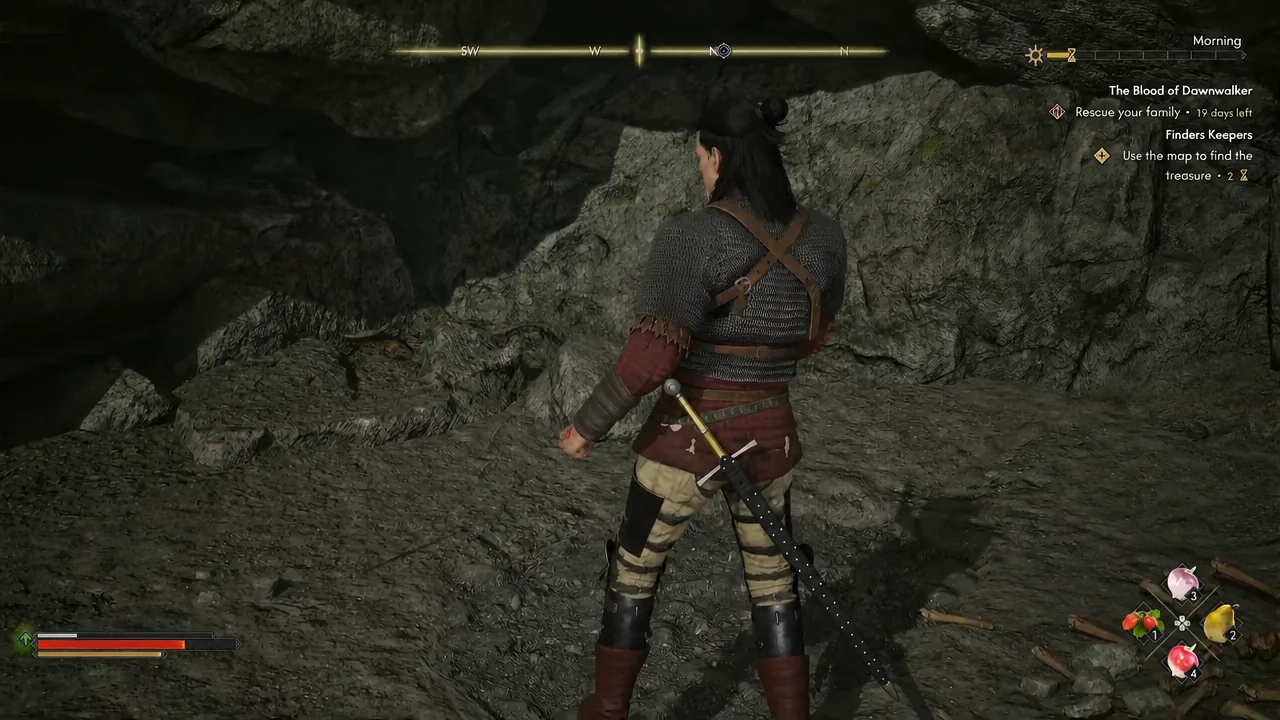
Silver Cache rewards and quest completion
The chest is almost entirely silver goods meant for trading, plus a letter that explains where the hoard came from. Coin totals differ between playthroughs, so treat the Denarius figure as a range rather than a fixed number.
| Item | Notes |
|---|---|
| Silver Cache Letter | Readable note explaining the hoard’s purpose |
| Lump of Silver | Trade good, can appear as more than one |
| Silver Cross | Trade good |
| Silver Chalice | Trade good |
| Silver Bowl | Trade good |
| Denarius | Roughly 41 to 53 coins |
You know it worked when the QUEST ENDED banner appears on screen and the experience and Skill Points notifications pop alongside it. Finders Keepers moves to the completed section of the journal, and the outcome text notes that the stash was left behind by Skender’s soldiers as they fled the valley, hidden away to fund the fight against the vrakhiri.
The letter itself makes the same point in blunter terms. It claims the silver belongs to the rightful ruler of Vale Sangora, orders whoever finds it to spend it against the Vrakhiri, and threatens anyone who pockets it for themselves.
If the dig prompt never appears
There are only a few reasons this stalls. Run through them in order before assuming the quest is broken.
- No shovel in your inventory, which blocks the excavation outright.
- Wolves still alive nearby, which cancels the dig partway through.
- Wrong rock. The correct one leans diagonally and forms an open cave at its base, northwest of Briar Slough Hillock Shrine, not the outcrops along the road.
- Focus Mode not used, leaving the buried patch unhighlighted against the dirt.
One last thing worth knowing before you offload the haul: silver-tagged items sell for far more to the dedicated silver trader in Svartrau City than to a general merchant. Hold onto the cross, chalice, bowl, and lumps until you have access to that trader, because dumping them on the first vendor you pass wastes most of what this treasure hunt is actually worth in the early game.