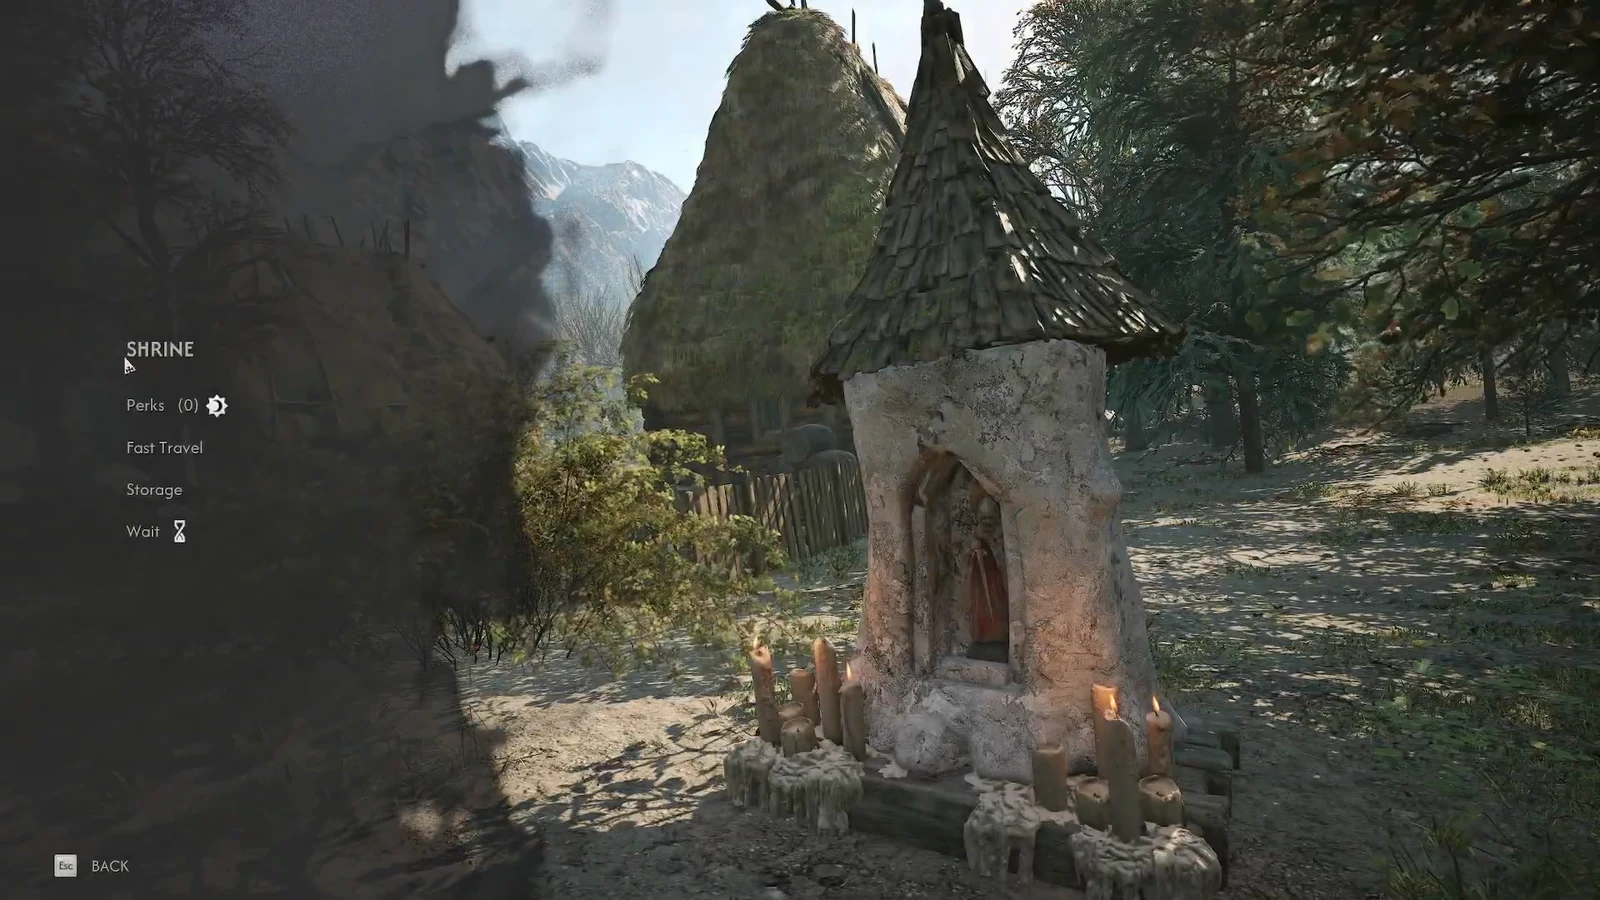
Coen can only carry so much before the inventory screen starts working against you, and The Blood of Dawnwalker handles the overflow through its Shrines. The same stone markers you use to fast travel and spend Skill Points also hold your spare gear, and they all draw from a single shared container.
Quick answer: Walk up to any activated Shrine, press the interact key (F on keyboard), select Storage, then move items from Coen’s inventory on the left into the Storage grid on the right. Anything you deposit can be withdrawn at any other Shrine.
Shrine storage is one global stash, not a chest per location
There is no separate box at each Shrine. The storage grid is shared across the whole of Vale Sangora, so a Broken Sword left behind at the Shrine near Briar Sloughs Watchtower is waiting for you at the next Shrine you touch on the other side of the map. That makes the system a safe place to park heavy armour sets, spare weapons and oddities like a Wooden Horse that you do not want to drop for good.
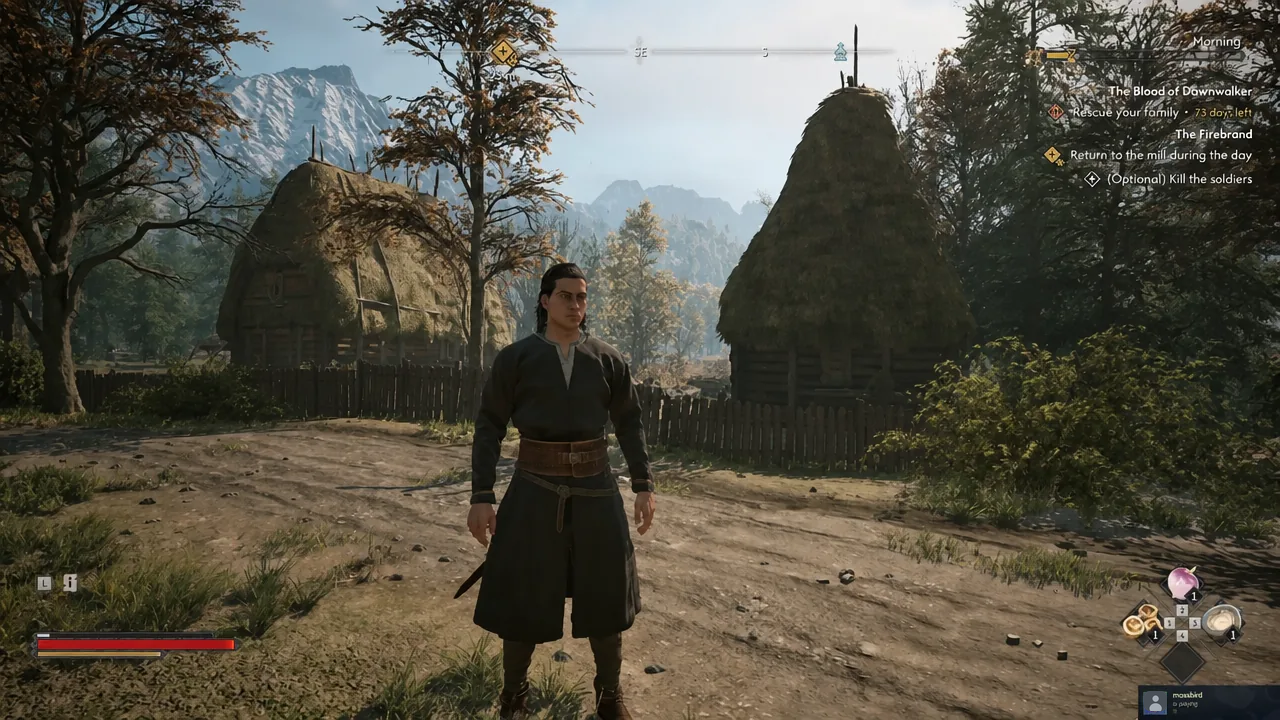
Over a hundred Shrines are scattered across the countryside, so you are rarely far from one. That density is what makes the shared stash practical, since you can offload loot mid-run rather than trekking back to a settlement.
How to store items at a Shrine
What each Shrine menu option does
| Option | Function |
|---|---|
| Perks | Spend Skill Points on Coen’s perks. The number in brackets is your unspent total. |
| Fast Travel | Jump to any fast travel point you have already discovered. |
| Storage | Open the shared stash and move items in or out. |
| Wait | Fast-forward time, which is how you shift between day and night. |
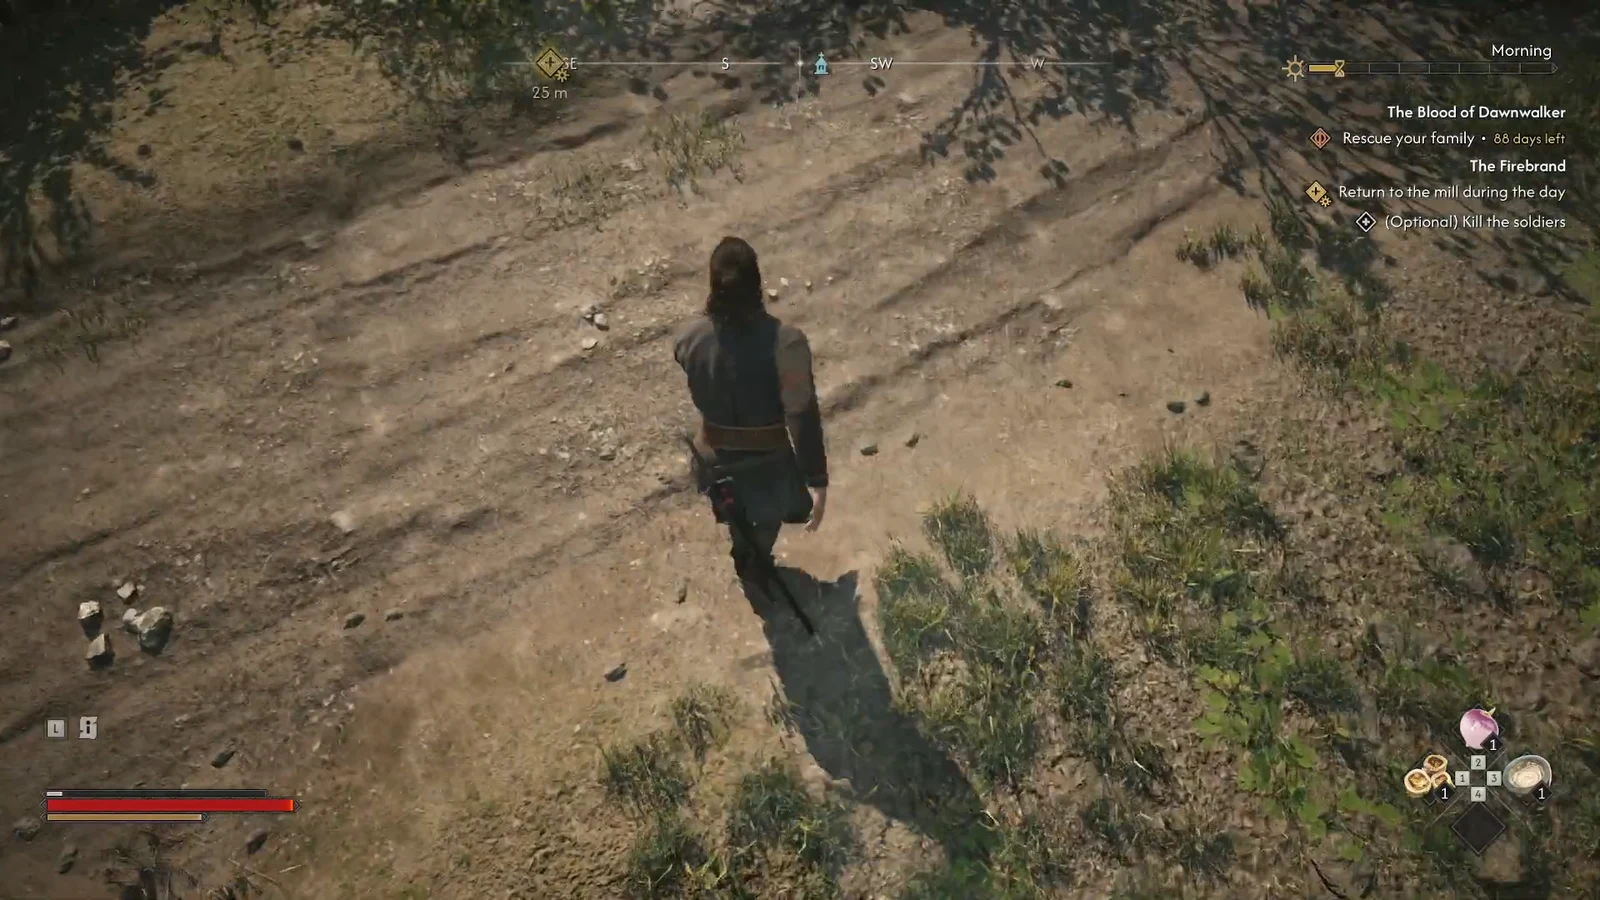
Note: Waiting and levelling up perks feed into the game’s Time Segments, while the story clock counts down toward the deadline for rescuing Coen’s family. Depositing gear is the low-stakes part of the menu.
Repair a broken Shrine before its storage works
Not every Shrine is usable the moment you find it. Some sit in disrepair, and those need to be restored before the menu with Storage becomes available. Investigate the tracks around the Shrine to locate its heart, the figurine that belongs inside it, then place the figurine in the Shrine to activate it permanently.
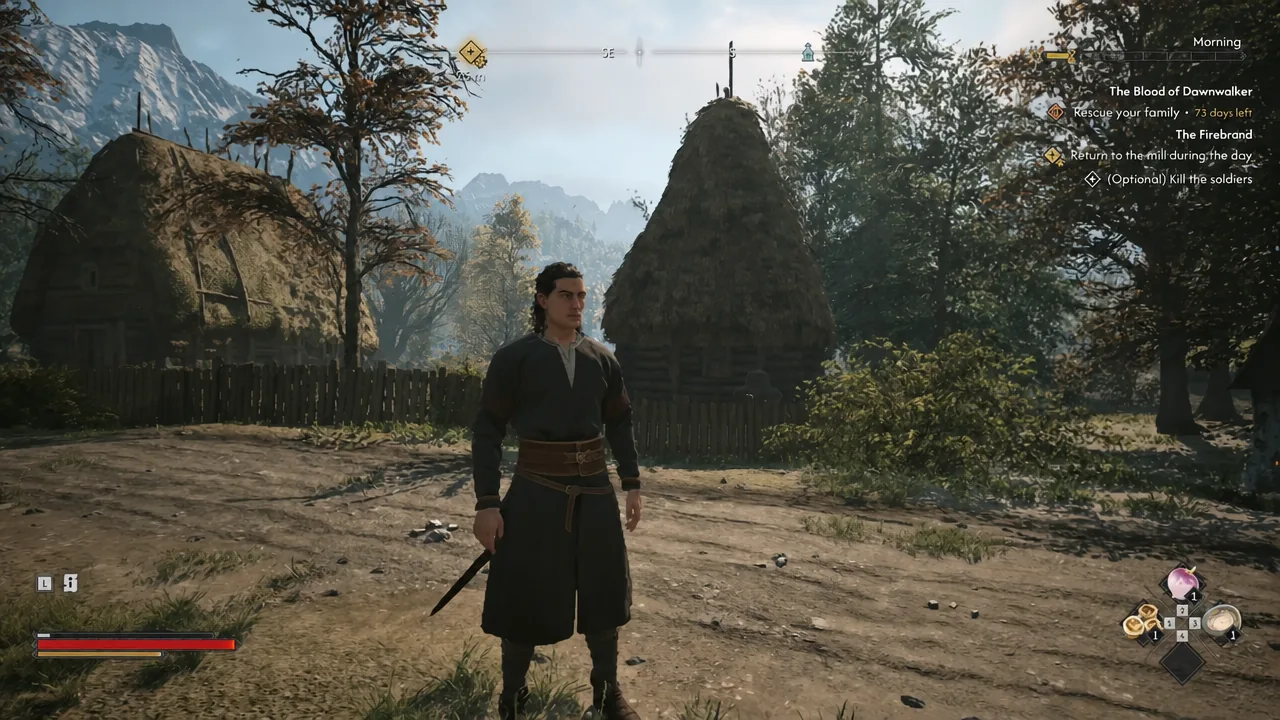
Once activated, a Shrine stays activated. If the Storage option is missing when you interact, the Shrine has not been repaired yet, and the fix is the figurine rather than anything to do with your inventory.
What to move into storage and what to keep on Coen
Coen’s inventory is limited by weight, and individual items each carry their own value, so bulky armour is what fills the bar fastest. Spare chestpieces, boots and duplicate weapons are the obvious candidates for the stash, since you can always retrieve them at the next Shrine if a build changes.
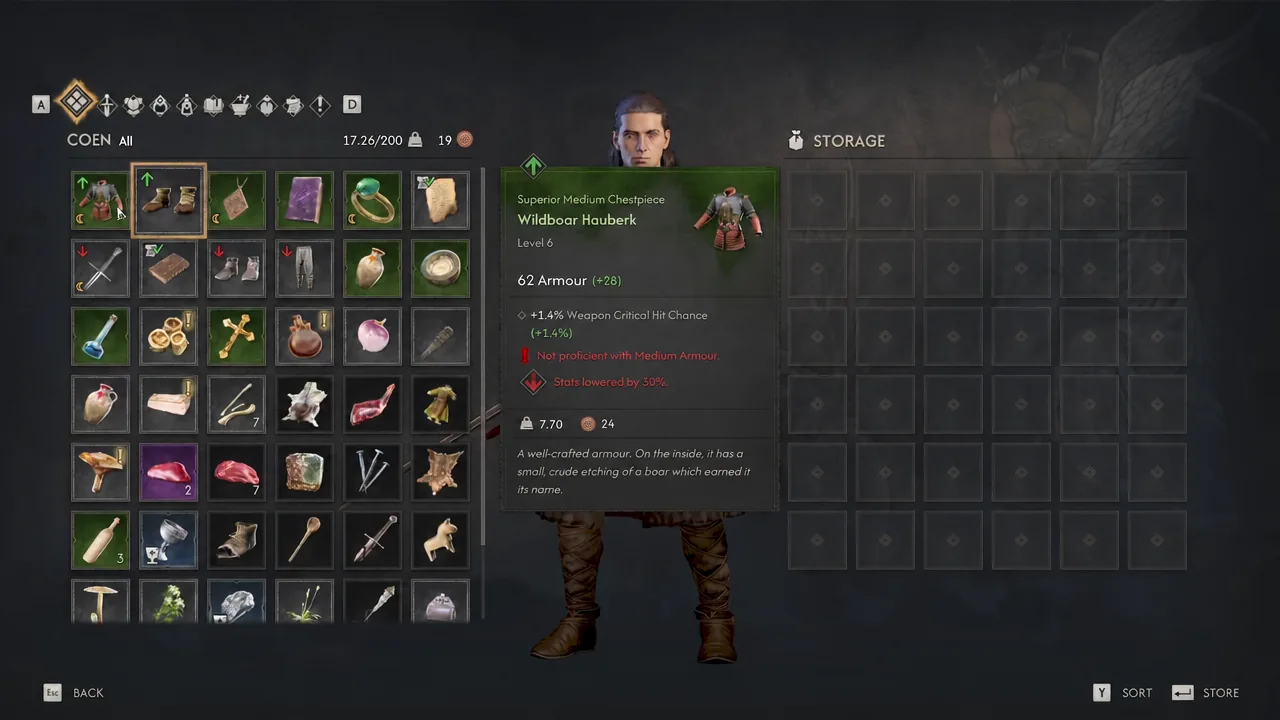
The inventory sorts everything into categories, with separate sections for consumables, crafting materials, quest items and everything else. Use those tabs to spot what is dead weight, then compare it against what you actually equip. Ore and metals like a Lump of Silver stack up quietly and are worth banking between crafting trips.
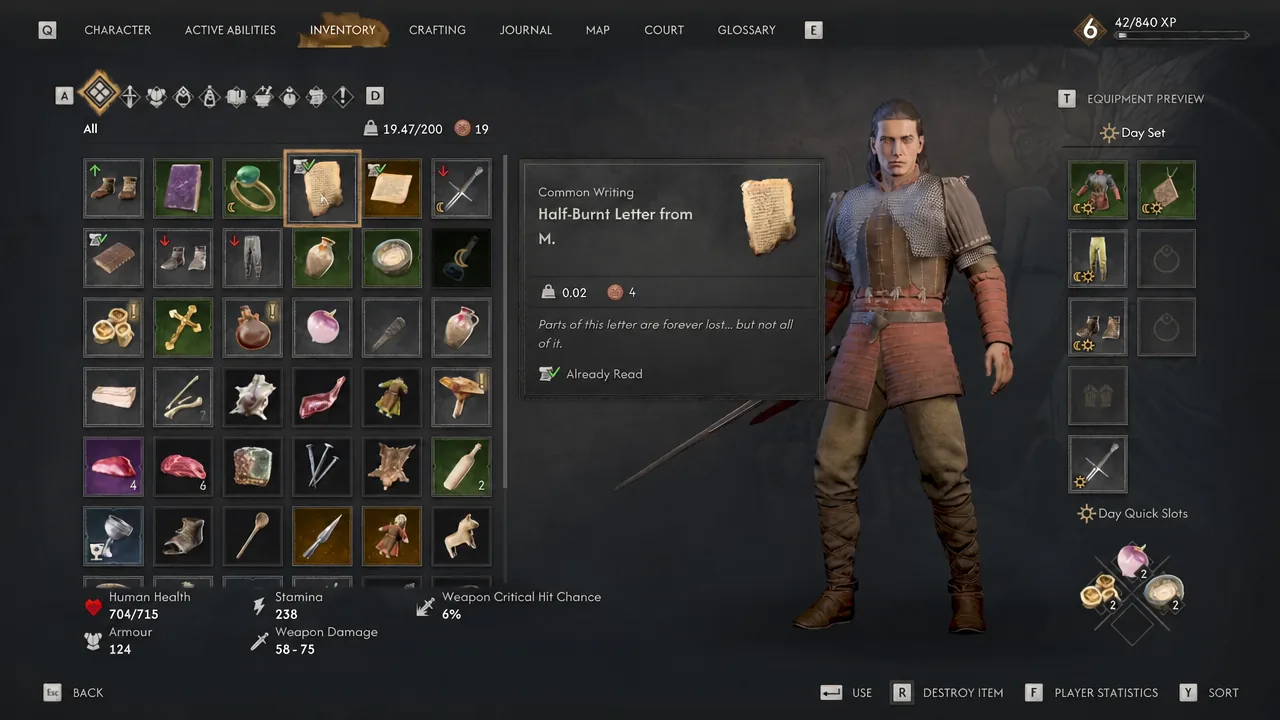
Key items tied to quests, such as letters and documents you pick up during investigations, are a different matter. They sit in their own category and exist to move a quest forward, so leave them on Coen until the related objective is finished.
How to confirm the transfer worked
The check is immediate. An item you deposit disappears from Coen’s list on the left and shows up in the Storage grid on the right, and your carried weight drops accordingly. Walk to a different Shrine, open Storage again, and the same items should be sitting there ready to pull back into your inventory.
If nothing appears at the second Shrine, you almost certainly closed the screen before the item moved across, or you are looking at a Shrine that has not been repaired and is offering a reduced menu.
Treat the stash as a permanent locker rather than a temporary one. Because every activated Shrine reads from the same container, there is no reason to hoard gear on Coen between fights, and clearing space before a long night run keeps room free for whatever you strip off the boyars’ patrols.