The Hollow, the Roblox Presents Halloween event experience, hands out free UGC items. In the hub you can see several of them before you earn them: each partner game’s door has its item hanging beside it as a dark, nameless shape.
Quick answer: The free items come from the floor puzzles and from partner-game quests. No ticket price is shown for these items; tickets are only for the LITTLE SHOP OF TERROR.
Where the free item silhouettes show in The Hollow hub
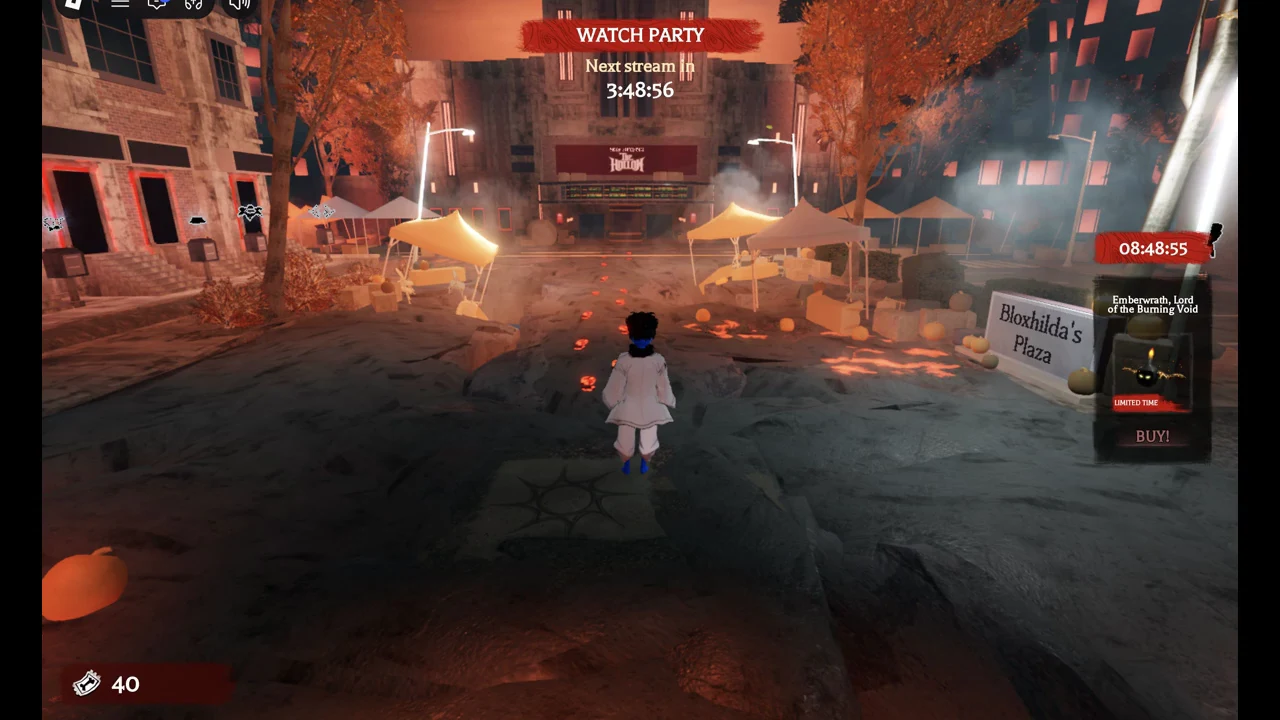
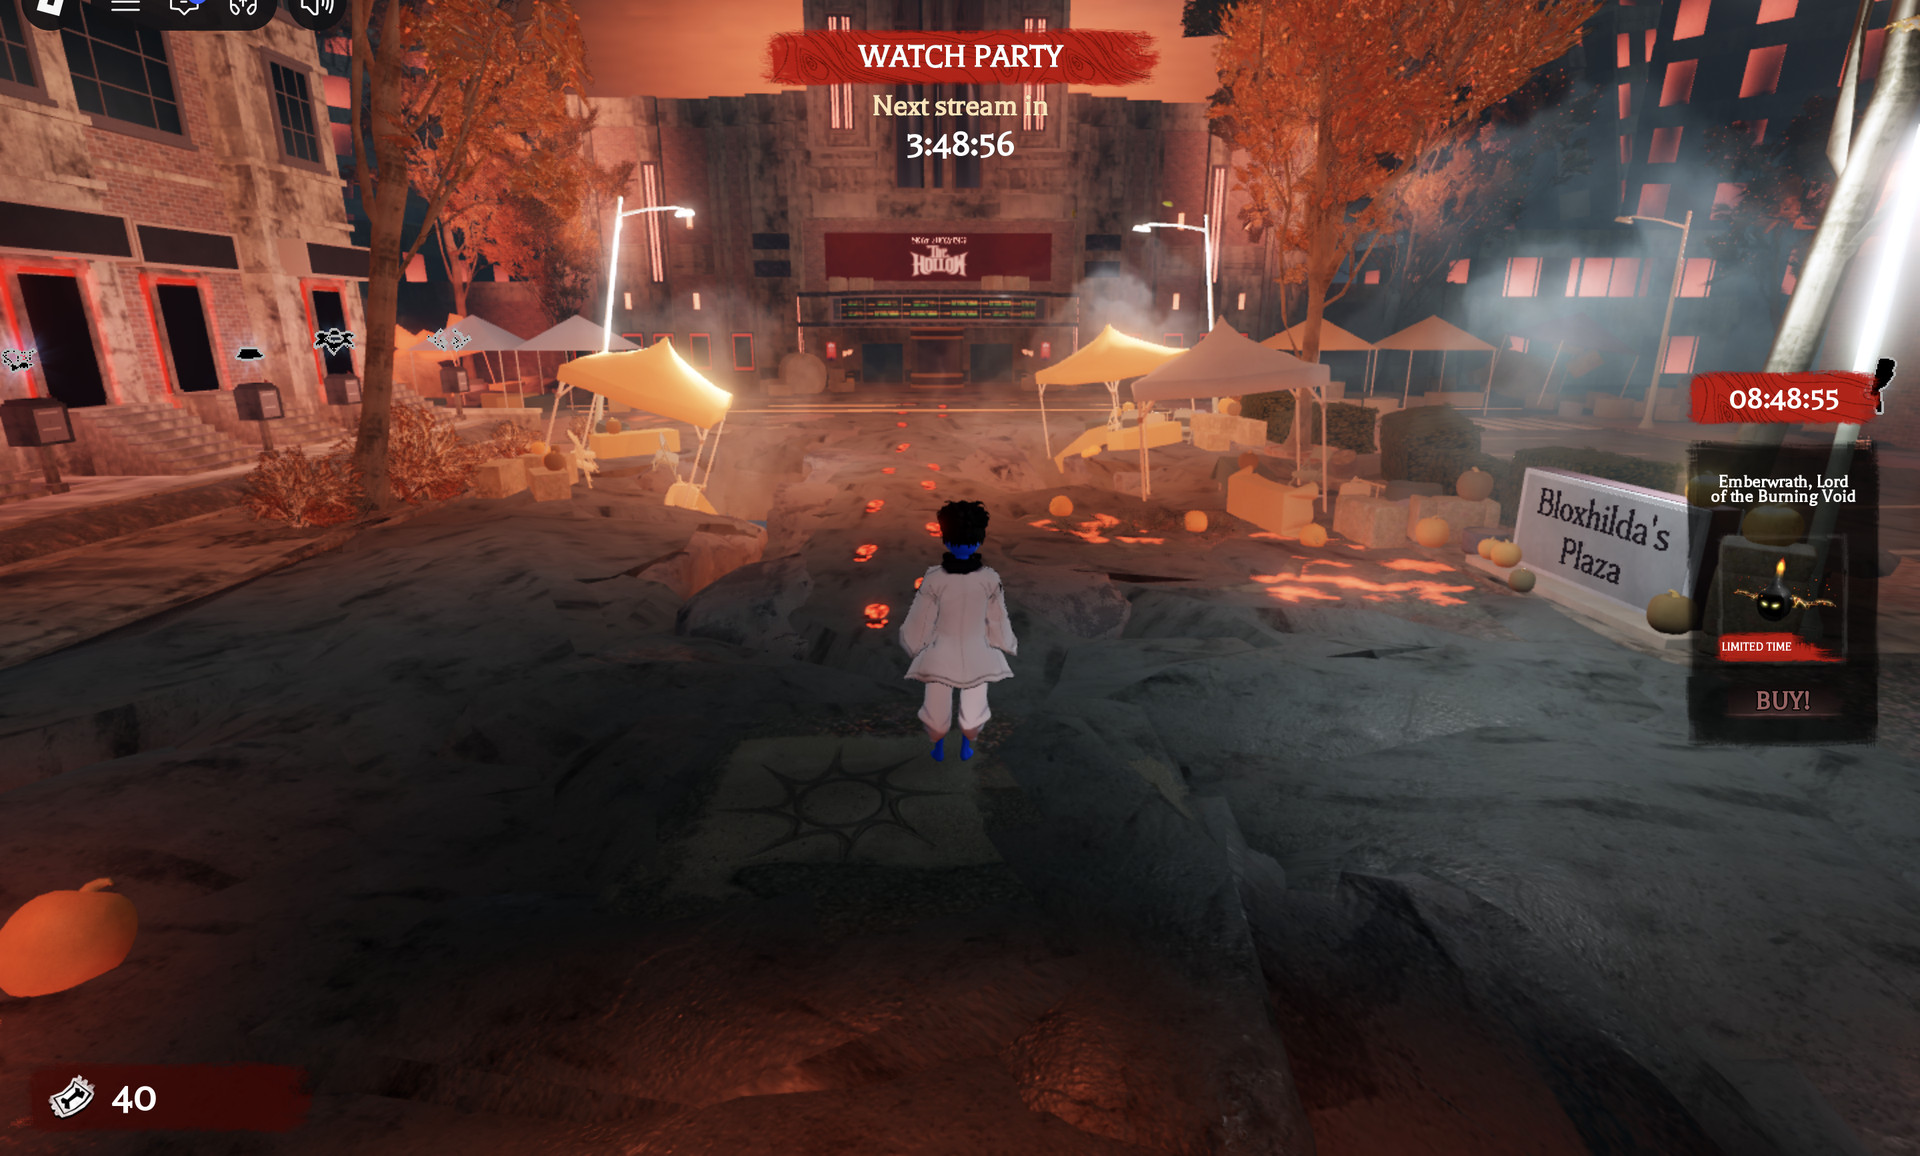
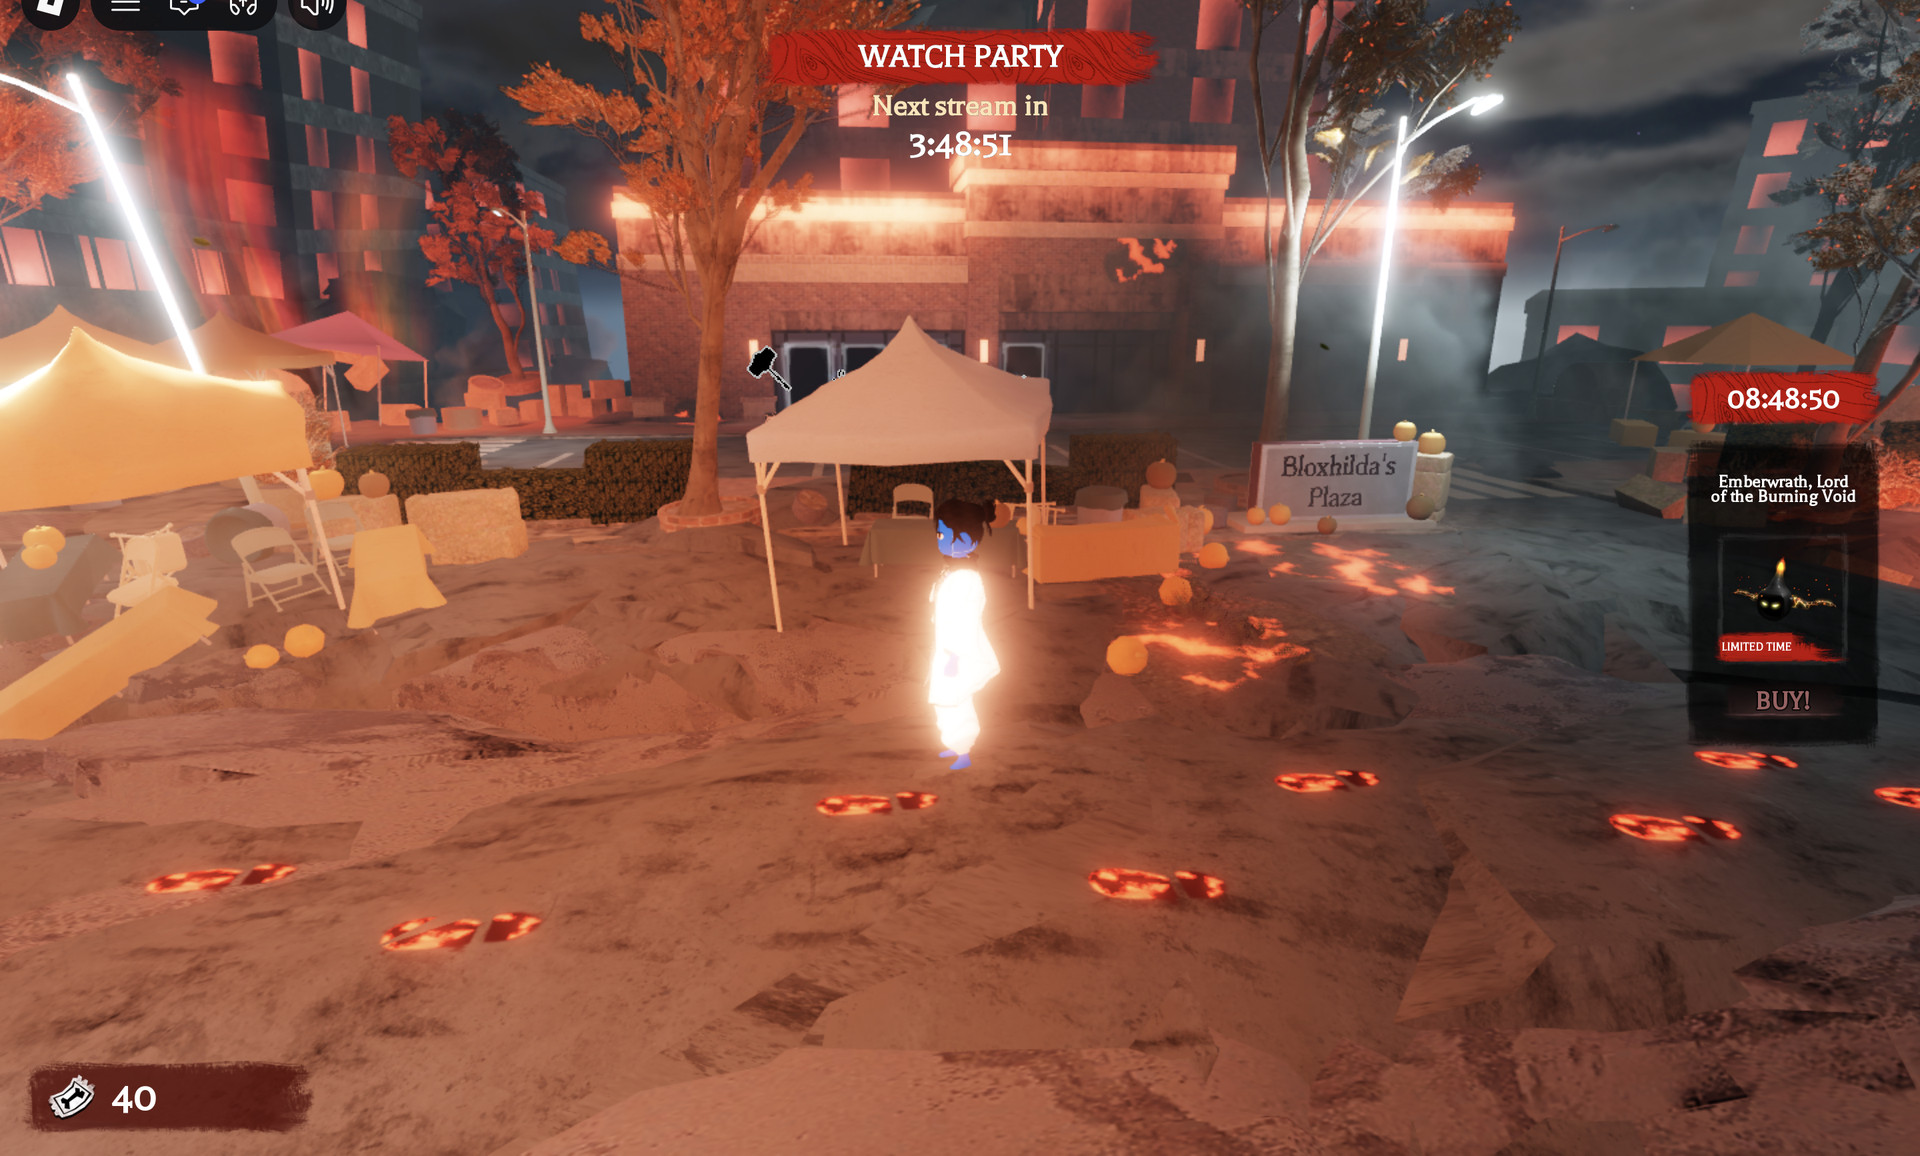
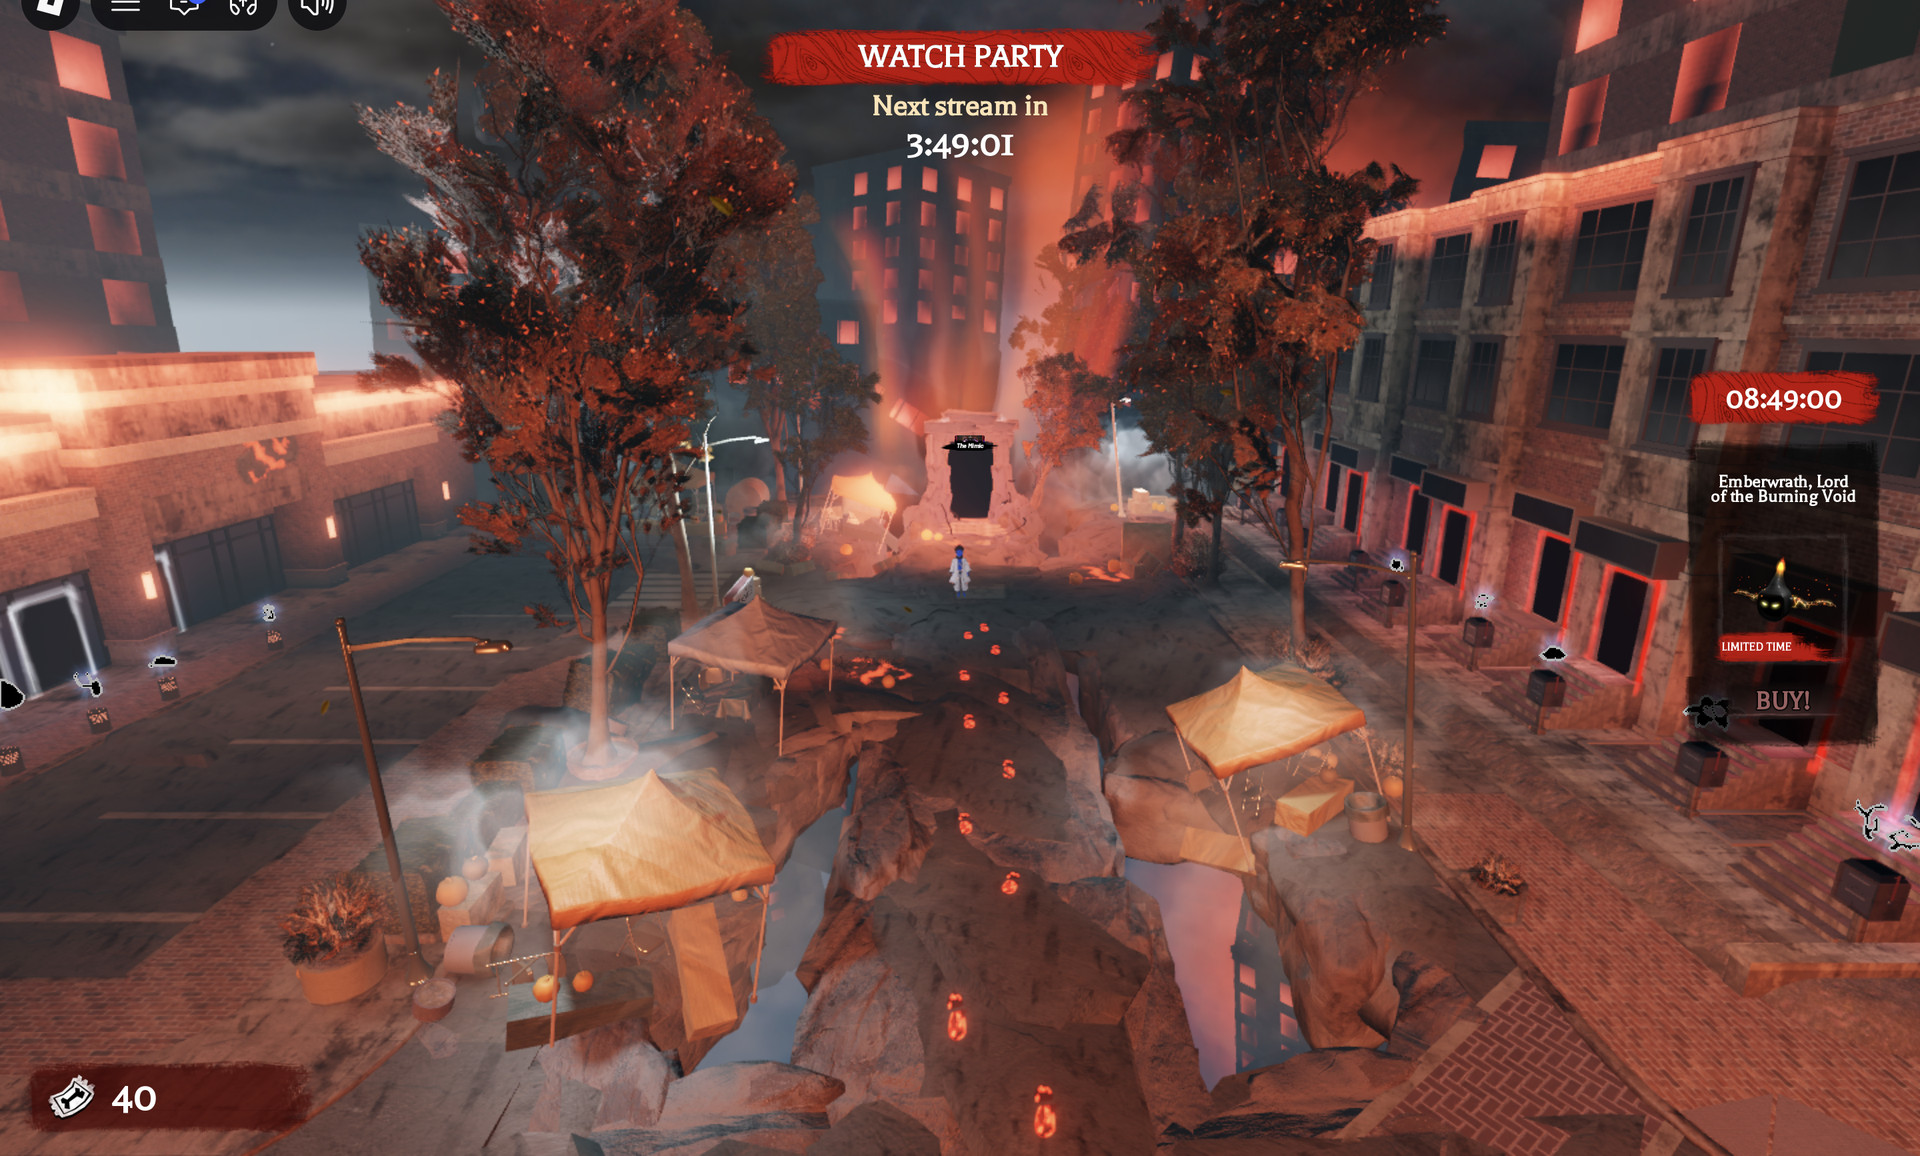
The hub is one long street lined with doors to partner games. A name tag above each door tells you which game it leads to. The tented square in the middle is Bloxhilda’s Plaza, marked by a stone sign, and a trail of glowing footprints runs across it to the cinema.
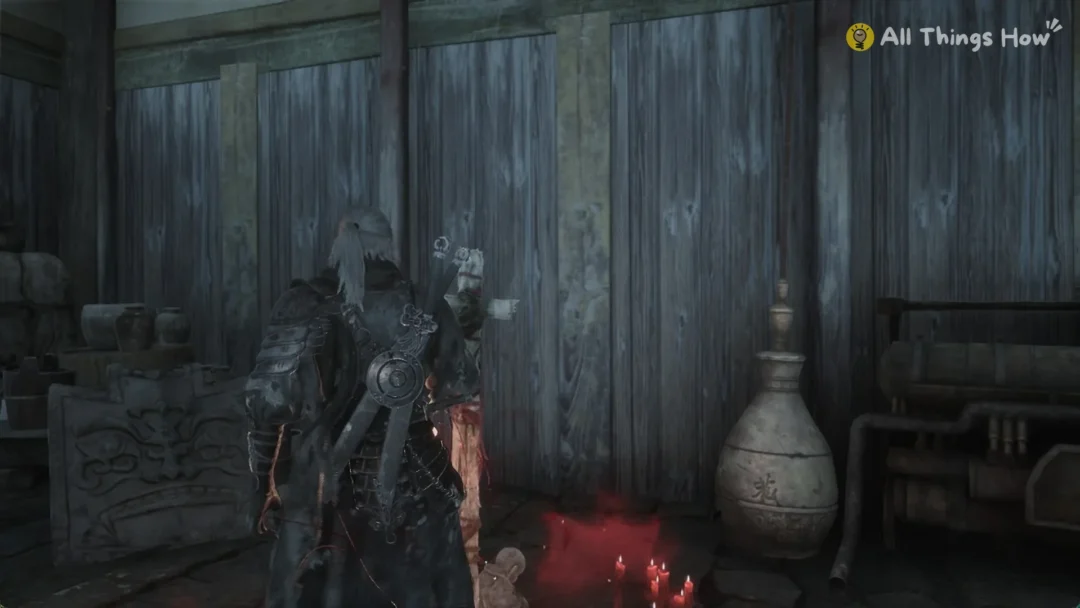
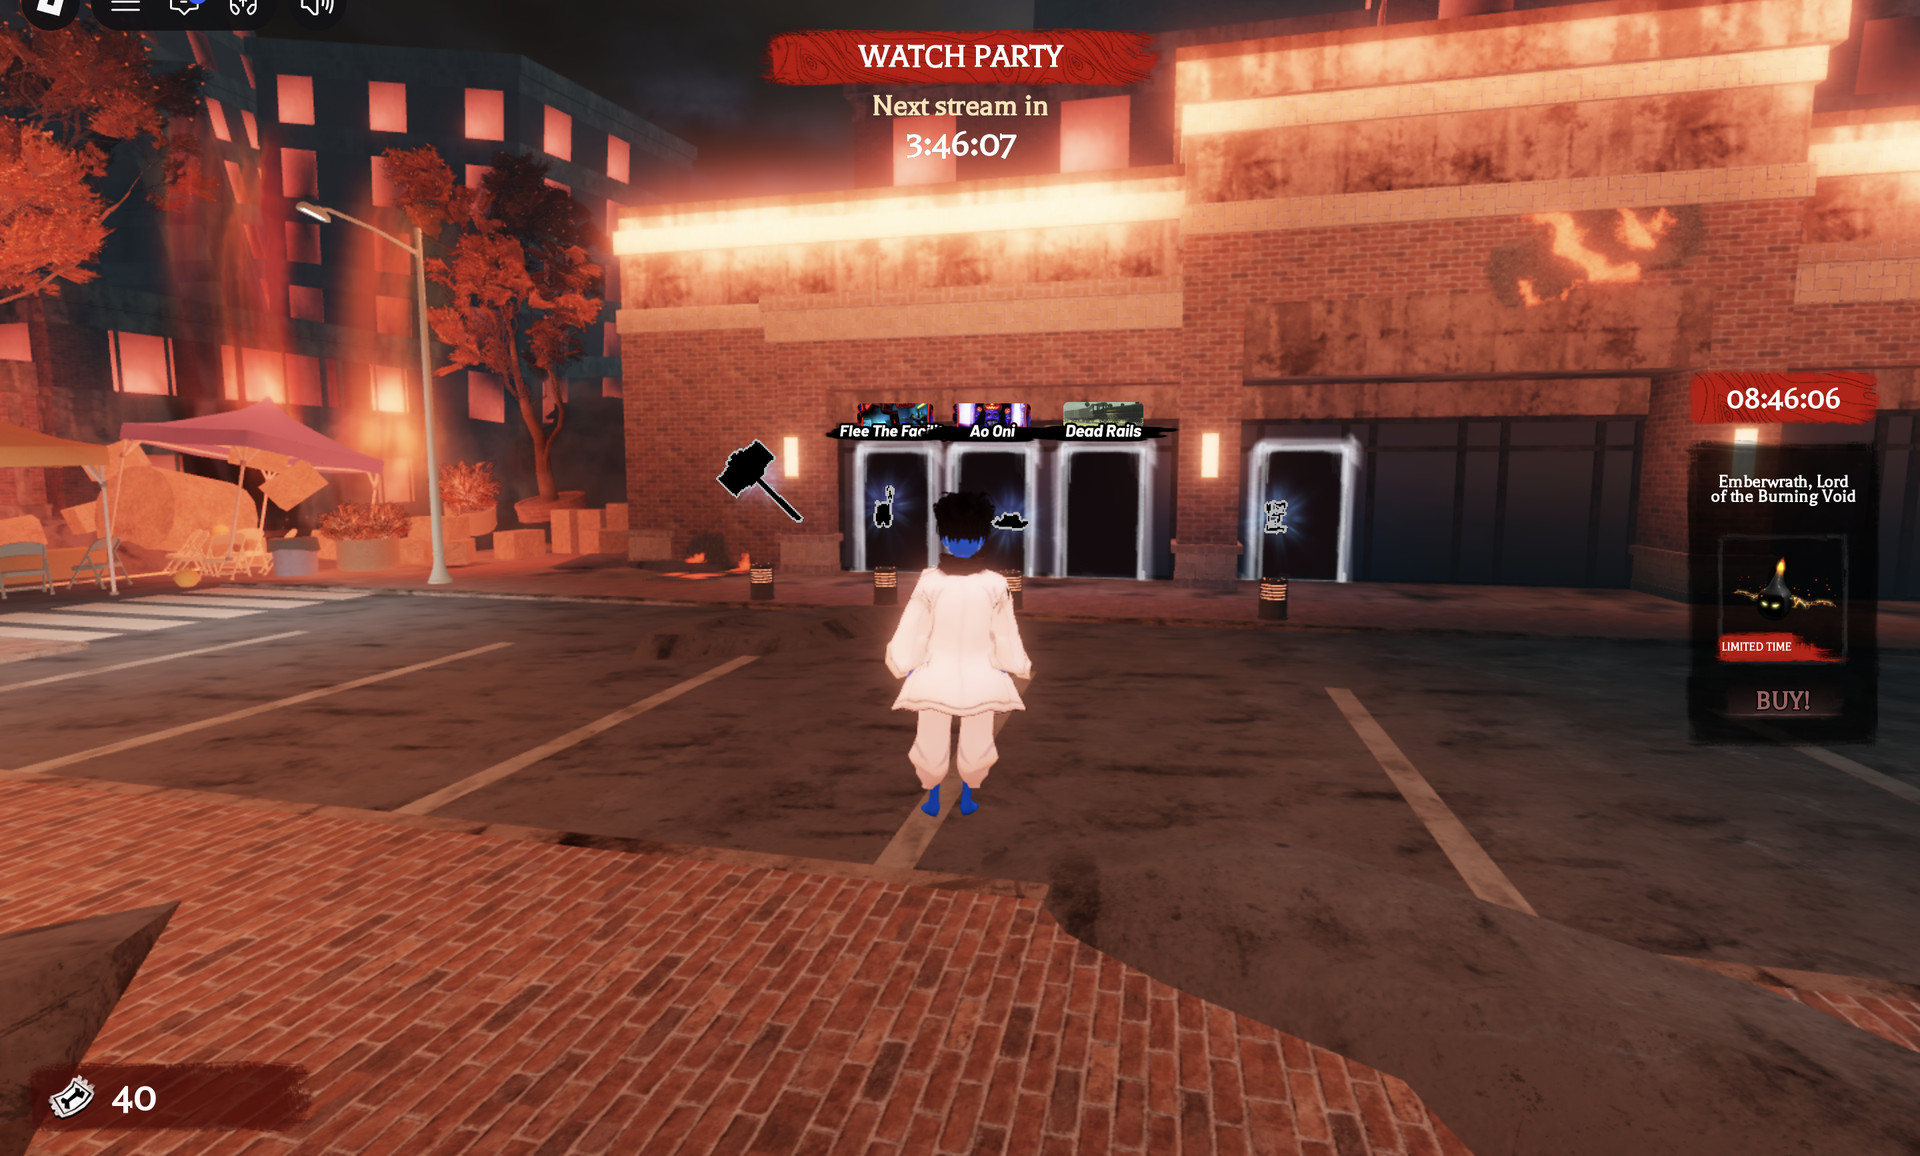
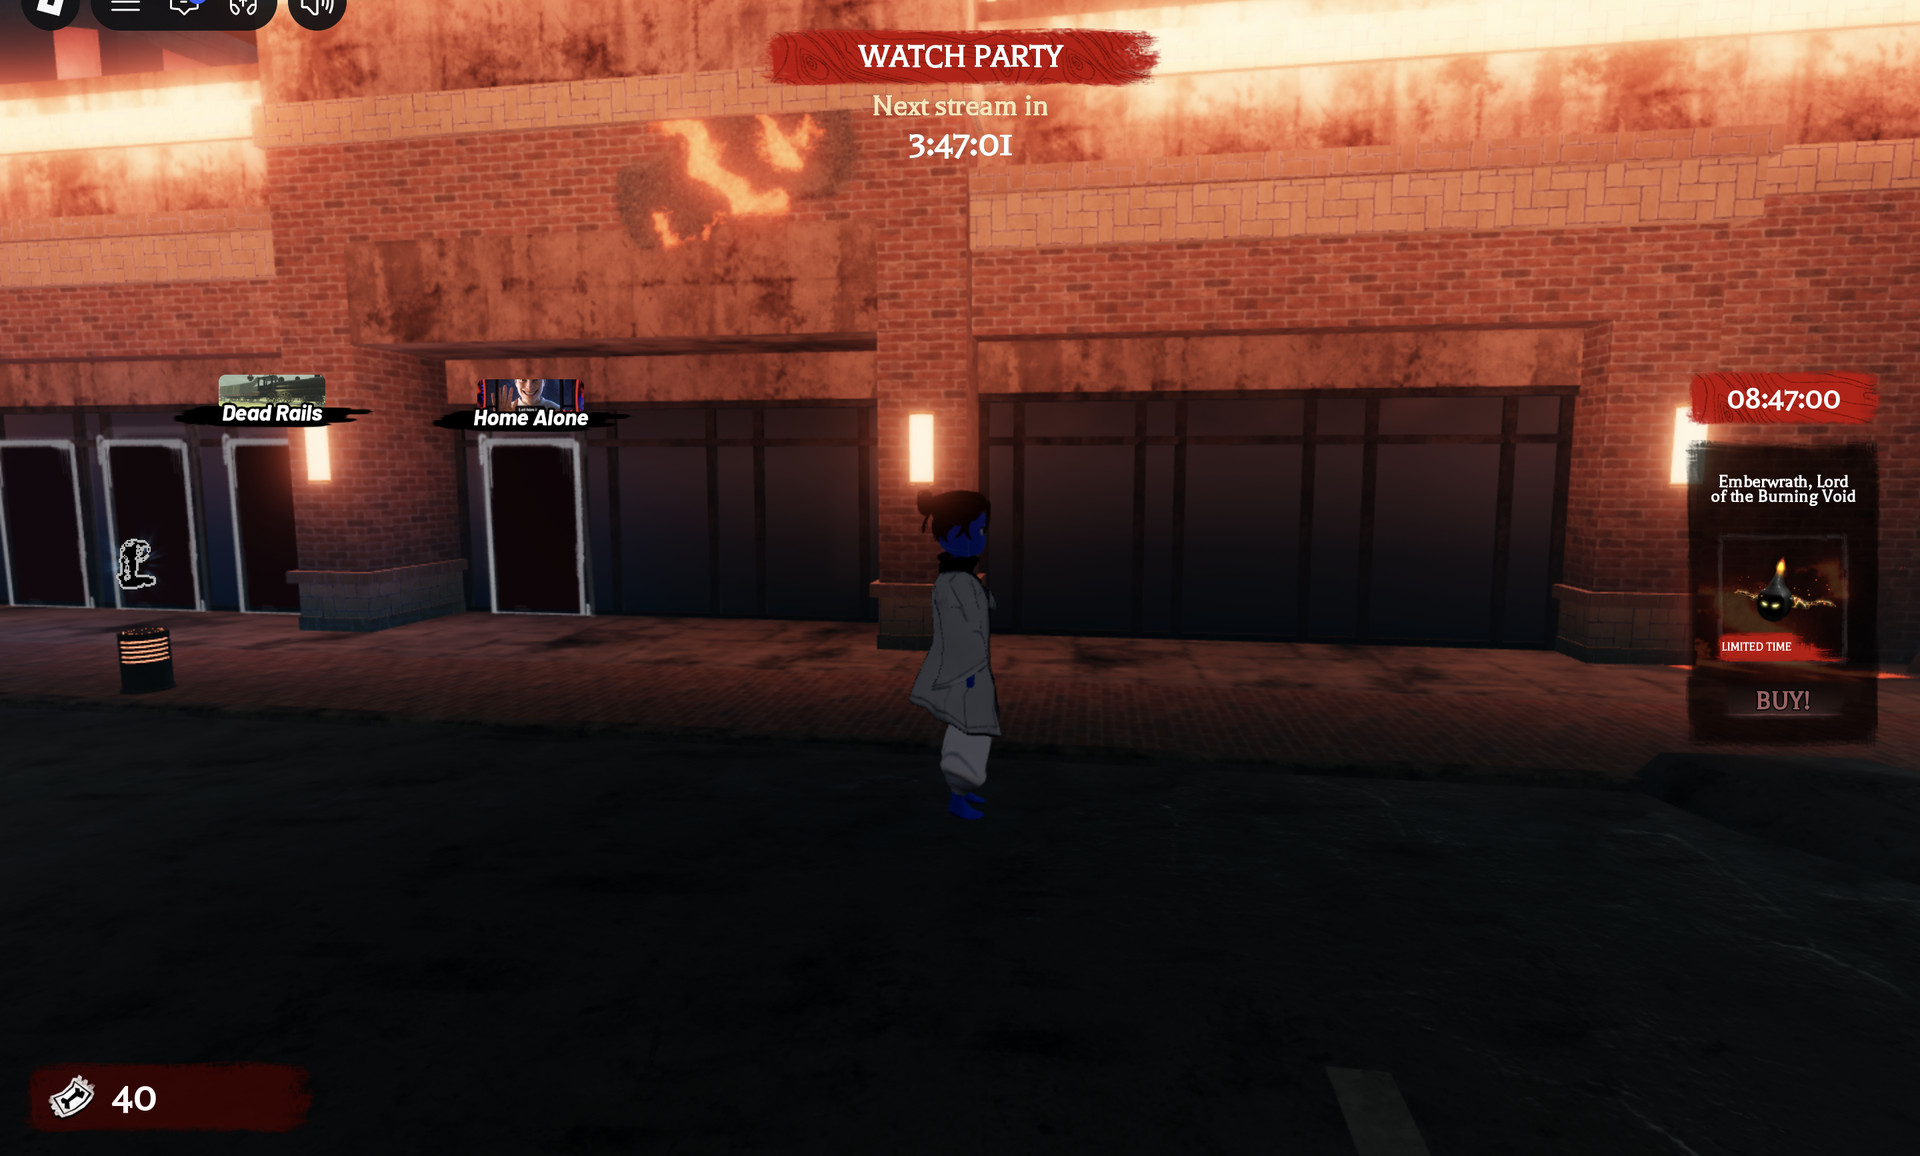
One brick building holds a row of four doors. Left to right, they read “Flee The Facility”, “Ao Oni”, “Dead Rails” and “Home Alone”. On 28 October a fifth door stood to the right of Home Alone, tagged “Dress to Impress”. Beside each one, a dark silhouette floats in the air. That silhouette is the shape of the free item the game’s quest gives. The hub shows only the shape, with no name and no price.
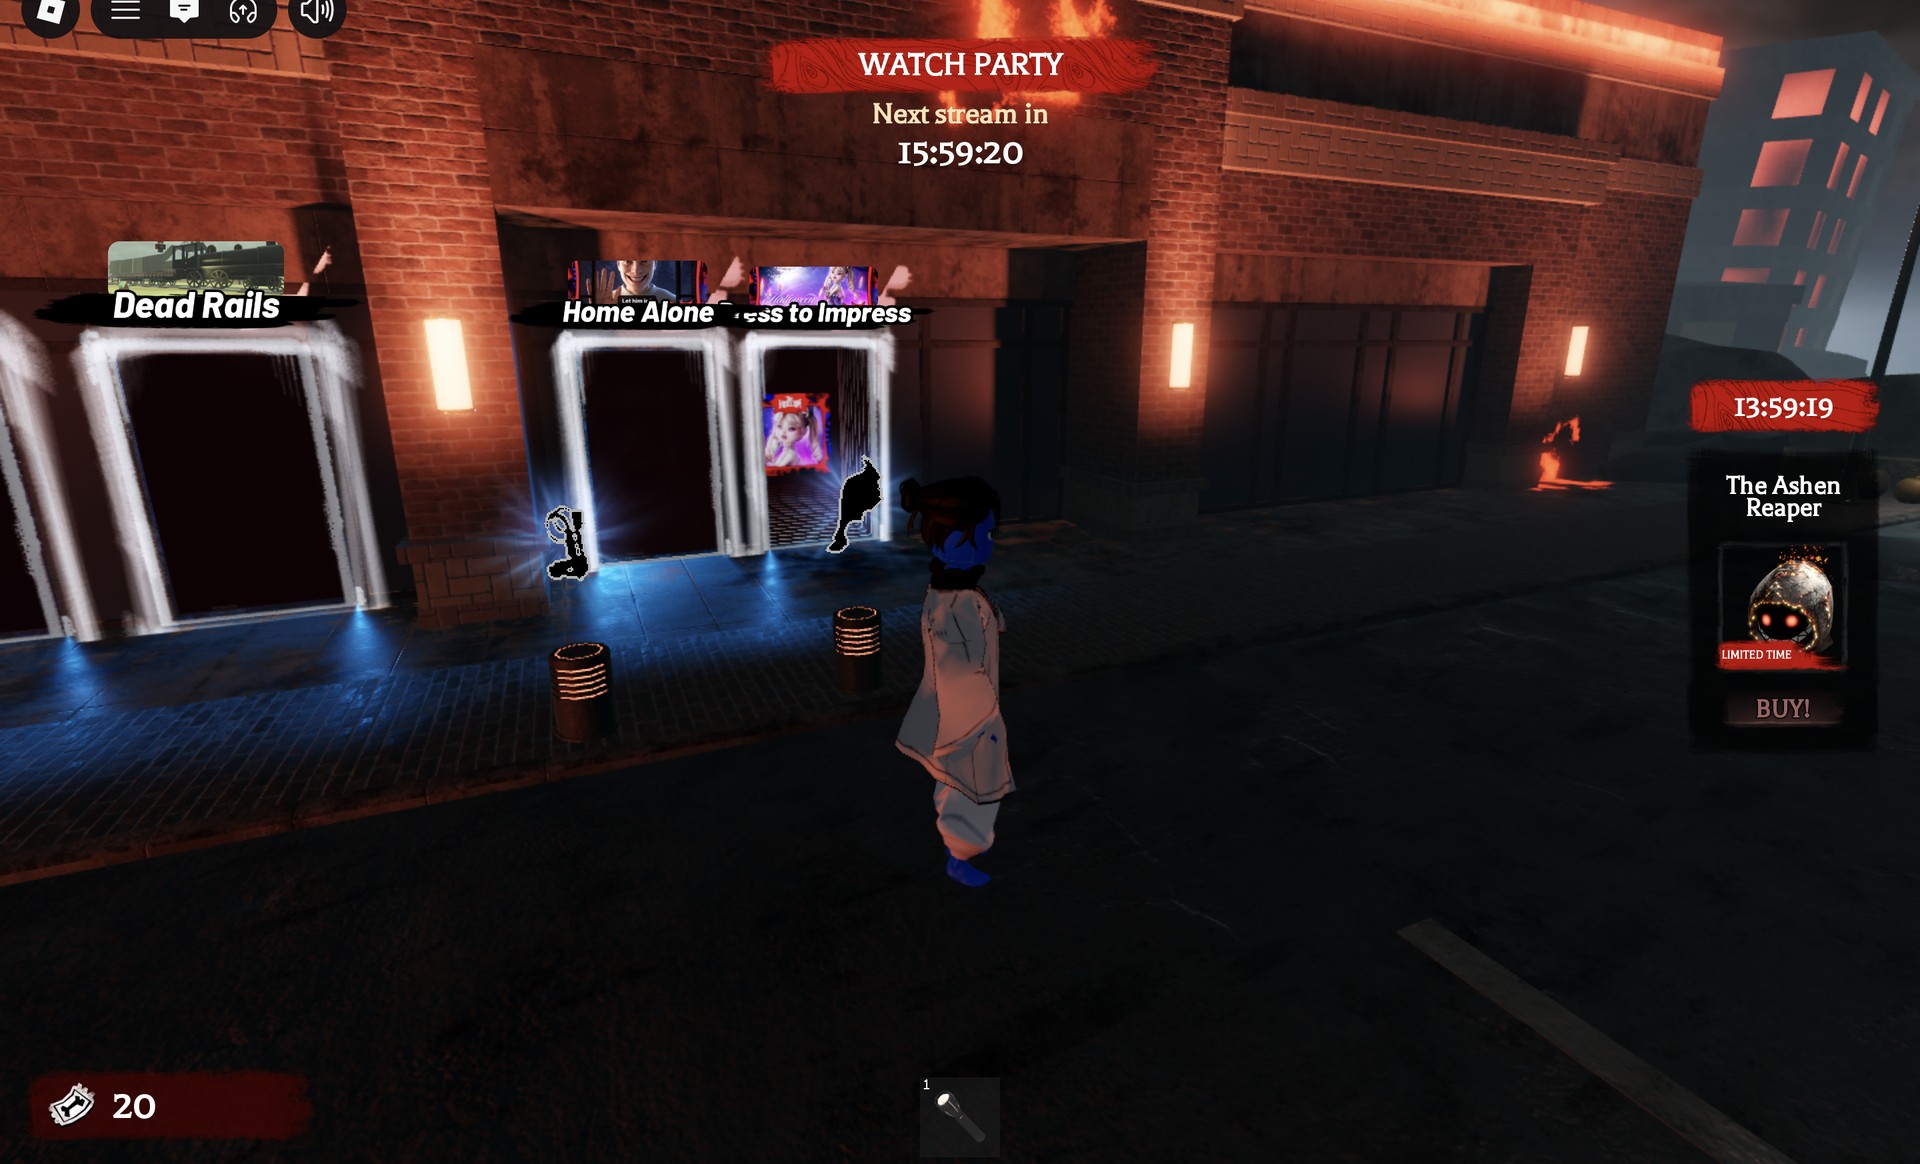
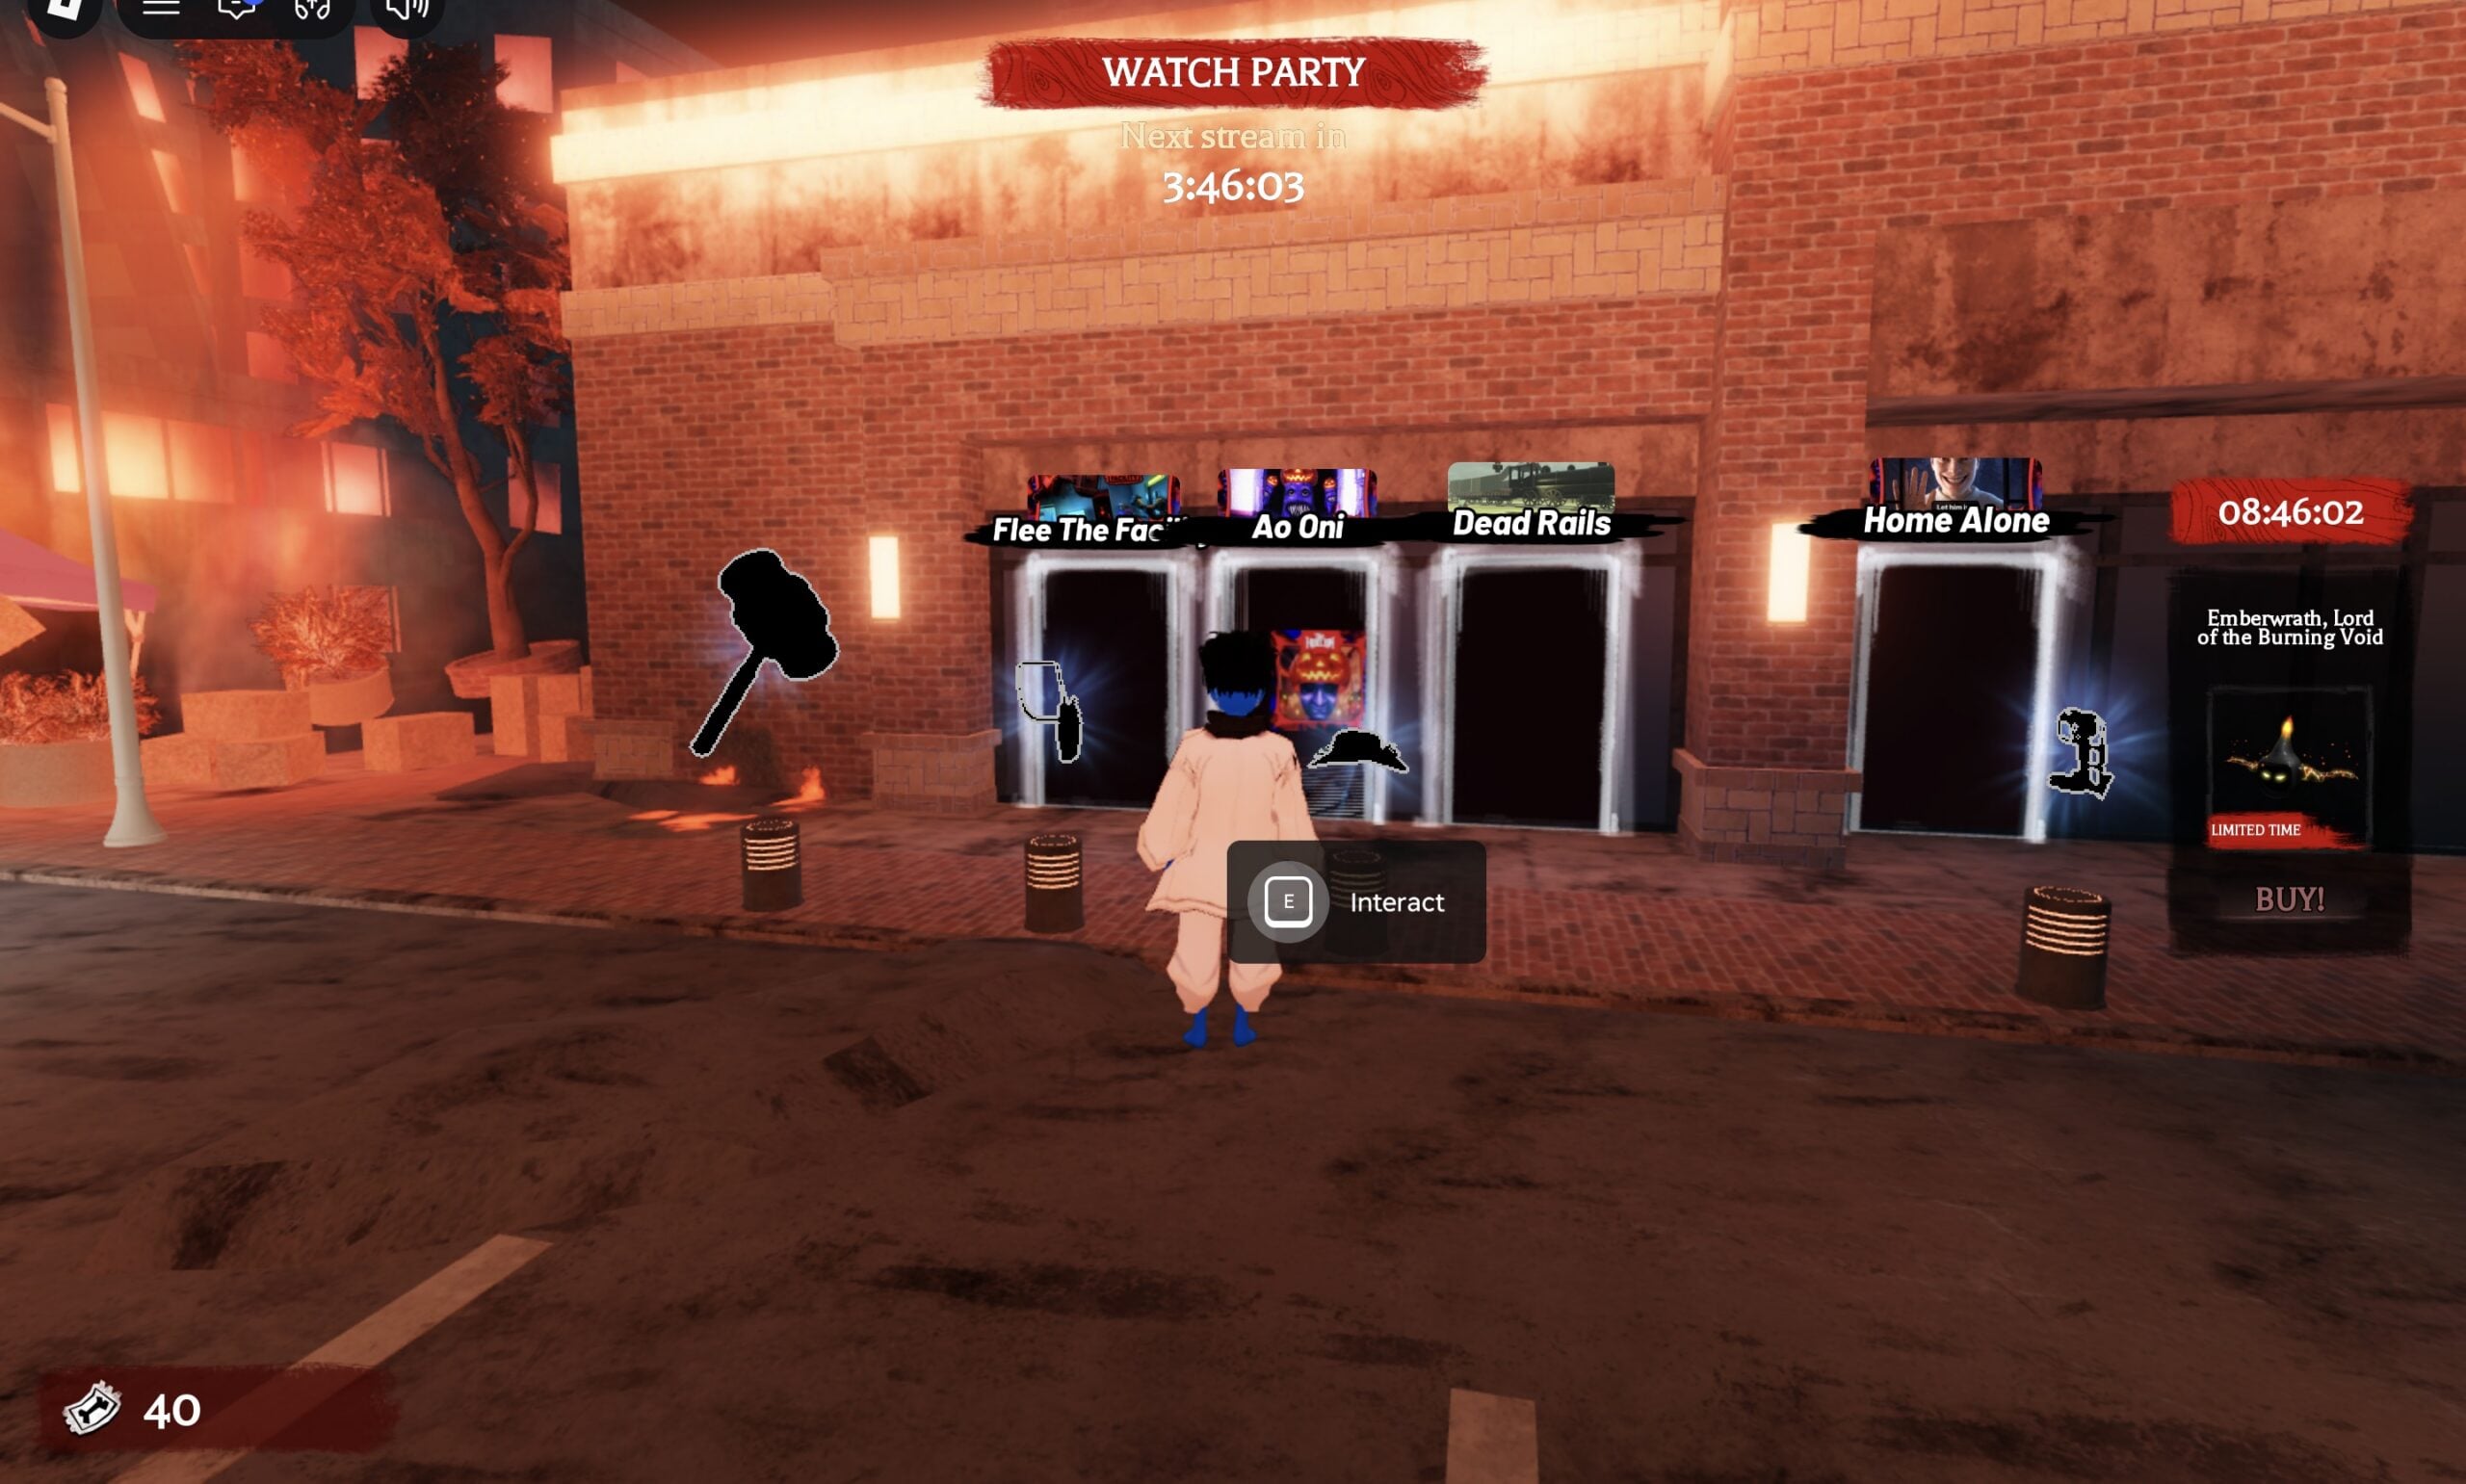
| Door (left to right) | Silhouette beside it |
|---|---|
| Flee The Facility | A big hammer |
| Ao Oni | A satchel-like shape |
| Dead Rails | A wide-brimmed hat |
| Home Alone | A jacket-like rig |
| Dress to Impress | A veil-like shape (seen 28 Oct) |
At the Ao Oni door, an “Interact” prompt appears, but pressing E causes no visible change.
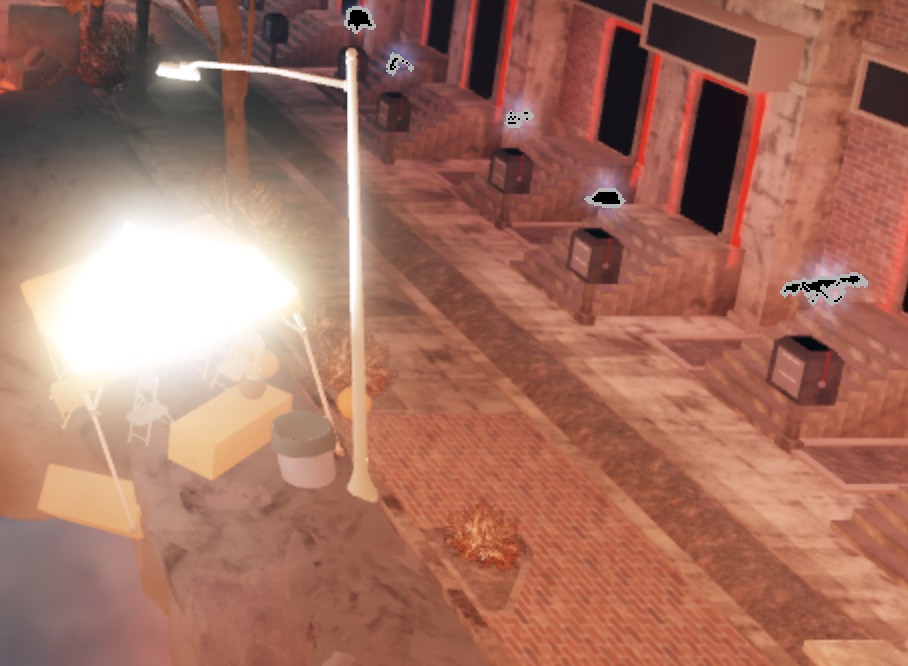
The house doors along both sidewalks are partner-game portals too. Next to each house stoop stands a small black mailbox, and a dark item silhouette floats above it. Standing at the mailbox beside the Demonology door shows an “Interact” prompt, but pressing E there also caused no visible change for us. Walking into the door itself opens the Teleport card: “You will leave the hub to enter Demonology.”
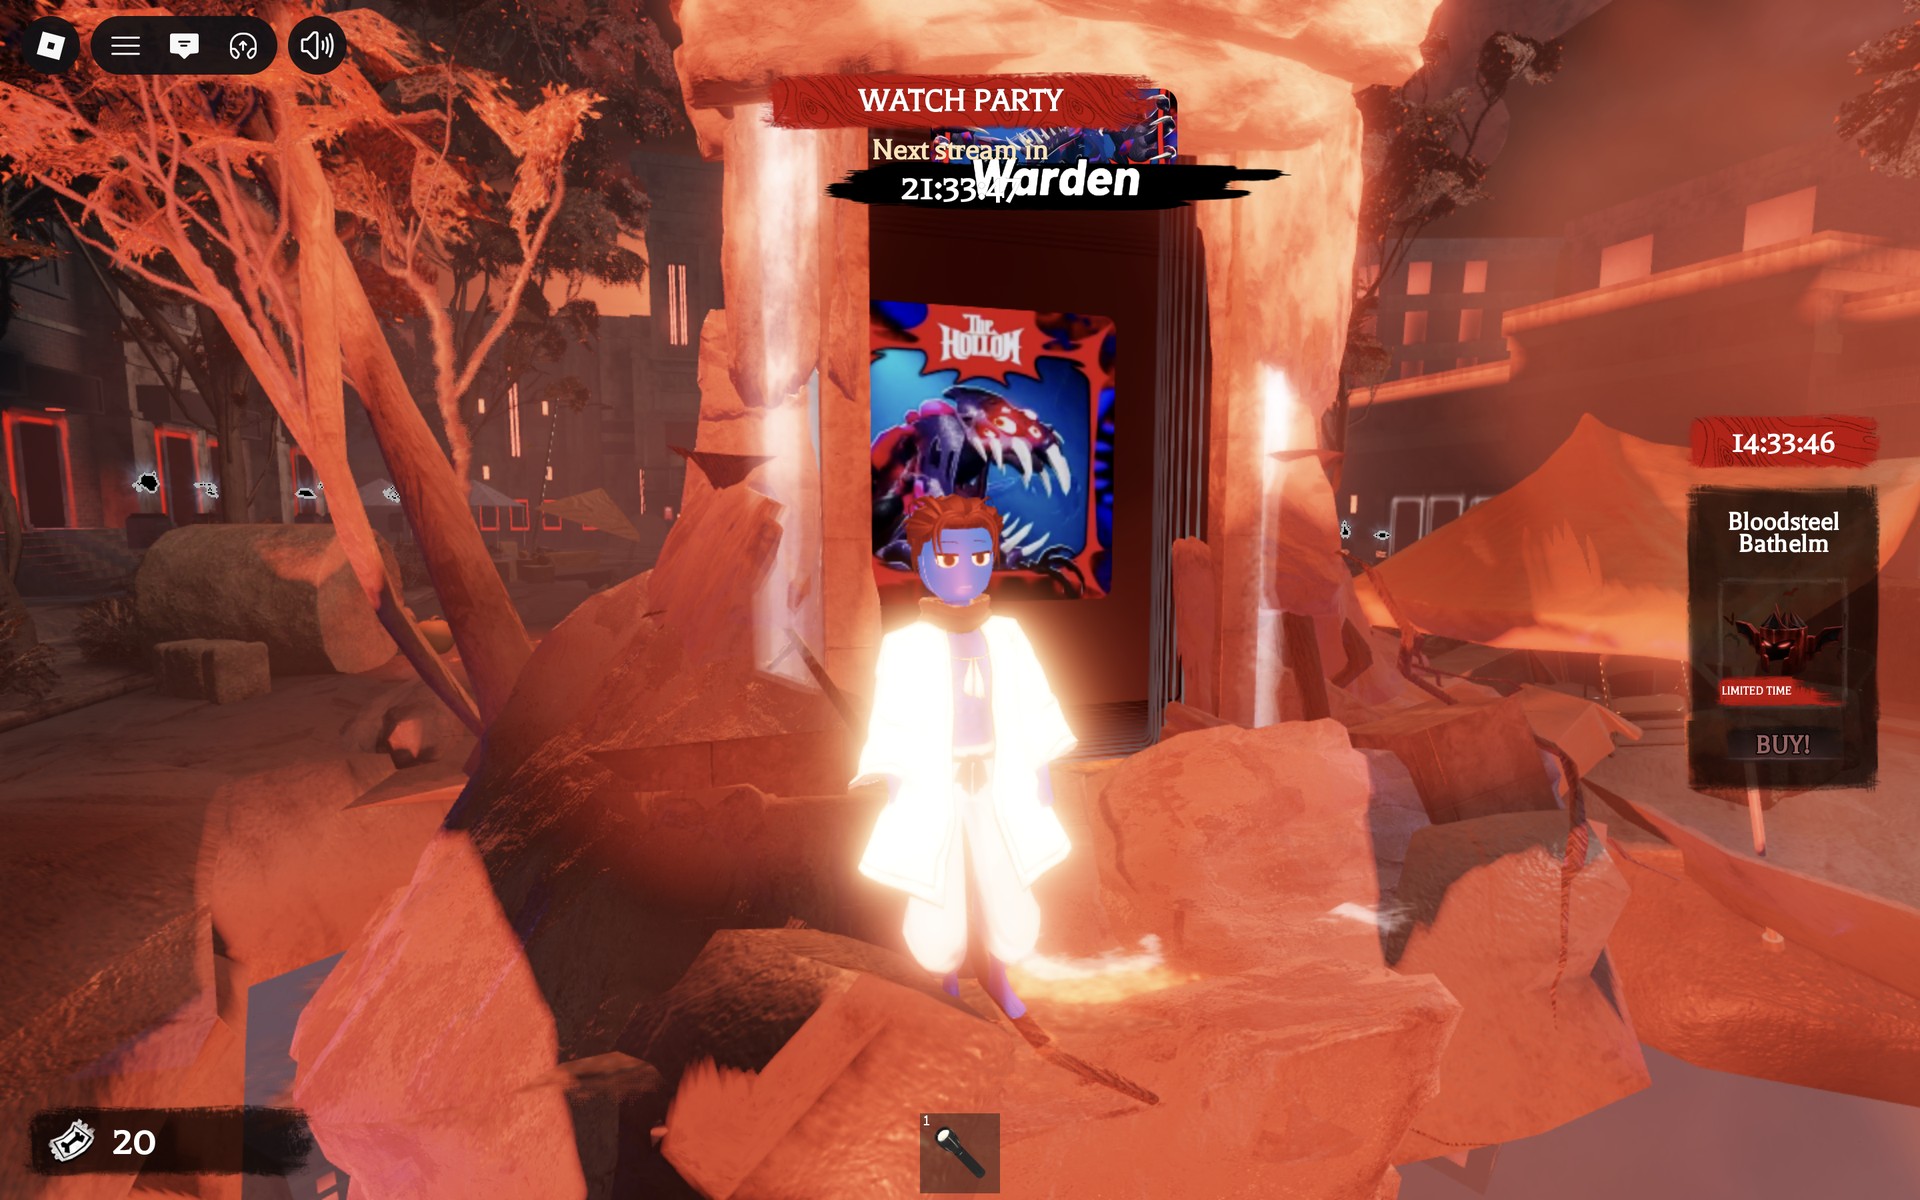
Two partner games use stone arches instead of doors. The Mimic’s separate arch portal, tagged “The Mimic”, sits just off the tented square. Dandy’s World has a stone arch at the street’s far end, where Reset Character sends you. On 28 October that arch was tagged “Animal Hospital” instead, and walking into it opened the Teleport card for Animal Hospital. On 29 October it was tagged “Scary Shawarma”, and walking into it opened a Teleport card reading “You will leave the hub to enter Scary Shawarma.” On 30 October it was tagged “Warden”, with the card reading “You will leave the hub to enter Warden.” So far the arch has shown a different partner game on each day we checked.
How to enter a partner game from the hub
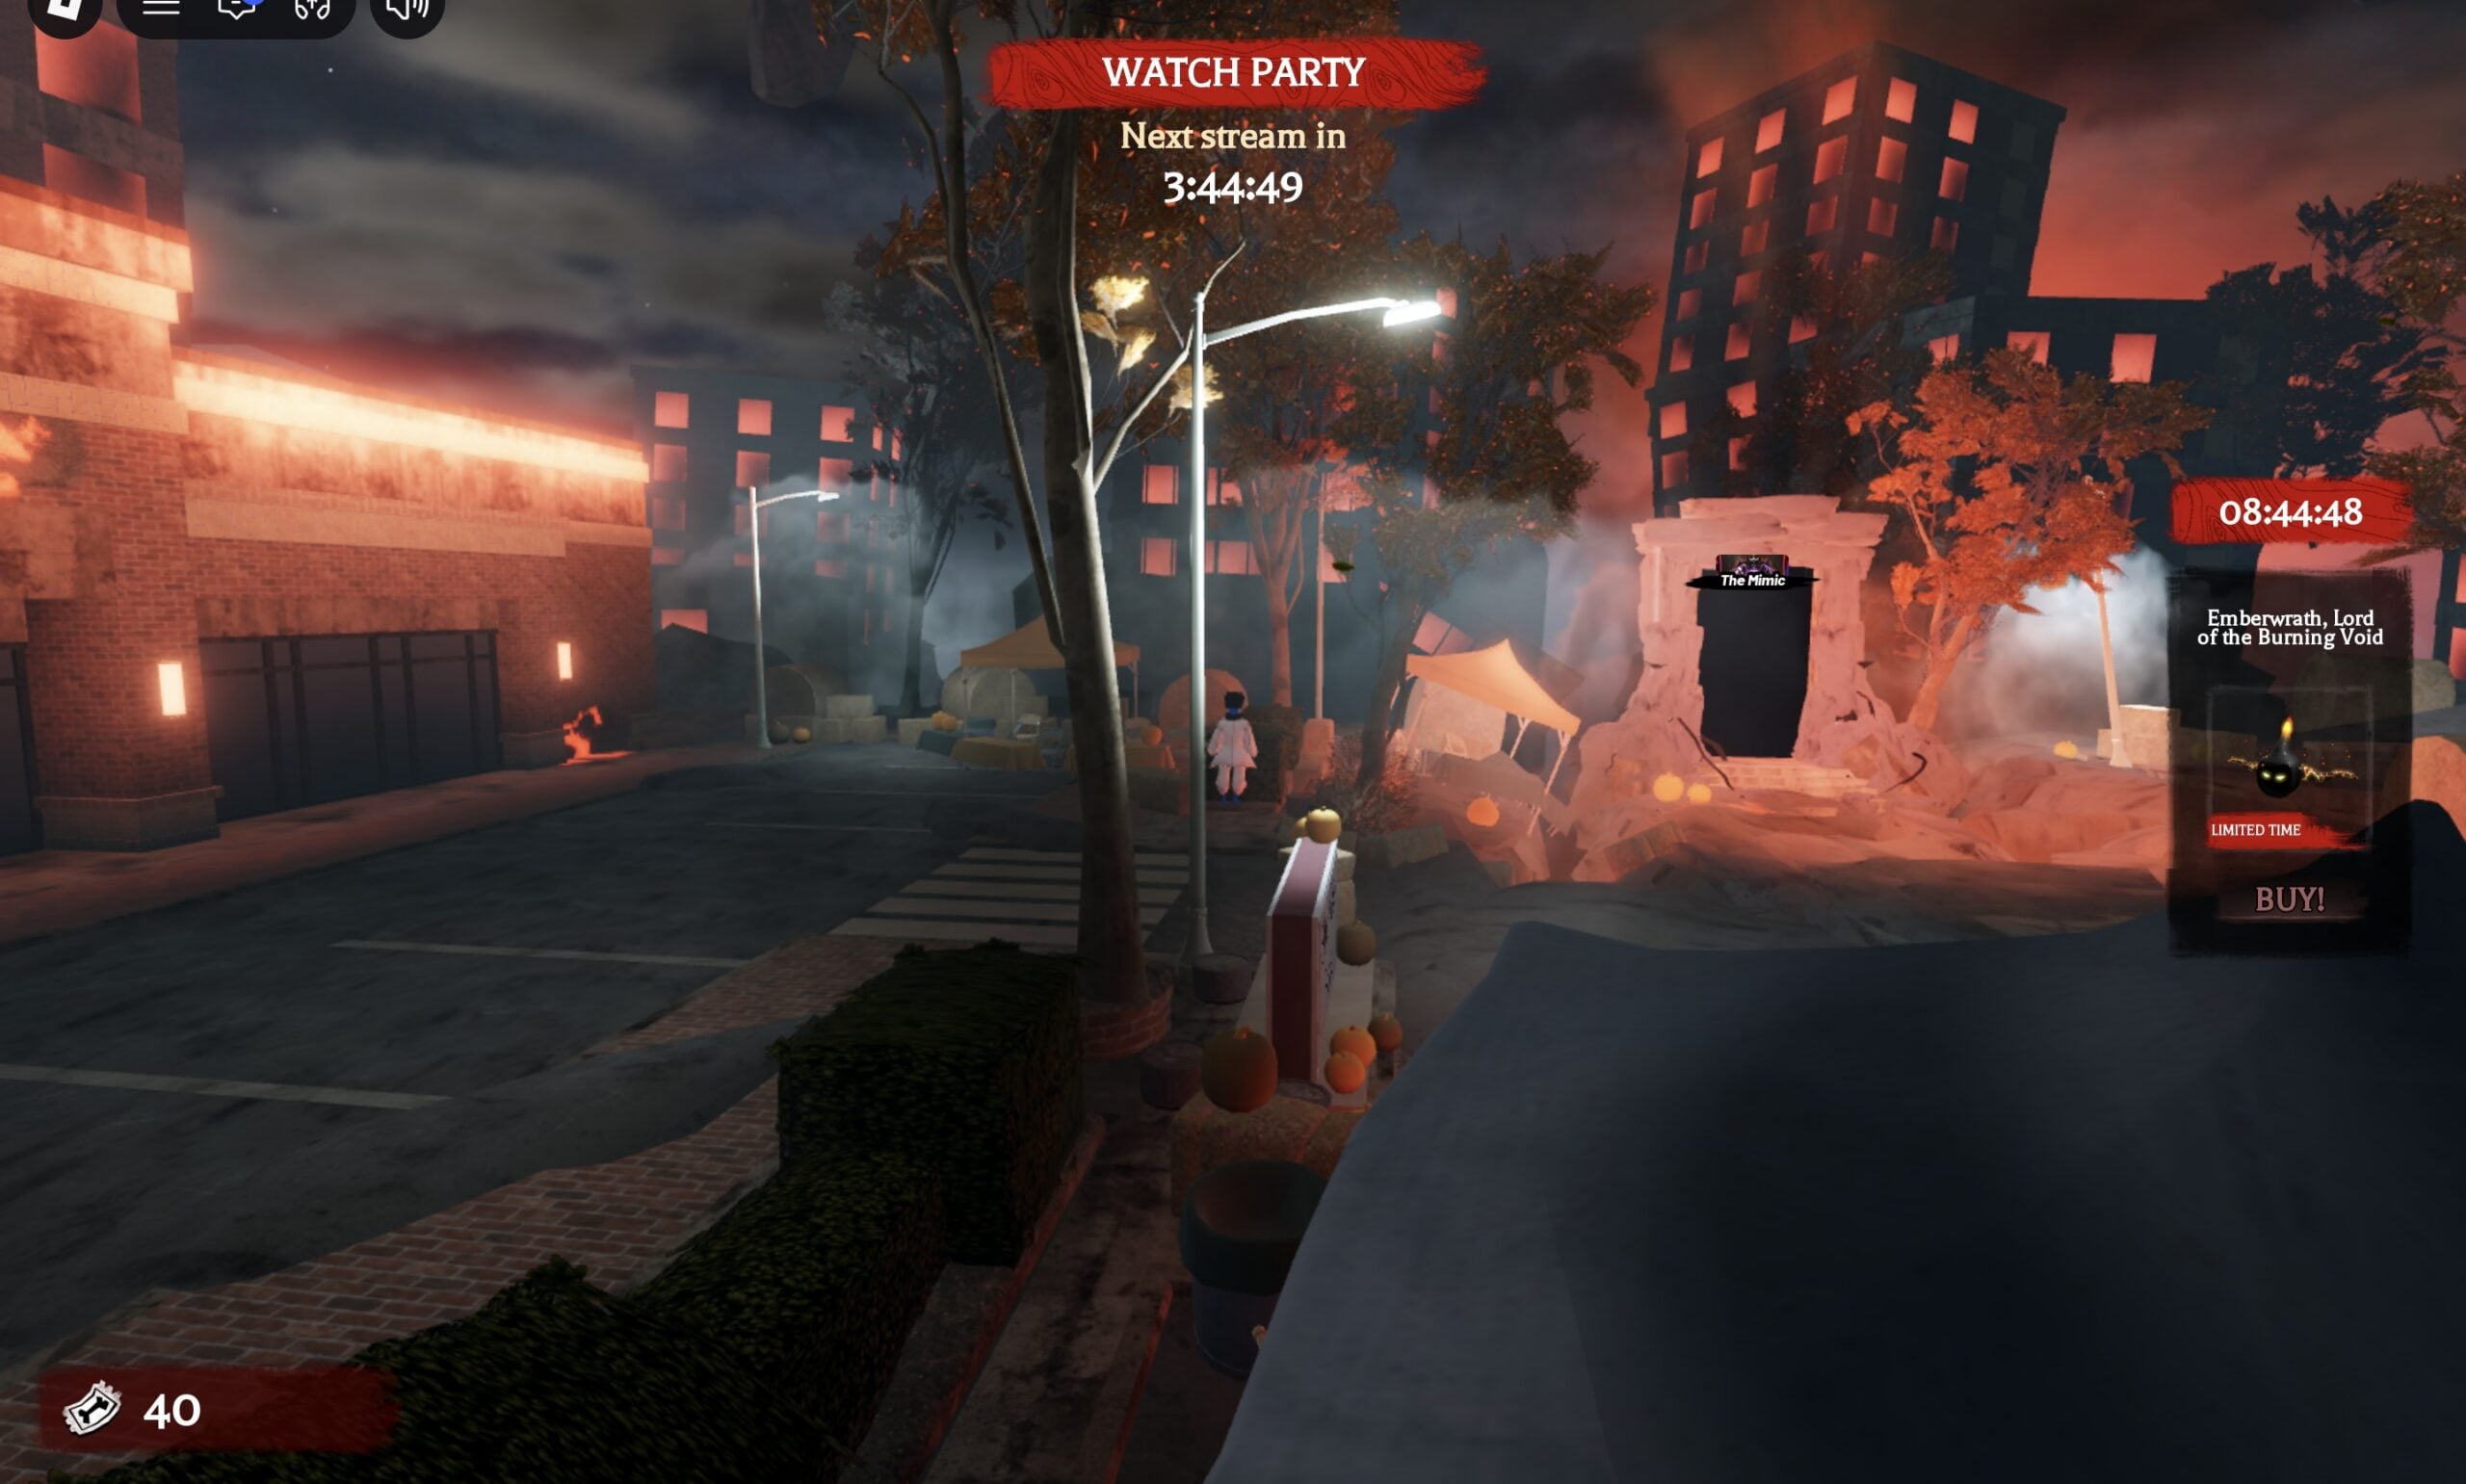
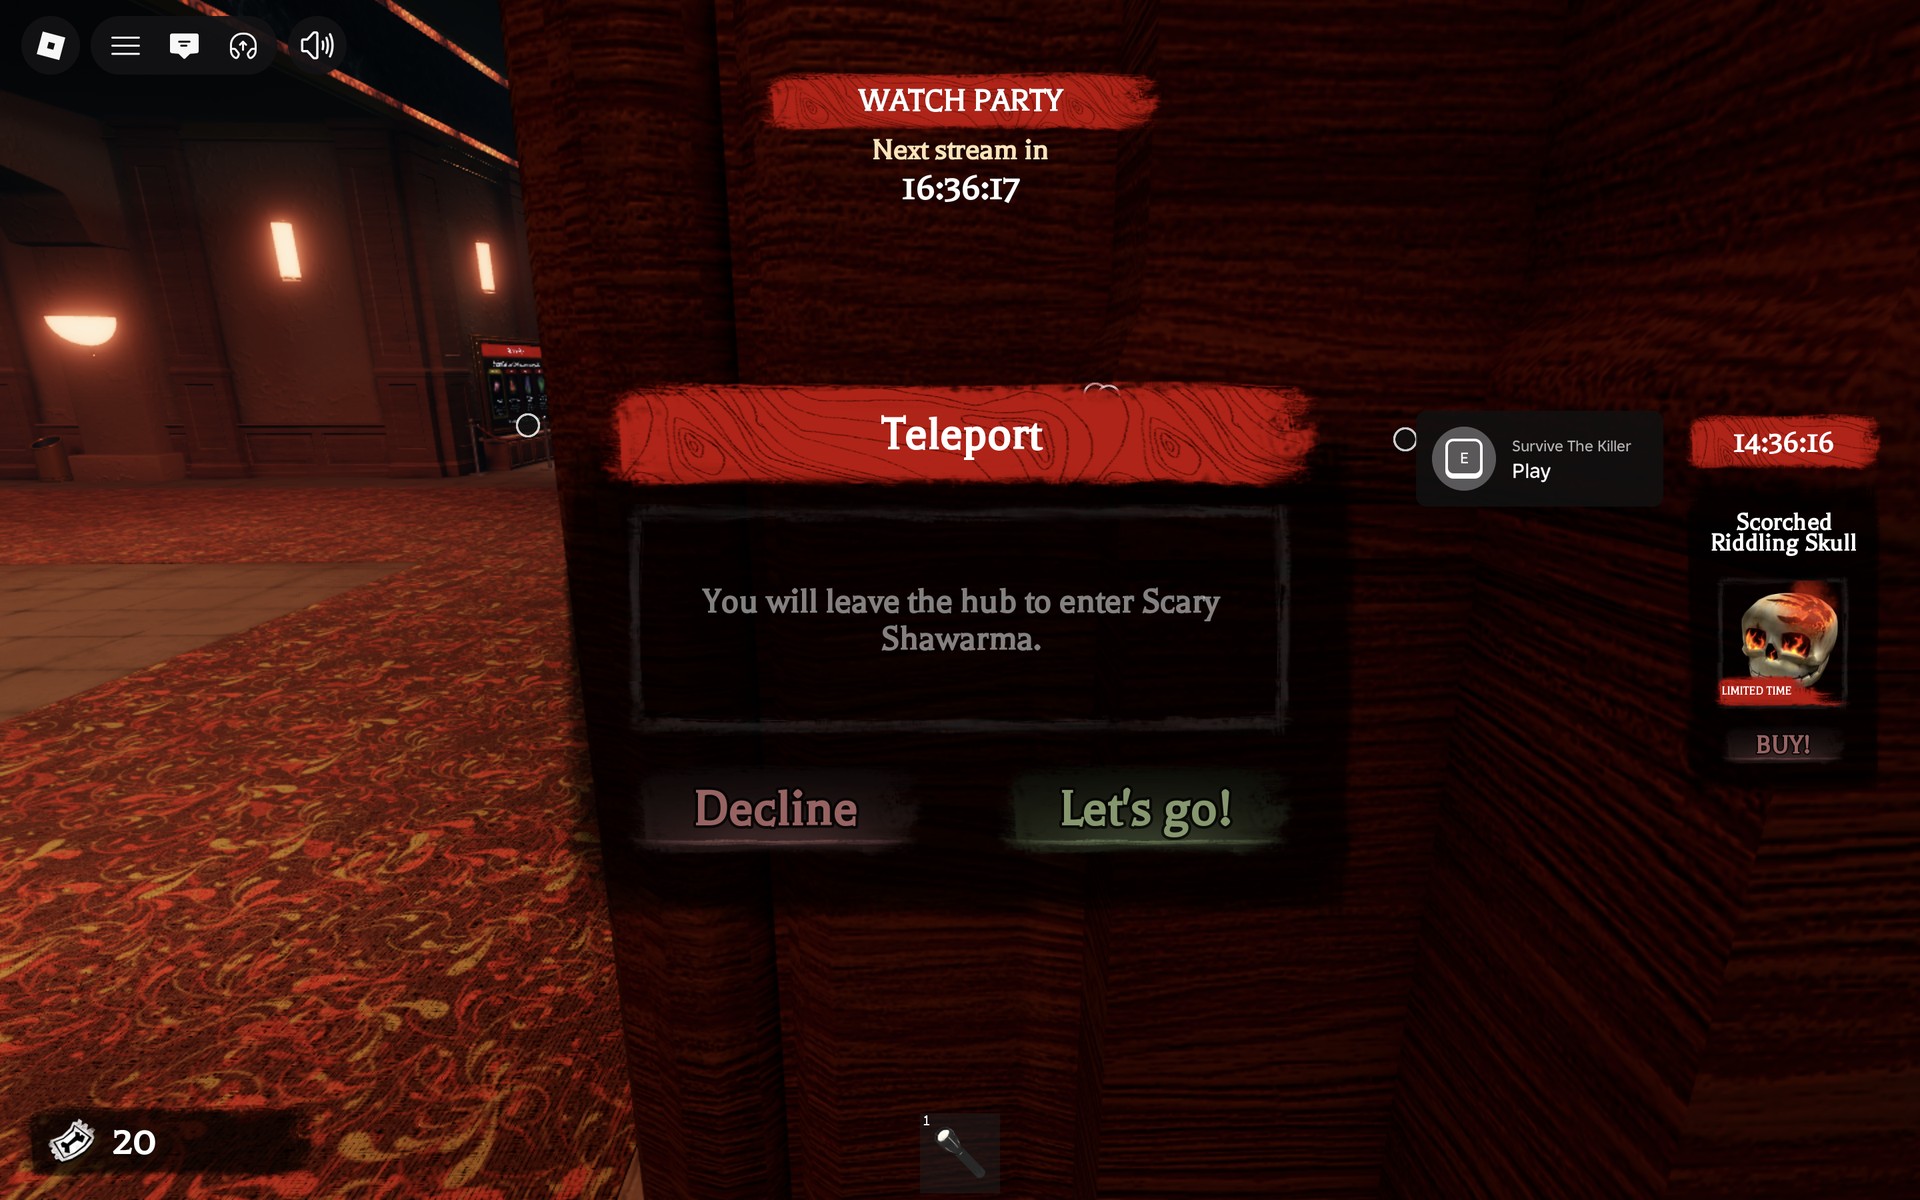
None of these items carry a ticket price. Tickets are only spent in the LITTLE SHOP OF TERROR, and the ways to earn them are covered in how to earn tickets in The Hollow, plus every shop item price.
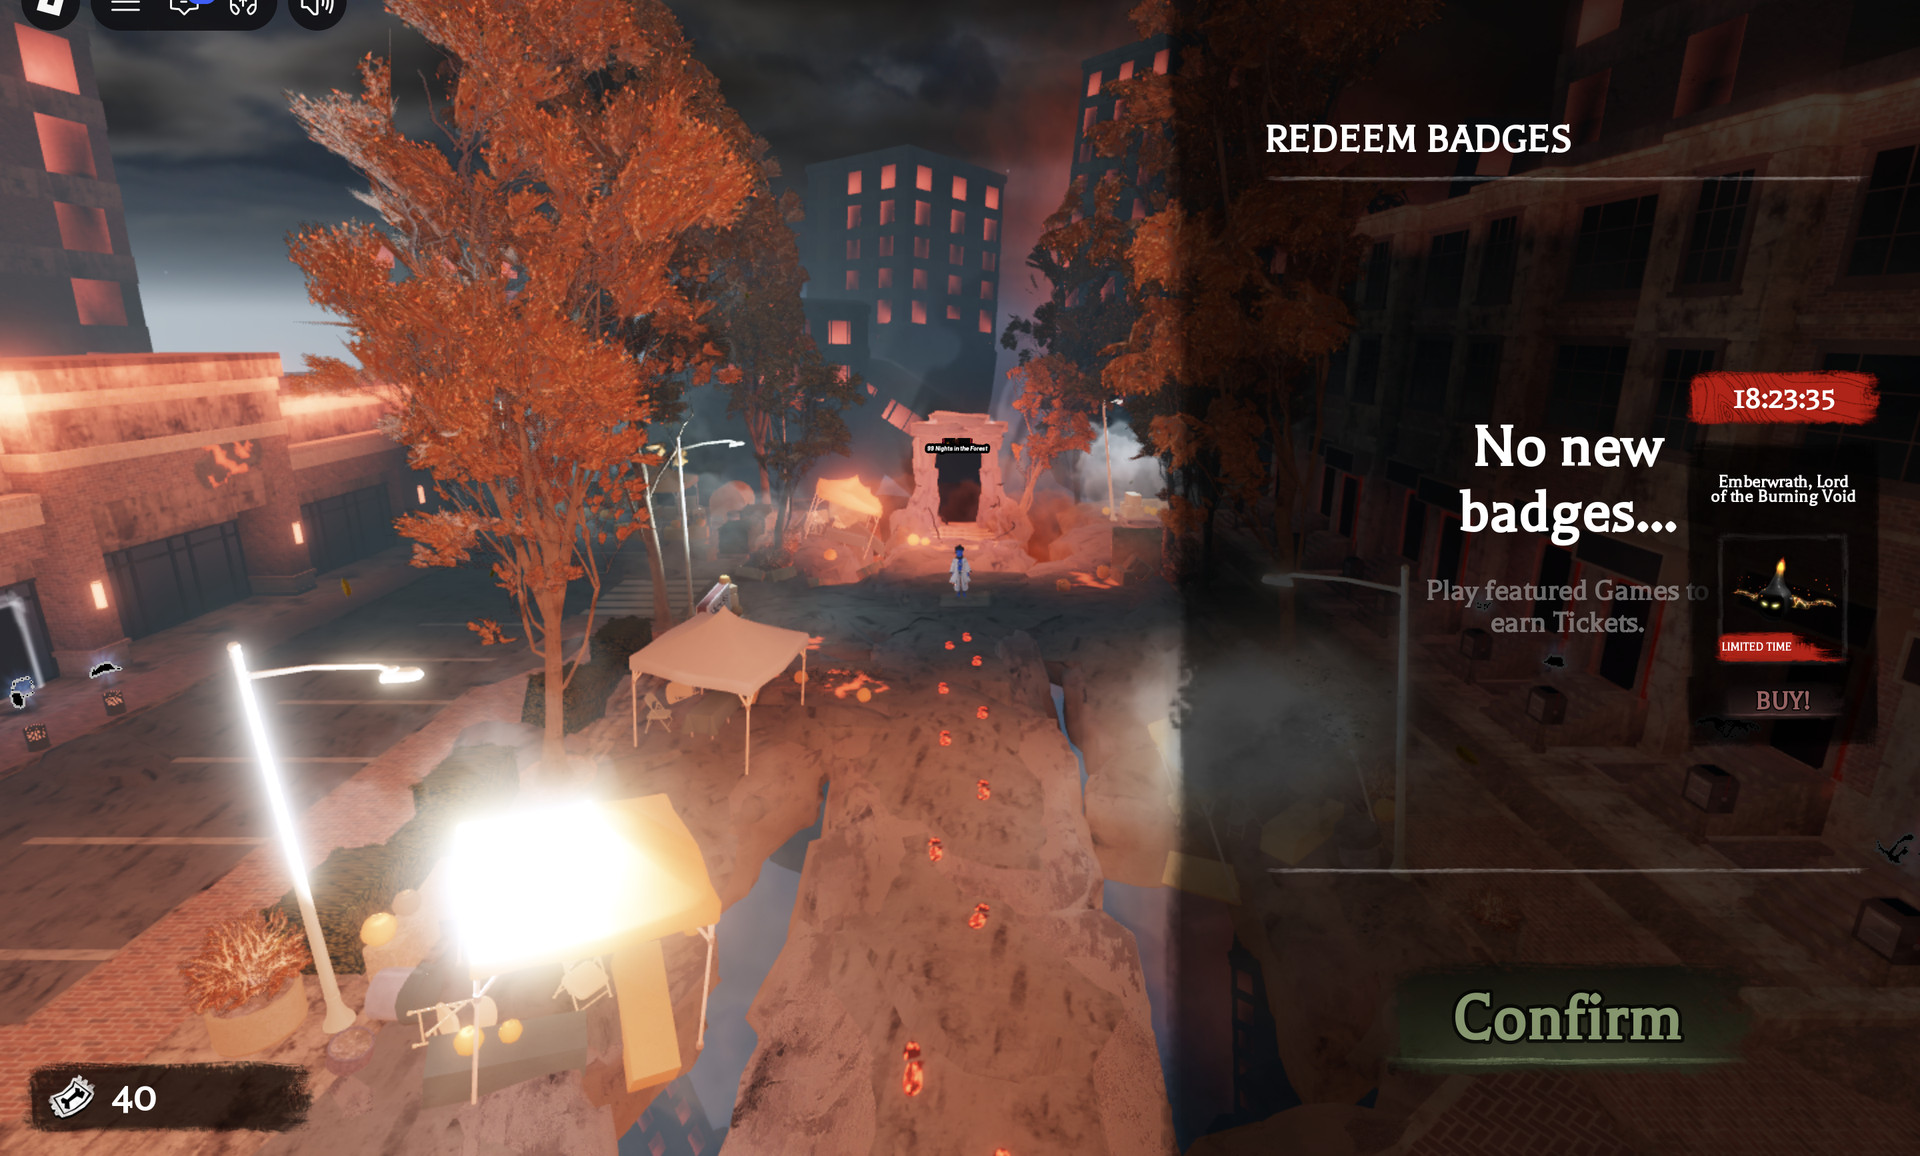
Partner games also pay you back in tickets. When you rejoin The Hollow, the REDEEM BADGES panel opens and pays out tickets for badges you earned in those games.
Every free item and how to get it (unverified)
The list below shows the reported requirements for each item. These requirements have not been confirmed in game, so treat them as a starting point rather than a checklist.
| Item | Type | Where | Reported requirement |
|---|---|---|---|
| Lord Umberhallow Bloxikin | Shoulder | The Hollow, Floor 1 | Solve the Floor 1 puzzle |
| Witches Brew-Nado | Back | The Hollow, Floor 2 | Solve the Floor 2 puzzle |
| Festering Felix | Head | The Hollow, Floor 3 | Solve the Floor 3 puzzle |
| Boo & Bub | Shoulder | The Hollow, Floor 4 | Solve the Floor 4 puzzle |
| Spore-Worn Traffic Cone | Head | The Hollow, Floor 5 | Solve the Floor 5 puzzle |
| The Amazing Liquefactive Bighead | Not reported | The Hollow, Floor 6 | Solve the Floor 6 cauldron puzzle |
| Beasthammer | Back | Flee the Facility | Put 100 candies in the bucket during matches |
| All-Seeking Antler | Hat | DOORS | Clear the Candy Vault floor |
| Fuwatty Side Satchel | Front | Ao Oni | Collect 50 pumpkins |
| Reeling Petal Garland | Neck | Dandy’s World | Collect 200 pumpkins |
| Biter Fedora | Head | Demonology | Put all 6 items on the altar |
| Cowboy Hat of the Dead | Head | Dead Rails | The Phantom Train quest |
| Anomaly Detection Rig | Jacket | Home Alone | Meet all 4 crossover characters and reach an ending |
| Chrome Deer Skull Chain | Neck | 99 Nights in the Forest | Collect 20 red flowers |
| Veil of Darkness | Head | Dress To Impress | Finish Chapter 1 of the Tales of the Dark King quest |
| Hiachi Grin Mask | Face | The Mimic | The Hollow quest: seven carnival games, four relics and a boss |
| Lolwen | Not reported | Banana Eats | Escape a round with the Hollow Key, then collect 8 cake pieces in Banana’s Basement |
| Candy Corn Rune Antlers | Head | The Hollow, Floor 7 | Take the torch from the puzzle room brazier, light four pumpkins, then bring the relic to the elevator |
| Mushroom Infestation | Not reported | Scary Shawarma Kiosk | Finish a Full Shift in Story Mode and serve all seven Hollow Entities |
| Killer’s Knife Aura | Not reported | Survive the Killer (portal in a Floor 7 secret room) | Hand in the Guitar, Siren Head’s keys and the Drumsticks to three lobby NPCs, one item per round |
| Mimic Hoodie | Not reported | Animal Hospital | From Day 2, vacuum pink slime for photos for the Hazmat NPC, solve the 3×3 slide puzzle, then see Hazmat again on Day 3 |
| Rotten Pumpkin | Head | The Hollow, Floor 8 | Place the five puzzle-room objects (Candle, Skull, Bottle, Lantern, Bell) on their pedestals one at a time, then bring the relic to the elevator |
| Wings of Corrupted Jerry | Not reported | Warden | In The Hollow event mode, survive five trials by destroying the purple-beacon infections, then beat the two-phase boss (break its shields, then throw Healing Claws) |
| Ofuda Survival Kit | Not reported | PETAPETA | Clear three maze levels with keys, lockboxes and safe codes, placing an Ofuda on each; on Level 3 the code is in the red smoke room behind a peephole |
Five of the hub silhouettes line up with rows in that table, by shape only. The hammer beside Flee The Facility matches the Beasthammer. The satchel beside Ao Oni matches the Fuwatty Side Satchel. The hat beside Dead Rails matches the Cowboy Hat of the Dead, and the rig beside Home Alone matches the Anomaly Detection Rig. The veil-like shape beside the Dress to Impress door matches the Veil of Darkness. For the floor puzzles, start with where the elevator is and how the Floor 1 maze works; for DOORS, see how to start the Candy Vault; for Dress To Impress, see how to complete Chapter 1 of Tales of the Dark King.
- Partner rewards are reportedly claimed back in the hub, near that game’s portal. Two exceptions are reported: the Candy Corn Rune Antlers go straight into your inventory when you finish Floor 7, and the Killer’s Knife Aura is claimed in the Floor 7 secret room. The Ofuda Survival Kit is likewise reported to be claimed from a pedestal in a Floor 8 secret room, while the Wings of Corrupted Jerry are claimed at a pedestal near the Warden portal display in the hub.
- Four shoulder “ghost” items reportedly drop when certain special accounts launch a ghost in your server.
How to get the Ofuda Survival Kit (PETAPETA badge)
We have not played PETAPETA or seen its portal, so everything in this section is reported by other guides, not verified by us. The Ofuda Survival Kit is reported to come with the PETAPETA Hollow badge and 10 Hollow Tickets.
- The PETAPETA portal is reported to be inside a secret room in The Hollow. Enter it and start a run from the PETAPETA lobby.
- Level 1: follow the green arrows to a Box and a Key. Open the Box with the Key, take the Ofuda, place it and wait for it to activate. If the Monster spots you, hide in a Closet until it passes.
- Level 2: find the Box, the Safe and a Piece of Paper with the safe code. Enter the code to get the Key, open the Box, then place the Ofuda and wait for it to activate.
- Level 3: look for the area with red smoke; that room holds the Hollow quest. Look through its peephole and dodge the Hollow Monsters’ attacks to get the safe code, then take the Key, open the Lockbox, place the Ofuda and wait for it to activate.
- Back in The Hollow, the kit is reported to be claimed from a pedestal in the secret room on Floor 8, so explore the Floor 8 maze until you find that room.
Floor 8 opened on 30 October. To get there, see how to get to Floor 8 in The Hollow.
The items are reportedly available until 2 November 2026, so finish any partner quests before then.