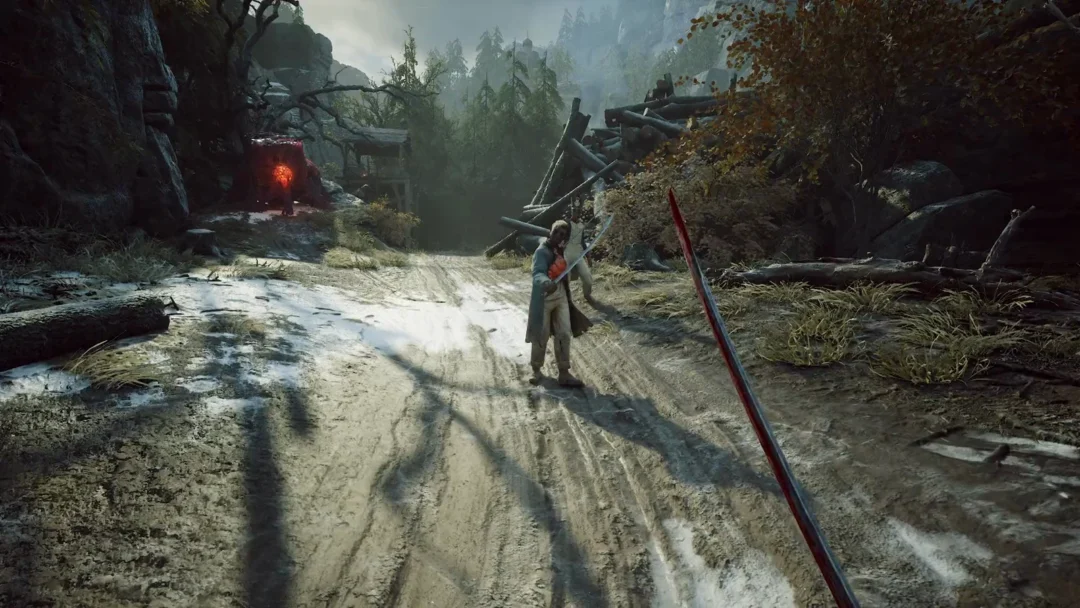
Valor Mortis runs you through ten story bosses as William, the resurrected Grande Armée soldier, carves a path across a plague-rotted Europe. One of them, General Lothaire, shows up twice. Each fight asks for a different mix of parries, firearms, and the dark Transmutation powers you pick up along the way, so knowing who is coming and where helps you pack the right tools.
Quick answer: There are 10 bosses, with General Lothaire fought twice. The table below pairs every boss with the area where you encounter it.
Every boss and its location
| Boss | Location |
|---|---|
| General Lothaire, the Eagle-Bearer | Valley of Ashes, then Abandoned Church |
| The Iron Marshall | Fallen Village |
| Sphinx, Devourer of the Unworthy | Caverns (Pyramids) |
| Slaughtermill | Vale of Wrath |
| Anna, the Bride Drowned in Tears | Cursed Hollow |
| High Justicar Aurelius, Last of the Faithful | The Outskirts |
| Experiment 83 | The Outskirts (Lighthouse) |
| The Orphan | University |
| Captain Raphael of the Nephtis Superioris | University |
| Entity, Voice of the Void | Caverns |
Descriptions below reveal each boss’s appearance and basic moveset, so skip ahead if you would rather meet them cold.
Swordsmen you fight as a duel
These four are humanoid fights that live and die on your parry timing. Reading their strings and filling the stagger bar for a critical hit matters more than raw aggression here.
General Lothaire, the Eagle-Bearer
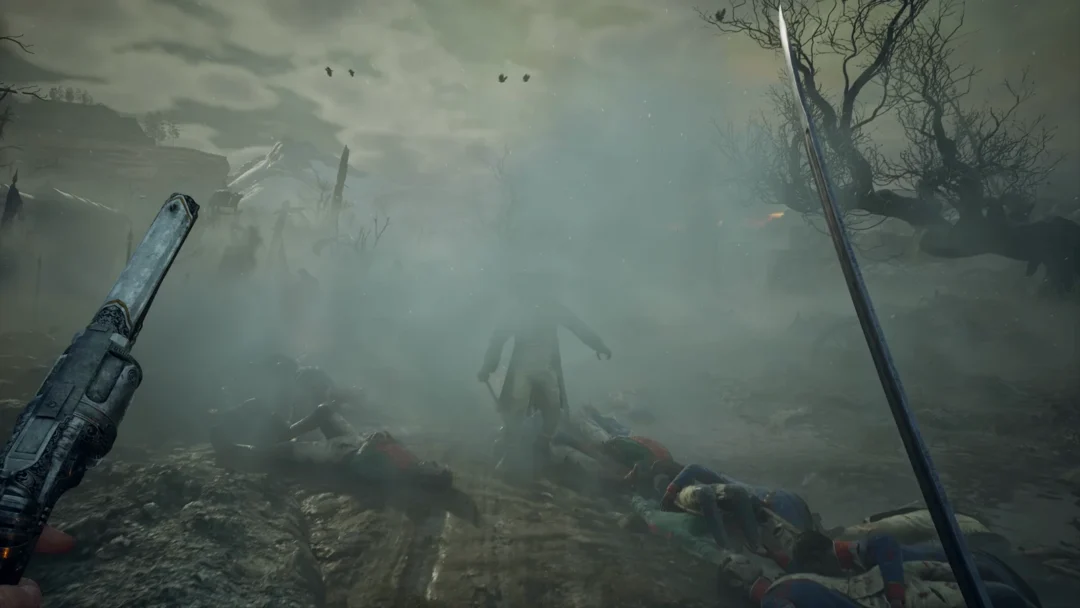
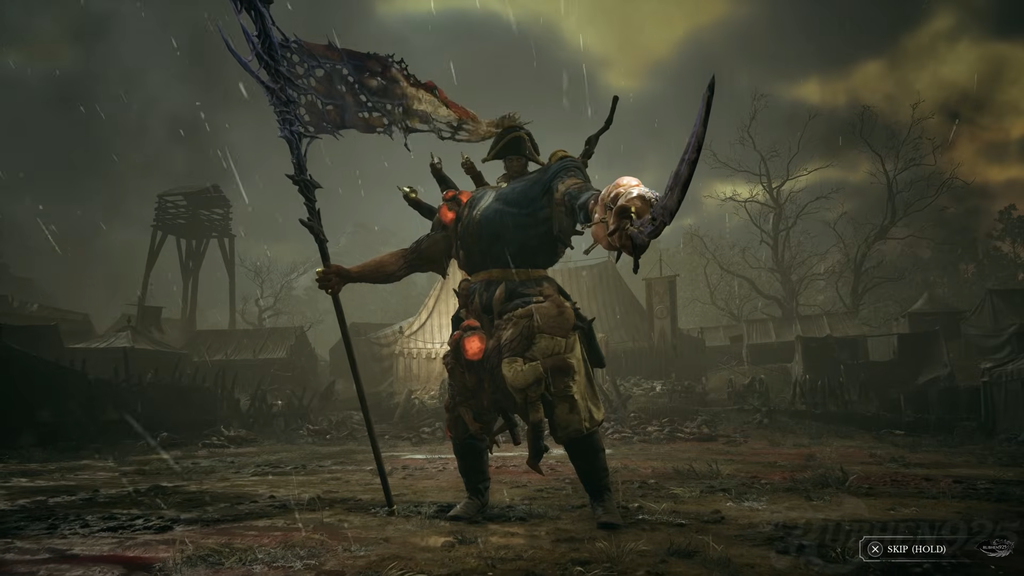
Lothaire is the first boss, and the opening clash in the Valley of Ashes is scripted so that you lose. You get a proper rematch later, just before the Abandoned Church, where you can finally beat him down. He swings a mutated arm in sweeping combos, lunges at range, and fires pistols mounted on his back. Most of it can be parried, which builds his stagger quickly and opens him up for a critical attack.
High Justicar Aurelius, Last of the Faithful
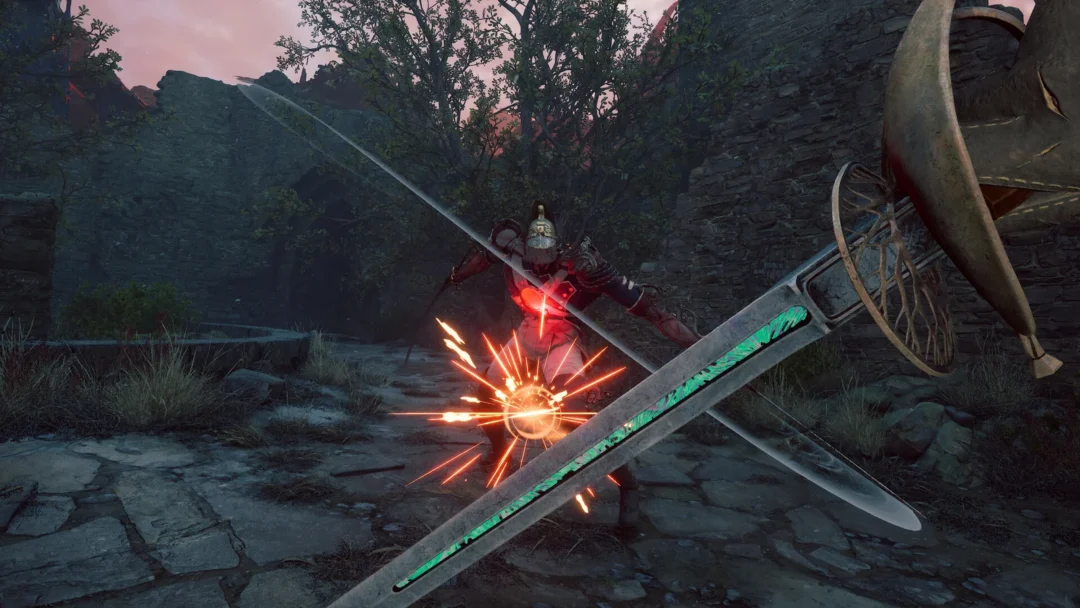
Aurelius is one of the game’s Eternal Guardsman, and in The Outskirts he fights you as a straight sword duel. Poke and parry when the opening appears, and lean on Fire for extra damage over time. When he drinks a flask he mutates and grows a huge bulbous arm that reaches across the arena, much like Lothaire’s. Stay out of its way and wait for the mutation to wear off, then press him again in his human form.
Captain Raphael of the Nephtis Superioris
Found in the University, Raphael wields both a blade and a pistol, and he can heal himself mid-fight, which rewards pressure over patience. The Shield Transmutation carries this one: block his swings, deflect his bullets, and stagger him when you can. The priority is interrupting his Flask heals, so close the gap when he tries to drink, or cut it off with a grenade or your firearm.
Entity, Voice of the Void
The final fight, back in the Caverns, opens against a humanoid foe that looks unsettlingly like you. The real problem is the summons it calls in, and a lot of them. The Shield Transmutation is again your best friend. The adds die to a single hit each, so clear them out before you commit to the boss.
Mutated horrors you burn down
These three are less about trading parries and more about stacking the Fire Transmutation, keeping your distance, and hitting weak points with ranged attacks.
The Iron Marshall
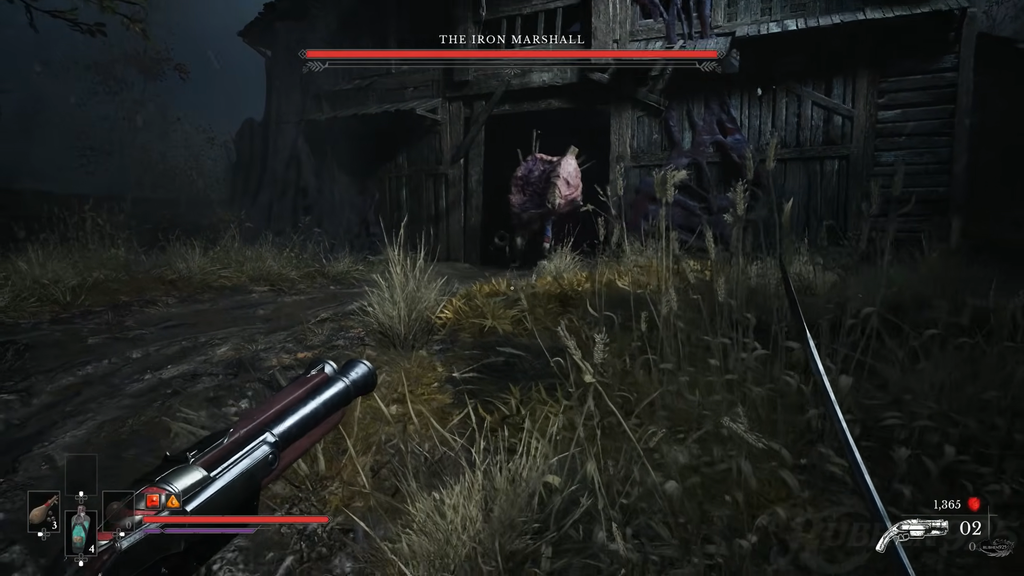
In the Fallen Village, the Iron Marshall moves slowly and poses a slightly easier fight than Lothaire. Fight from range, wearing him down with Fire and ammunition while aiming for the vulnerable spot across his back. You can use melee, but his sweeping blows can catch you, making ranged combat the safer option. Weaker foes named Remnants of the Iron Regiment appear throughout the rest of the game.
Experiment 83
Chasing the Shrike into the Lighthouse basement in The Outskirts, you run into a many-limbed abomination that stalks you around the room. Circle the arena while it follows, then turn and stack Fire on it whenever your Nephtoglobin allows, and this is the moment to spend your Nephtoglobin Vials. Between the Fire and firearms aimed at its weak points, it drops fast.
This boss is also listed as Experiment 33 in some places; it is the same fight.
Anna, the Bride Drowned in Tears
Anna haunts the Cursed Hollow, slashing with a butcher knife in fast, erratic swings and summoning Shambling Civilians to pile on. She is squishy and easy to stagger, so Fire plus heavy attacks during her stuns chips her down quickly. Bring a Hand Grenade for the adds, since the only real danger is being swarmed while you focus her.
Set-piece fights built around a Transmutation
The last three lean on a specific power or arena gimmick. Match the tool to the fight and these go smoothly.
Sphinx, Devourer of the Unworthy
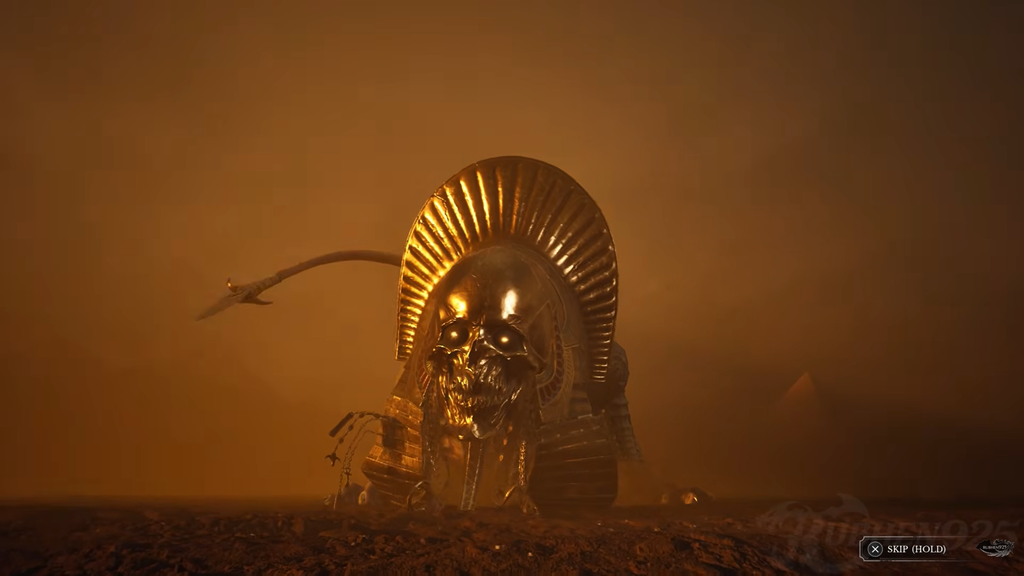
After exploring the Caverns you are whisked away to the Pyramids for the Sphinx, a fast, agile, four-legged creature in a golden headpiece. The Stasis Transmutation is essential for slowing it down or freezing it so you can land hits. It has two health bars, and in the second phase a weak spot opens on its face that you can hammer with the ammunition scattered around the arena.
Slaughtermill
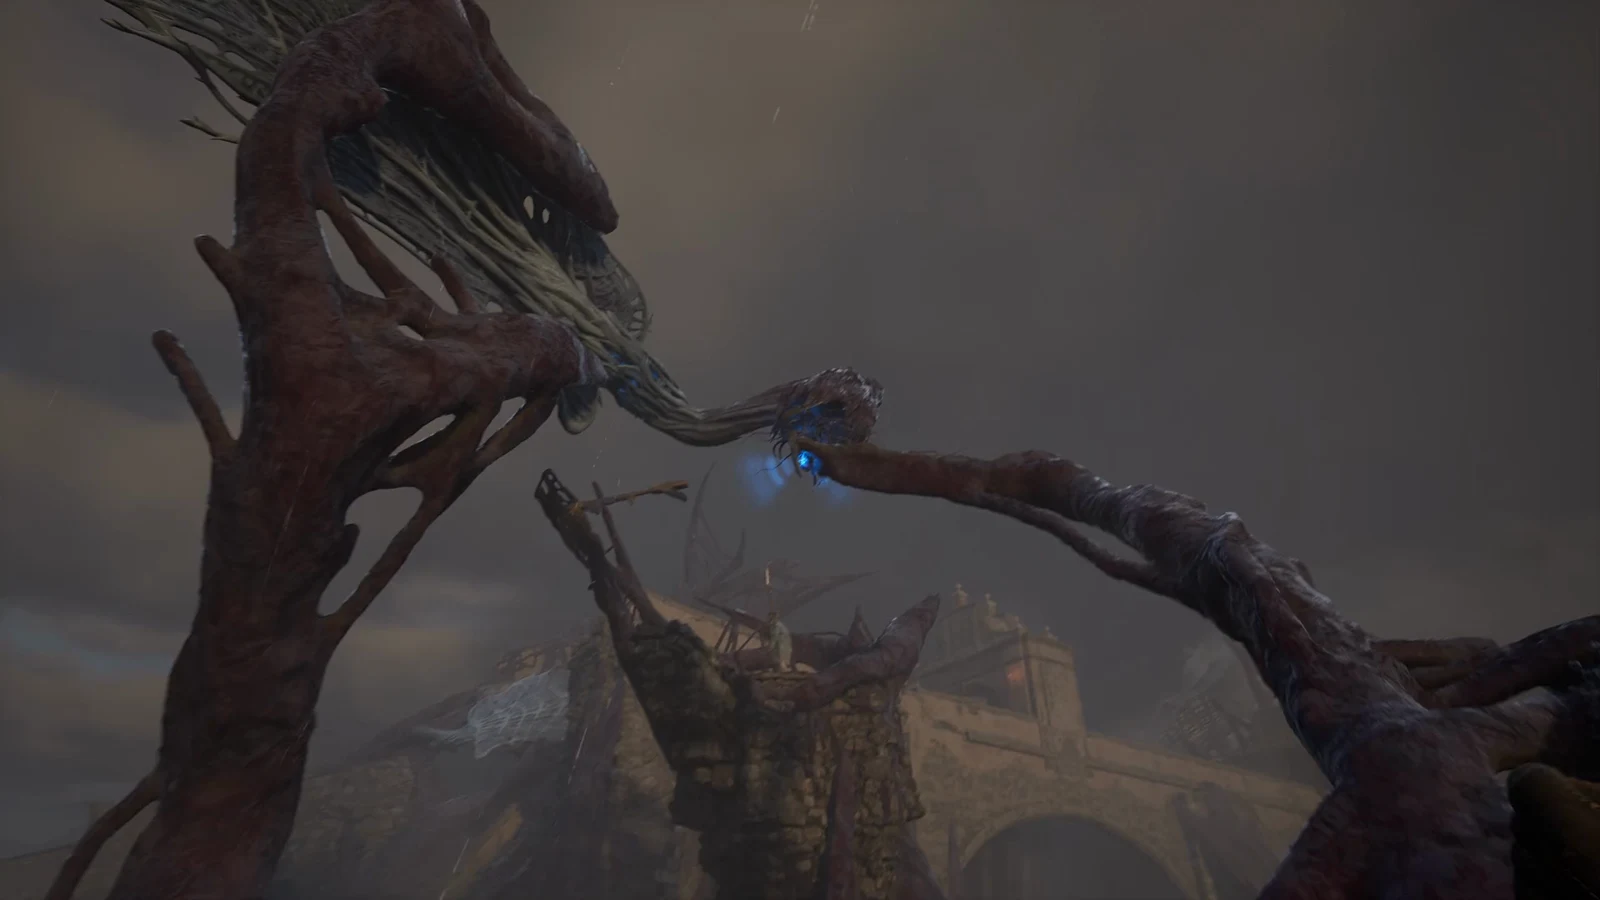
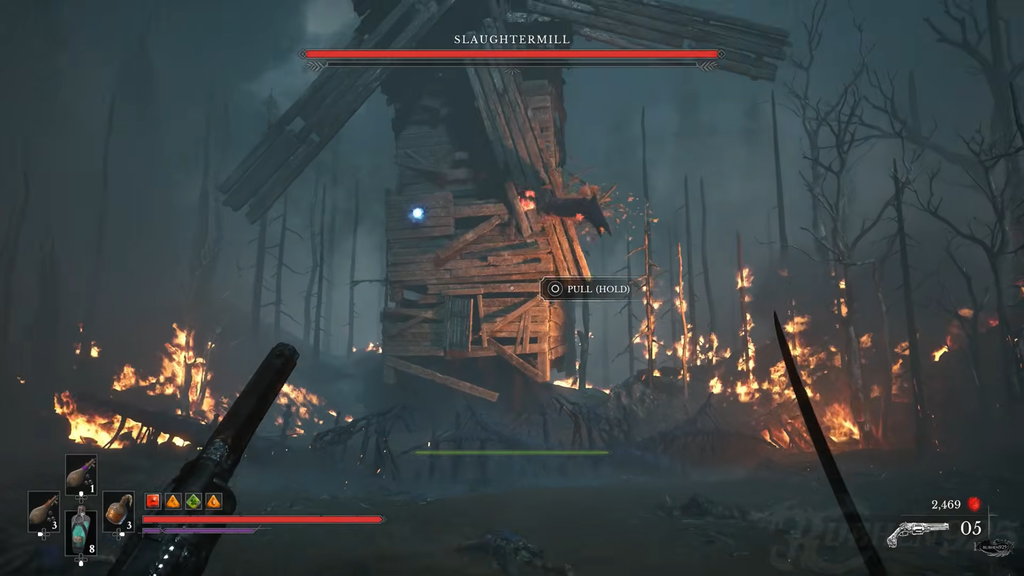
In the Vale of Wrath, the Slaughtermill is a mutated windmill and a prompt-driven gimmick fight. Follow the cues: shoot its glowing weak points, pull the blue Nephtoglobin nodes, and grapple across the structure while dodging its tentacles and Carrion summons. Use the Stasis barrier to soak its projectile barrages. The windmill then collapses into an underground chasm for a platforming second phase where you climb scaffolding and destroy the red pustules and central core. Clearing it finishes the Crime chapter and pays out 30,000 Catalysts.
The Orphan
The Orphan fights you in a University arena lined with poison vents, so you are dodging both the boss and the hazards. The Shield Transmutation keeps you alive through his long, sweeping combos, which hit hard. Keep the Fire status ticking on him throughout. In the second phase, drop a few Oil Grenades while he is pinned against a wall, and Flaming Whetstones help keep the burn going.
There are no optional bosses and no post-game superbosses, so these ten are the complete roster. Since you can never summon help, the fights come down to learning each moveset, keeping your Endurance in check for parries and dodges, and equipping the right Ambers before you walk into the arena.