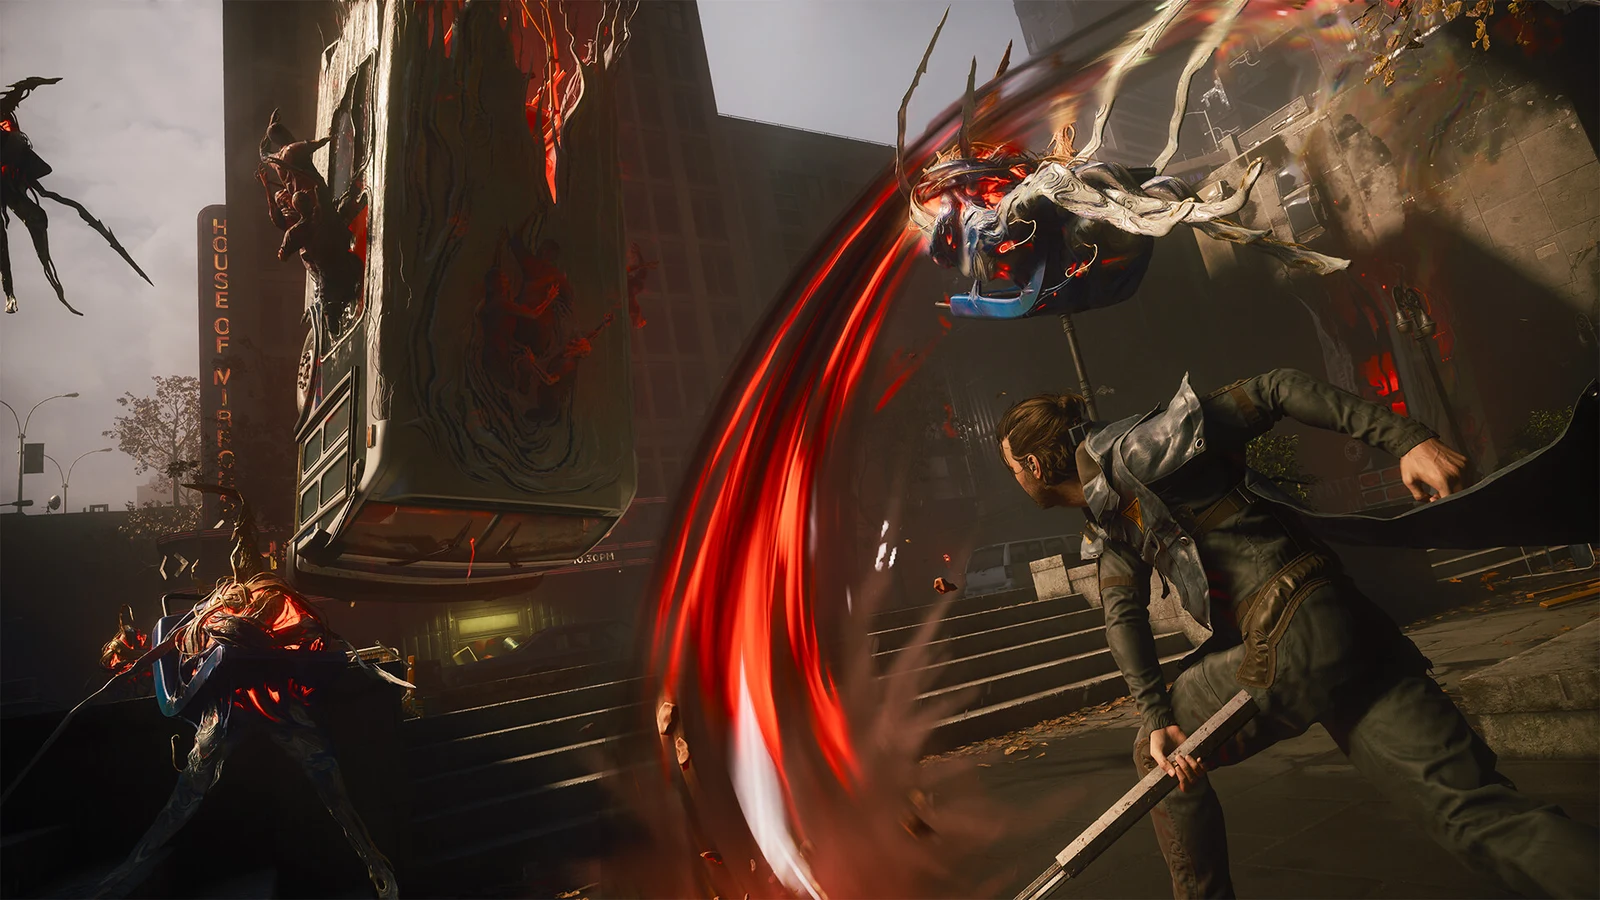
The Unknown Resonant is the last Resonant fight in Control Resonant, and it sits inside the game’s most disorienting region. Buildings float, gravity flips, and the path only appears once you have done the right groundwork. Finishing it hands over the Command combat ability and ticks another box toward repairing the Mural in the Gap.
Quick answer: Finish Pope’s Research first to activate the gravity wells. Ride the yellow car vortex beside the Evac Building to reach the Patterned Field Office, disrupt the pattern, and defeat the Co-Director. Then, in The Gap, press and hold Down on the D-pad.
Prerequisites before you can reach the Unknown Resonant
The Unknown remains impassable until you activate its gravity wells by completing Pope’s Research. If getting around the region seems impossible, this is usually what you are missing. You also need two movement abilities to make the puzzle section work.
- Pope’s Research completed, which powers the gravity wells used to move between the floating islands.
- Shift, gained by completing the Incursion Fault, lets you match gravity anomalies and stand on surfaces that have rotated.
- Reach, gained by completing the Subway Fault, lets you pull yourself to traversal points on the other side of gaps.
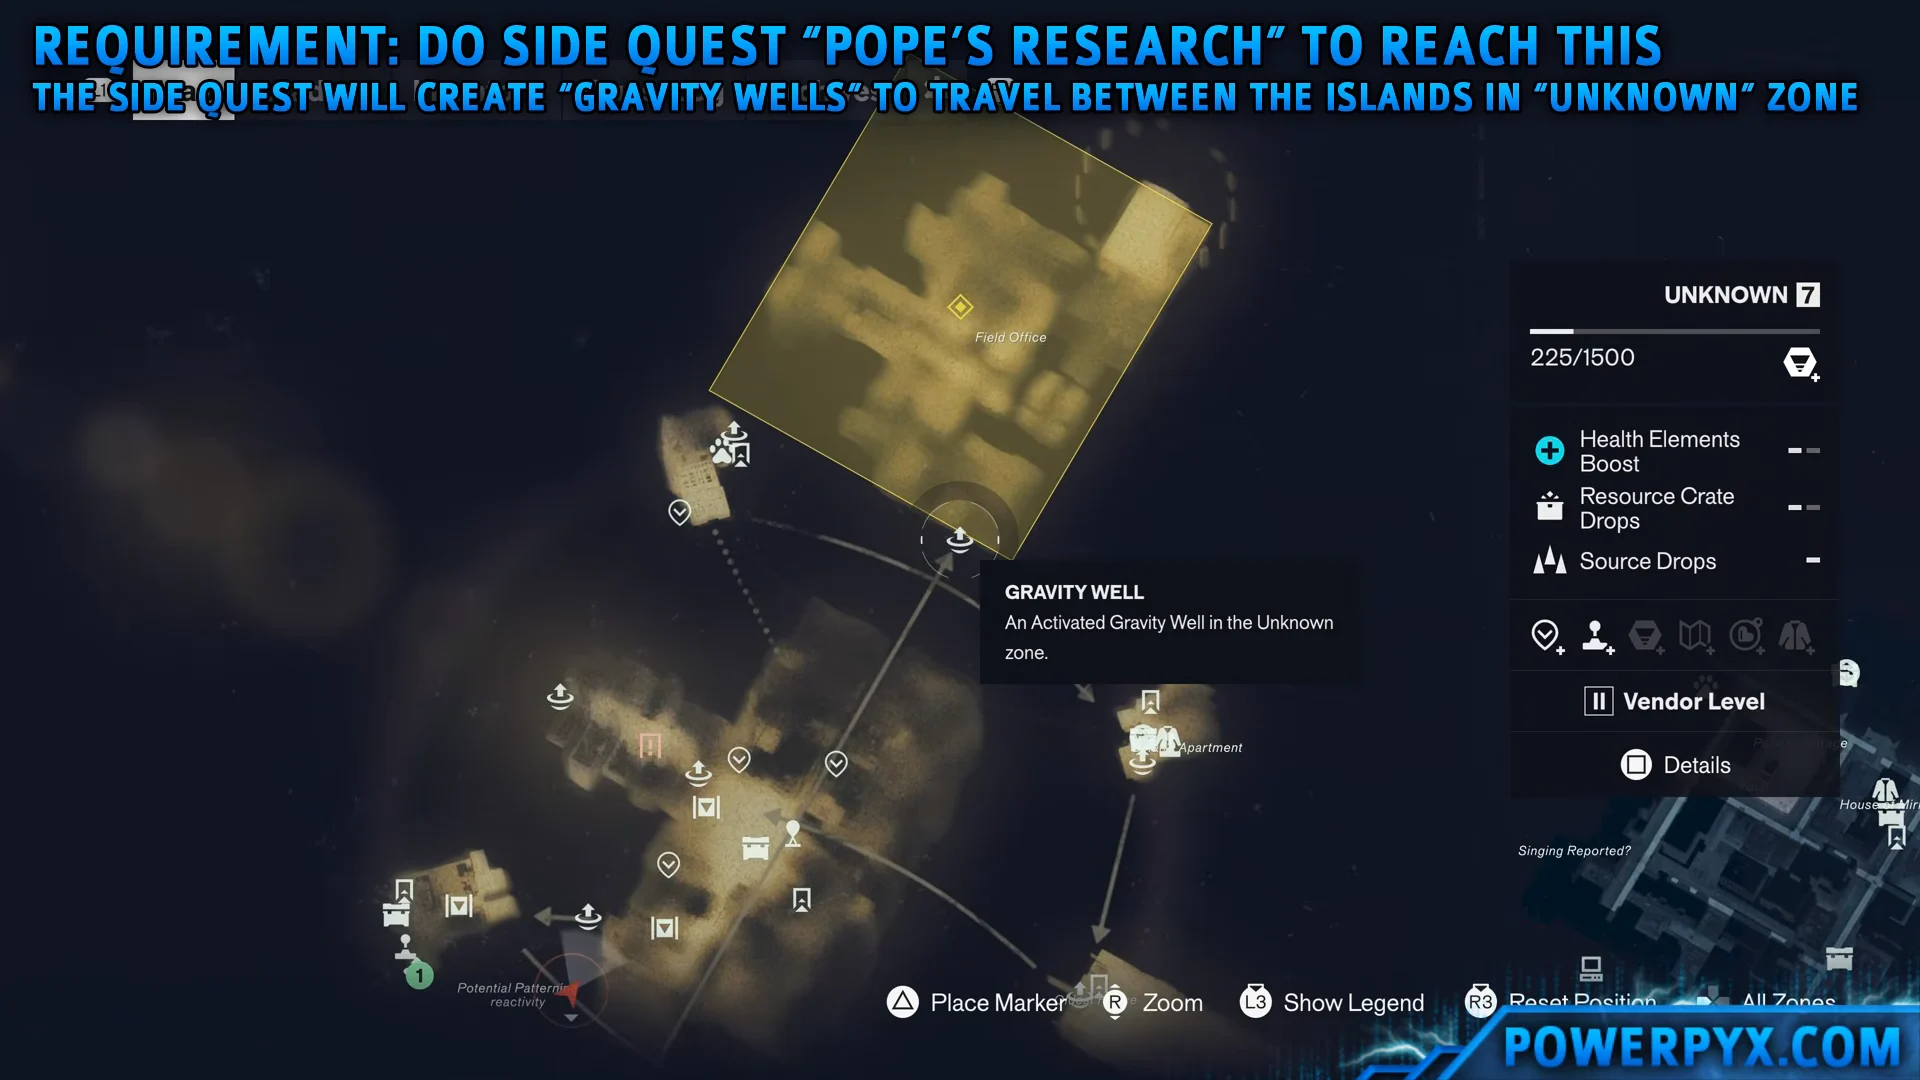
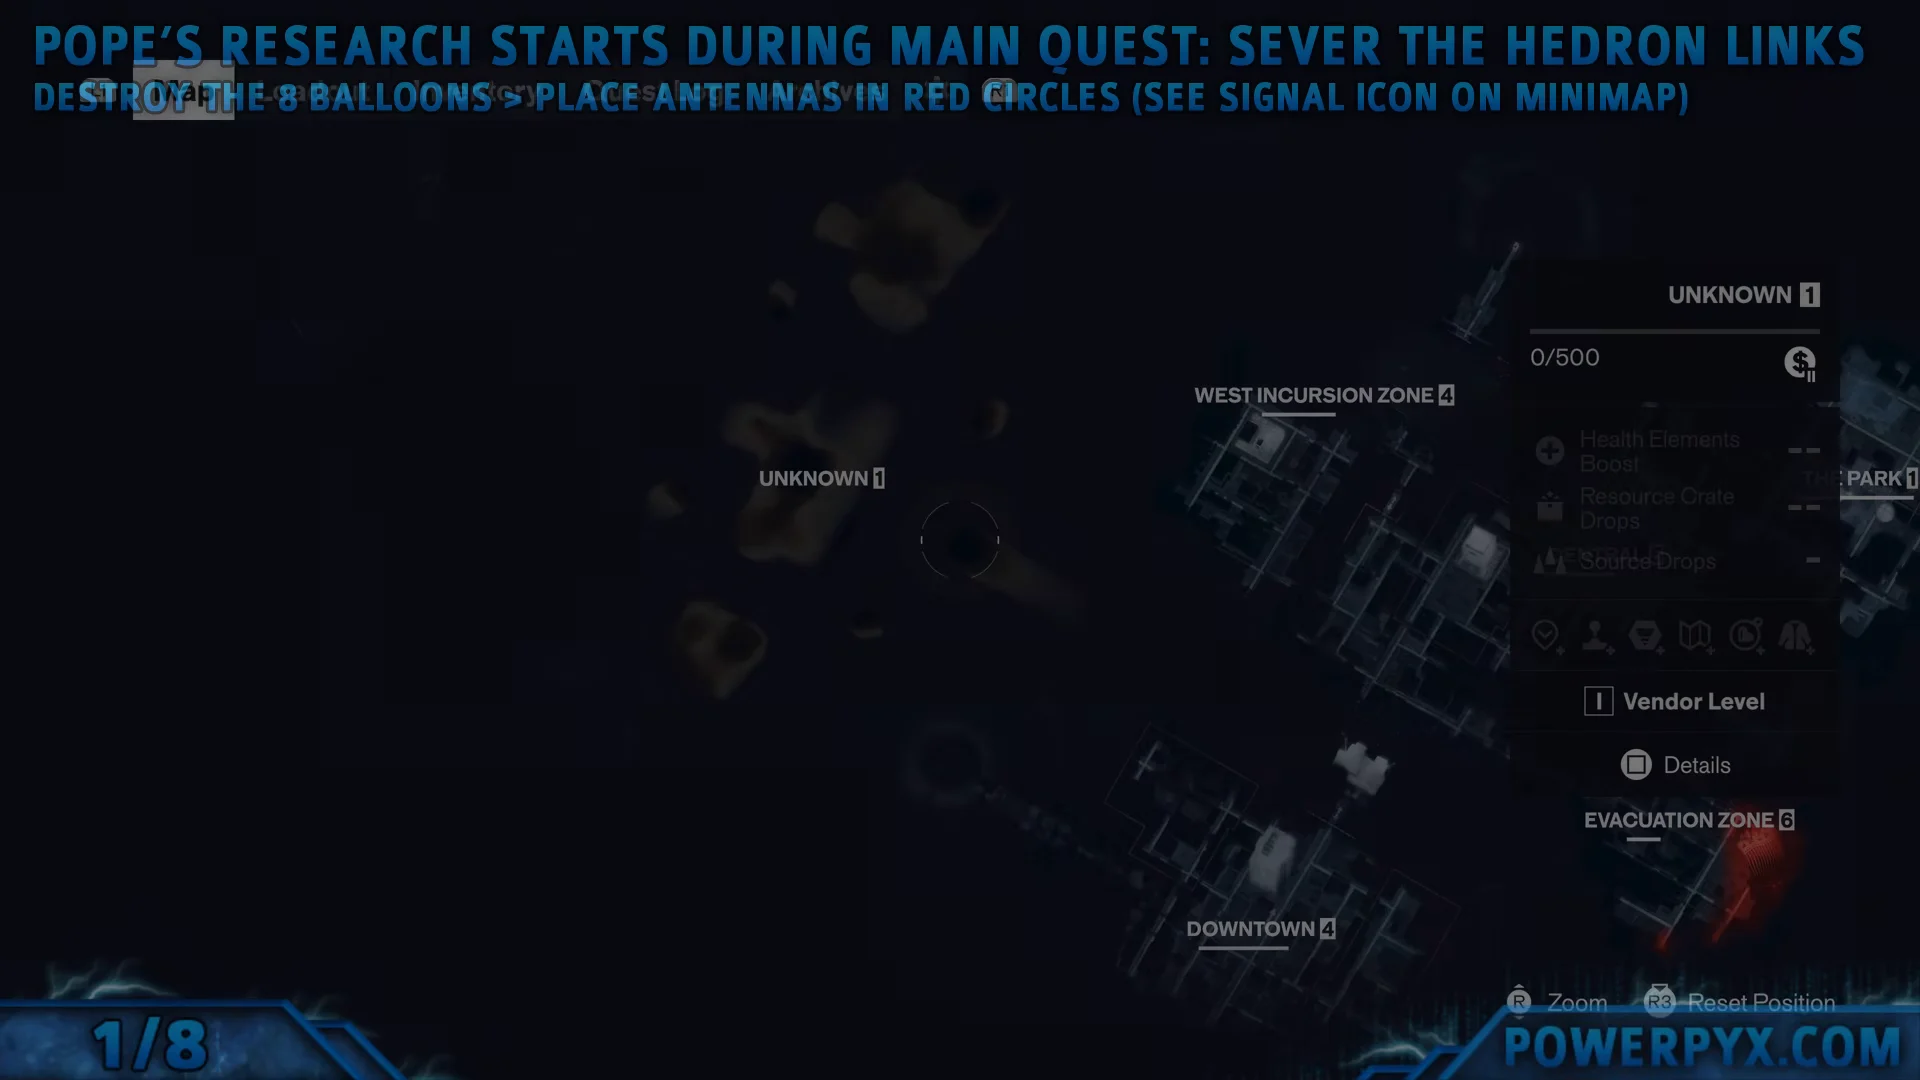
Pope’s Research has you place eight probe relays around the Unknown before investigating Point 0 in the region’s center. To set up each relay, destroy a research balloon platform and place antennas within the marked circles; this activates the wells and awards the Budding Analyst trophy. Complete the task before searching for the Rangers.
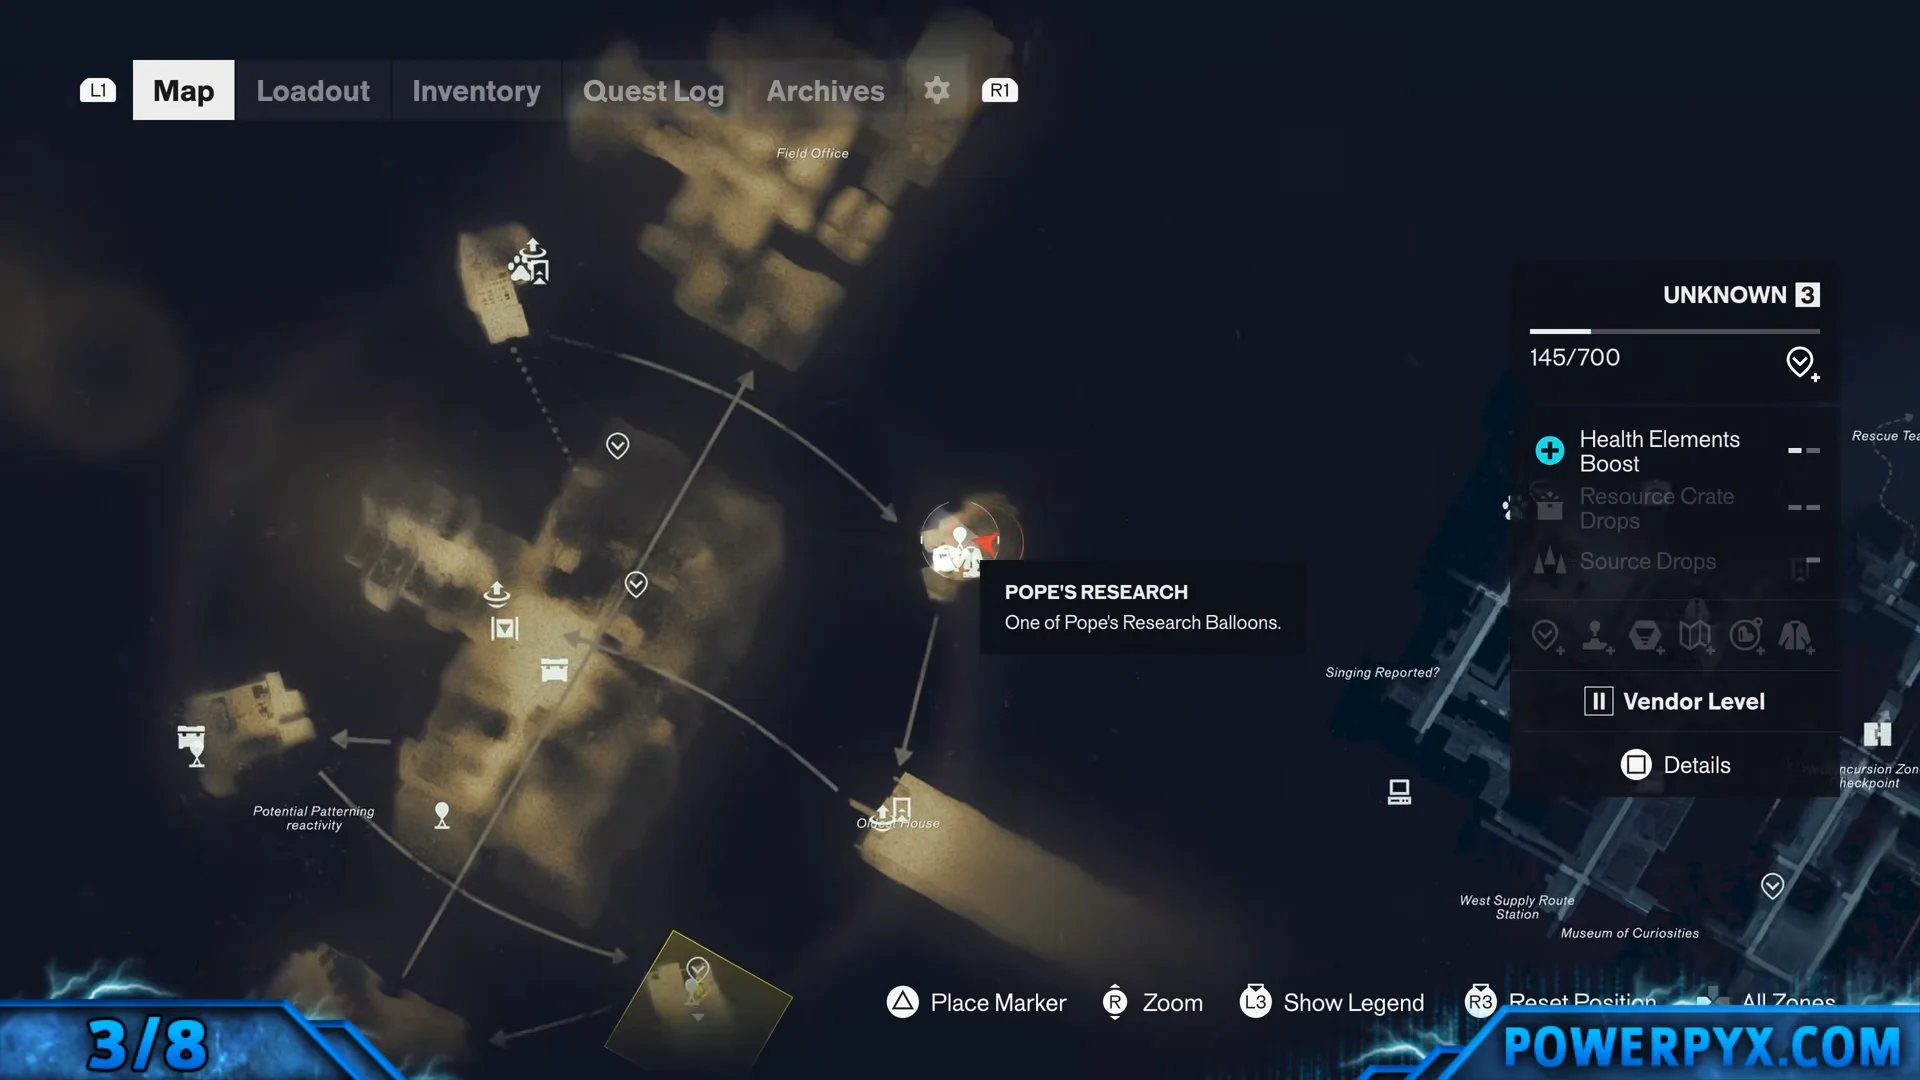
Where to start in Unknown 7
The trigger is in Unknown 7, close to the Evac Building. As you explore the floating landmarks, Zoe contacts you about a Rangers distress call and a potential Resonant near the Field Office. Go to the fast travel door beside the Evac Building, then find the Gravity Well: a swirling yellow-car vortex on a nearby rooftop. It travels south through the region and lifts you toward the Field Office.
The Unknown Resonant walkthrough
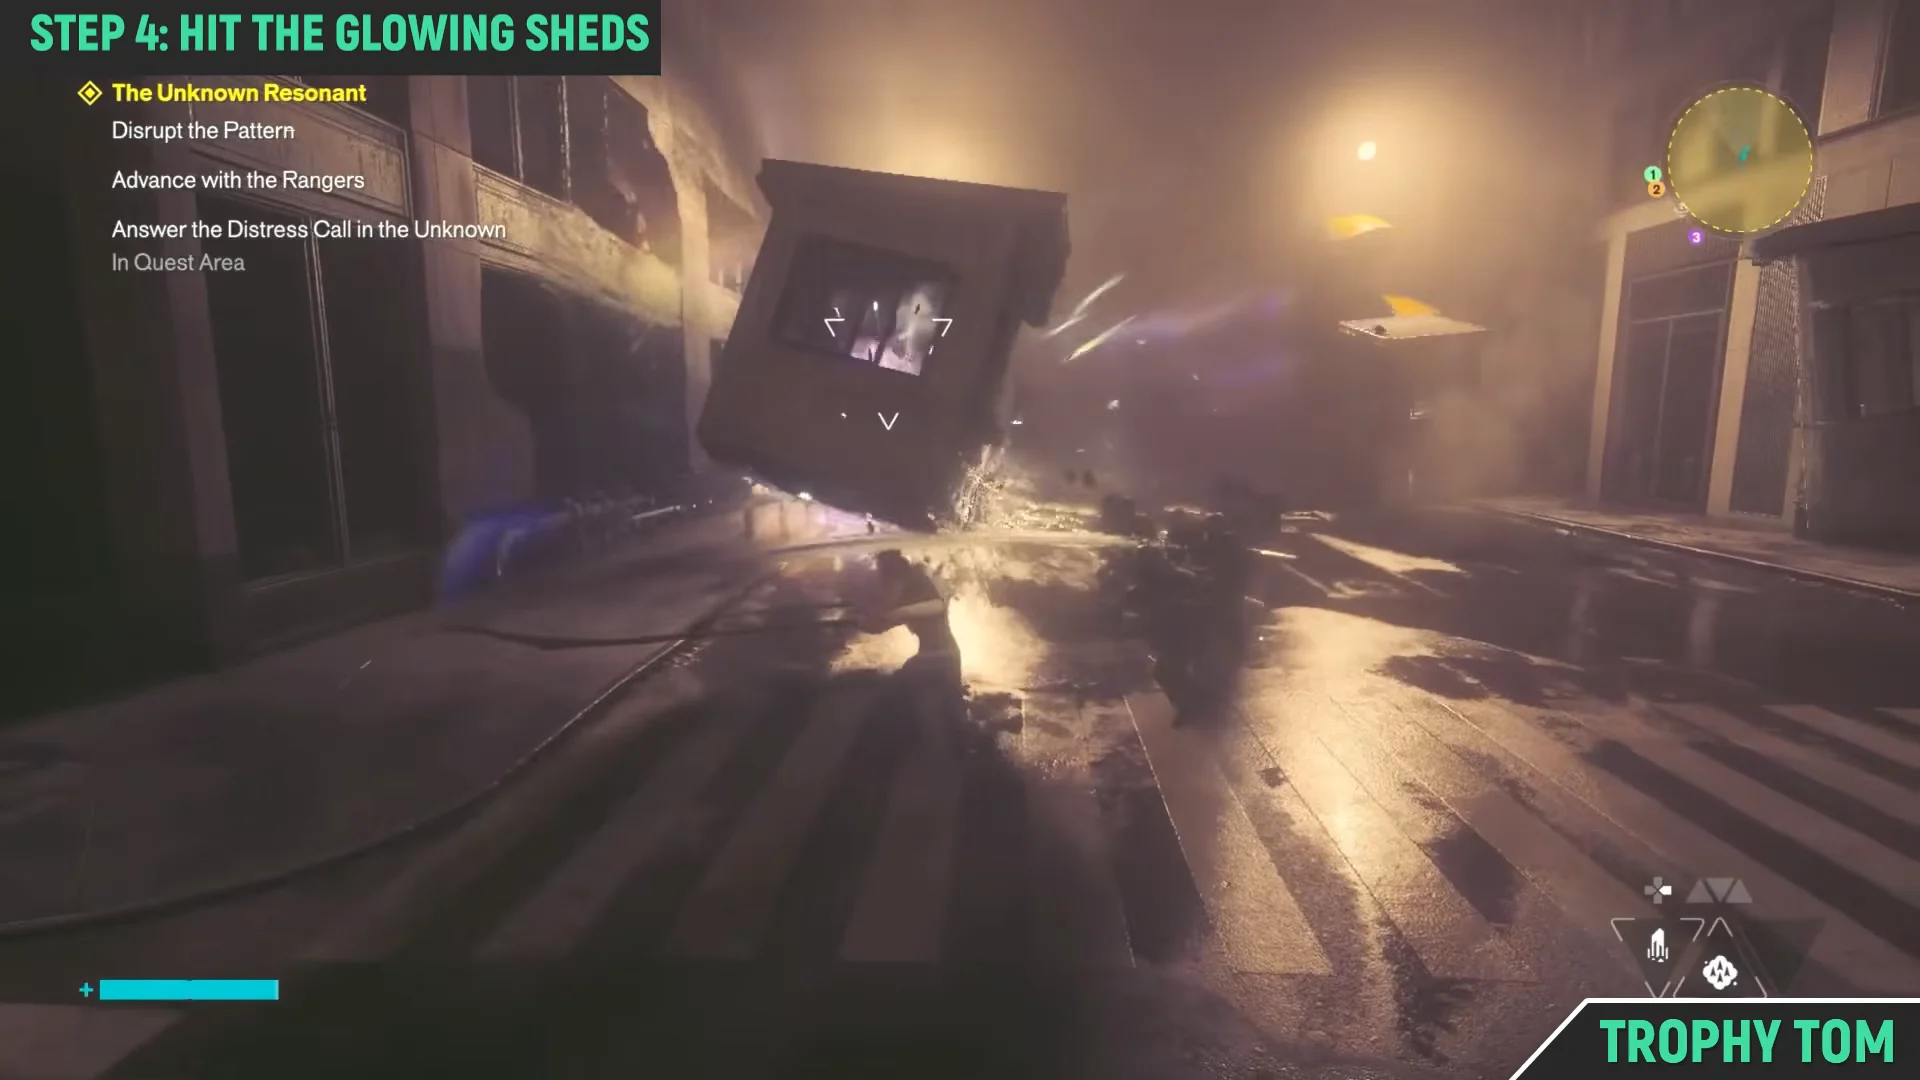
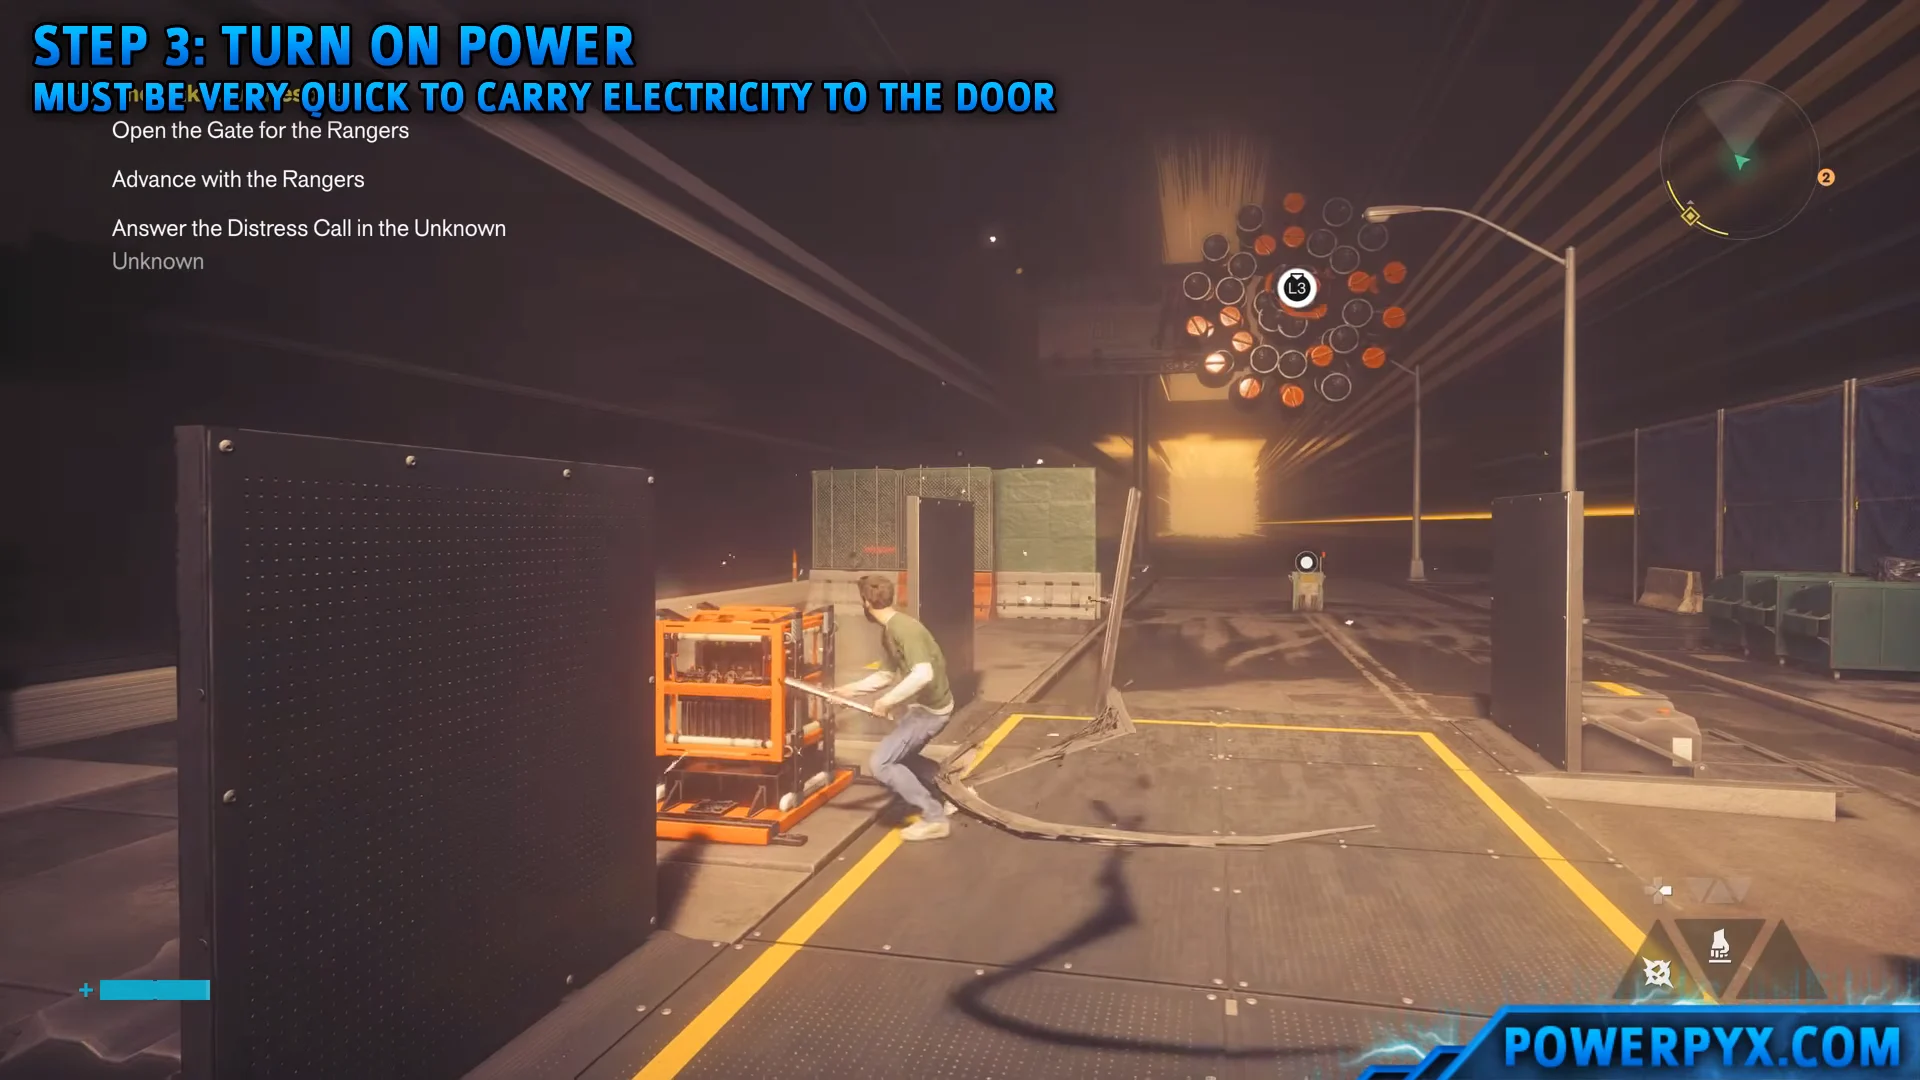
The charge runs down over time, making the dead core halfway along the route essential. Put the charge in it before it expires to leave enough time to reach the gate on the final leg.
How to beat the Co-Director boss fight
The Resonant is the Co-Director, who is revealed as Arish. He has formed a pattern from Rangers and killed two members of the squad beside you. Two turned Rangers begin the encounter; take them out before attacking the boss. The Co-Director tends to stay back and launch ranged projectiles, which you can usually avoid by keeping some distance and sidestepping.
Keep away from the purple beam when it lights up; nothing else in this fight drains your health as quickly.
If you get close, the boss draws the Ranger ring in around itself. Move away at that point, as it will soon launch the ring outward and deal heavy damage. When the beam points elsewhere, rush in and take out a converted Ranger. The Co-Director continues turning more Rangers as the battle goes on.
At roughly 30 to 40 percent health lost, it tightens the ring and spins it rapidly while charging at you, so just keep running until the move ends. It also slams the whole ring into the ground for a big impact hit, which you dodge by rolling away from the Resonant. At 50 percent health, a fresh group of Rangers arrives and the outer-ring Rangers start firing rockets. From there the patterns repeat until it goes down.
Rewards and how to confirm the quest is done
Defeating the Co-Director drops crafting materials, including Source, a Corrupted Element, a Warped Resonance, and a Distorted Form, plus a Reset Item. The permanent rewards are what matter most.
| Reward | Type | Condition |
|---|---|---|
| Command | Combat ability | Always |
| Untapped 1996 Commemorative Coin | Artifact recipe | Always |
| Casual Outfit: Resonants | Outfit | All Resonants defeated |
Command lets you take over an enemy’s mind and turn them into an ally. Look for Command Charges in the environment and use them to trigger it on enemies in combat.
After defeating the boss, Dylan awakens in the dark astral realm known as The Gap, facing a glowing wall carving. Hold Down on the D-pad to begin leaving. The Graffiti Artist trophy appears after you exit The Gap, and the “Trophy earned” message confirms it. Command is also added to the Combat Ability selection screen. To repair the Mural in the Gap, you must defeat every Resonant across the regions, so this victory also advances that completion goal.