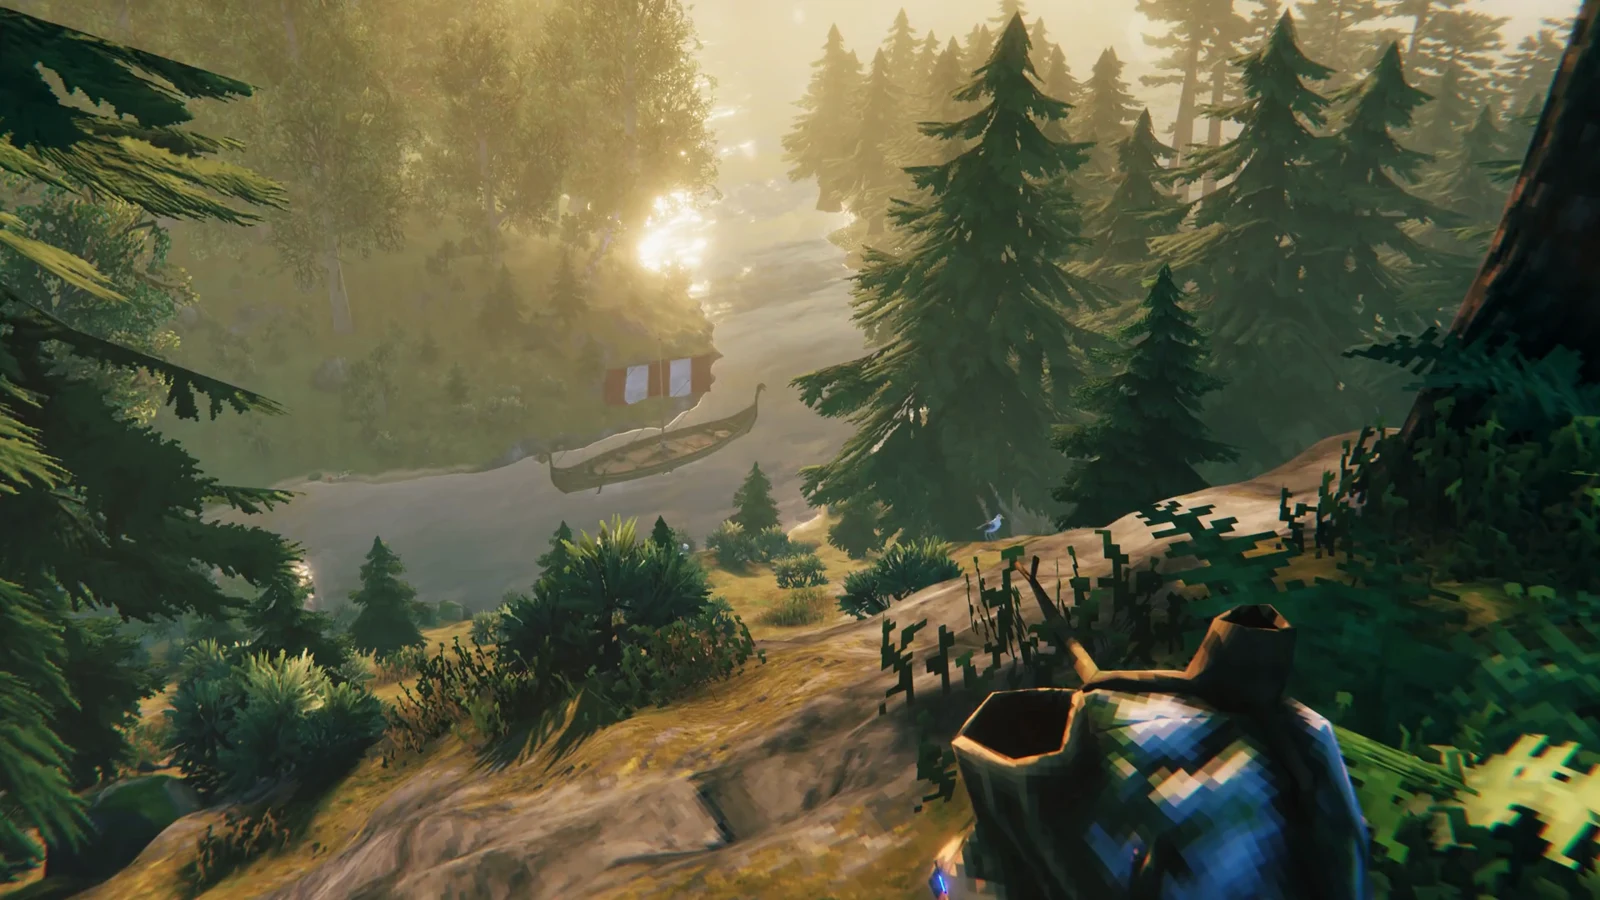
Valheim’s three traders don’t wander. Each one is tied to a single biome and a fixed distance band from the center of your world, and every seed shuffles their camps somewhere new. That means no coordinate list from another player will help you, but the search rules are consistent enough that you can narrow a whole ocean down to a few likely coastlines.
Quick answer: Each trader spawns in one biome — Haldor in the Black Forest, Hildir in the Meadows, the Bog Witch in the Swamp — and locks in place permanently once you come within about 320 meters.
How trader spawns work in Valheim 1.0
The game rolls several possible locations for every trader in each world. The first candidate you approach is locked in as that trader’s camp for the remainder of the save. Haldor, Hildir, and the Bog Witch each appear only once in a world, so claiming a camp removes the other candidate locations.
The trigger range is generous. A trader icon pops onto your map and minimap from roughly 320 to 453 meters away, about twice the default minimap radius. You never need to physically stumble into the camp — sailing past the right stretch of coast is usually enough, as long as you’re watching the map.
| Trader | Biome | Map icon | Distance from world center |
|---|---|---|---|
| Haldor | Black Forest | Bag | Within ~1,500m |
| Hildir | Meadows | Dress / shirt | ~3,000–5,100m |
| The Bog Witch | Swamp | Cauldron | ~3,000–8,000m |
All three camps sit inside a shimmering dome that hostile creatures cannot enter, and the dome cannot be destroyed. That makes every trader camp a safe rest stop once you arrive, even in the Swamp.
Find all three trader locations with your world seed
If you’d rather not spend several in-game days sailing blind, a seed-based world map will show you exactly where the three camps sit. It’s a browser tool, not a console command, so it doesn’t touch your save or disable anything.
xz86mqQQ3W.
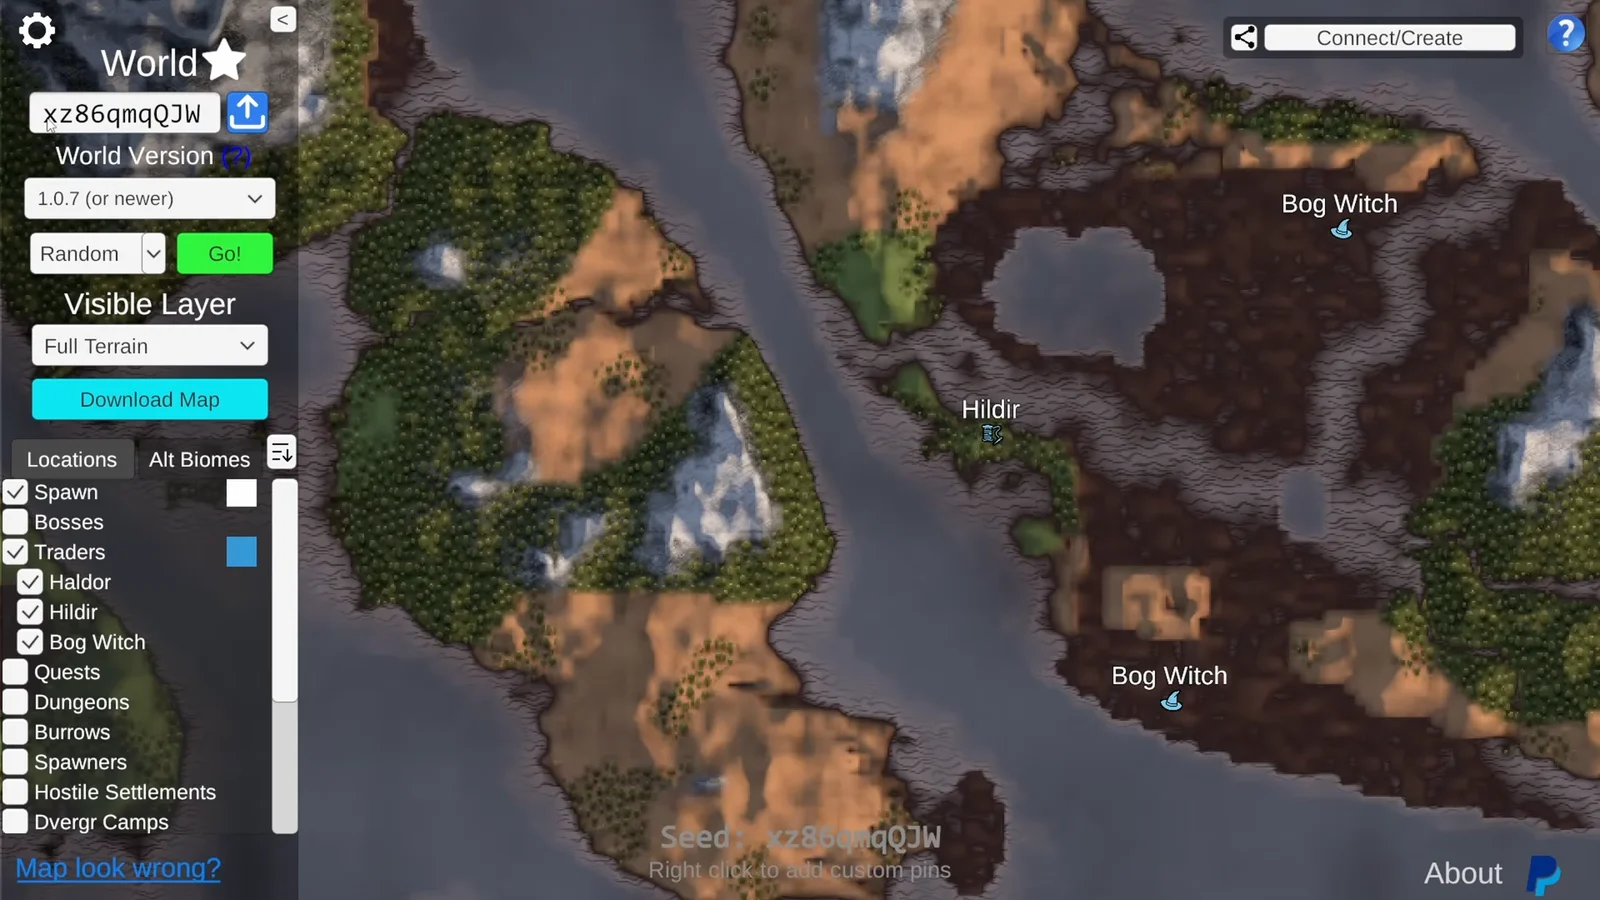
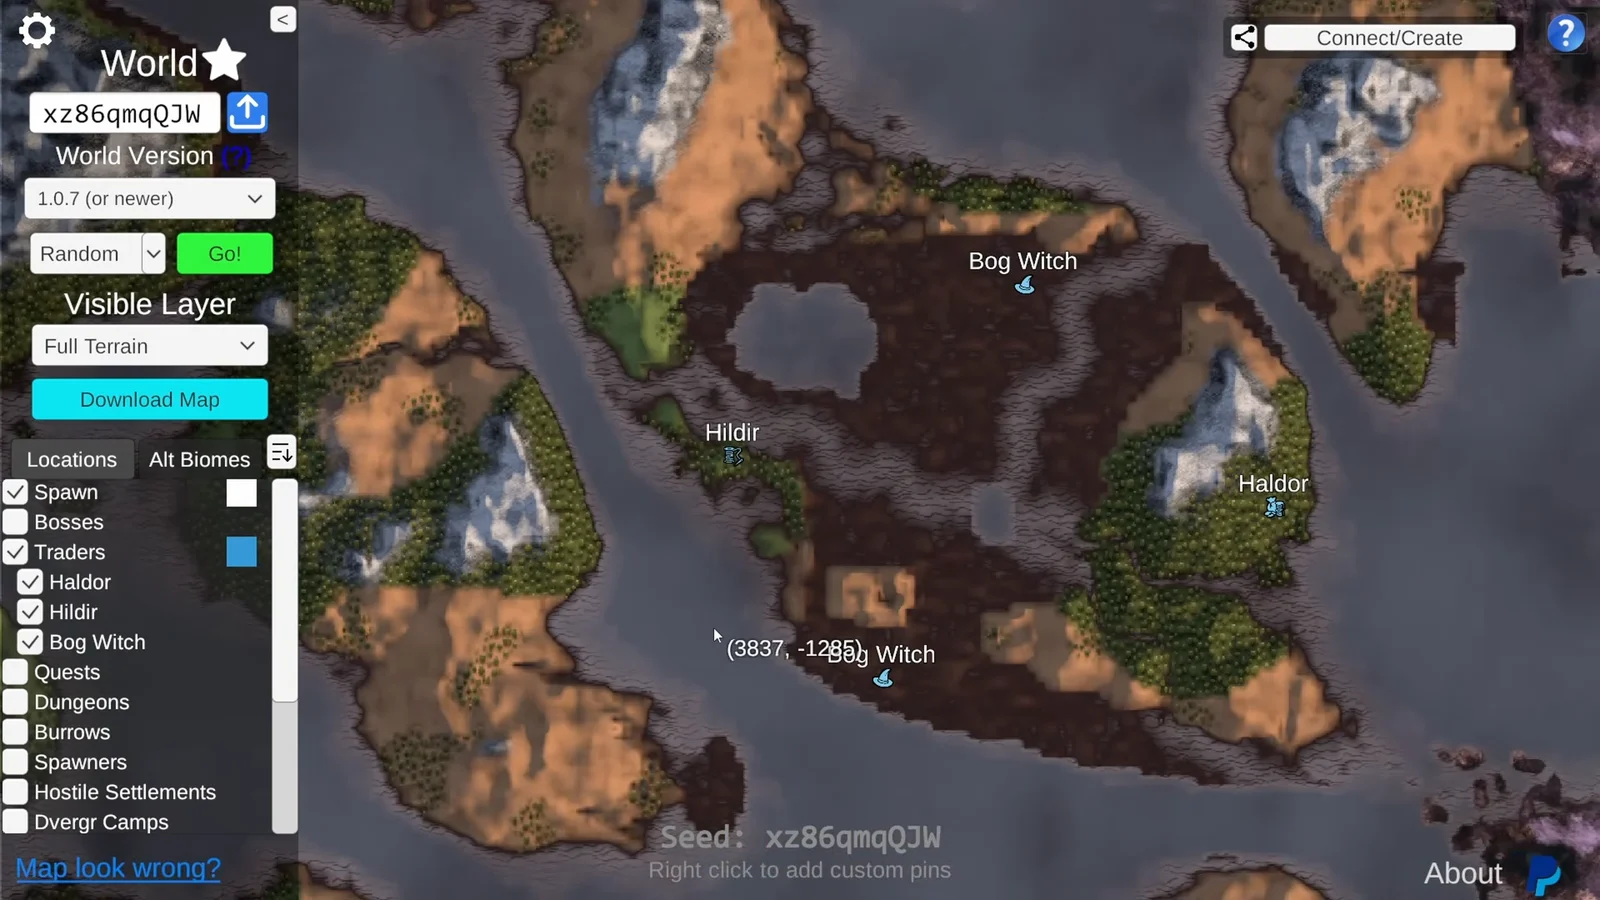
The generator can only show candidate camps. Whichever one you approach first is the one that becomes permanent, so head for the closest marker rather than the prettiest island.
Searching for each trader in-game
Doing it the hard way is entirely viable, as long as you search the correct biome and stop expecting anything to be near your first base. Sailing coastlines is far more efficient than walking inland, because the icon range does most of the work for you.
Haldor: Black Forest
Haldor is the Dvergr most players meet first. His camp always sits in a Black Forest and stays relatively close to the map center, so sweeping the forests around your starting island is a reasonable plan. Watch for the bag icon on your map, and look for his tame Lox, Halstein, standing beside the stall once you arrive.
Hildir: Meadows
Hildir is Haldor’s sister, and she picked the safest biome but the worst commute. Her ten possible camps are all in Meadows, spaced at least 1,000 meters apart, in a wide ring well beyond your starting island. You will almost certainly need a Karve or Longship. The payoff is a low-risk search — Meadows won’t throw much at you while you’re reading the map — and a camp with two more Lox, Blåbär and Hallon, plus a map table that pins her quest dungeons.
The Bog Witch: Swamp
The Bog Witch has the widest spawn band of the three and the nastiest terrain around it. Her hut sits in a Swamp, with candidate spots roughly 1,000 meters apart, and the cauldron icon only appears once you’re already inside Draugr and Leech territory. Don’t start this search in Bronze gear.
Bring Poison Resistance Mead, solid mid-game armor, and a backup weapon before combing Swamps. The hut itself is safe — it’s patrolled by Kvastur, a broom-wielding helper, and offers comfort level 3 — but everything between you and it is not.
How to confirm a trader is locked in
You’ll know it worked the moment the icon appears. A bag, dress, or cauldron marker shows up on both the world map and the minimap, and it stays there permanently — you can close the game, sail away, and the marker will still be pinned when you come back. That icon is the confirmation that the trader has settled; no dialogue or interaction is required to make it stick.
Once the marker is on your map, build a Portal near the camp and label it. Place it just outside the protective dome. All three traders are worth revisiting as you defeat bosses, since stock unlocks tie directly to progression, and none of them are close enough to walk to twice.