

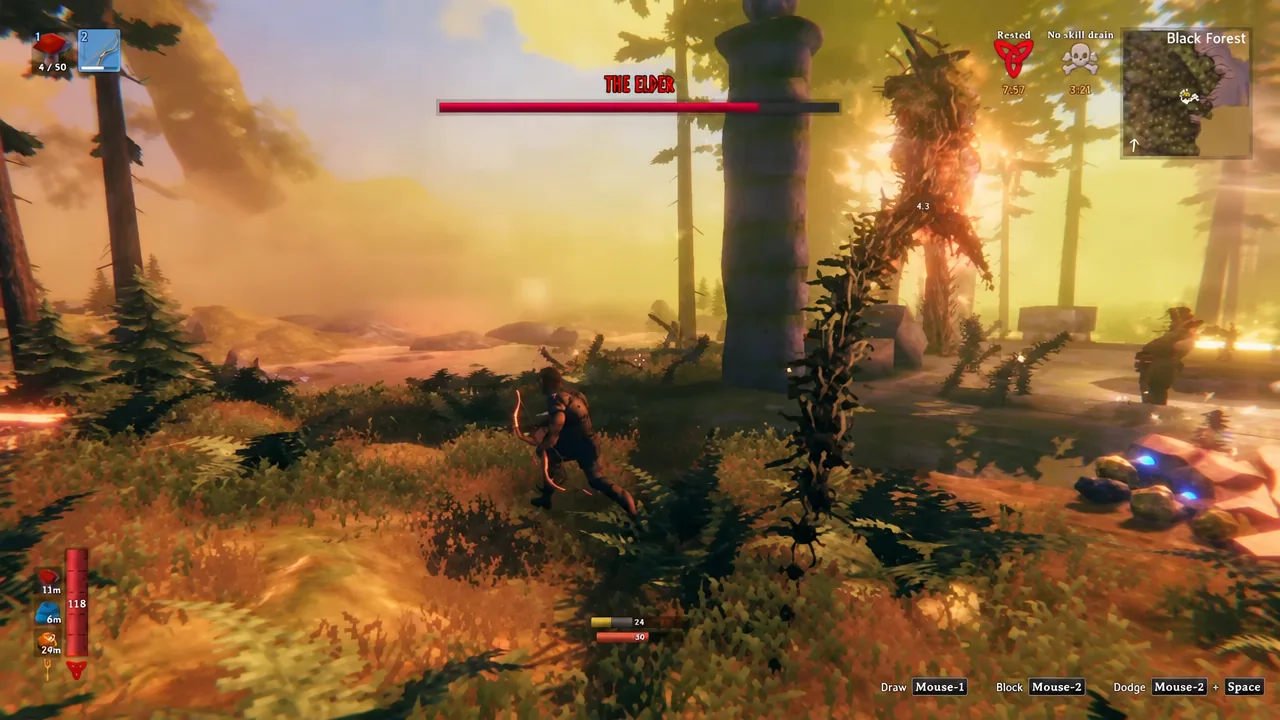
The Elder is the second boss in Valheim and the first one that punishes bad preparation. It sits in a Black Forest altar ringed by four stone pillars, carries 2,500 HP, and has neutral resistance to almost every damage type except fire, which it takes double damage from. That single weakness is what turns a long, dangerous brawl into a repeatable ranged fight.
Quick answer: Bring a Finewood Bow and at least 100 Fire Arrows, stand behind one of the four indestructible altar pillars to block the vine volleys, and sprint to a different pillar every time roots erupt around you. Keep enough stamina in reserve to make that sprint, and the boss dies without ever landing a hit.
What to bring to The Elder fight
Fight The Elder after Eikthyr and after you have finished the core Black Forest loop: copper and tin mined, a Forge and Cauldron built, and bronze or troll gear crafted. Maximum upgrades are not required if you use the ranged approach, but repaired equipment and spare arrows are, because running dry mid-fight is the most common way the attempt ends.
| Item | Why it matters |
|---|---|
| Finewood Bow | The main damage source. Fire Arrows from this bow are the fastest reliable kill. |
| 100–200 Fire Arrows | Doubles damage against the boss. A batch of 20 costs 8 wood, 8 resin, and 2 feathers. |
| Bronze Axe | Slash damage between stomps if you close to melee, and useful for clearing roots. |
| Bronze Buckler | Fully upgraded, it blocks most stomps without staggering you in solo play. |
| Bronze or troll armor | Bronze plate for melee, troll leather for the lighter ranged role. |
| Three Black Forest foods | Include a stamina food such as Carrot Soup or Queen’s Jam. |
| Rested buff | Faster stamina regeneration for the whole fight. |
| Bed or portal nearby | Lets you recover gear and retry without a long run back. |
Start the fight in daylight and while dry. Greydwarfs spawn heavily around the altar at night, and both the Wet and Cold effects slow stamina regeneration, which is the resource the entire strategy runs on.
How to find and summon The Elder
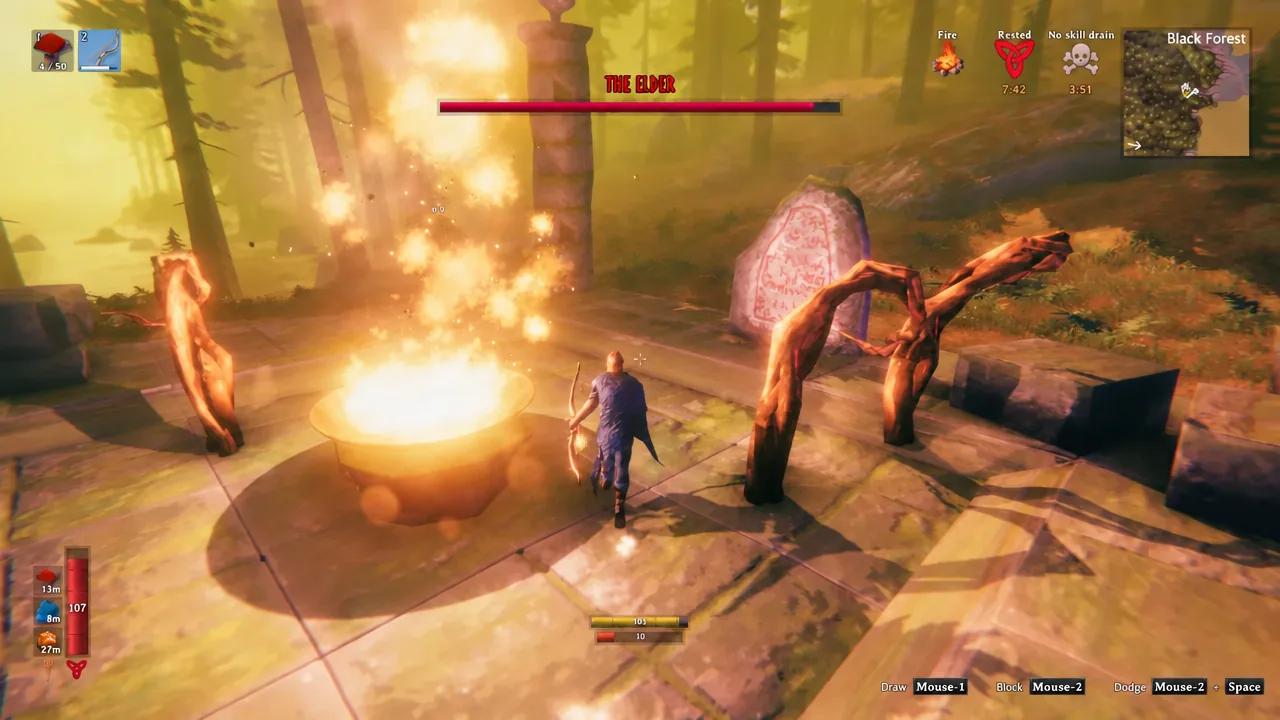
The Elder’s attacks and the counter for each
The boss only has three moves, and each one telegraphs clearly. Learning which arm it raises is most of the fight.
| Attack | What happens | Counter |
|---|---|---|
| Reaching Vines | Extends one arm, then fires a tracking volley of vines at a distant player for Pierce damage. Several hits can kill an unprepared Viking, and the vines have longer range than your bow. | Break line of sight with an altar pillar. The boss never uses it against a player in melee range. |
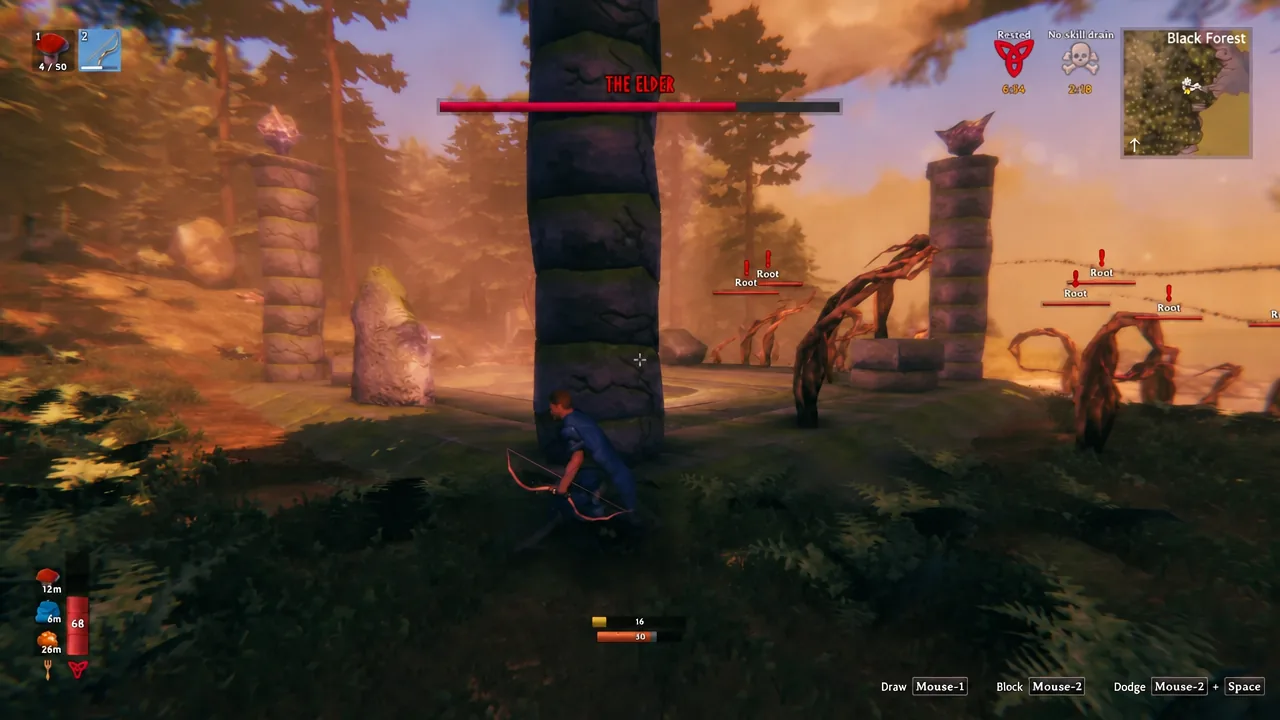
| Root Spawn | Raises an arm and summons 15 hostile roots around the targeted player. Roots cannot move but attack anything nearby, and they vanish after roughly 18 to 20 seconds. | Sprint to another pillar rather than fighting them. Only cut a root if it blocks your escape or a teammate’s cover. |
| Stomp | Lifts a foot and slams it down when a player stands close, dealing 60 Blunt damage in a wide area. | Block with an upgraded Bronze Buckler, roll through it, or simply stay out of melee range. |
Note: The Elder is immune to stagger. A successful parry will not interrupt it or open the usual bonus-damage window, so there is no reward for trading blows toe to toe.
The pillar loop: killing The Elder with Fire Arrows
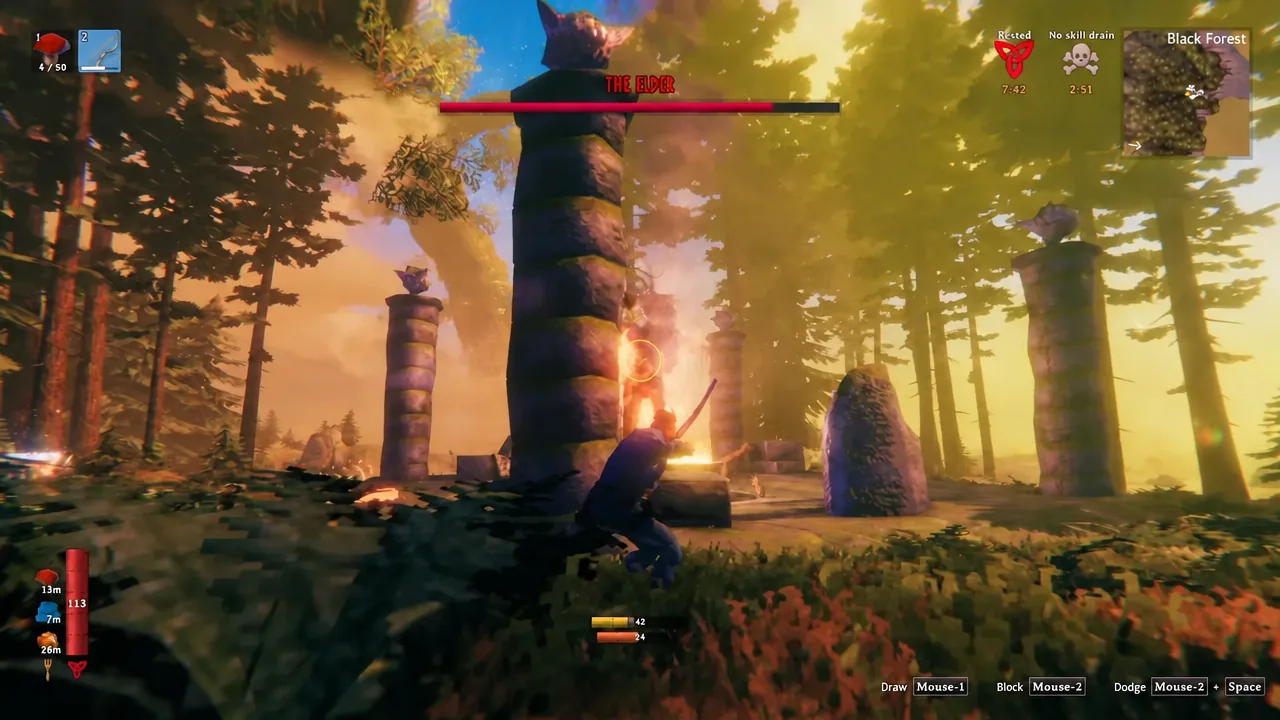
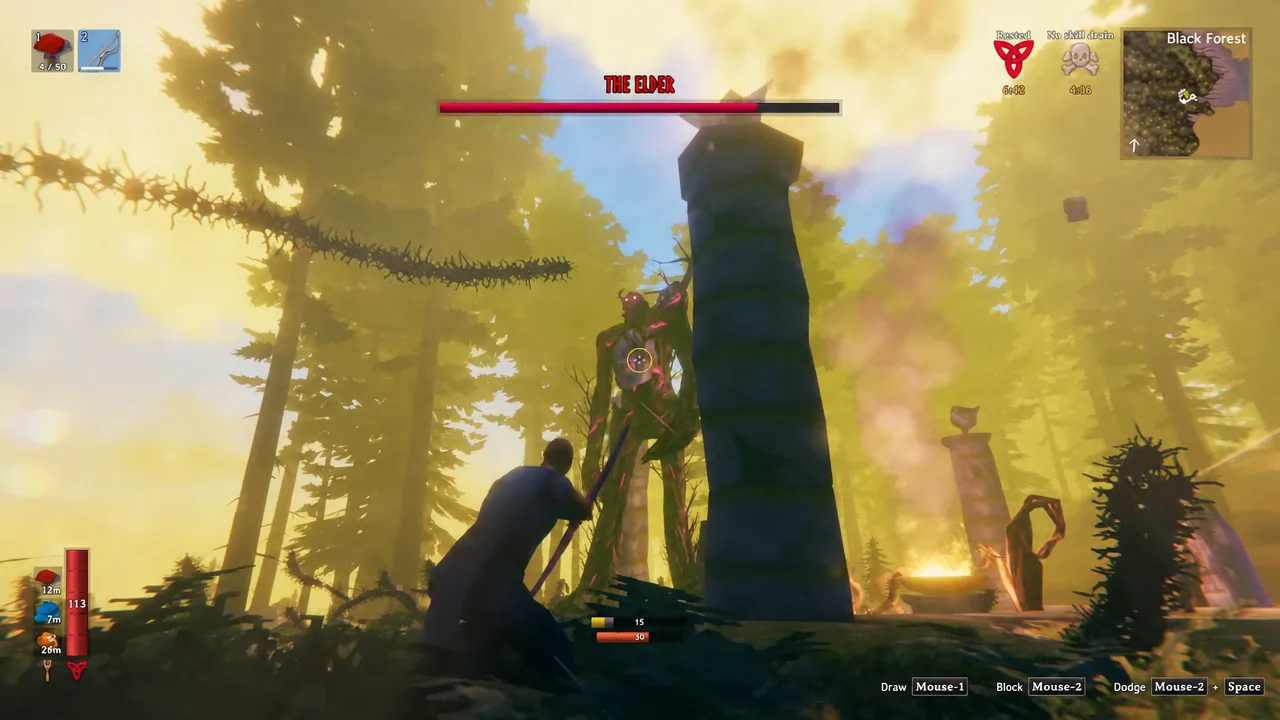
The four stone pillars around the altar cannot be destroyed, which makes them permanent cover. Trees, rocks, and anything you build can be smashed by the vine volley, so treat the pillars as your only real shelter and ignore the surrounding forest.
Melee and multiplayer variations
Fighting The Elder in melee
Standing at the boss’s feet has one real advantage: it never fires Reaching Vines at a player in melee range, so the whole fight collapses down to reading stomps. A Bronze Axe delivers steady Slash damage between them, and a fully upgraded Bronze Buckler absorbs most stomps without staggering a solo player. A Blocking skill of 18 removes the stagger risk entirely. If your health, shield, or Blocking skill is low, roll away as the foot comes down instead of standing your ground.
Splitting roles in co-op
The Elder generally targets the closest player, so a frontline fighter in bronze plate with a buckler can hold its attention while archers work from the pillars. A third player is best used to cut roots that block cover and to kill any Greydwarfs that wander in.
Extra players are not free, though. Enemies deal 4 percent more damage per additional player in the area, and boss health scales up with the group, so the buckler math that protects a solo player from stagger no longer holds. Everyone at the altar needs to be geared and contributing.
Why The Elder fight fails
- Running out of Fire Arrows or breaking your bow. Bring spares and repair everything before you offer the seeds.
- Emptying stamina on shots and then being caught by a root spawn with nothing left to sprint on.
- Hiding behind trees or built walls instead of the pillars. The vine volley destroys them, and falling trees deal damage on their own.
- Starting at night or while Wet, which brings in Greydwarfs and cuts stamina regeneration.
- Leaving Greydwarf Nests standing near the altar, which feeds a constant stream of adds into the arena.
- Trying to parry. Stagger immunity means the trade never pays off.
Confirming the kill and claiming the Swamp Key
The health bar empties, The Elder collapses, and its drops land at the altar. Both are guaranteed: one Elder Trophy, and one Swamp Key for every player present. Check your inventory for the key before you leave, since it is the actual progression reward.
The Swamp Key opens the locked gates of Sunken Crypts and is reusable, so a single key unlocks any number of them. In co-op only one player needs to open a crypt for the whole group. Bring a pickaxe to mine the Muddy Scrap Piles inside for Scrap Iron, and start collecting the 10 Withered Bones needed to summon Bonemass.
The kill also changes your world. The Forest is Moving raid stops occurring, A Foul Smell from the Swamp becomes possible until Bonemass falls, and The Ground is Shaking unlocks once you have also killed a Troll. Haldor begins stocking Ymir Flesh and the Thunder Stone, and the Bog Witch adds the Woodland Herb Blend. Mount The Elder Trophy on the sacrificial stones to activate its Forsaken power, which increases the damage you deal to trees.
You can summon and kill The Elder as many times as you like, as long as you have three Ancient Seeds for each attempt, and every run hands out another trophy and another key per player. Repair your base defenses before you settle in for a long Swamp trip, because the raids that arrive now hit harder than anything the Black Forest sent your way.





