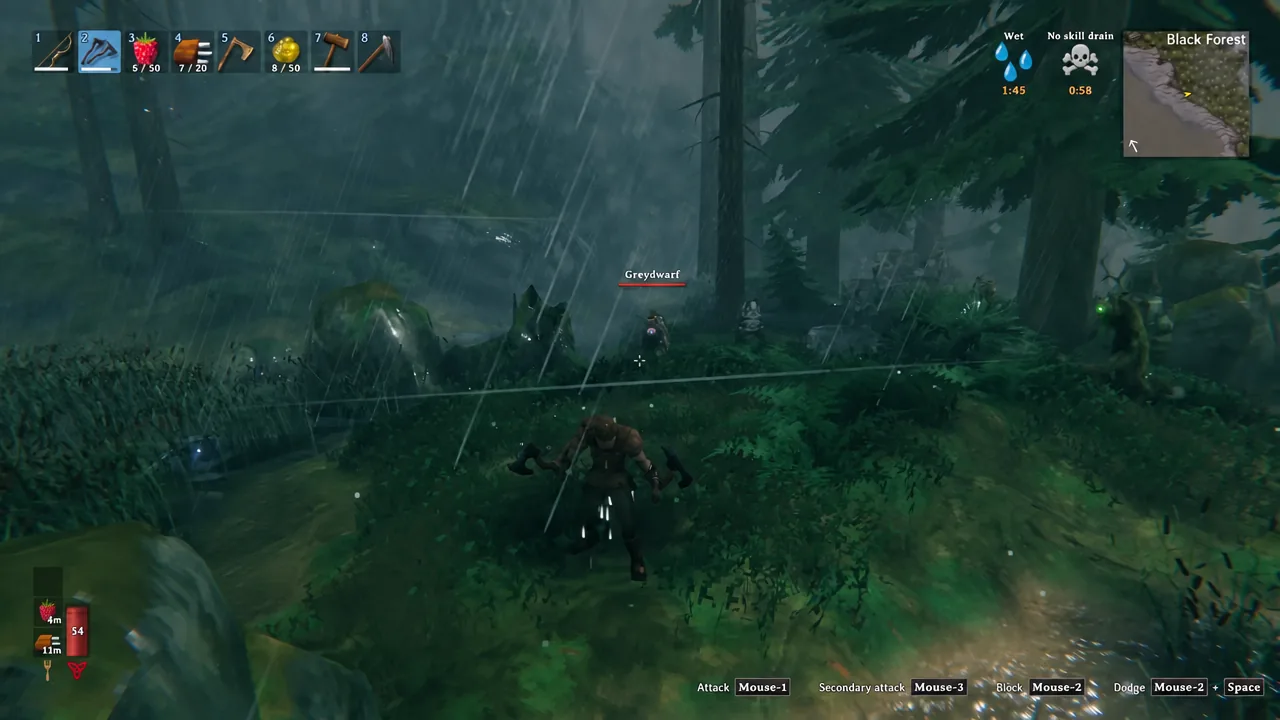
Greydwarf Eyes are one of the first materials in Valheim that you will suddenly need in bulk, because portals eat ten of them each. They come from the mossy tree-creatures that patrol the Black Forest, and they weigh almost nothing, so a single trip into the woods at night can cover a long stretch of building.
Quick answer: Kill Greydwarfs, Greydwarf Brutes, or Greydwarf Shamans in the Black Forest. A no-star enemy drops one eye roughly half the time, a one-star always drops two, and a two-star always drops four. Park yourself next to a Greydwarf nest to keep the spawns coming.
Greydwarf Eye drop rates by enemy and star level
All three Greydwarf types drop eyes, not just the basic one. Star level is what matters most. Unstarred enemies are a coin flip, while starred ones are guaranteed drops with bigger stacks, so a one-star Brute is worth more than two ordinary Greydwarfs.
| Enemy | No star | 1 star | 2 stars |
|---|---|---|---|
| Greydwarf | 1 (~50%) | 2 (100%) | 4 (100%) |
| Greydwarf Brute | 1 (~50%) | 2 (100%) | 4 (100%) |
| Greydwarf Shaman | 1 (~50%) | 2 (100%) | 4 (100%) |
The Black Forest is the home biome for all of them. They cluster around ruined stone buildings and push toward you as soon as they notice you, and numbers go up at night. Shamans also wander into the Meadows at night once the Elder is dead, though only unstarred ones, which makes Black Forest runs the better use of your time.
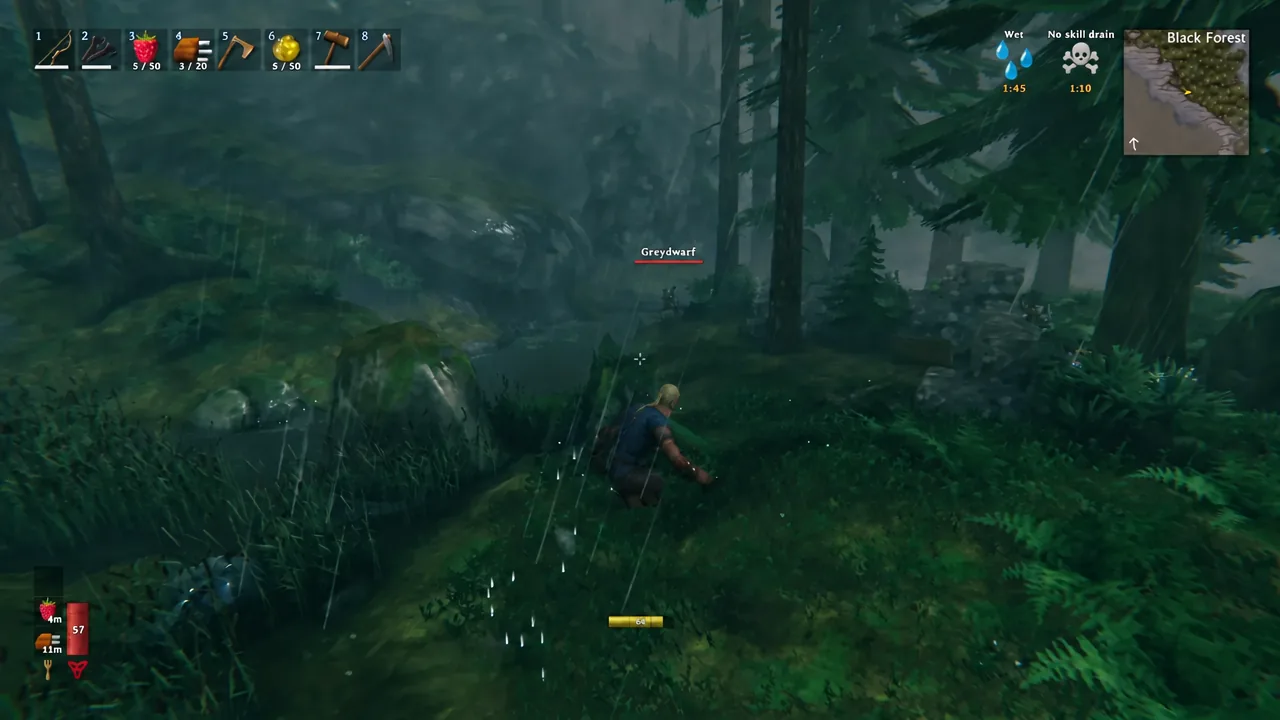
Farm Greydwarf Eyes at a Greydwarf nest
Wandering the forest works, but a nest turns farming into a loop. Nests are the glowing purple vine structures scattered through the Black Forest, and they keep producing Greydwarfs as long as you stay nearby and leave the structure intact.
Tip: a small shelter or raised platform next to the nest makes long sessions safer, and tamed wolves parked with you will handle a lot of the killing while you collect.
Handling Brutes and Shamans during a farming run
Greydwarfs have no damage type they are especially soft to, so any weapon you have works. What they do react to is fire. They shy away from a player holding a lit torch, which is useful for crowd control but slows down a farm where you want them walking into range.
Shamans are the ones to kill first. They heal nearby allies for about 20 health over a few seconds and fire a short cone of poison that cannot be blocked, and that poison hits for 30 damage at no star, rising to 60 on a two-star. The poison only goes off when you sit between roughly two and five meters away, so closing right in on a Shaman shuts the attack down. They are very weak to fire, resist poison themselves, and cannot be hurt at all by chop or pickaxe damage.
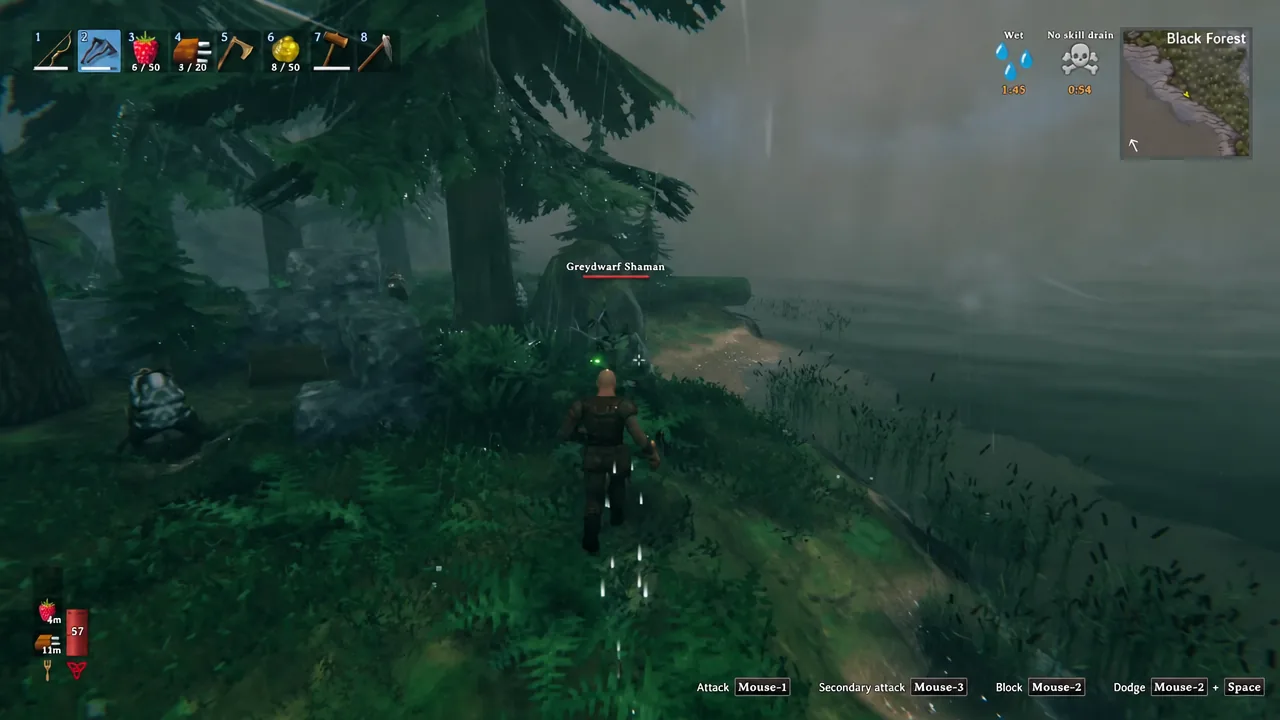
Brutes hit far harder than the standard Greydwarf and are the most likely thing to end a session early. Give yourself room to back out rather than letting a Brute and a group of regular Greydwarfs surround you at once.
Why the drops stop coming
Eyes land on the ground and are picked up by walking over them, and each pickup flashes the item name and quantity in the corner of the screen before the stack shows up in your inventory. If that notification is not appearing, one of these is usually the reason.
- You damaged the nest. Hitting it stops the supply of new Greydwarfs, so keep your attacks pointed away from it.
- Your inventory is full. Valheim throws up a “No room in inventory” message and the eyes stay on the ground until you free a slot.
- The enemy was unstarred and the roll failed. Around half of no-star kills simply give nothing.
- Dawn arrived. Night-spawned Greydwarfs and Shamans disappear at daybreak instead of sticking around to be killed.
Stack size, weight, and portal transfers
Each eye weighs 0.2 and stacks to 50, so a full slot costs you 10 weight. That is light enough that there is rarely a reason to leave any behind. Eyes are also teleportable, which means you can carry them through an existing portal instead of sailing a cart of them home.
What Greydwarf Eyes are used for
Portals are the reason most players farm eyes at all, and the recipe unlocks once you pick up Finewood for the first time. Remember that a portal is only half a link. You need a matching portal with the same tag at the other end, so budget for twenty eyes per usable connection.
| Recipe | Station | Cost |
|---|---|---|
| Portal | Workbench | 20 Finewood, 10 Greydwarf Eye, 2 Surtling Core |
| Portal – Stone | Stonecutter | 30 Grausten, 10 Greydwarf Eye |
| Ward | None | 5 Finewood, 5 Greydwarf Eye, 1 Surtling Core |
| Blue Standing Brazier | Forge | 5 Bronze, 5 Greydwarf Eye |
| Standing Blue-burning Iron Torch | Forge | 2 Iron, 2 Greydwarf Eye |
| Mead Base: Frost Resistance | Cauldron | 10 Honey, 5 Thistle, 2 Bloodbag, 1 Greydwarf Eye |
| Eyescream | Cauldron | 2 Greydwarf Eye, 1 Freeze Gland |
Beyond that table, eyes go into Cyan Fireworks at a Workbench and are spent on Copper Knife upgrades. They also double as fuel. Both the blue standing brazier and the standing blue-burning iron torch are refuelled with eyes rather than wood or resin, which is worth knowing before you light a long row of them.
The Frost Resistance mead base is the other priority. It is what lets you walk into the Mountain biome without freezing, but the base has to sit in a Fermenter for two in-game days before it becomes a drinkable mead, so start it well before the trip.
Greydwarf Eye spawn code
If you are testing a build or playing with cheats enabled, the internal item ID is GreydwarfEye. Open the console with F5, enable cheats by typing devcommands, then spawn the material.
devcommands
spawn GreydwarfEye
Once you have a nest marked and a portal network running, Greydwarf Eyes stop being something you chase and start being something you trip over. Most players end up with chests full of them by the midgame, which is exactly when you want a surplus, because every new outpost you plant in the Swamp, the Mountains, or further out is another ten eyes spent on the portal that gets you home.