The Forge starts at level 1, and at that level it can only make and repair the most basic metal gear. Raising it to level 2 takes one small structure: the Anvils. It is the cheapest of the six Forge improvements, it sits comfortably inside the Black Forest tier of progression, and it is the gate between building bronze equipment and actually upgrading that equipment.
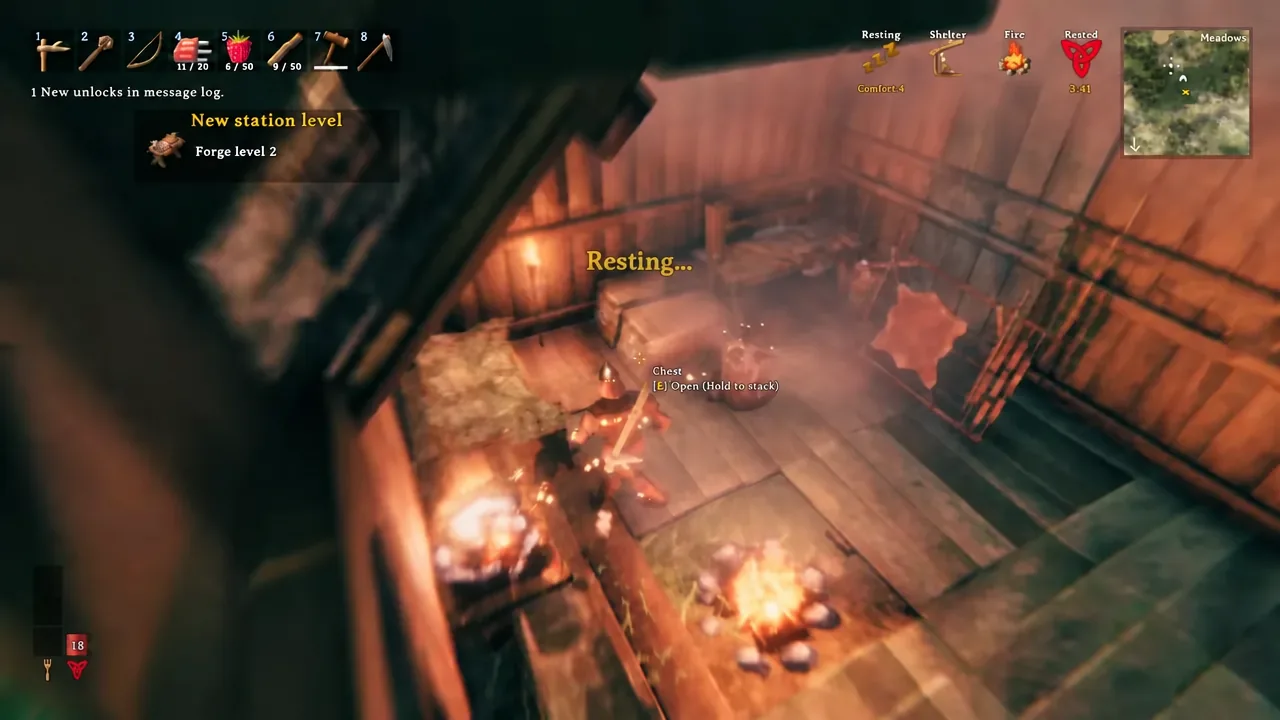
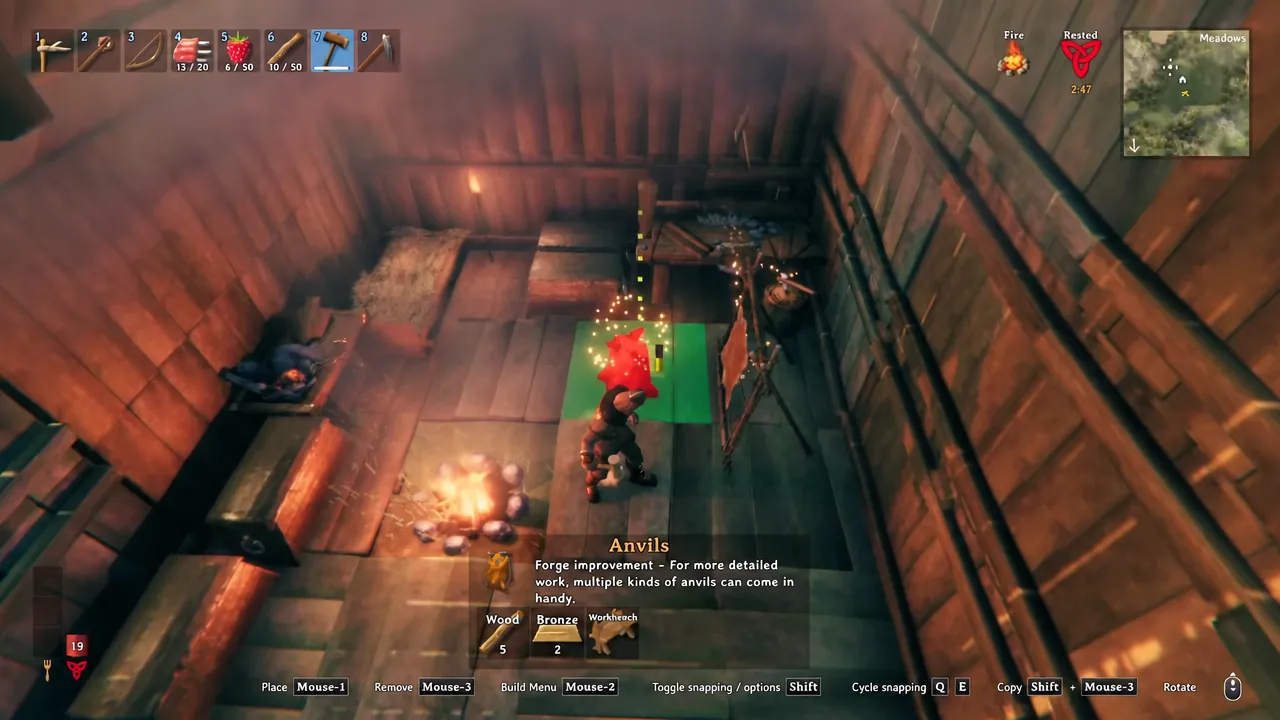
Quick answer: Craft Anvils with 5 Wood and 2 Bronze near a Workbench, then place them close to your Forge under the same roof. The “New station level — Forge level 2” message appears the moment the piece snaps into place.
Anvils recipe: materials and crafting station
Anvils appear in the Hammer’s build menu under Crafting, described in-game as a Forge improvement. The recipe is short, and the only real bottleneck is the Bronze.
| Requirement | Detail |
|---|---|
| Wood | 5 |
| Bronze | 2 |
| Crafting station | Workbench in range |
| Type | Forge improvement |
| Result | Forge level 1 → level 2 |
You also need an existing Forge, which costs 4 Stone, 4 Coal, 10 Wood, and 6 Copper, and a Workbench nearby to build it. A Forge only works when it has a roof and roughly 70 percent cover, so plan the room before you start dropping improvements into it.
How to get Bronze for the Anvils
Bronze is not something you find lying around. It is made by combining copper and tin, and both of those come out of the Black Forest as raw ore that has to be smelted first.
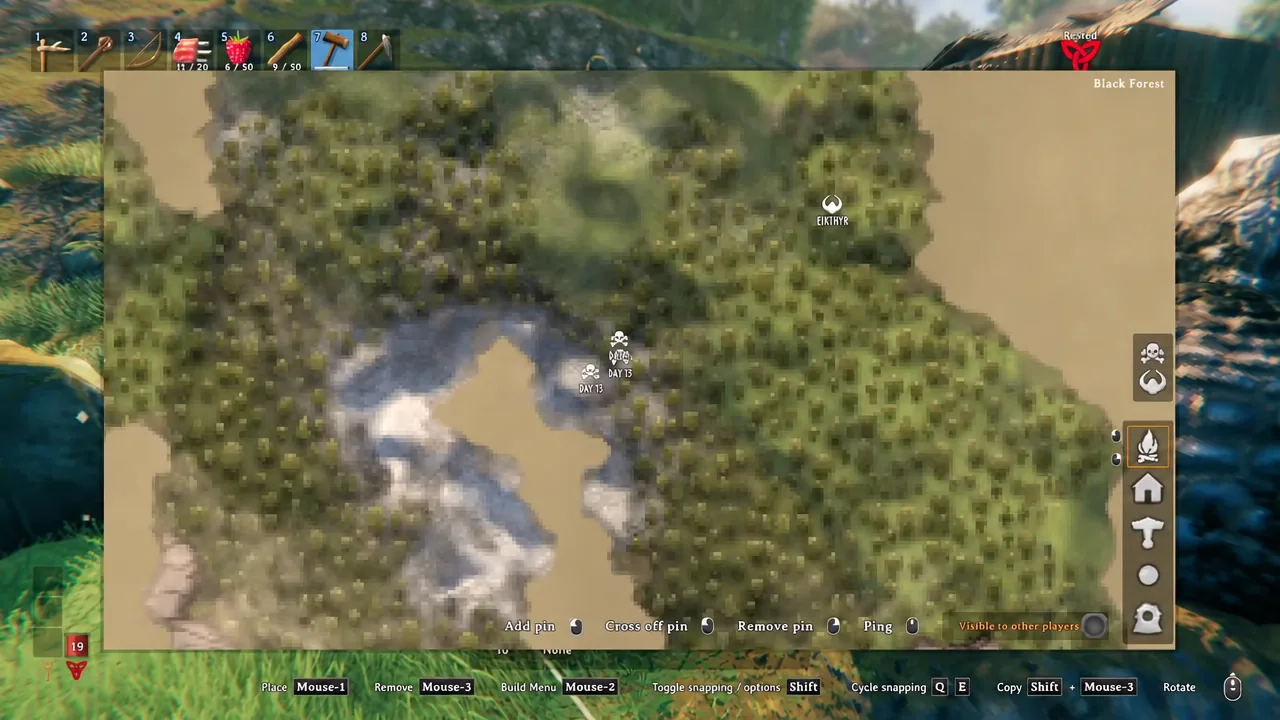
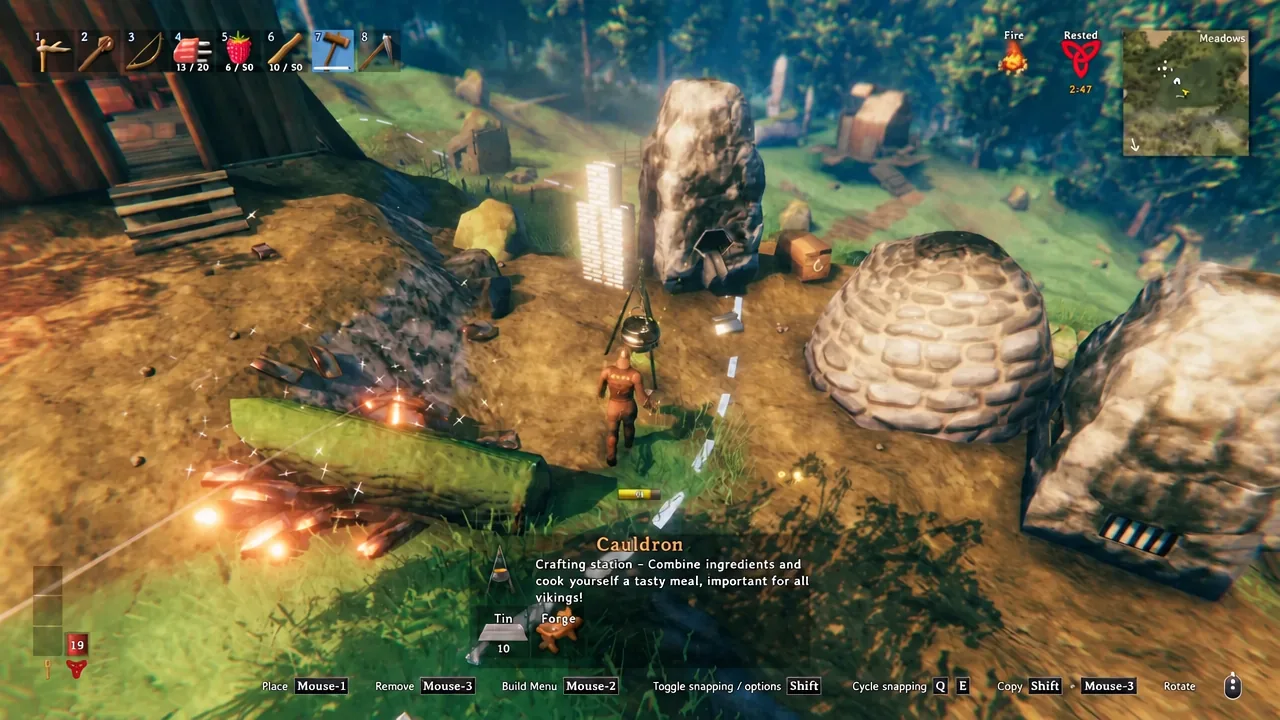
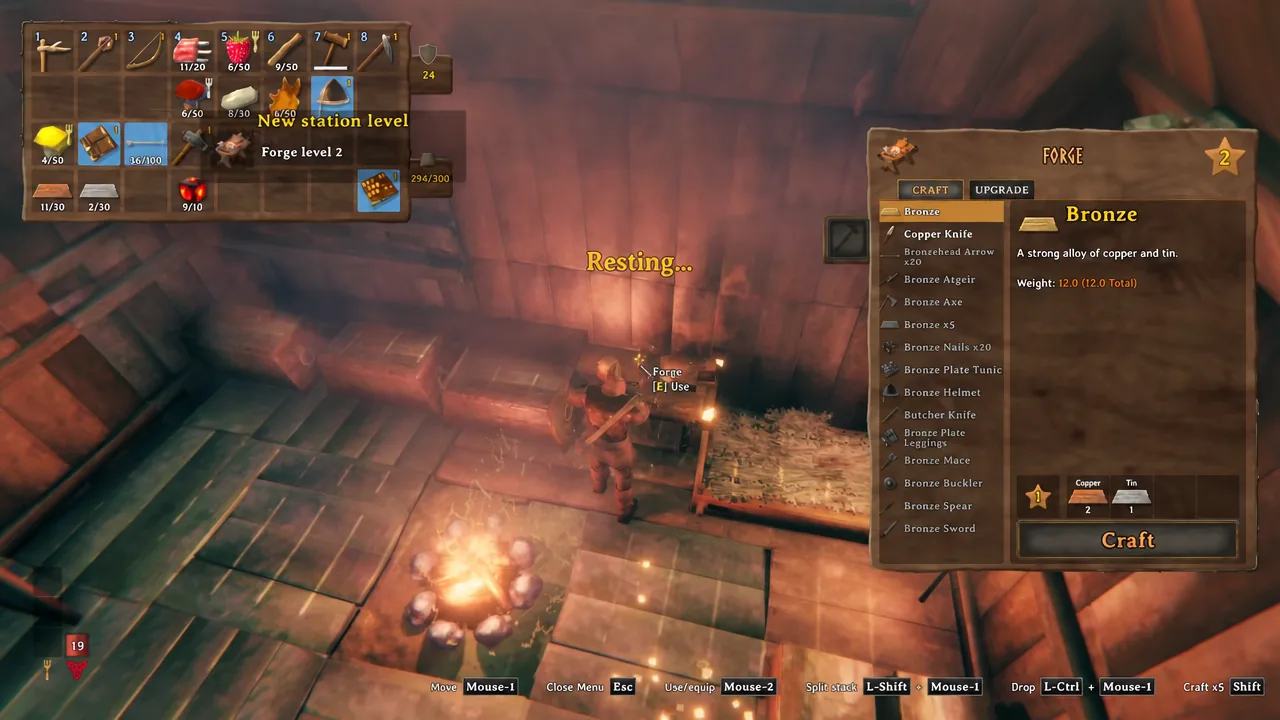
Tip: holding Shift crafts five bars at once, but crafting Bronze one at a time raises your Crafting skill for every single craft, which makes it roughly five times faster for skill gain.
How to place the Anvils next to the Forge
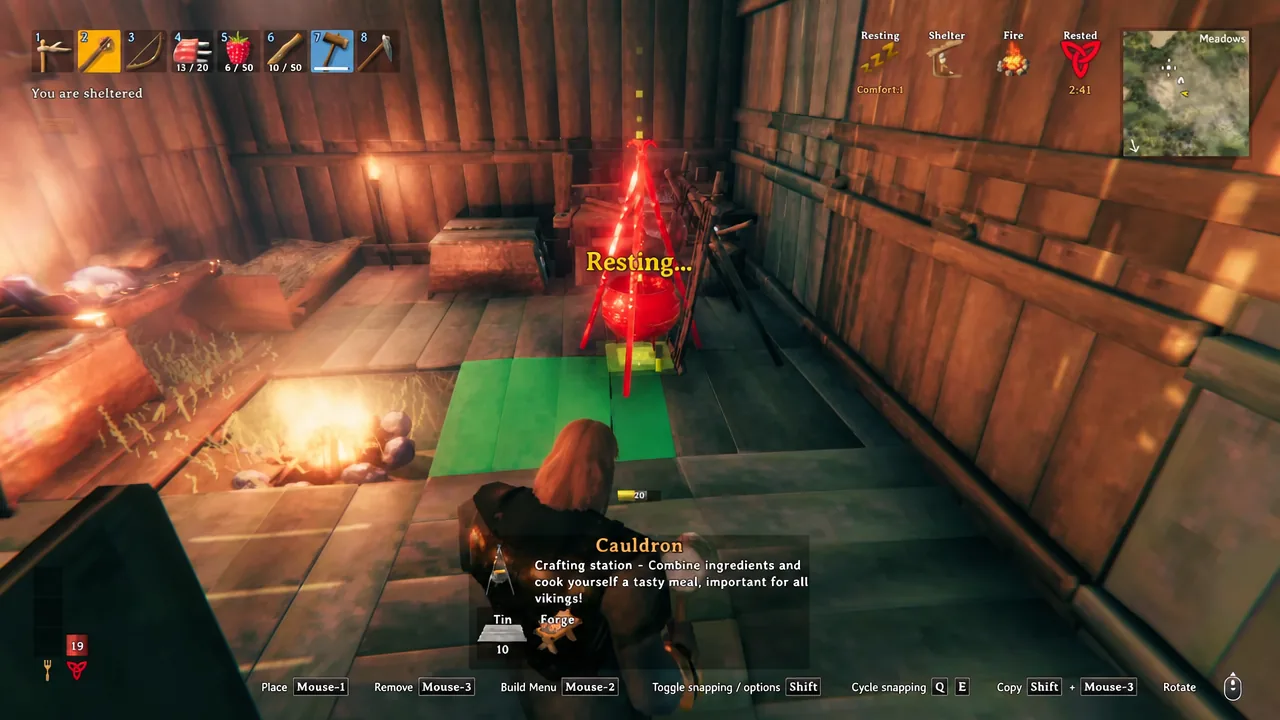
How to confirm the Forge is level 2
The upgrade is instant and self-announcing. As the Anvils drop into place, the game prints “New station level” followed by “Forge level 2” on screen. Opening the Forge afterwards shows the new level in its panel, and higher upgrade tiers become selectable on gear you already own.
Each Forge level also widens the station’s build radius by three meters, which is worth remembering when you start squeezing the later improvements into the same room.
If the Forge does not upgrade after placing the Anvils
- The Anvils sit outside the Forge’s radius. Move them closer until the connection registers.
- Another Forge improvement is too close. Improvements need spacing between them, so shift the Anvils to a free spot.
- The Forge itself is unusable because the room lacks a roof or enough wall cover.
- No Workbench is in range, in which case the Anvils cannot be built in the first place.
Repositioning costs nothing. Forge improvements can be deconstructed and rebuilt elsewhere without losing the materials, so experiment with the layout until everything links up.
What Forge level 2 gives you
Level 2 is mainly about upgrade tiers rather than brand-new recipes. With the Anvils in place you can start pushing bronze weapons, armor, and shields past their base level, which is the difference between surviving the Black Forest and being ready to look at the Swamp. Repairs at the Forge remain free at any level.
The Forge improvements that come after the Anvils
The Forge tops out at level 7, and every improvement placed nearby adds one level. Here is the full set, with the Anvils as the entry point.
| Improvement | Materials |
|---|---|
| Anvils | 5 Wood, 2 Bronze |
| Forge Cooler | 25 Finewood, 10 Copper |
| Smith’s Anvil | 5 Wood, 20 Iron |
| Forge Toolrack | 10 Wood, 15 Iron |
| Forge Bellows | 5 Wood, 5 Deer hide, 4 Chain |
| Grinding Wheel | 25 Wood, 1 Sharpening stone (Stonecutter) |
Everything after the Forge Cooler waits on iron from the Swamp, so the Anvils and the Cooler are the two you can realistically finish while still working out of the Black Forest. Leave floor space around the Forge now, because the Bellows in particular is bulky and has to physically touch the Forge to count.