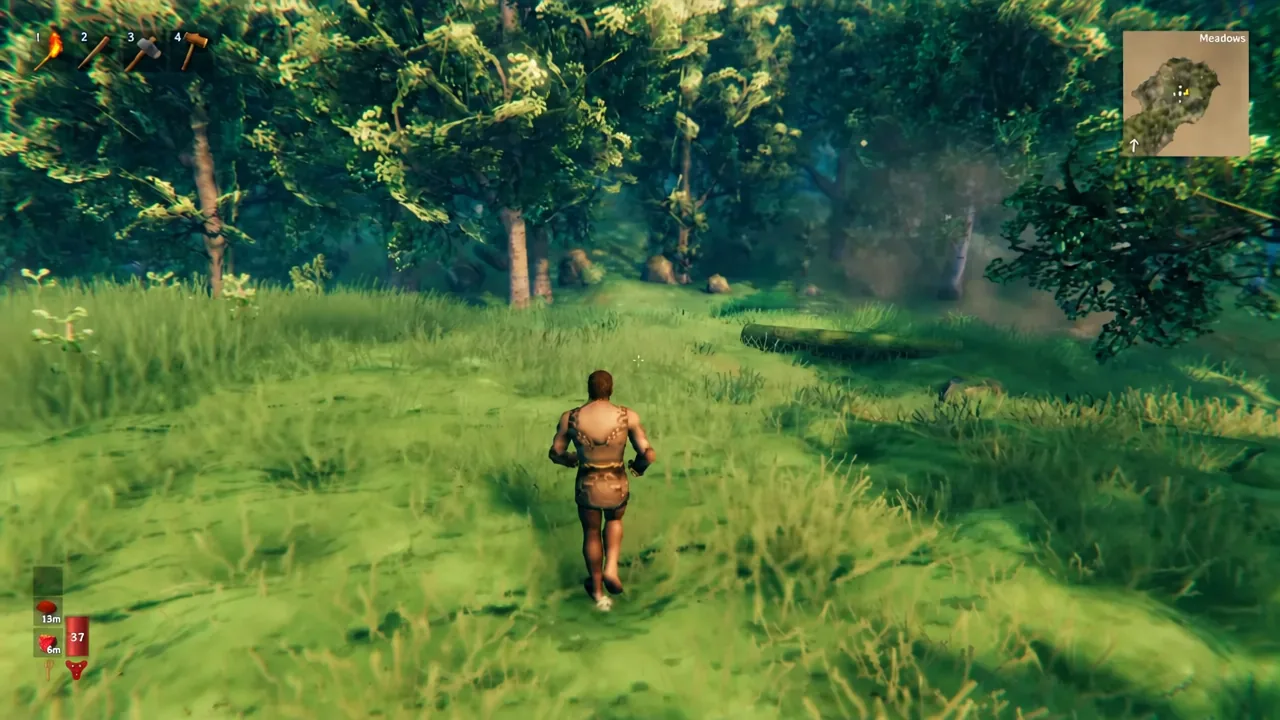
Valheim drops you into the Meadows with empty hands, no tutorial, and a raven that offers hints you can safely ignore for the first few minutes. Day one is not about building a hall. It is about getting three tools, a roof, a fire, and a claimed bed before nightfall.
Quick answer: Pick up loose Wood and Stone at the spawn circle, craft a Hammer, Stone Axe, and Club, place a Workbench under a roof, put a Campfire on bare dirt with room for smoke to escape, then claim a Bed and sleep through the first night.
The first five minutes at the sacrificial stones
A giant raven drops you onto the sacrificial stones in the Meadows. Everything you need to unlock the starter recipes is scattered on the ground within a short walk of that circle.
Meadows resources worth collecting on day one
Recipes unlock through discovery, so picking up an unfamiliar material is often worth more than the material itself. These are the ones that matter before your first night.
| Material | Where it comes from | What it does for you |
|---|---|---|
| Wood | Branches on the ground, beech trees | Tools, Workbench, walls, roofing, Campfire |
| Stone | Loose on the ground | Stone Axe, Campfire, Hammer |
| Flint | Shorelines and water edges only | Flint Axe, Flint Knife, Flint Spear |
| Resin | Greylings | Torch fuel |
| Boar Meat, Leather Scraps | Boars | Cooked food, early armour |
| Deer Hide, Deer Trophy | Deer | Rag gear; two trophies summon Eikthyr |
| Neck Tail | Necks near water | Cooked food |
| Feathers | Chests in ruined structures | Wood Arrows |
Flint deserves special attention because it never spawns inland. If you have not found water by mid-afternoon, walk downhill until you do, then follow the shoreline and grab every piece you see.
Build a starter shelter that actually works
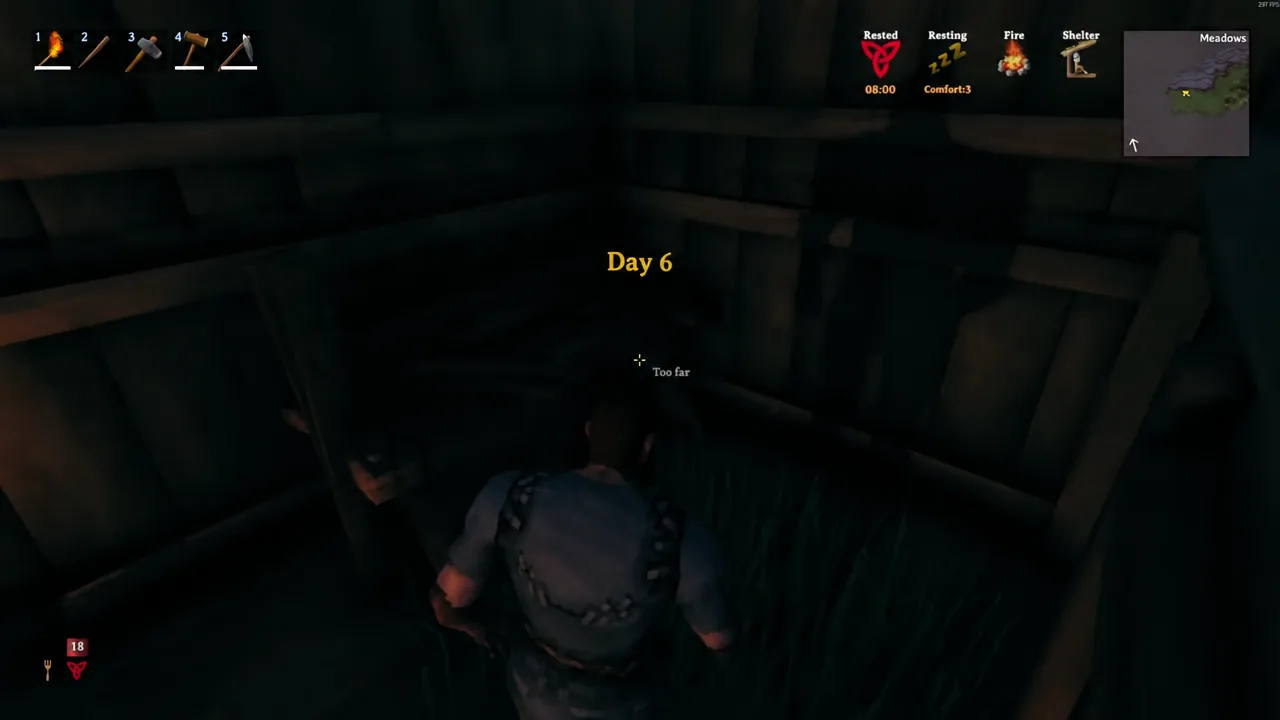
Your first shelter needs four things and nothing else. A covered Workbench, a Campfire with ventilation, a Bed you have claimed, and a door. Abandoned houses in the Meadows already provide most of the roof, so moving into a ruin is faster than building from scratch.
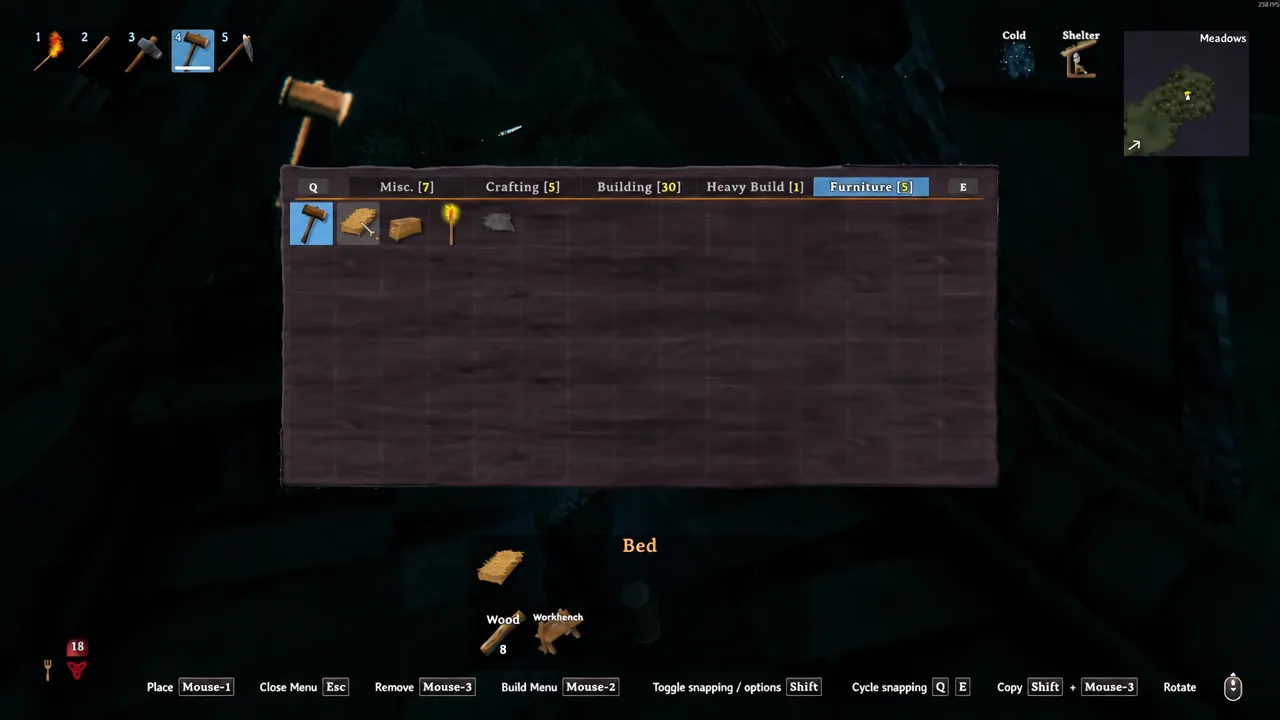
Note: If you built the shelter as a throwaway, dismantle it with the Hammer before you leave. Deconstructing your own pieces returns the materials, so nothing is wasted when you relocate to a better spot near water.
Food, Rested, and the status effects that decide fights
There is no hunger bar and no starvation. Food is a buff. Each item you eat raises your maximum health and stamina for a set time, and you can hold three different foods at once. Eating the same food twice does nothing until the first serving is partly digested, which the flashing icon tells you.
The coloured fork on each food icon shows its bias. Red leans toward health, yellow toward stamina, and white splits the difference. Early on, a berry, a mushroom, and a piece of cooked meat cover all three slots comfortably.
| Status | Effect | How to handle it |
|---|---|---|
| Rested | Large boost to health and stamina regeneration | Sit near a fire under a roof for roughly 20 seconds, or sleep |
| Cold | Reduced health and stamina regeneration | Stand by a Campfire; the effect stacks with Wet |
| Wet | Further regeneration penalties | Dry off next to a fire before fighting |
| Shelter | Confirms you are under valid cover | Required for Rested, bed claiming, and Workbench use |
Comfort raises how long Rested lasts, so a chair or a banner is a real upgrade rather than decoration. Stamina governs sprinting, attacking, blocking, dodging, and swimming, and running the bar to zero in deep water is a genuine drowning risk.
Day two: cooking, chests, and Flint gear
Once you wake with Rested active, the priority shifts to a food supply and better tools. Build a Cooking Station over the Campfire and put Boar Meat and Neck Tails on it. Pull them off when they are done, because leaving meat too long turns it into coal.
Flint from the shoreline unlocks the Flint Axe, which replaces the Stone Axe, along with the Flint Knife and Flint Spear. Add a Crude Bow, Wood Arrows, and a Wood Shield, and you have a full loadout for the Meadows. Repairing all of it at the Workbench is free and costs no materials, so top everything up before you leave the house.
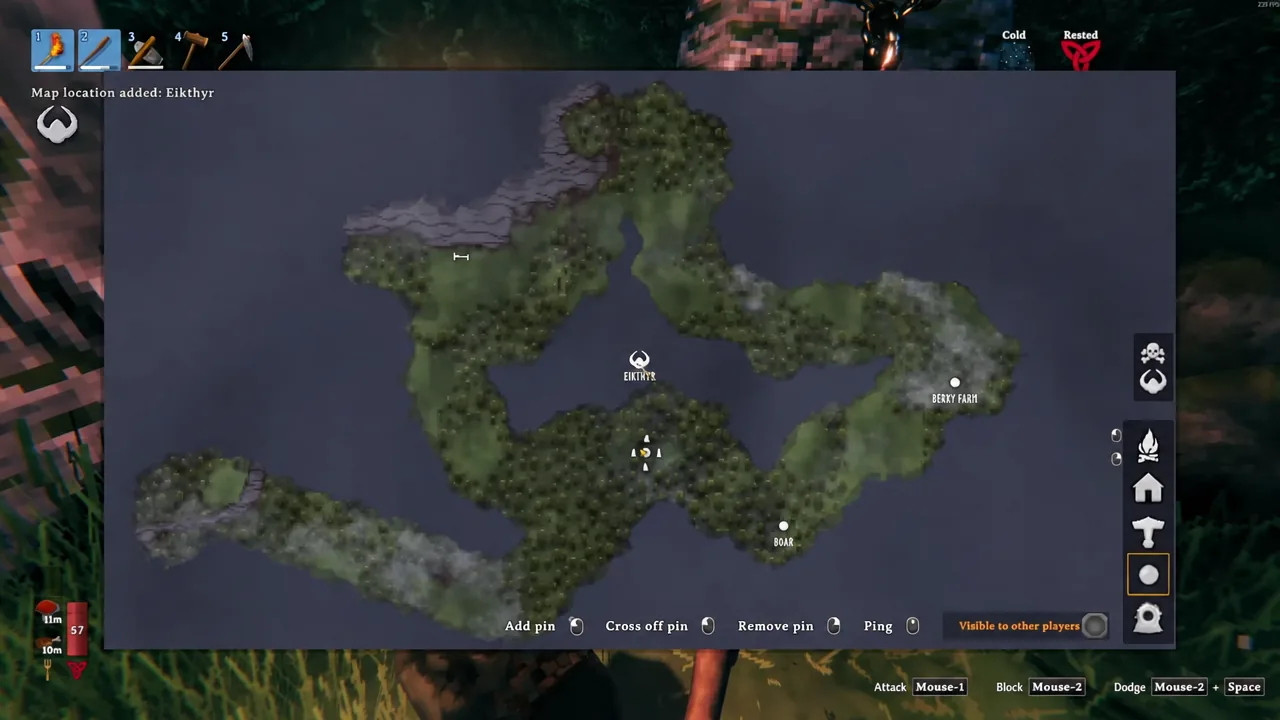
Build a few Chests while you are at it and separate food from building materials. Map pins matter just as much. Mark berry patches, runestones, abandoned villages, the shoreline where Flint spawns, and your own base, because the Meadows all start to look the same after an hour.
How to summon and beat Eikthyr
Eikthyr is the Meadows boss and the gate to everything after it. He has 500 health, charges you physically, and fires ranged lightning attacks that punish anyone standing in open ground with an empty stamina bar.
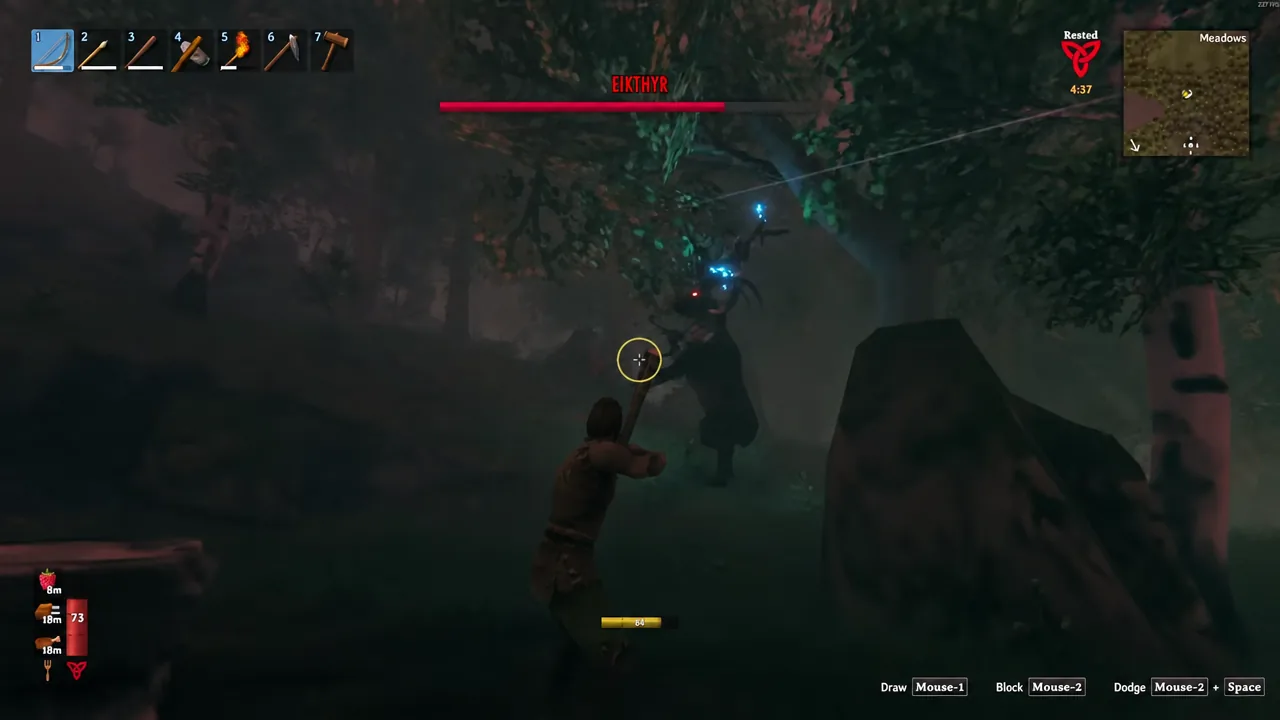
You know it worked when activating the power applies a 300-second effect that cuts run, jump, and swim stamina usage by 60 percent. If nothing happens at the stones, the trophy is not hung yet, or you are standing at a different altar rather than the world spawn circle.
Early mistakes that end a first day
- Leaving base with empty food slots, which halves the health and stamina you could have had.
- Sealing a Campfire inside four walls with no vent, which damages you and can put the fire out.
- Sprinting everywhere and hitting a fight with no stamina left to block or dodge.
- Standing under a falling tree. Trees obey physics in Valheim and a falling trunk can kill outright.
- Wandering into the Black Forest on day one. The biome name sits beside the minimap; check it when the scenery changes.
- Swimming across open water on a low stamina bar.
Death leaves your inventory in a tombstone marked on the map, and under default settings it also costs skill progress. Keeping a spare Club, a spare set of rags, and a few cooked meals in a chest at home turns a recovery run from a crisis into an errand.
The Meadows are forgiving by design, and there is no reward for rushing out of them. Bank a reliable food supply, keep your gear repaired, mark everything worth returning to, and the Black Forest becomes a challenge rather than an ambush.