Bumpy terrain is the reason your first Valheim base looks crooked. Floors refuse to snap cleanly, walls leave gaps at the bottom, and you burn wood on pieces that end up dismantled ten minutes later. The hoe fixes almost all of it, and a pickaxe handles the one job the hoe can’t.
Quick answer: Craft a hoe from 5 Wood and 2 Stone at a roofed Workbench, stand at the exact height you want your floor, and left-click. Raise Ground costs 2 Stone per click and needs a Workbench nearby.
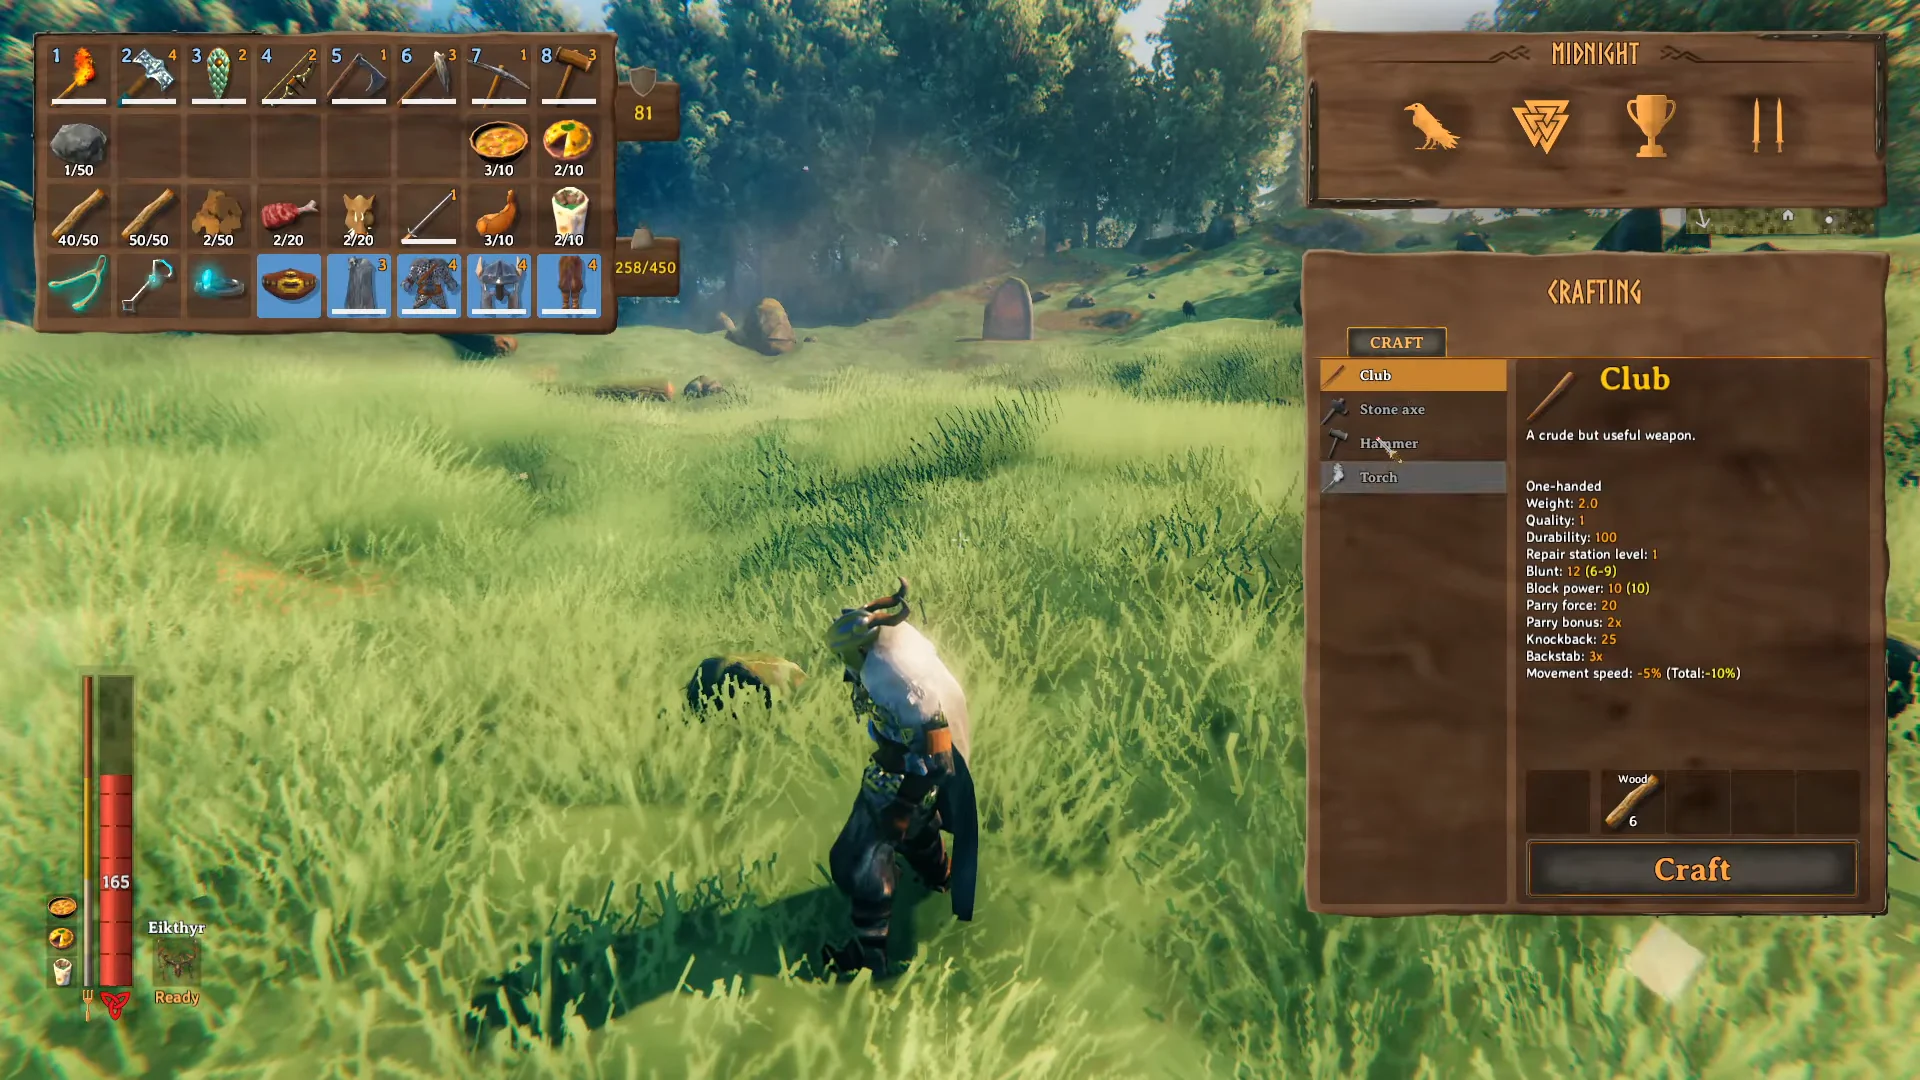
Craft the hoe at a roofed Workbench
The hoe is made at a Workbench, but the bench is usable only when it has overhead cover. If its crafting tab is dimmed, place a roof piece or two walls above the bench, then check again.
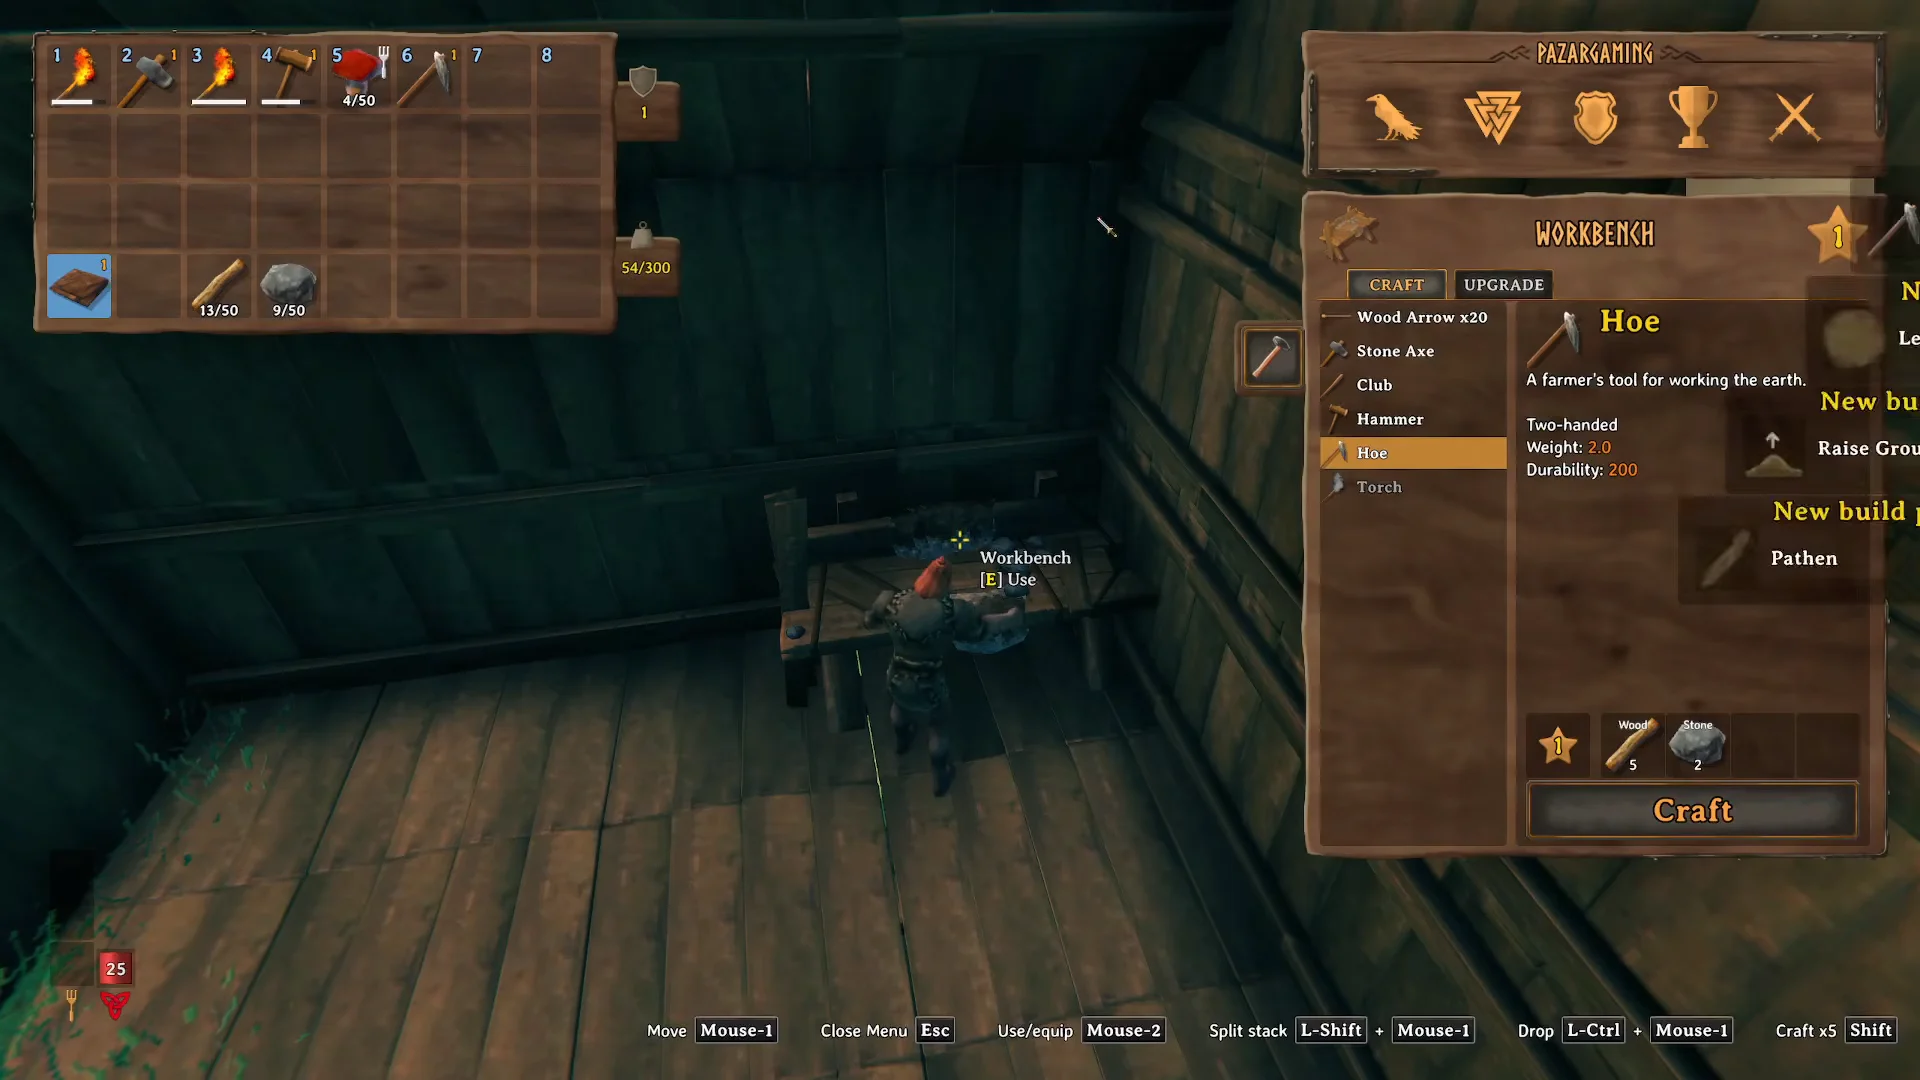
It sits alongside the Hammer in your early tool list, and plenty of players skip past it because the description reads like a farming item. It is two-handed with a weight of 2.0, so it replaces your weapon while equipped.
| Quality | Materials | Durability | Workbench level |
|---|---|---|---|
| 1 (craft) | 5 Wood, 2 Stone | 200 | 1 |
| 2 (upgrade) | 1 Wood, 1 Stone | 400 | 2 |
| 3 (upgrade) | 2 Wood, 2 Stone | 600 | 3 |
Because repairs cost nothing, an upgrade only determines how long you can work before returning to a bench. With quality 3, the hoe has three times the durability of a new one, a useful difference on a large earthworks project.
Level Ground: Your feet set the height
Select Level Ground, equip the hoe, and left-click. The yellow circle shows the affected area; terrain within it moves toward the elevation where your character is standing. High sections sink and low sections rise. Since each use consumes stamina, flattening a large plot takes several rounds instead of one continuous session.
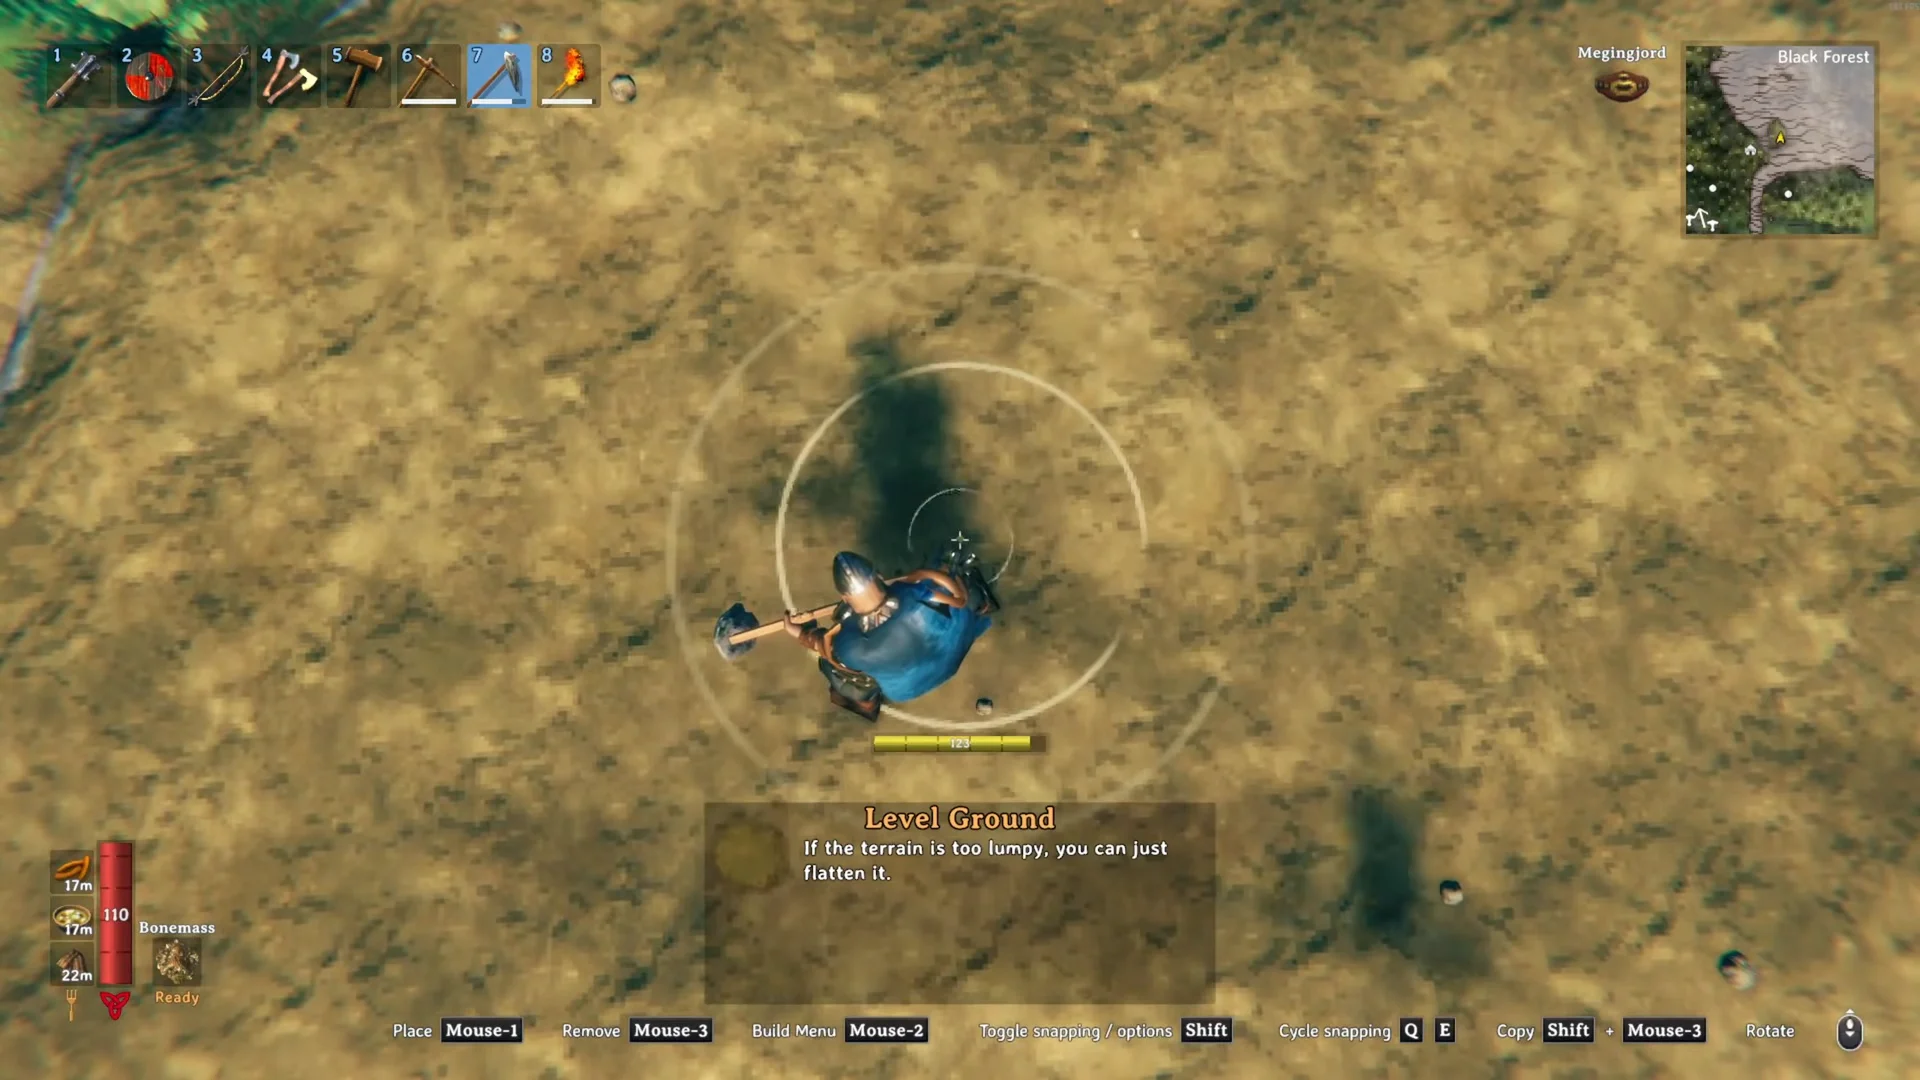
Because your position is the reference, the reliable method is boring and it works. Pick the exact height you want the floor at, stand there, clear everything you can reach without moving, then step onto another spot already at that height and repeat. Wandering uphill while you keep clicking is how plots end up terraced like a staircase.
A single use seldom leaves a patch perfectly even, so click the same location several times for adjustment. The terrain immediately beyond the circle moves a little as well, giving the finished plot softly blended edges instead of a sharp boundary.
Hold Shift as you click to make the hoe use the height of the targeted terrain rather than the elevation beneath your feet. This helps when you need to match a level area where standing is awkward.
Raise Ground costs 2 Stone per click and needs a Workbench
Use Right-click (Mouse-2) to bring up the hoe’s radial menu, which follows the Hammer’s selection style. Its choices include Raise Ground, Level Ground, Pathen, Paved Road and Decorative Boulder.
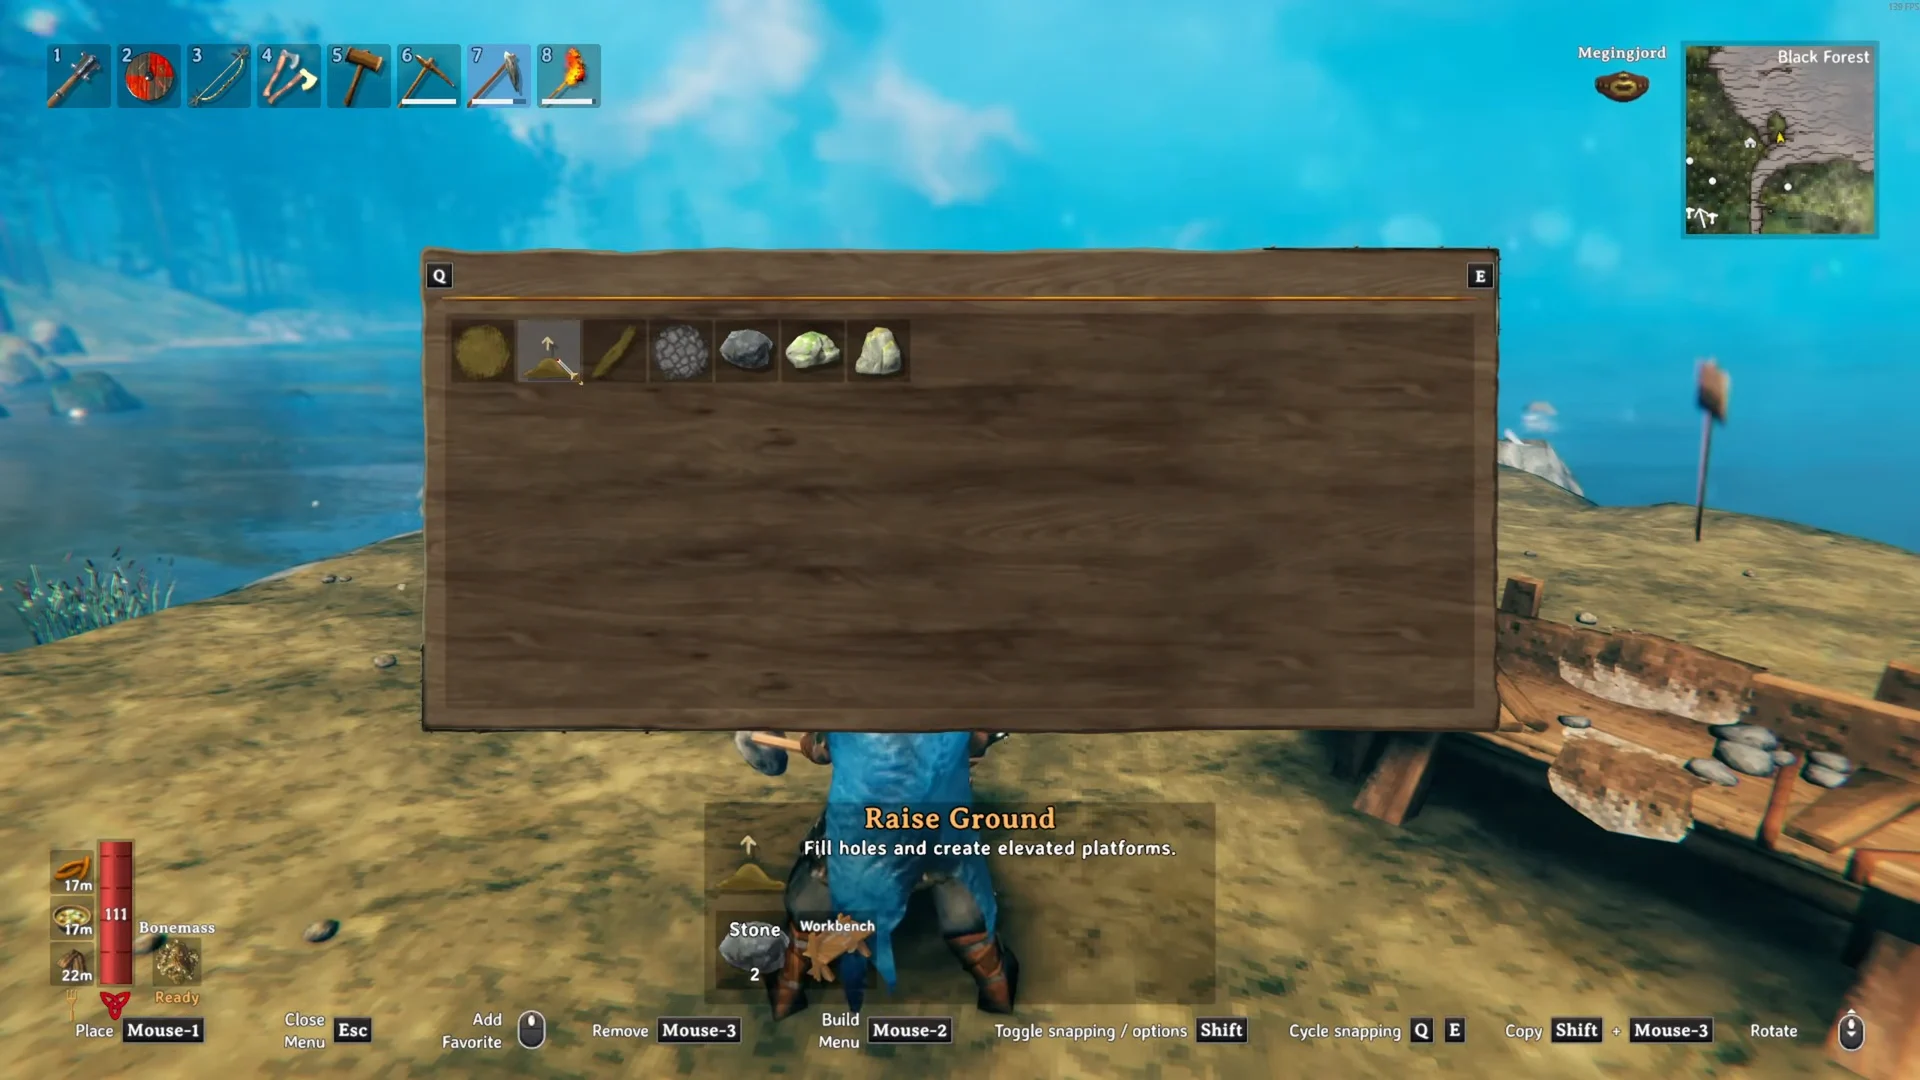
Raise Ground both fills depressions and creates platforms, but unlike levelling it has two requirements. Each click consumes 2 Stone, and you must remain within a Workbench’s build radius, indicated by the white dotted boundary. Leaving that circle prevents the action from working.
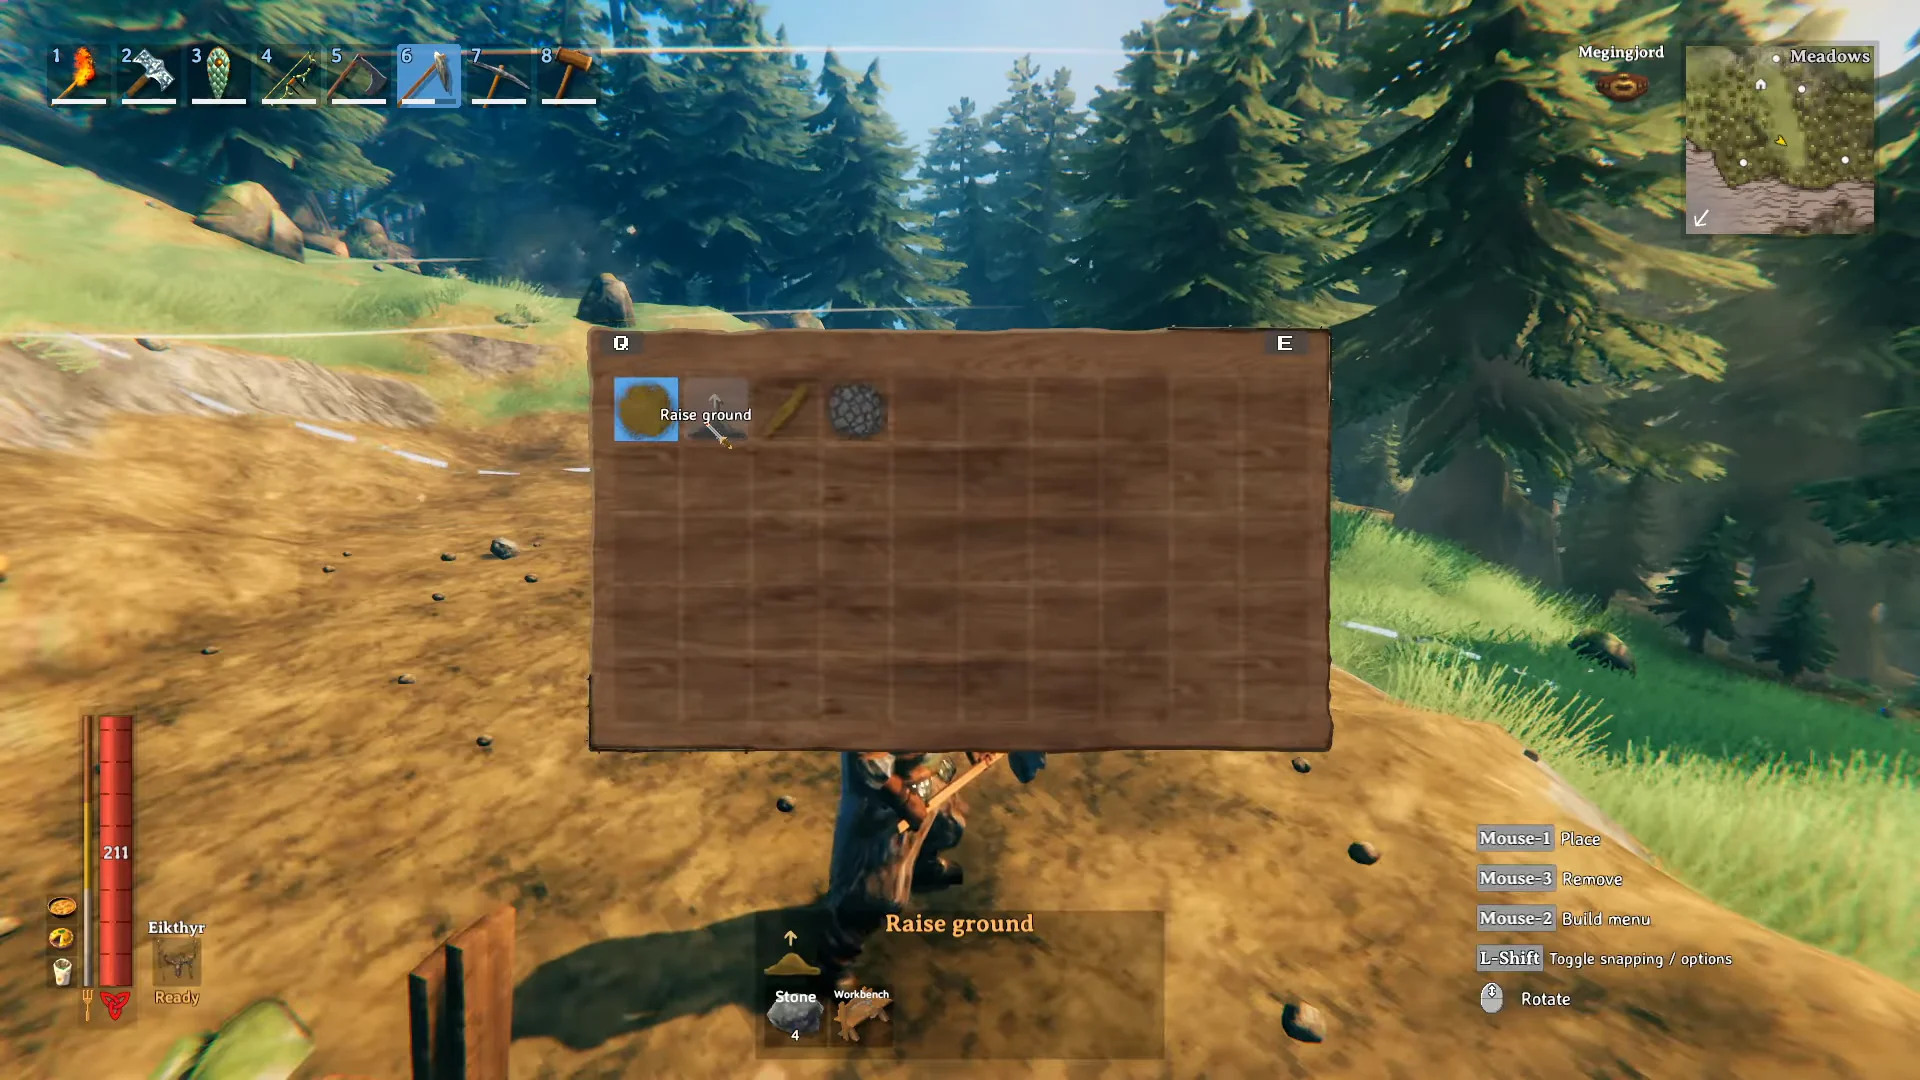
At a cliff, use a more economical method. Rather than building upward from the bottom one layer at a time, target the slope’s upper lip with Raise Ground. The lifted ground pulls the earth beneath it upward as well, closing the gap with many fewer clicks.
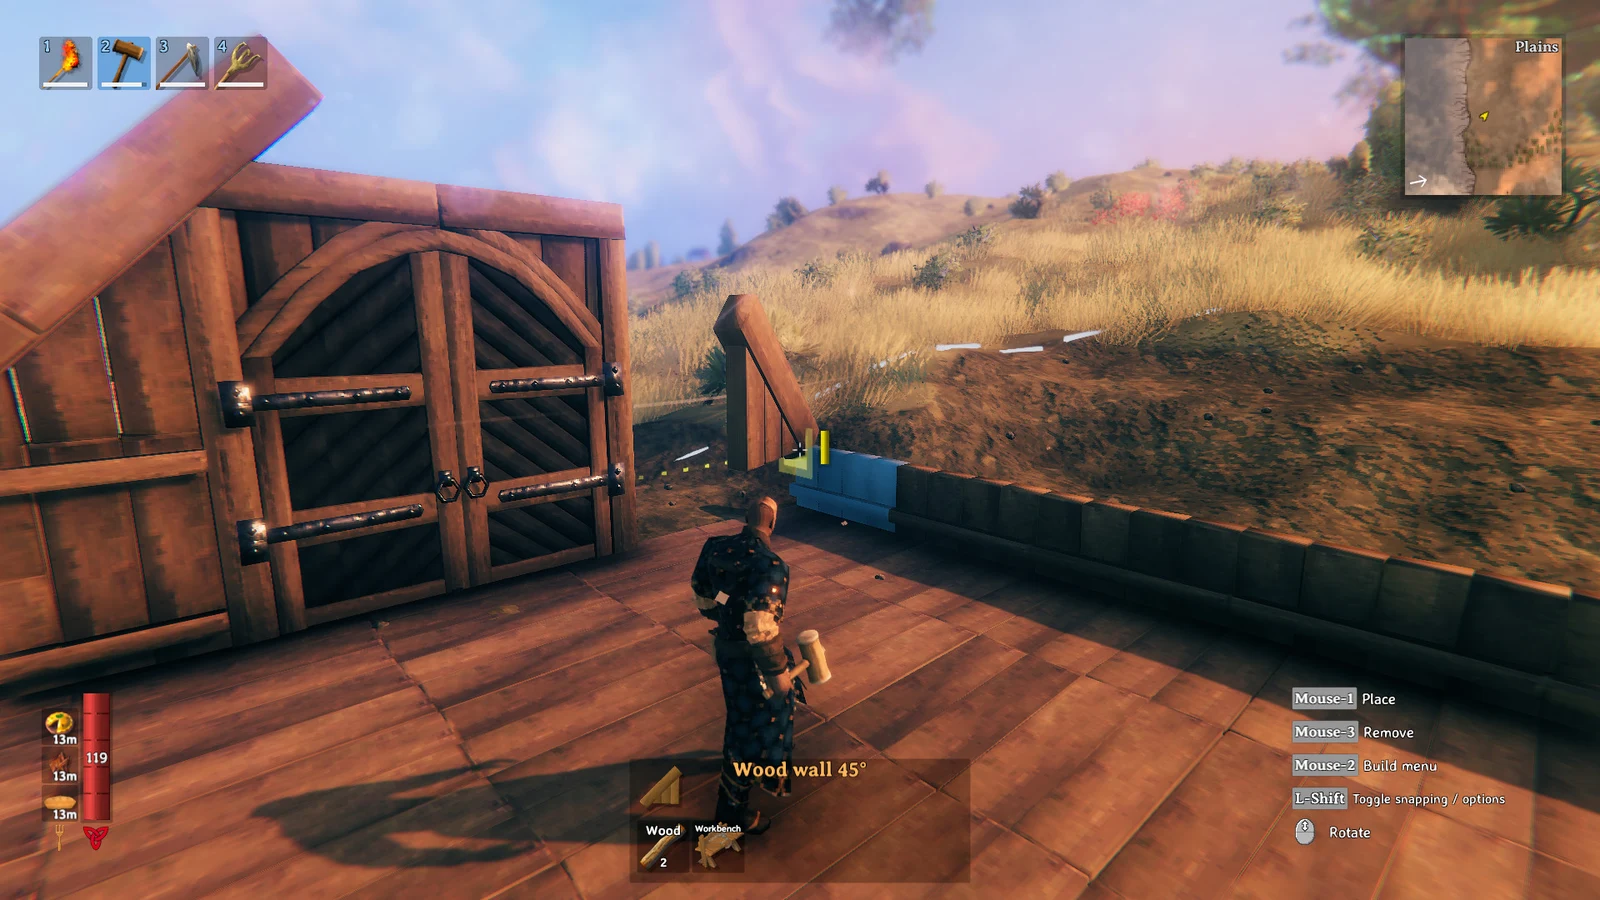
Raised earth can serve as structural support too. Pieces connected to a raised-earth pillar are treated as separate foundations and appear blue in the Hammer’s support colouring, allowing stone construction to reach heights that flat ground cannot support.
Lowering terrain needs a pickaxe, and there is a hard depth cap
The hoe can lower terrain, but only by a fraction of a metre, and only if you level toward a lower place where you are standing. Use a pickaxe for substantial excavation; the Antler Pickaxe is the first tool that can remove significant amounts of earth.
Because Valheim represents terrain with a height map, not voxels, every location has a limited offset from its world-generation elevation. Relative to the original mesh, the total amount of terrain that can be raised or lowered is about 15 to 20 units; the starting elevation differs from one part of the map to another. Consequently, a mound may hit its limit even though soil only a few metres away can still be excavated.
The game does not support genuine tunnels. To imitate a sunken or underground room, you must lower the terrain, and the depth limit determines how far down that room can extend.
Fix a patch of ground that refuses to flatten
This is the common failure case: you stand along the foundation line and strike a clearly visible lump, dirt flies, yet the ground stays put. That patch has reached its height limit; it is not a bug, and changing your attack angle will not help. Use the tools together instead.
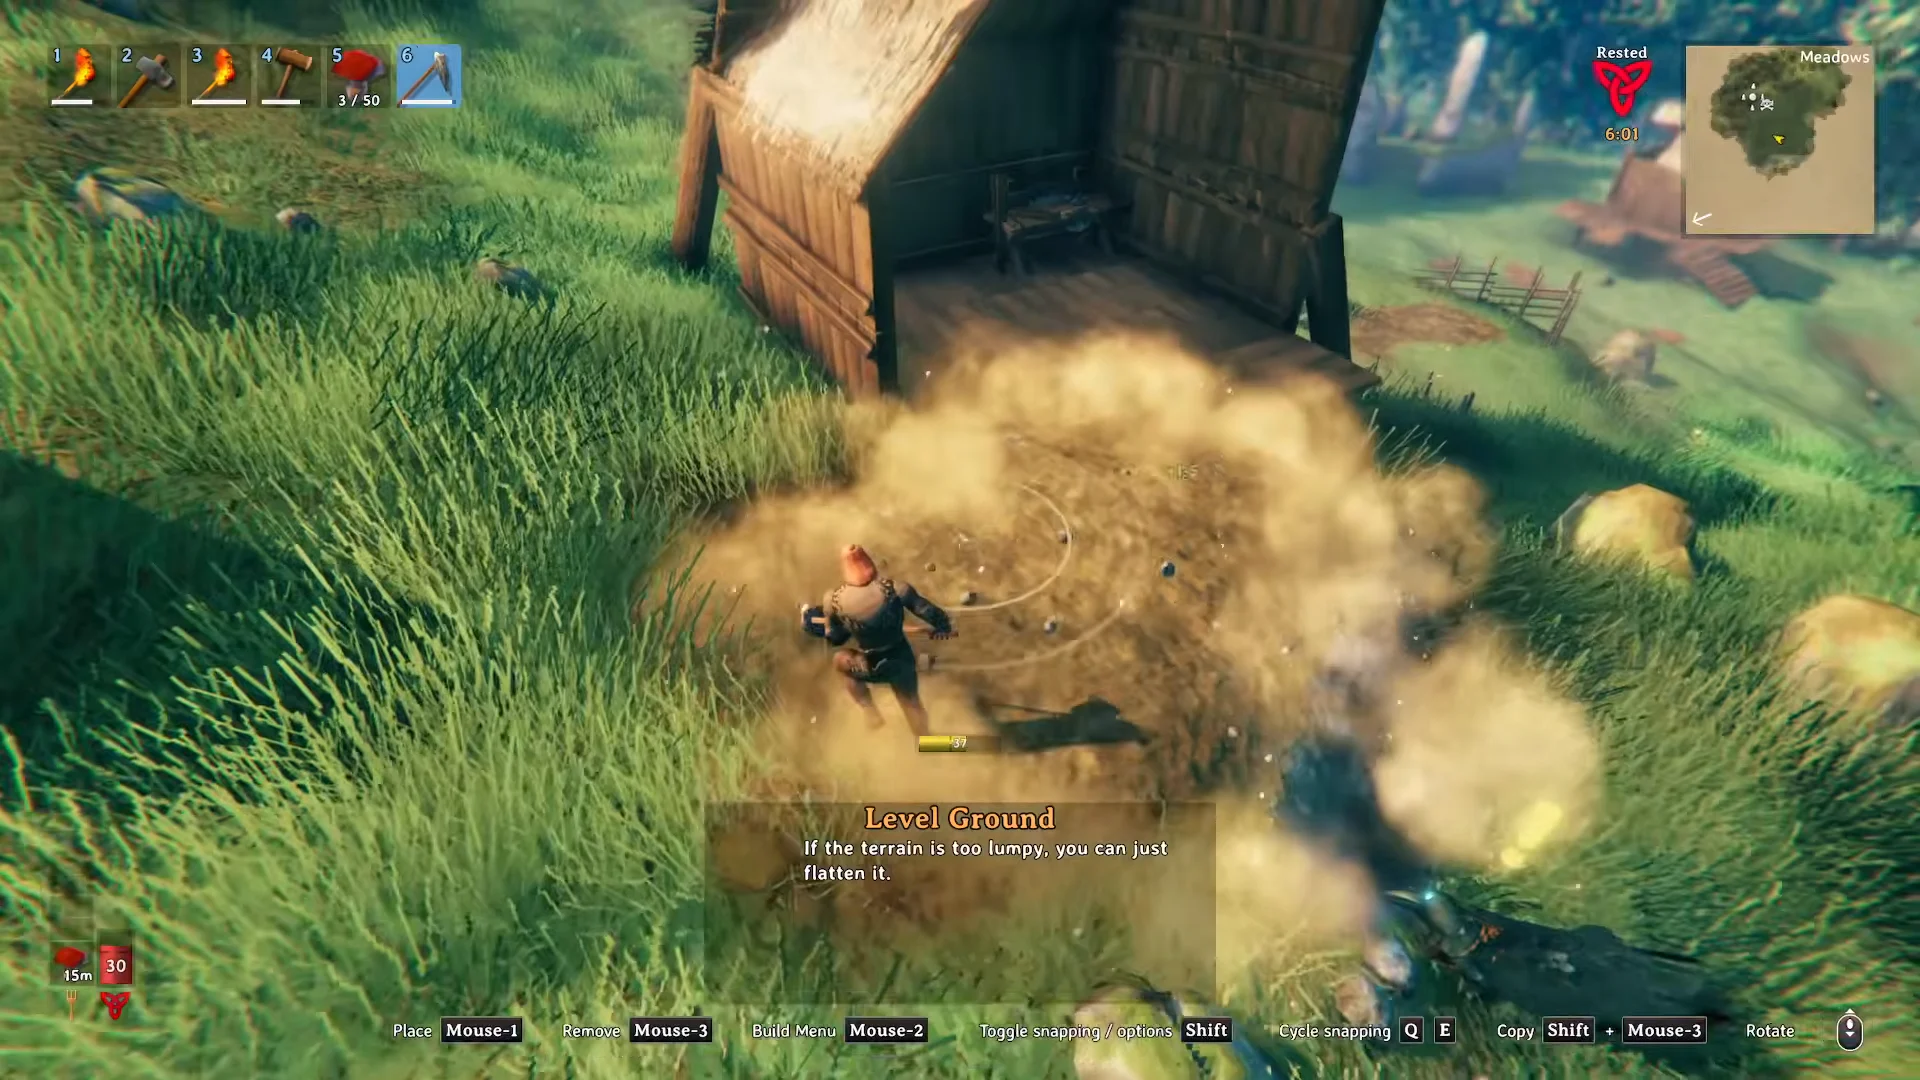
Success is visible when the soil settles level with the neighbouring ground and a floor piece snaps into place without a gap below it. Continued resistance after one pickaxe strike and another levelling pass means that location has reached its limit. Rocks beneath the surface may also stop the work; remove them with a pickaxe. If lowering is impossible, raise the build or work the structure around the uneven spot.
Pathen, Paved Road and Decorative Boulder
The hoe menu contains three options that alter the ground’s appearance without changing its elevation. None of these choices raises or lowers terrain.
| Option | Effect | Cost |
|---|---|---|
| Pathen | Strips grass for a dirt track | Free |
| Paved Road | Cobblestone surface | Stone, Stonecutter |
| Decorative Boulder | Ornamental rock formation | 10 Stone |
Level Ground can also remove paving: use it across a cobbled section to return the surface to ordinary dirt. Hoeing away ground cover does not destroy berry bushes, letting you make a neat route through them while keeping the harvest.
Raised earth as a base wall
Raised terrain offers a defence that wooden and stone walls lack. Enemies cannot smash through it or tunnel beneath it, making a raised-earth ring around a base a lasting barrier with no repairs required. Each click costs 2 Stone and stamina, yet that remains inexpensive beside replacing a stake wall after every raid.
Bring more stone than you think a project needs. Between raising, unsticking stubborn patches and levelling everything a second time, the total climbs fast, and running dry halfway through means a long walk back to the Black Forest or a mountain slope for more.