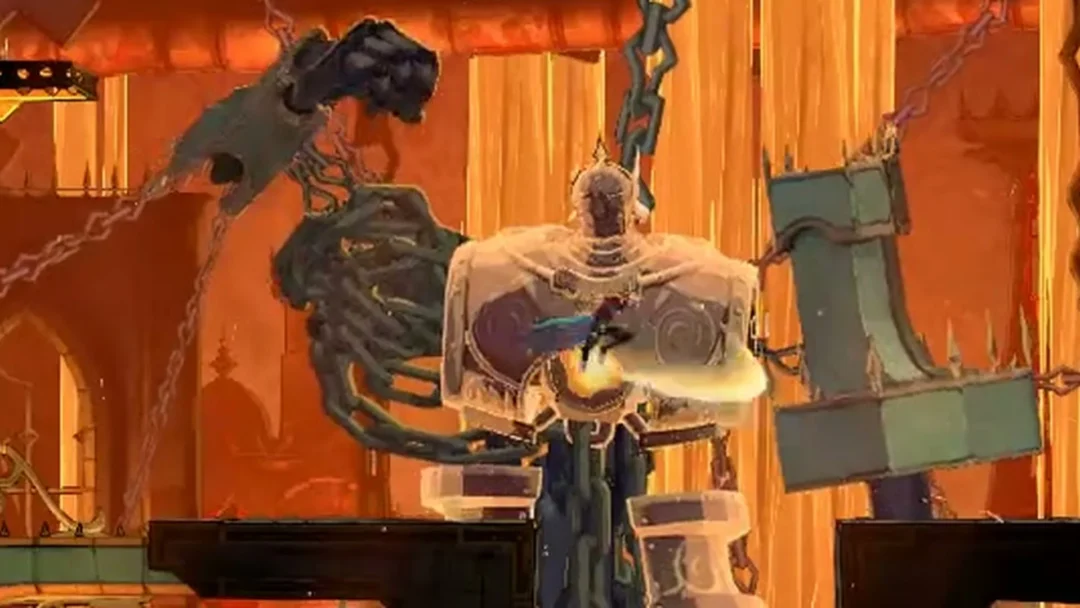
Chapter 5 of Valor Mortis, titled Crime, sends William into the Vale of Wrath. The region is a sprawl of farmhouses, caves, a poisoned army camp, a broken bridge, and a fishing village, and its healing upgrades and Ambers are spread across all of it. There is no in-game map, so every route below starts from a named Lantern. Nothing here is permanently missable. If you skip something, you can come back to the Vale of Wrath later.
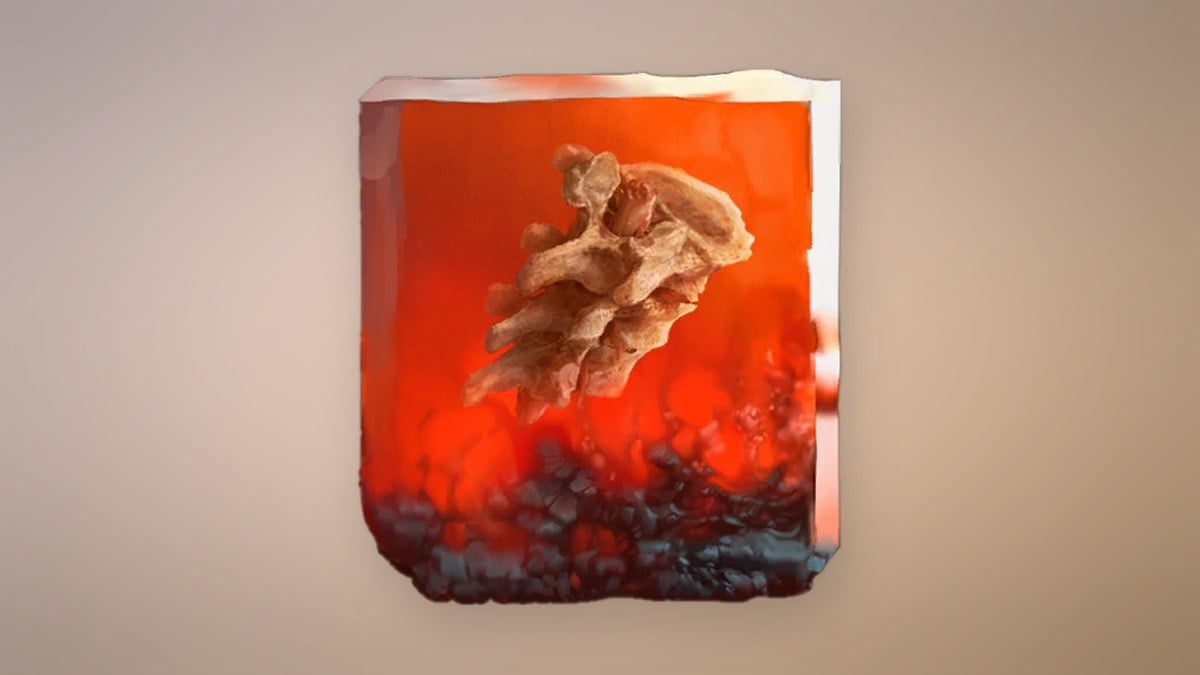
Quick answer: Chapter 5 has four Flask upgrades (three Ferrofluid Flask Power Upgrades and one Empty Ferrofluid Flask) and seven Ambers. Three of the Ambers are side quest rewards and one drops from an elite enemy.
Chapter 5 Upgrades and Amber Checklist
Use this table as a tracker. The Lantern column shows the nearest checkpoint to start from.
| Collectible | Type | Lantern | How you get it |
|---|---|---|---|
| Ferrofluid Flask Power Upgrade 1 | Flask upgrade |  Abandoned Church | Buy from Louis |
| Ferrofluid Flask Power Upgrade 2 | Flask upgrade |  Vale of Wrath | Red chest past a lever gate |
| Empty Ferrofluid Flask | Flask upgrade | Vale of Wrath | Red chest under hanging tree |
| Ferrofluid Flask Power Upgrade 3 | Flask upgrade | Vale of Wrath | Red chest in a shipwreck cabin |
| Equivalent Exchange | Amber |  Wolfsbane Field | Elite enemy drop |
| Wound That Heals | Amber | Wolfsbane Field | Lost Boy quest cellar |
| Butcher’s Carnage | Amber |  Under the Bridge | In the Name of Art reward |
| Perfectionism | Amber | Under the Bridge | Chest in the beekeeper’s hut |
| Lucky Shot | Amber |  Poisoned Camp | Chest behind the camp tents |
| Bountiful Harvest | Amber | Under the Bridge | The Deserter reward |
| Dilated Moment | Amber | Under the Bridge | Red chest by a riverside camp |
One more Amber is in the region. An elite enemy near Poisoned Camp drops a second copy of Wound That Heals. If you count that duplicate, Chapter 5 holds eight Amber pickups. Several of these Ambers also continue copies you may have found earlier. Perfectionism, Lucky Shot, and Bountiful Harvest all rank up when you collect a further copy.
Ferrofluid Flask Upgrade Locations in Chapter 5
Ferrofluid Flask Power Upgrade 1: Louis’s Laboratoire
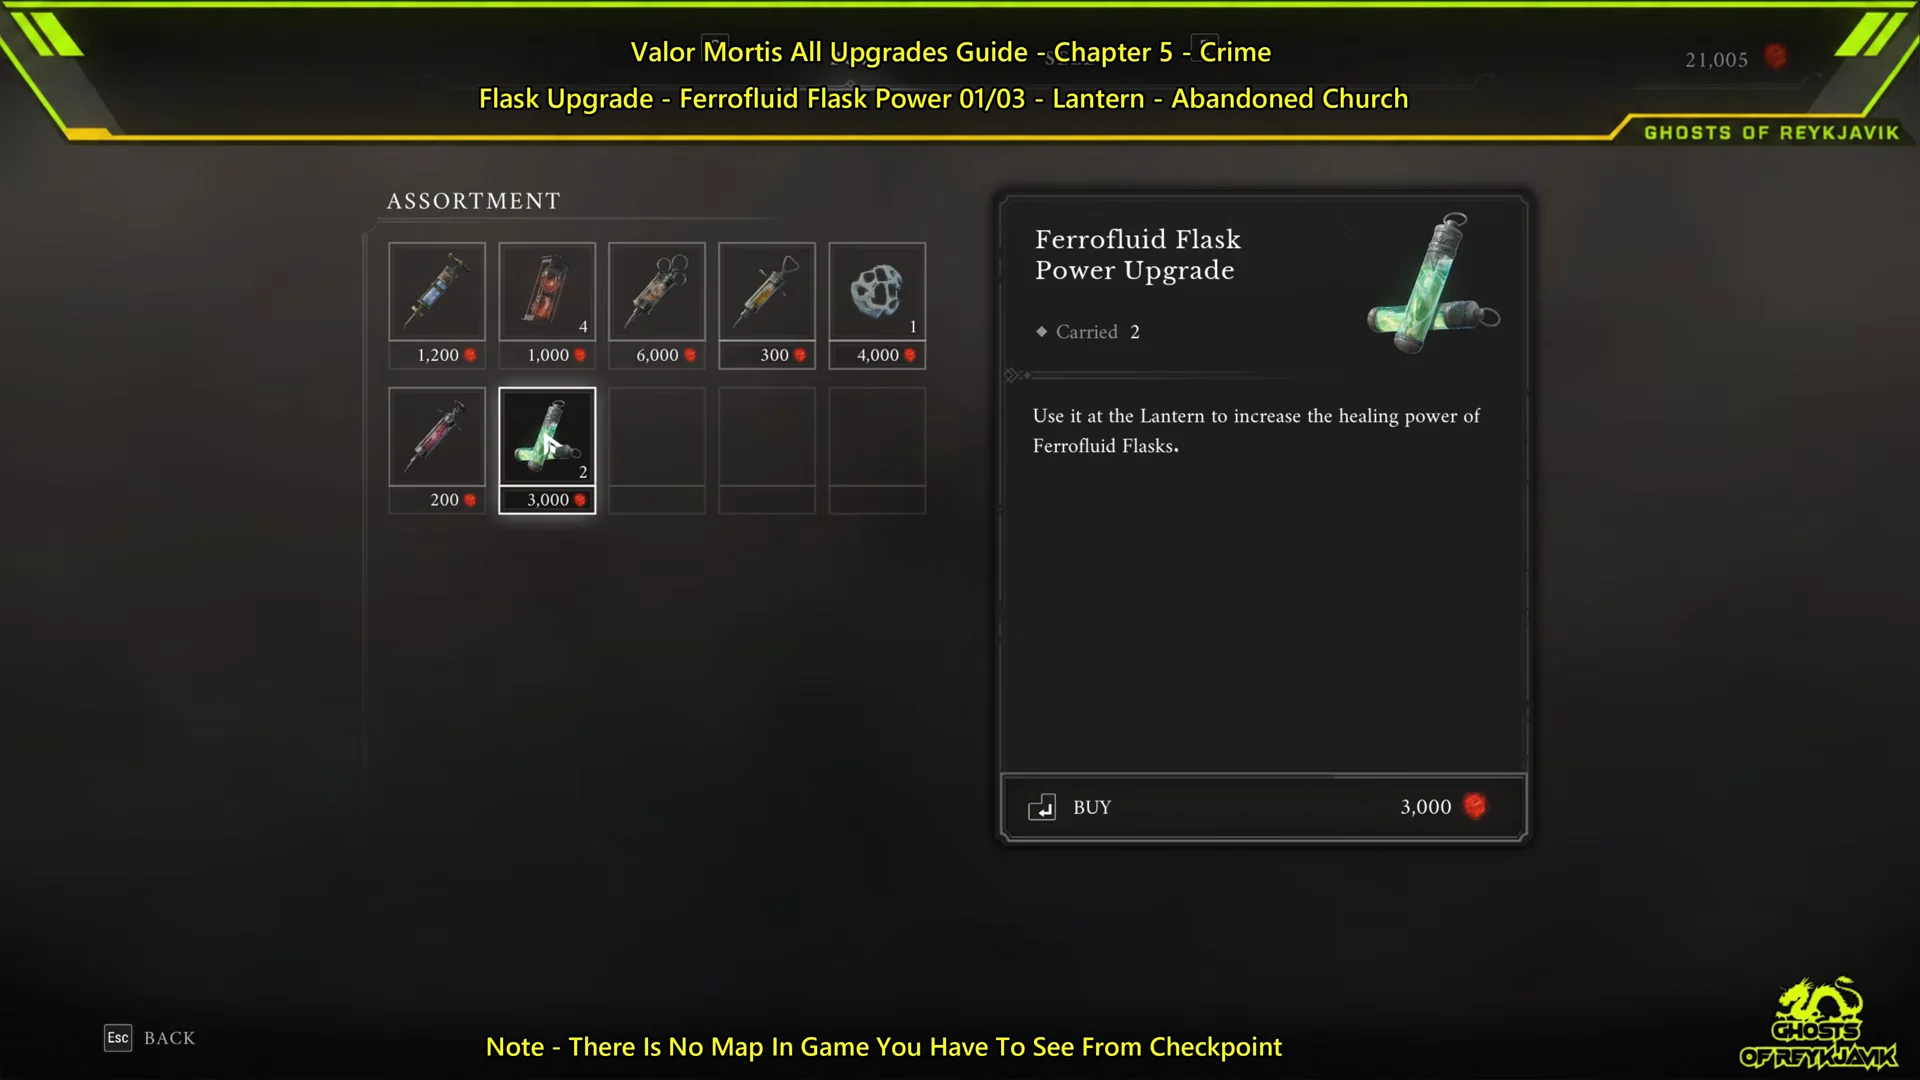
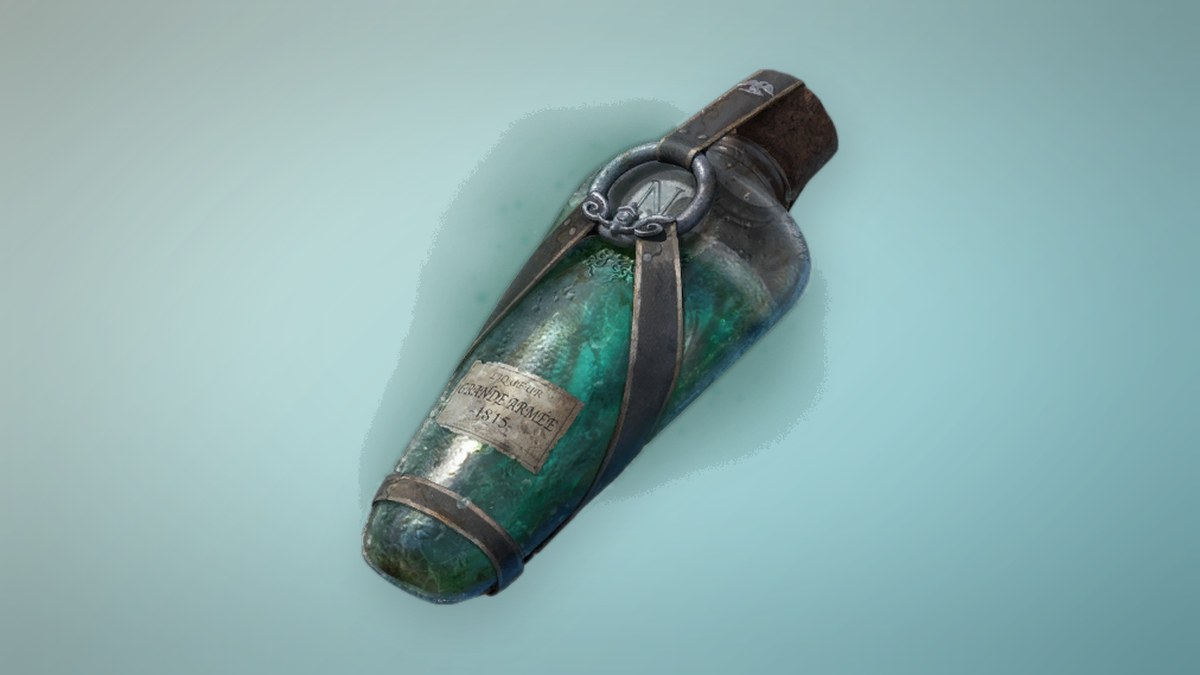
You can get the first one without exploring at all. Talk to Louis inside the Abandoned Church, choose Trade at Louis’s Laboratoire, and buy the Ferrofluid Flask Power Upgrade for $3,000. His stock gets one new copy when Chapter 5 begins, even if you bought the earlier one.
Ferrofluid Flask Power Upgrade 2: Behind the Lever Gate
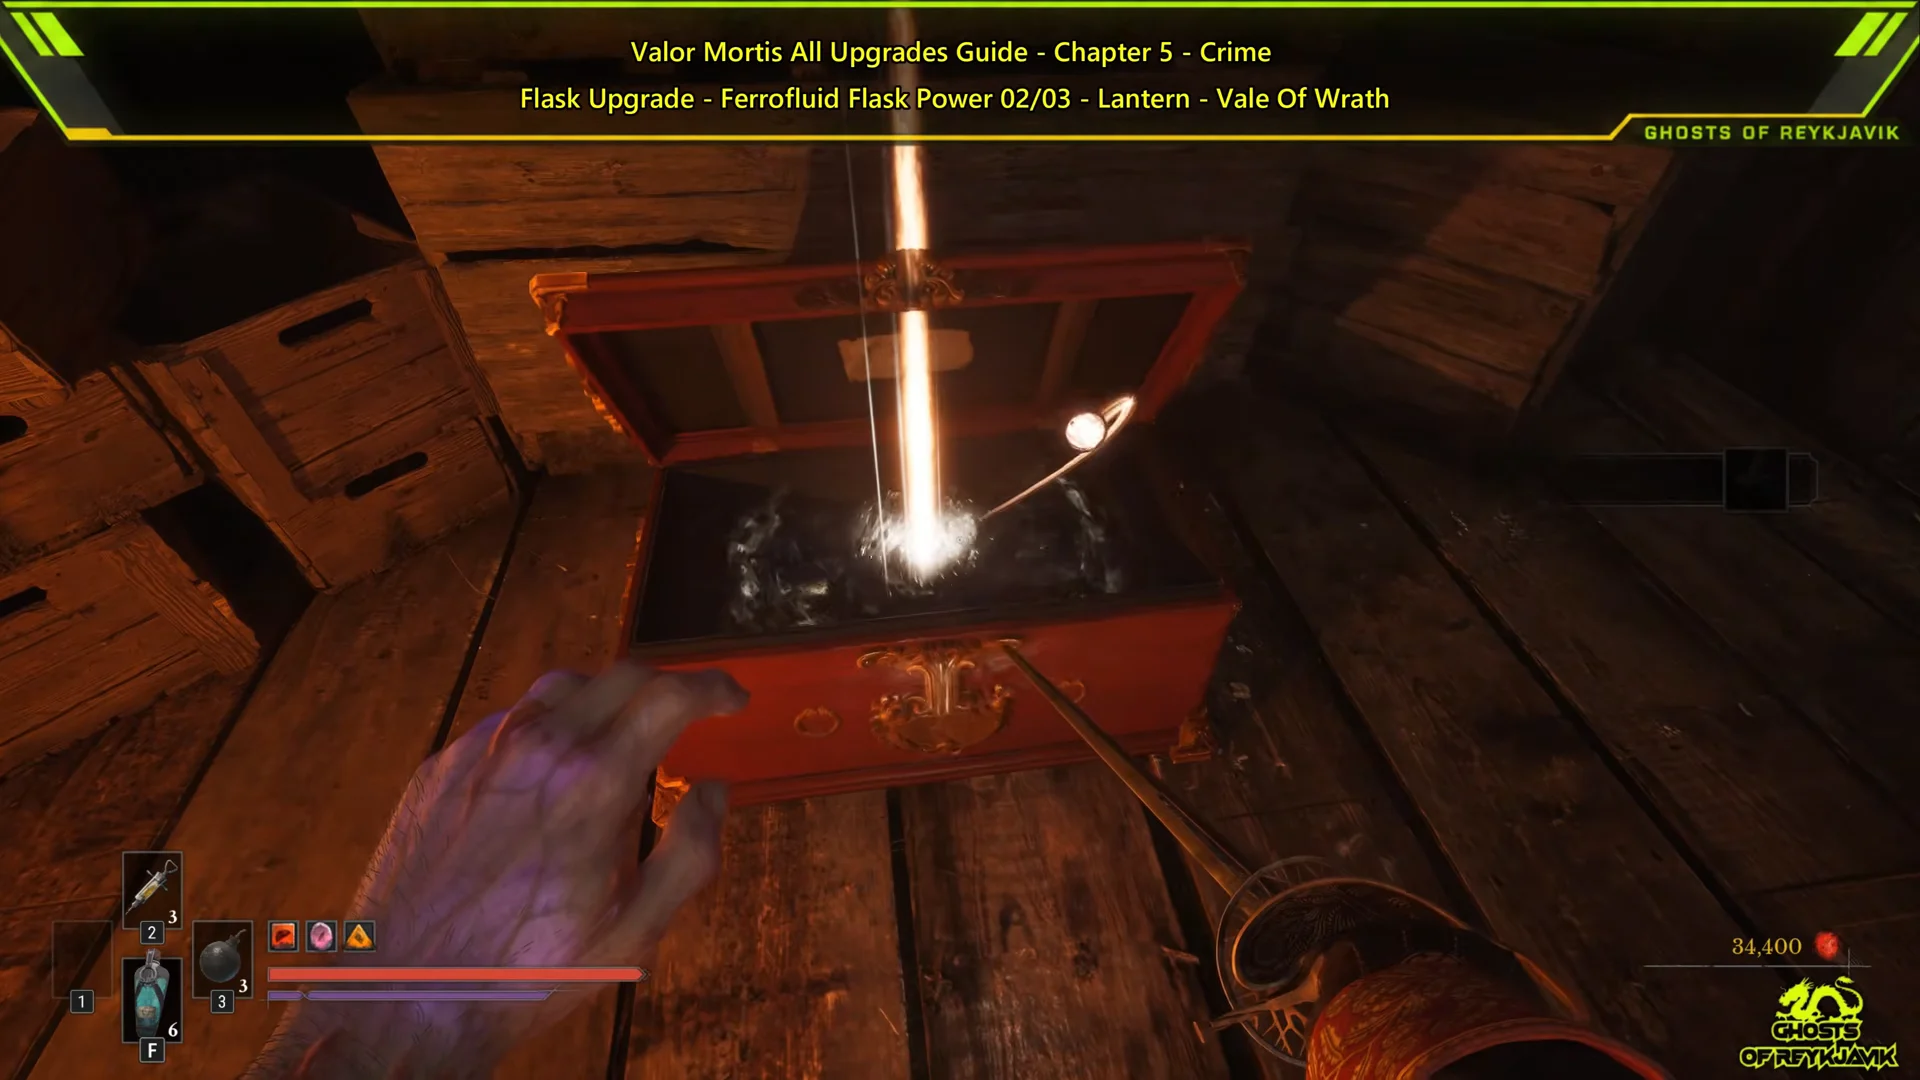
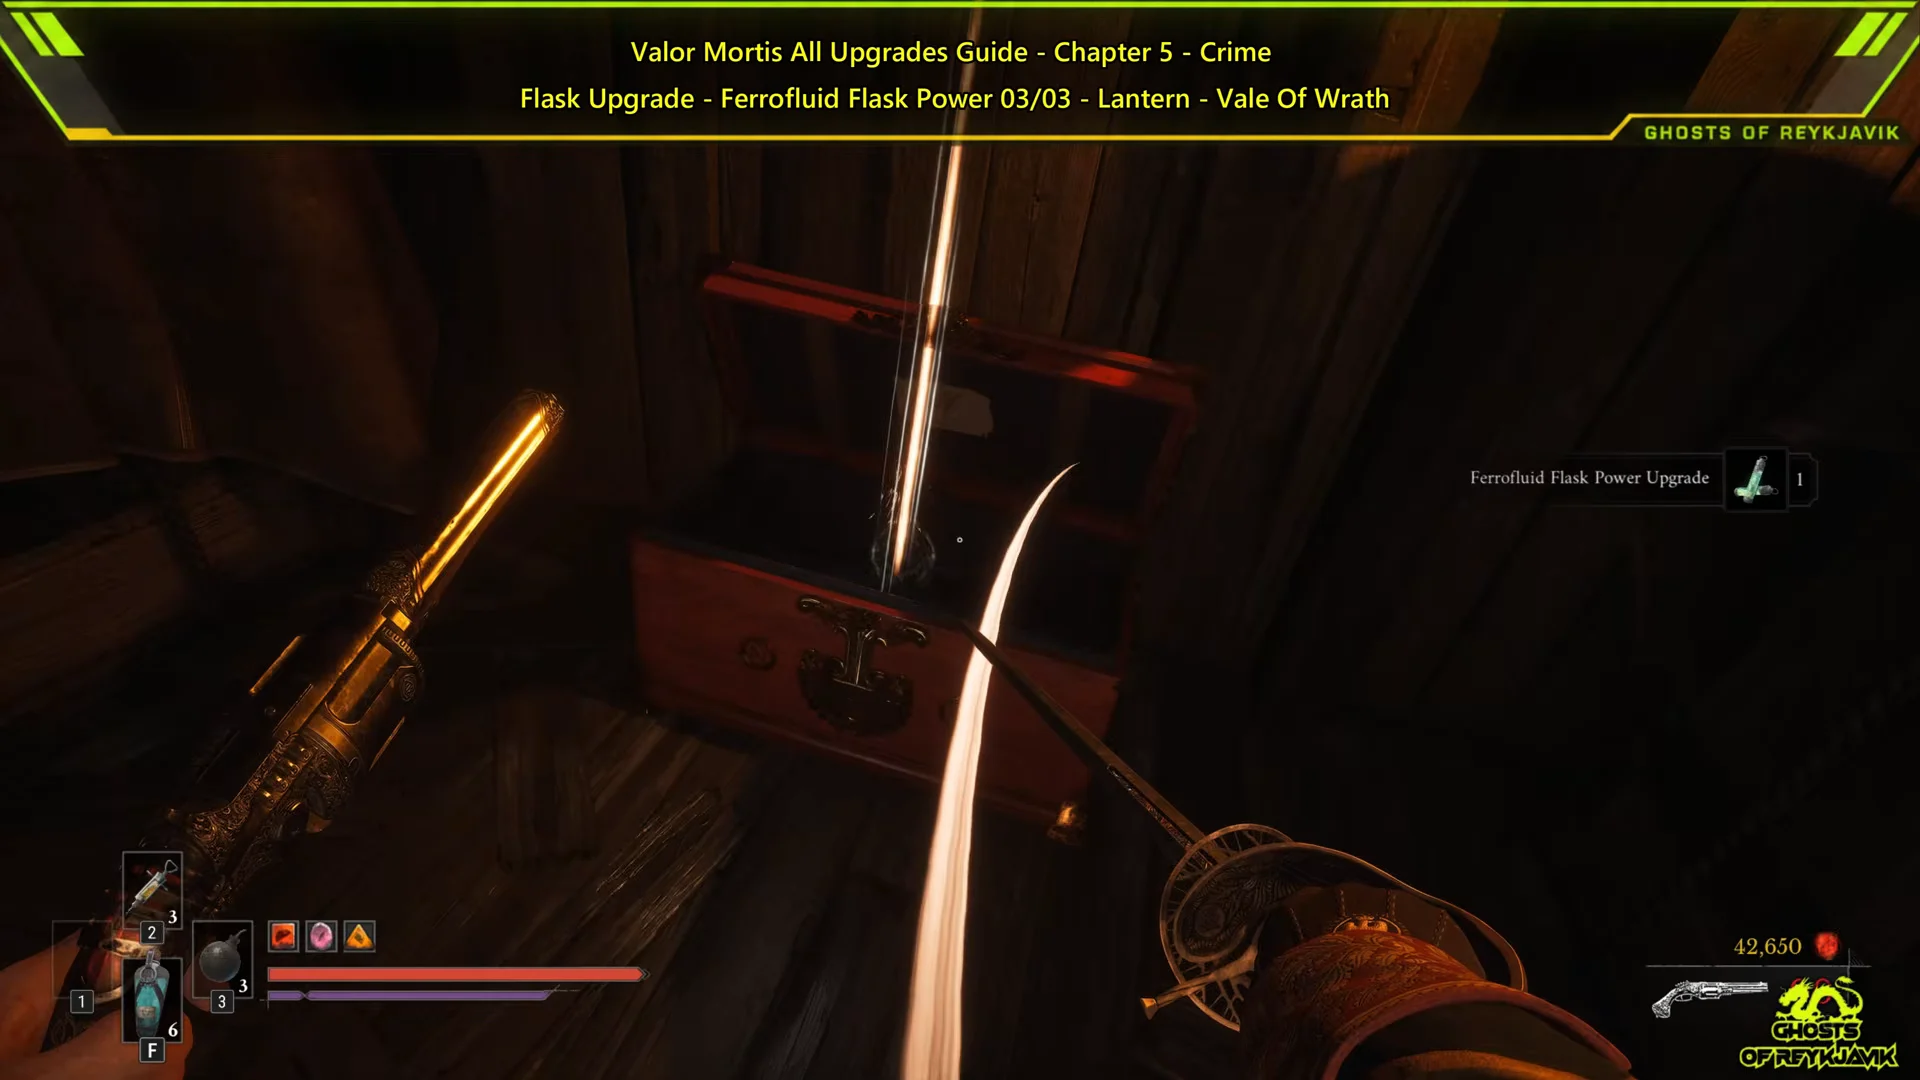
Start from the Vale of Wrath Lantern and cross the bridge ahead. Smash the wooden crates that block the path, then pull the wall levers to raise the metal gate. The red chest behind it holds the second upgrade.
Empty Ferrofluid Flask: The Hanging Tree
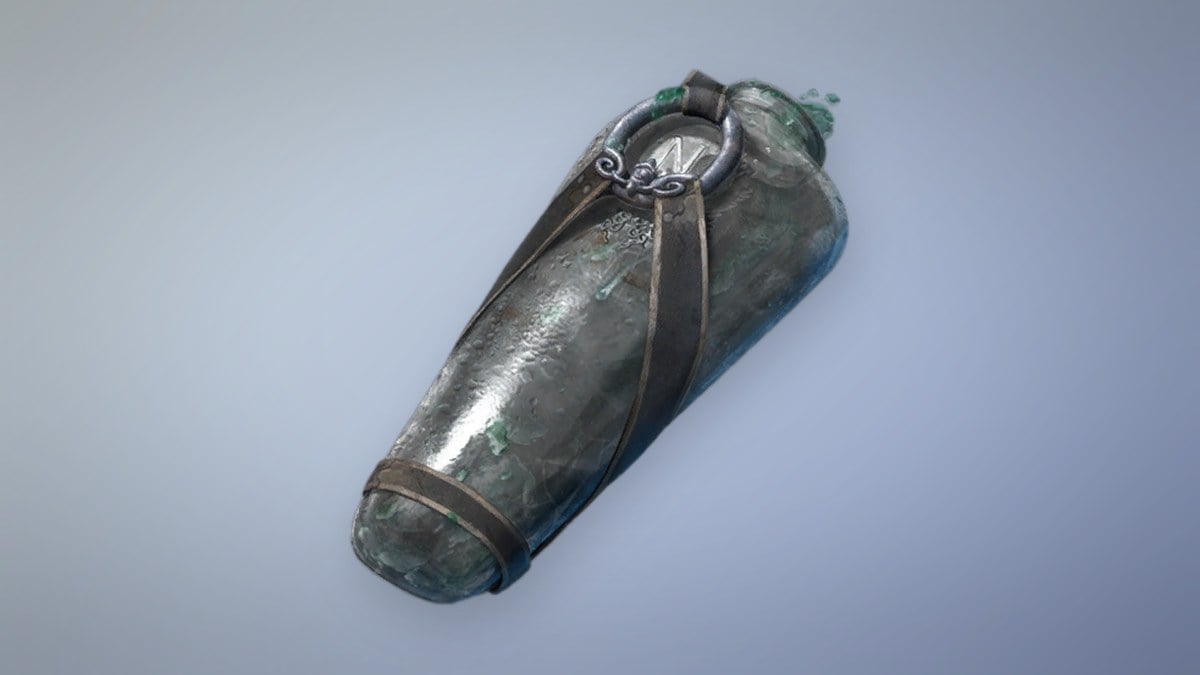
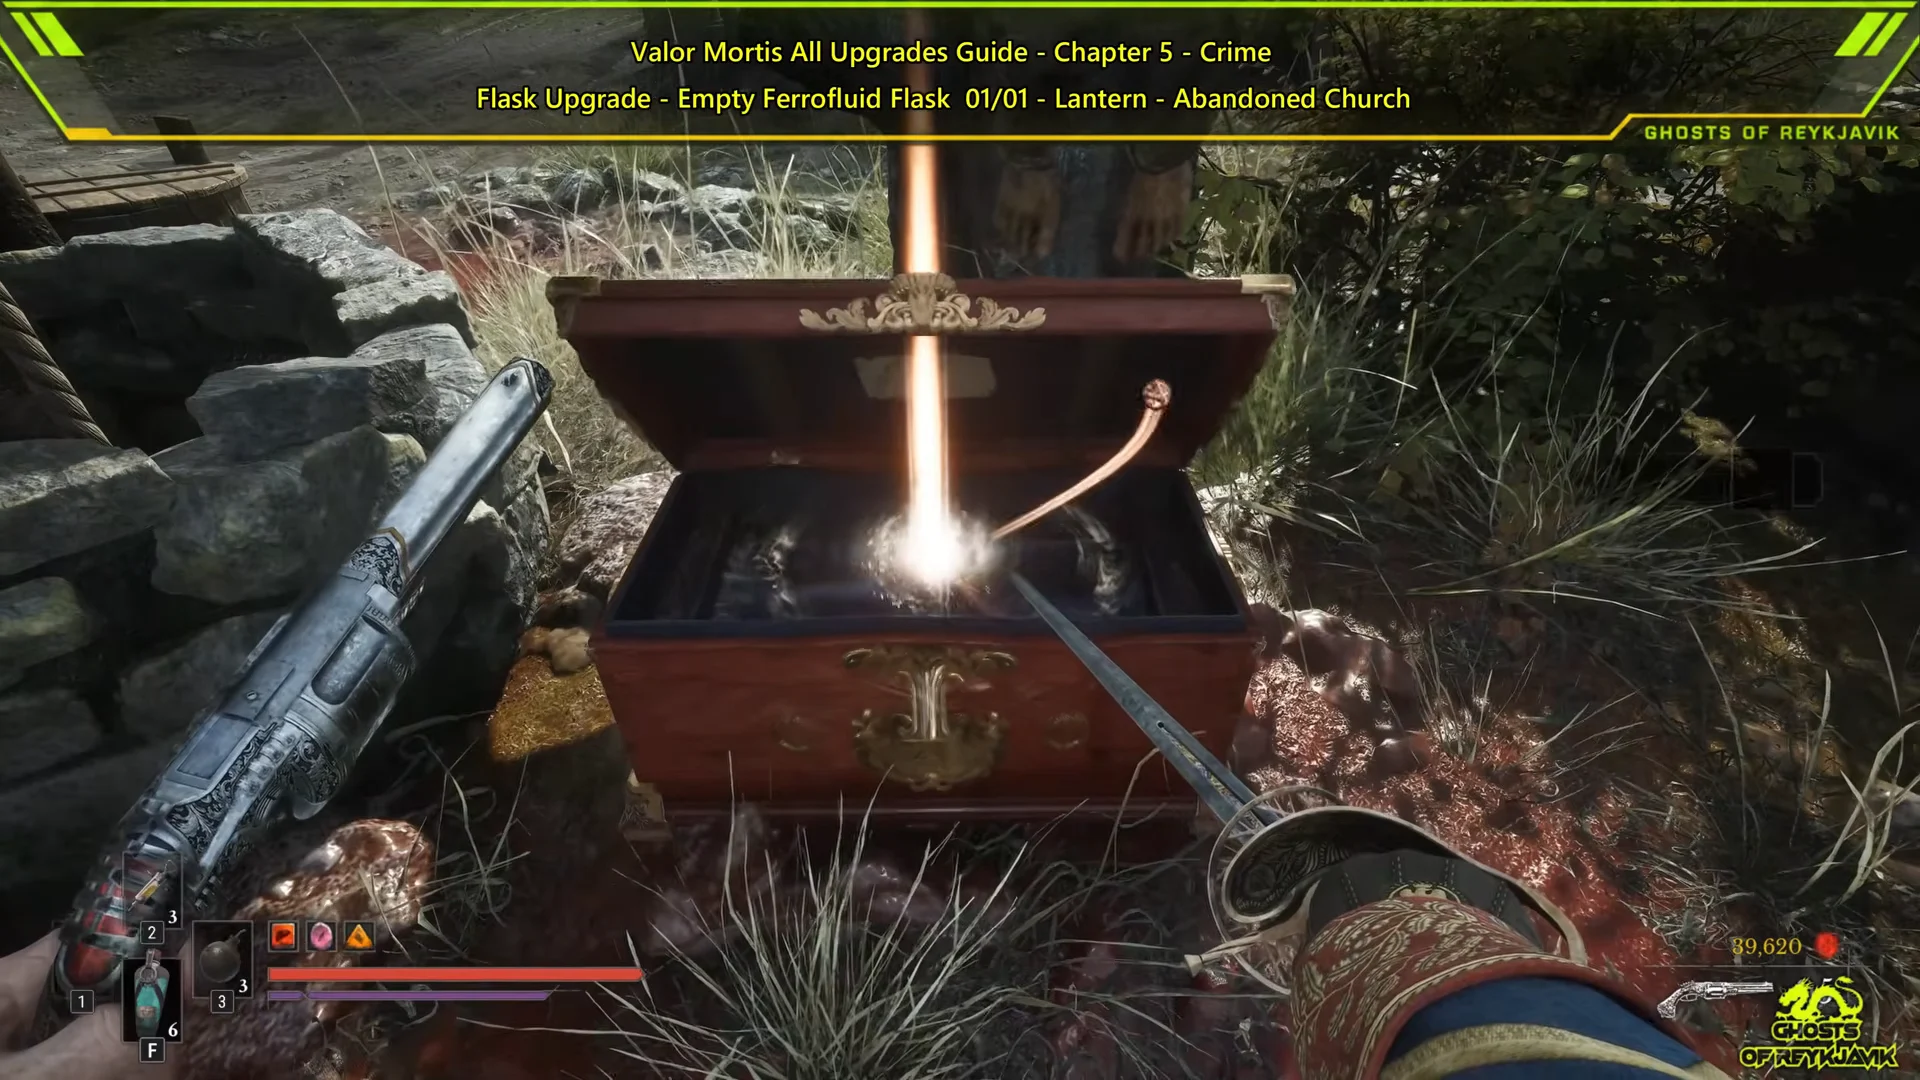
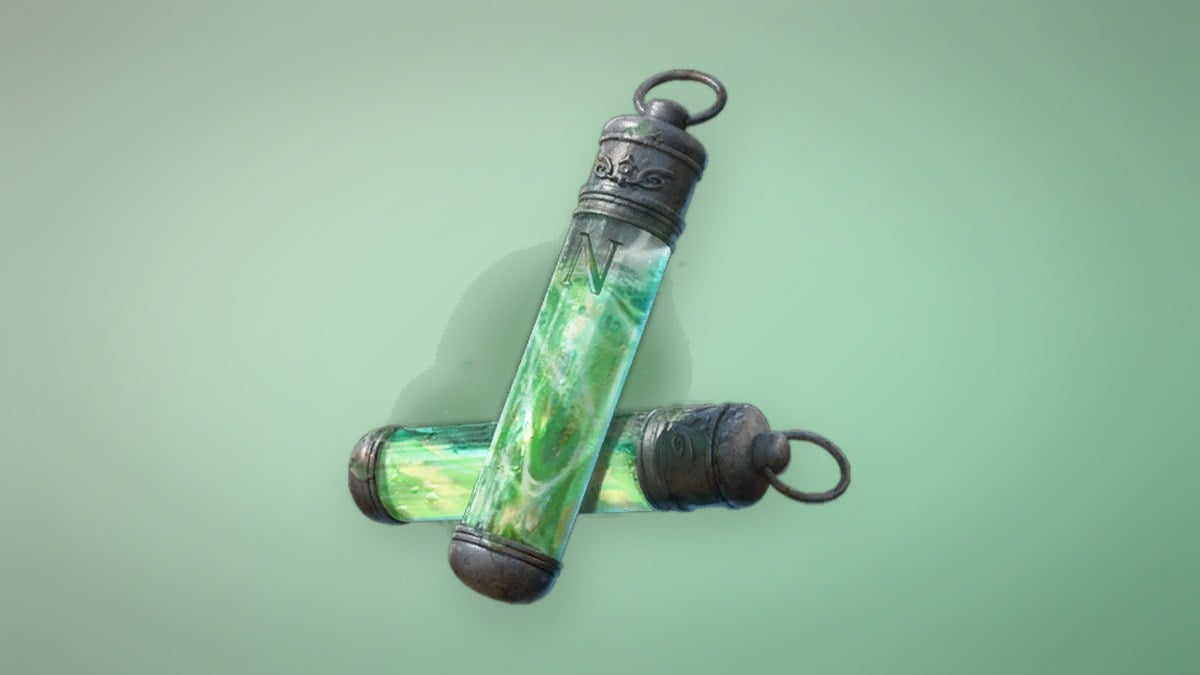
Enter the ruined village and find the tree with bodies suspended from its limbs. The red chest below holds the Empty Ferrofluid Flask. It is Chapter 5’s only one; use it at a Lantern to gain one Flask charge.
Ferrofluid Flask Power Upgrade 3: The Shipwrecks
A cluster of wrecked ships sits in the Vale of Wrath. Use the blue grapple points and climbable wall panels to work your way across them until you reach a ship cabin you can enter. The red chest inside has the third Power Upgrade.
Wolfsbane Field Ambers: Equivalent Exchange and Wound That Heals
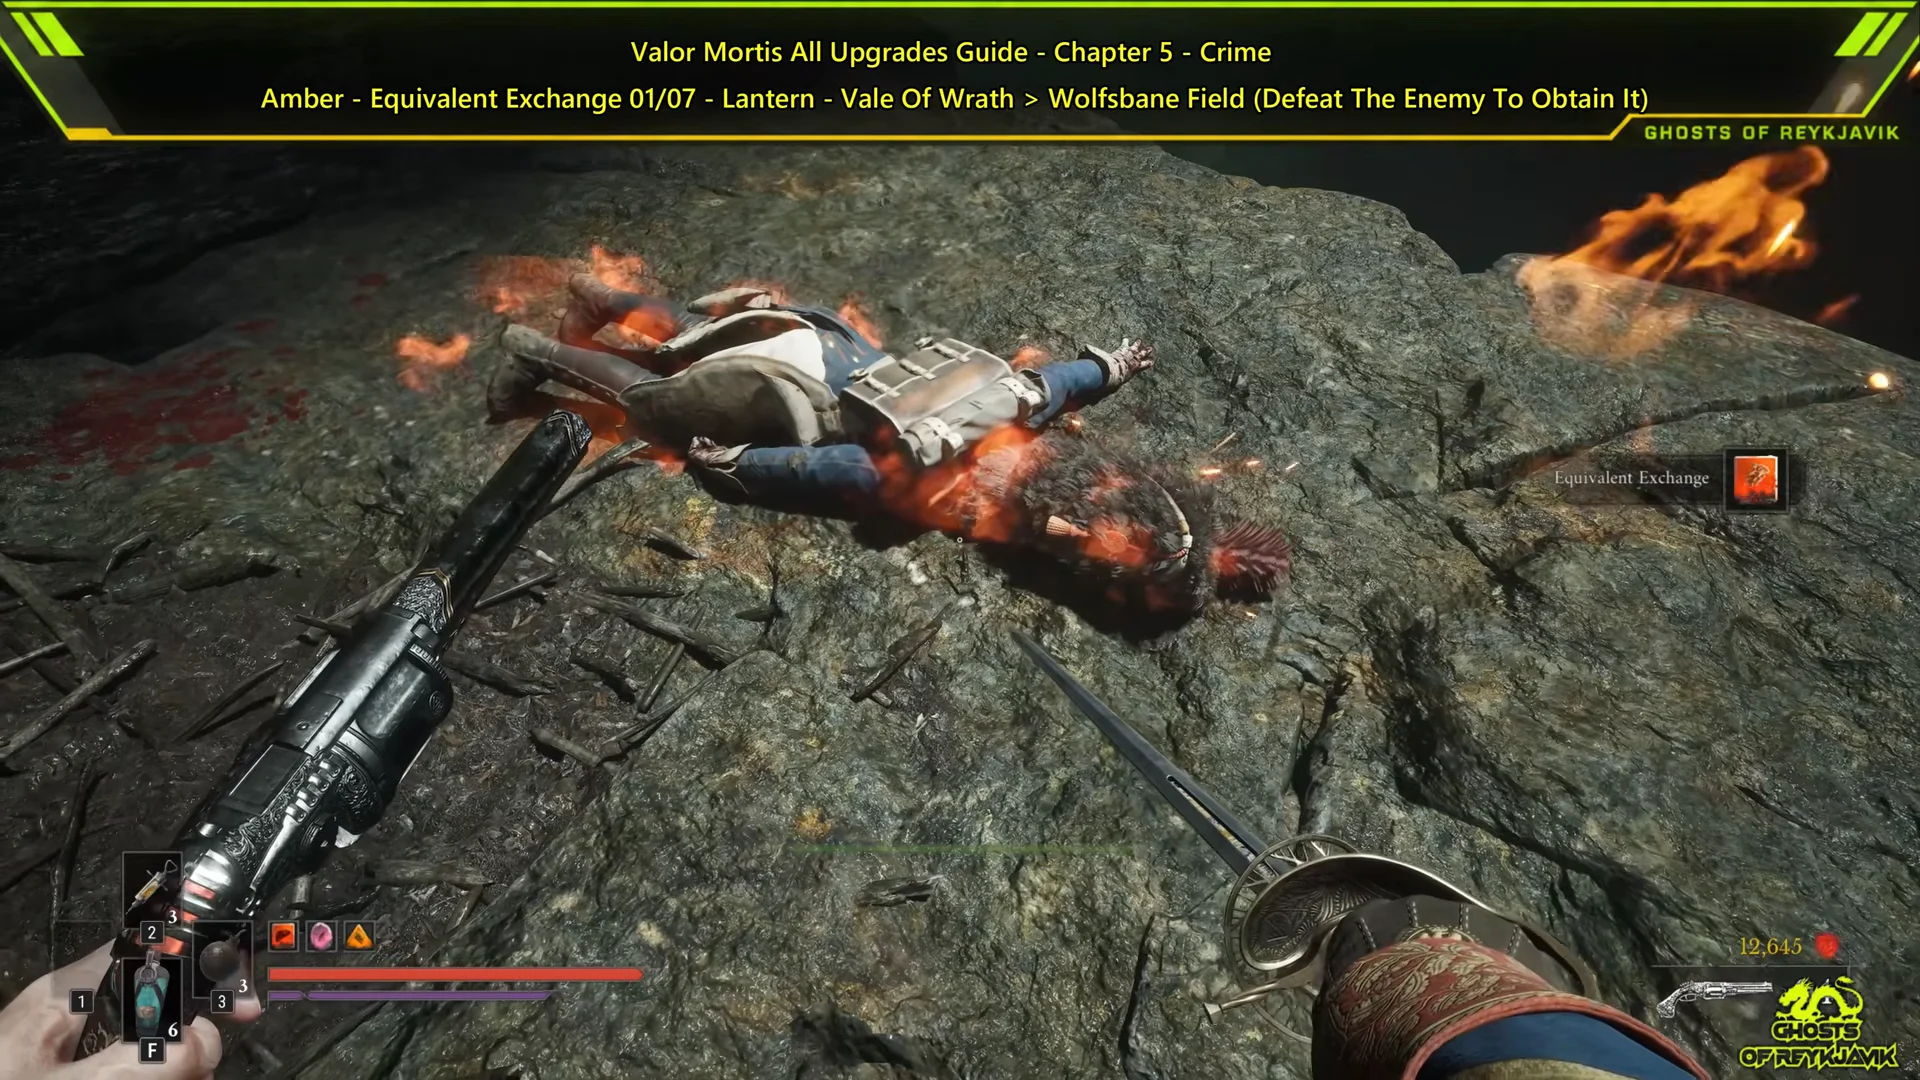
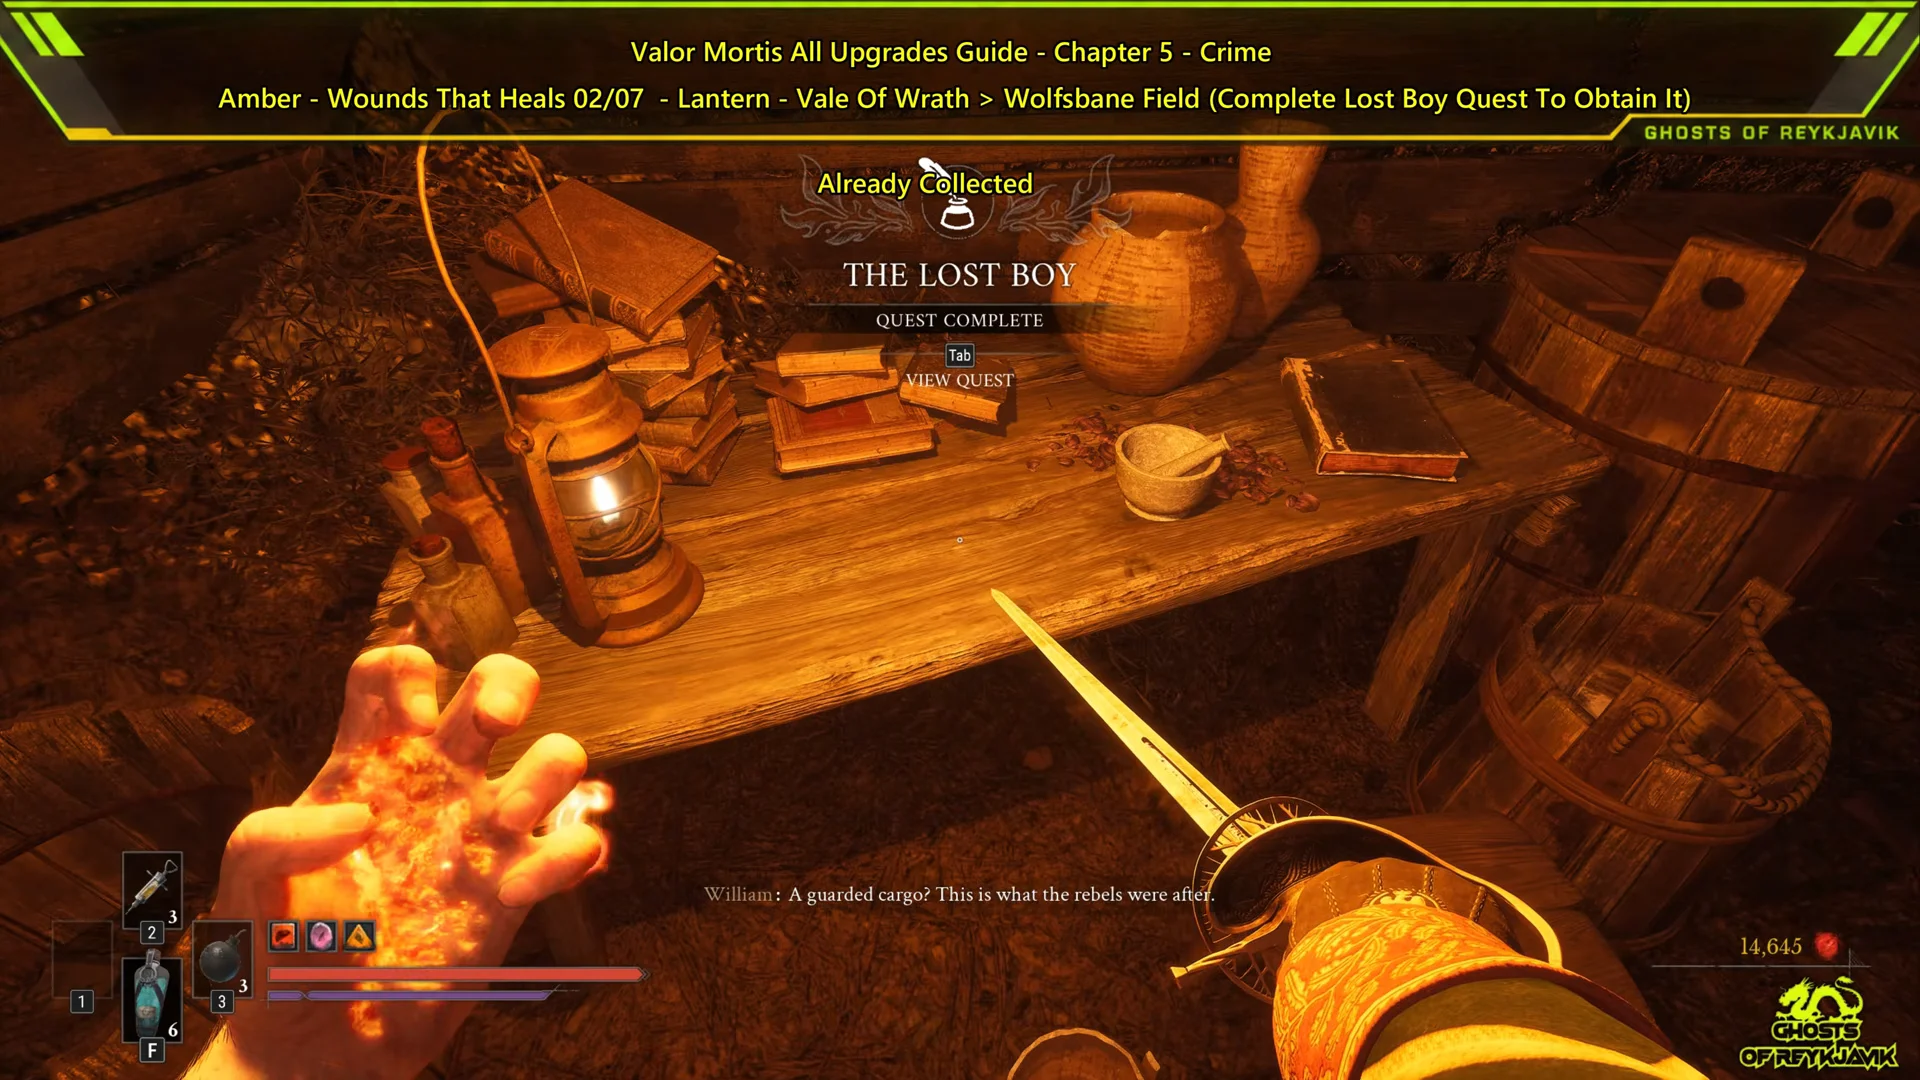
These two Ambers are on the same route, so get them together. The trip through the cave for Equivalent Exchange also gives you the Cellar Key, which you need for Wound That Heals.
Butcher’s Carnage: In the Name of Art Walkthrough
Butcher’s Carnage is only available as the reward for In the Name of Art. You will not find it in a chest. The whole quest takes place around a single house near the Under the Bridge Lantern.
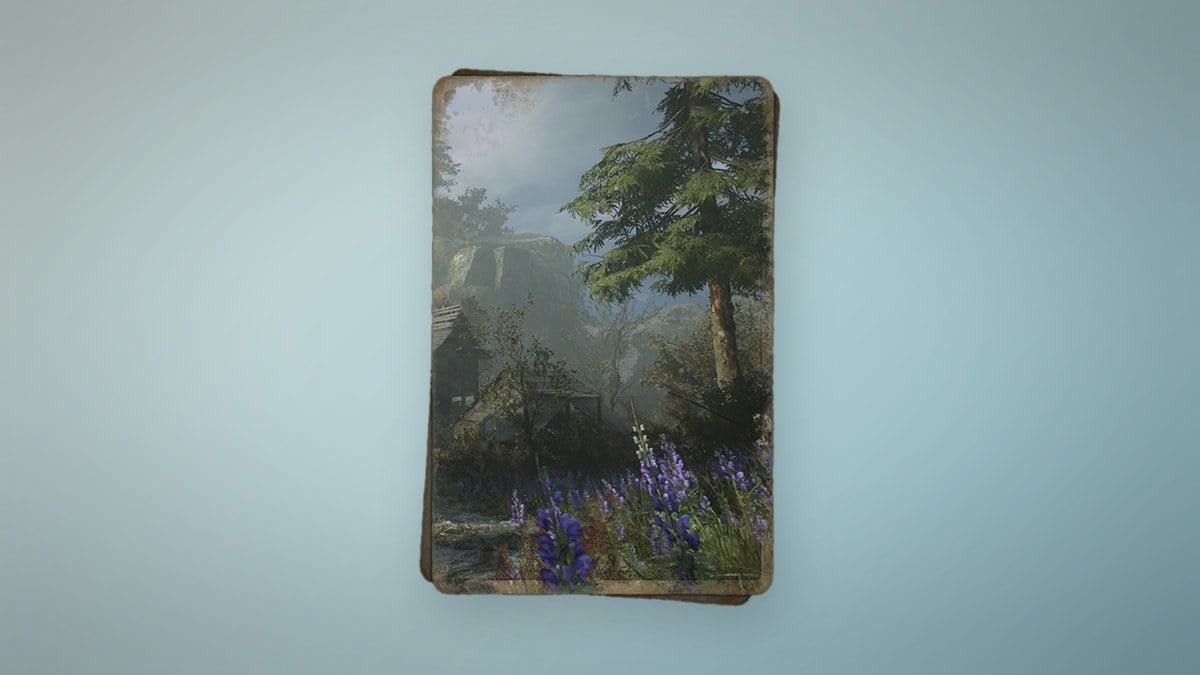
A Quest Complete banner for In the Name of Art appears, and Butcher’s Carnage goes straight into your inventory.
Perfectionism and Bountiful Harvest: The Deserter Quest
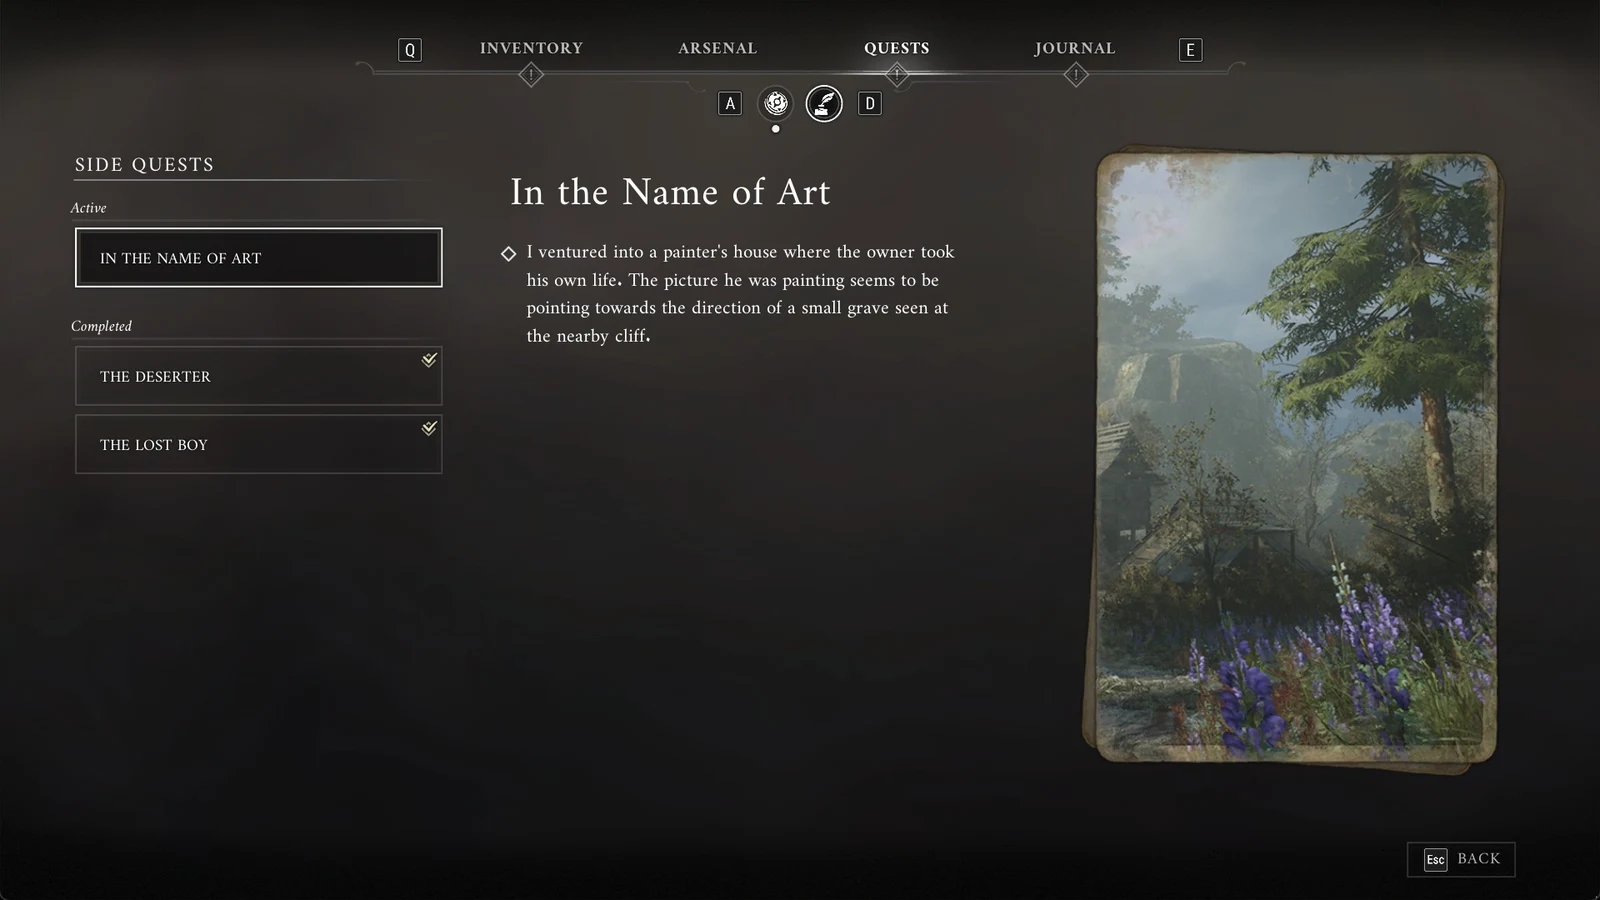
The Deserter gives you two Ambers. Perfectionism is in a chest you pass partway through the quest, and Bountiful Harvest is the reward for finishing it. To start the quest, pick up the Wanted Notice from the floor of the small shack along the main road past the bridge from the Under the Bridge Lantern.
Perfectionism: Beekeeper’s Hut
Once you leave the painter’s basement, veer right and use both grapple points to reach a clearing with beehives. An Eternal Guardsman protects the area. Kill it for the Beekeeper’s Hut Key, then unlock the hut. Take the Deserter’s Diary from the table and open the chest at the back to obtain Perfectionism.
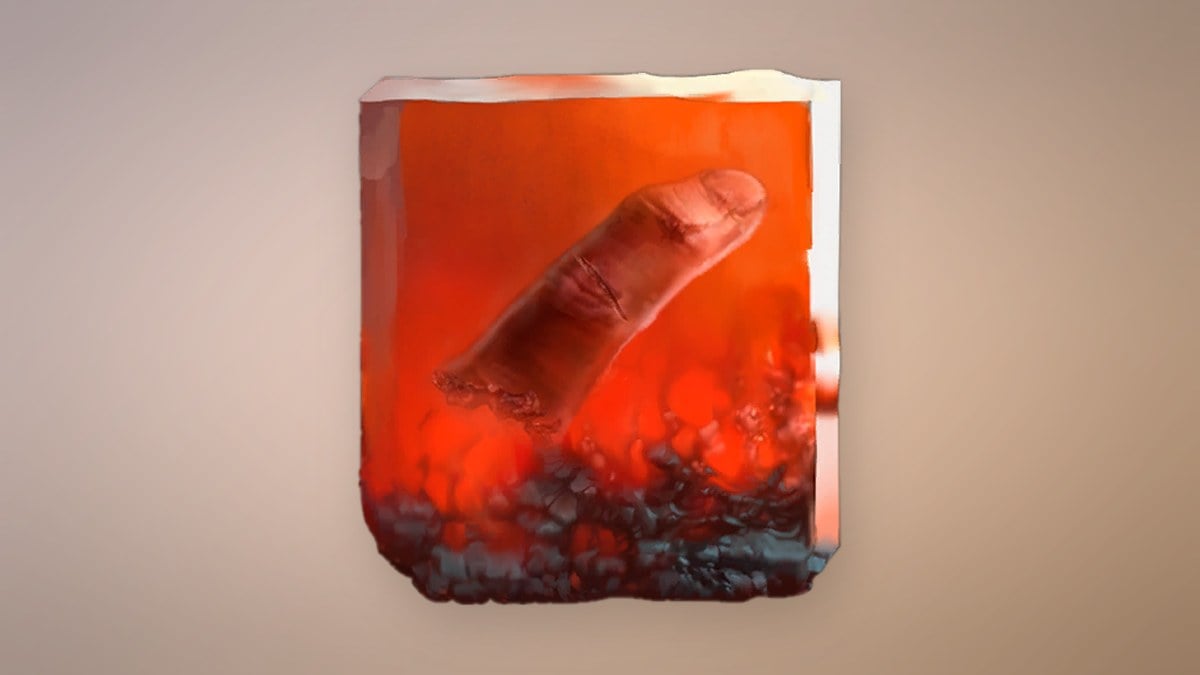
Bountiful Harvest: Three Anubis Figurine Parts
Bountiful Harvest requires you to search three groups of beehives. The Beekeeper’s Note outside the hut warns that hives marked with a red X are dangerous. At each group, use a hive with no red X.
| Part | Lantern | Where | Hive to use |
|---|---|---|---|
| First | Under the Bridge | Outside the beekeeper’s hut | Square hive farthest from the hut |
| Second | Poisoned Camp | Left side of the path outside the camp entrance | Hive with no red X |
| Third | Under the Bridge | Behind the first house past the Stasis gate building | Square hive on the left |
To find the third group, use the ladder shortcut beside the Under the Bridge Lantern, or take the story route via Poisoned Camp and across the large bridge. Go through the small building where you froze the gears with Stasis, then enter the house on your right. Picking up the third part combines the pieces into the Anubis Figurine. The Deserter then completes, rewarding you with Bountiful Harvest.
Lucky Shot and Dilated Moment Chest Locations
Lucky Shot: Poisoned Camp
From the Poisoned Camp Lantern, climb the ladder up the defensive wall and walk along the wooden palisade. Drop down behind the tent enclosure, just past the pair of flamethrower Volunteers. Lucky Shot is in the chest tucked into the corner.
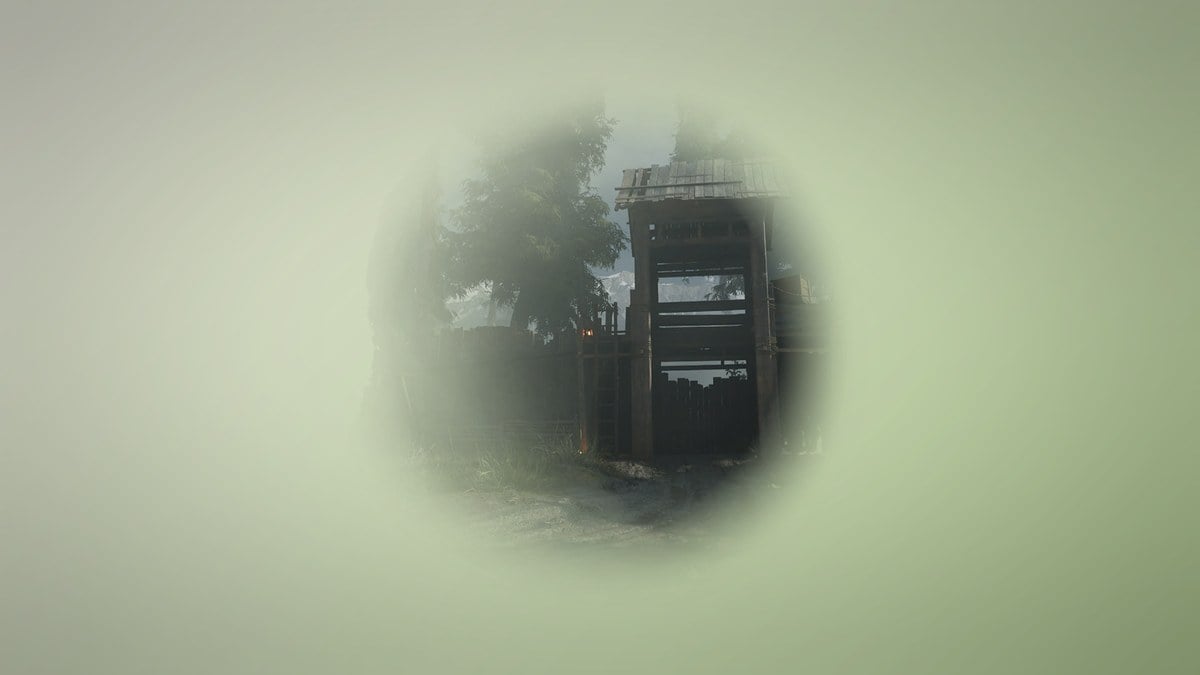
This chest has an explosive trap that goes off on your first attempt to open it. Back away from the blast, then return and take the Amber.
Dilated Moment: Under the Broken Bridge
Leave the village over the watermill bridge and follow the shoreline under the collapsed stone arches. A campsite sits along the riverbed, and the red chest next to it holds Dilated Moment. It is the last Amber on the Chapter 5 route.
Bonus: Second Wound That Heals
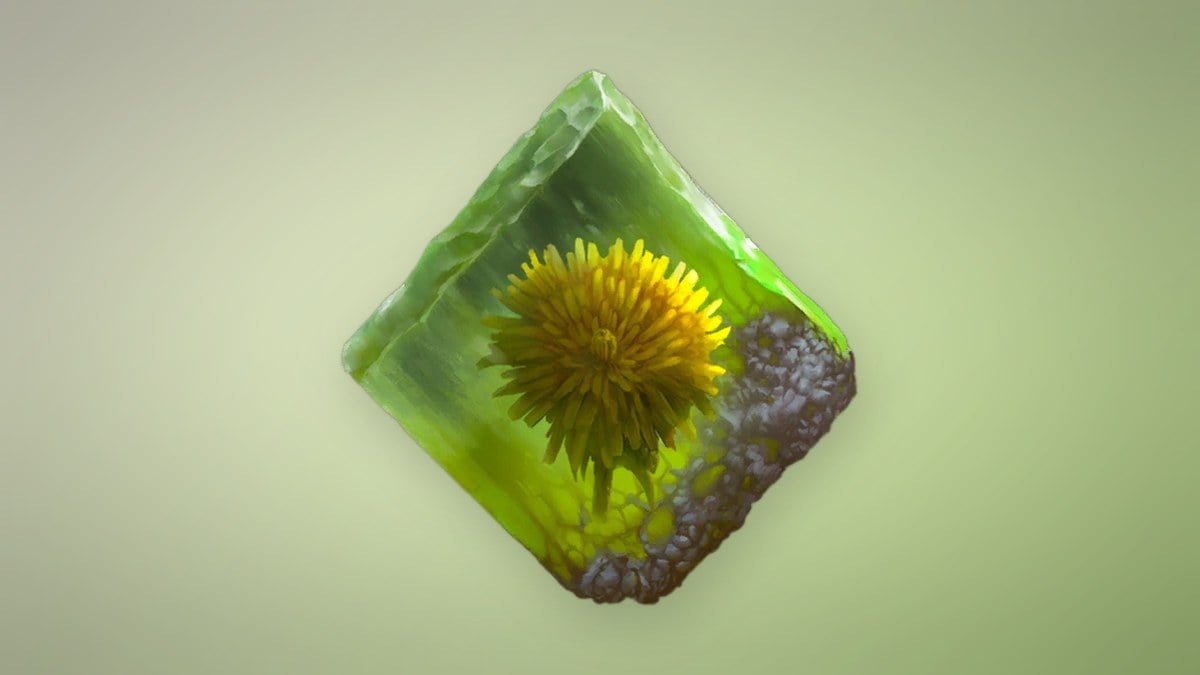
From the Poisoned Camp Lantern, backtrack and take the left path downhill until it forks. Go left again, up toward the house on the hill. Kill the tall elite enemy there to get a second copy of Wound That Heals, which raises the Amber to rank 2.
Ferrofluid Flask Healing Values and Upgrade Costs
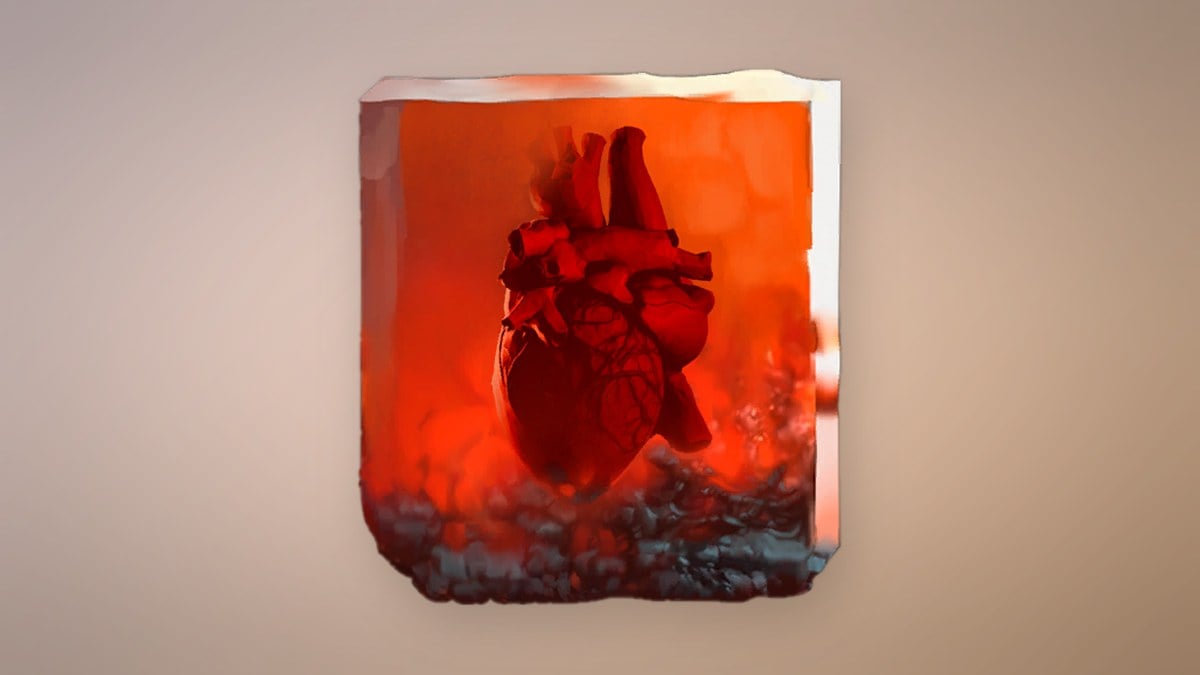
The Ferrofluid Flask starts at 50 healing. Each Power Upgrade tier adds 10, but later tiers cost more upgrades to unlock. Every Empty Ferrofluid Flask adds one charge, and Louis sells each Empty Flask for $5,000. Use the running total column to see how far Chapter 5’s three Power Upgrades take you.
| Tier | Healing | Power Upgrades needed | Running total |
|---|---|---|---|
| Base | 50 | 0 | 0 |
| 1 | 60 | 1 | 1 |
| 2 | 70 | 2 | 3 |
| 3 | 80 | 2 | 5 |
| 4 | 90 | 2 | 7 |
| 5 | 100 | 3 | 10 |
| 6 | 110 | 3 | 13 |
| 7 | 120 | 3 | 16 |
| 8 | 130 | 4 | 20 |
| 9 | 140 | 4 | 24 |
Upgrades are applied at a Lantern. Fully upgrading the Flask takes 24 Power Upgrades in total. Copies are also in chests in the Valley of Ashes, Fallen Village, Caverns, Cursed Hollow, University, City of Orphans, Fortress, and The Outskirts, and two are given in conversations.
Equivalent Exchange and Bountiful Harvest Values
| Amber | Effect | Max rank | Values by rank |
|---|---|---|---|
 Equivalent Exchange | Spend Health when Nephtoglobin runs out | 1 | 1.1 Health per Nephtoglobin point |
 Bountiful Harvest | Nephtoglobin Remnants restore Health | 3 | 3% / 4% / 5% Health per Remnant |
Equivalent Exchange has only one rank, so one copy is all it needs. With Bountiful Harvest, rank 3 means each Remnant you pick up restores 5 percent of your Health.