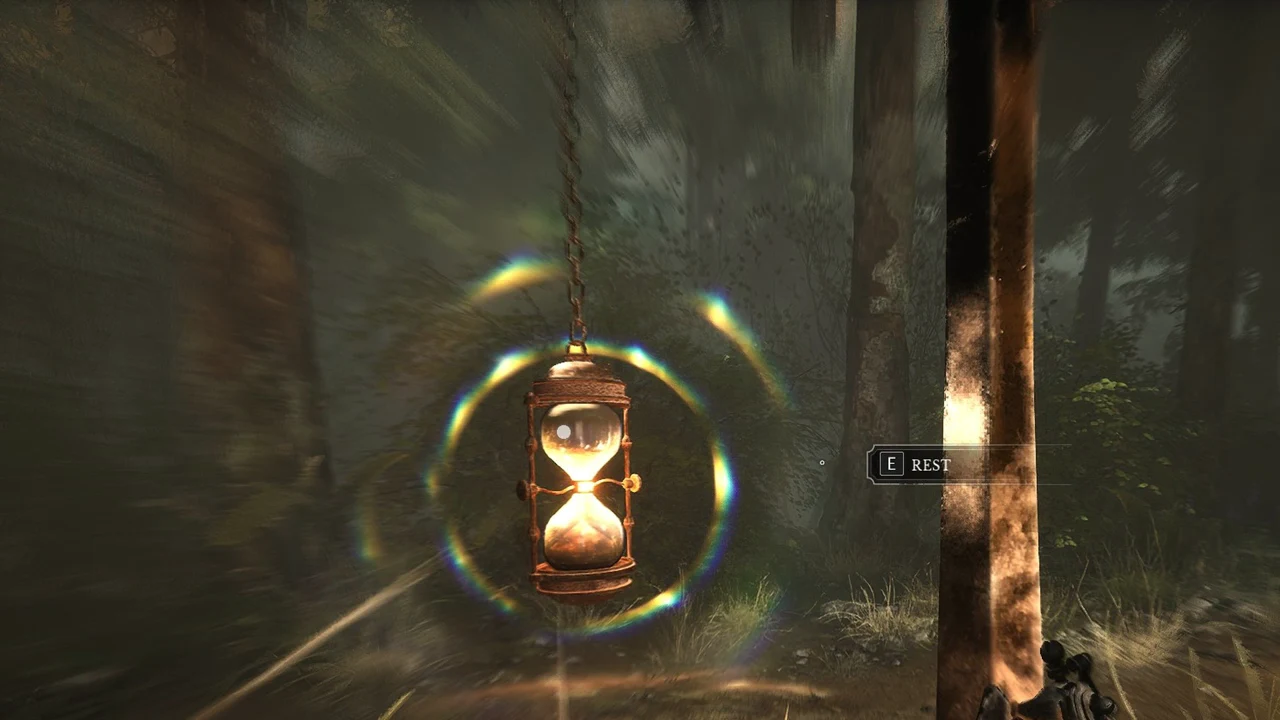
Lanterns are the checkpoints in Valor Mortis. When you choose Surrender from the Pause Menu, you are sent back to the last Lantern you rested at. The game holds 48 named Lanterns across its regions, plus one more in the Abandoned Church, the hub, which has no name of its own and so is not listed by name below.
How to use this Lantern list
Each region below has its own table. The regions follow the order you meet them in the story, from The Battlefield through to Napoleon’s Prison. Inside every region, the Lantern names are sorted alphabetically from A to Z, and each name is exactly as the game writes it.
See all 48 Lanterns on the Valor Mortis map.
How to travel between Lanterns
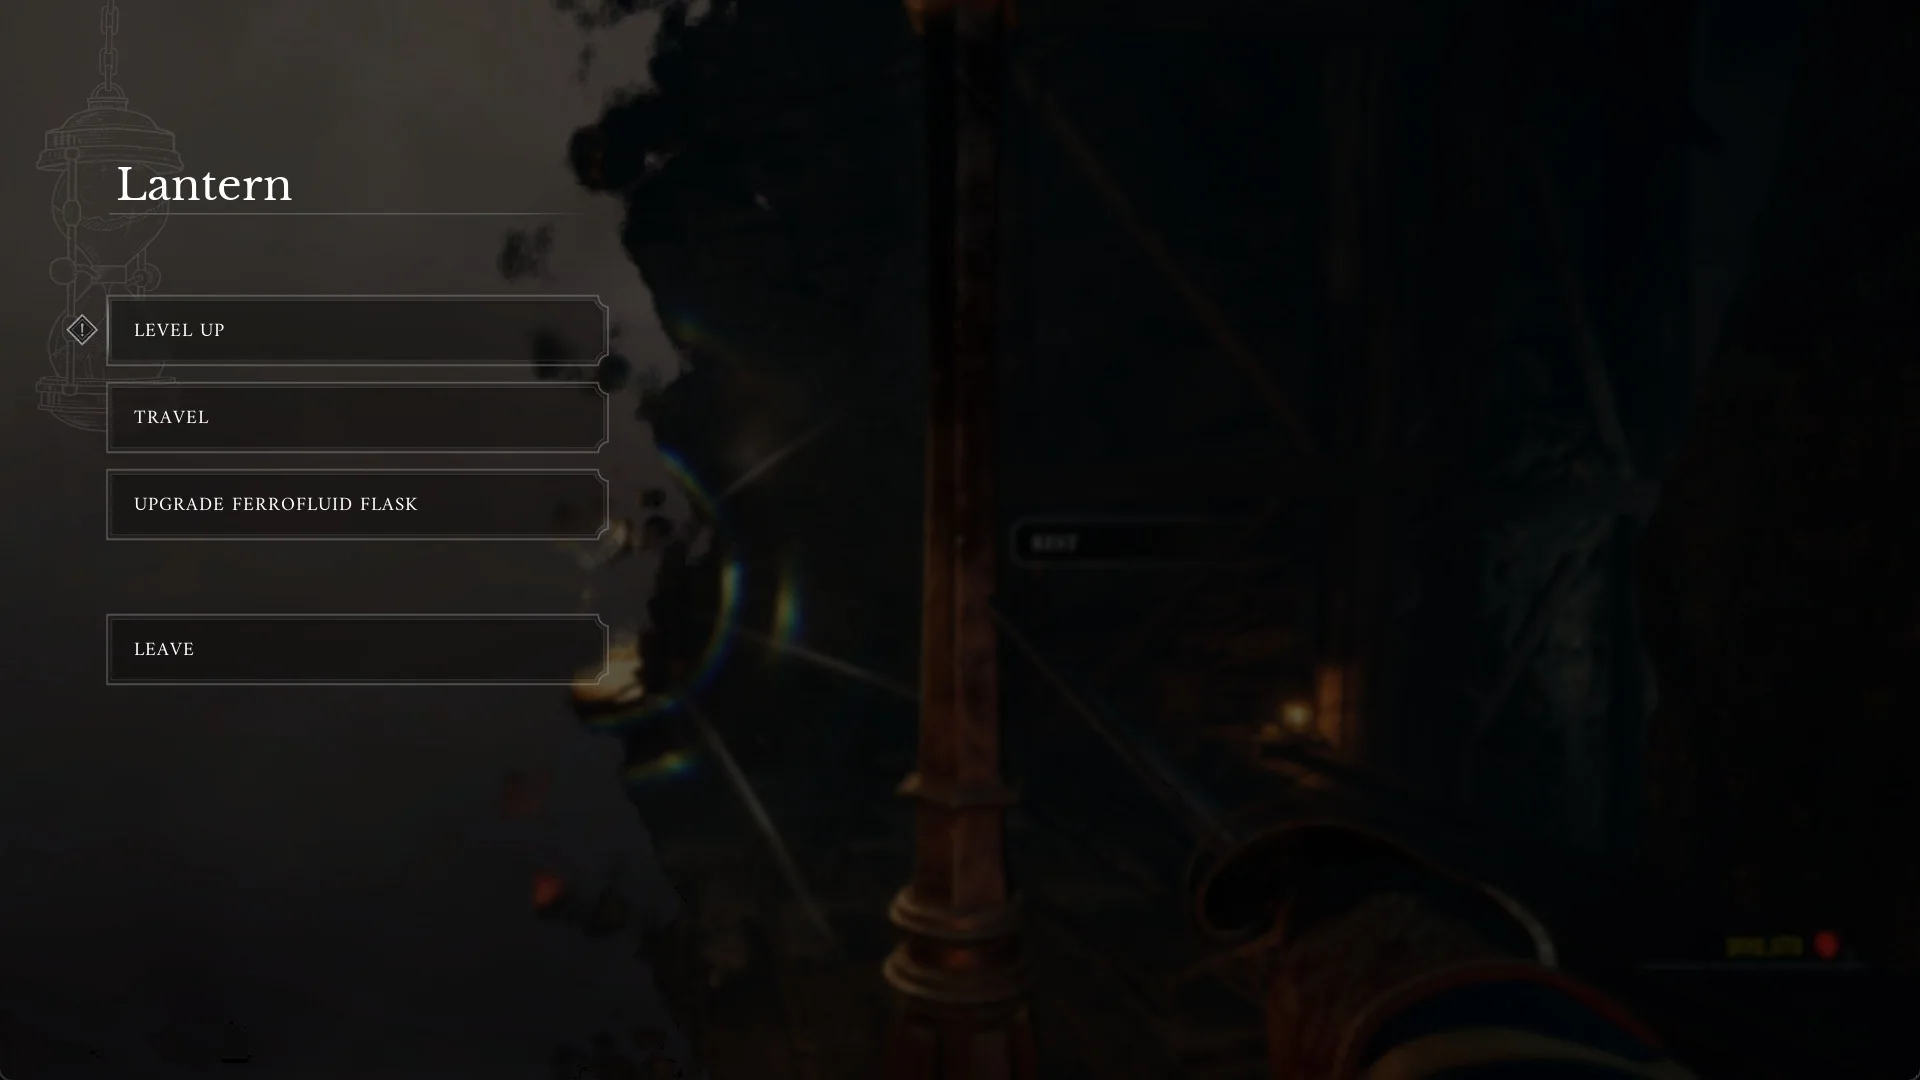
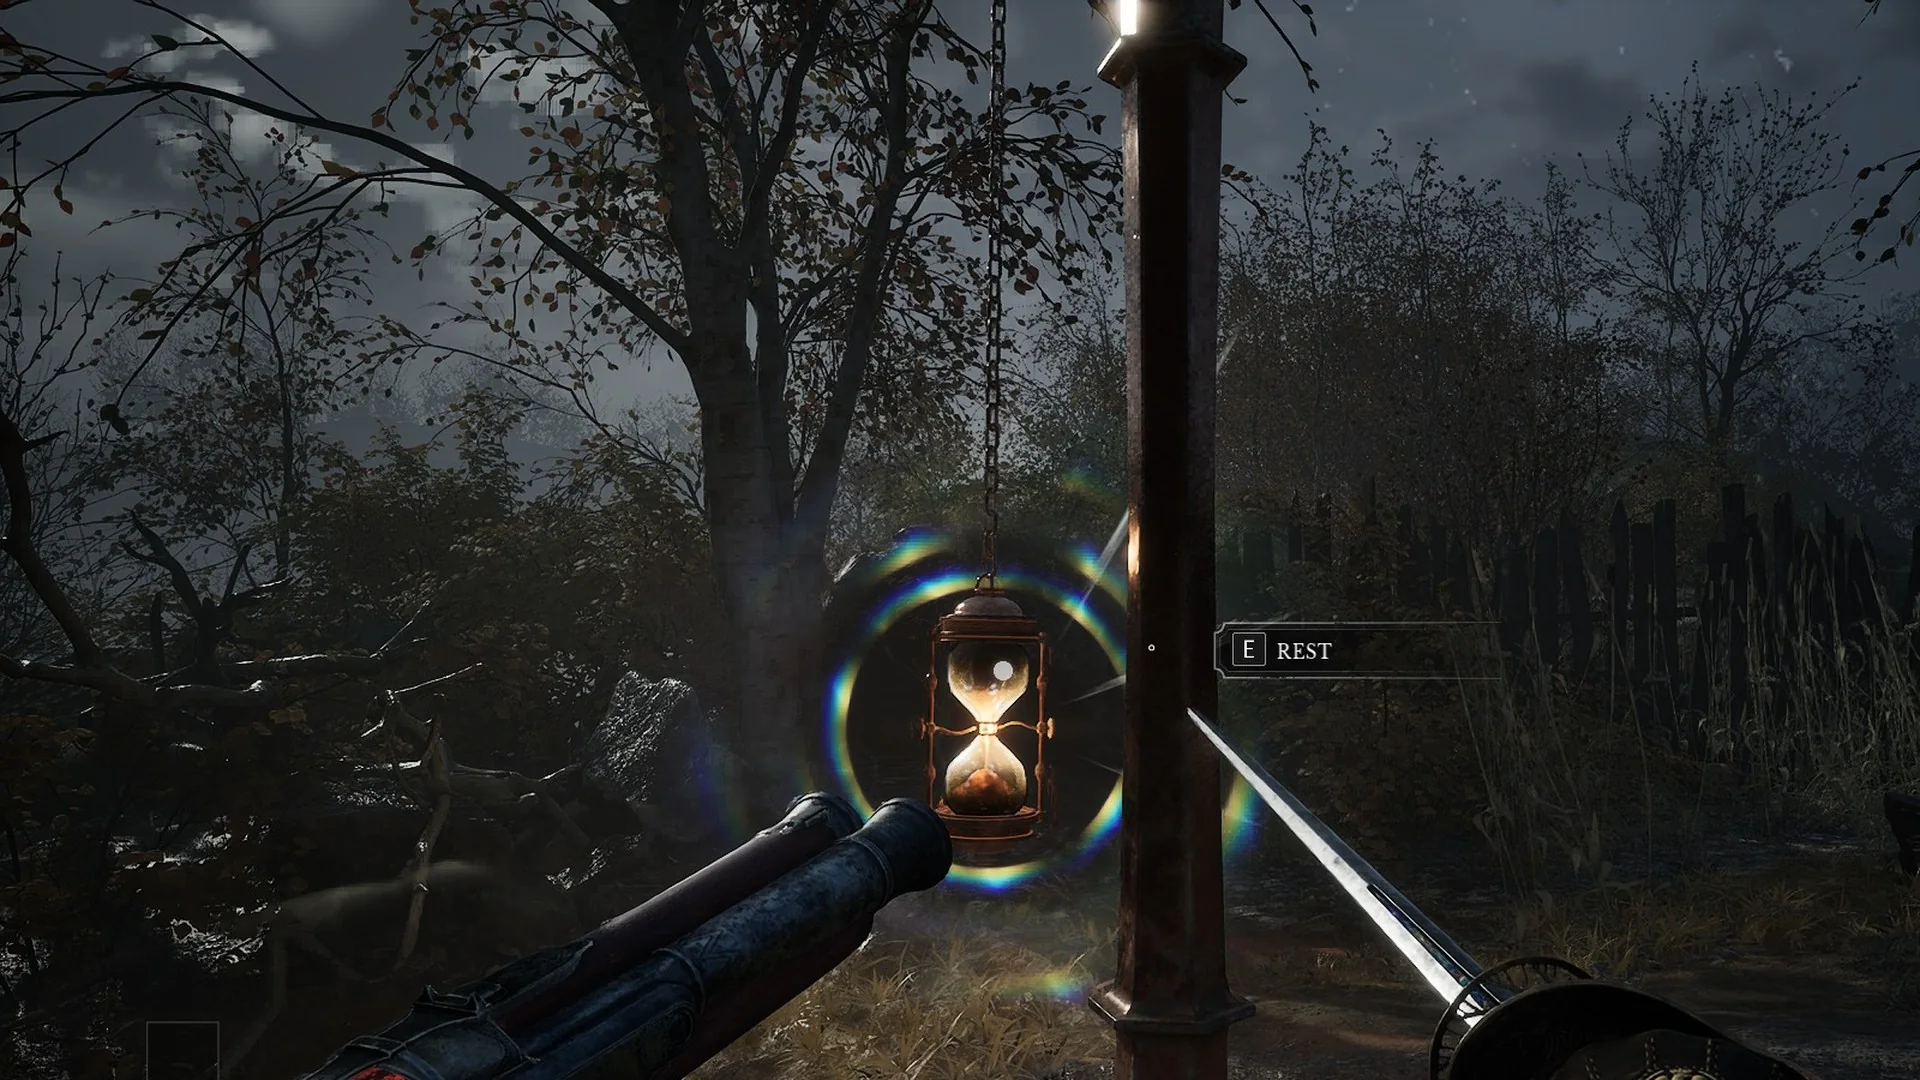
Rest at any Lantern with E to open its menu, which reads LEVEL UP / TRAVEL / UPGRADE FERROFLUID FLASK / LEAVE. TRAVEL is the fast travel option, and the same menu appears at Lanterns in every region, including the Old Mine Lantern in the Caverns.
Fast travel opens after your first rest at the Abandoned Church Lantern, which shows the “Fast Travel” tutorial: “You can freely travel between any discovered Lanterns.” Only Lanterns you have rested at appear in the list.
Choosing TRAVEL brings up “Travel to the Lantern”, with the line “You will be reawakened by the light at the selected Lantern.” Region tabs run along the top as Roman numerals, and you switch between them with Q and E. Each tab lists the Lanterns you have discovered in that region. F is “RETURN TO THE ABANDONED CHURCH” and Esc is BACK.
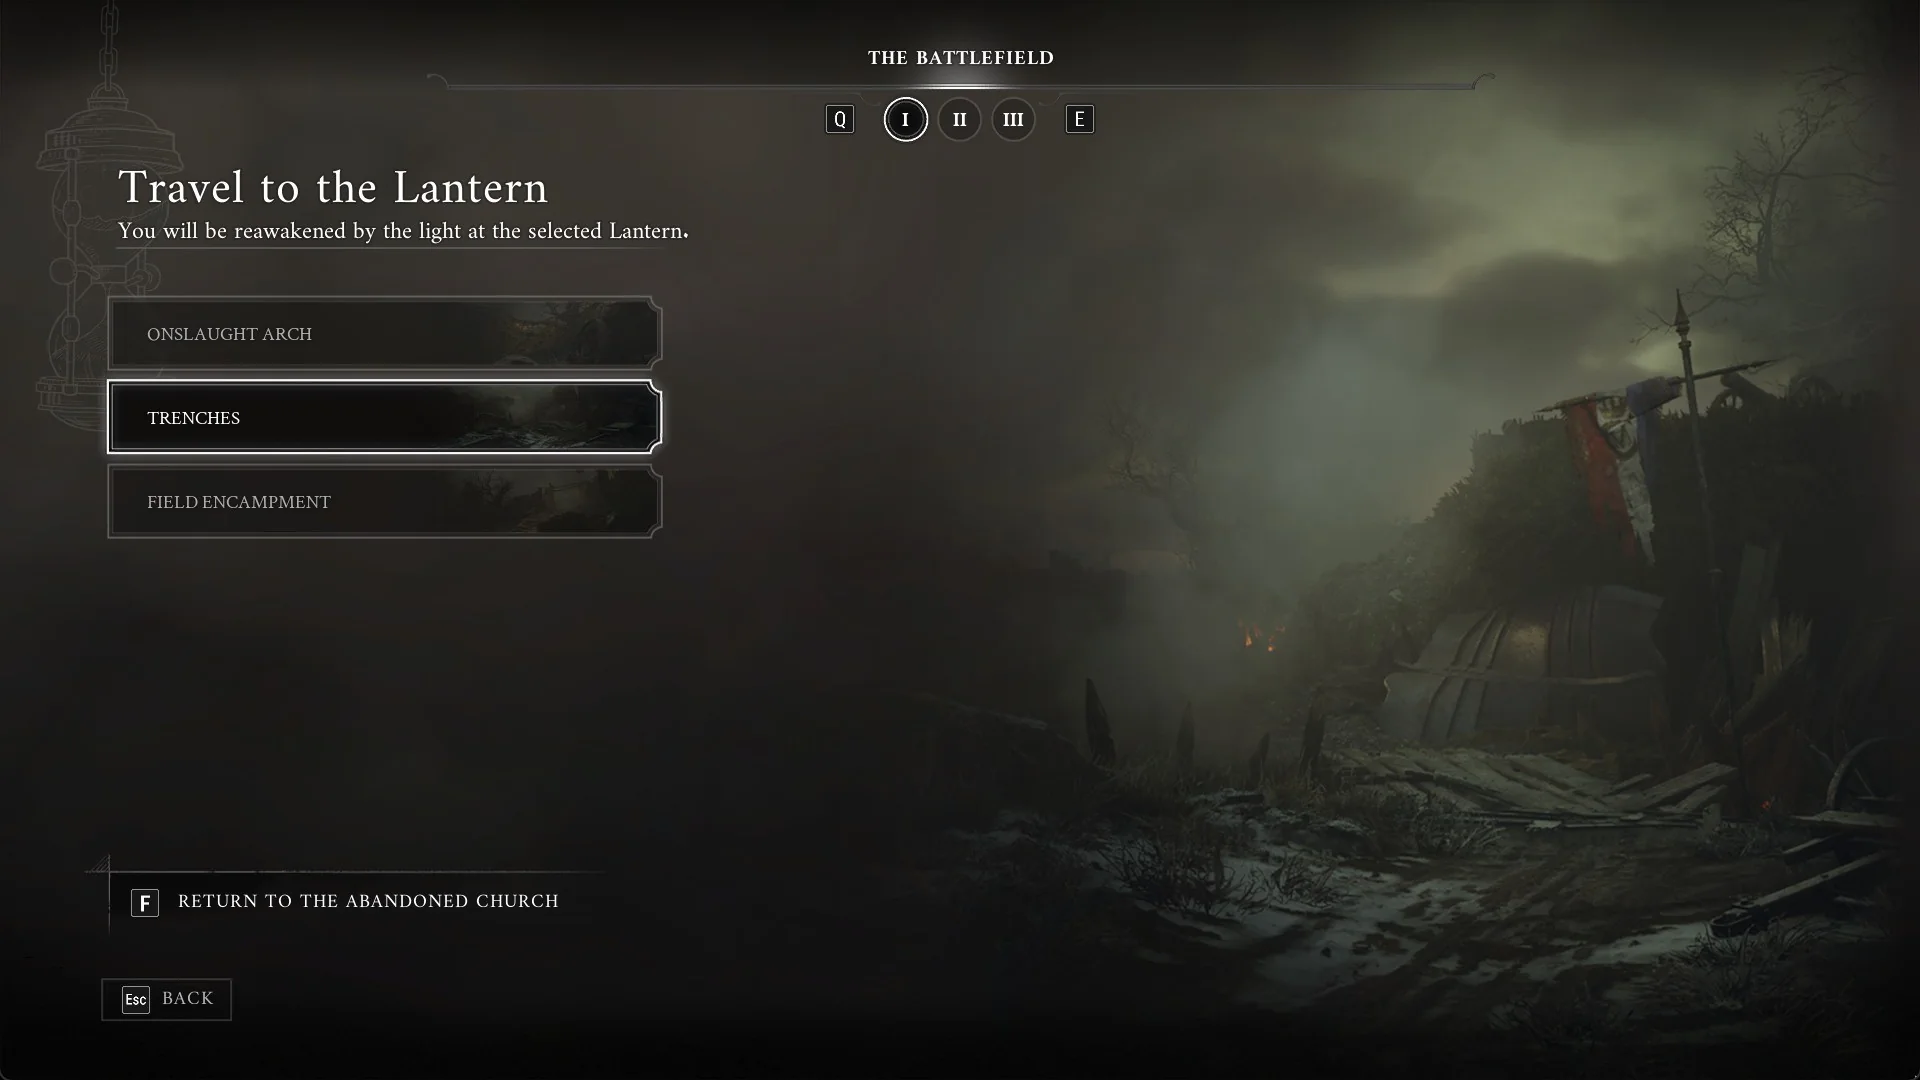
Picking a Lantern sends you there at once, followed by a loading screen. There is no confirmation box.
For the unlock and every travel region, see how to unlock and use fast travel in Valor Mortis. If the game tells you travel is impossible, or a Lantern will not let you rest during a boss fight, that guide also covers when fast travel is blocked.
The Battlefield Lanterns (3)
| Lantern name |
|---|
| Field Encampment |
| Onslaught Arch |
| Trenches |
Valley of Ashes Lanterns (6)
| Lantern name |
|---|
| Demolished Path |
| Guidepost |
| Military Camp |
| Quarry |
| The Climb |
| The Other Side |
Fallen Village Lanterns (4)
| Lantern name |
|---|
| Fields |
| Marketplace |
| Orchard |
| Path of Fire |
Caverns Lanterns (5)
| Lantern name |
|---|
| Ancient Lair |
| Last Sunlight |
| Mine Cart Route |
| Old Mine |
| Weeping Ledge |
Vale of Wrath Lanterns (5)
| Lantern name |
|---|
| Old Windmill |
| Poisoned Camp |
| Ship Graveyard |
| Under the Bridge |
| Wolfsbane Field |
Where the Vale of Wrath Lanterns are
The Vale of Wrath is the region of Chapter V, CRIME, reached through the Outward Pass Gate behind the Abandoned Church. See where each Lantern sits on the Vale of Wrath map.
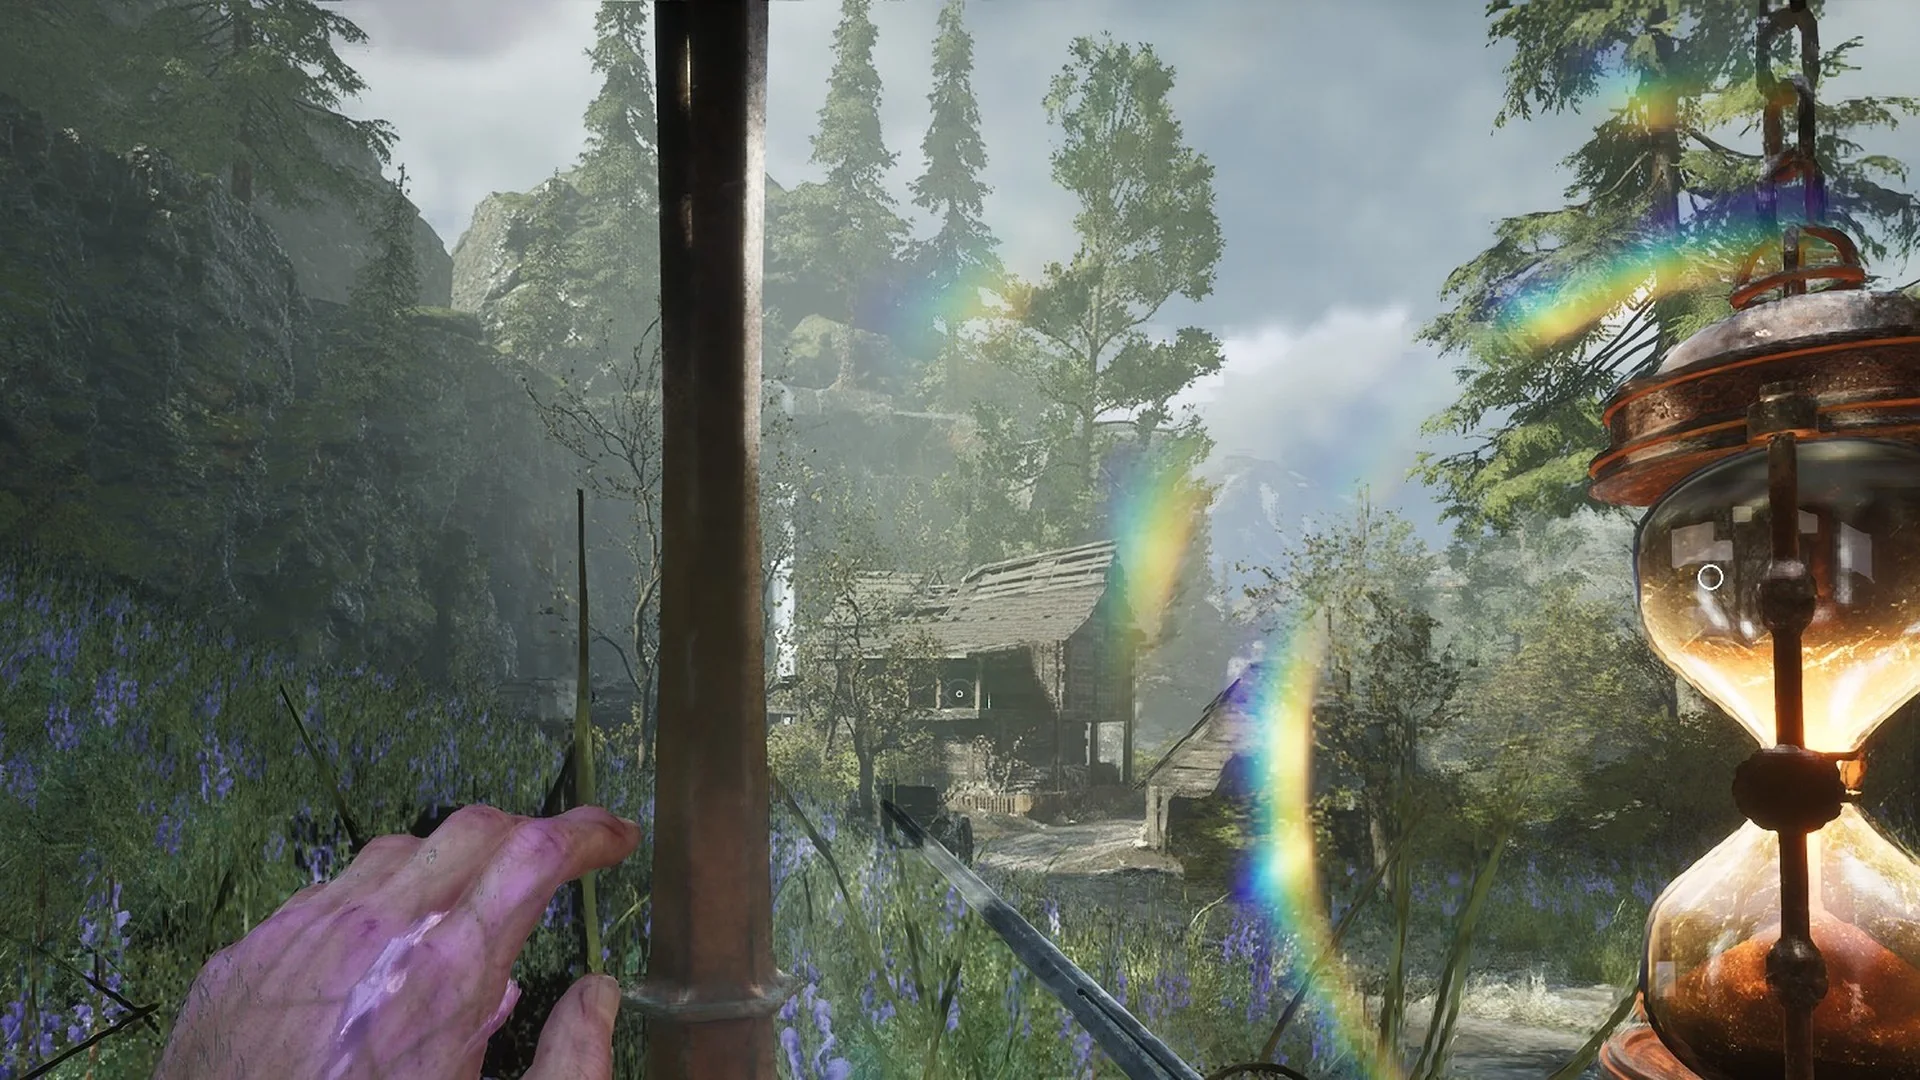
Wolfsbane Field
Wolfsbane Field is the first Lantern you encounter upon arrival. Head downhill from the arrival point to reach a meadow where tall purple wolfsbane flowers grow among scattered wooden huts. The Lantern is positioned at the meadow’s boundary. A hut close to the field contains a note titled “SHRIKE’S ORDER – CARGO”.
Under the Bridge
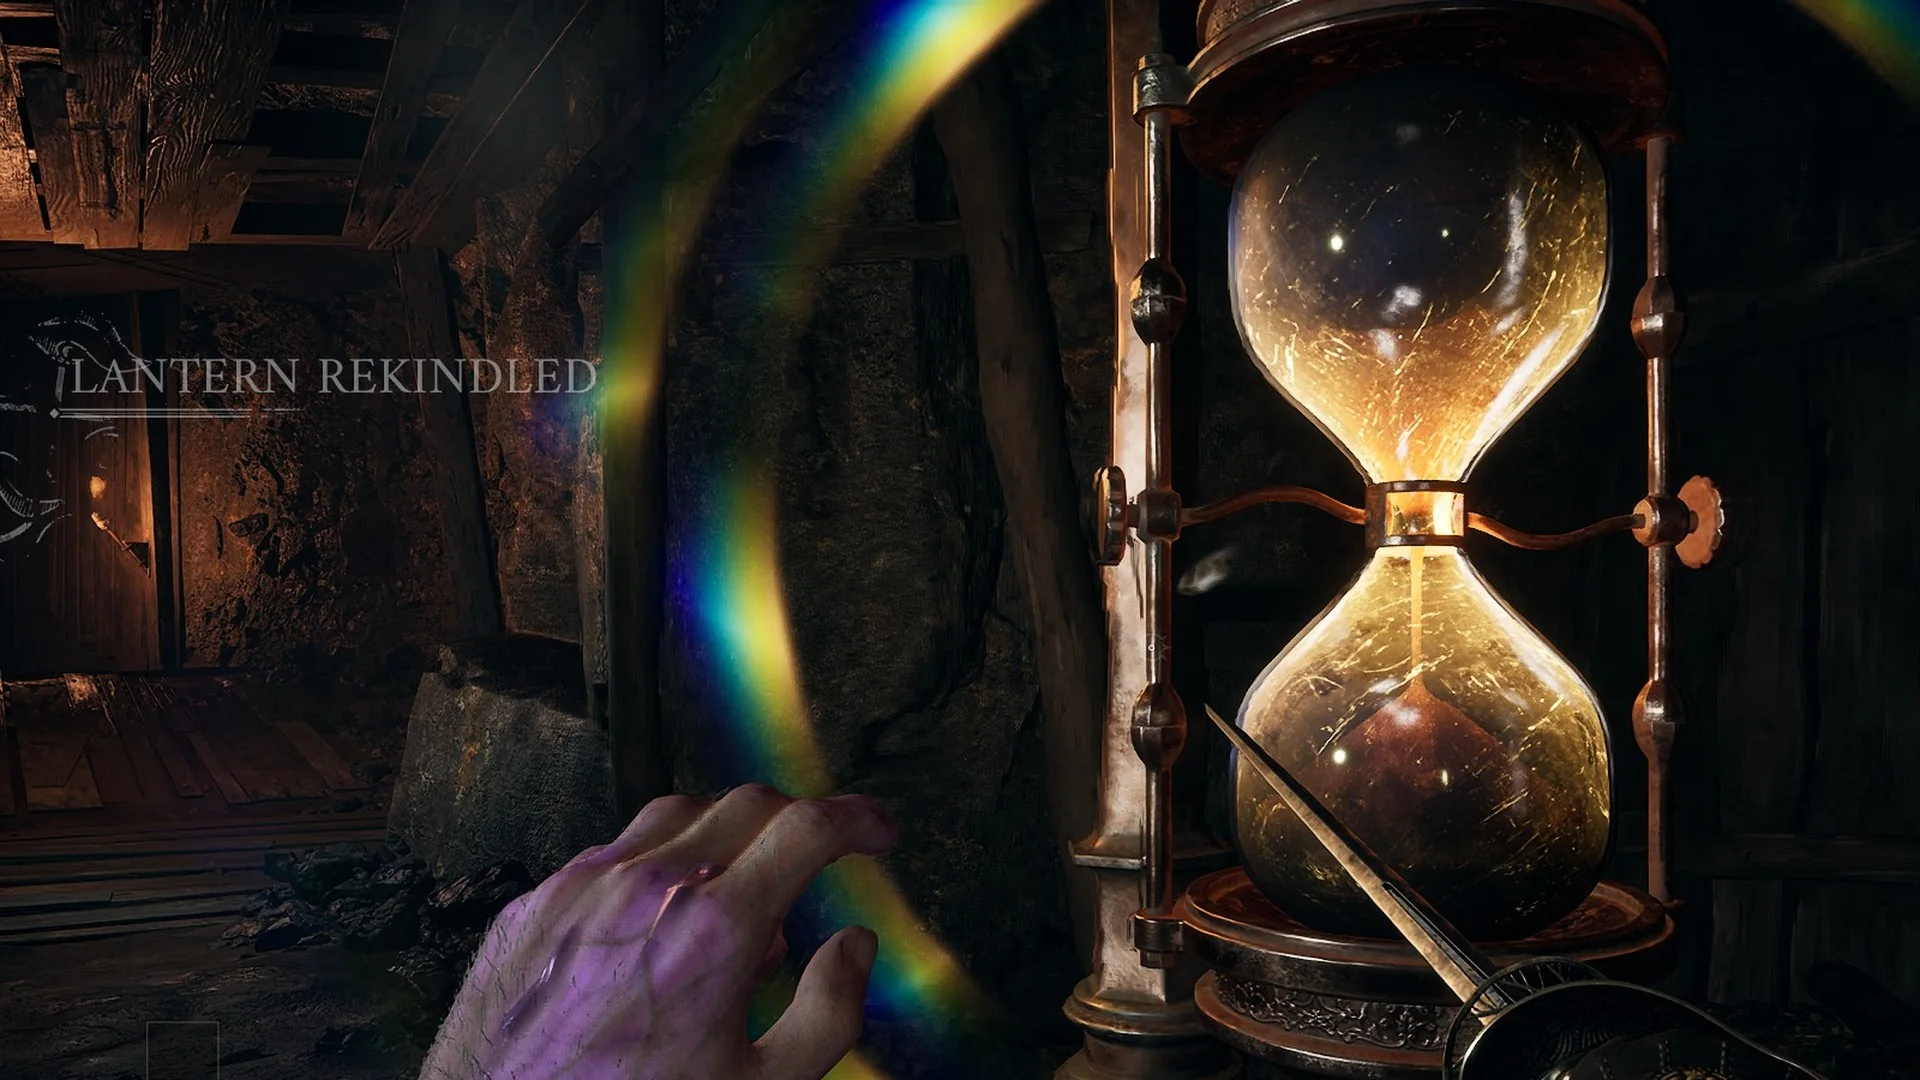
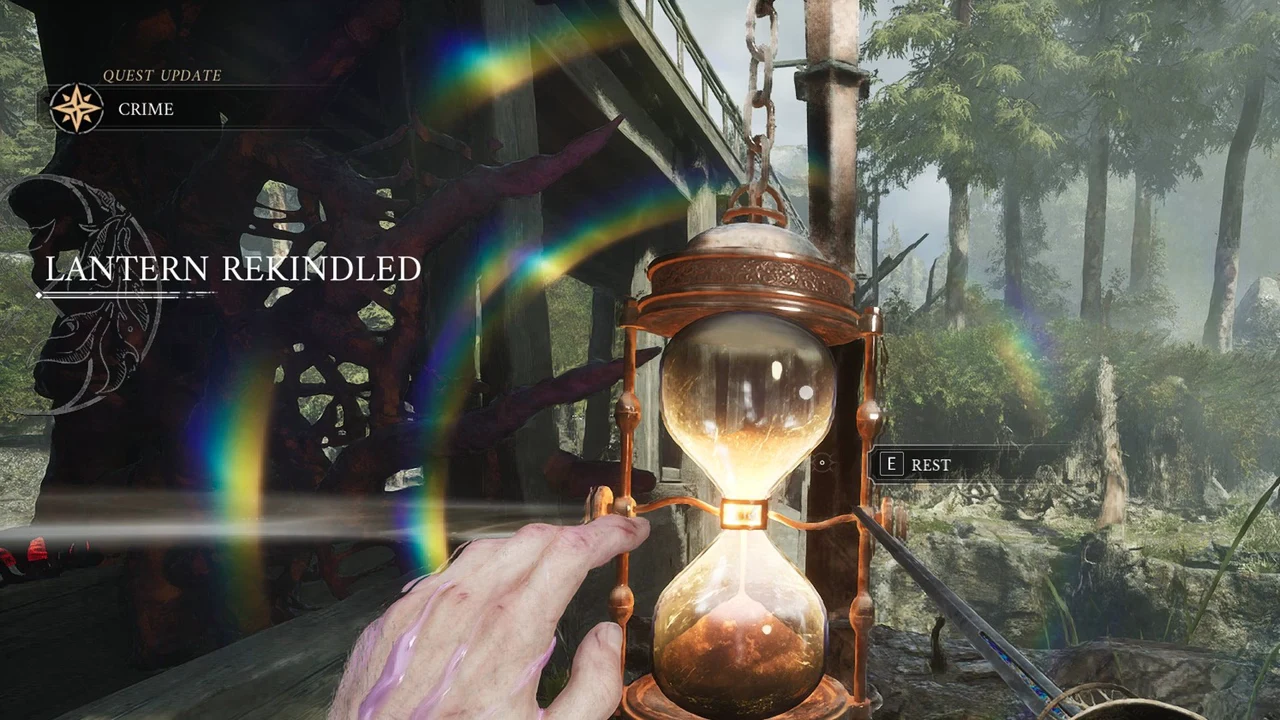
Beside a river in the forest, the Under the Bridge Lantern is located beneath a high wooden trestle. Lighting it triggers the messages “LANTERN REKINDLED” and “QUEST UPDATE CRIME”. During Chapter V, the top-hatted merchant Lucjan Skawinski is here.
Poisoned Camp
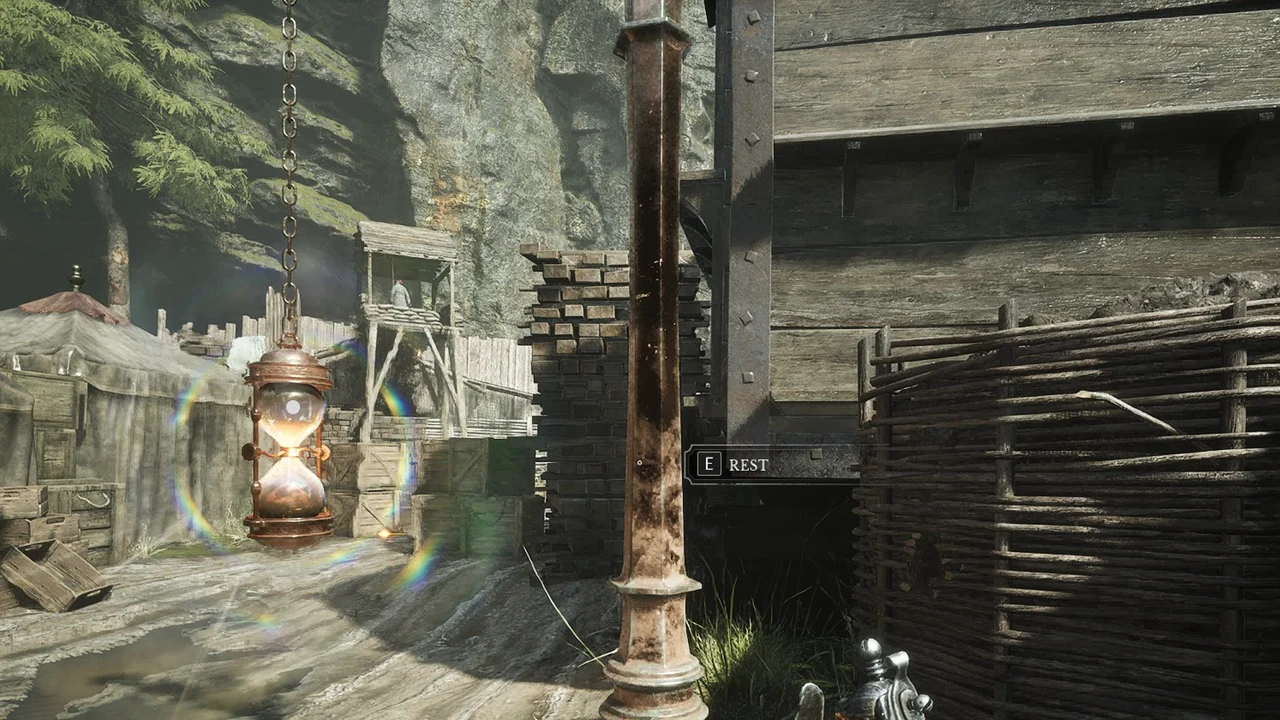
Poisoned Camp features a military encampment with canvas shelters, wicker barriers, and piles of planks and crates; its Lantern sits at the center. In the house roughly 15 metres away, find the Musket resting on a blue display case (see where to find the Musket).
Ship Graveyard
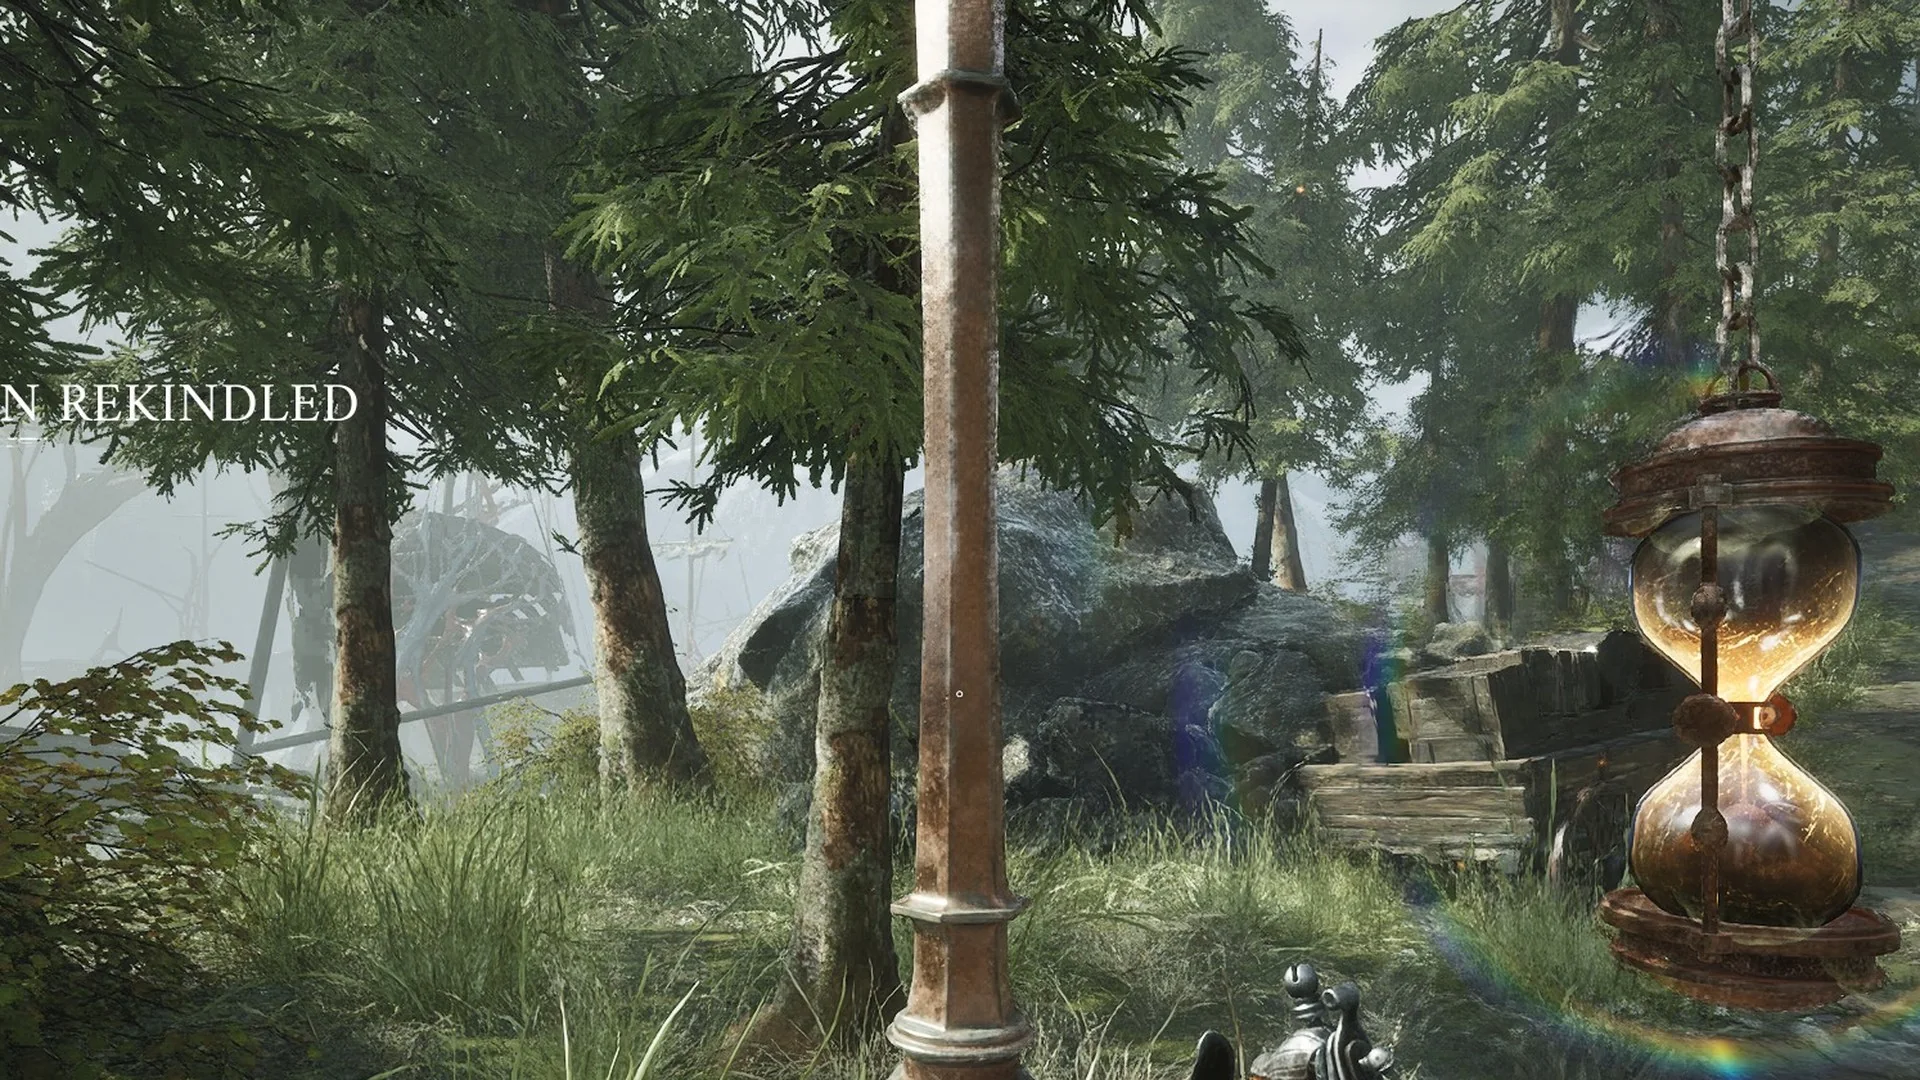
The Ship Graveyard Lantern sits in a pine wood close to the water, among the hulls of wrecked ships. Walk up to it and it lights on its own, flashing “LANTERN REKINDLED” on screen. Close by, a soldier fused into Nephtoglobin roots hands you the Nephtoglobin Formations ability.
Old Windmill
You’ll find the Old Windmill Lantern along the route toward the burning windmill, where Slaughtermill, the Vale of Wrath boss, awaits. Rest here using “[E] REST” before the fight; this is your return checkpoint. Nearby, William hears the Shrike’s voice inside his head.
Cursed Hollow Lanterns (4)
| Lantern name |
|---|
| Deep Water |
| Eerie View |
| Silent Cannons |
| Village Church |
The Outskirts Lanterns (6)
| Lantern name |
|---|
| Breach |
| Broken Bridge |
| Harbour |
| Island of Whispers |
| Lighthouse |
| Market Square |
City of Orphans Lanterns (3)
| Lantern name |
|---|
| Sewers |
| Shamble Street |
| Tribunal Square |
University Lanterns (4)
| Lantern name |
|---|
| Laboratories |
| Lift Shaft |
| Main Hall |
| Sewage Drain |
Fortress Lanterns (6)
| Lantern name |
|---|
| Chapel |
| Courtyard |
| High Tower |
| Main Gate |
| Ramparts |
| Traverse |
Napoleon’s Prison Lanterns (2)
| Lantern name |
|---|
| Burning City |
| Prison |
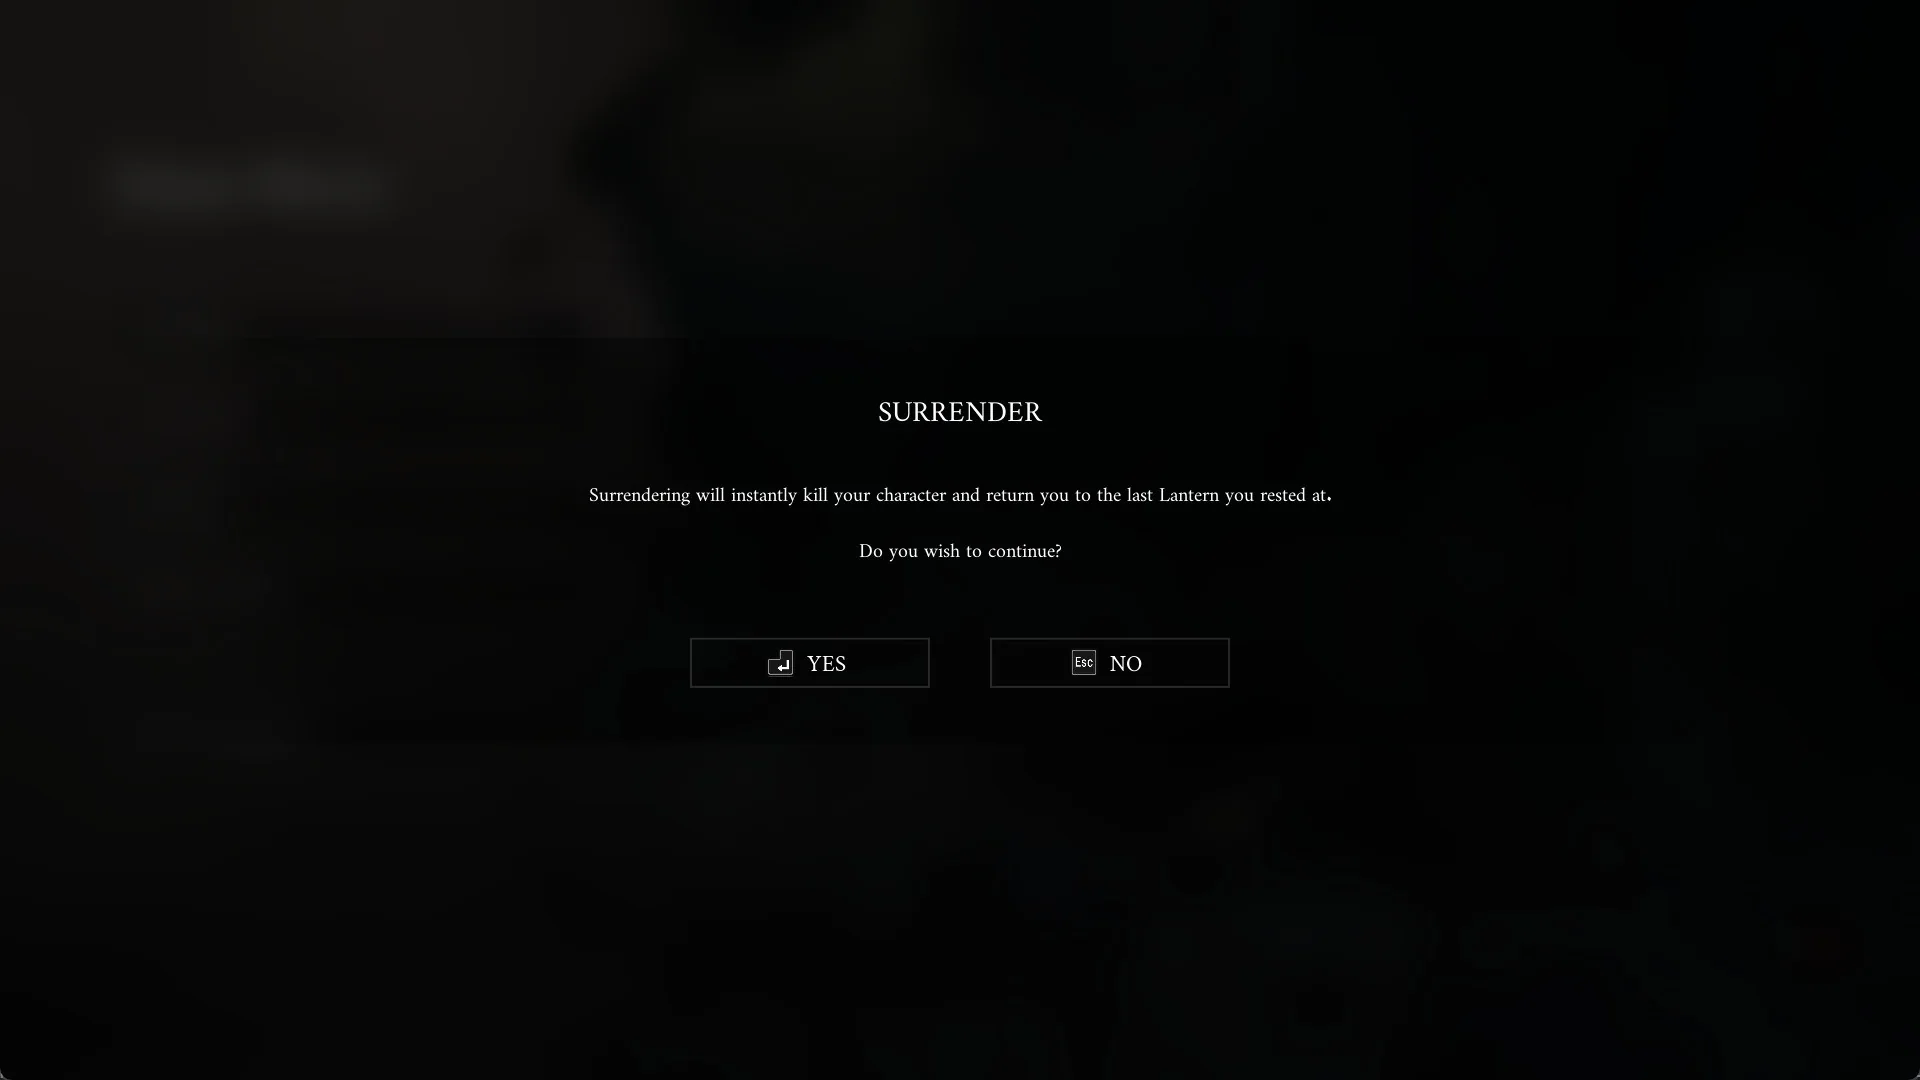
Rest at any of these Lanterns and it becomes the point you return to. Surrender from the Pause Menu also sends you there, as its confirmation box says: “Surrendering will instantly kill your character and return you to the last Lantern you rested at.”