The Hollow route in VV: ULTIMATUM starts slow, but it ends with Resurreccion, the temporary burst form that switches on every trait you carry and spikes your damage, mobility, and durability. Getting there depends on your evolution path, your trait slots, your equipped weapon, and a final fight against your own past forms inside the Inner World.
Quick answer: Reach Vasto Lorde, remove your mask to become an Arrancar (Lv25 or higher), equip your active Arrancar weapon, press L to meditate into your Inner World, then defeat Fishbone, Menos, and Adjuchas in one run without dying.
Active VV: ULTIMATUM code and how to redeem it
Codes reward rerolls and reset tokens that make it much easier to fix a bad race or ability roll while you climb the Hollow path. The most recent working code is below.
| Code | Reward |
|---|---|
| UPD2 | 20x Ability Reroll, 1x Build Reset Token (Mythical) |
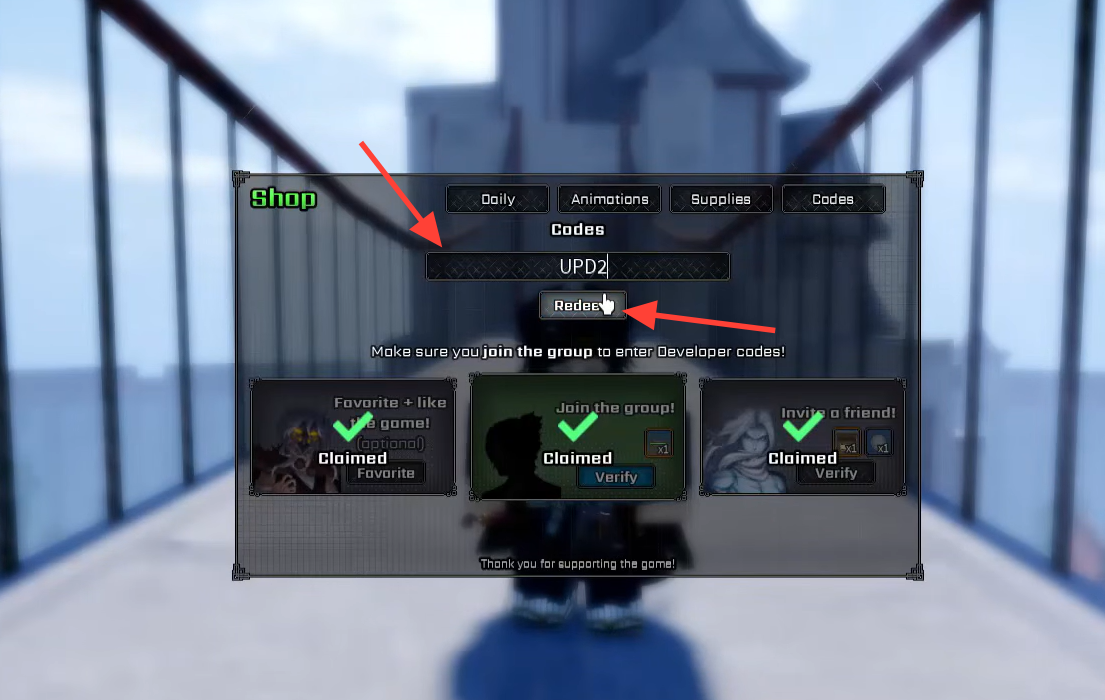
Redemption is gated in this game, so the box will not appear until you have done the prep. First, finish the “Humble Beginnings” questline. Then join the Midnight Continent Roblox community so the group verification passes.
Requirements before you attempt Resurreccion
The unlock is locked behind your race, level, and evolution path. Confirm all of these before you press L, because skipping the right Hollow stages permanently caps how strong the form can be.
| Requirement | Detail |
|---|---|
| Race | Hollow, then Arrancar |
| Level | Lv25 or higher (Lv35+ makes the fight easier) |
| Weapon | Active Arrancar weapon equipped before meditating |
| Evolution path | Avoid the Menoscar route; reach Vasto Lorde before mask removal |
If meditation only puts your character to sleep, you do not have enough progress yet. Gain more XP and try again until the Inner World whisper appears above your skill hotbar.
Pick the right Hollow type first
After the tutorial, you select a race, and if you commit to Hollow, you then choose a body type. That body becomes the opponent you fight in the final Resurrection trial, so the choice affects both your stats and how hard the unlock is.
| Type | Profile |
|---|---|
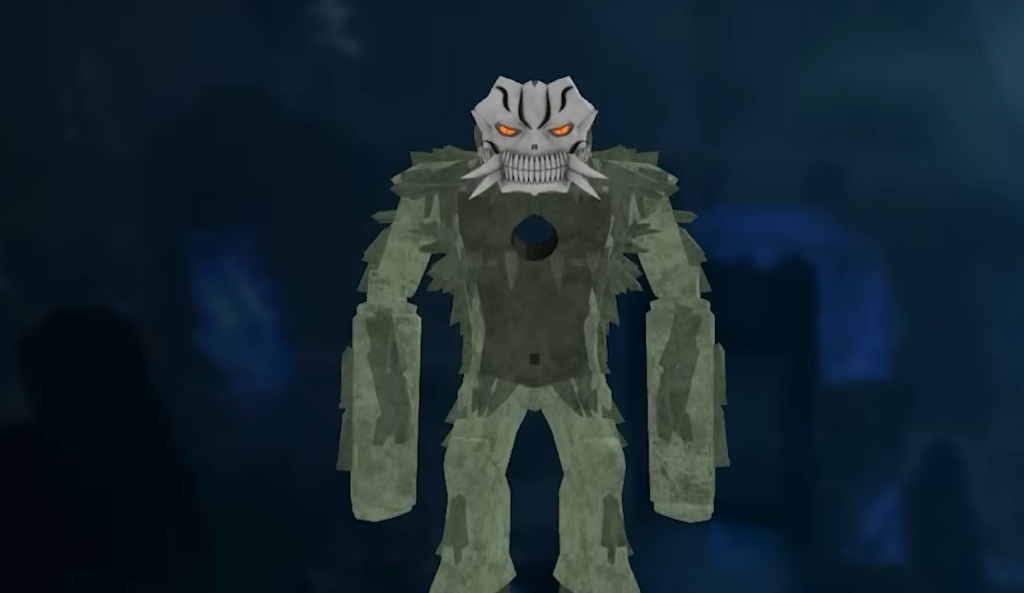
| Gorilla | Balanced speed, damage, and durability. Easiest Resurrection fight and the safest pick for new players. |
| Lizard | Fast and mobile, but weaker defense. Suits aggressive, movement-heavy play. |
| Centipede | Excellent speed with low damage and defense. One of the hardest Resurrection fights. |
| Turtle | High defense and durability, but slow attacks that make the Resurrection encounter awkward. |
If you rolled a type you dislike, that is exactly what the ability rerolls and reset tokens from the code above are for.
Evolution path and trait slots
The full chain runs Fishbone → Menos → Adjuchas → Vasto Lorde → Arrancar. Traits are permanent bonuses you earn by consuming defeated Hollows, and they only activate once you are inside Resurreccion. The stage at which you remove your mask locks your trait ceiling forever, so evolving early is a trap.
| Stage at mask removal | Result | Trait slots |
|---|---|---|
| Menos (press L) | Menoscar → Arrancar | 2 (locked) |
| Adjuchas (press L) | Adjucar → Arrancar | 3 |
| Vasto Lorde (press L) | Vastocar → Arrancar | 4 (maximum) |
Fishbone and Menos hold two traits, Adjuchas holds three, and Vasto Lorde holds all four. Push to Vasto Lorde for the four-slot ceiling. If you press L as a Menos, you are stuck with two slots, and the only fix is wiping your character.
To progress between stages, complete the red story quests, which give the fastest advancement, and defeat Hollows to farm traits. From Adjuchas onward, you earn progression points by killing Quincies and Shinigami; Arrancars give nothing. Running missions is the quickest way to clear objectives, and open-world farming in the outskirts works too. Strong trait picks include Iron Skin, Deadly Claws, Wings, Dense Muscles, Tailbone, and Cero-specific traits, so reject rolls that do not fit your build when prompted.
Meditate into the Inner World
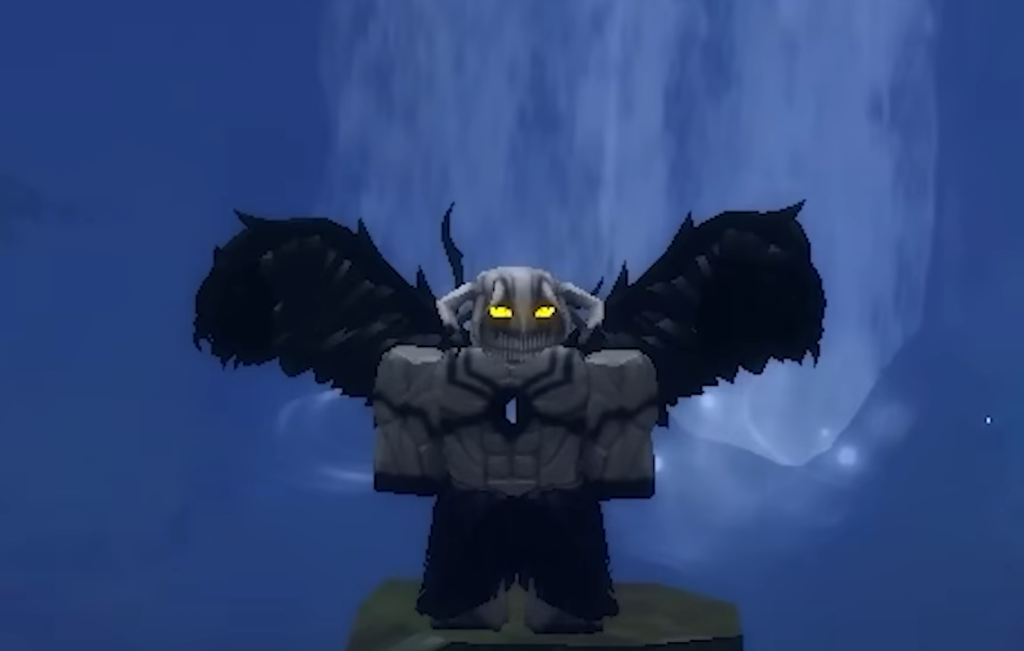
Once you become an Arrancar and lock in your trait combination, Resurreccion becomes available through meditation. The steps below assume you are at Lv25 or higher.
M or L to meditate and keep gaining XP through normal play. Watch for yellow whisper text above your hotbar, which signals successful progress, and meditate again as soon as it appears.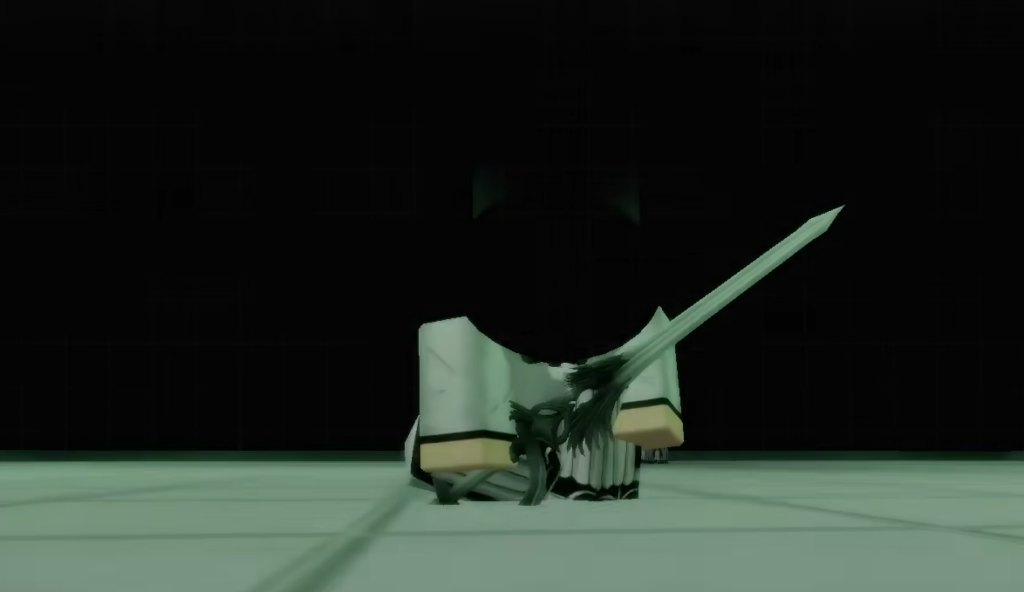
Clear the three-phase Resurrection fight
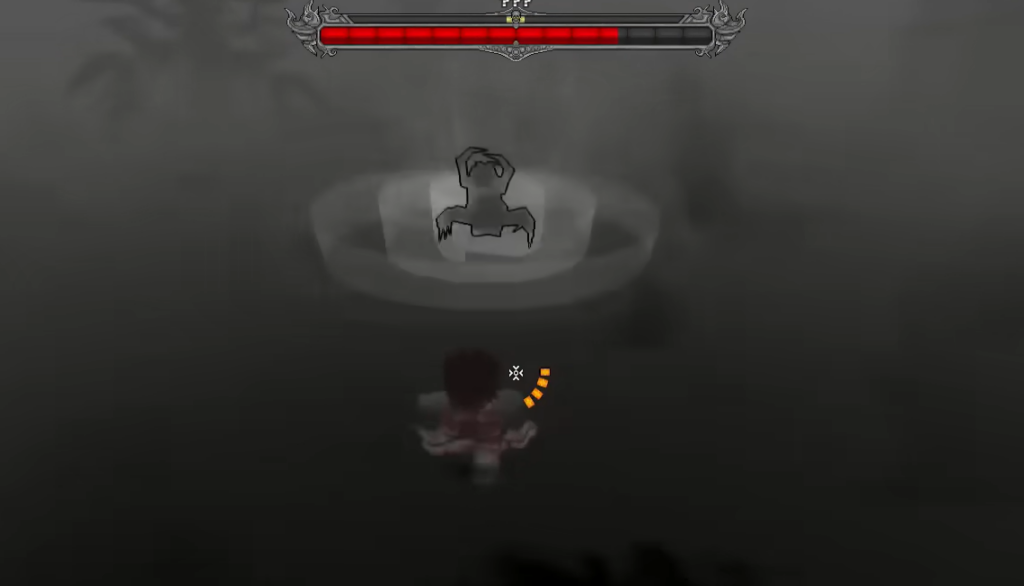
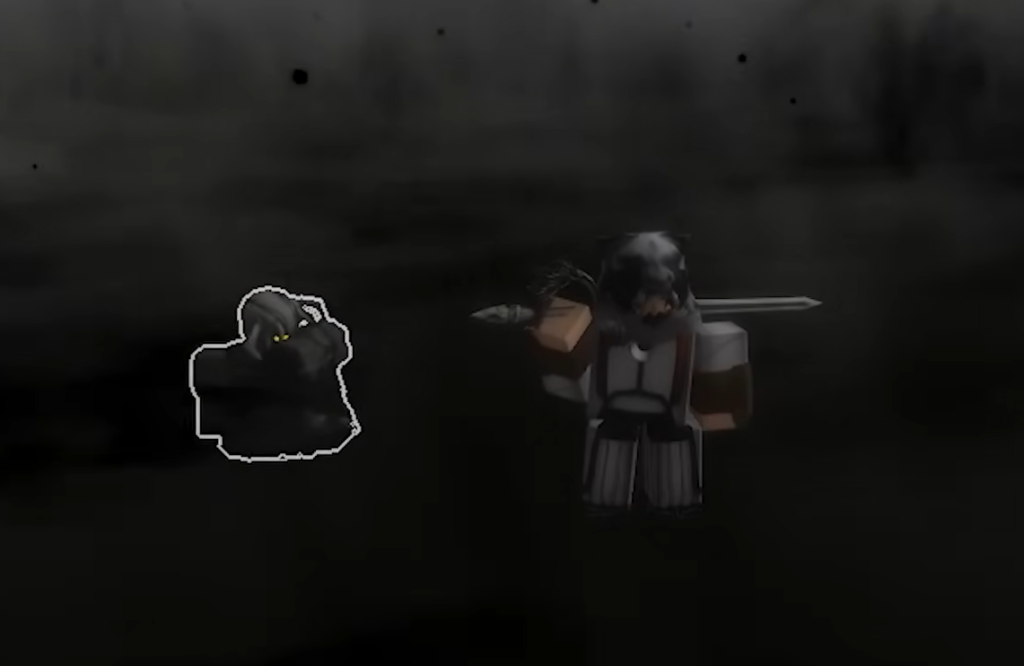
Once the Inner World is complete, speak to your spirit to start the trial. It runs as one uninterrupted gauntlet of three forms, and dying to any wave resets the whole fight. Save healing items for the later phases.
| Phase | How it fights | How to beat it |
|---|---|---|
| 1. Fishbone | Fast, fragile, quick attacks | Dodge and punish openings; stay aggressive |
| 2. Menos | Slow with strong AoE and delayed hits | Keep distance on charged moves, close in on recovery |
| 3. Adjuchas | Speed plus heavy combos, hits harder | Block or parry the first hit, then dodge the follow-ups |
The first phase mirrors the Hollow type you chose at the start, which is why Gorilla and Lizard runs feel more forgiving.
How to confirm the unlock and why it fails
You know it worked when you clear all three waves and gain access to the Resurreccion ability, which produces a clear power spike with new form-specific abilities. Each body type leads to a different Resurreccion form, so the result matches the Hollow you started with.
Only a few things stop the unlock from triggering. Meditation putting you to sleep means you lack progress, so grind more XP. Dying mid-run resets the trial, so treat it as a single continuous fight. A failed attempt is retriable, but you may need more meditation and XP before you can challenge the Inner World again.
Clans that extend Resurreccion uptime
Because Arrancar power arrives in bursts, clans that buff the form itself carry the most value. Cifer stands out for raw Resurreccion strength and duration.
| Clan (rarity) | Tier | Bonuses |
|---|---|---|
| Cifer (Legendary, 1%) | S | +20% longer Resurrección, +2.0% Kido DMG, +5.0 Reiatsu |
| Aaroniero (Legendary, 1%) | A | +2.2% Kido DMG, +5 Reiatsu |
| Jaegerjaquez (Rare, 9%) | A | +3% Hakuda DMG |
| Kufang (Rare, 9%) | B | +2.5% Weapon DMG |
Once the form is yours, take it into both PvP and PvE and refine your traits and skill tree around the build you actually play. Pairing the right clan, traits, and Reiatsu support is what turns a one-off burst into a dependable, form-aware combat plan.