

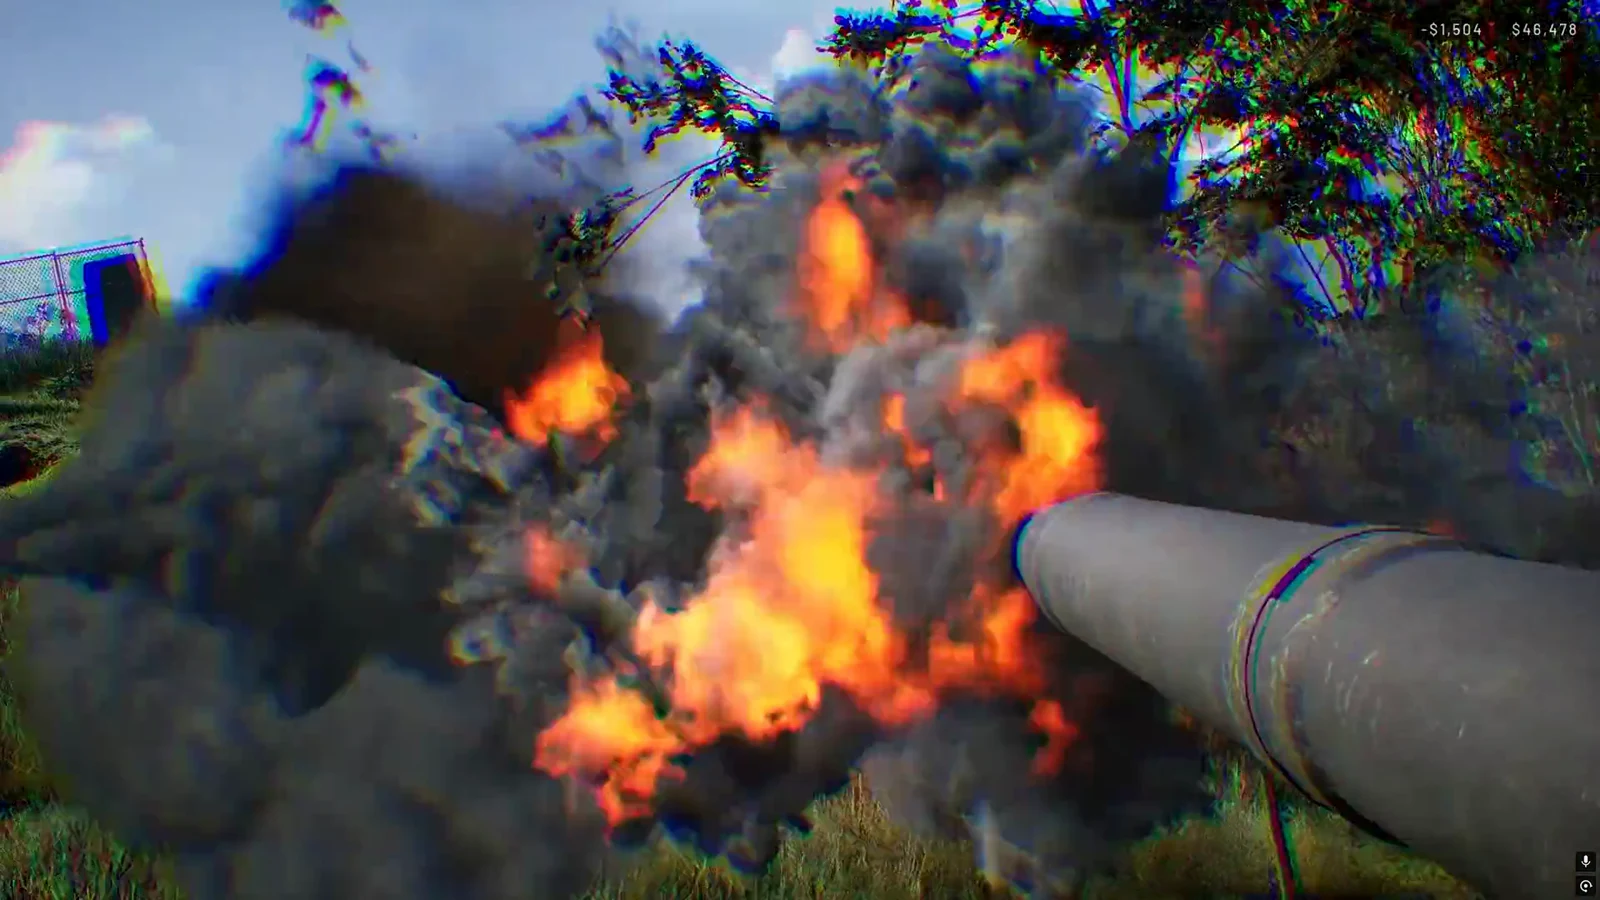
Air defense is the thing that decides whether helicopters matter in a WARDOGS match, and the Vanguard CIWS is the buildable that closes a piece of sky. It sits inside a Forward Operating Base alongside the other static weapon systems, it chews through anything that lingers in its arc, and no amount of flying skill makes it go away on its own. The fix is a ground problem, not a piloting problem.
Quick answer: Approach low and behind terrain to stay out of its arc, then have a Recon player spot it and kill it on the ground with mortar fire, C4, or an RPG-7.
Vanguard CIWS: what it is and what it fires
The Vanguard CIWS is an emplacement, which means it is built rather than found, and it is built through a Forward Operating Base like the rest of the heavy defensive kit. Construction credits Support role XP, so the players putting one up are usually the same players running hammers, repairs, and demolition charges. It feeds on a single ammunition type.
| Detail | Value |
|---|---|
| Category | Emplacement |
| Availability | In-game (built at a FOB) |
| Role XP credited | Support |
| Ammunition | 20x102mm |
| Damage per shot | 60 |
| Muzzle velocity | 224 m/s |
It is one of three emplacements a team can stack around the same position, together with the L81 Mortar and the Talon 9K-SAM. That matters for planning: a CIWS is rarely alone, and the same FOB that supports it can also be running mortars, a SAM launcher, repair and refuel points, and Switchblade drone launchers.
Flying near a Vanguard CIWS without dying
If you are carrying a squad to the zone, your job is to complete the delivery, not to duel an emplacement. Everything below assumes you want the passengers on the ground and the airframe back home.
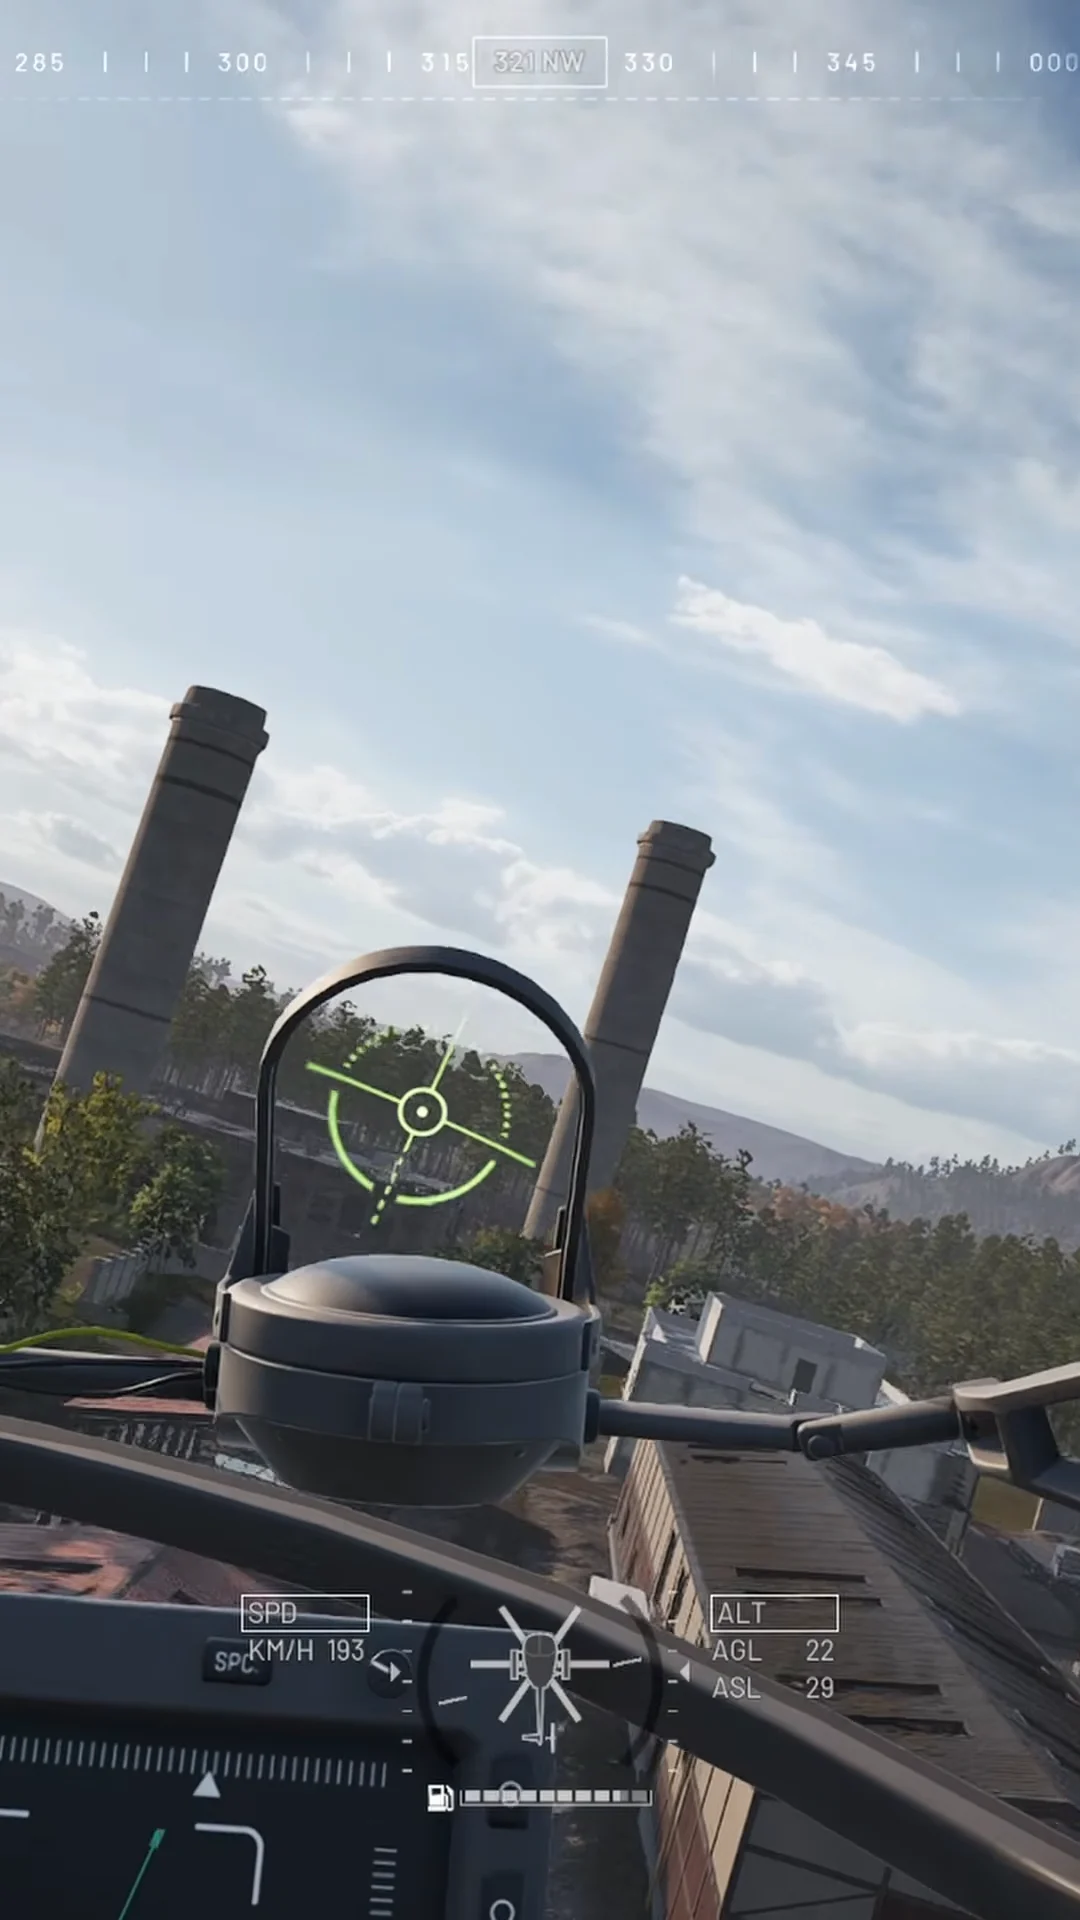
Helicopters are fragile and lose control surfaces to small arms, so a hovering “let me look at it” pass near an emplacement is usually how the airframe is lost, not how the emplacement is found.
How to destroy a Vanguard CIWS
Emplacements are built structures, and structures come down to explosives and indirect fire. The reliable sequence is spot, then shell or breach, with the rest of the FOB handled in the same push so nothing rebuilds behind you.
Spot it first with Recon
Scouting is what turns “there is AA somewhere” into a target your team can hit. A Monocular and a Range Finder let a Recon player identify the emplacement and call it in from a safe distance, and spot assists pay the spotter directly while leveling the Recon track. The player calling the target does not need the kill to be rewarded for it.
Shell it with the L81 Mortar
Mortars are the standard answer to enemy construction. Because the L81 Mortar is itself a FOB emplacement, a team that has built one can service an enemy CIWS without anyone walking into its arc, provided a spotter keeps eyes on the fall of shot. This is the lowest-risk option when the emplacement sits inside a defended base.
Blow it up with Support demolition kit
Every explosive tool that matters here unlocks early on the Support ladder, so this is not a late-game answer. The table below covers the unlock levels for the equipment involved in finding and removing an emplacement.
| Equipment | Role | Unlock level |
|---|---|---|
 C4 Charge C4 Charge | Support | 2 |
 Remote Detonator Remote Detonator | Support | 2 |
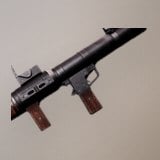 RPG-7 RPG-7 | Support | 5 |
| 93mm rocket | Support | 5 |
| PGO-7 optic | Support | 12 |
| Monocular | Recon | 2 |
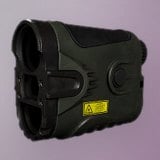 Range Finder Range Finder | Recon | 8 |
C4 with a Remote Detonator is the demolition option when you can reach the position on foot, since the charge can be placed and fired on your timing. The RPG-7 with 93mm rockets is the standoff option, and the PGO-7 makes the shot at range far less of a guess.
You know the job is done when nothing engages the next pass. Send one aircraft through the area and watch for tracking and 20x102mm fire; silence means the gun is gone rather than reloading. Destroying enemy equipment also puts confirmation notifications on screen for the players credited with it.
Why enemy air defense keeps going back up
Shooting down aircraft is one of the best-paying jobs in the game. Kill Confirmed pays $1,500 to $2,000 and Vehicle Destroyed pays $3,000 to $4,688, which is why dedicated anti-air players and rebuilt emplacements keep appearing in the same places. Removing the gun once is not the same as solving the problem; the team that keeps feeding the FOB will simply raise another.
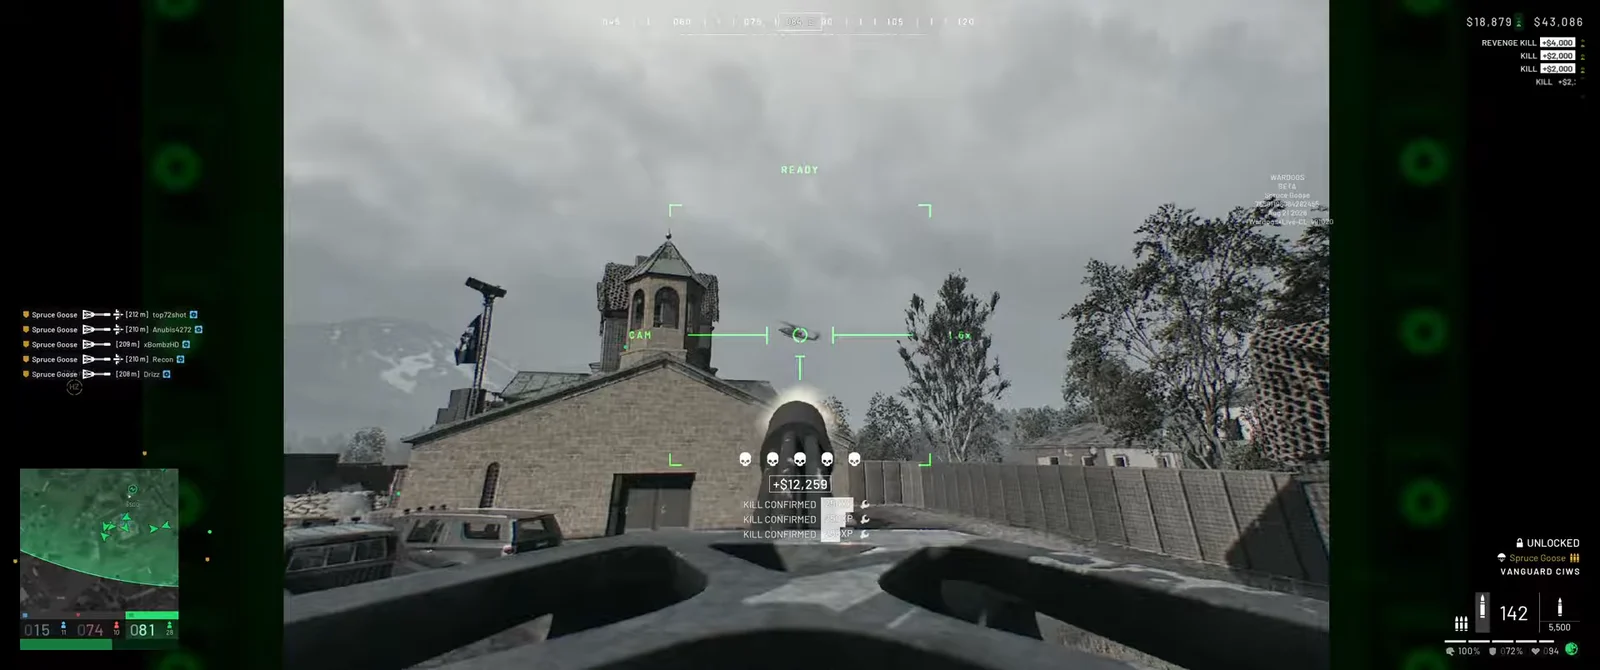
That economic reality is the argument for hitting the FOB supporting the emplacement rather than trading passes with the gun itself. The Build, Fuel, Ammo, and Mechanical Supplies stored there are shared across the enemy faction, and a base that cannot resupply cannot keep a CIWS fed.
Don’t let one emplacement pull you off the objective
Matches are decided by the Control Zone, where the faction with the most players inside scores, and the first faction to 100 points wins. Players standing in the Hot Zone count double toward that total, so a squad that spends ten minutes hunting an emplacement on the far side of the map has usually lost more ground than the gun was costing them.
Clear a CIWS when it sits on the route your team actually needs, when it is covering the zone, or when it is stopping deliveries into the fight. If it is guarding a fixed position nobody has to fly over, leave it there and keep moving with the Hot Zone. Digging in against a static defense is the losing version of the same mistake the defenders are making.





